How to Cut a Crew Cut Fade: A Barber's Technique Guide
A crew cut fade combines a short, uniform top with a fade that tapers to skin or near-skin at the hairline. It is one of the most requested cuts in the chair, and it is also one of the easiest to get wrong: the difference between a clean fade and a choppy one comes down to guard progression, blending technique, and how carefully you work the fade line. This guide walks through the cut from clipper setup to the finishing shear work on top.
Sectioning and reading the head shape
Before touching a clipper, look at the client's head shape, growth pattern, and hairline. A crew cut fade relies on the fade sitting evenly around the head, so any irregularities in the natural hairline or growth pattern at the nape and temples need to be accounted for early. Comb the hair in its natural direction and identify the three zones you will be working: the top, the sides/back where the fade lives, and the transition zone where the two meet.
Guard progression on the sides and back
Start with a guard one or two sizes longer than your target finish length and work down incrementally rather than jumping straight to your shortest guard. A typical progression is a #4 or #3 at the crown area, stepping down to a #2, then a #1, and finishing with a #1/2 or bald guard (or no guard at all) at the bottom of the fade near the hairline. Each pass should overlap the previous one by about half the clipper head's width, and you should always cut against the direction of growth for a closer, more even result.
Keep the clipper flat against the head on the lower guards and gradually arc the blade away from the head as you move up into each new guard length — this is what creates the graduated look rather than a series of visible lines. A reliable clipper with sharp, well-maintained blades matters here; dull or dragging blades will produce an uneven fade no matter how good the technique is. If you need to replace or upgrade equipment, our electric clippers and trimmers collection covers the guard ranges and blade types used in fade work.
Blending the transition zone
The transition zone is where most fades fall apart. This is the 1-2 inch band where the guard lengths change, and it needs to be blended so there is no visible line between sections. Use one of two techniques:
- Clipper-over-comb: hold a comb at a slight angle in the transition zone and run the clipper over the comb's teeth, lifting hair gradually as you move up the head. This softens the line between guard lengths.
- Flick-and-fade: use short, flicking wrist movements with the clipper open (no guard, or your shortest guard) directly on the transition zone, moving in small upward strokes and lightening pressure as you go higher. This is what produces the soft, airbrushed look associated with a well-done fade.
Work in good light and check the fade from multiple angles as you go — a fade that looks even under an overhead light can show banding when the client tips their head. Comb the hair back down between passes to check for any obvious lines you missed.
Working the fade line and hairline
Once the body of the fade is blended, clean up the perimeter: the neckline, sideburns, and the edge in front of and around the ears. Use a trimmer for these areas rather than a clipper — the smaller blade gives you more control for straight or rounded neckline shapes and crisp sideburn edges. Check that both sides are symmetrical by comparing them directly in the mirror, not just by feel.
Cutting and finishing the top
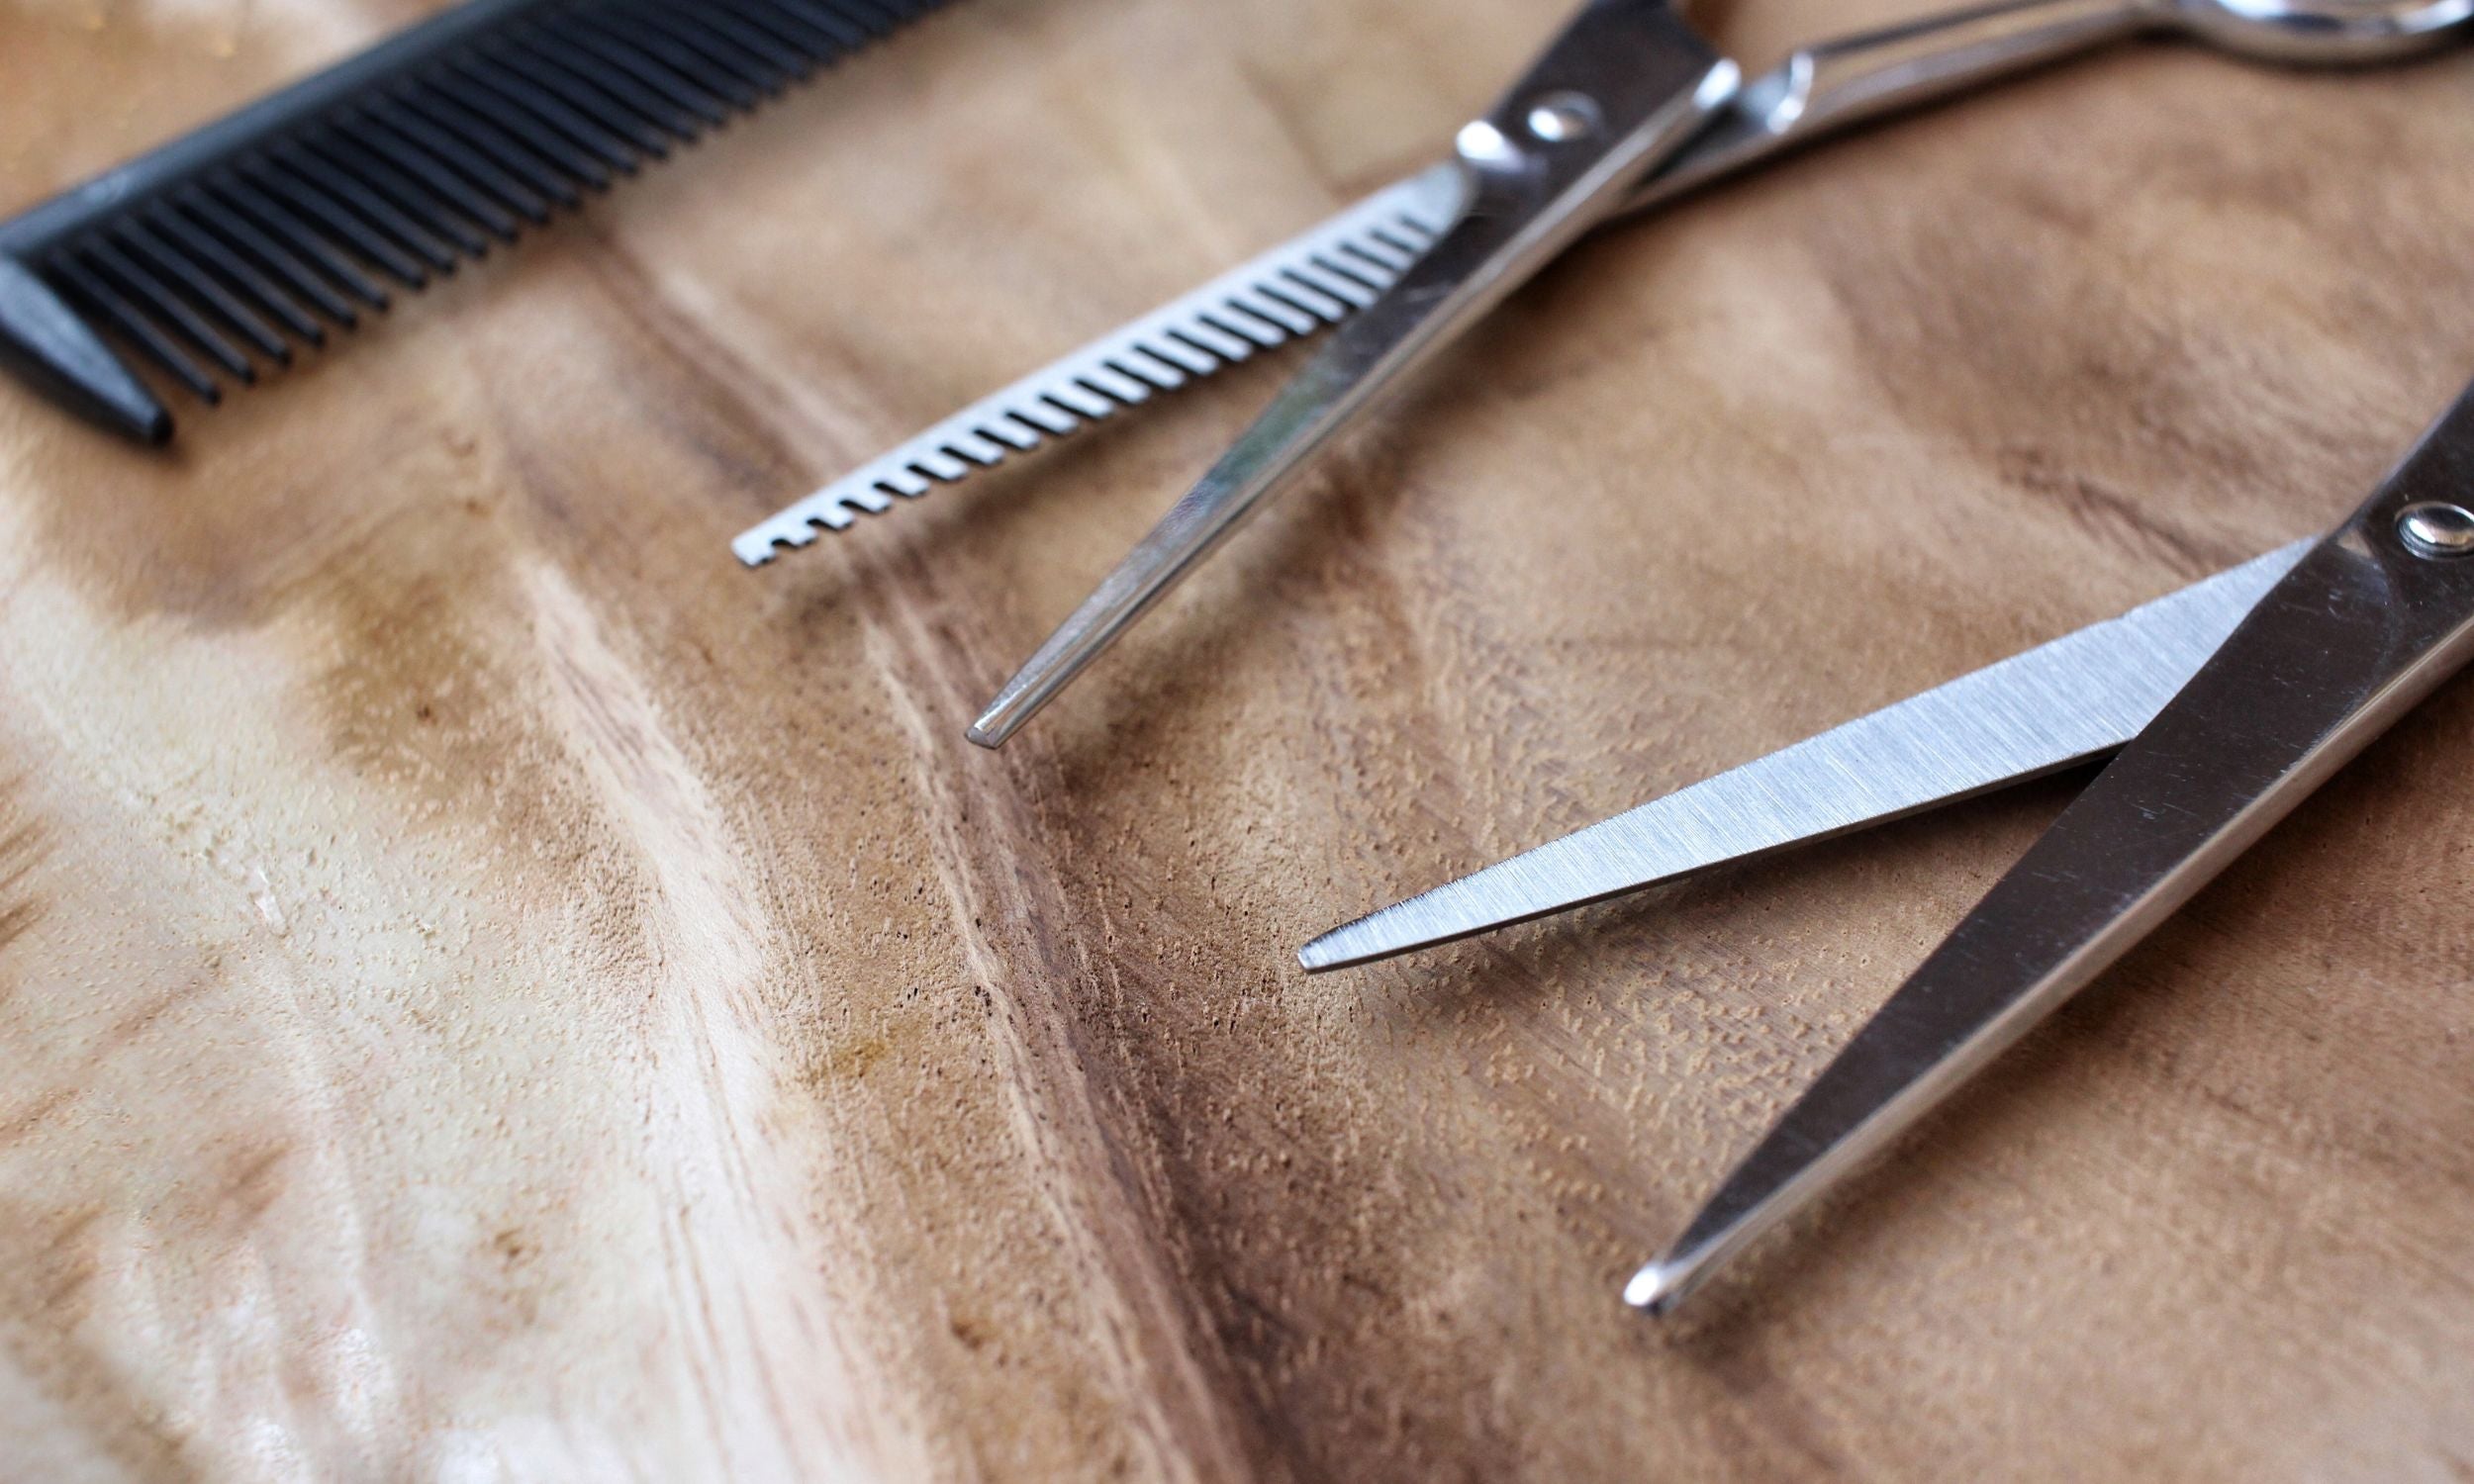
With the fade blended, move to the top. Crew cuts are traditionally cut short and slightly longer at the front for texture, tapering down into the fade at the sides. Section the top from front to back and cut with scissor-over-comb for a controlled, even length, or use clippers with a longer guard if the client wants a more uniform, close-cropped top. Scissor-over-comb gives you finer control over graduation between the top and the point where the fade begins, which is important for a seamless finish rather than a visible step between top and sides.
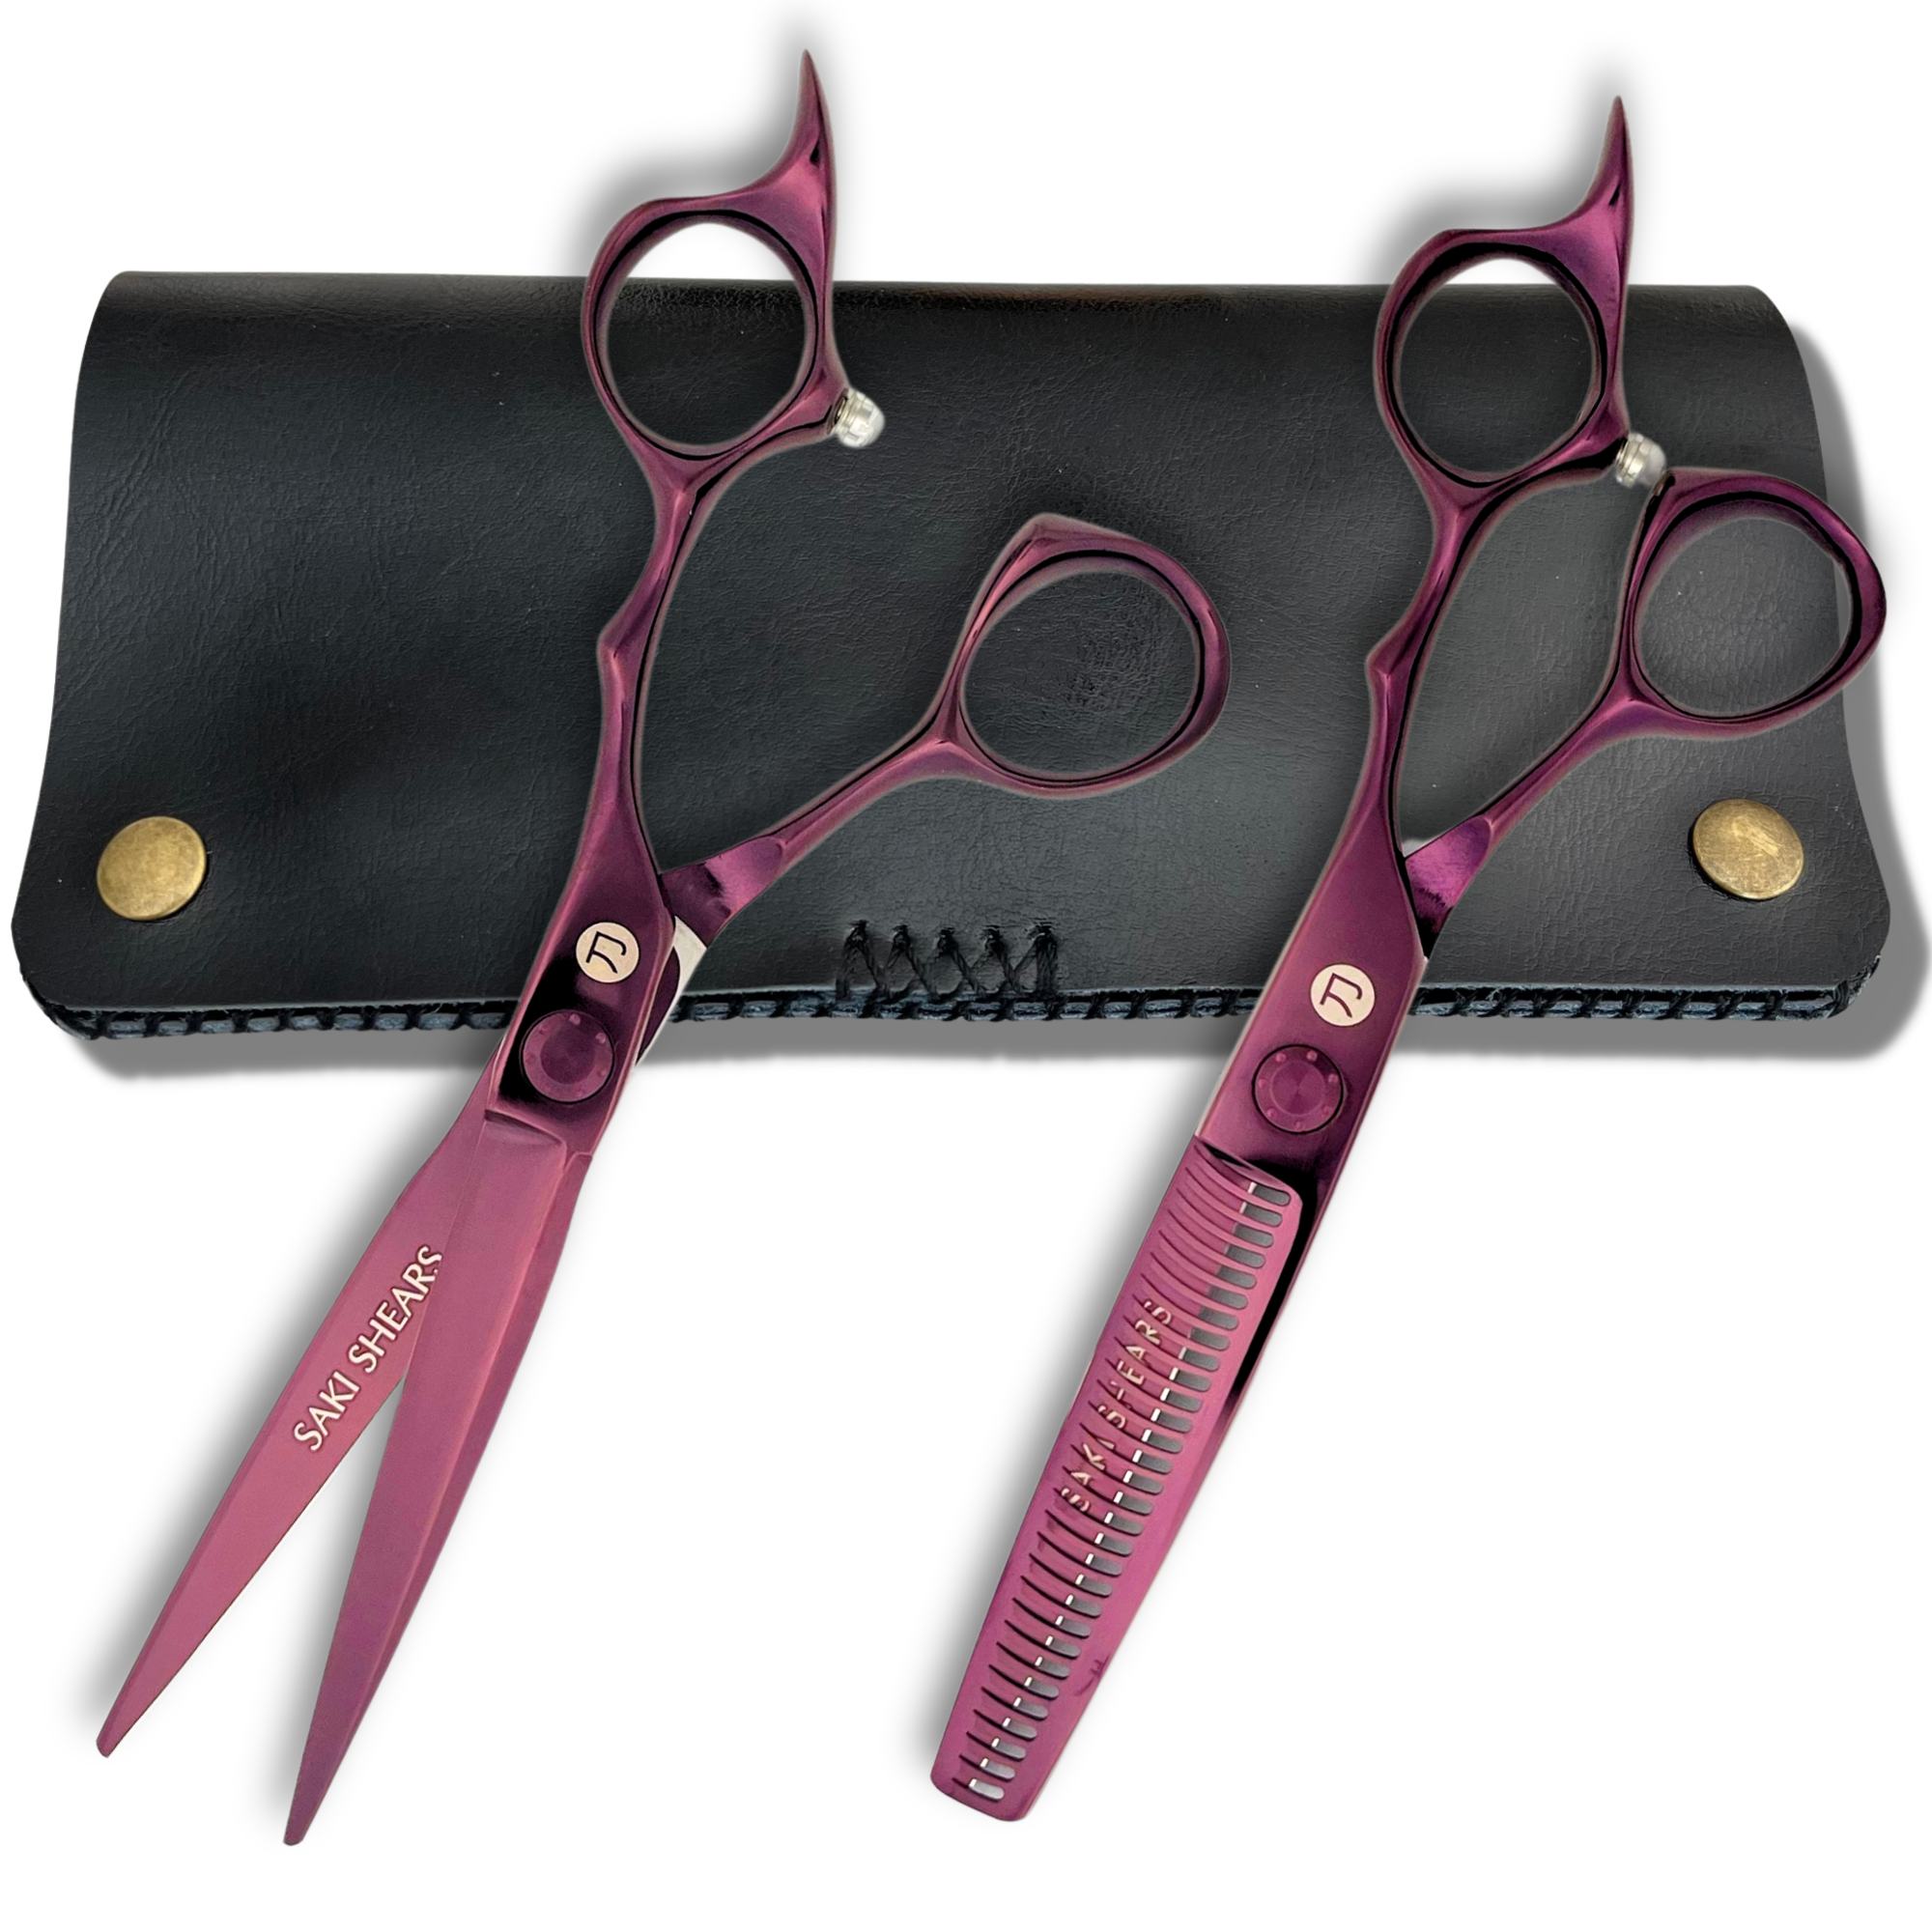
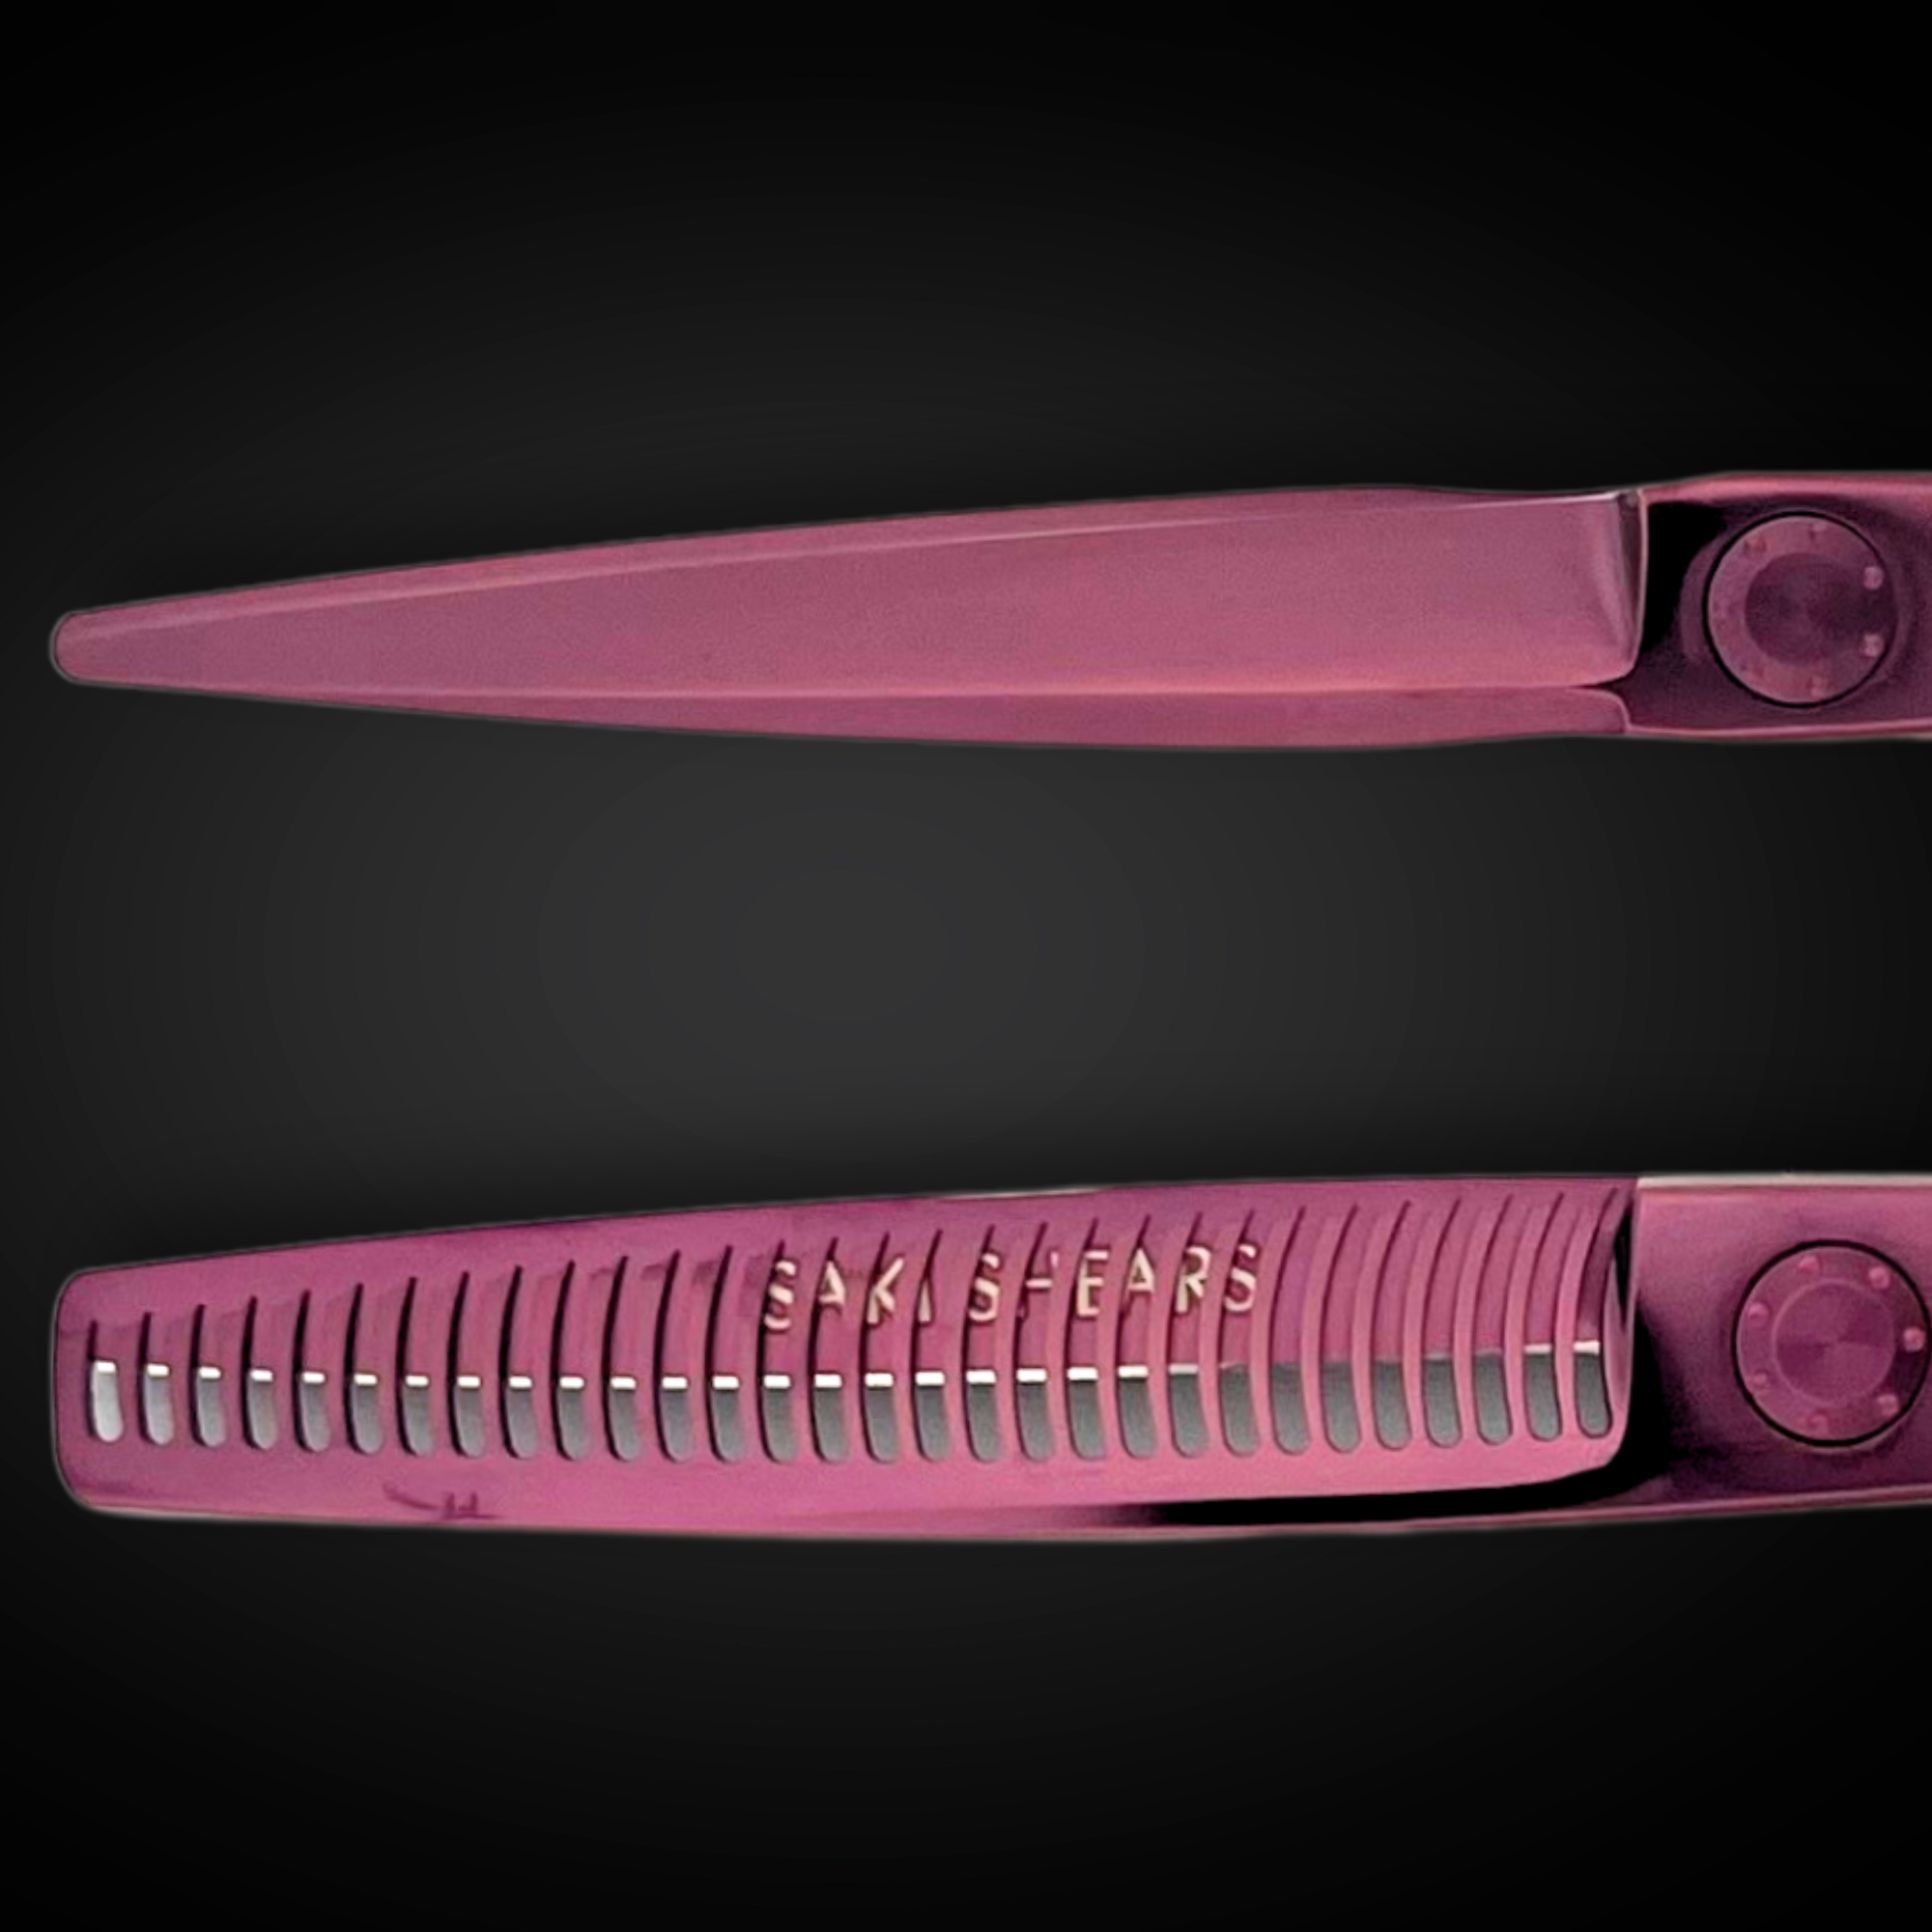
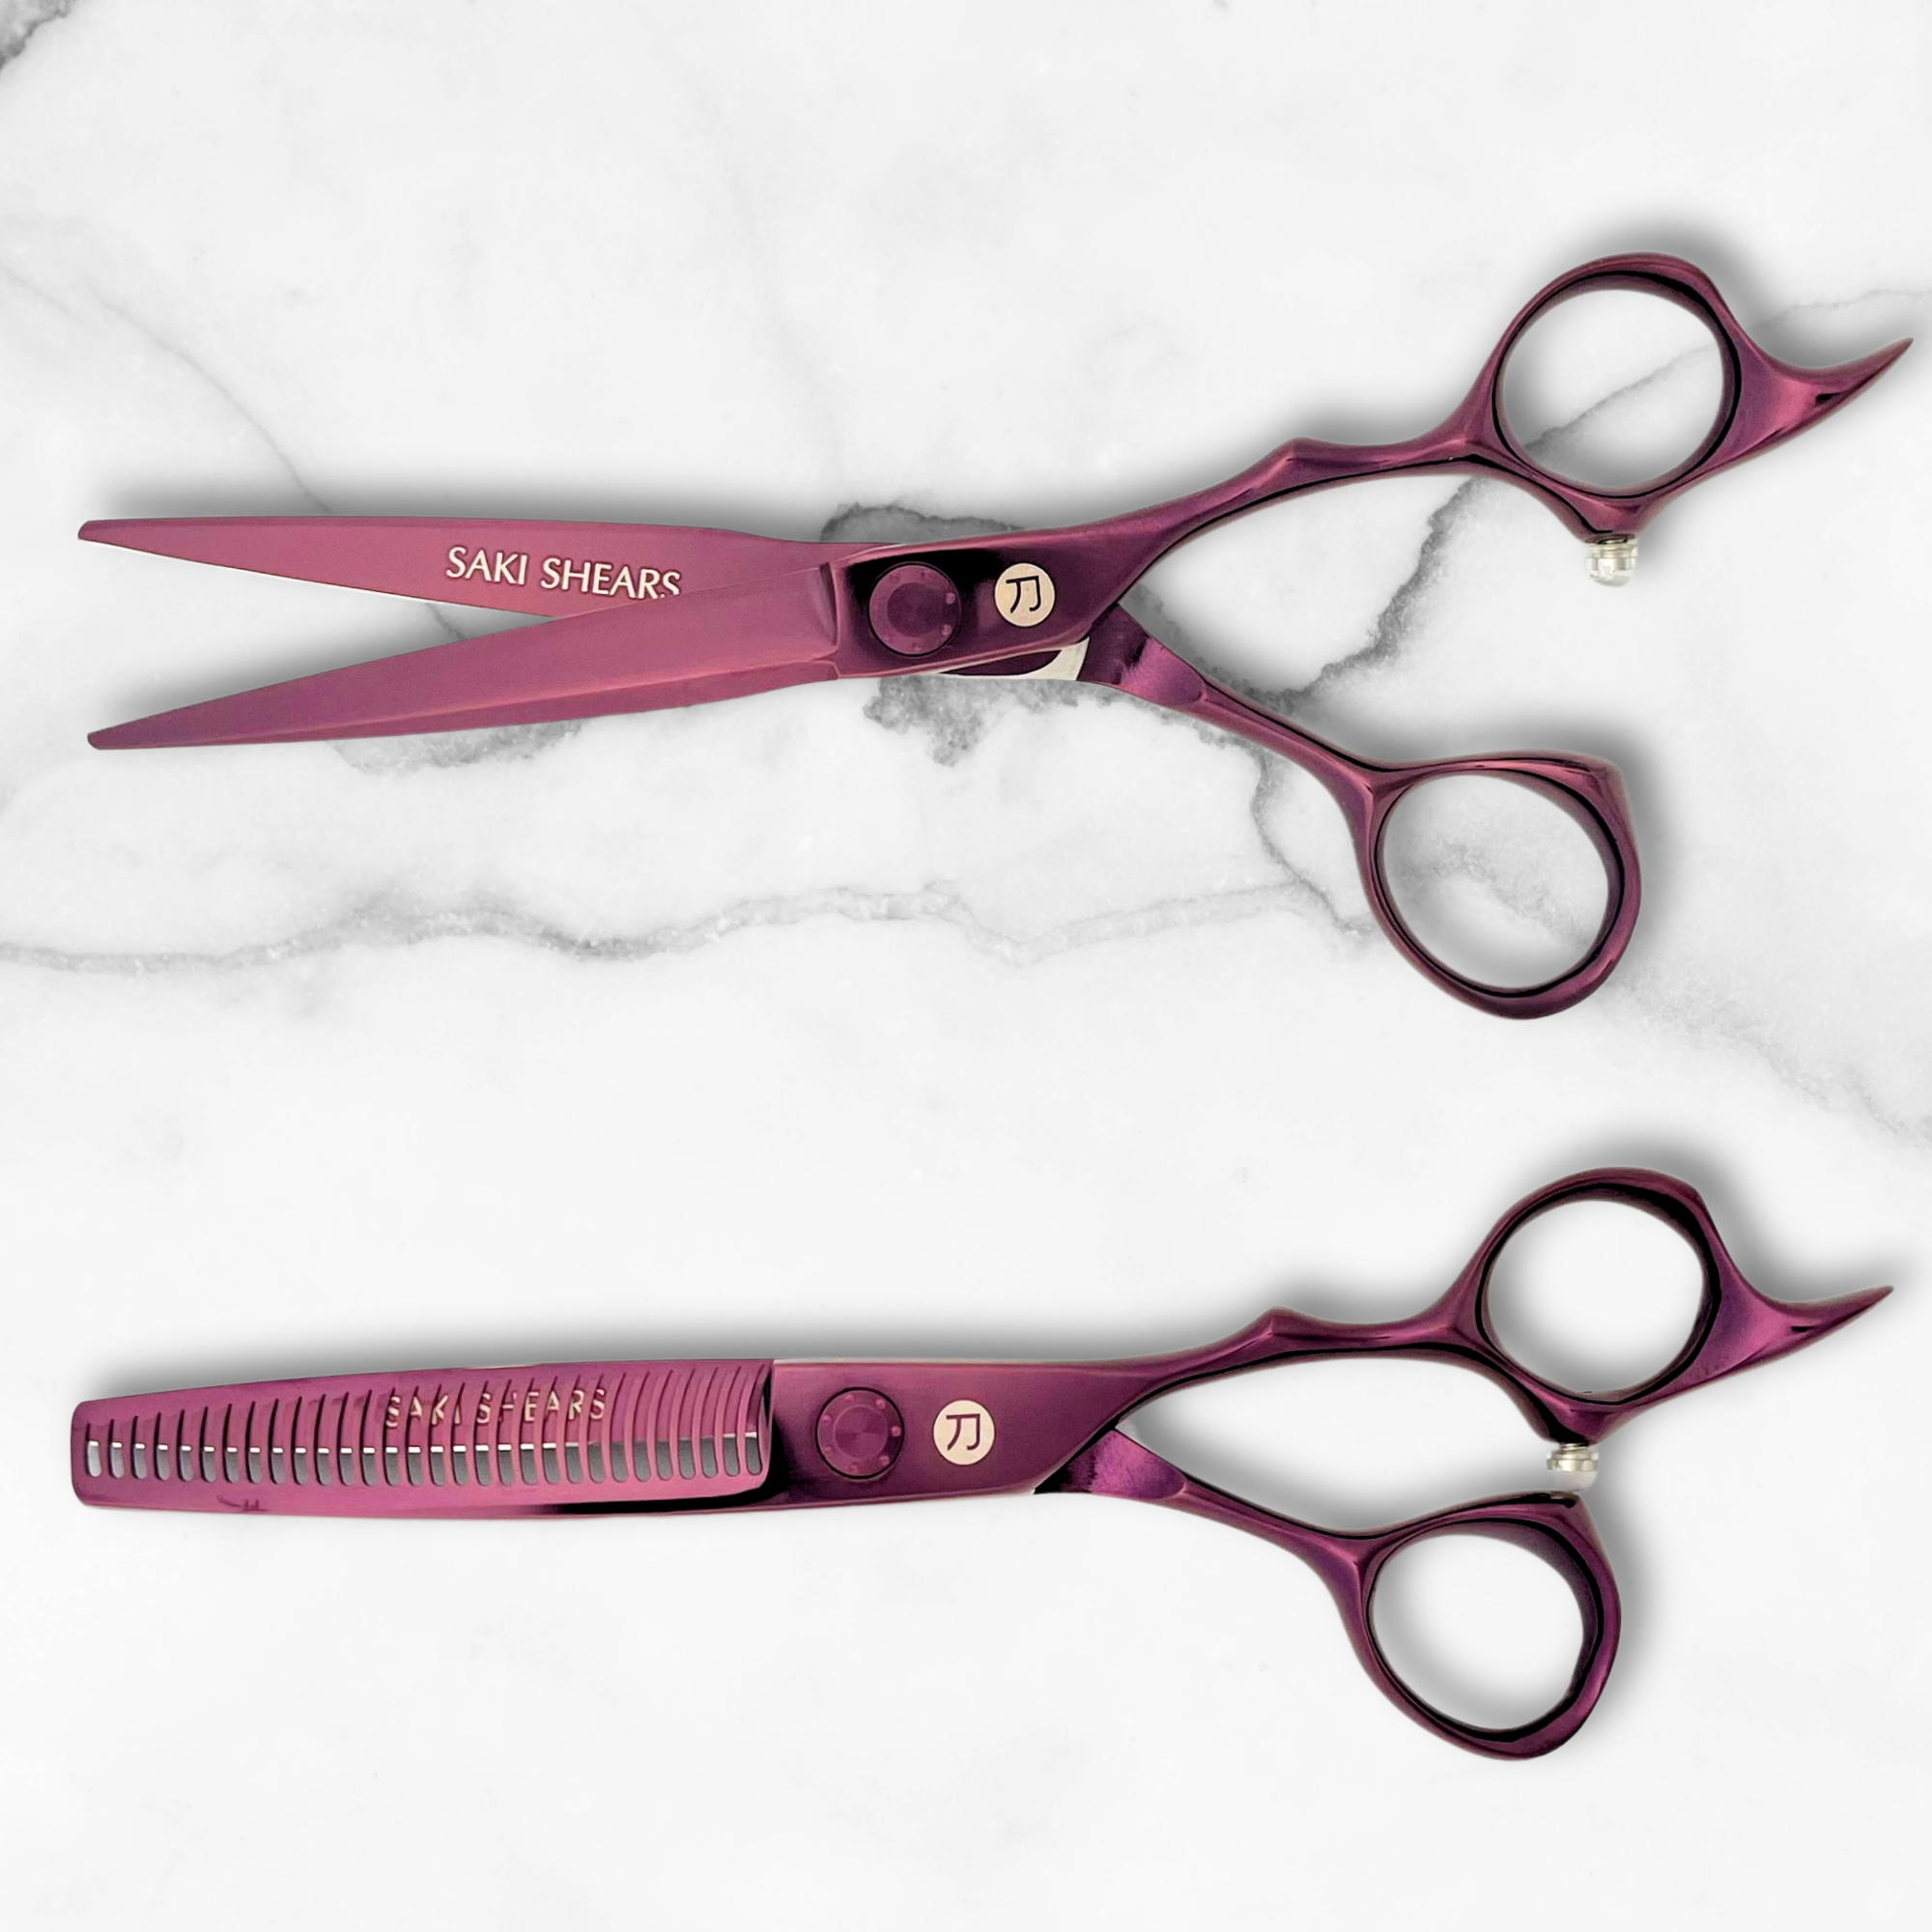
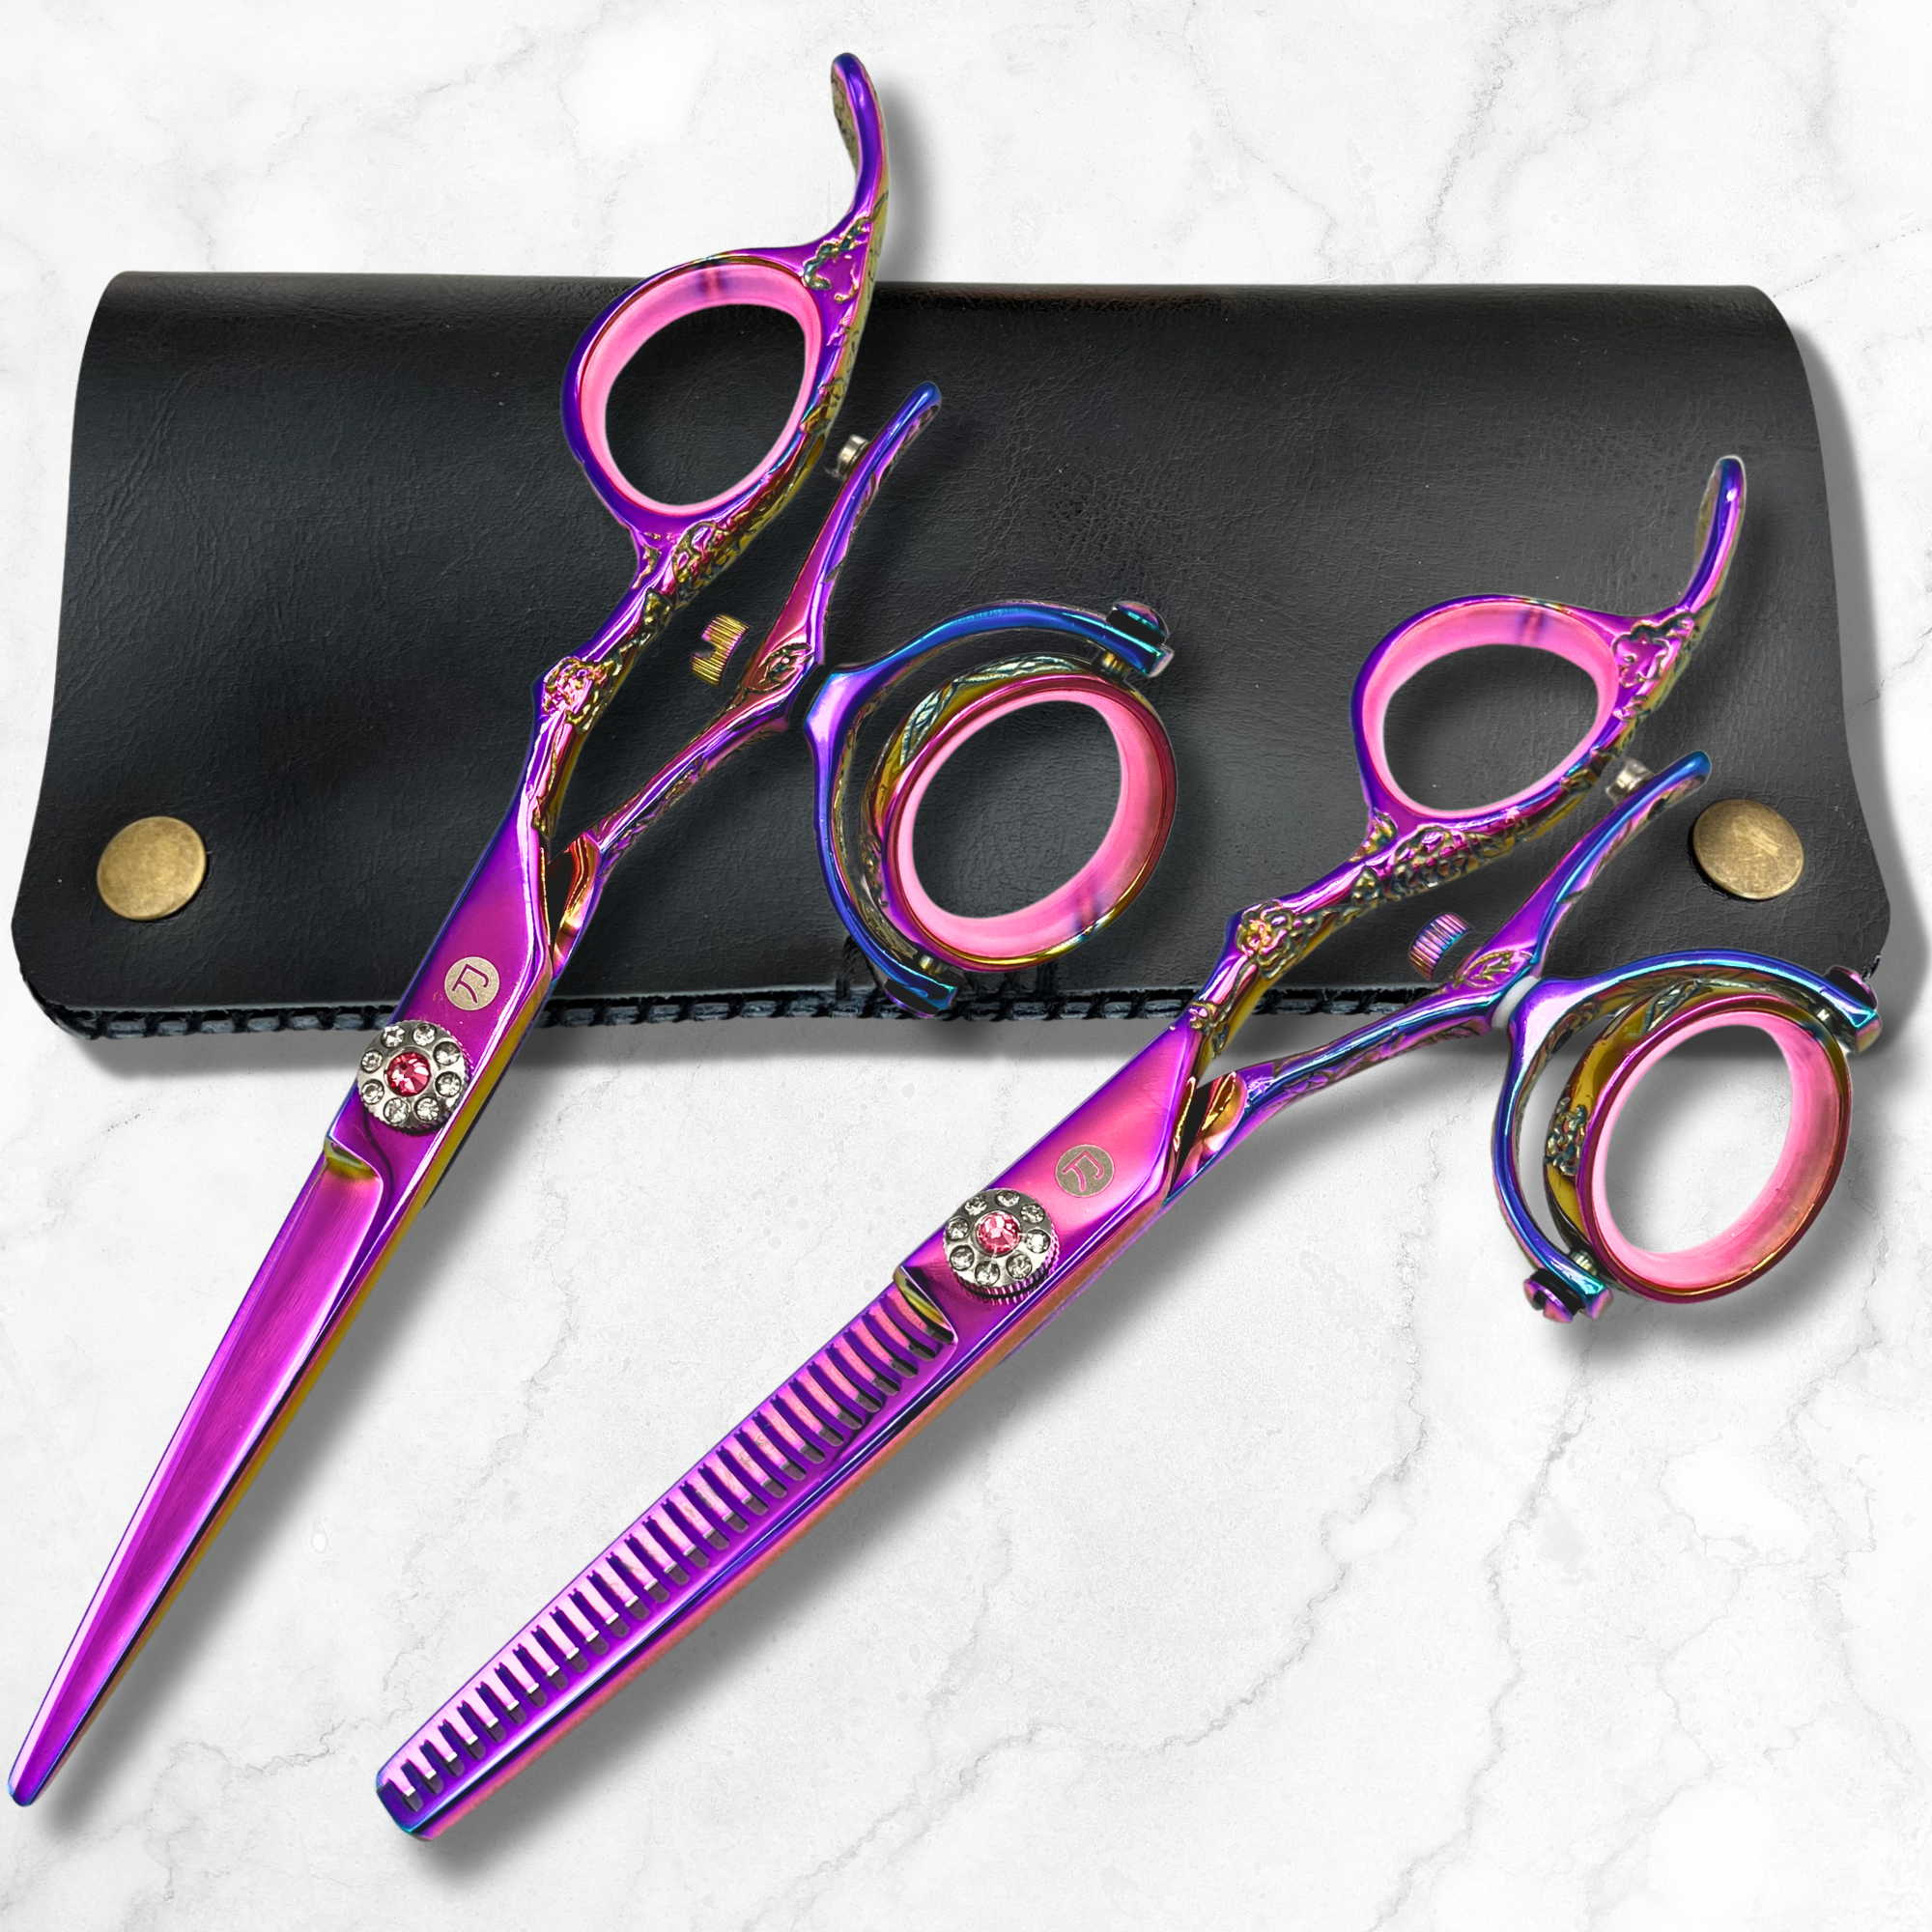
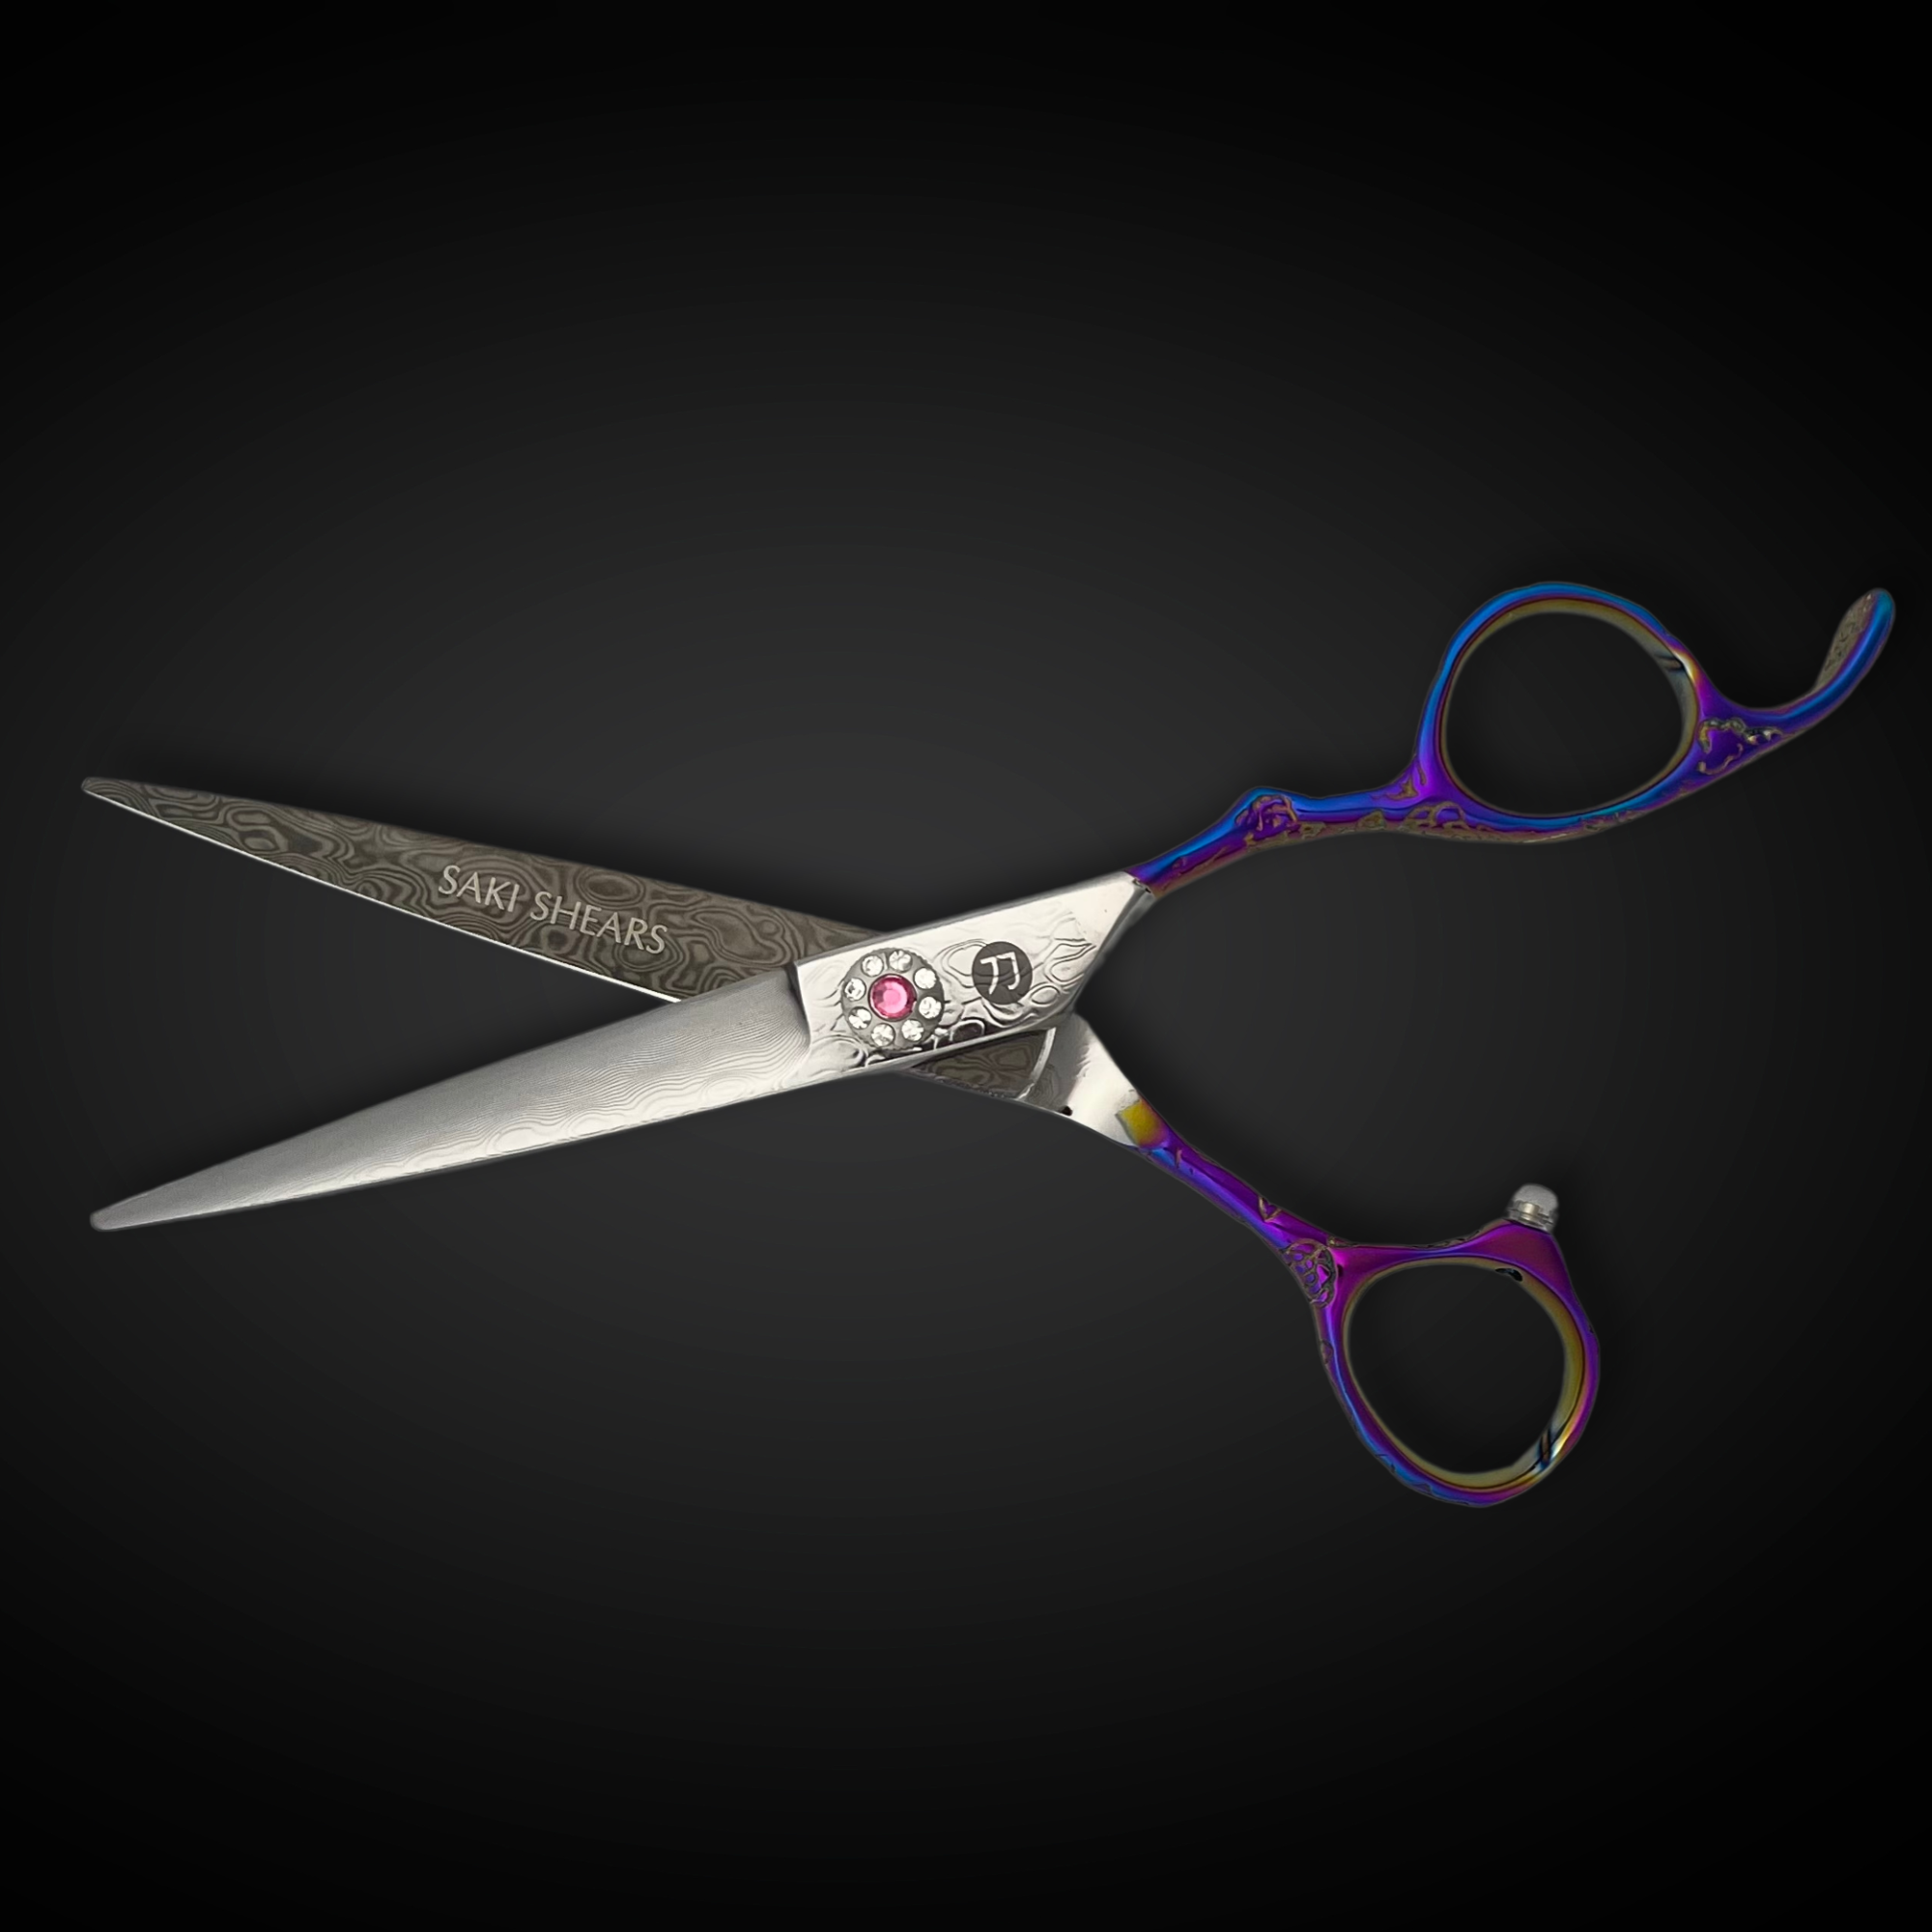
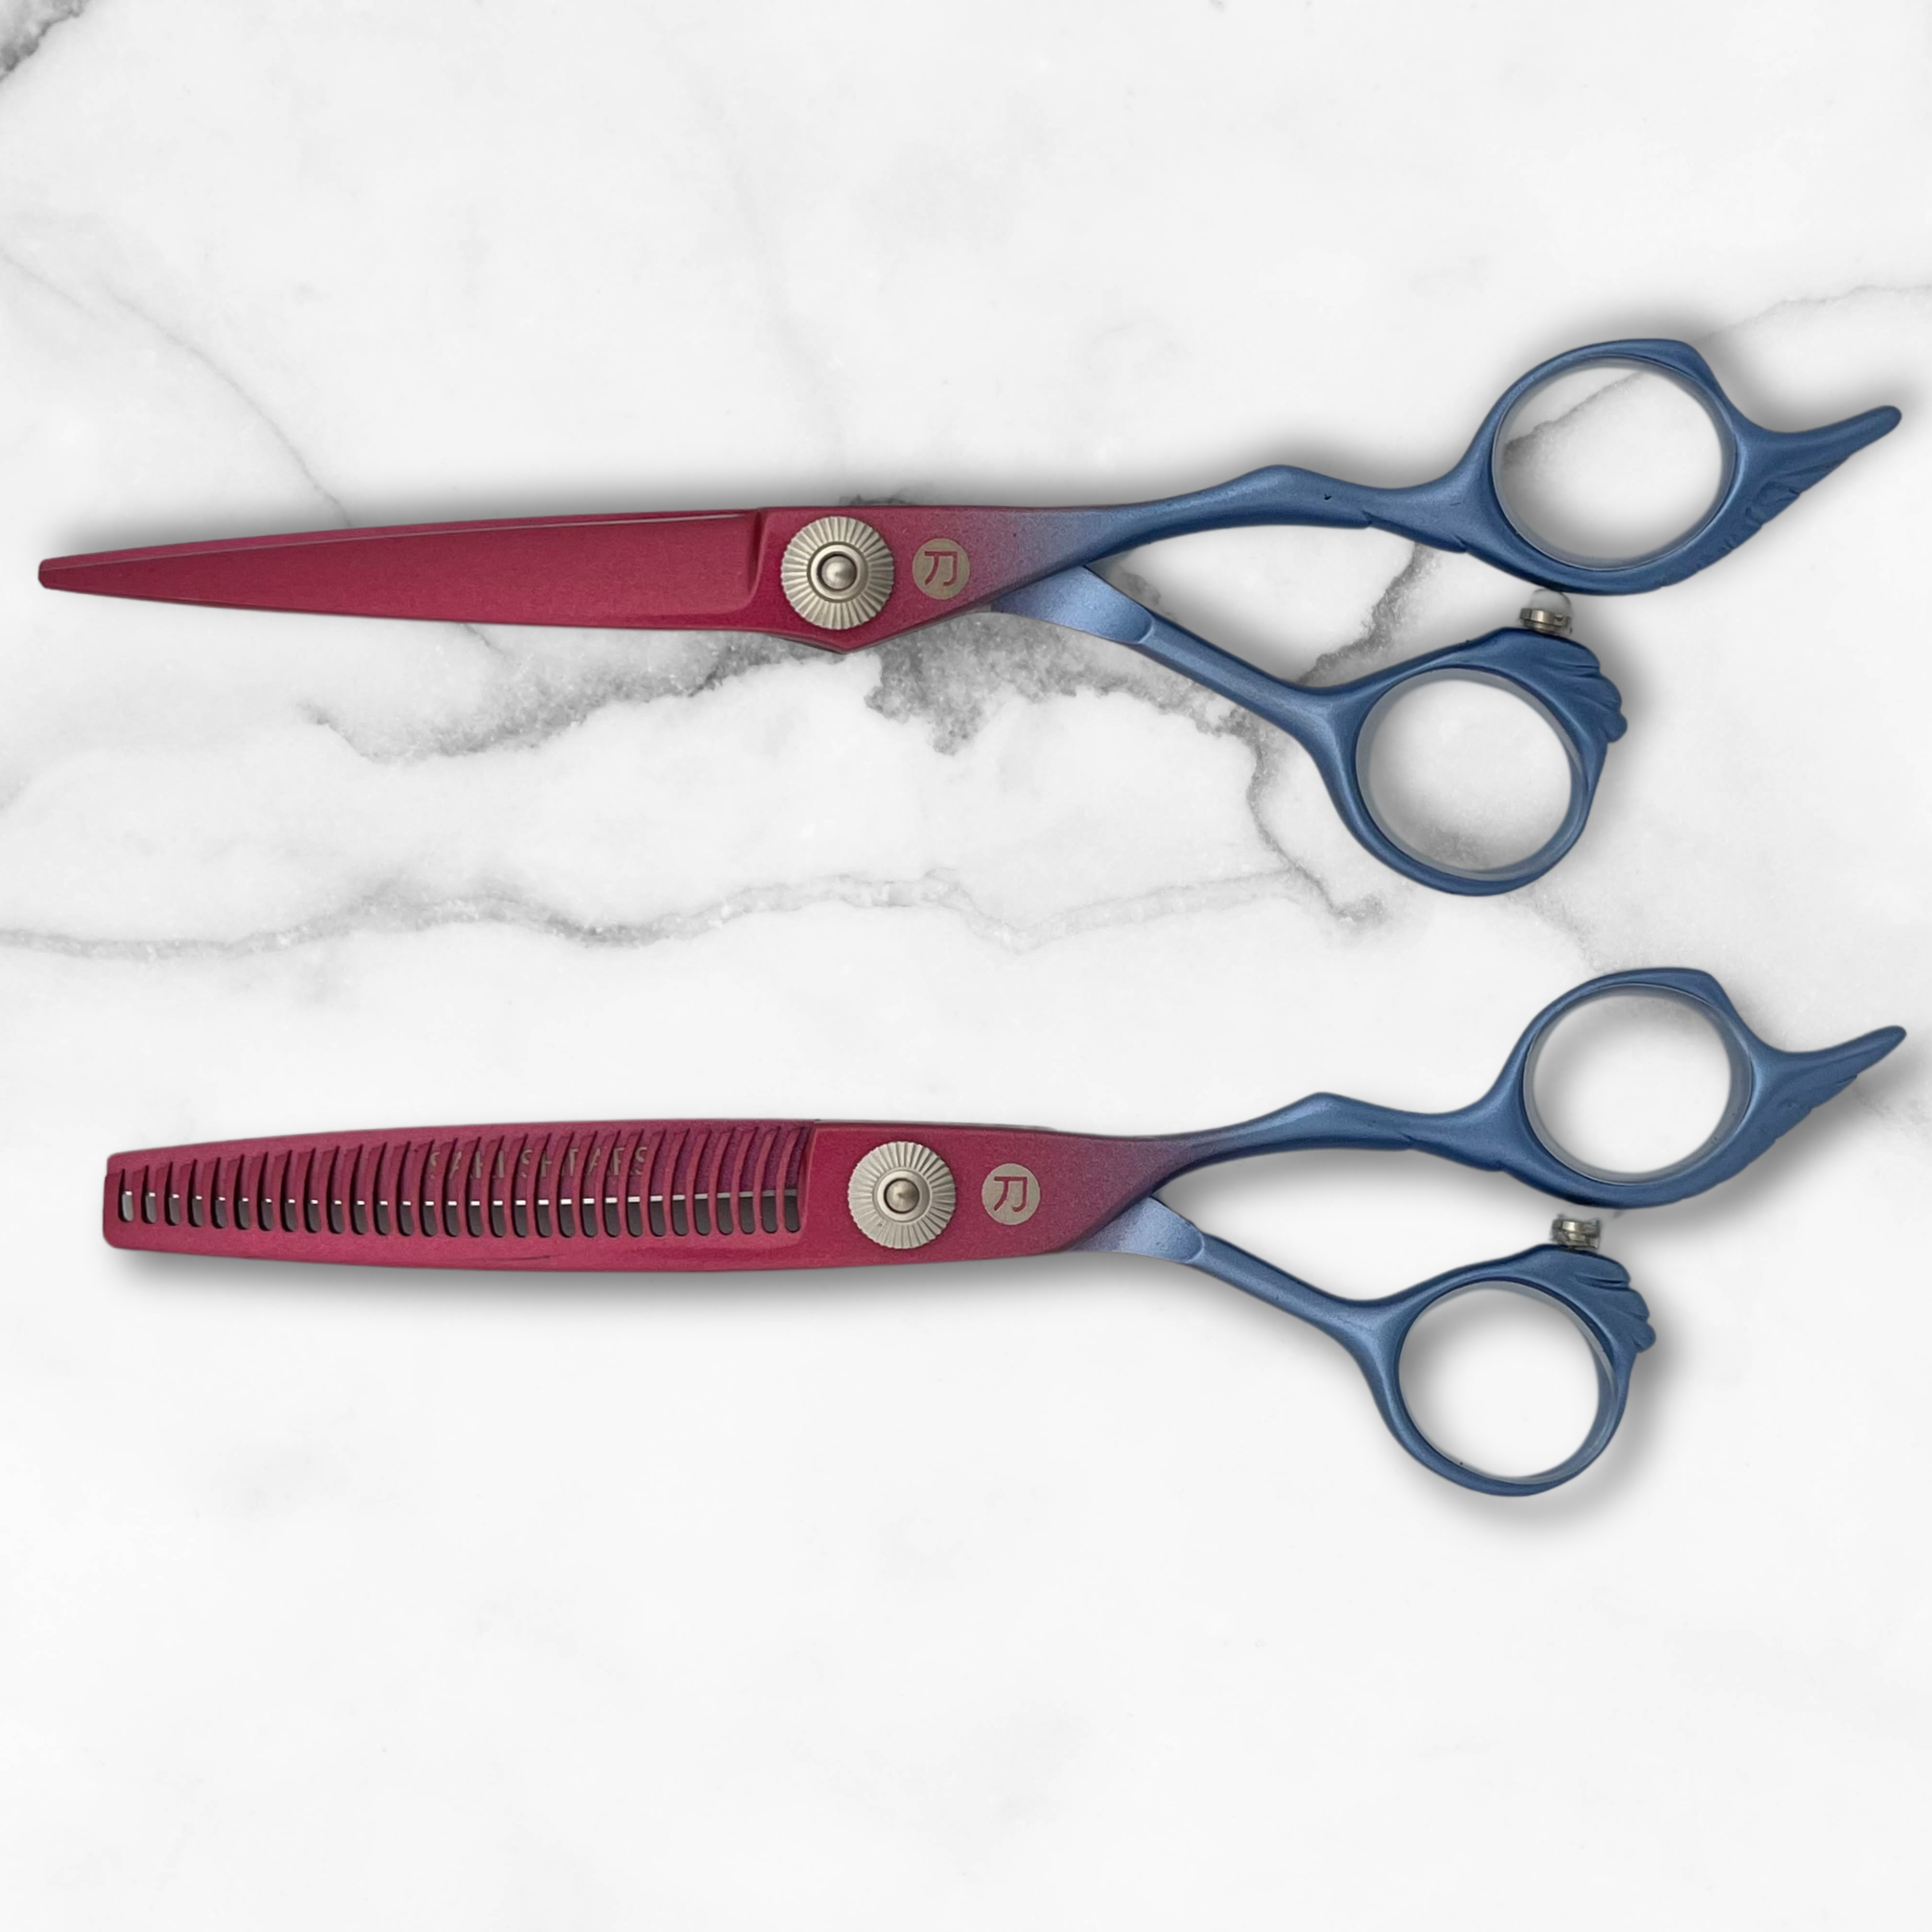
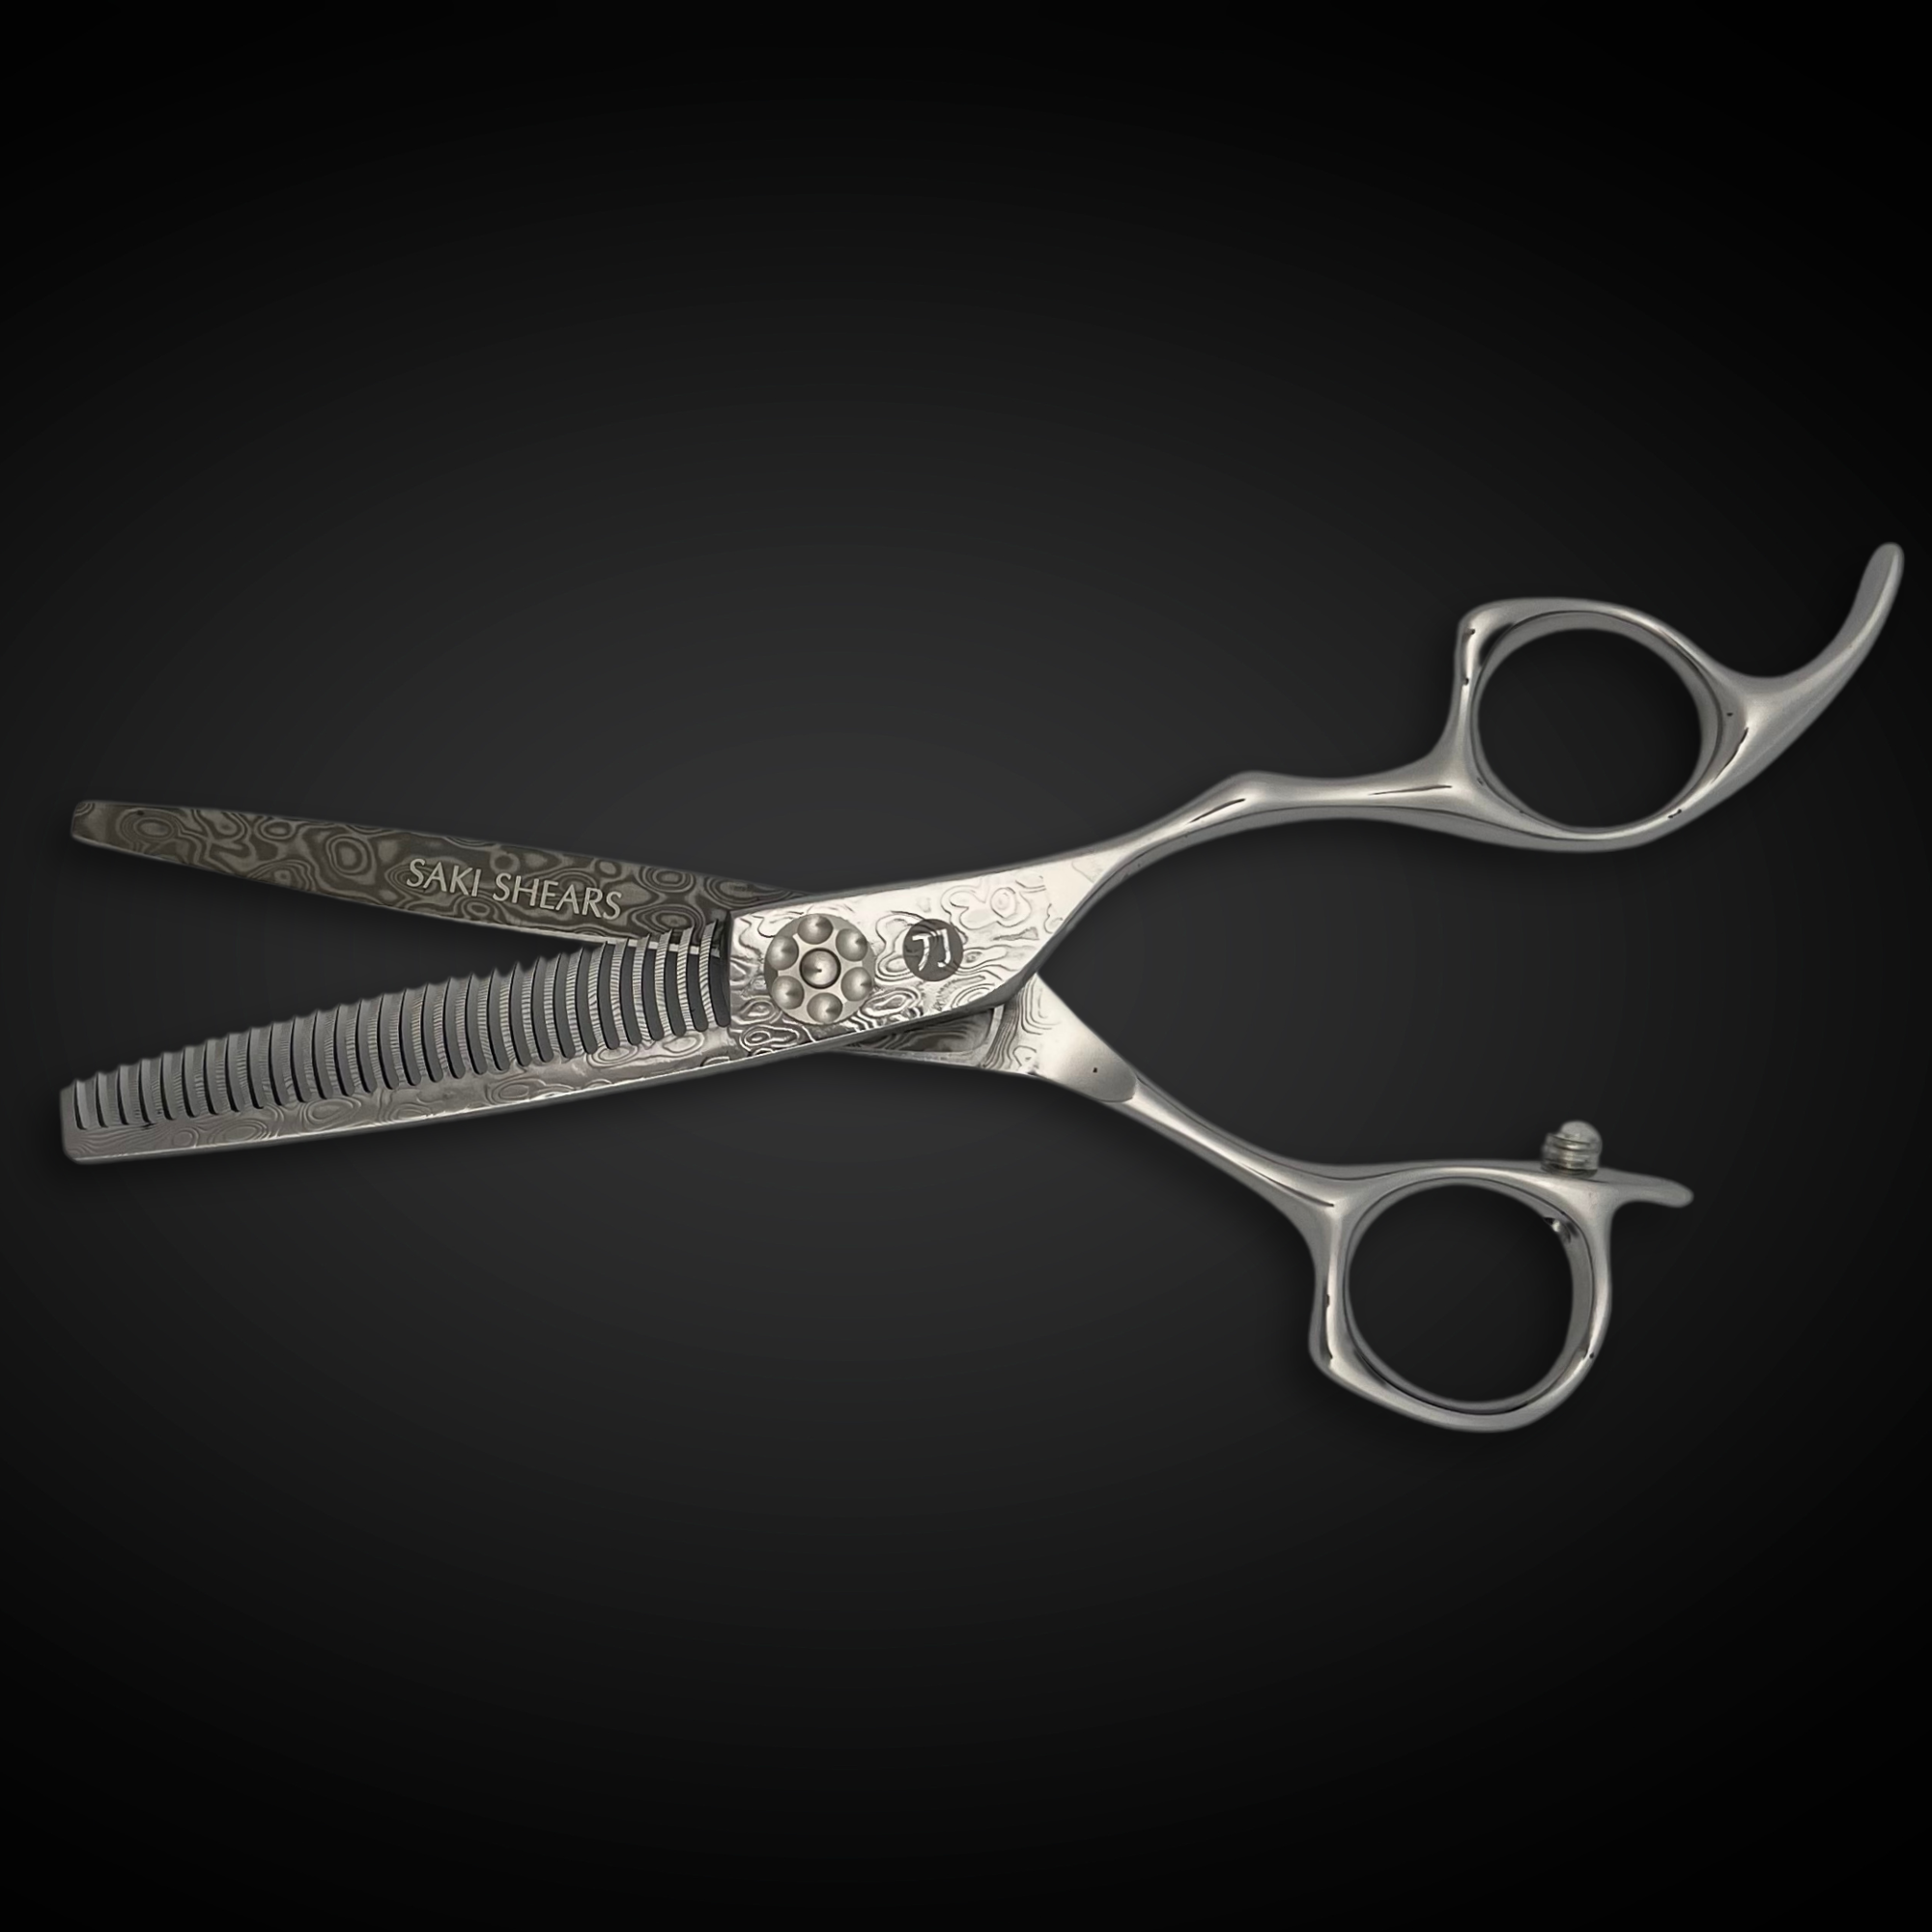
A well-maintained pair of shears makes a visible difference in this step — dull or poorly balanced shears drag hair and produce uneven lines, especially on fine or fast-growing hair. See our hair cutting shears collection for options suited to precision top work and texturizing.
Common mistakes to check for
- Skipping guard lengths instead of stepping down gradually, which leaves visible lines instead of a gradient.
- Cutting the transition zone with too much pressure or too large a section at once.
- Not checking the fade under different lighting or from the client's eye level.
- Rushing the neckline and sideburns, which are the first thing a client notices in the mirror.
A clean crew cut fade is a matter of patient guard progression and careful blending, not a single trick. Once the fundamentals of the transition zone are solid, the rest of the cut — top length, texture, and part — can be adjusted to the client's preference without compromising the fade itself.

Written by Charles Harris