How to Cut a One-Length (Blunt) Haircut: A Technique Guide
A one-length haircut — often called a blunt cut — is deceptively simple in concept and unforgiving in execution. Every strand falls to the same length with no internal layering, which means any inconsistency in sectioning, tension, or elevation shows up immediately as a visible unevenness in the perimeter. This guide covers the sectioning, cutting angle, and tension control needed to cut a clean, even one-length line, along with the mistakes that most often throw it off.
Assessing the head and setting the guide
Before sectioning, check the client's head shape and natural fall of the hair, wet and combed straight down with no product. A one-length cut relies on gravity and gives no layering to disguise irregularities, so any cowlicks, uneven density, or a head shape that isn't symmetrical needs to be noted before you cut. Decide the finished length and cut your first guideline at the center back or center front, depending on your preferred approach — this guideline is the reference point every other section will be cut to match.
Sectioning for a one-length cut
Divide the hair into four to six sections depending on density: typically a center part from forehead to nape, and a horizontal part from ear to ear, giving you two back sections and two front/side sections. Clip away everything except the section you are cutting, and always work from the guide outward so each new section can be checked directly against the previous one rather than against your memory of the length.
- Cut the initial guideline at the nape or center back, holding the hair with zero elevation (straight down, no lift) and cutting straight across, following the shape you want the perimeter to take — straight, or with a slight curve to follow the head's natural curvature.
- Move to the sections on either side, pulling small subsections back to the guideline and cutting them to match it exactly. Do not add elevation here — any lift introduces graduation, which is the opposite of what a one-length cut should have.
- Continue around the head, always cross-checking each new subsection against the previously cut section, not just the original guide, so small errors don't compound as you move around.
- Finish at the front, checking that both sides are even by pulling matching subsections from each side together at the center to compare length directly.
Tension and angle: where most unevenness comes from
The two variables that make or break a one-length cut are tension and elevation, and both need to stay constant throughout the cut. Pull each subsection with the same amount of tension — too much tension on one section and too little on the next will cause the hair to spring back to different lengths once released, even if you cut them at the same point. Keep your fingers and shears at zero elevation relative to the head unless you are intentionally building in a slight graduation; even a few degrees of unintentional lift on some sections and not others is the most common cause of a choppy, uneven line.
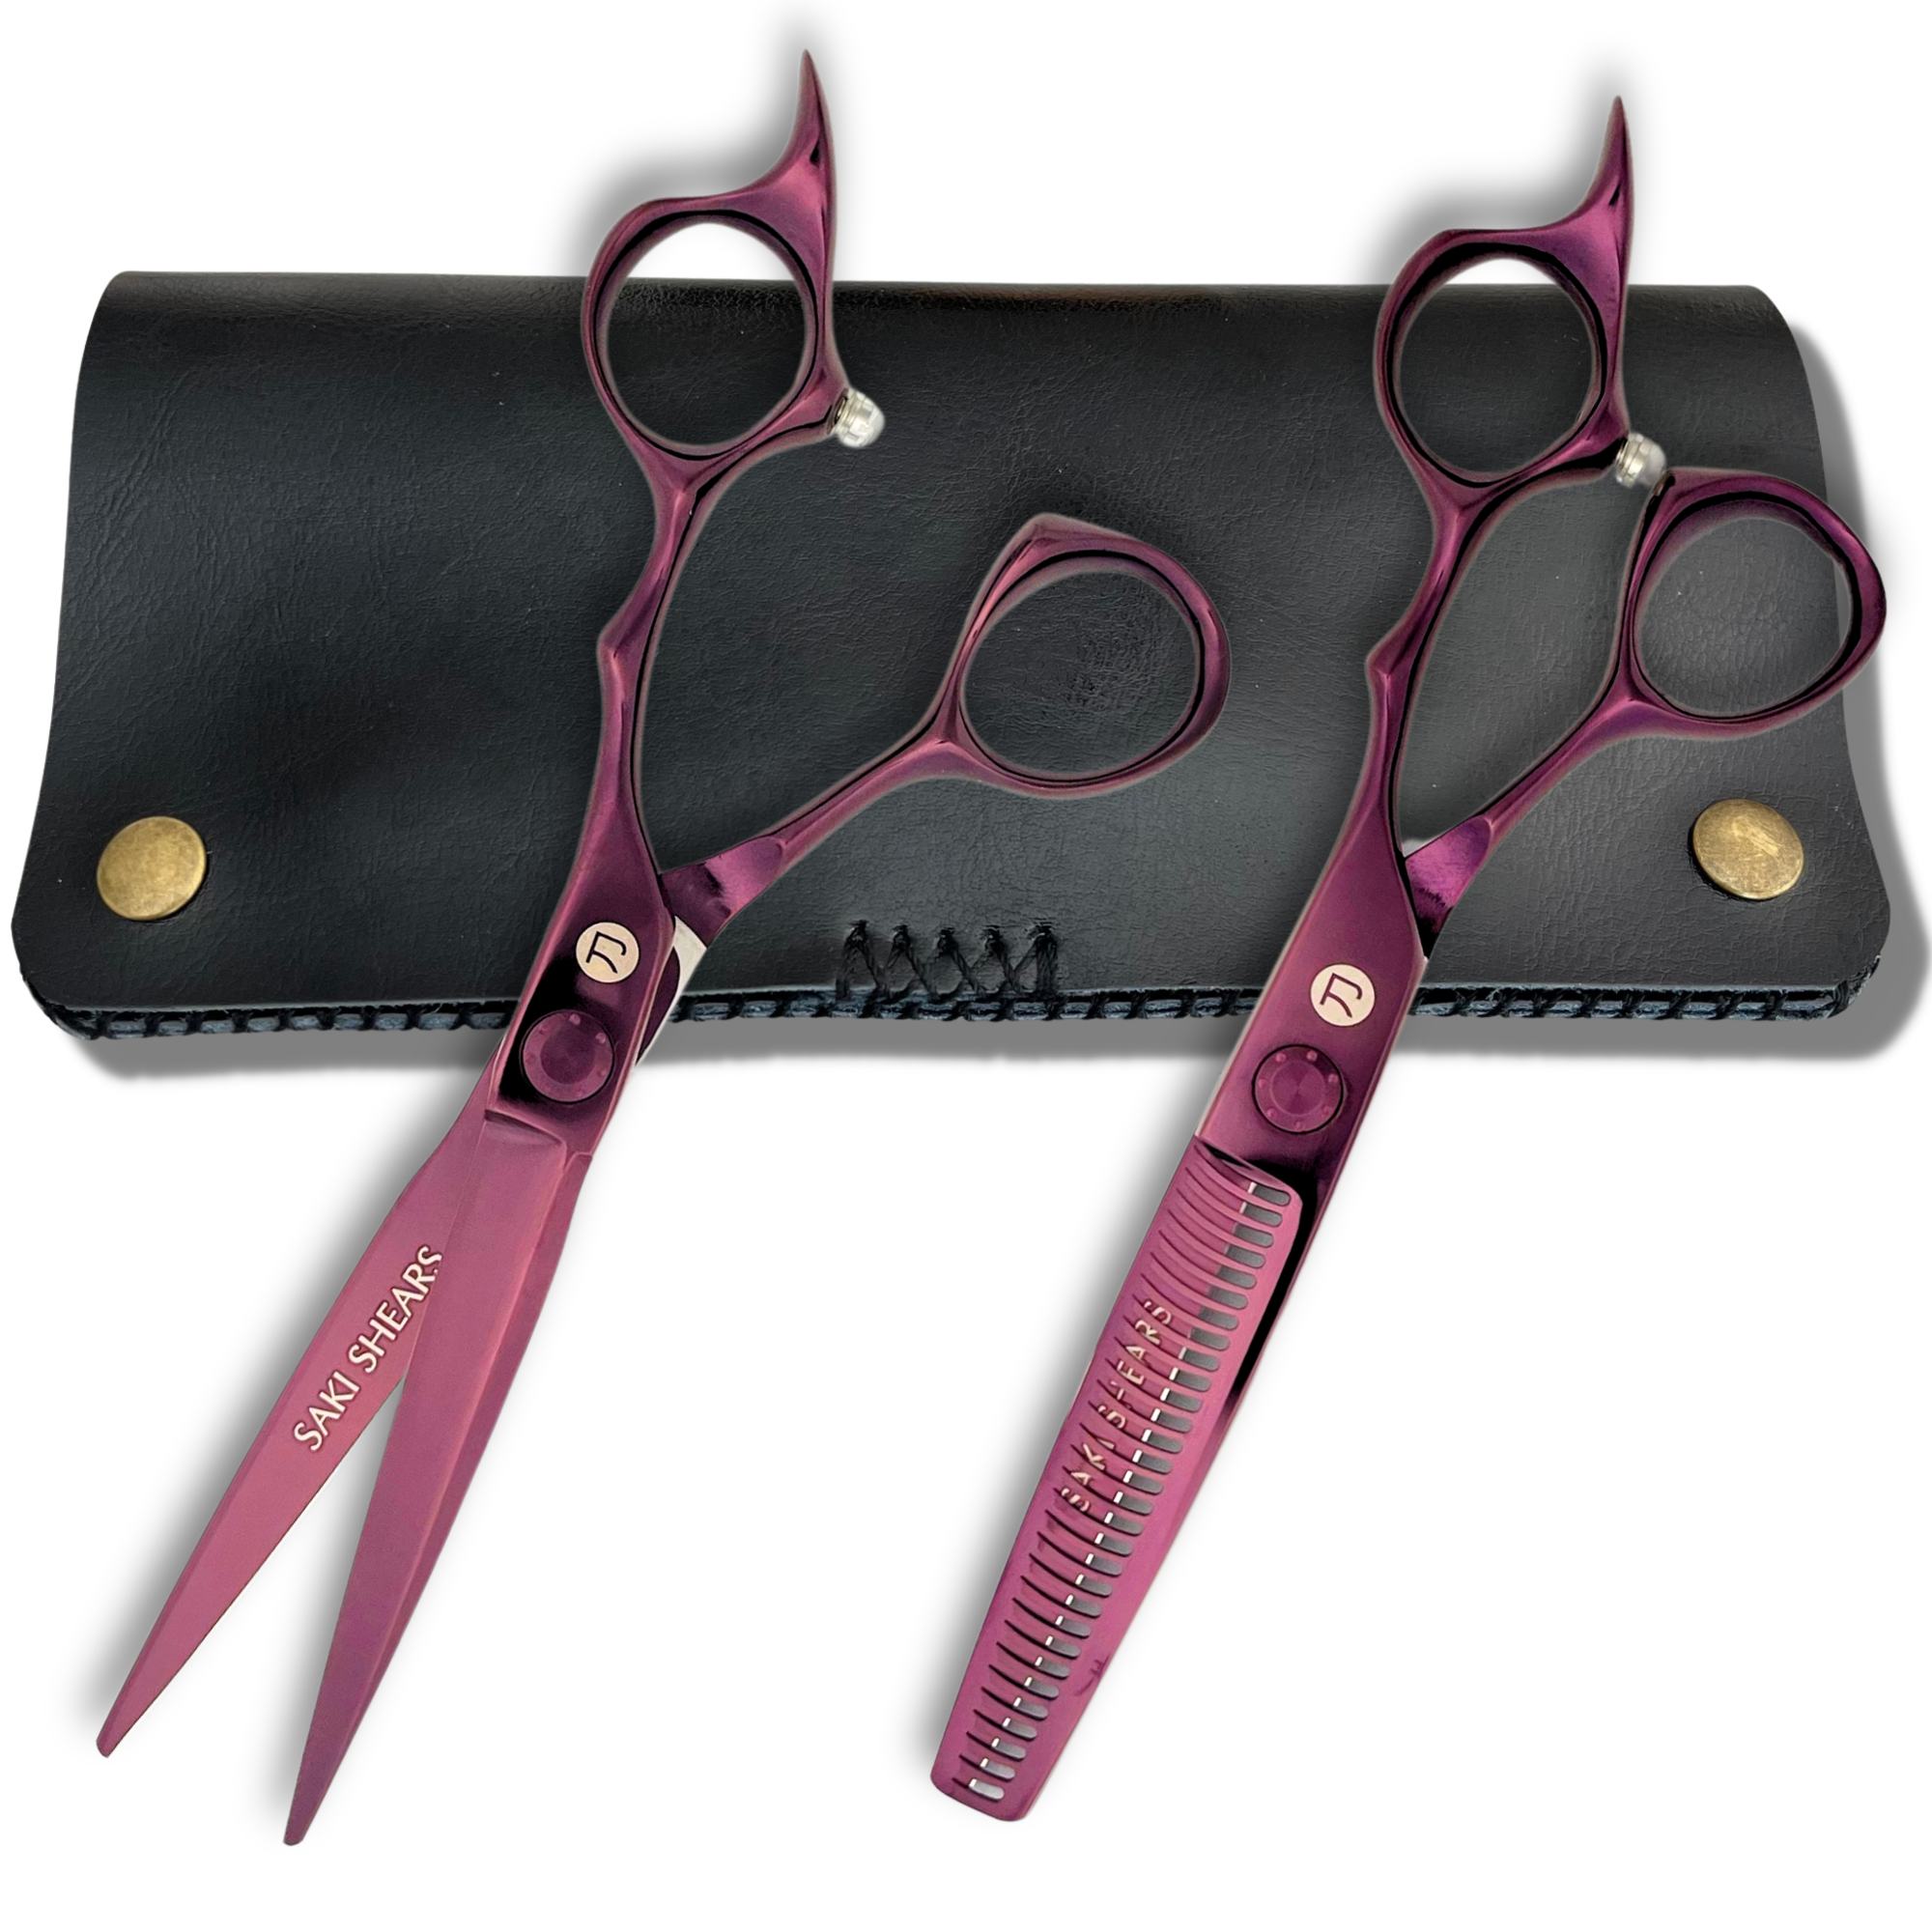
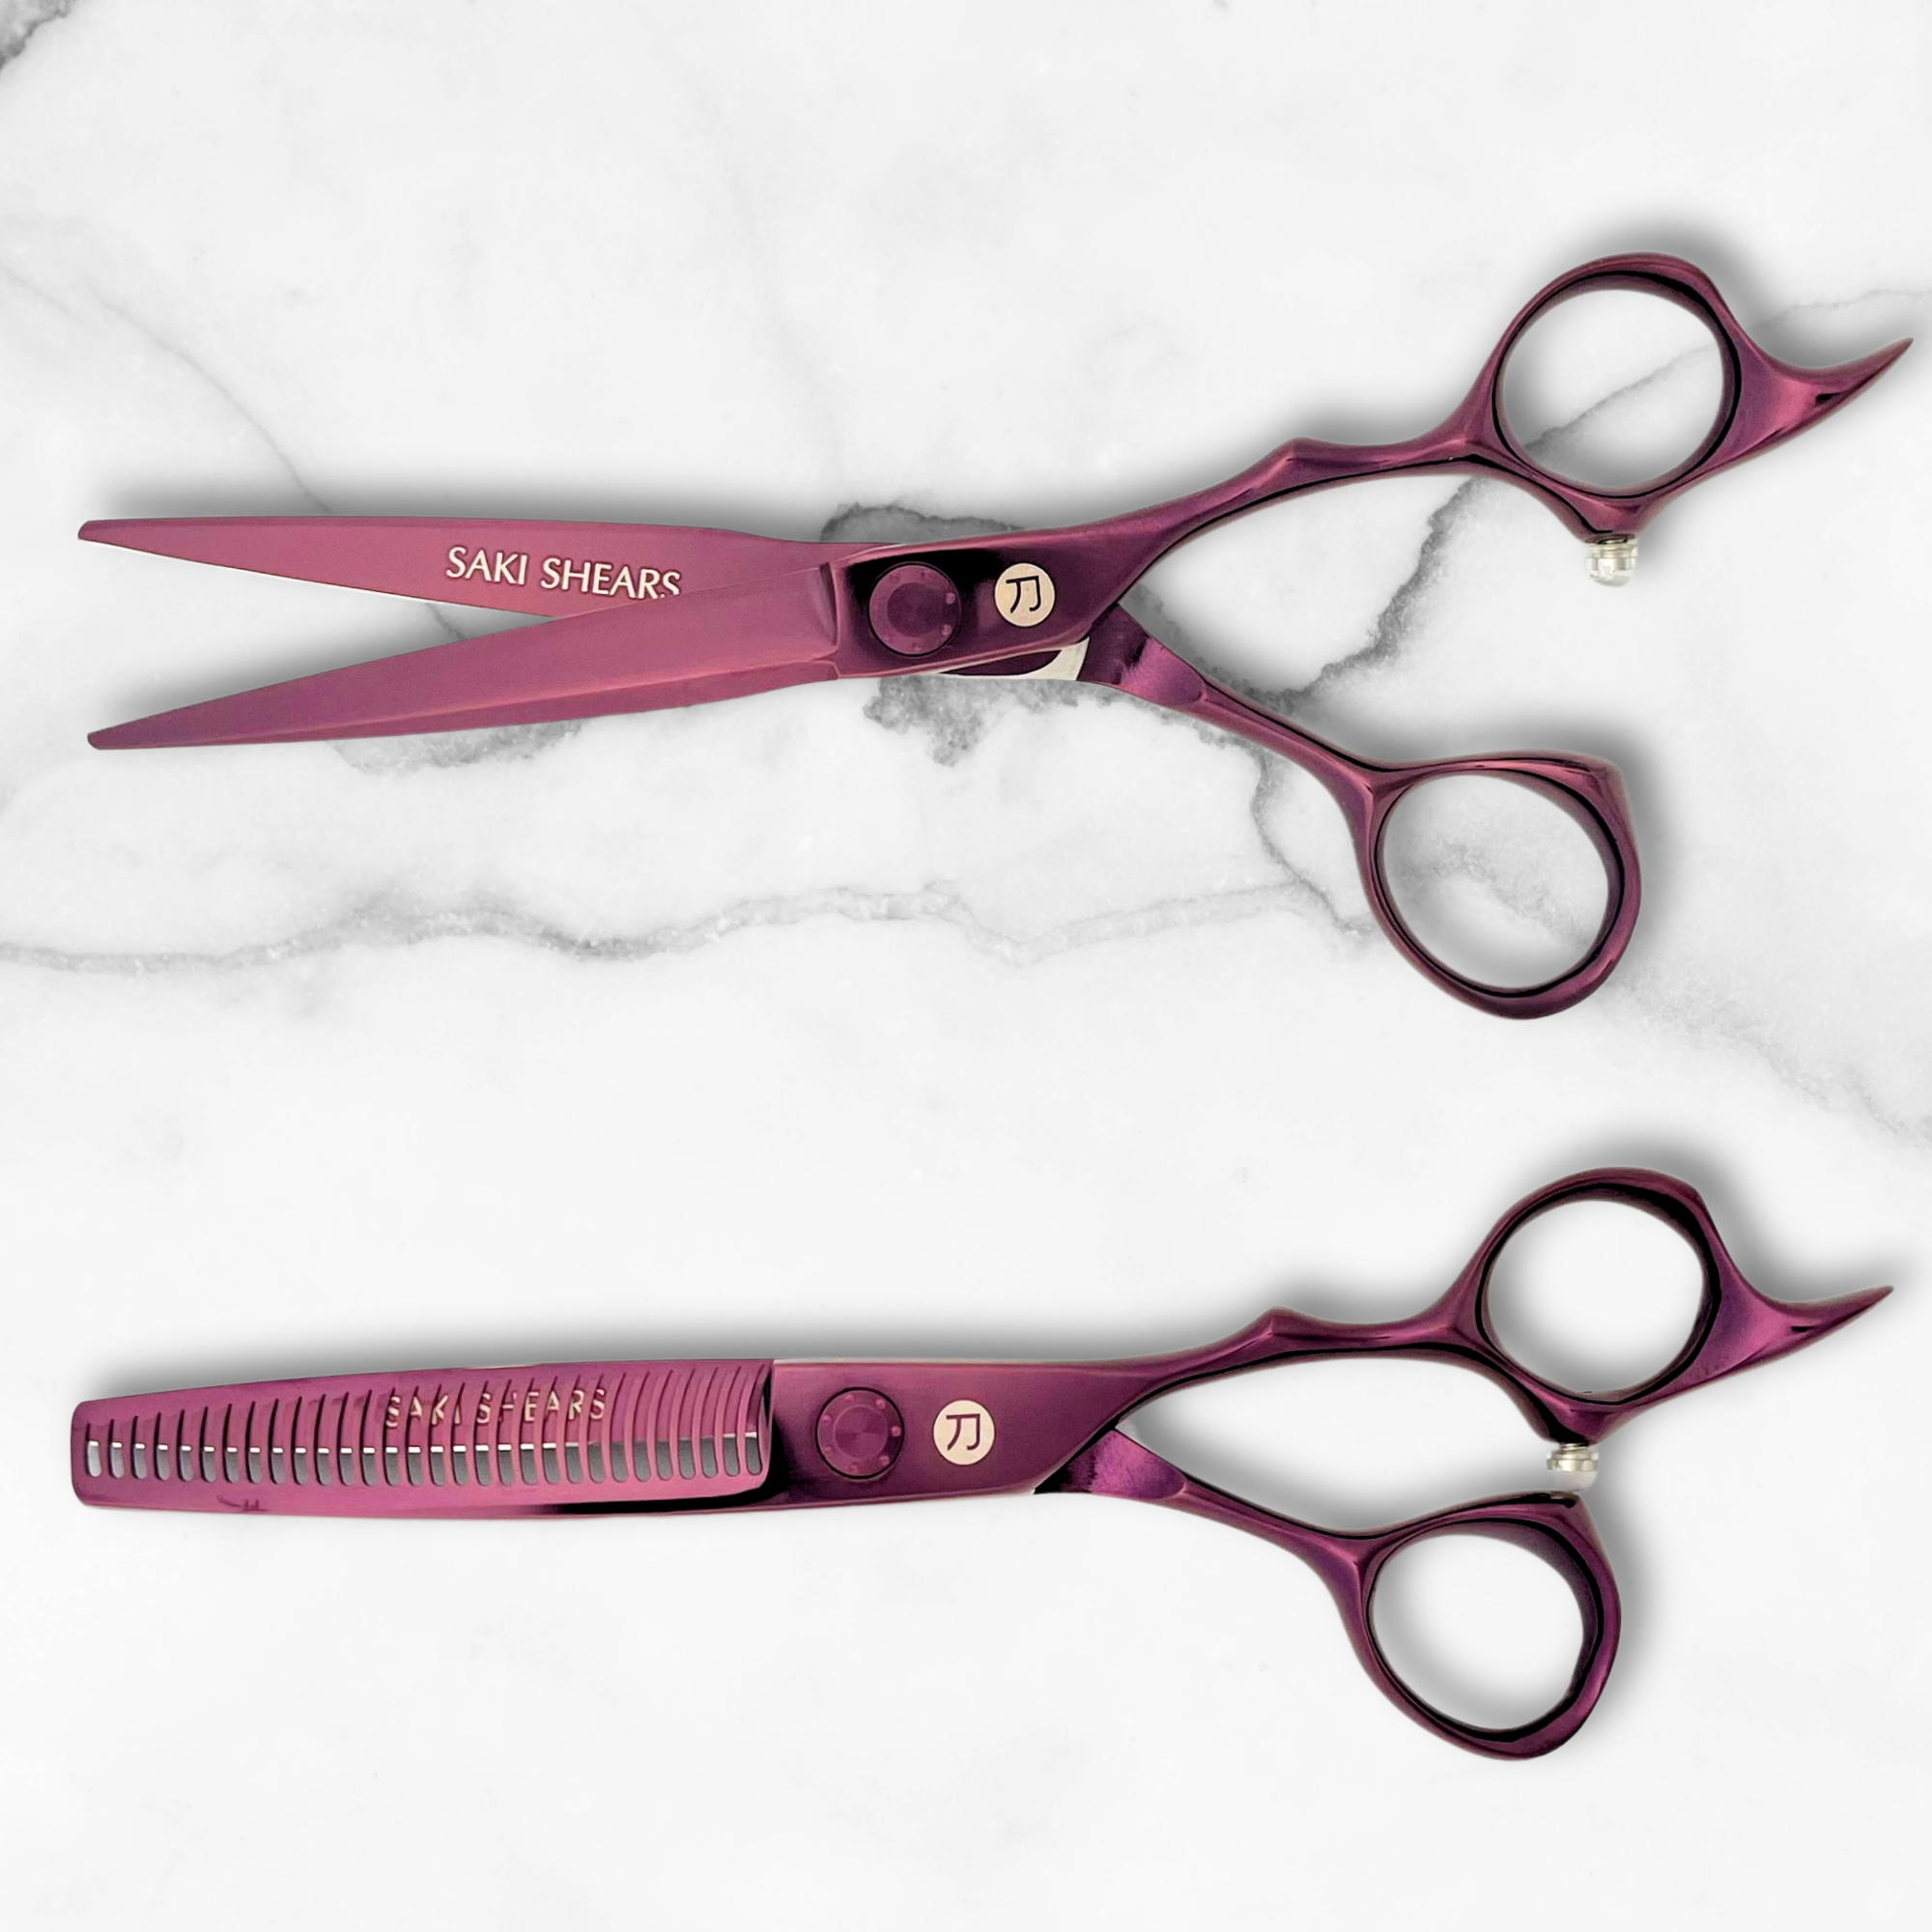
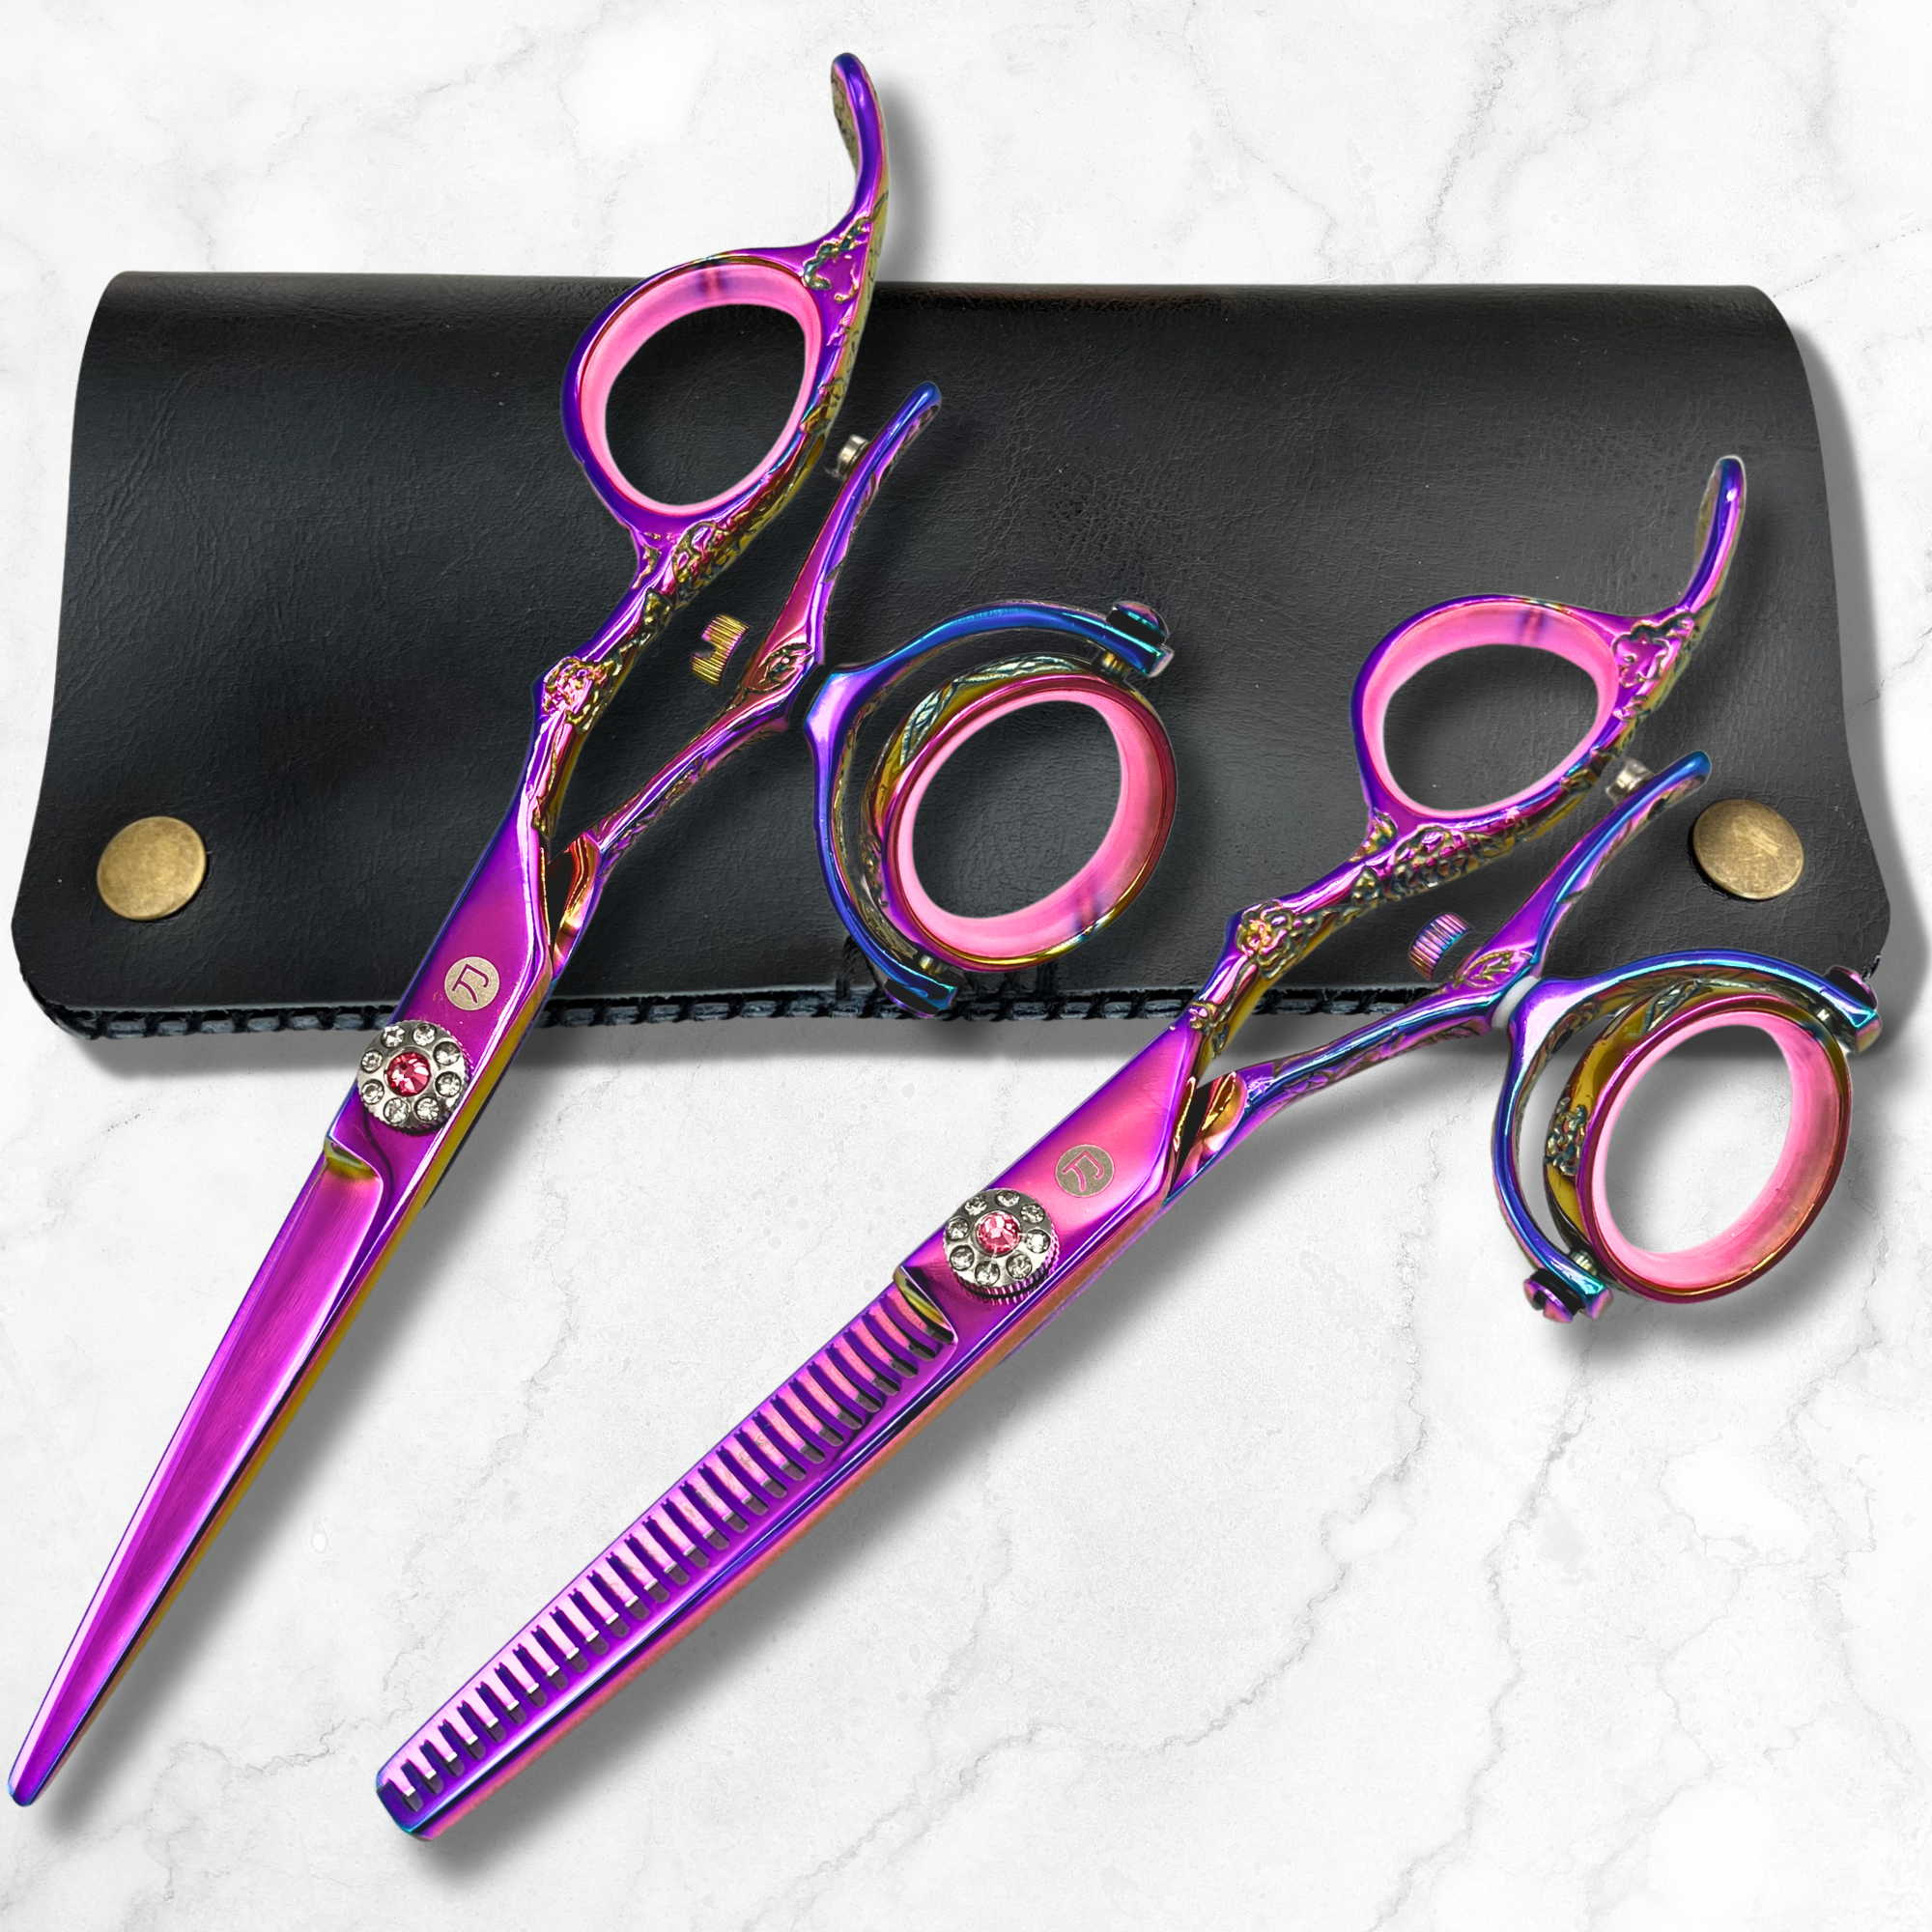
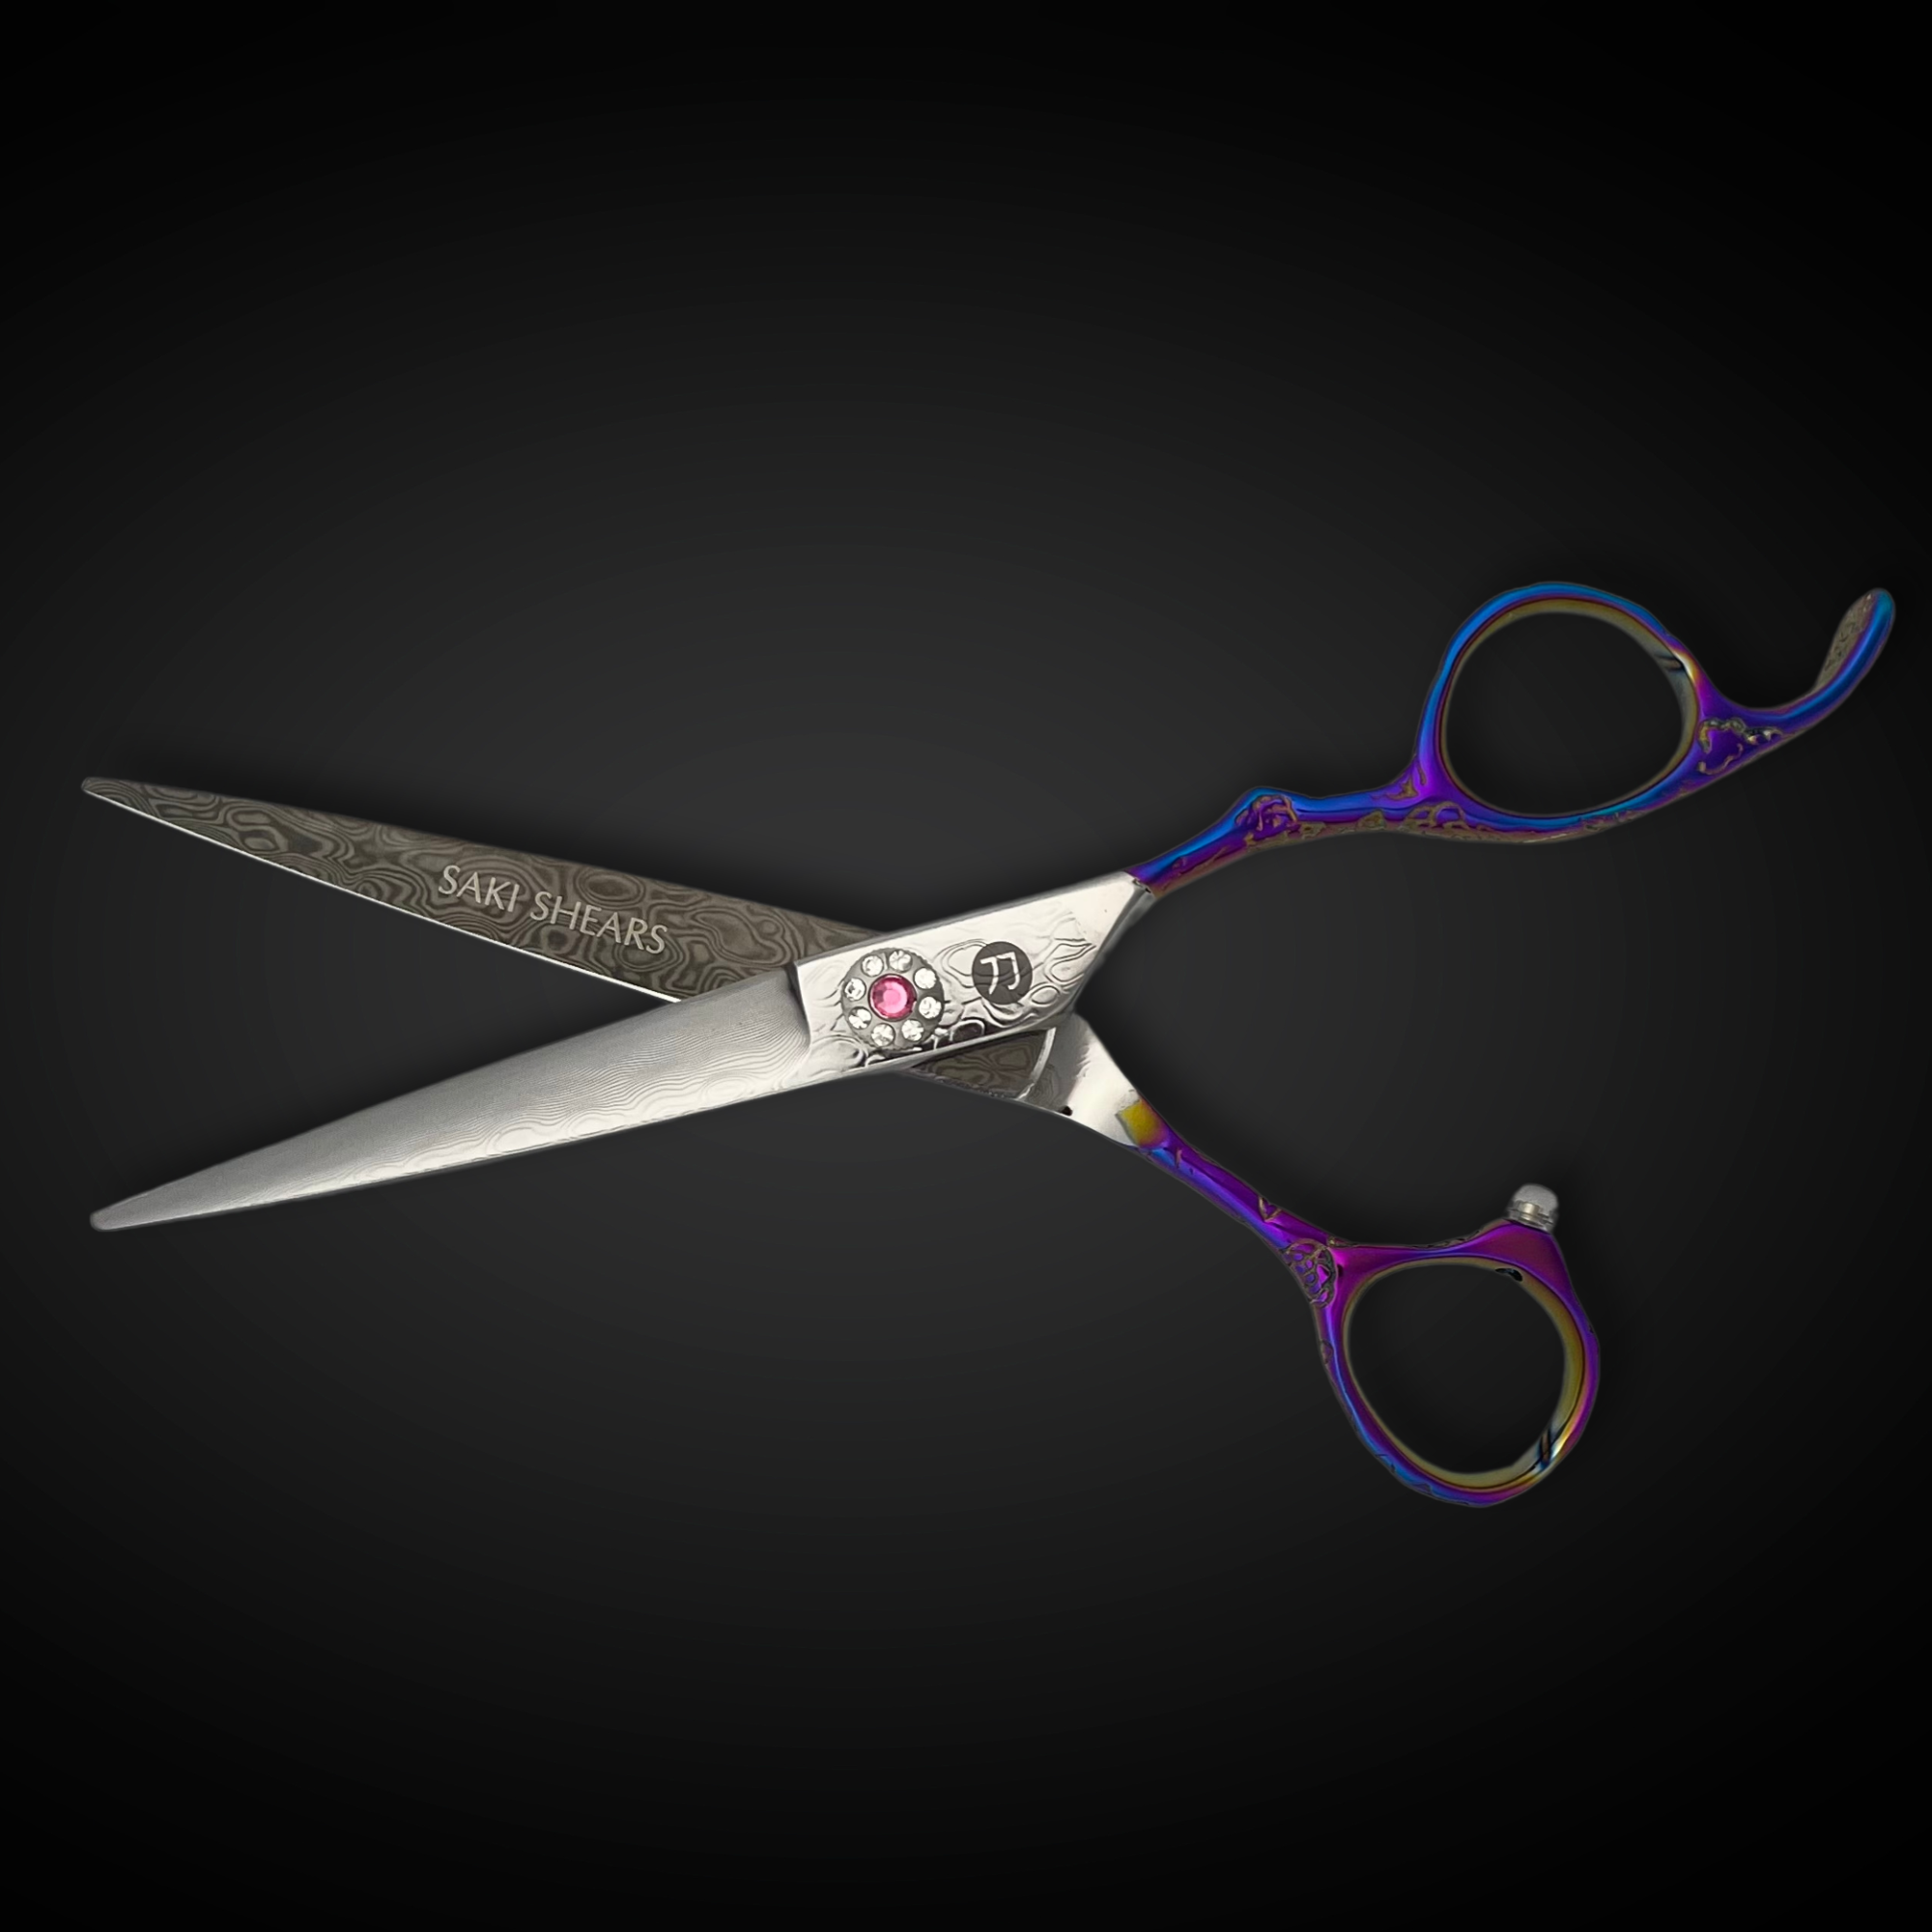
Comb each section straight down before cutting and cut with the shears perpendicular to the hair strand for a blunt, sharp edge, rather than at an angle, which softens and can uneven the line over multiple passes. A sharp, well-balanced pair of shears matters more in a one-length cut than in almost any other technique, since the blunt edge has nowhere to hide a dull or dragging cut line. Our hair cutting shears collection is built for this kind of precision perimeter work.
Checking the line as you go
Do not wait until the entire head is cut to check your work. After each section, comb the hair down and visually compare it against the adjoining section under good, even lighting. Have the client sit upright with their head level and check the line from directly behind and from both sides — a line that looks even from one angle can reveal unevenness from another, particularly around the ears and at the nape where the head's shape changes the way the hair falls.
Common mistakes that create unevenness
- Inconsistent tension between sections. Pulling some subsections tighter than others is the single most common cause of a wavy or stepped perimeter once the hair relaxes.
- Unintentional elevation. Lifting the hair even slightly on some sections introduces graduation that won't match sections cut with zero elevation.
- Cutting against a moving reference. Always check new sections against the section you just cut, not the original guideline from several sections ago — small deviations compound quickly.
- Not accounting for curl pattern or shrinkage. Curly or wavy hair will sit shorter once dry; cutting one-length hair wet without accounting for the client's texture can leave the dry result looking uneven even when the wet cut was technically correct.
- Rushing the finish check. A one-length cut needs a final dry check and cross-check from multiple angles — small errors that are invisible wet often show up once the hair dries and falls naturally.
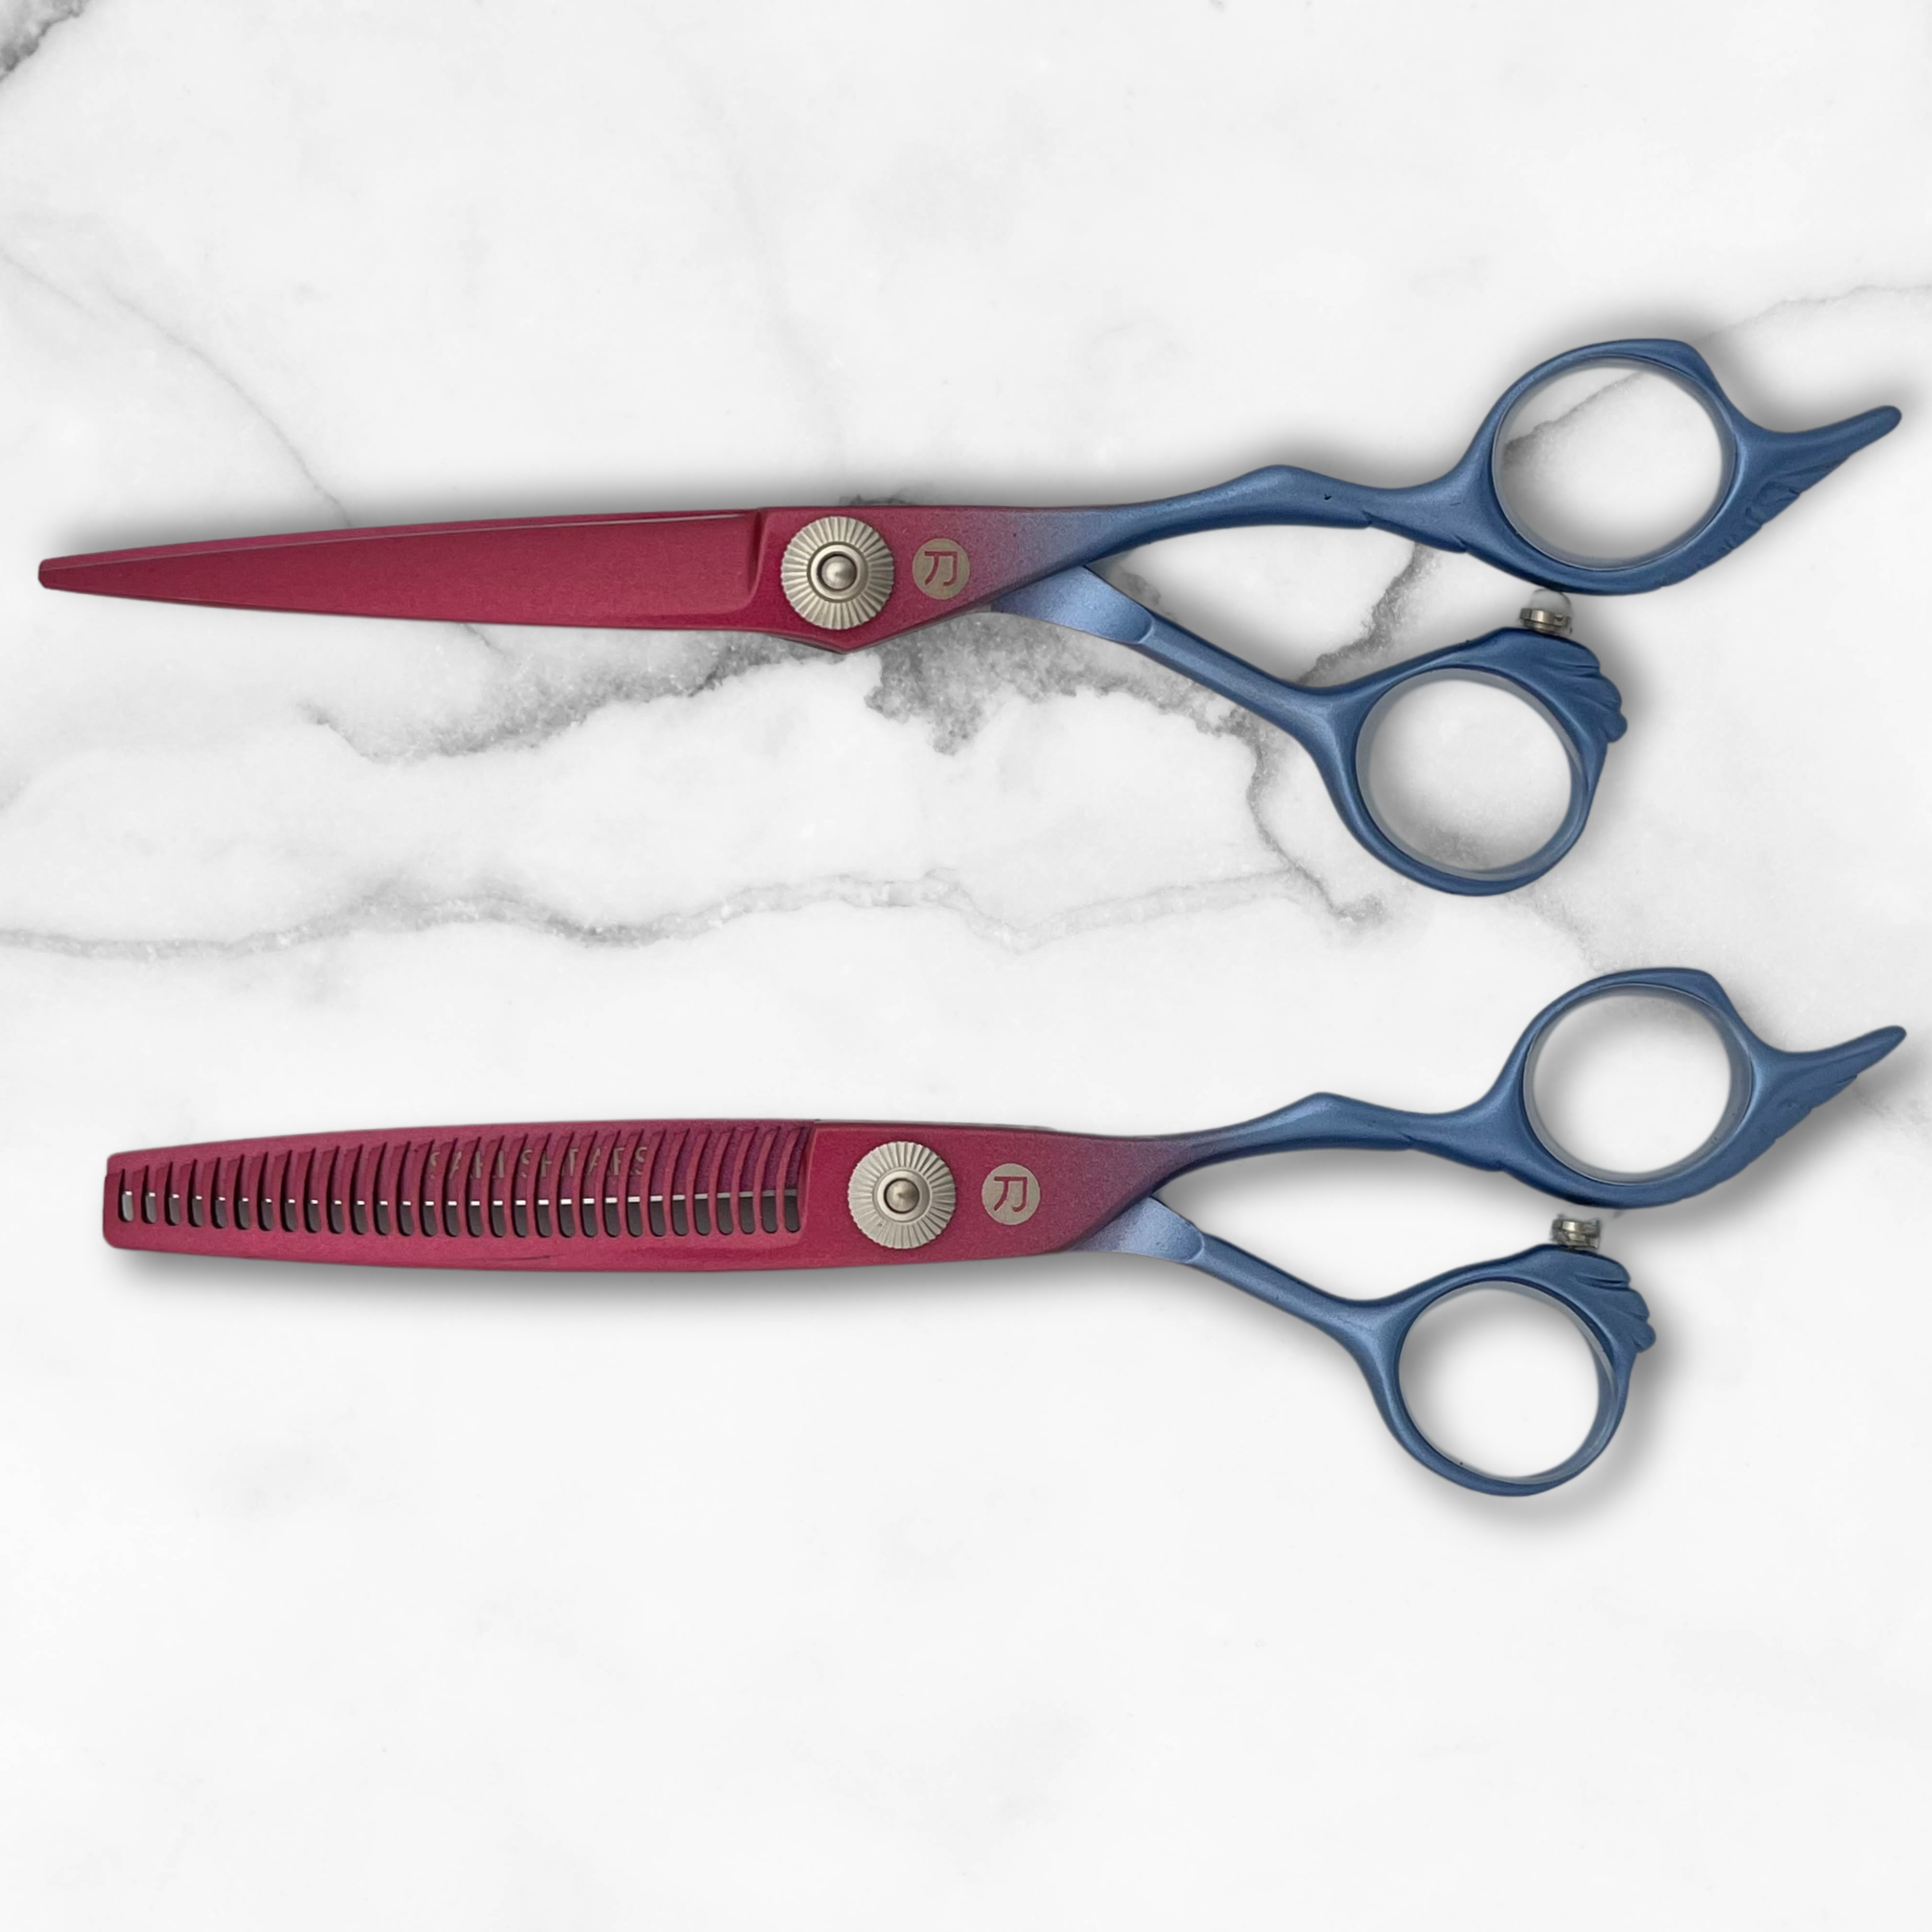
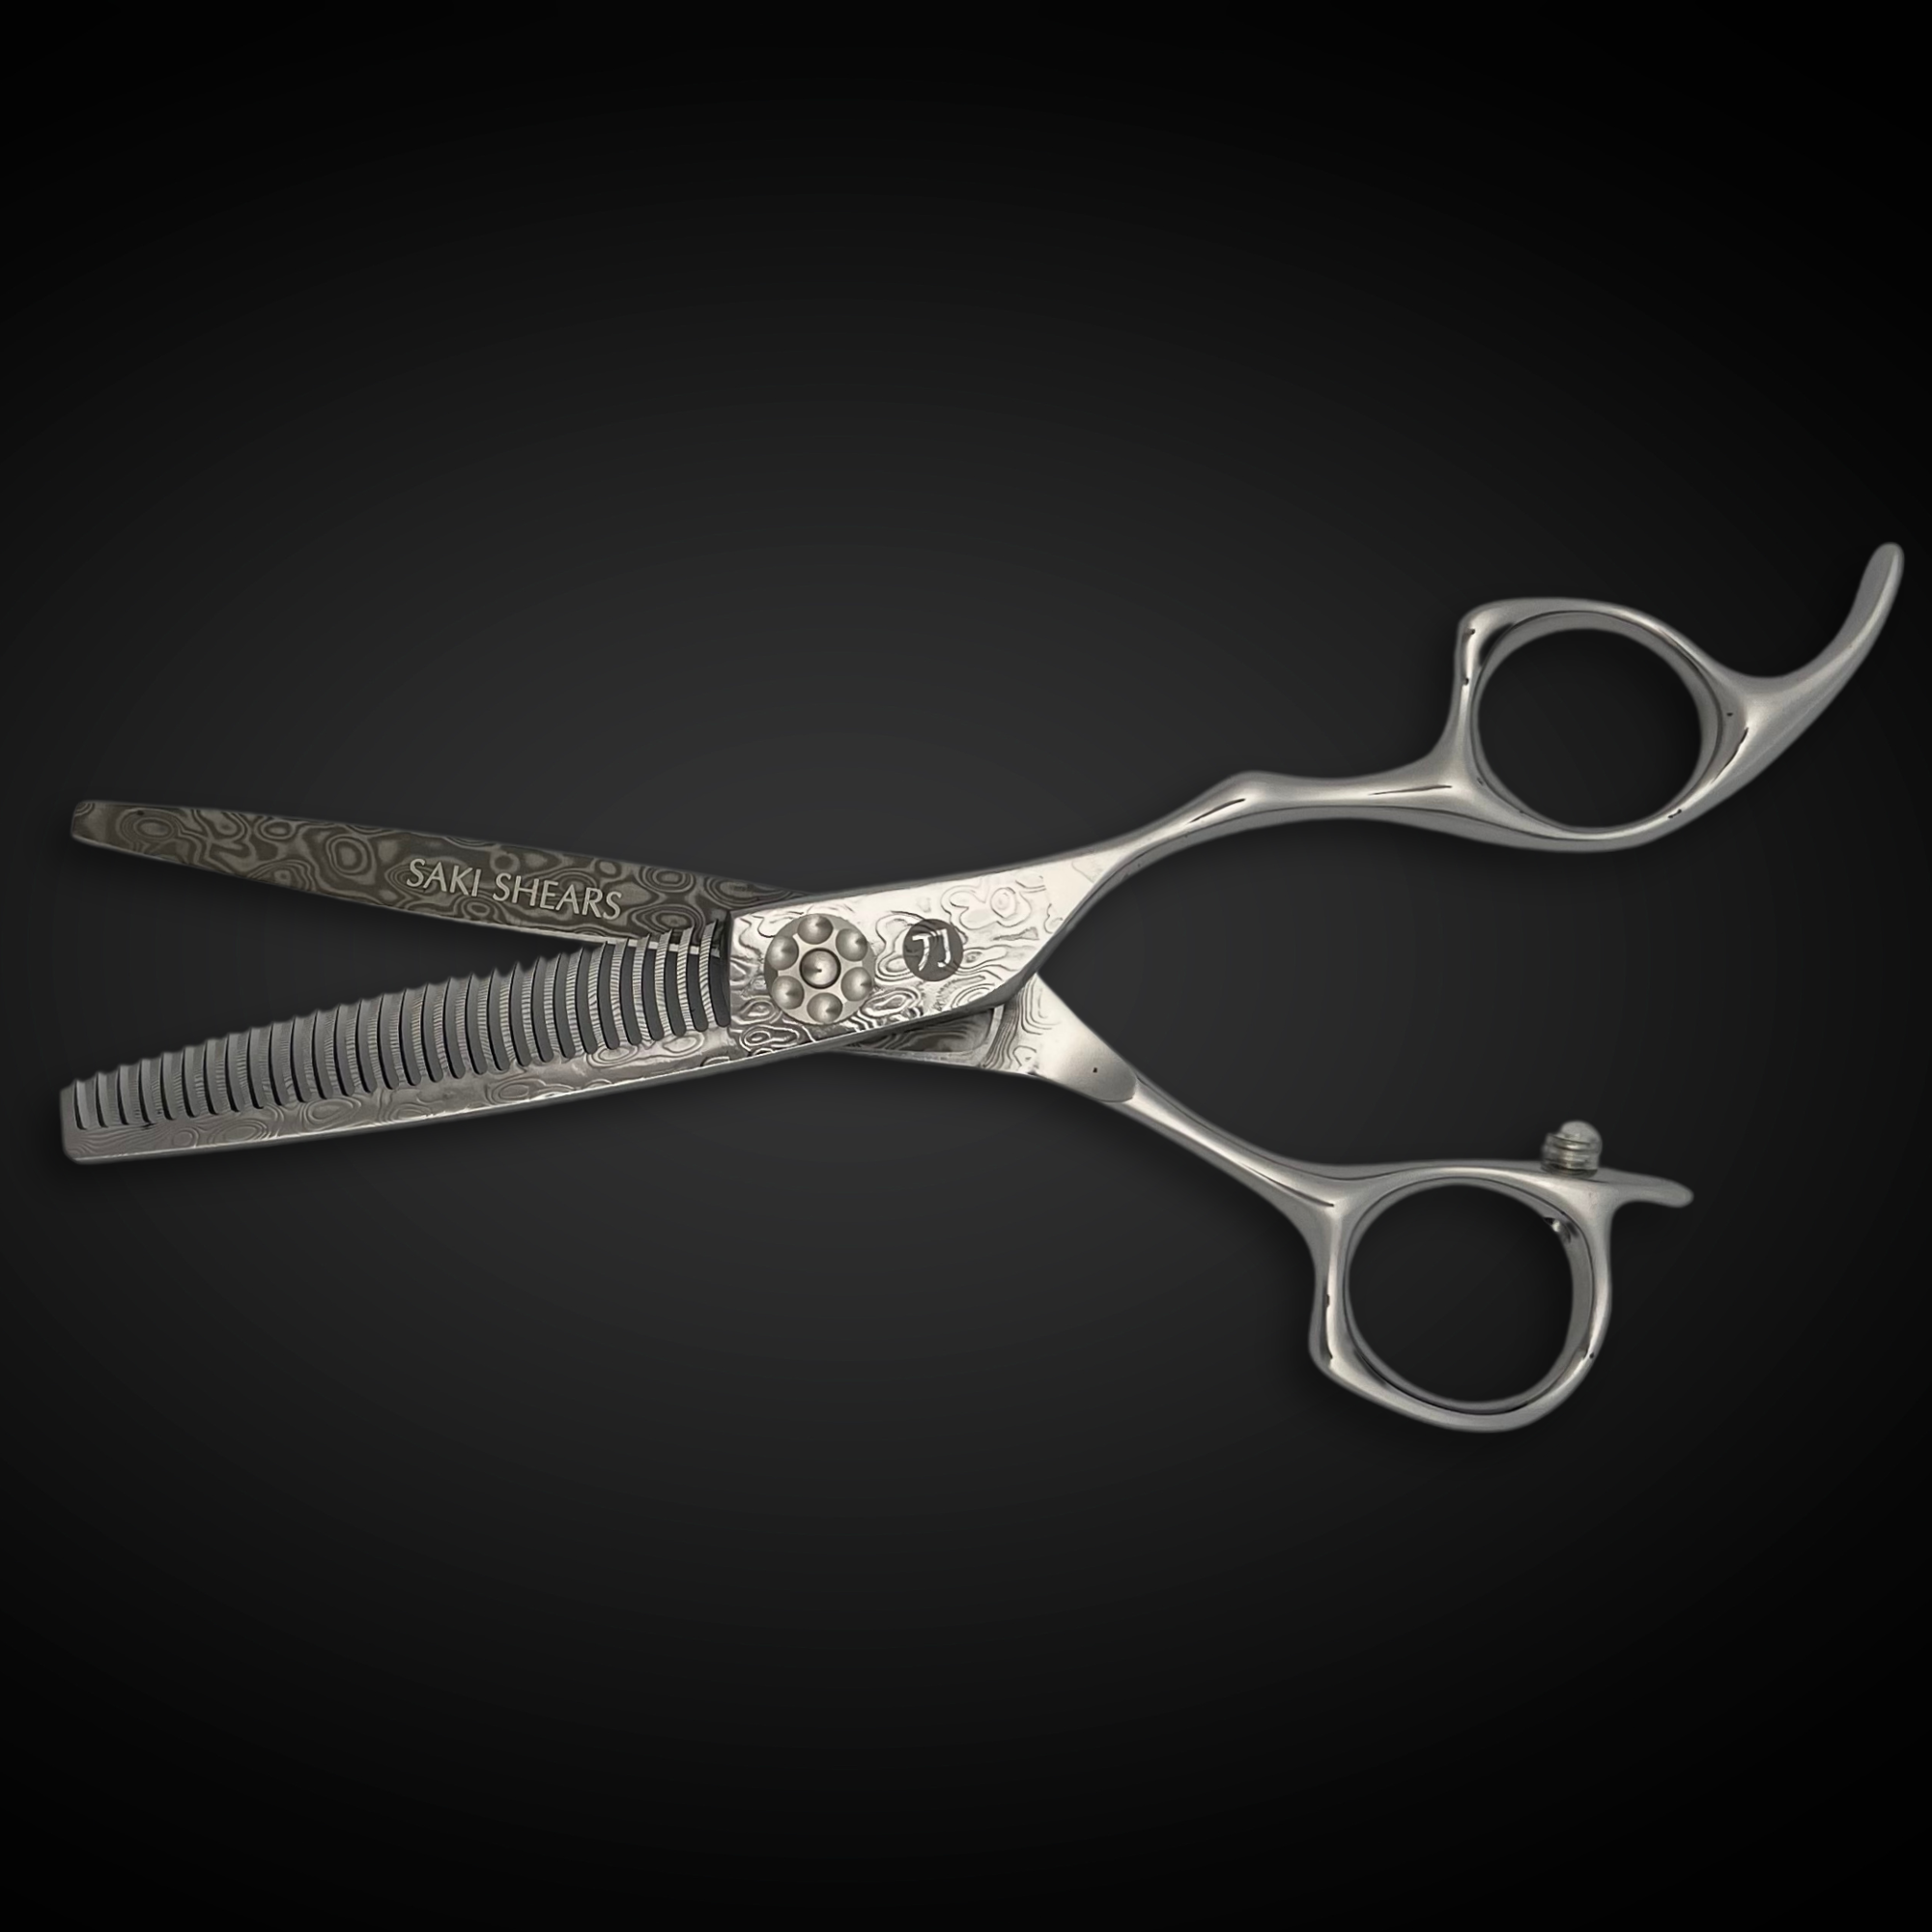
Once the fundamentals of consistent tension and elevation are dialed in, a one-length cut is one of the most reliable, low-drama services in the chair — it holds its shape well and grows out evenly, provided the guide was set and matched with care in the first place. For clients who want to add texture without disrupting the line, thinning shears used sparingly at the interior can soften the cut without compromising the blunt perimeter; see our thinning shears and scissors collection for options suited to that kind of detail work.

Written by Charles Harris