The Pixie Cut: A Cutting Technique Guide for Stylists
The pixie cut is deceptively technical. Its short length leaves little room to hide asymmetry, uneven blending, or an off guide, which means the technique behind it matters more than on almost any longer style. This guide covers the working fundamentals: sectioning, cutting close to the head, texturizing the top, blending the nape and sides, and adjusting the shape for different face shapes.
Sectioning the Head
Start with a clean, consistent part pattern before any cutting begins. A standard approach is to divide the head into four main sections: a horseshoe section covering the crown and top from ear to ear, with the back and two sides sectioned separately below it. Clip each section out of the way so you're never fighting loose hair while working a guide.
- Establish your part lines on dry or towel-dried hair so you can see the natural fall and growth pattern before committing to a guide.
- Work in thin, controlled subsections, especially through the nape and sides, where the margin for error is smallest.
- Re-check part lines periodically as you move around the head. Sections shift as hair is removed, and a guide that was accurate at the start can drift by the time you reach the opposite side.
Cutting Close to the Head
Most of the pixie's structure is built in the back and sides, where the cut sits close to the scalp. This is where shear control and hand position matter most.
- Use low elevation, close to zero degrees, through the nape to keep the perimeter tight and avoid unwanted weight at the base of the skull.
- Keep tension consistent and moderate. Over-tensioning short hair against the scalp is a common cause of visible line breaks once the hair relaxes.
- Work with the natural curve of the head rather than cutting in flat planes. The skull isn't flat, and a guide that ignores its curvature will read unevenly once the hair falls into place.
- Comb and check your guide from multiple angles before moving to the next subsection. Short hair reveals mistakes immediately, so catching them early saves a full redo.
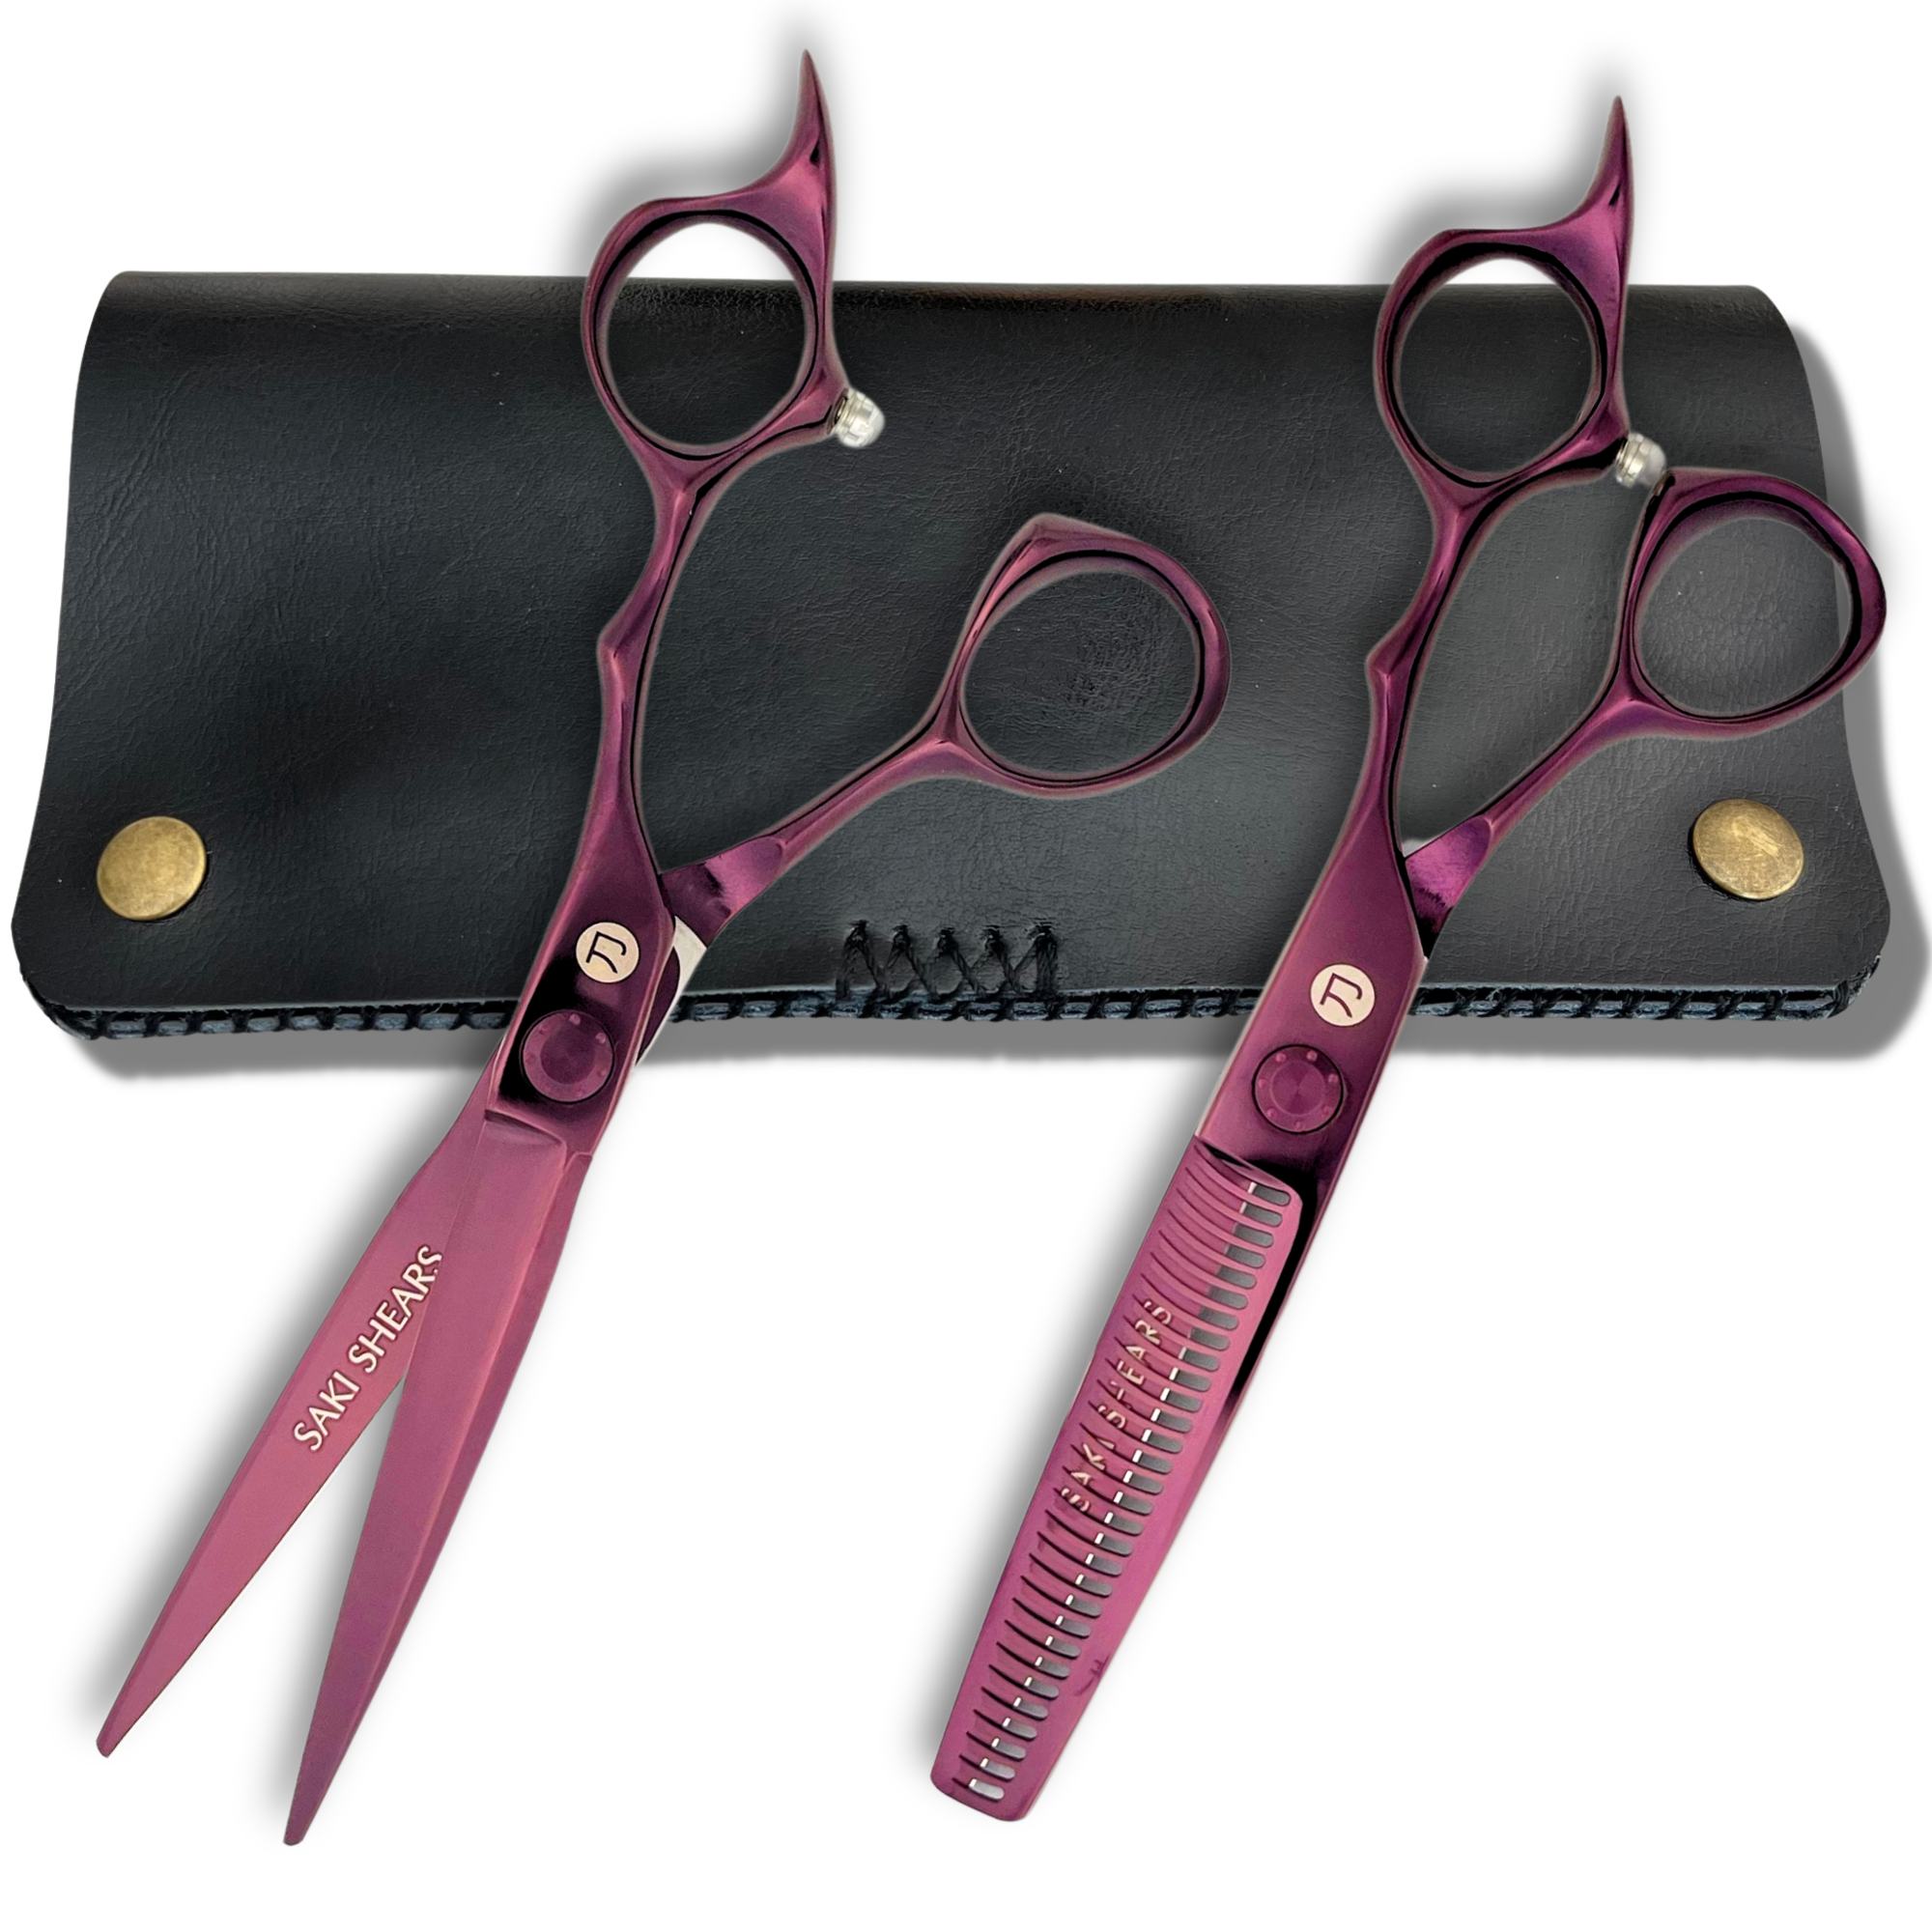
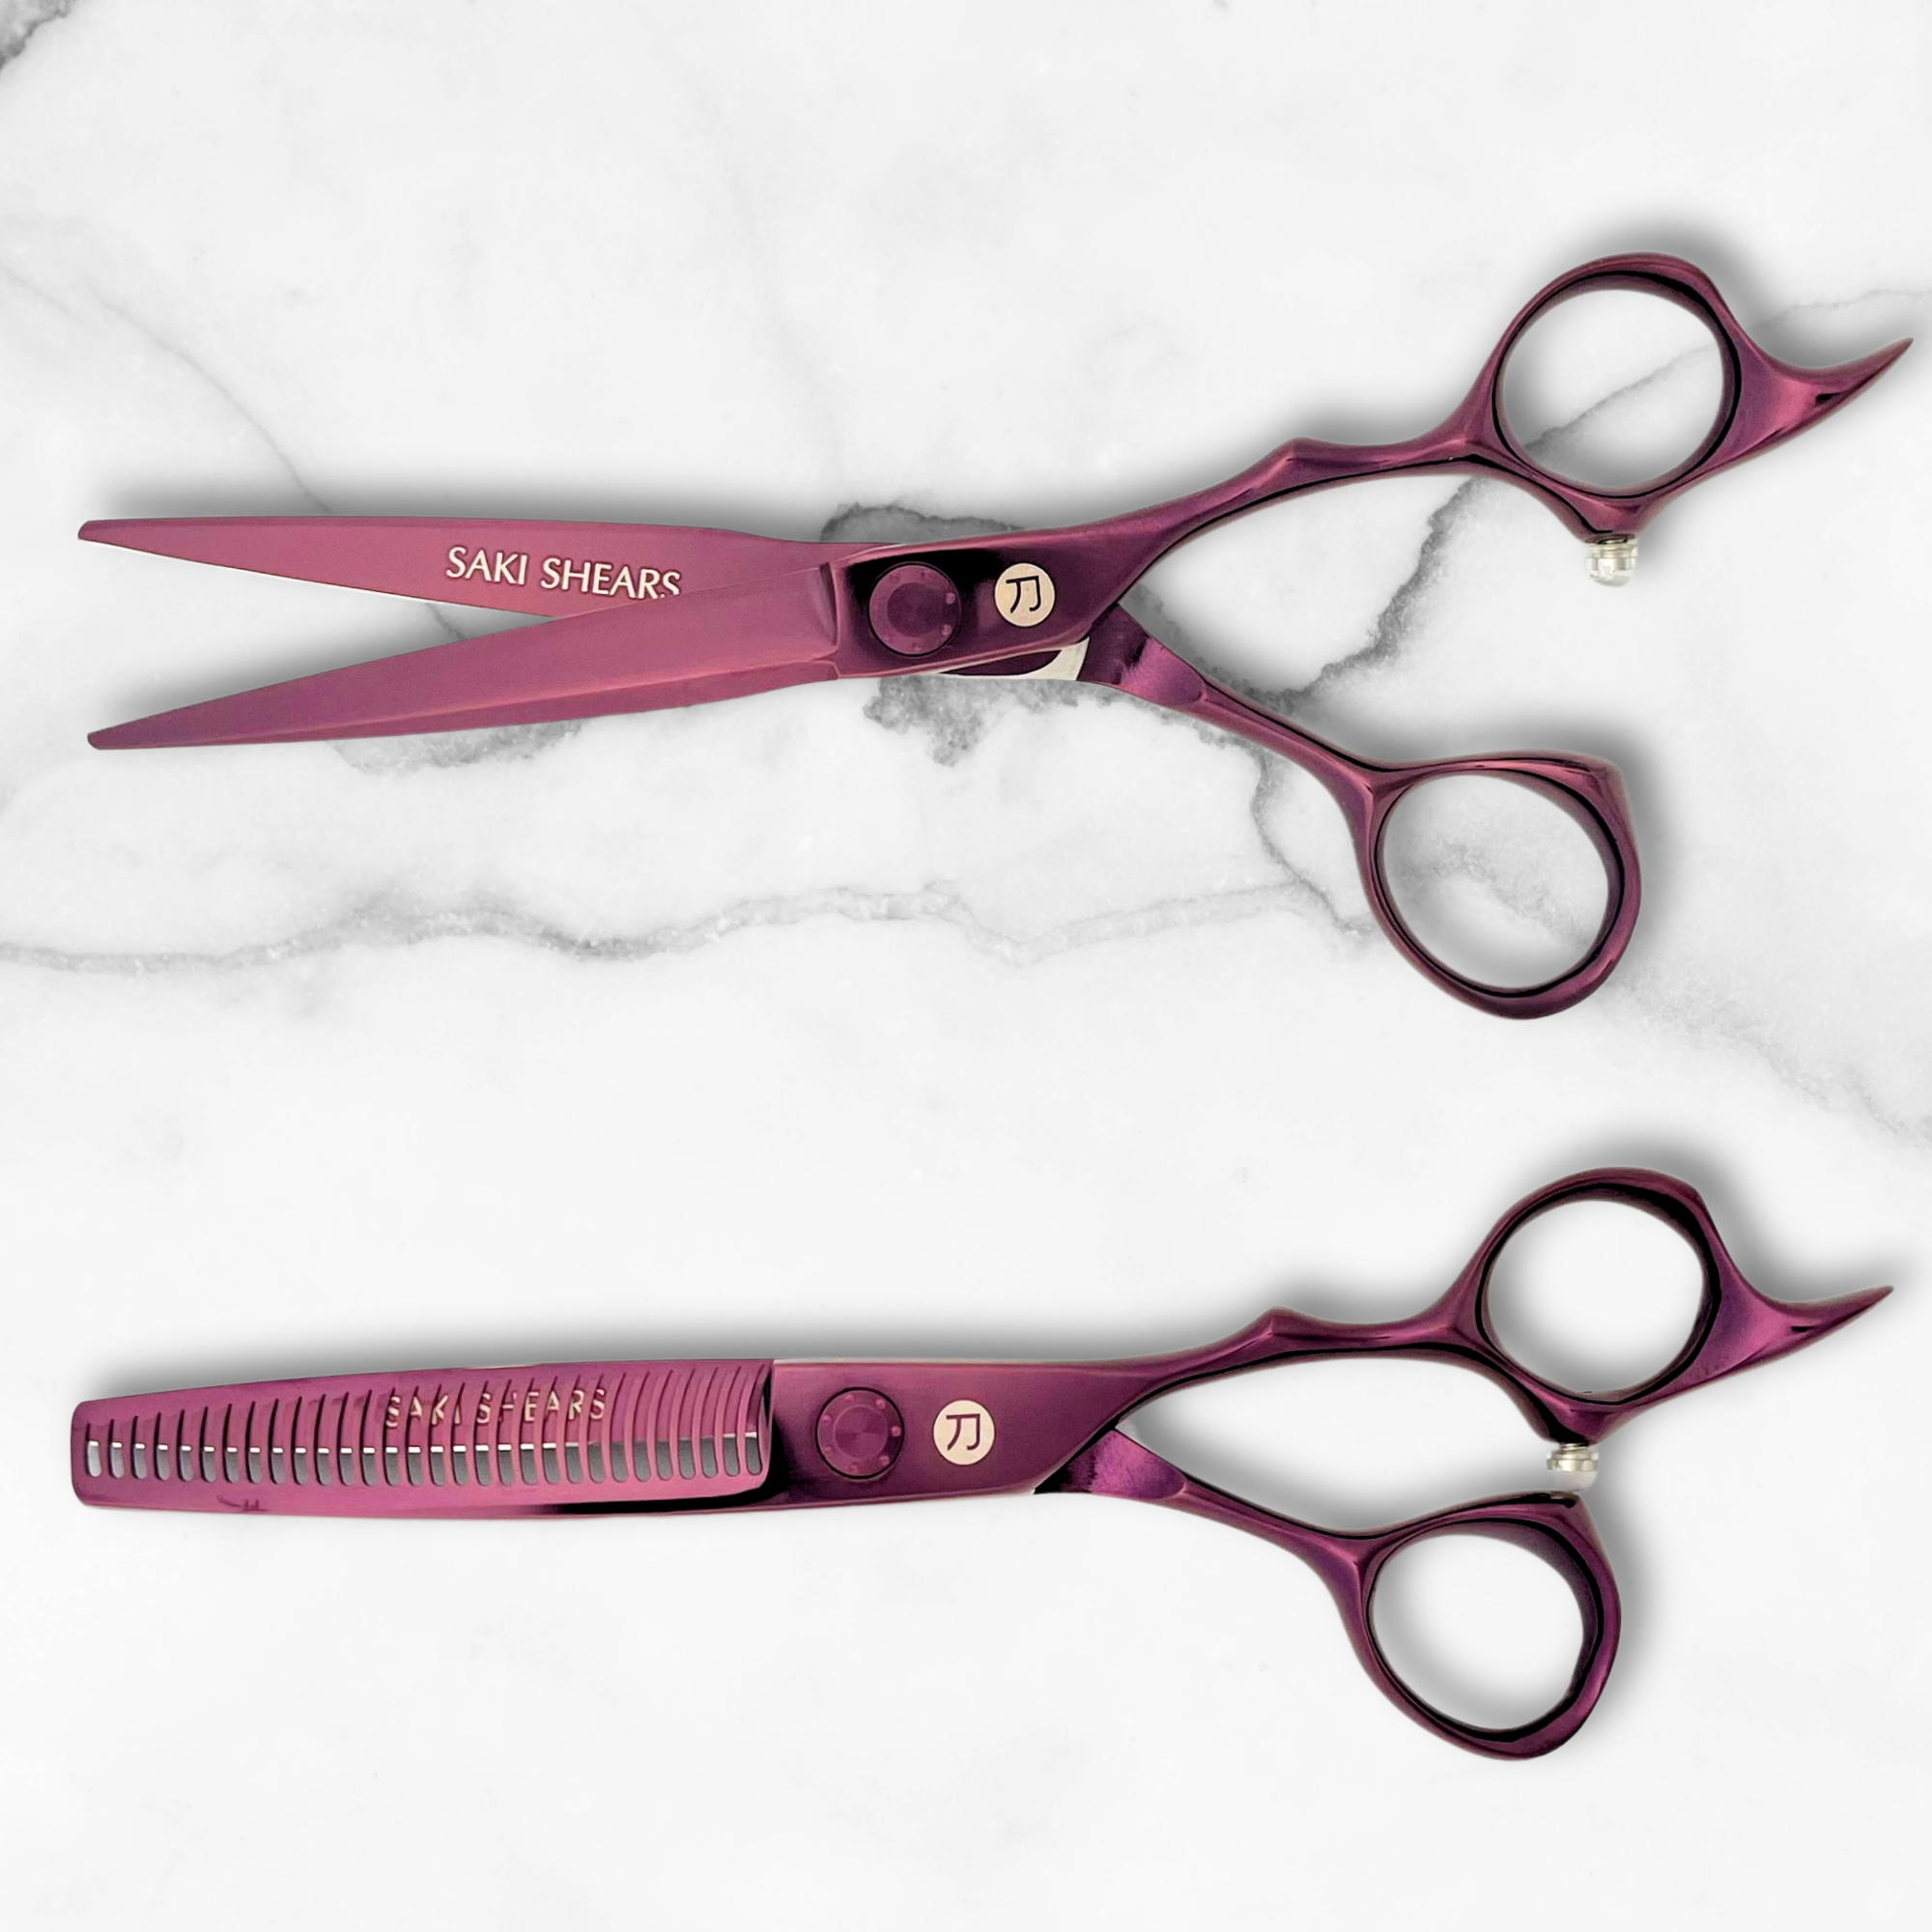
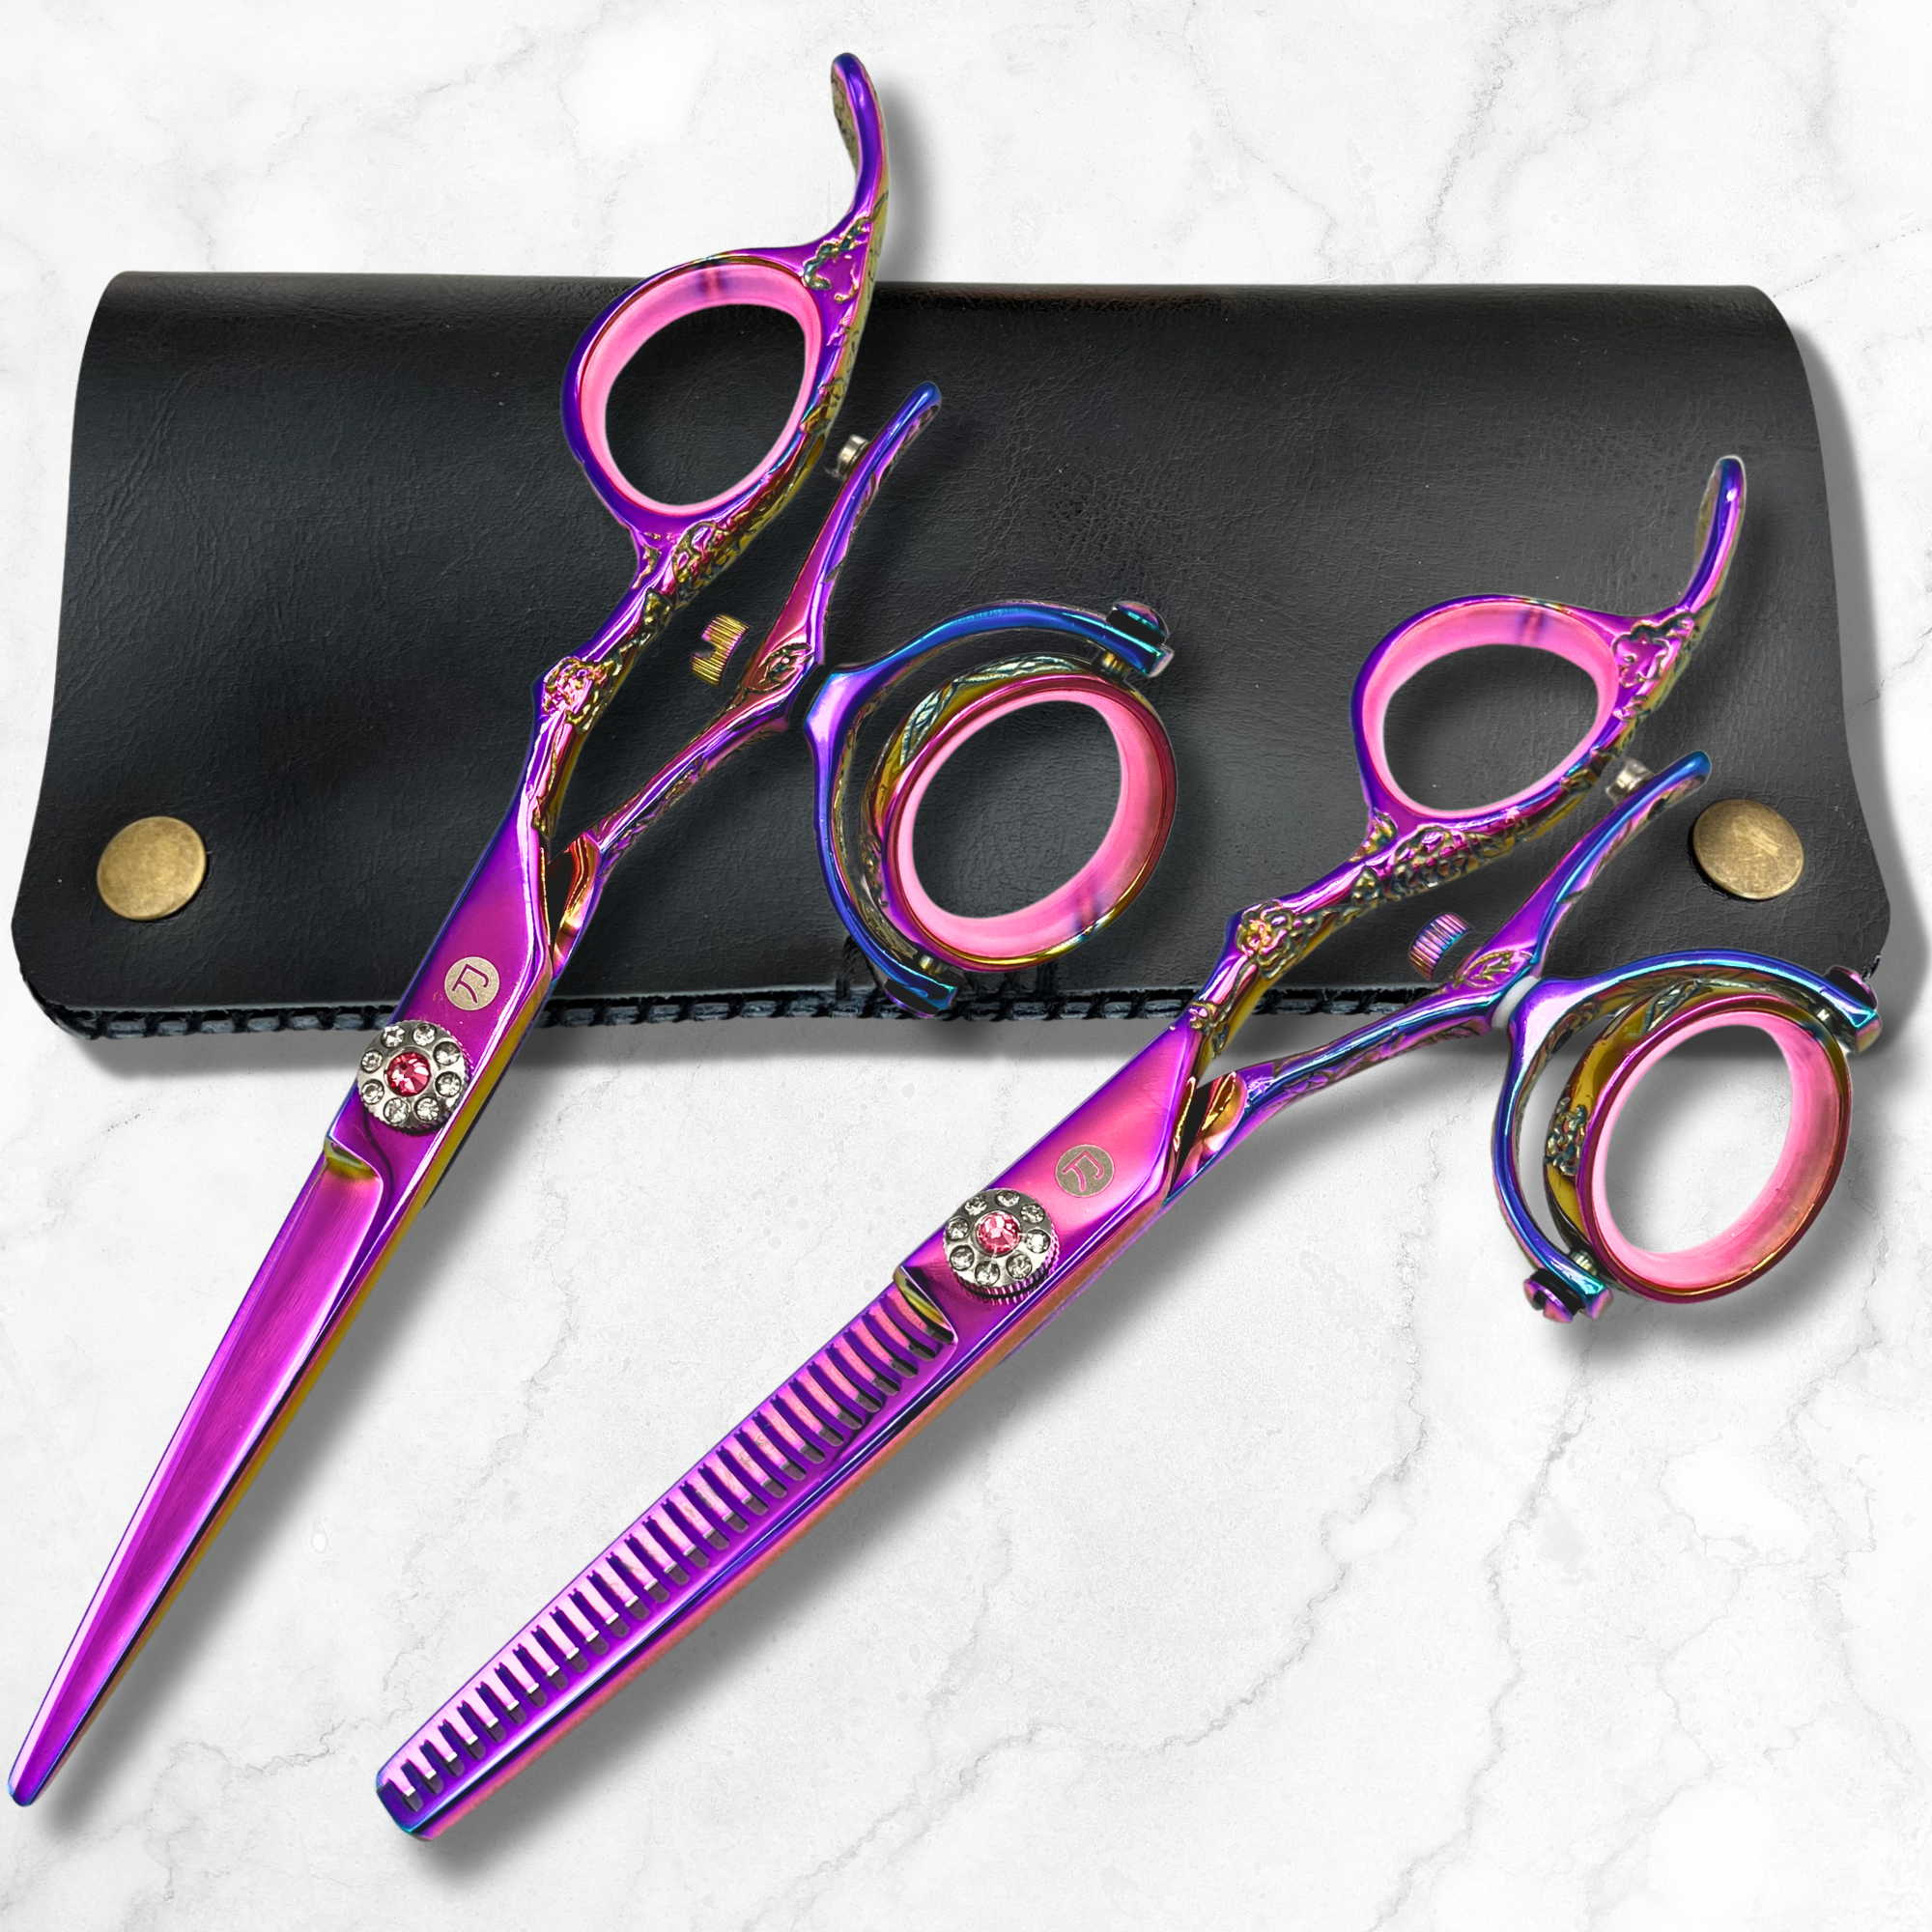
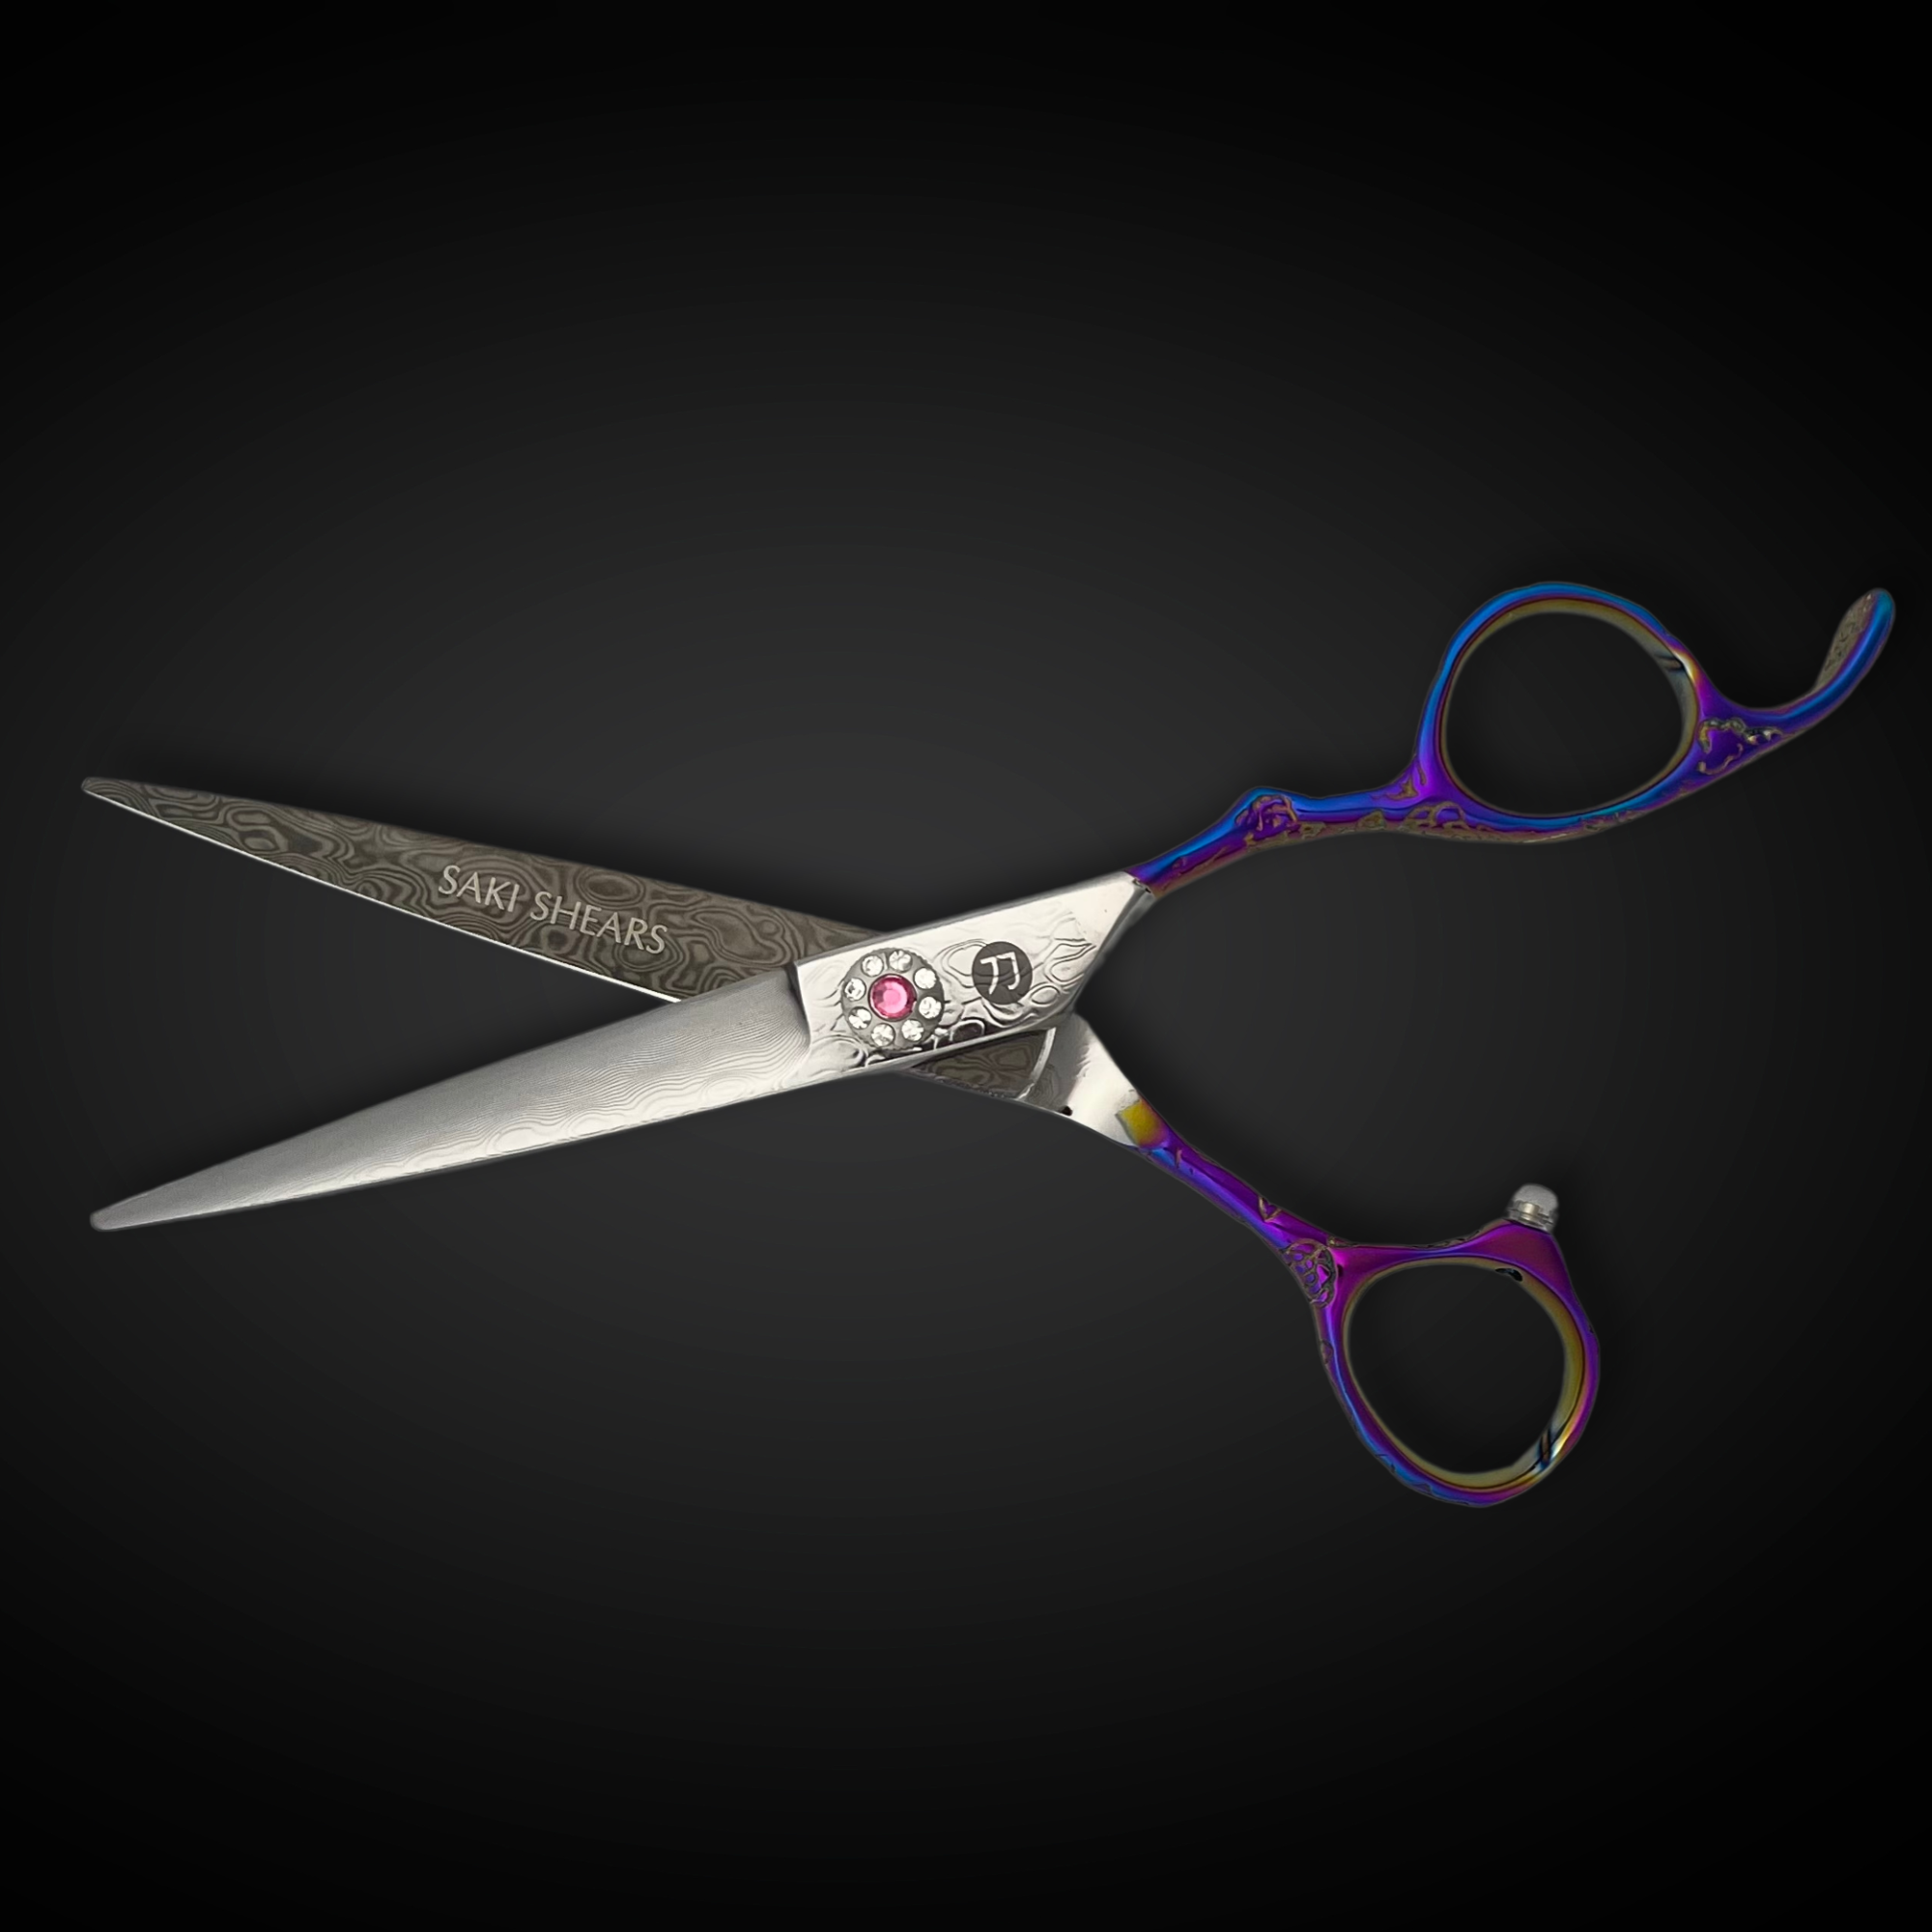
A shorter, well-controlled shear tends to give more precision in this close work; see the hair cutting shears collection for options suited to tight, detailed sectioning.
Texturizing the Top
The top section is where most of the pixie's movement and personality come from. This is typically left longer than the sides and back, then texturized to remove weight and create the piecey, textured finish associated with the style.
- Point cut or slide cut into the ends to soften the line and break up any blunt edge left by the initial cut.
- Use thinning shears sparingly and strategically, concentrated at the mid-lengths and ends rather than close to the root, to avoid over-thinning and leaving thin, wispy patches.
- Check the hair's natural texture and density before deciding how aggressively to texturize. Fine, thin hair generally needs a lighter touch than thick or coarse hair, which can support more aggressive thinning without looking sparse.
- Build texture gradually. It's easy to remove more hair, much harder to put it back, so work in stages and reassess between passes.
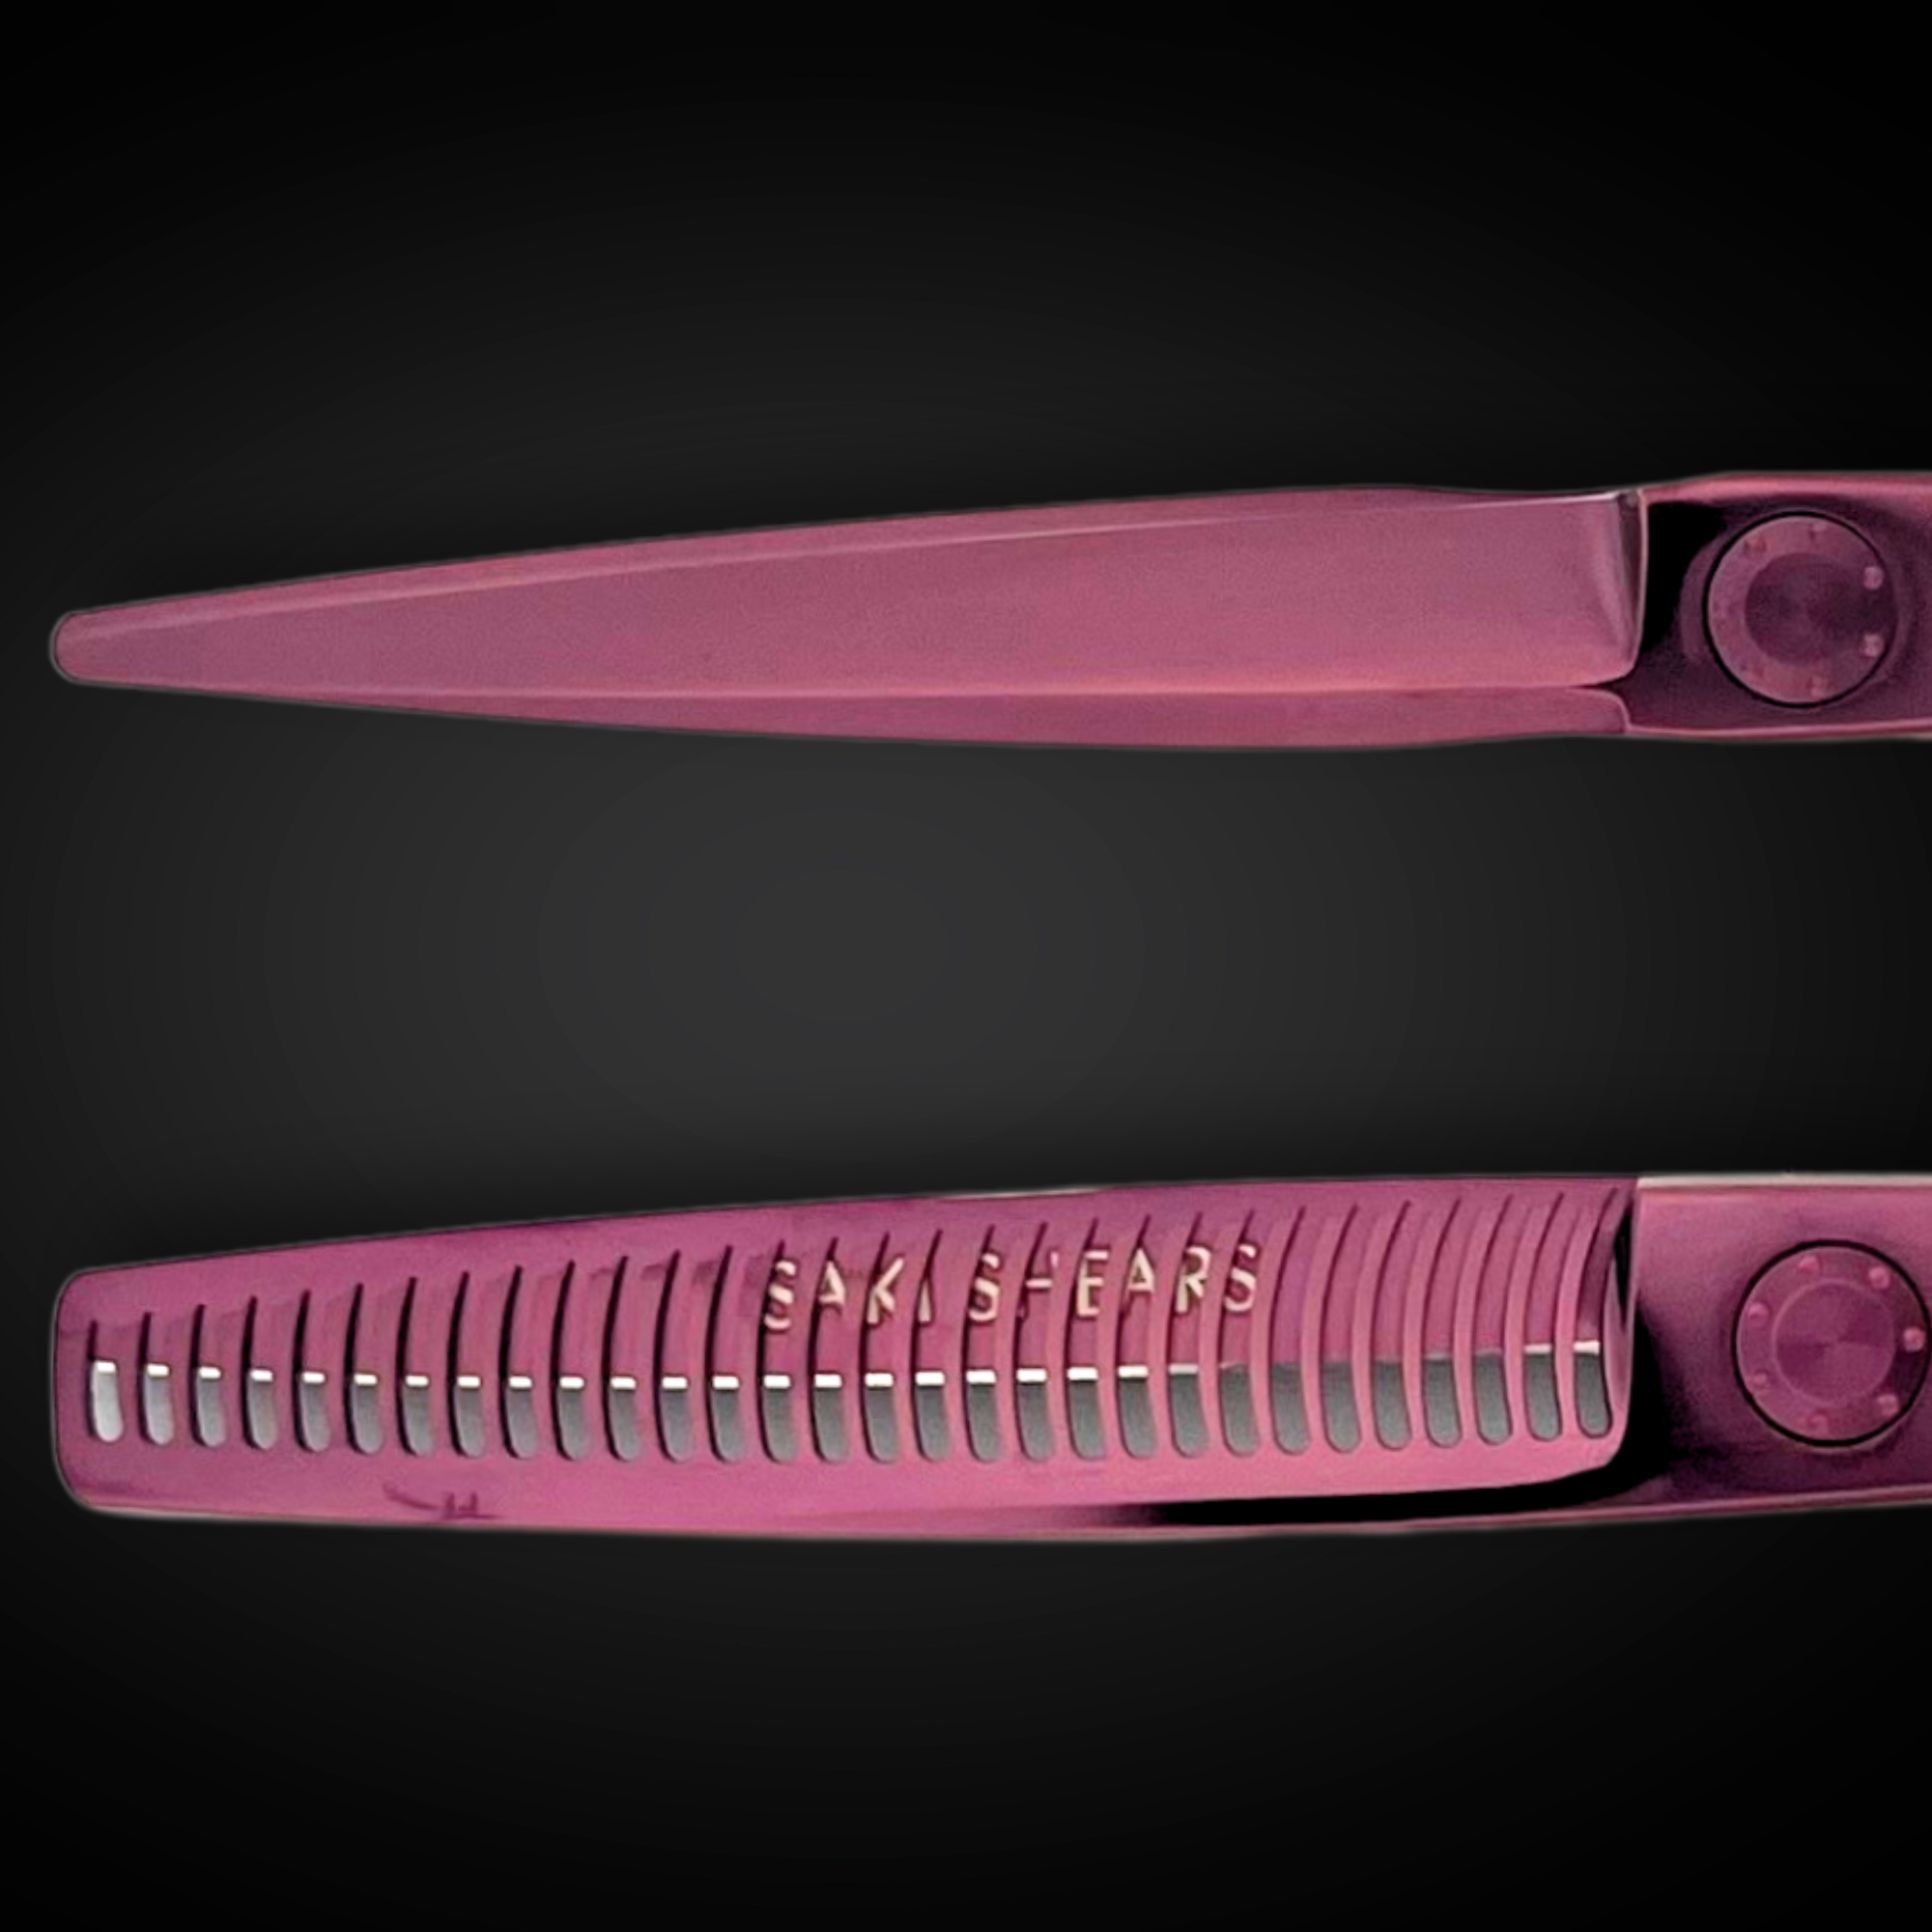
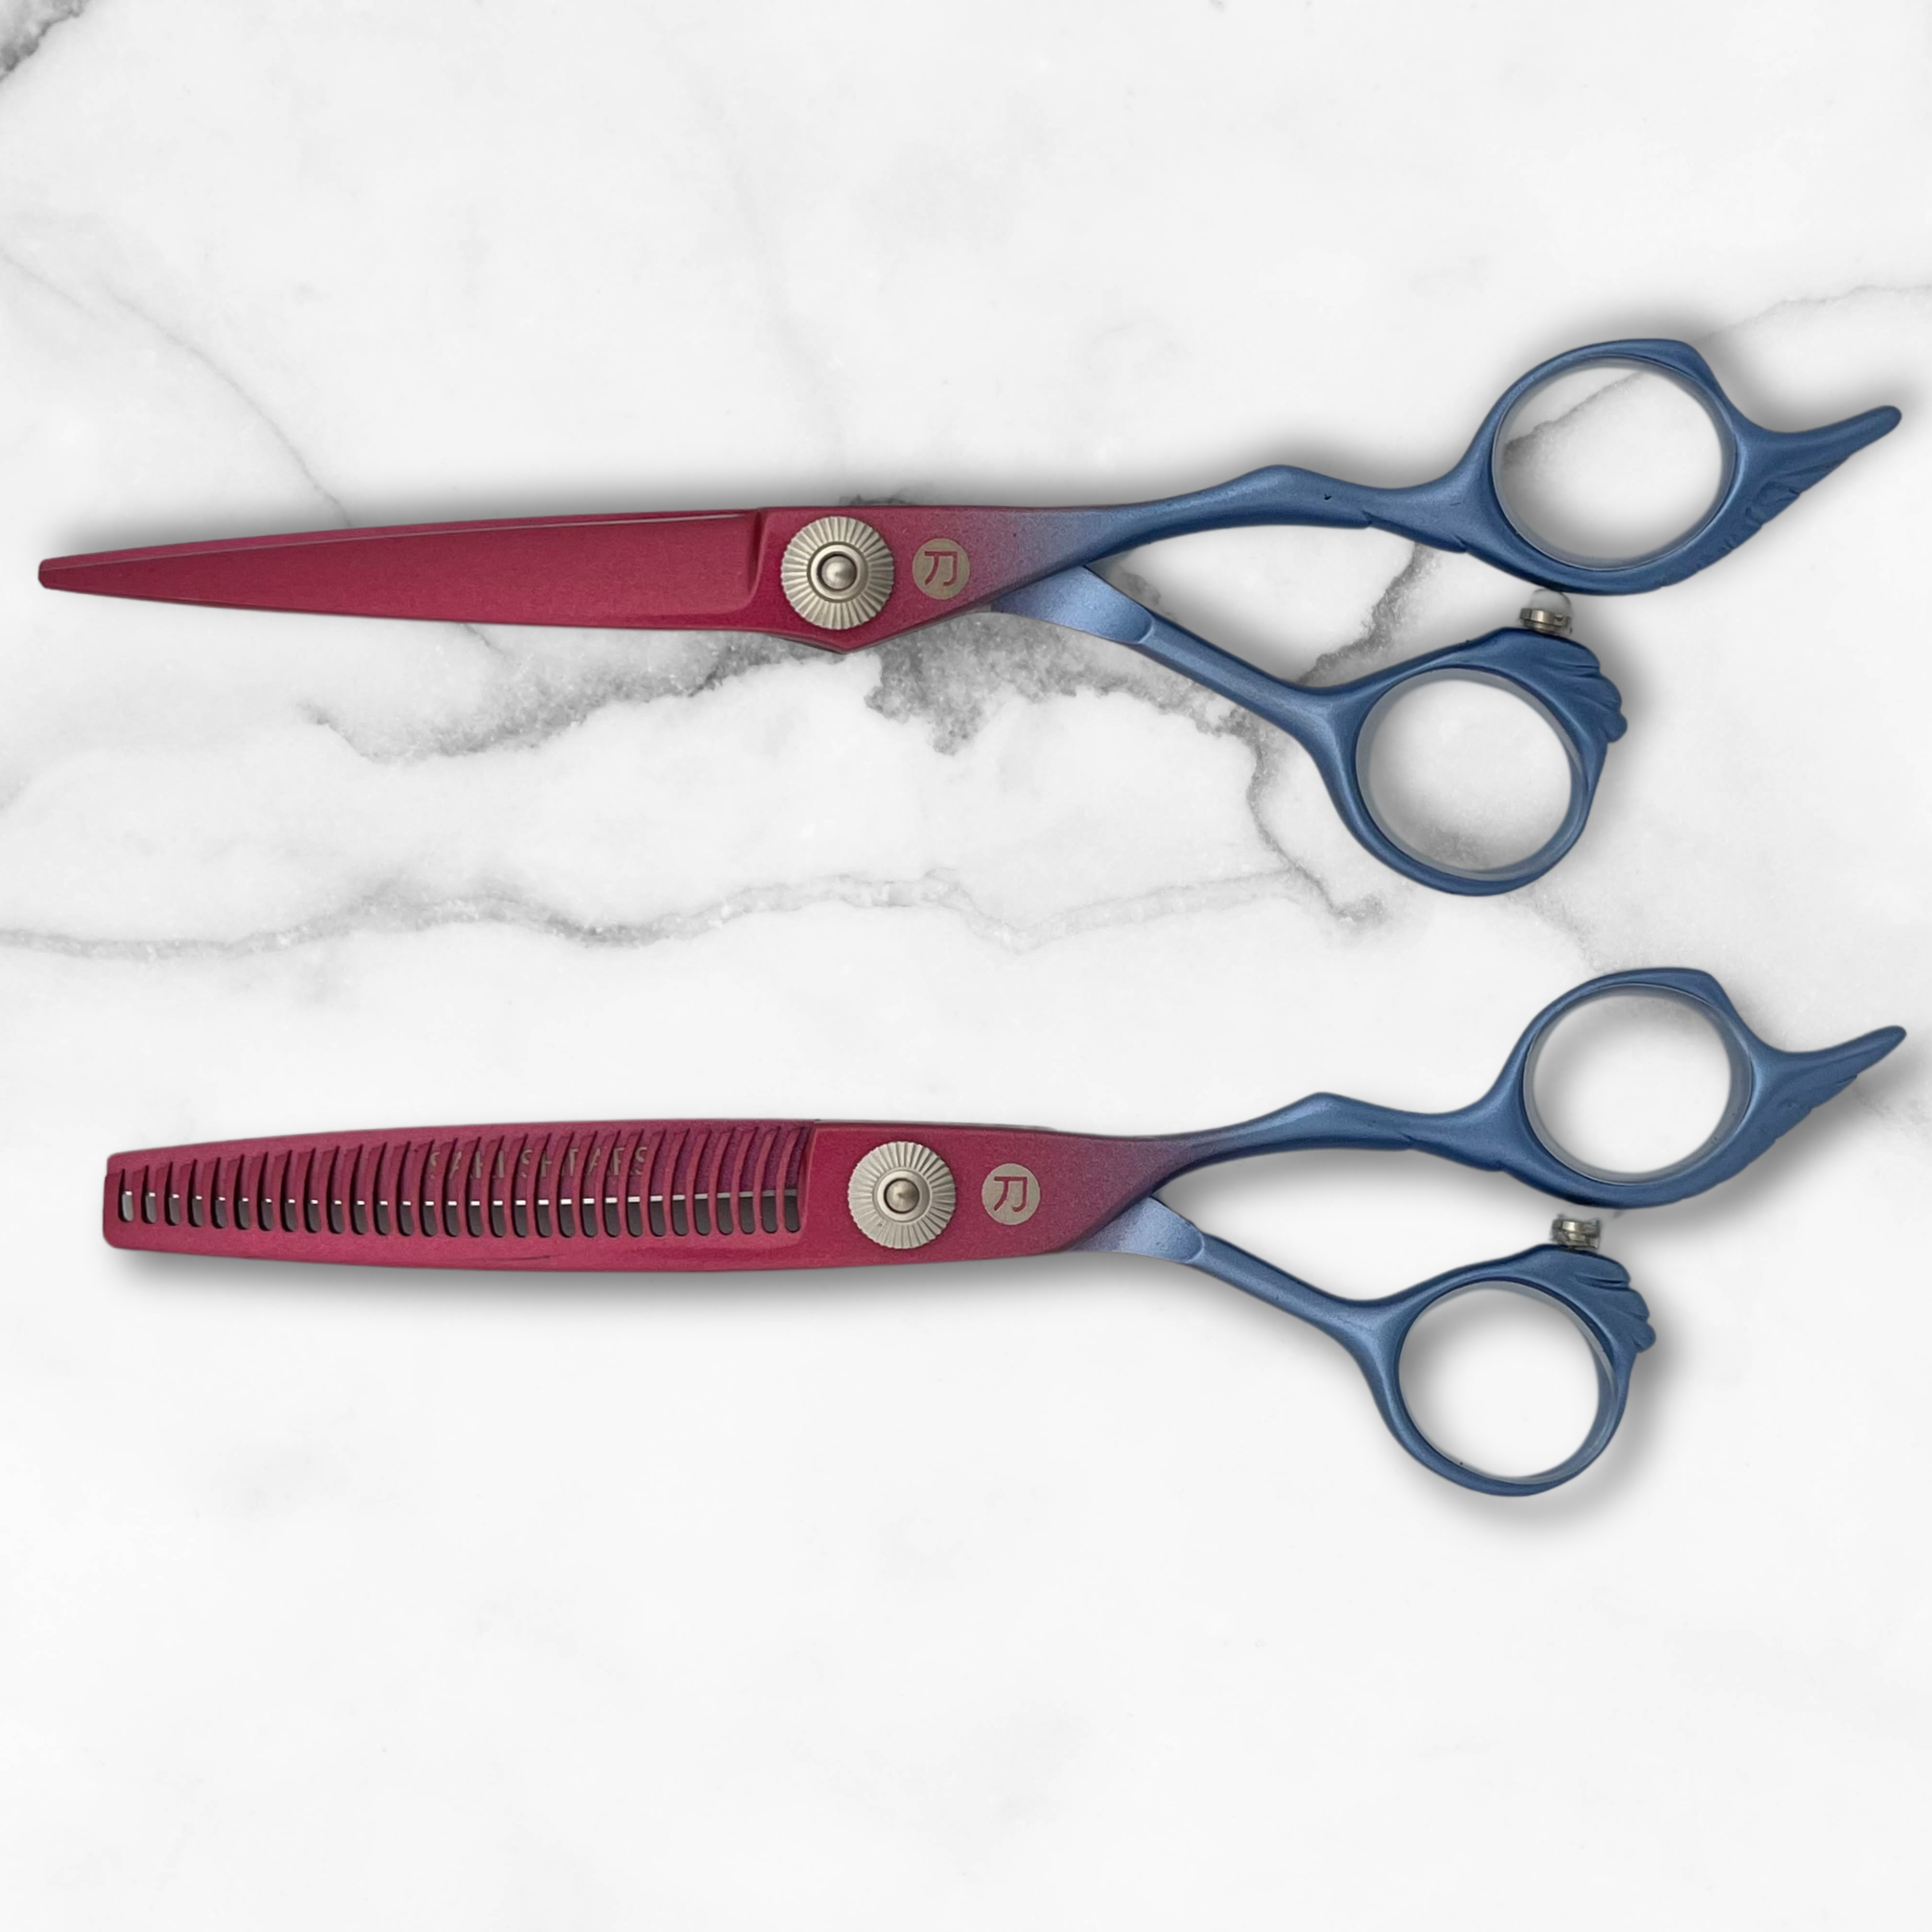
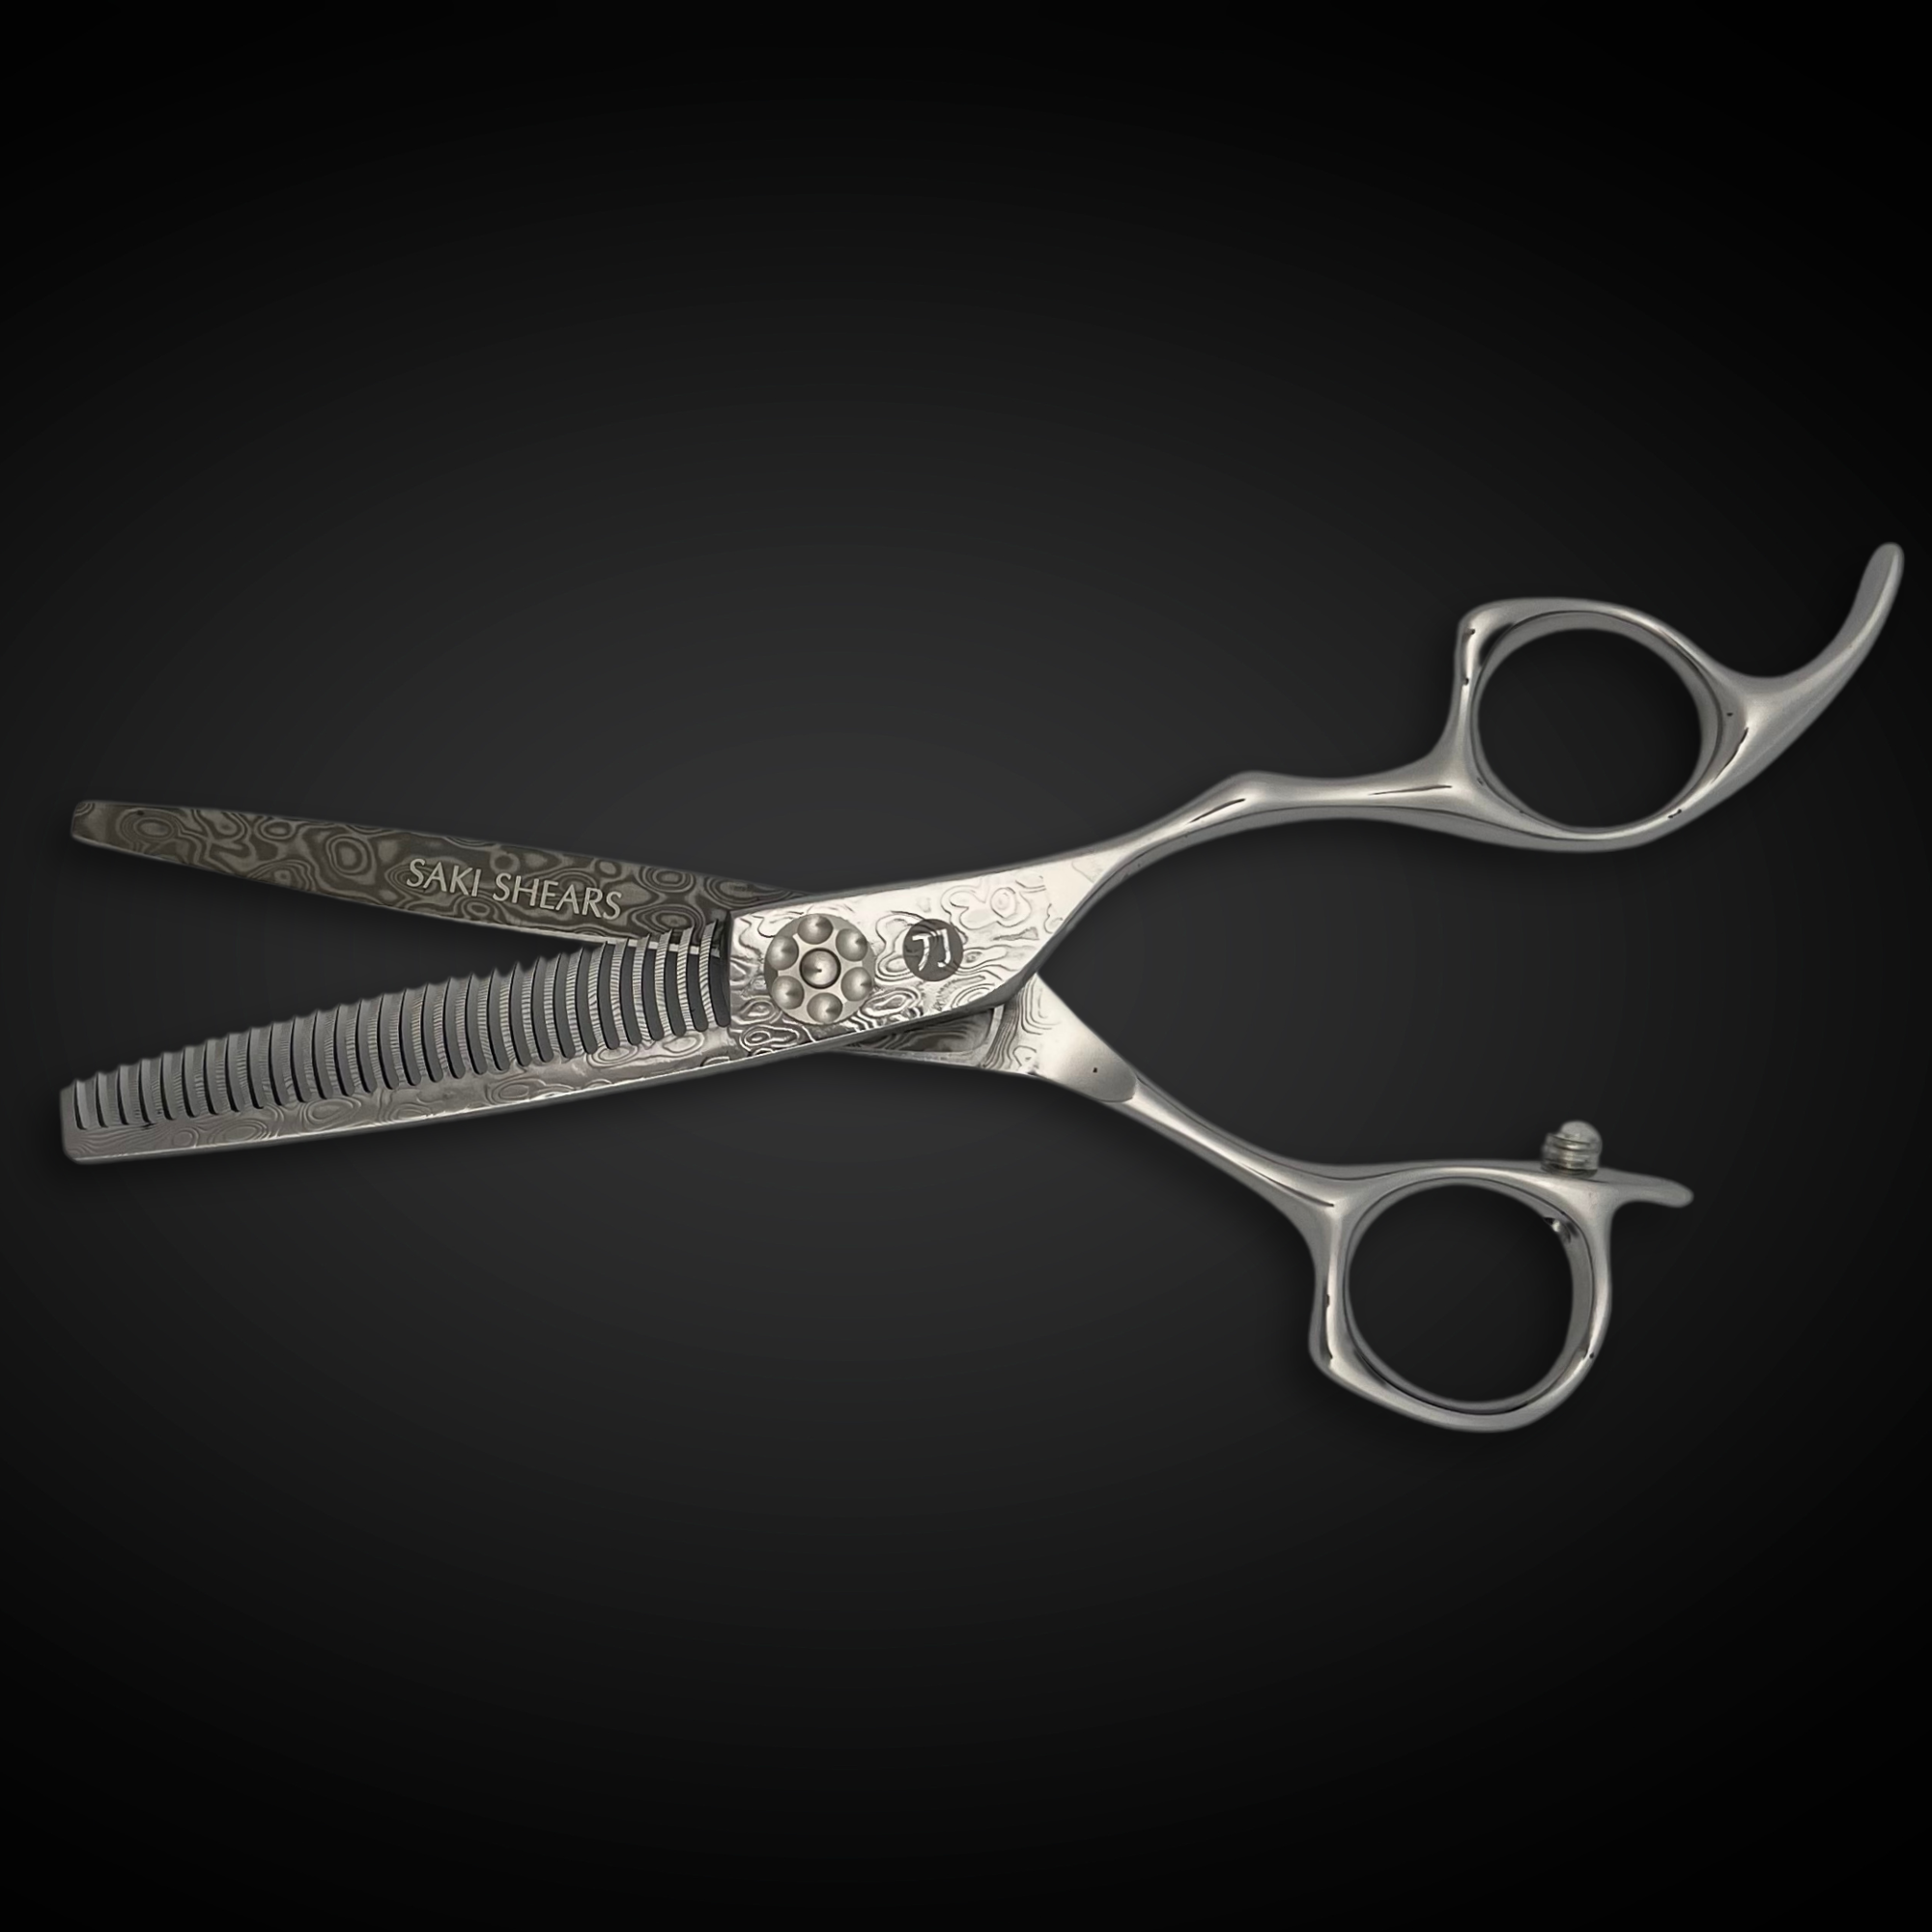
For the texturizing work itself, a dedicated pair from the thinning shears and scissors collection gives more control than trying to texturize with a standard cutting shear.
Blending the Nape and Sides
A clean pixie depends on a seamless transition between the short perimeter and the longer top section. Visible lines or steps at the blend point are one of the most common technical failures in this cut.
- Use clippers or trimmers for the closest work at the nape and around the ears, then blend upward into the shear-cut lengths with point cutting or a light razor touch.
- Check the blend with the head in its natural resting position, not just while tilted forward for access. A transition that looks smooth from above can show a visible step once the client's head returns to a normal position.
- Pay particular attention to the area directly behind the ears, where hair growth patterns often shift direction and can create an obvious break if not blended carefully.
Clippers and trimmers built for detail work make this transition easier to control; see the electric hair clippers and trimmers collection. For a crisp perimeter line at the neckline or around the ears, a safety razor can also be useful for finishing detail.
Adjusting for Face Shape
The pixie cut's proportions, especially at the crown, fringe, and sideburns, can be adjusted to work with a client's face shape rather than fight against it. These are general starting points, not fixed rules, and should be balanced against the client's hair texture and stated preferences.
- For rounder face shapes, more height and volume at the crown, combined with shorter sides, tends to elongate the overall silhouette.
- For longer or more angular face shapes, a fuller, longer fringe or side-swept top can soften strong angles and reduce the appearance of length.
- For square jawlines, softer, textured ends around the face rather than a hard, blunt perimeter line tend to complement the existing bone structure instead of emphasizing it.
- Always confirm these adjustments with the client during consultation. Face-shape guidelines are a starting reference, not a substitute for asking what the client actually wants.
Finishing Considerations
Because the pixie is worn close to the head, cutting precision shows up immediately, and so does tool condition. A dull shear will drag and crush short hair rather than cutting it cleanly, which is more noticeable on a pixie than on longer styles where the damage is less visible. Keep shears sharp and properly tensioned, and reassess your guide from multiple angles throughout the cut rather than only at the end. Consistent technique, section by section, is what separates a pixie that holds its shape from one that looks uneven once it's dry and styled.

Written by Charles Harris