How to Create a High-Volume, Editorial-Style Ponytail
The high-volume, editorial-style ponytail is a staple of runway and photoshoot styling: sleek at the base, dramatically lifted through the crown, and sculpted rather than simply pulled back. Achieving that lift without visible bumps, gaps, or slippage over the course of a shoot or event comes down to backcombing technique, root construction, and how the pony is secured. This guide covers the full process for a professional stylist working on a client or model.
Prep and Planning the Silhouette
Start with clean or second-day hair; freshly washed, conditioner-heavy hair is too slick to hold backcombed volume. Decide on the ponytail's placement and height before you begin sectioning; a high, dramatic silhouette is built differently than a low, sculptural one, and changing your mind mid-process undoes work you've already done. Rough in the finished shape with your fingers to confirm placement relative to the client's hairline and head shape, then part out a clean panel at the crown that you'll use to build the lift.
Sectioning for Volume
Divide the head into two working zones: the crown panel, which will be backcombed to build height, and the perimeter, which stays smooth to wrap around the base and hide the elastic and any bobby pins. Clip the perimeter hair out of the way. Within the crown panel, take horizontal sections about half an inch to one inch deep, working from the hairline back toward the eventual ponytail base.
Backcombing and Teasing Technique
- Hold each section straight up and away from the head at a 90-degree angle so the backcombing builds a solid base rather than lying flat.
- Using a fine-tooth comb, push the hair down toward the scalp in short, firm strokes, working from mid-shaft toward the root. Concentrate the teasing closest to the scalp to build a dense, stable cushion of volume.
- Move to the next section forward and repeat, layering each backcombed section so the volume builds progressively from the hairline back to the crown.
- Once all sections in the crown panel are backcombed, smooth only the very top surface layer of each section lightly with the comb or a soft brush to eliminate visible frizz while keeping the teased structure underneath intact.
- Mist the backcombed panel lightly with a firm-hold spray and let it set for a moment before moving on; this locks the teasing in place so it doesn't collapse when you gather the ponytail.
Gathering and Securing the Base
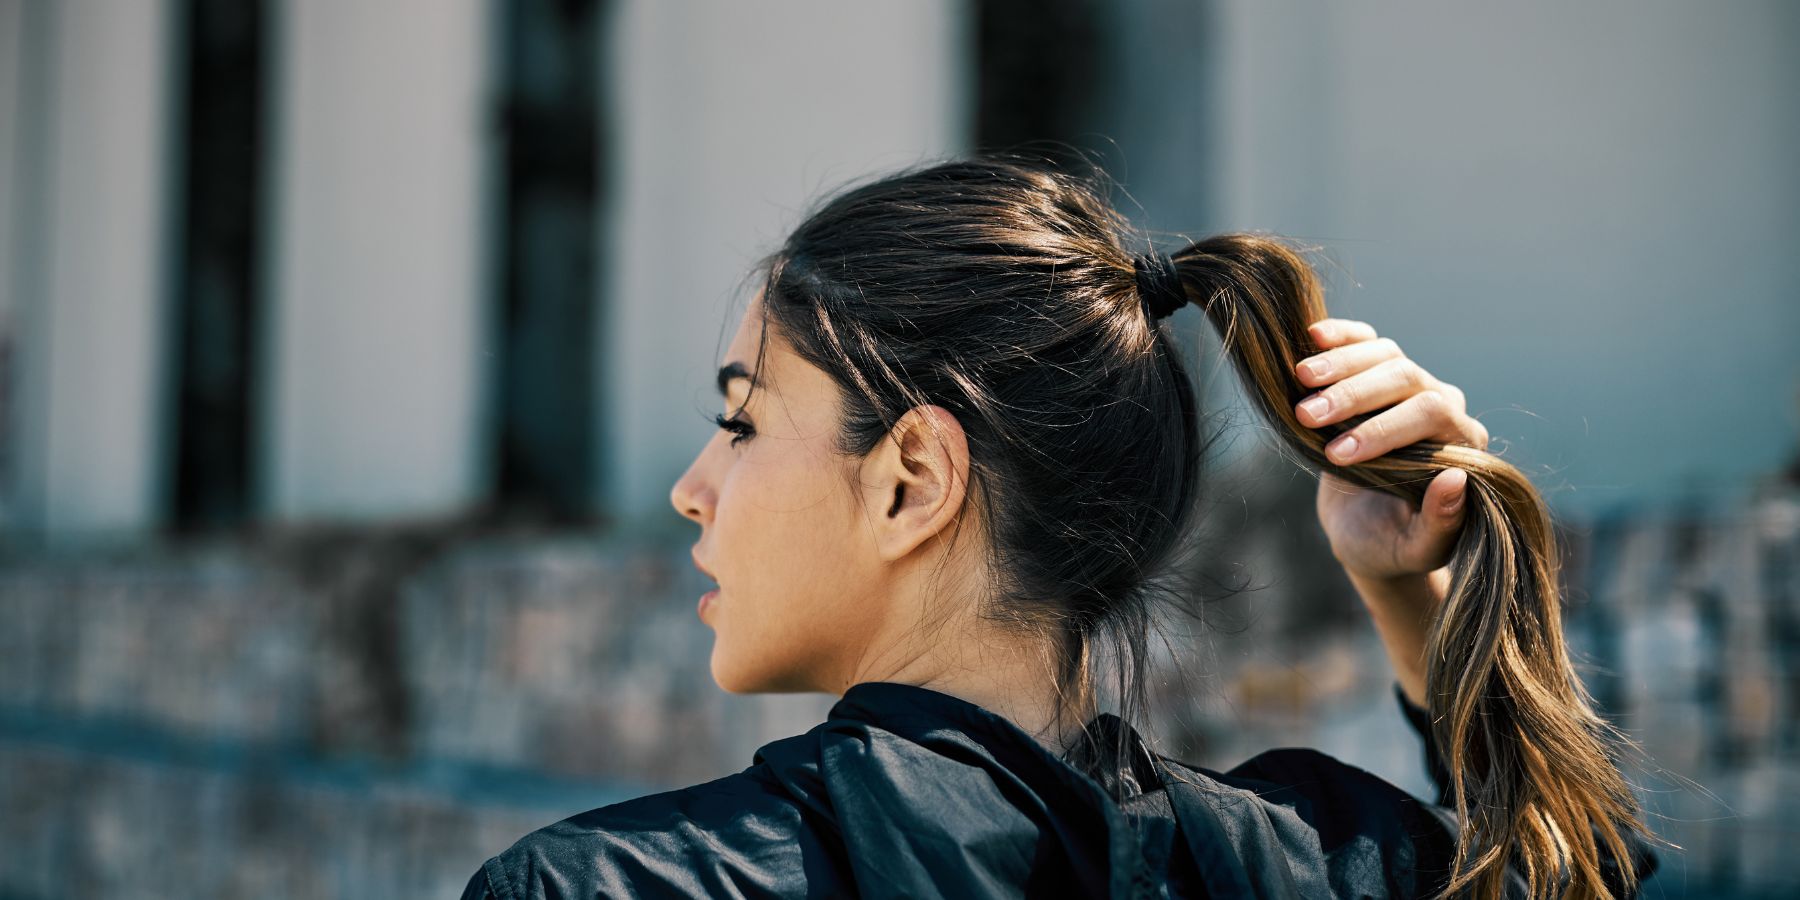
Release the perimeter sections and smooth them back over the backcombed crown, gathering everything into your hand at the predetermined ponytail placement. Use a fine-tooth comb or your palms to smooth the surface hair without flattening the volume underneath; light tension pulling back and slightly up, rather than straight back, helps preserve the lift. Secure with a strong, thin elastic wrapped several times, checking that the tension is even so the ponytail doesn't pull to one side. For an editorial finish, wrap a small section of hair around the elastic base and pin the end underneath with bobby pins to conceal it completely.
Reinforcing the Shape
To keep the crown lift from collapsing during a long shoot or event, insert two or three bobby pins directly into the backcombed base, angled slightly downward and crossed in an X pattern, anchoring the teased hair to the pins beneath the smooth surface layer. This is the same anchoring principle used for any style that needs to hold volume against gravity for hours rather than minutes. Check the silhouette from the front, sides, and back, and add pins wherever the shape looks like it's starting to settle.
Finishing
Once the ponytail is secured and the shape is confirmed, go back over any flyaways with a small amount of finishing product on a clean brush or your fingertips, applied sparingly to avoid weighing down the crown volume. A light mist of firm-hold spray over the entire silhouette, held at a distance to avoid clumping, locks the finished shape in place. If the style needs to travel or last through a full day of wear, carry extra fine-tooth combs and pins on set for touch-ups between looks.
Common Issues and Fixes
If the crown volume looks uneven, it's usually a sectioning problem: sections that are too large backcomb unevenly and leave visible gaps. Redo problem areas in smaller subsections rather than trying to fix the whole panel at once. If the ponytail slips or droops over time, the elastic tension was likely too loose at the base, or the anchoring pins weren't angled into the backcombed structure. On very fine or slippery hair, a texturizing spray applied before backcombing gives the strands more grip and makes the teasing hold longer.
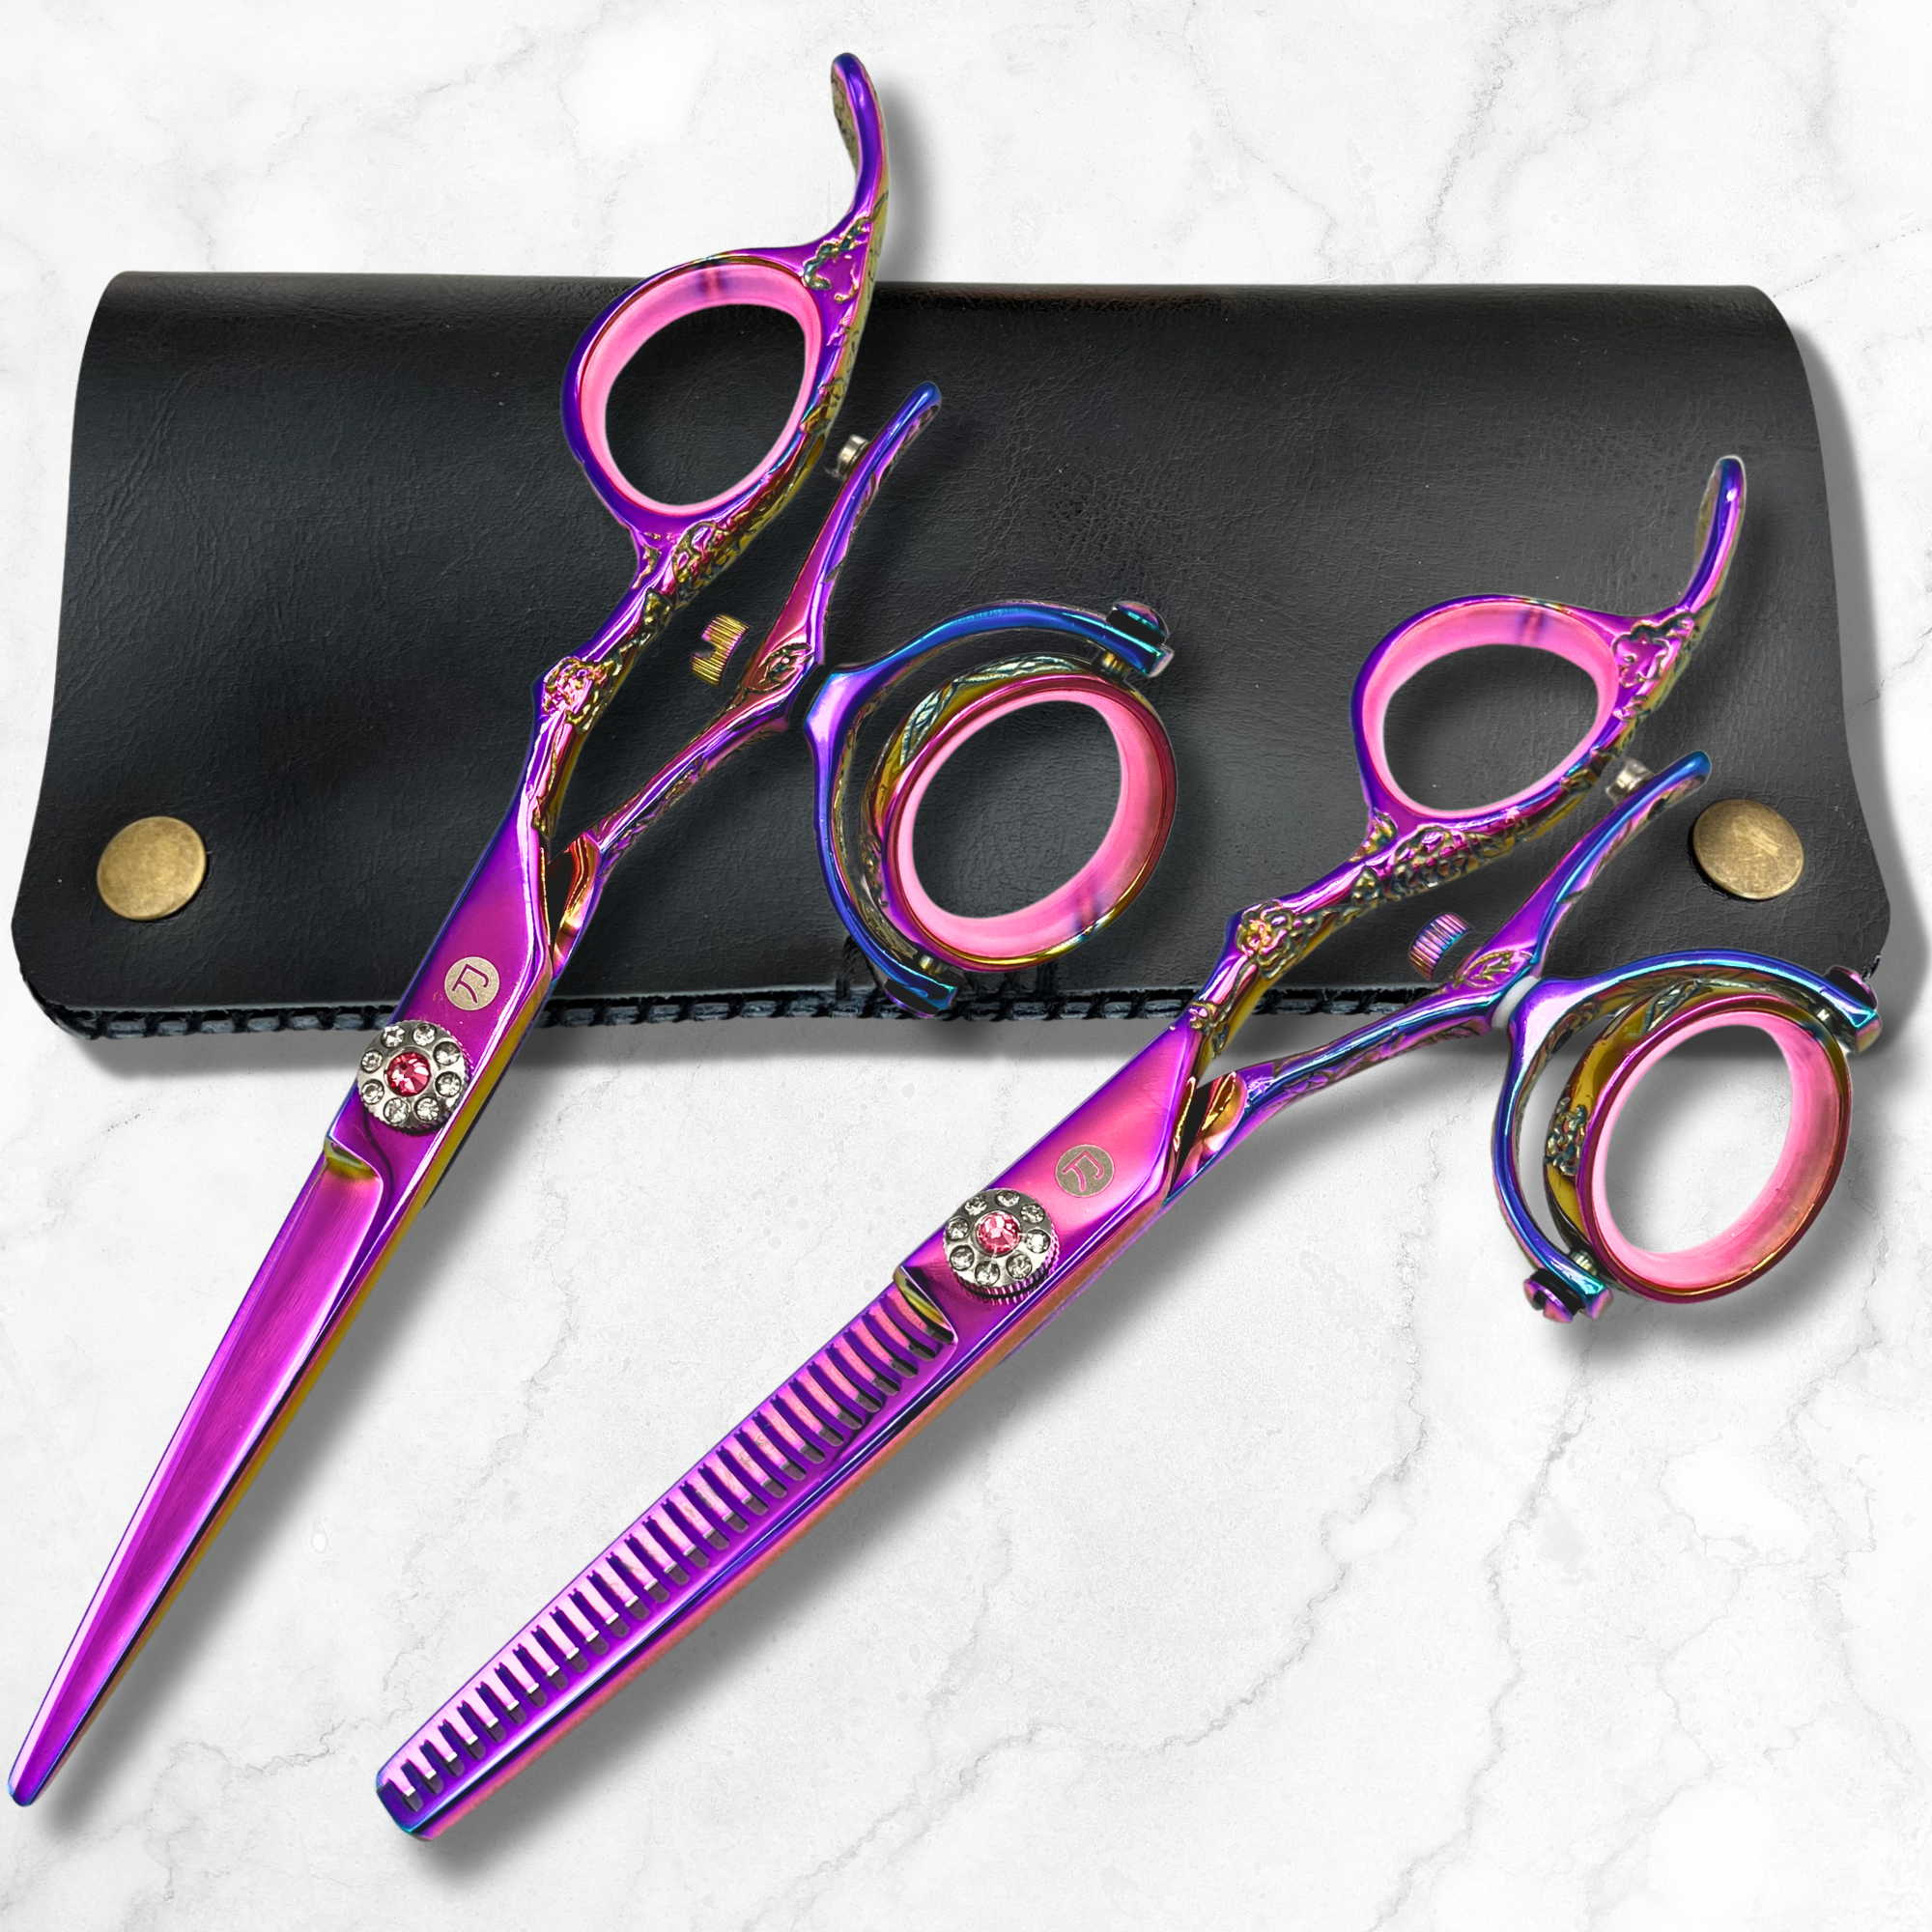
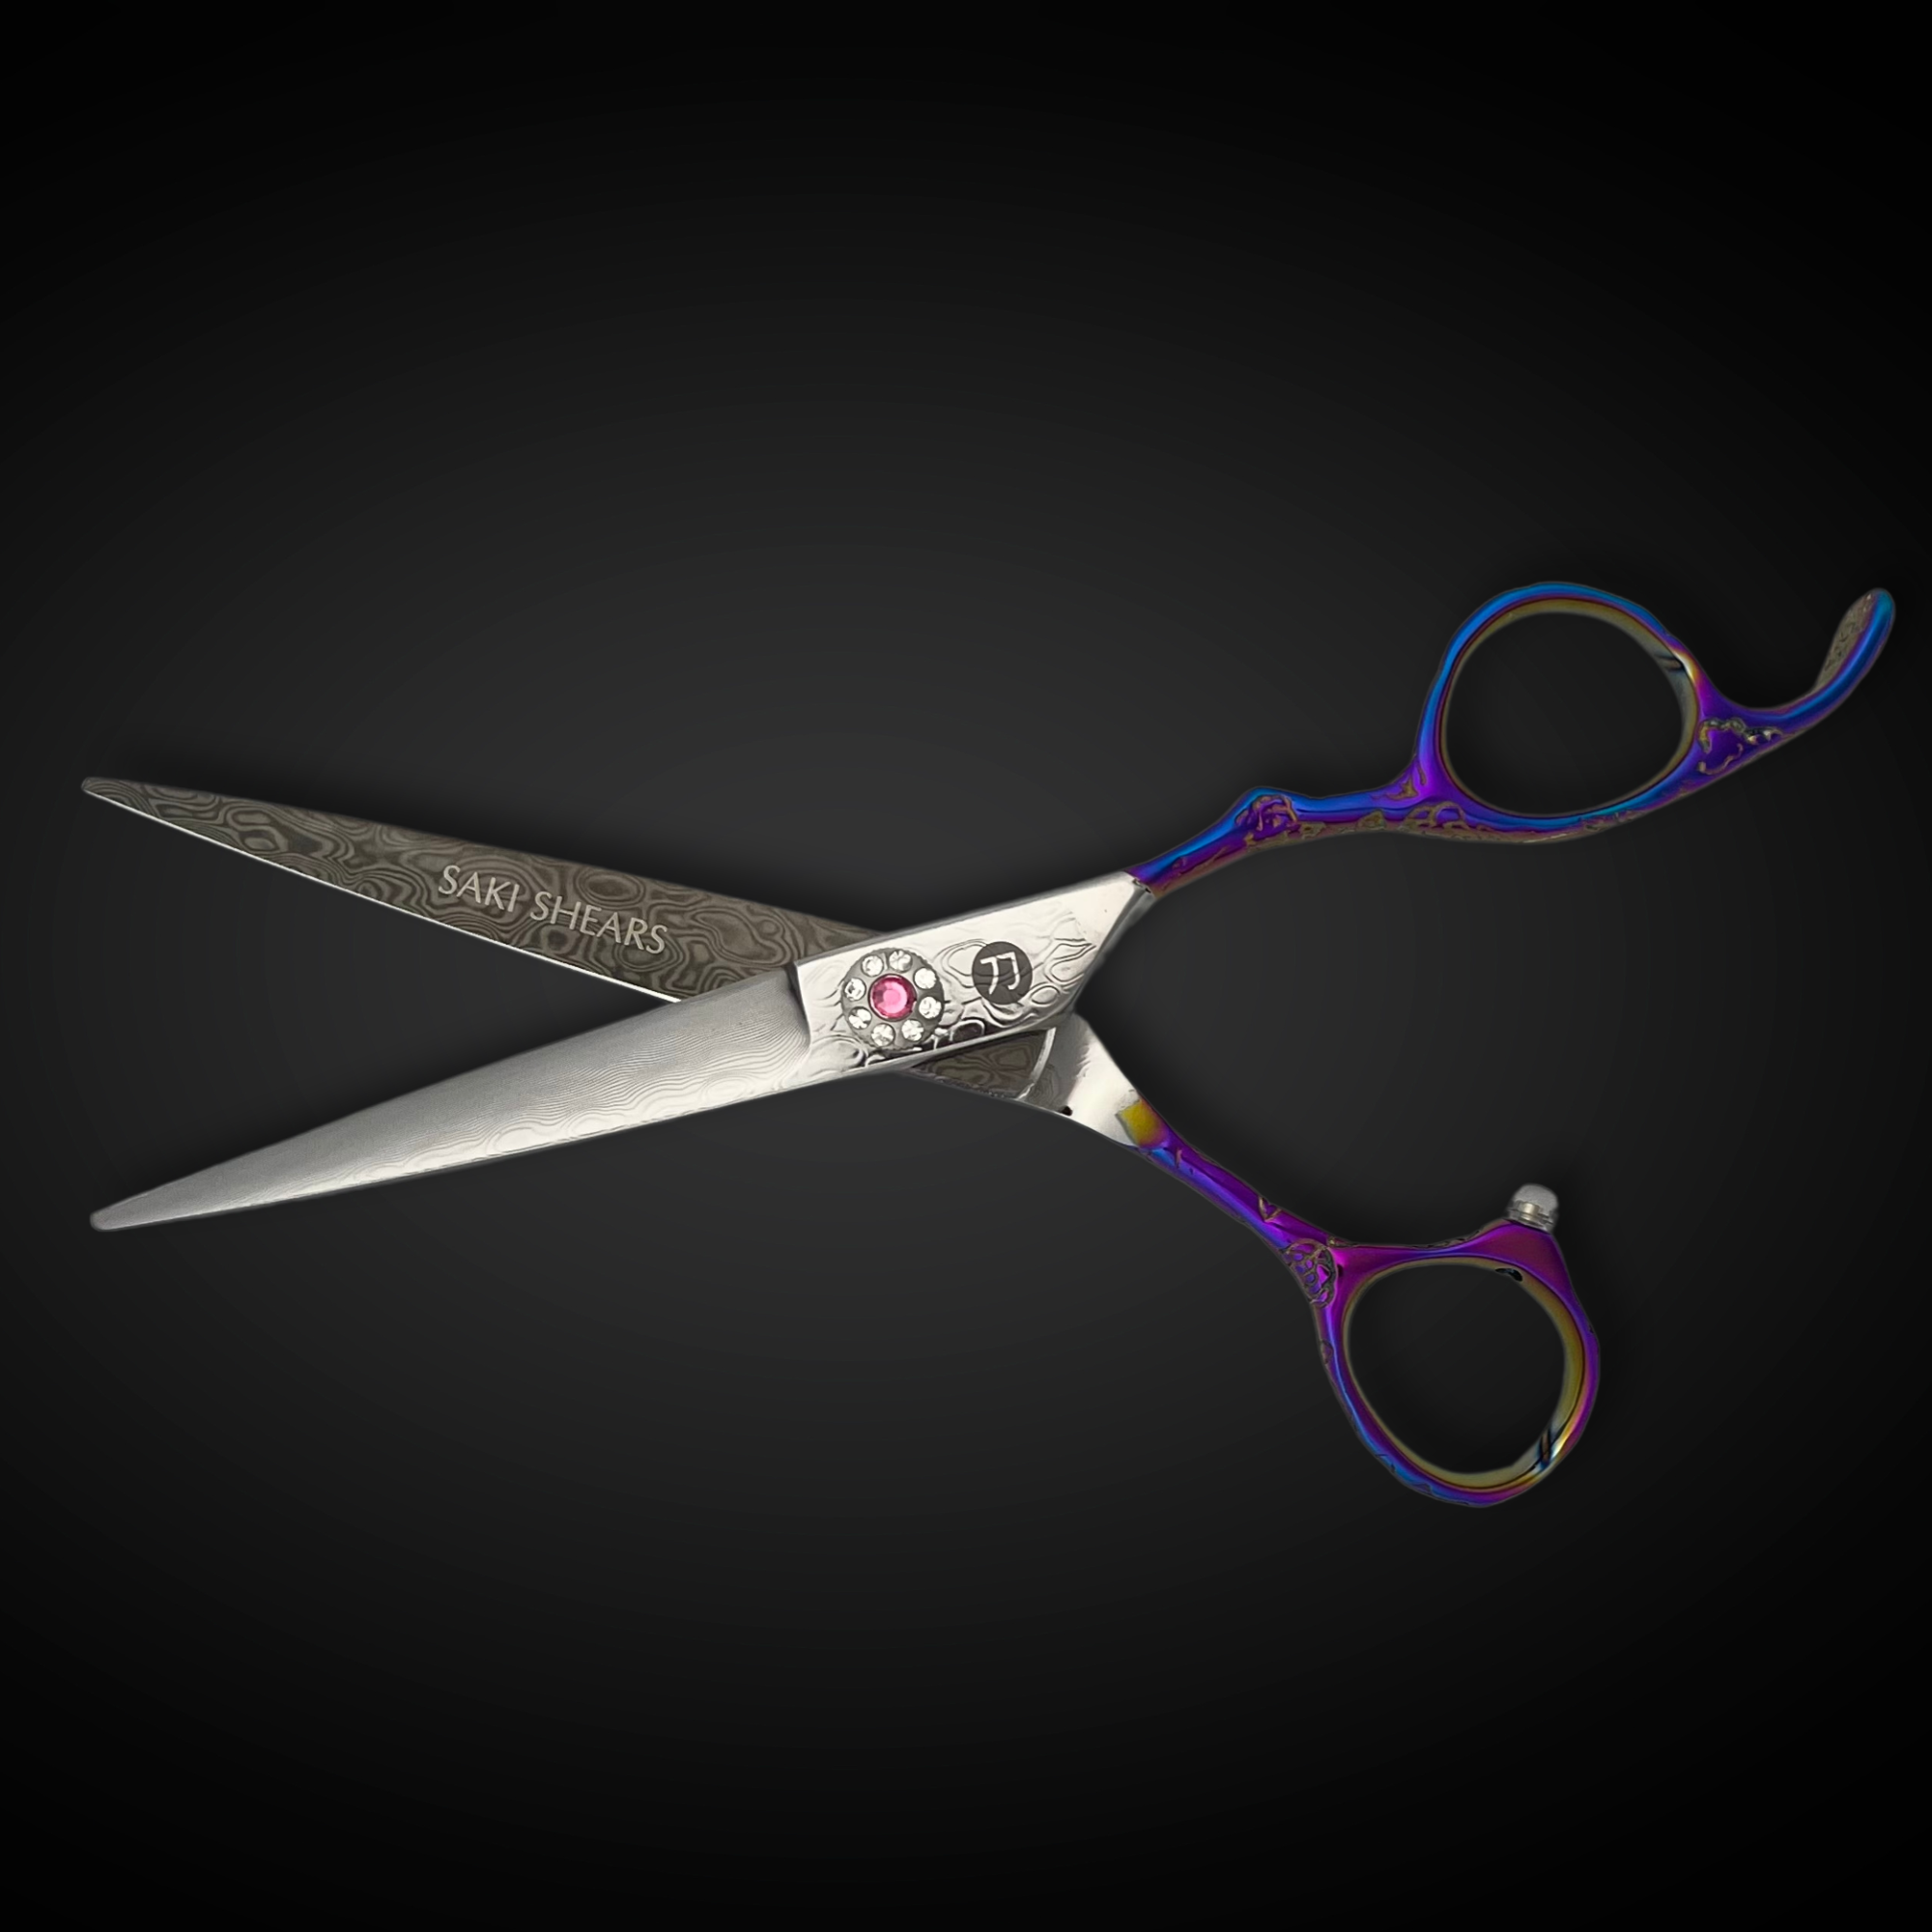
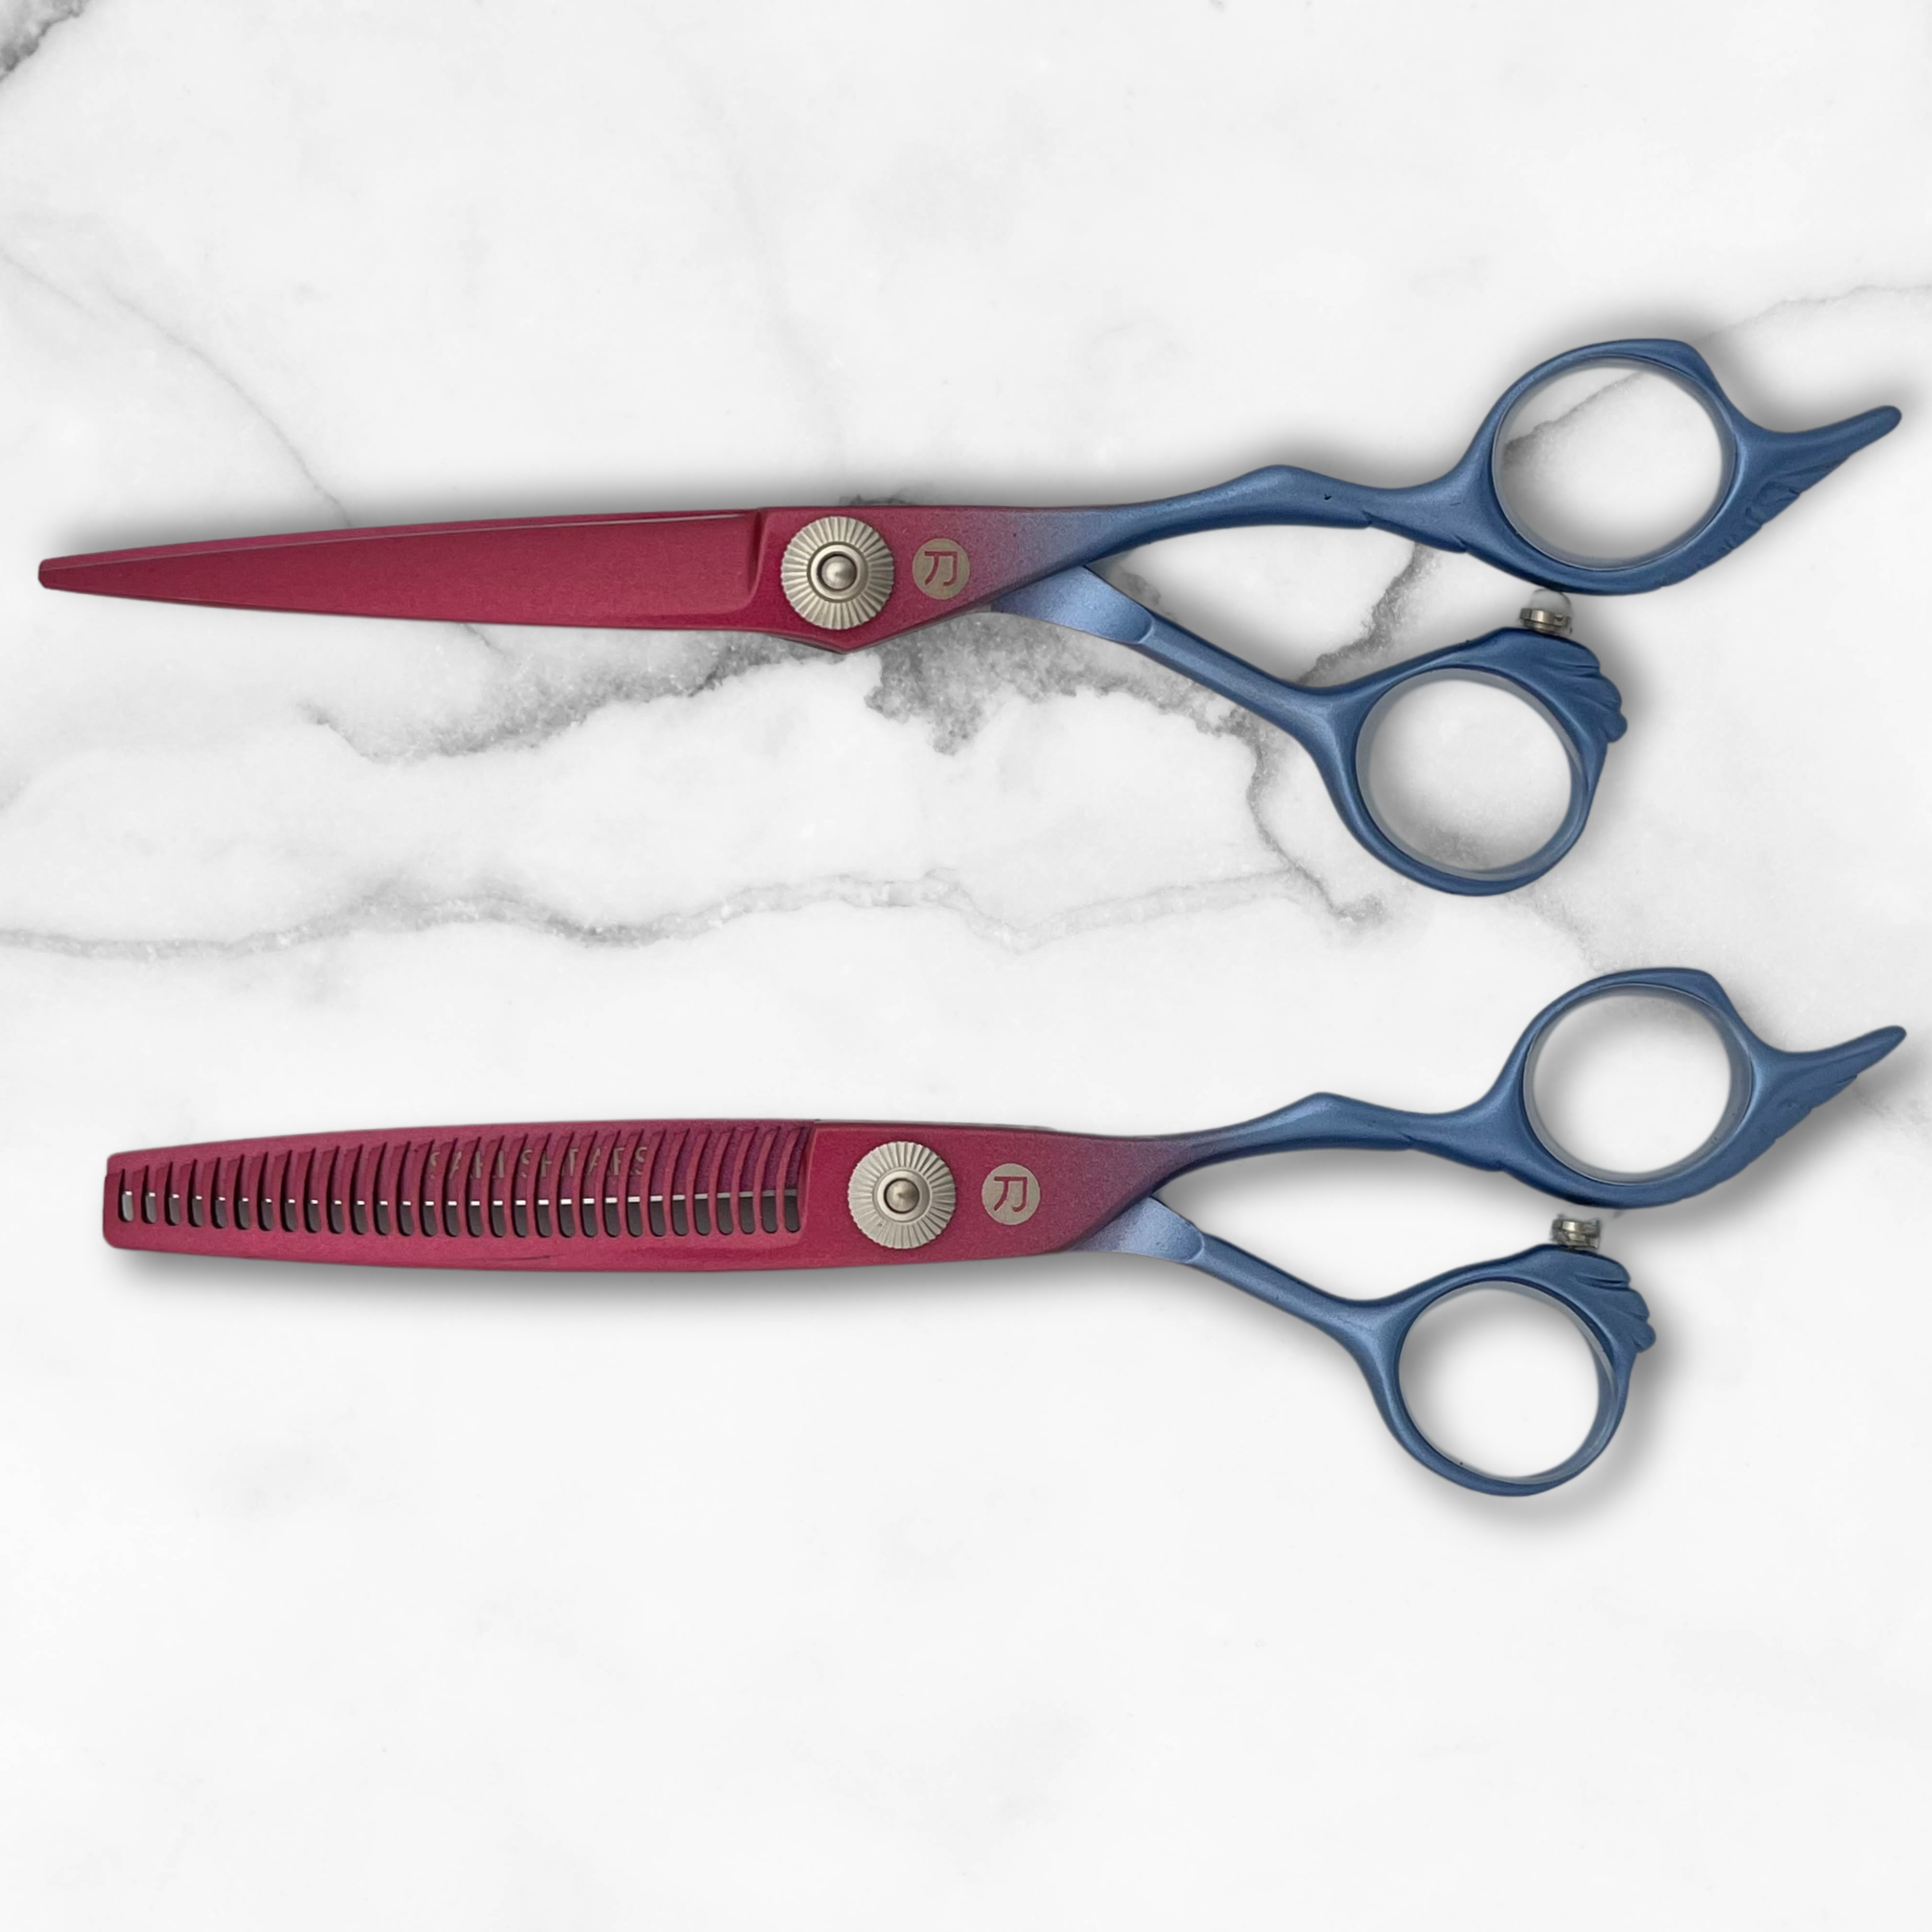
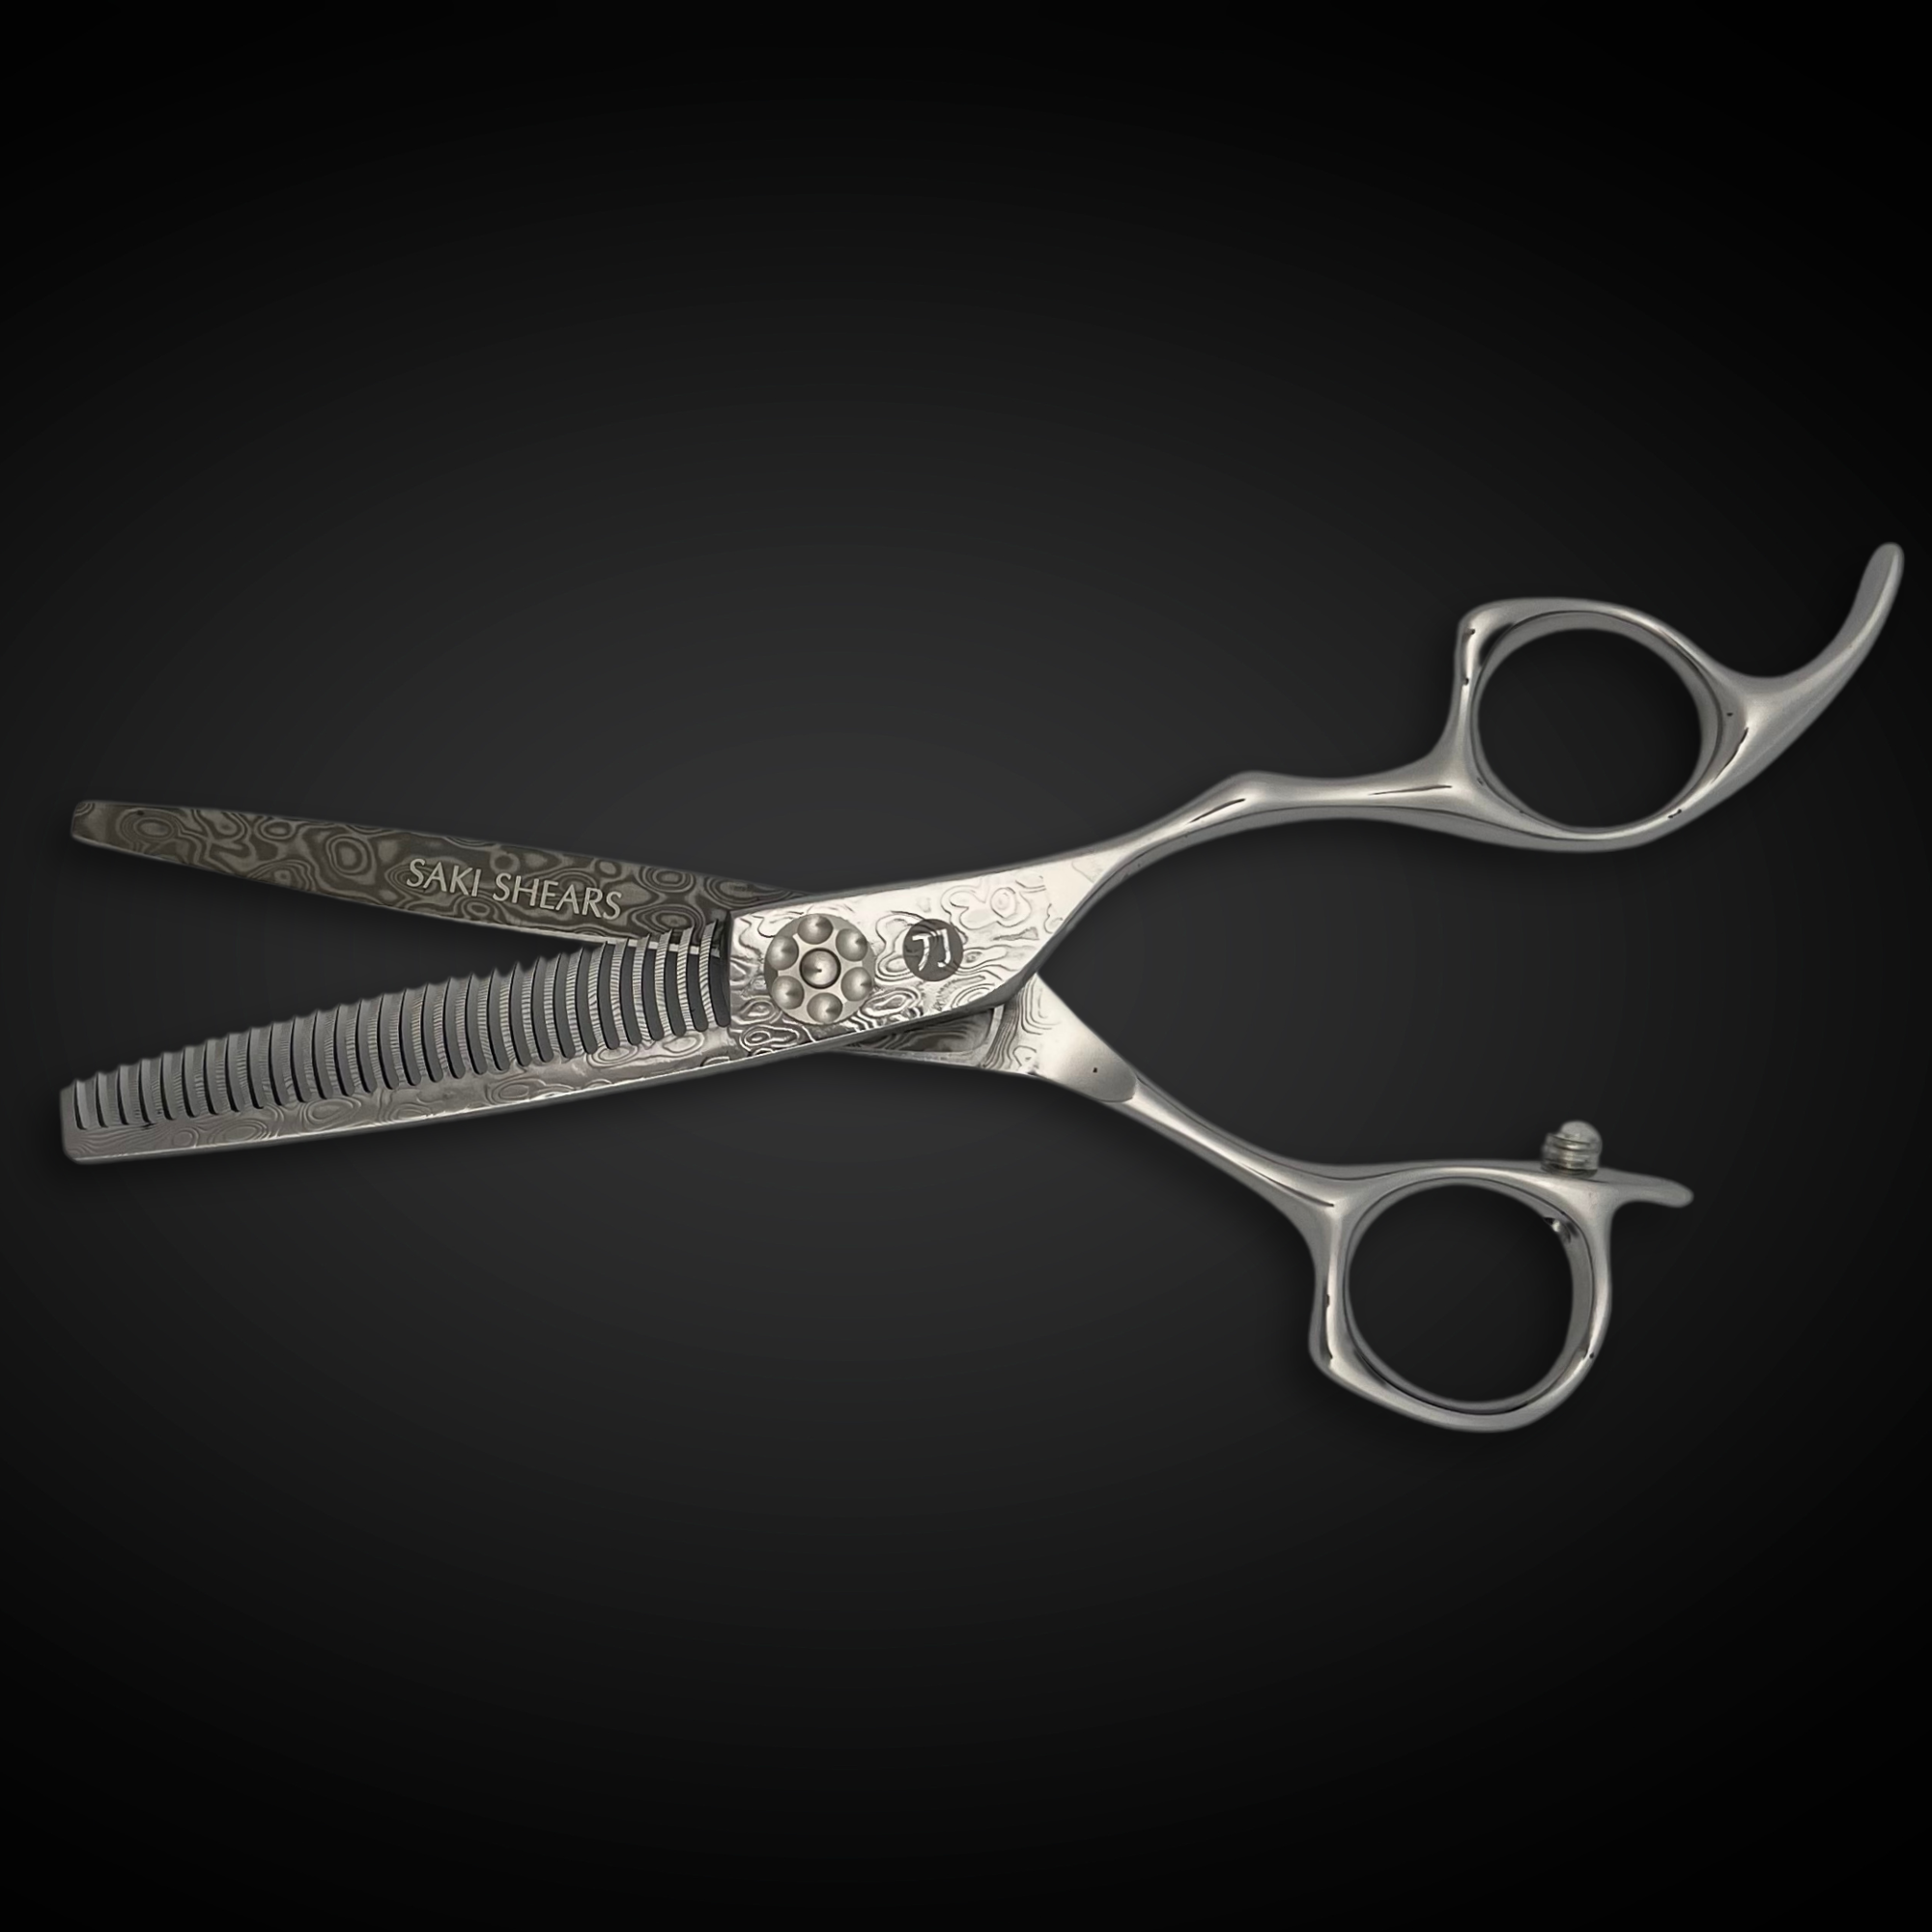
Clean, well-maintained combs and shears make a real difference in how precisely you can section and how smoothly the surface hair lies once it's gathered. Take a look at our hair cutting shears and hair shear sets collections for tools built for precision sectioning and finishing work.

Written by Charles Harris