Cleaning Hair Cutting Shears: A Step-by-Step Guide
Why a Consistent Cleaning Routine Matters
Hair cutting shears are precision instruments, not disposable tools. Product residue, hair dust, and moisture build up on the blades and inside the pivot with every service, and if that buildup isn't removed, it accelerates dulling, pitting, and eventually costly repairs or replacement. A short cleaning routine after every client protects your investment, keeps the cut quality consistent, and takes less time than resharpening a neglected pair of shears. The steps below are the same routine most working stylists and barbers can build into their between-client workflow without slowing down a busy chair.
What You'll Need
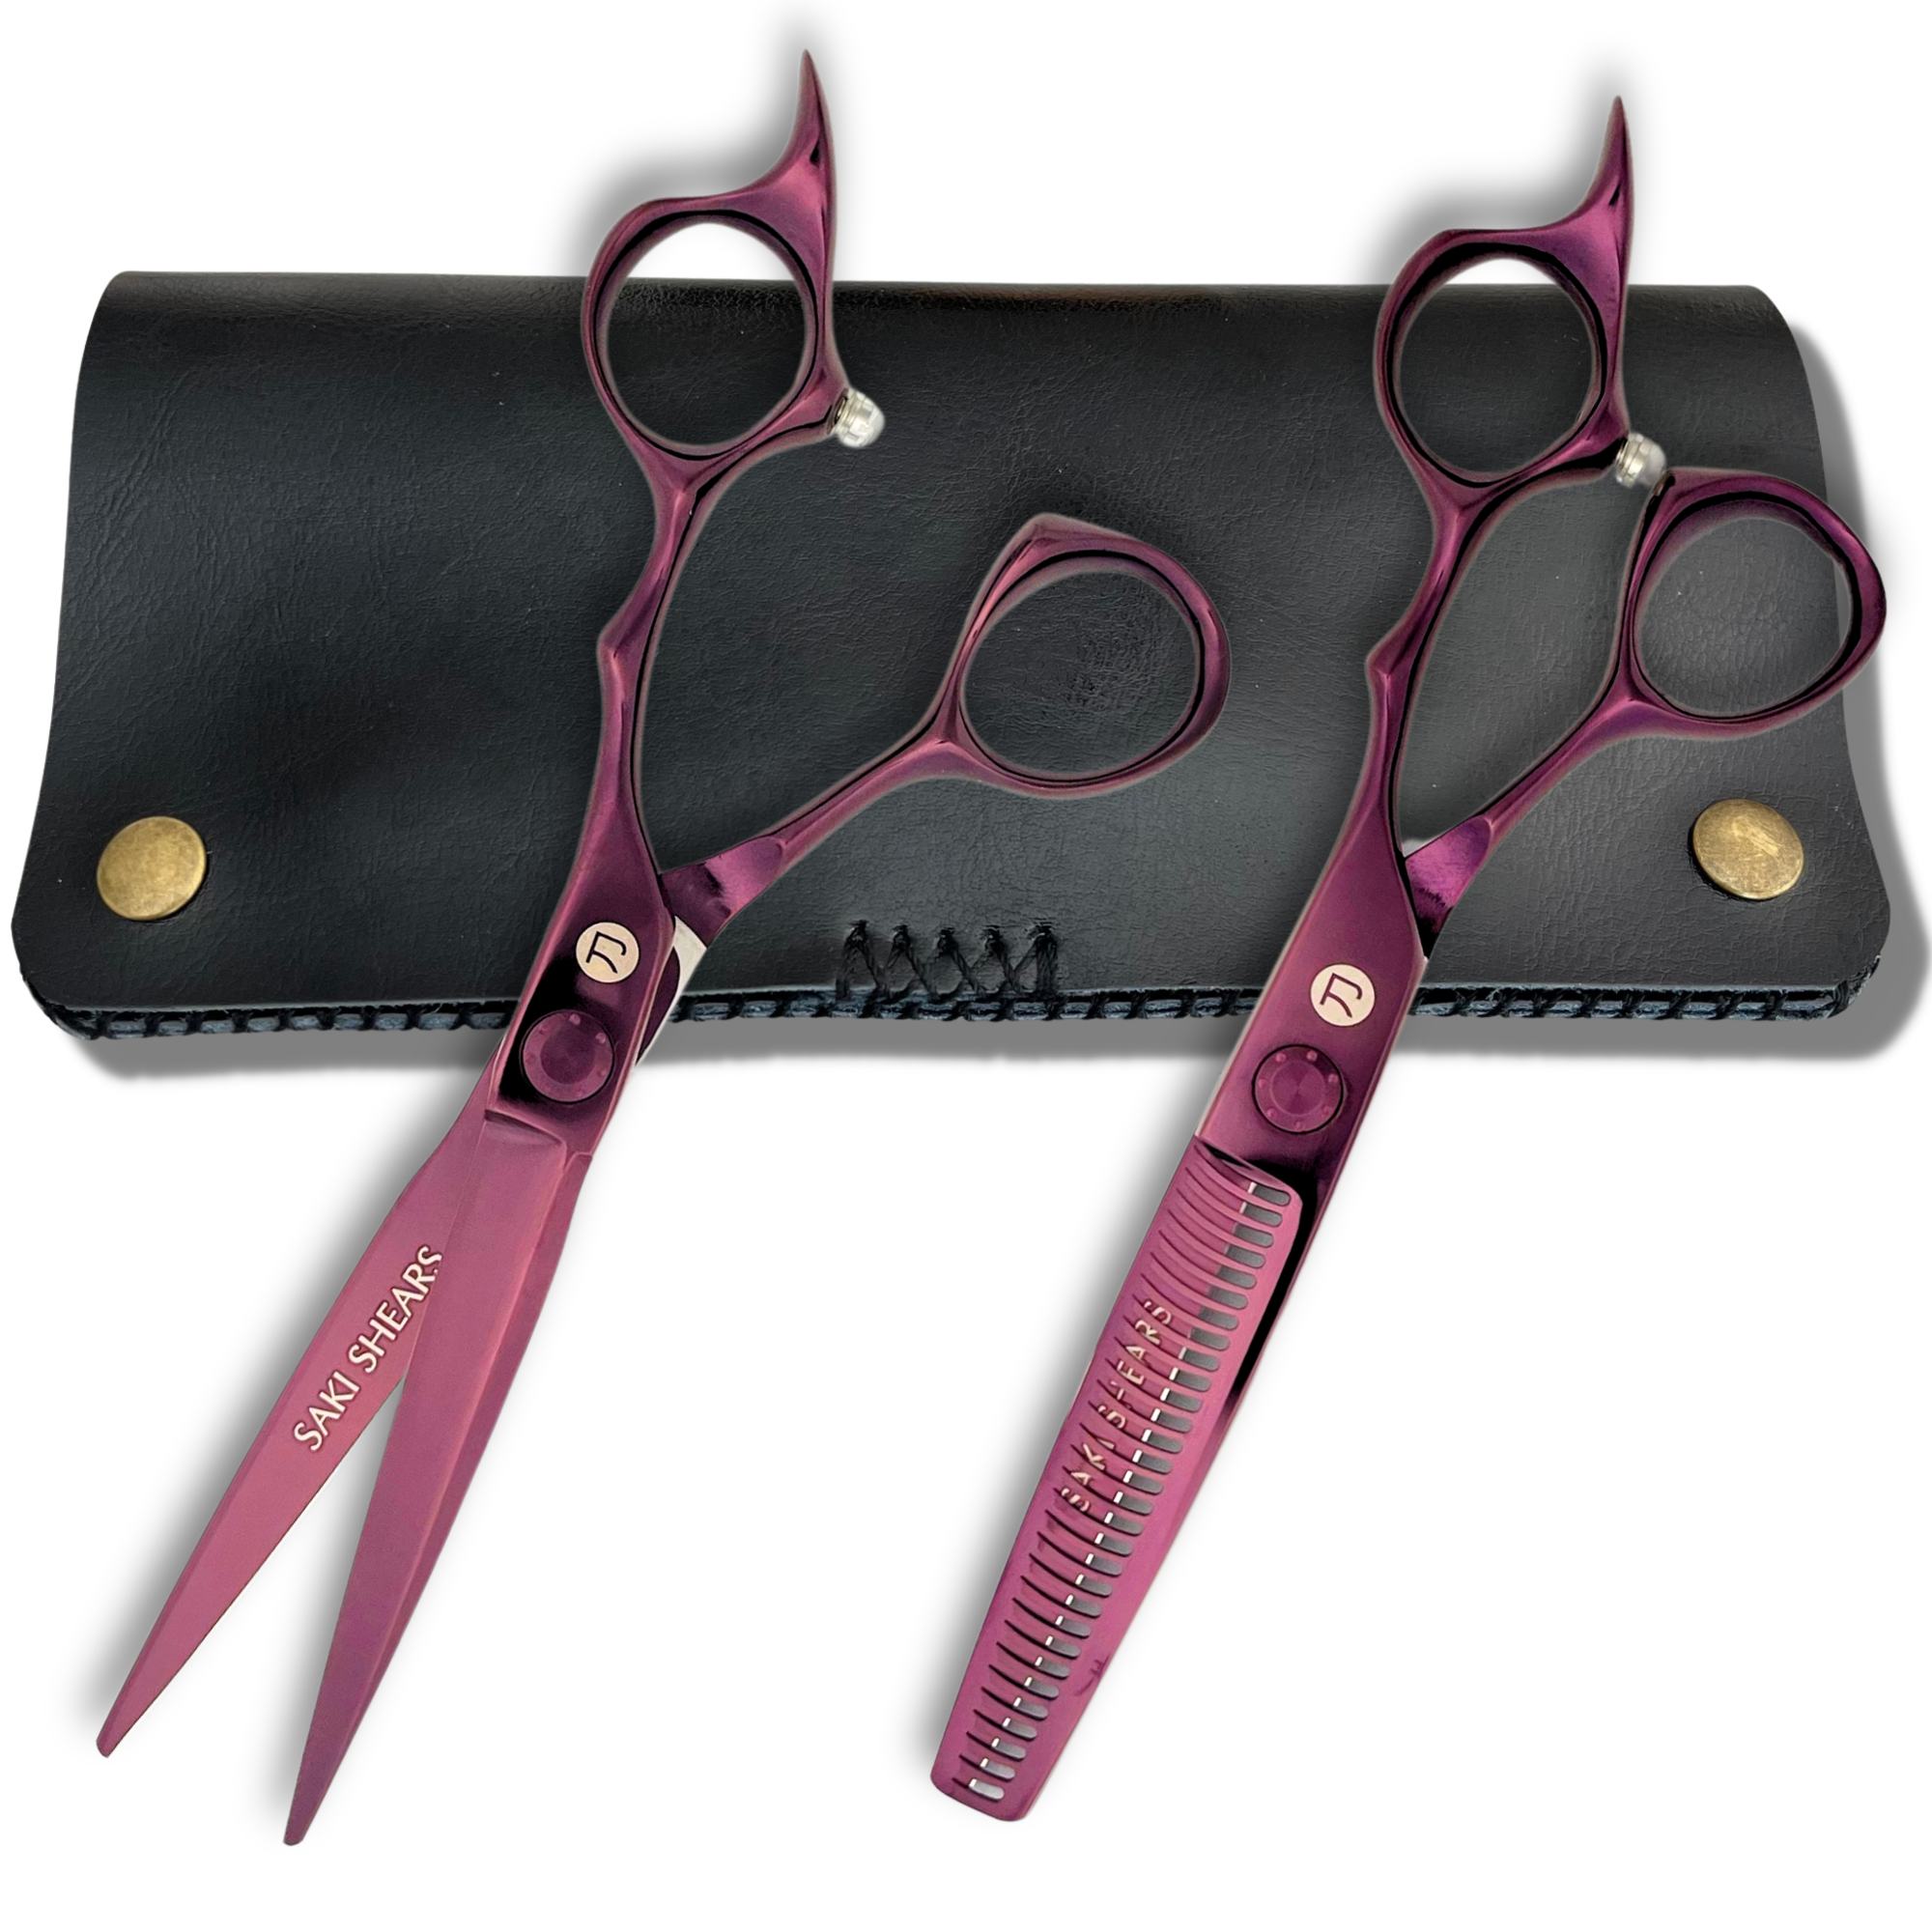
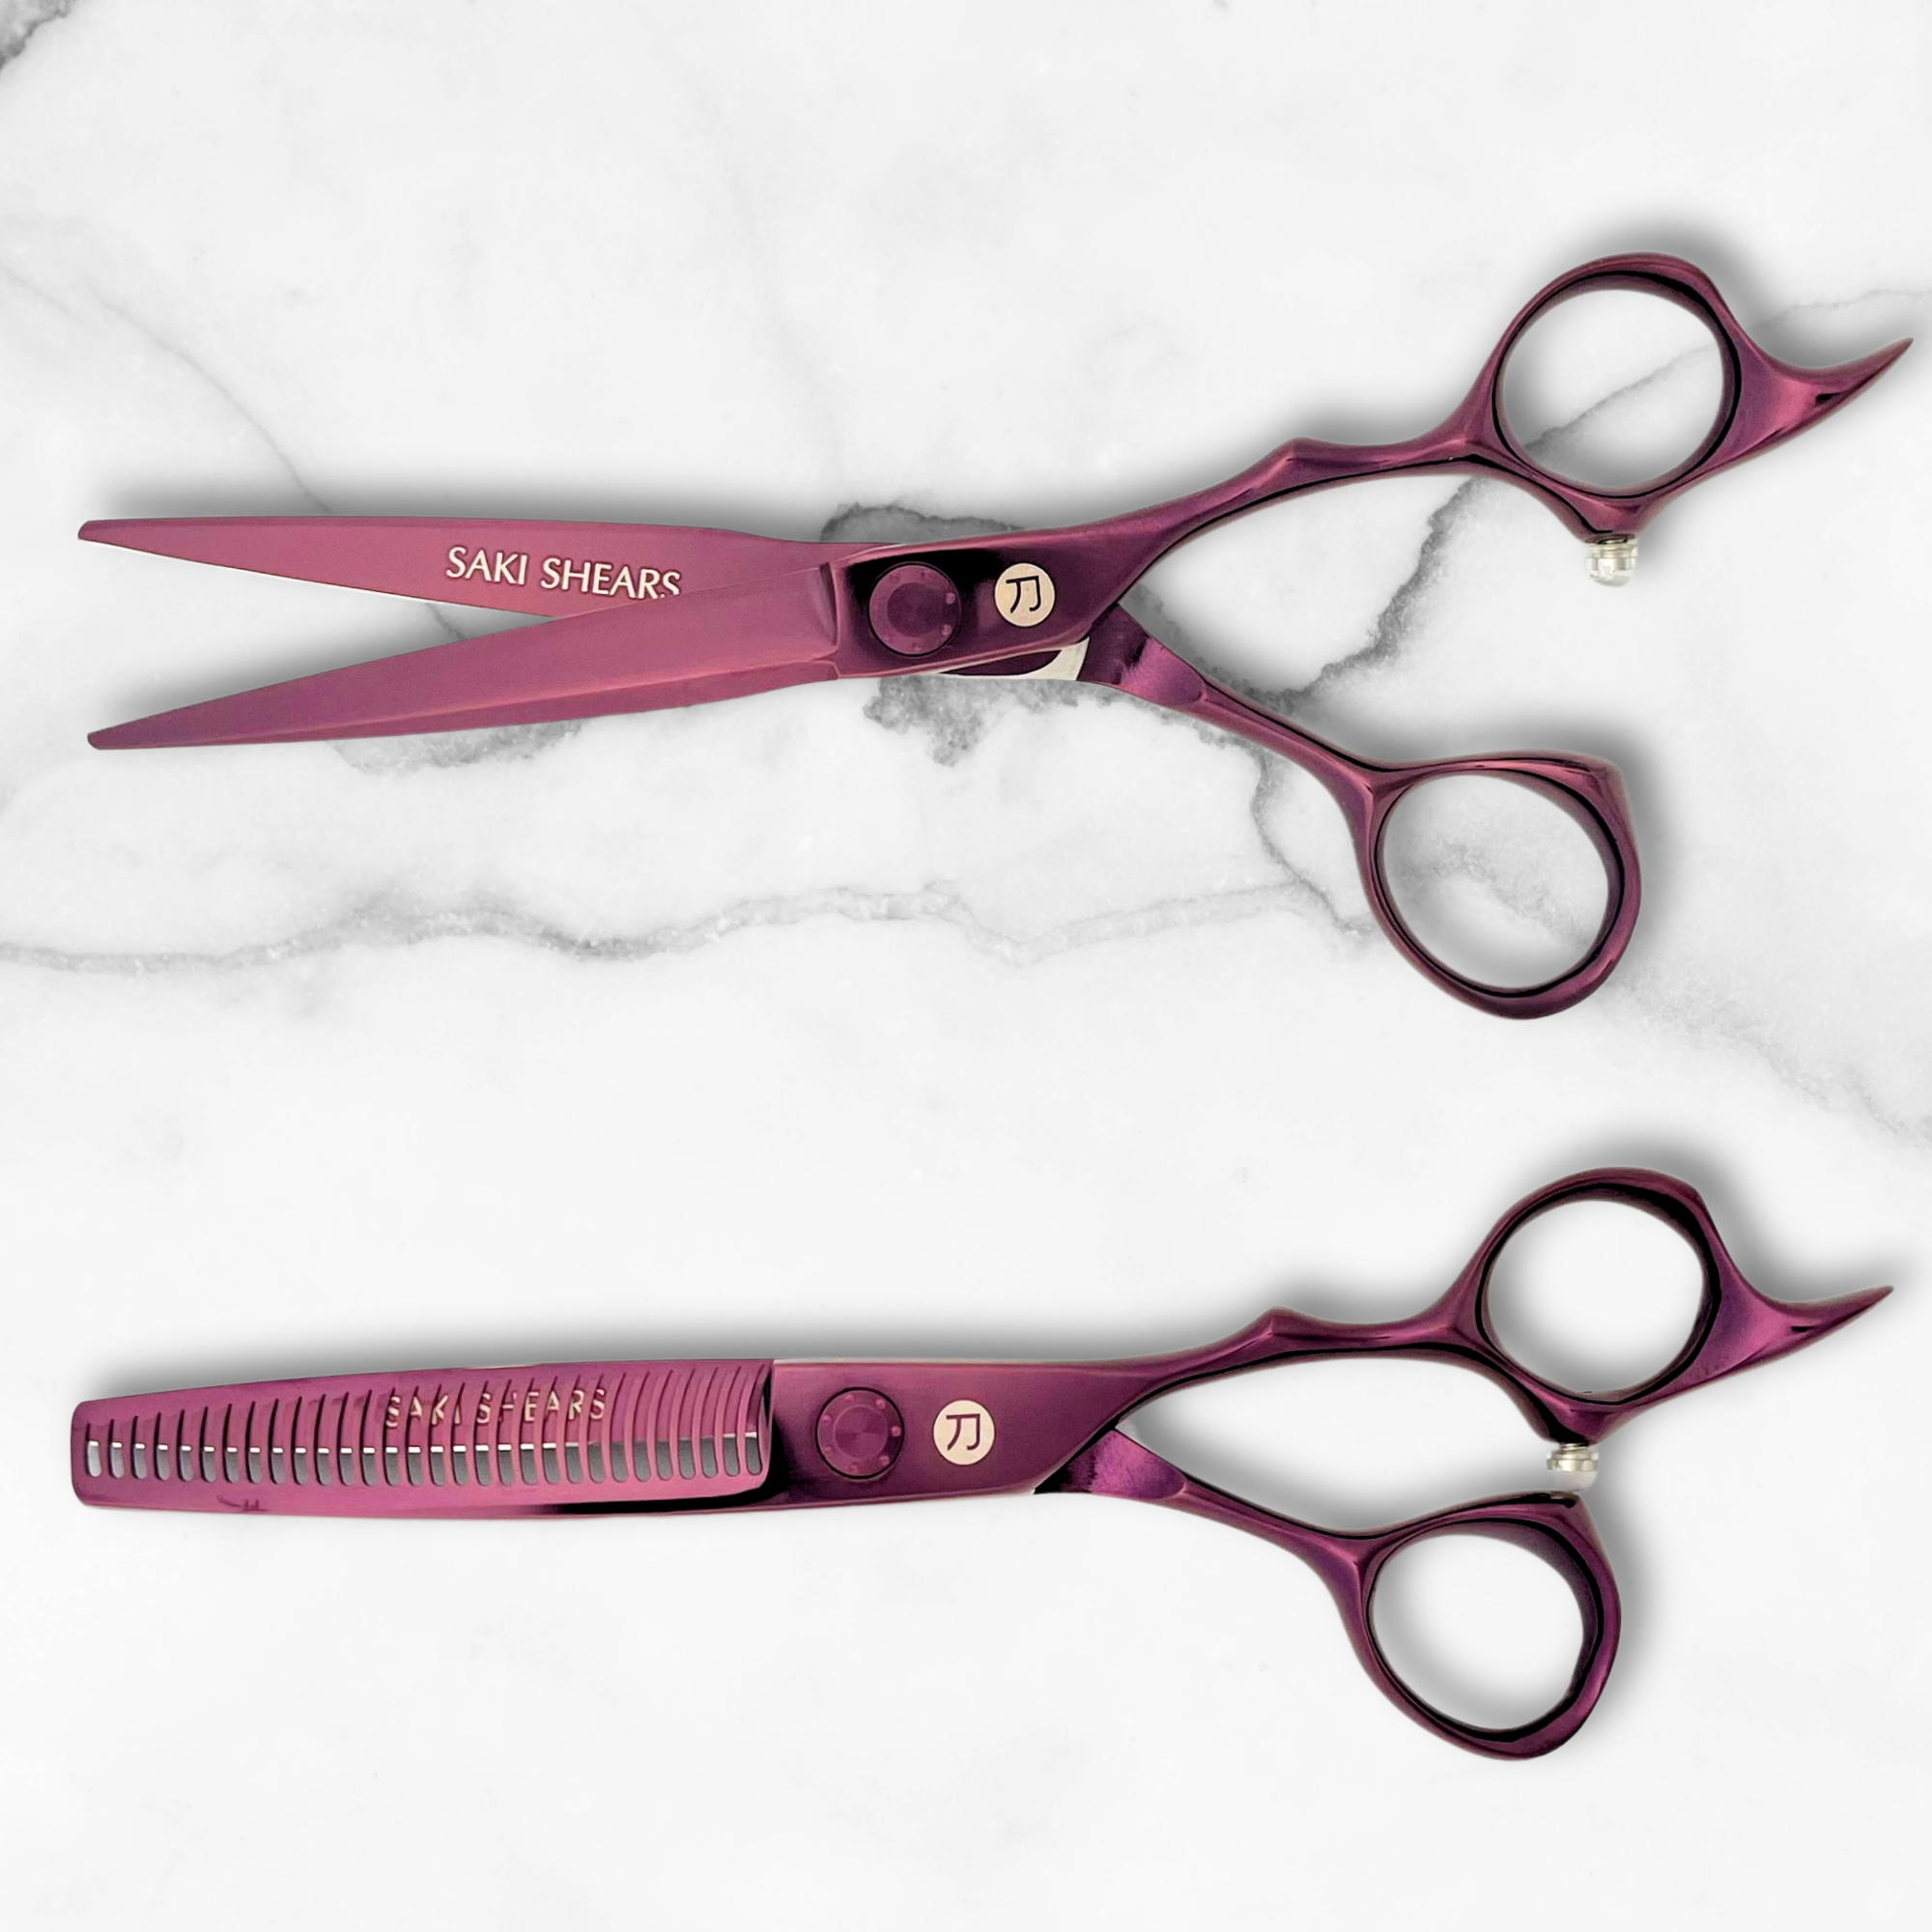
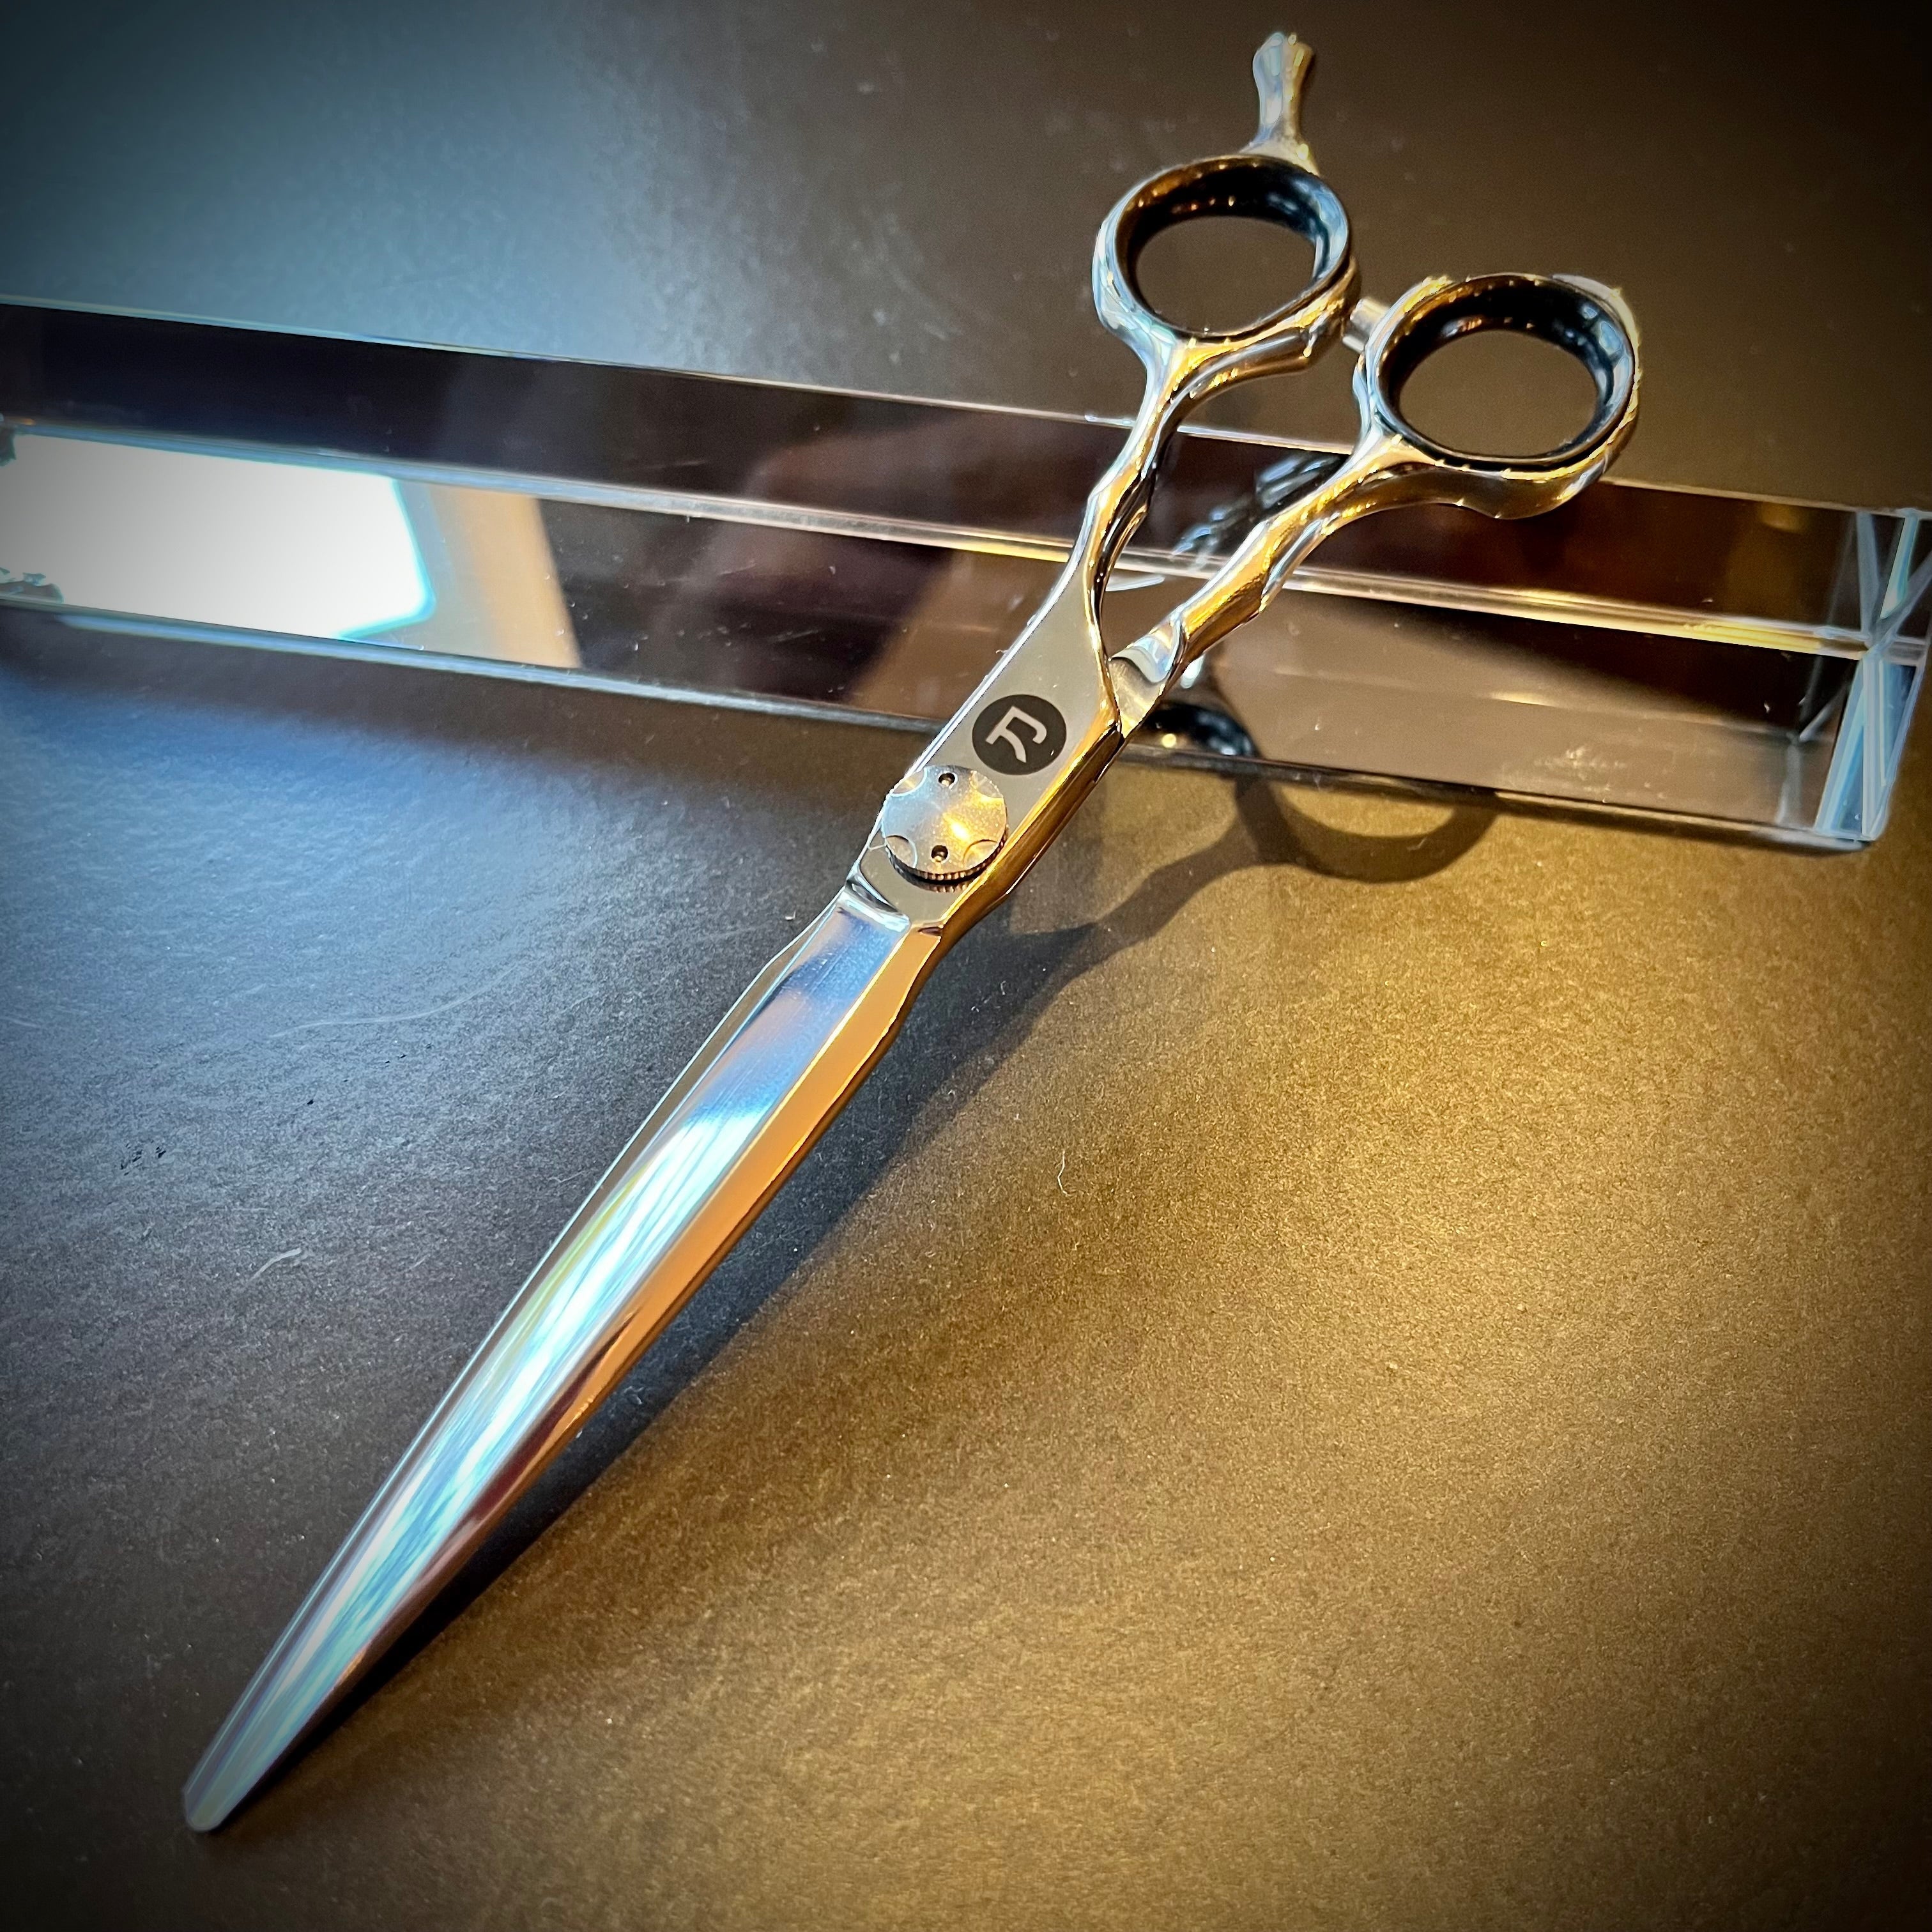
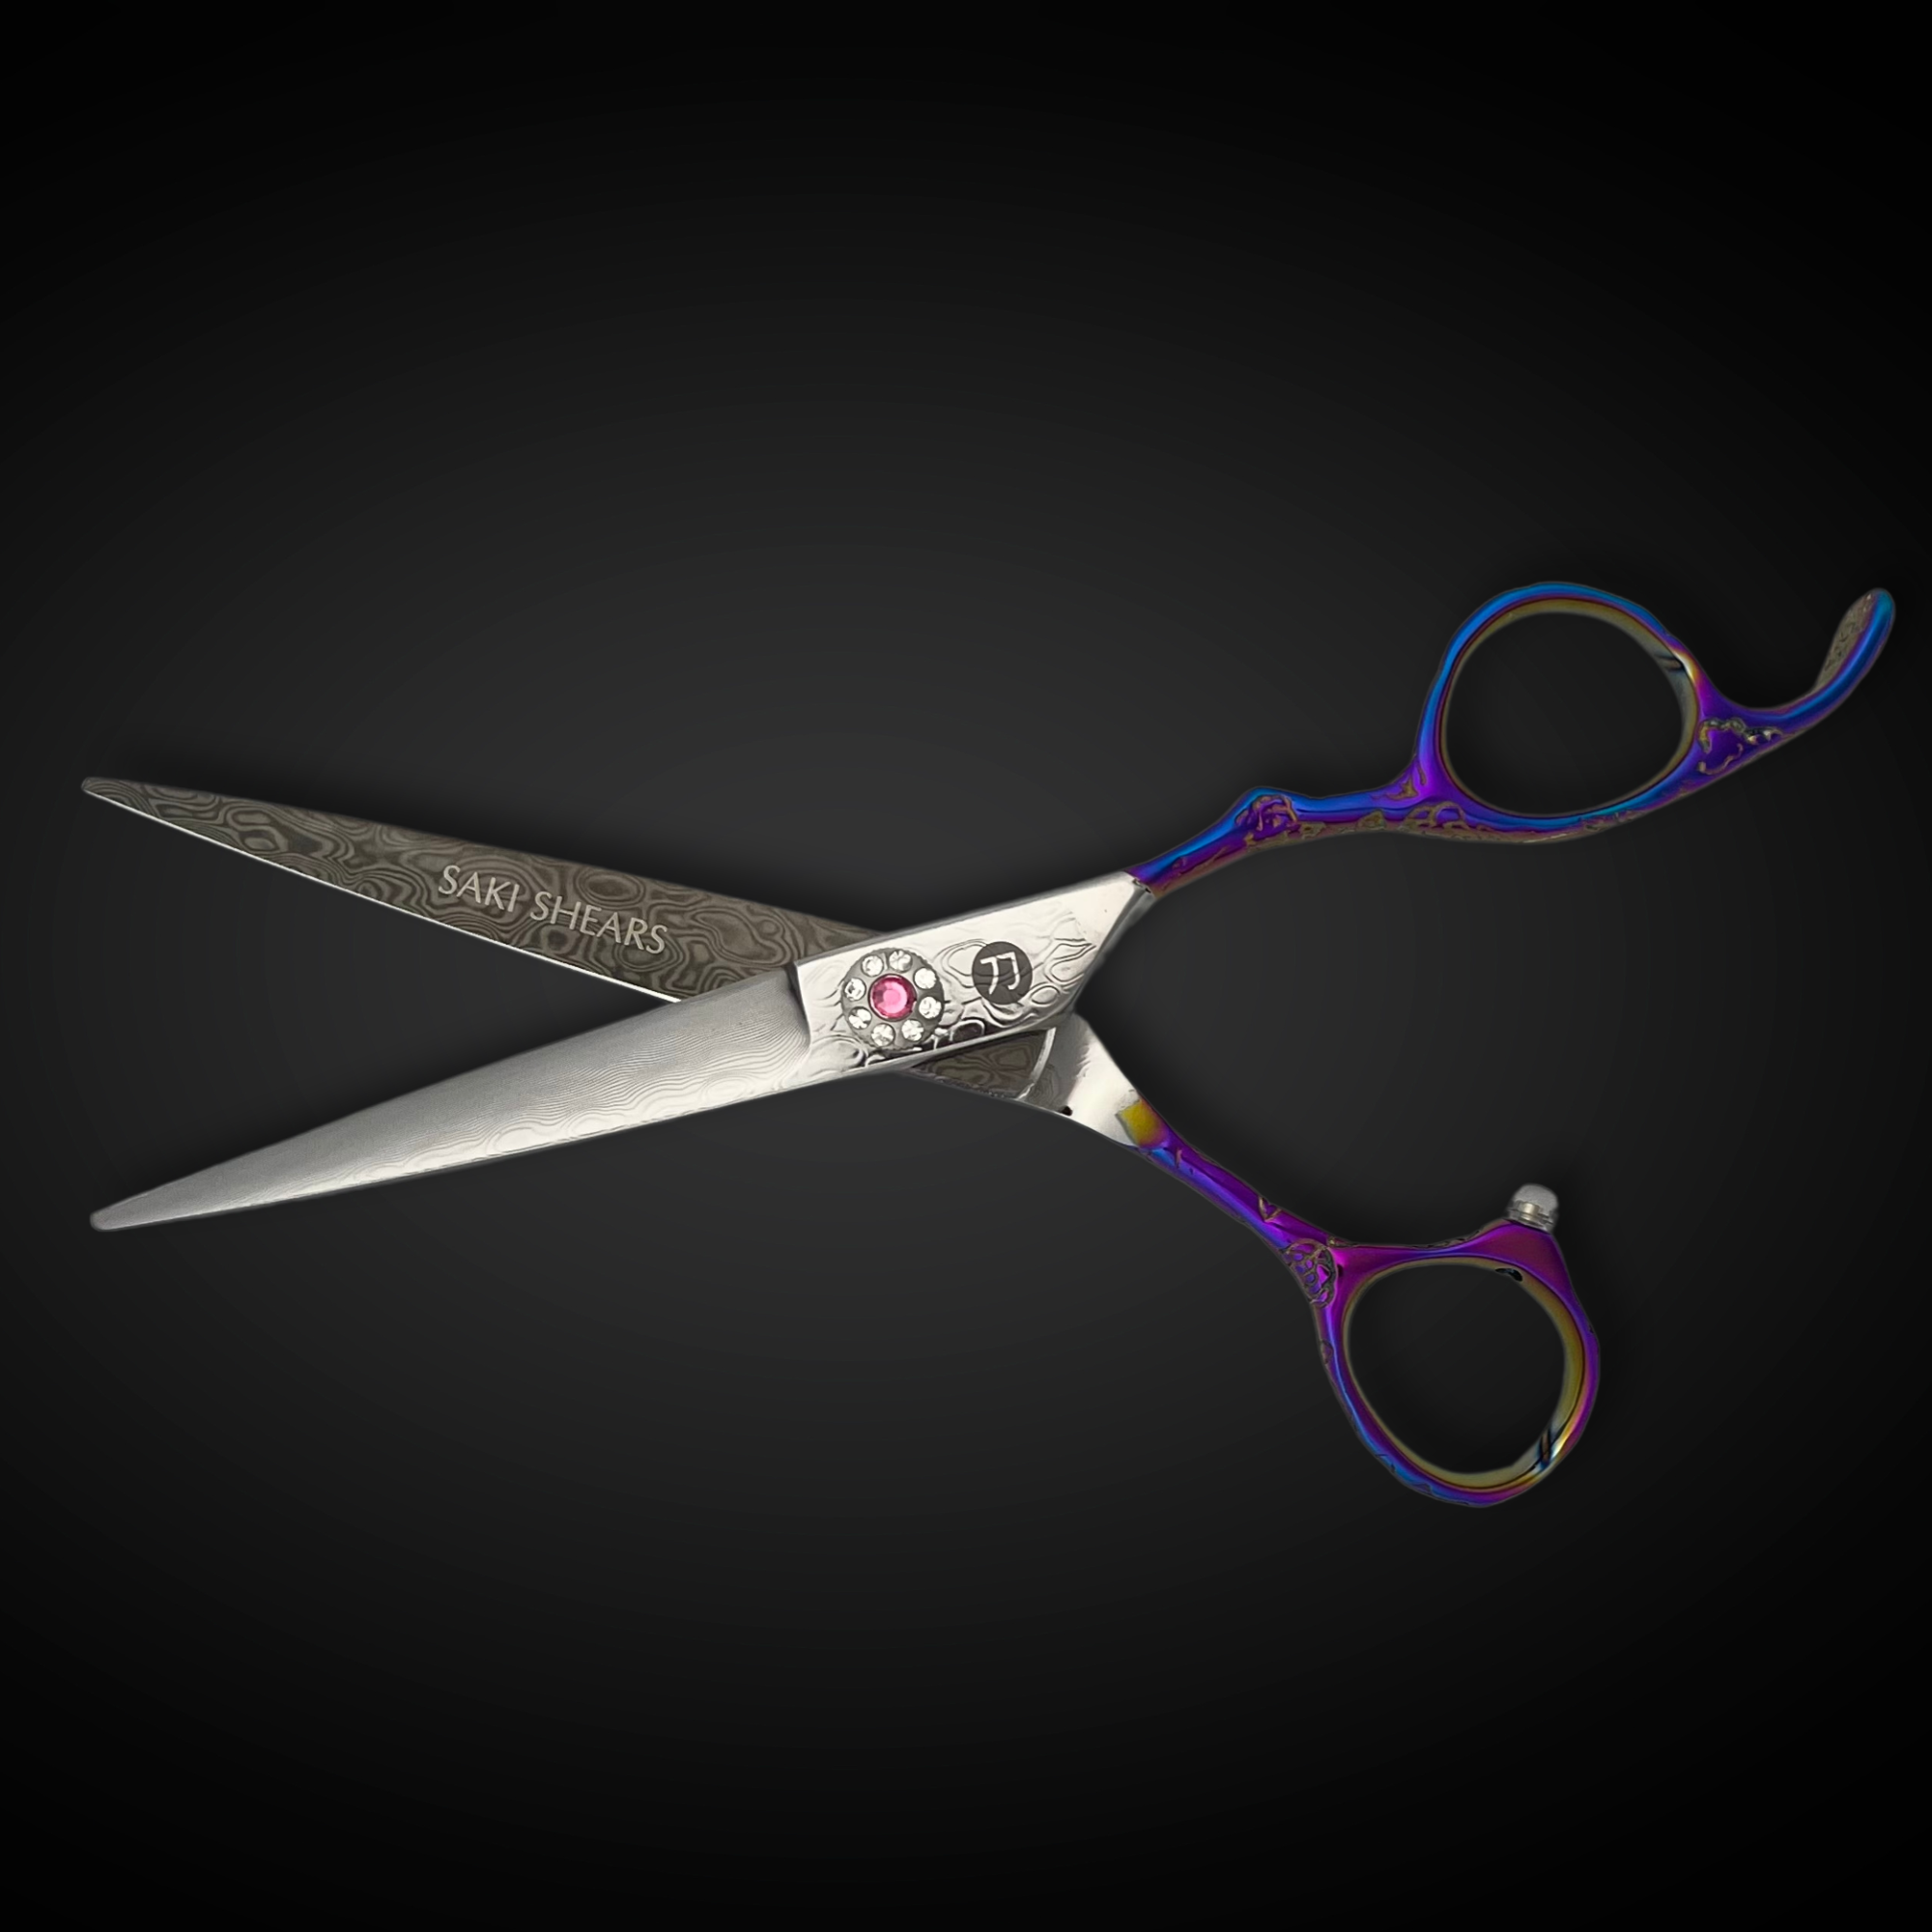
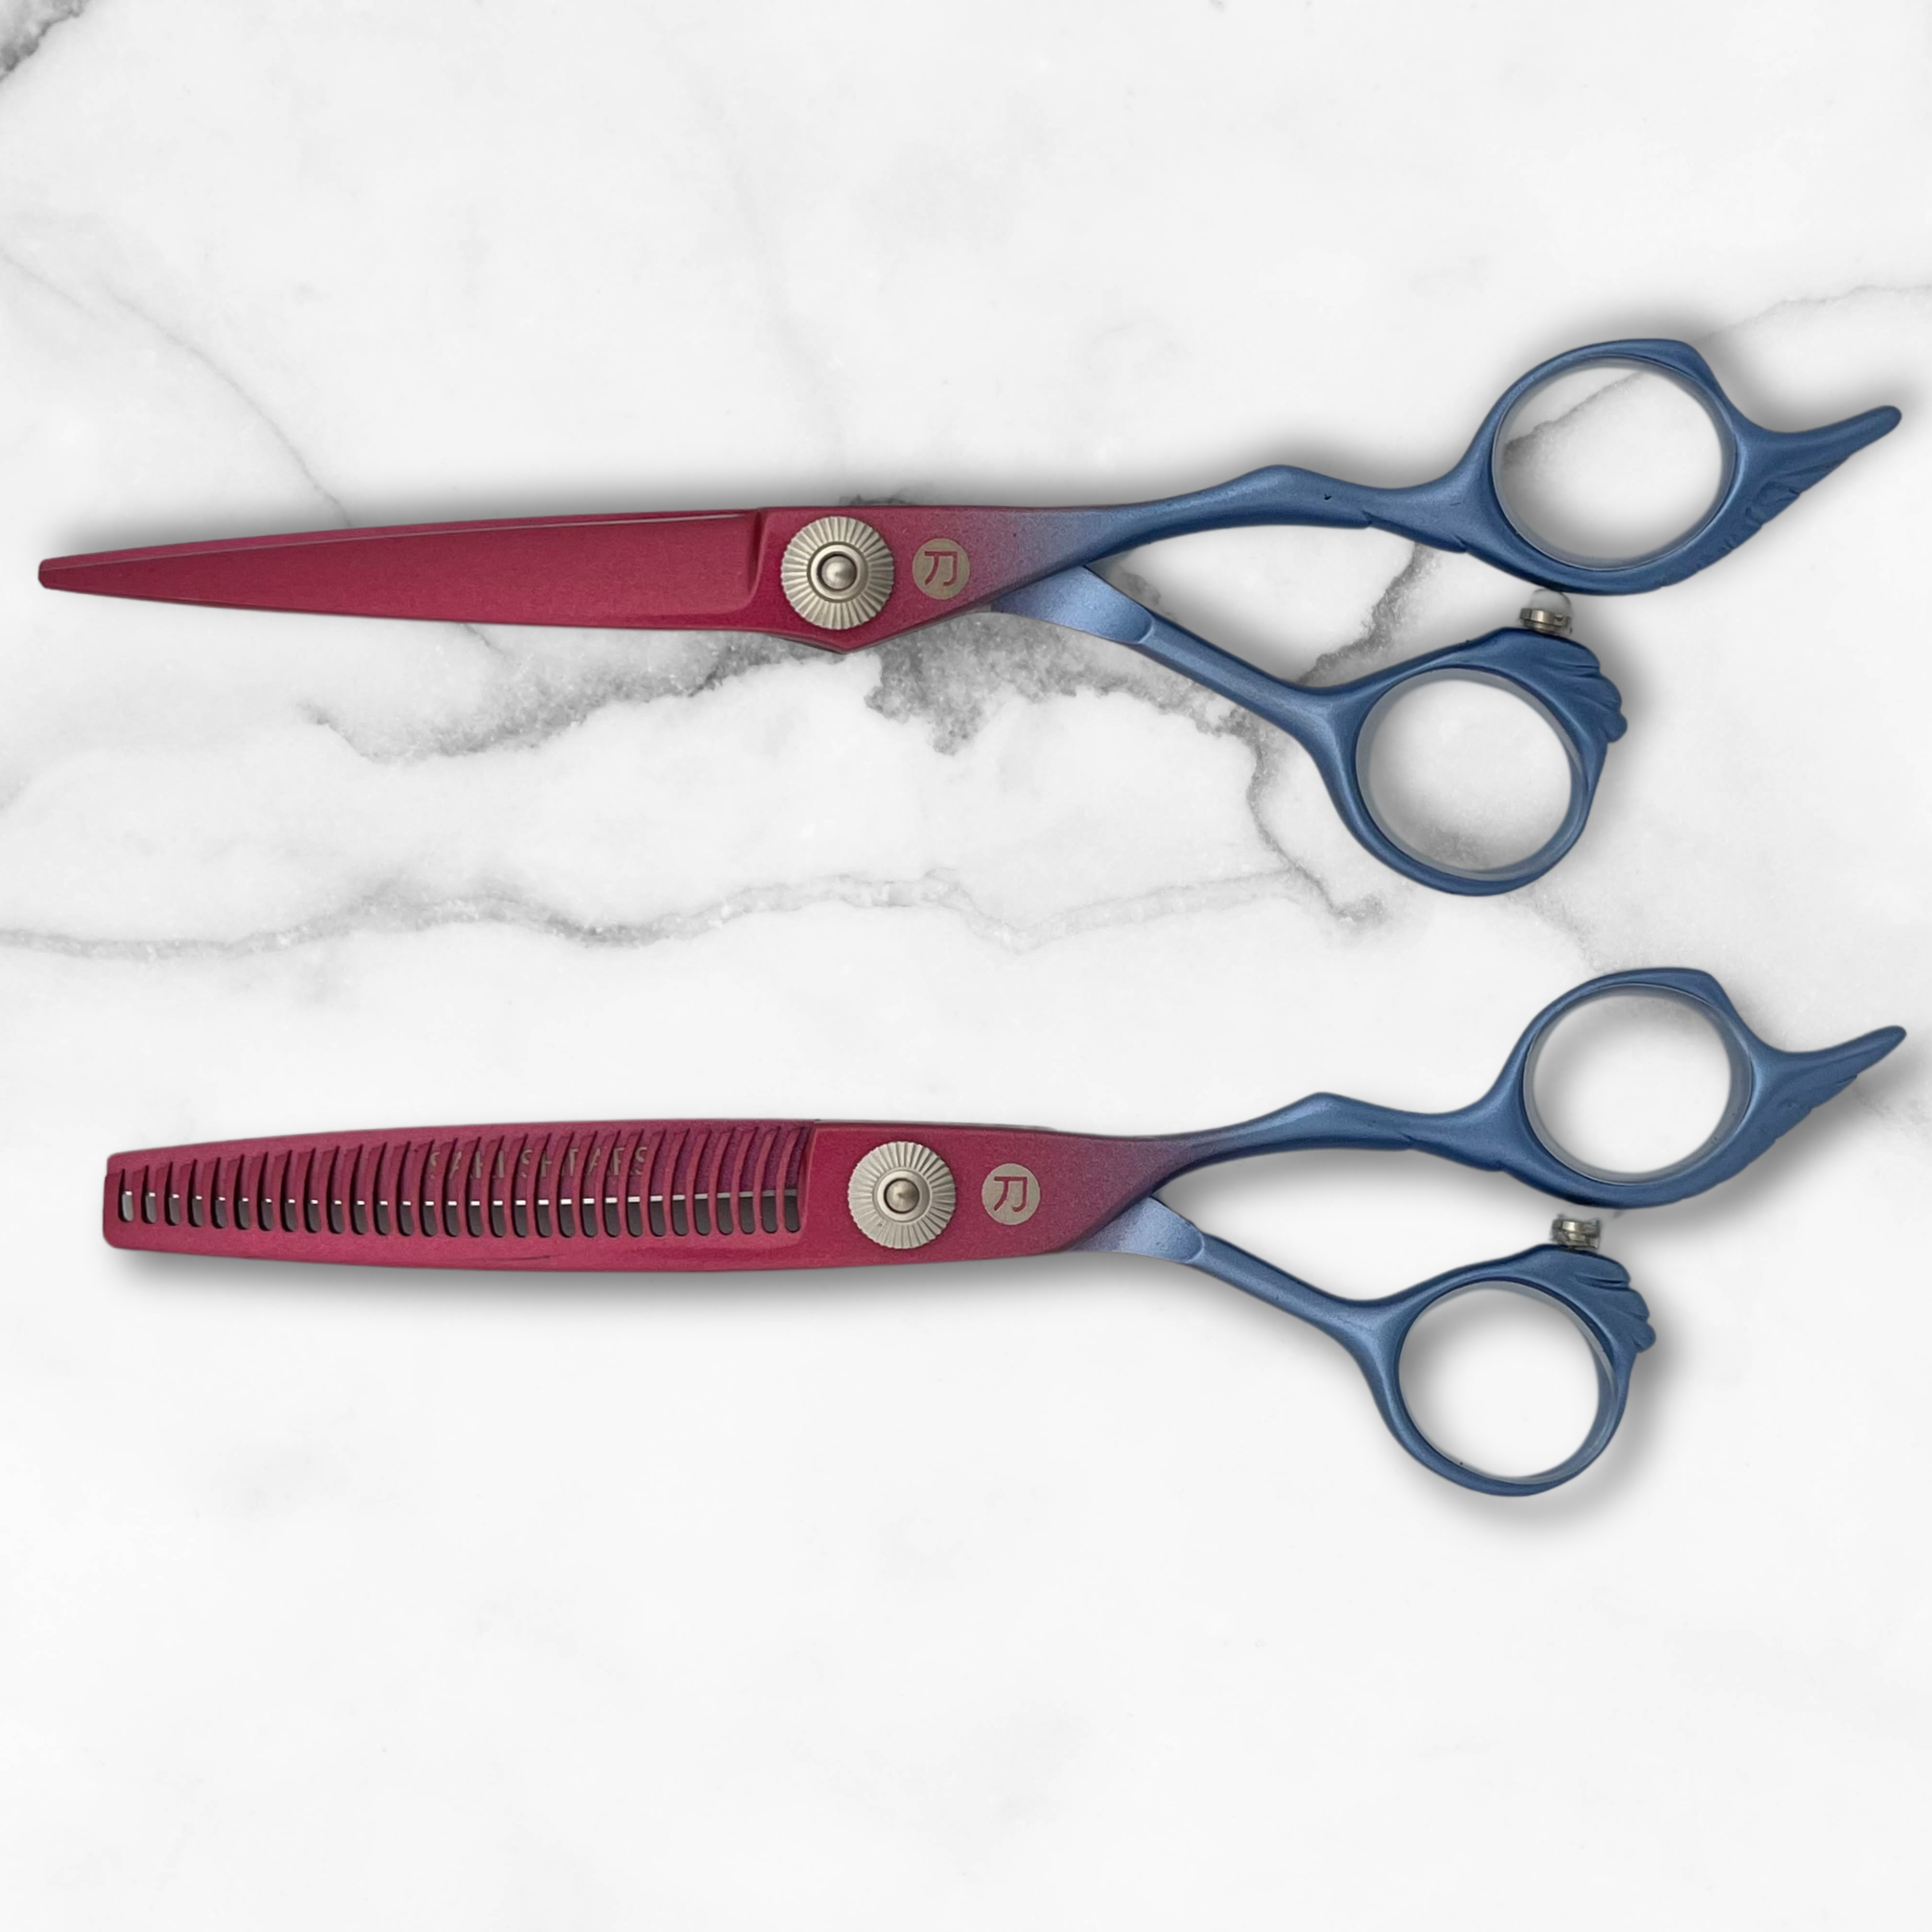
Keep a small maintenance kit at your station: a soft, lint-free cloth or chamois, isopropyl alcohol (70-90%) or a barbicide-style disinfectant approved for use on metal, a soft-bristle brush for the pivot area, and a drop of shear oil made for cutting instruments. Avoid cotton balls or paper towels, which can shed fibers into the pivot. If you're shopping for a fresh pair or a backup set to rotate in while others are serviced, Saki Shears' hair cutting shears collection is a good reference point for models built with maintenance-friendly pivots and finishes.
The Step-by-Step Cleaning Process
- Wipe down after every client. Before setting your shears down, run a dry cloth along both blades from pivot to tip to remove loose hair and surface product before it dries and hardens.
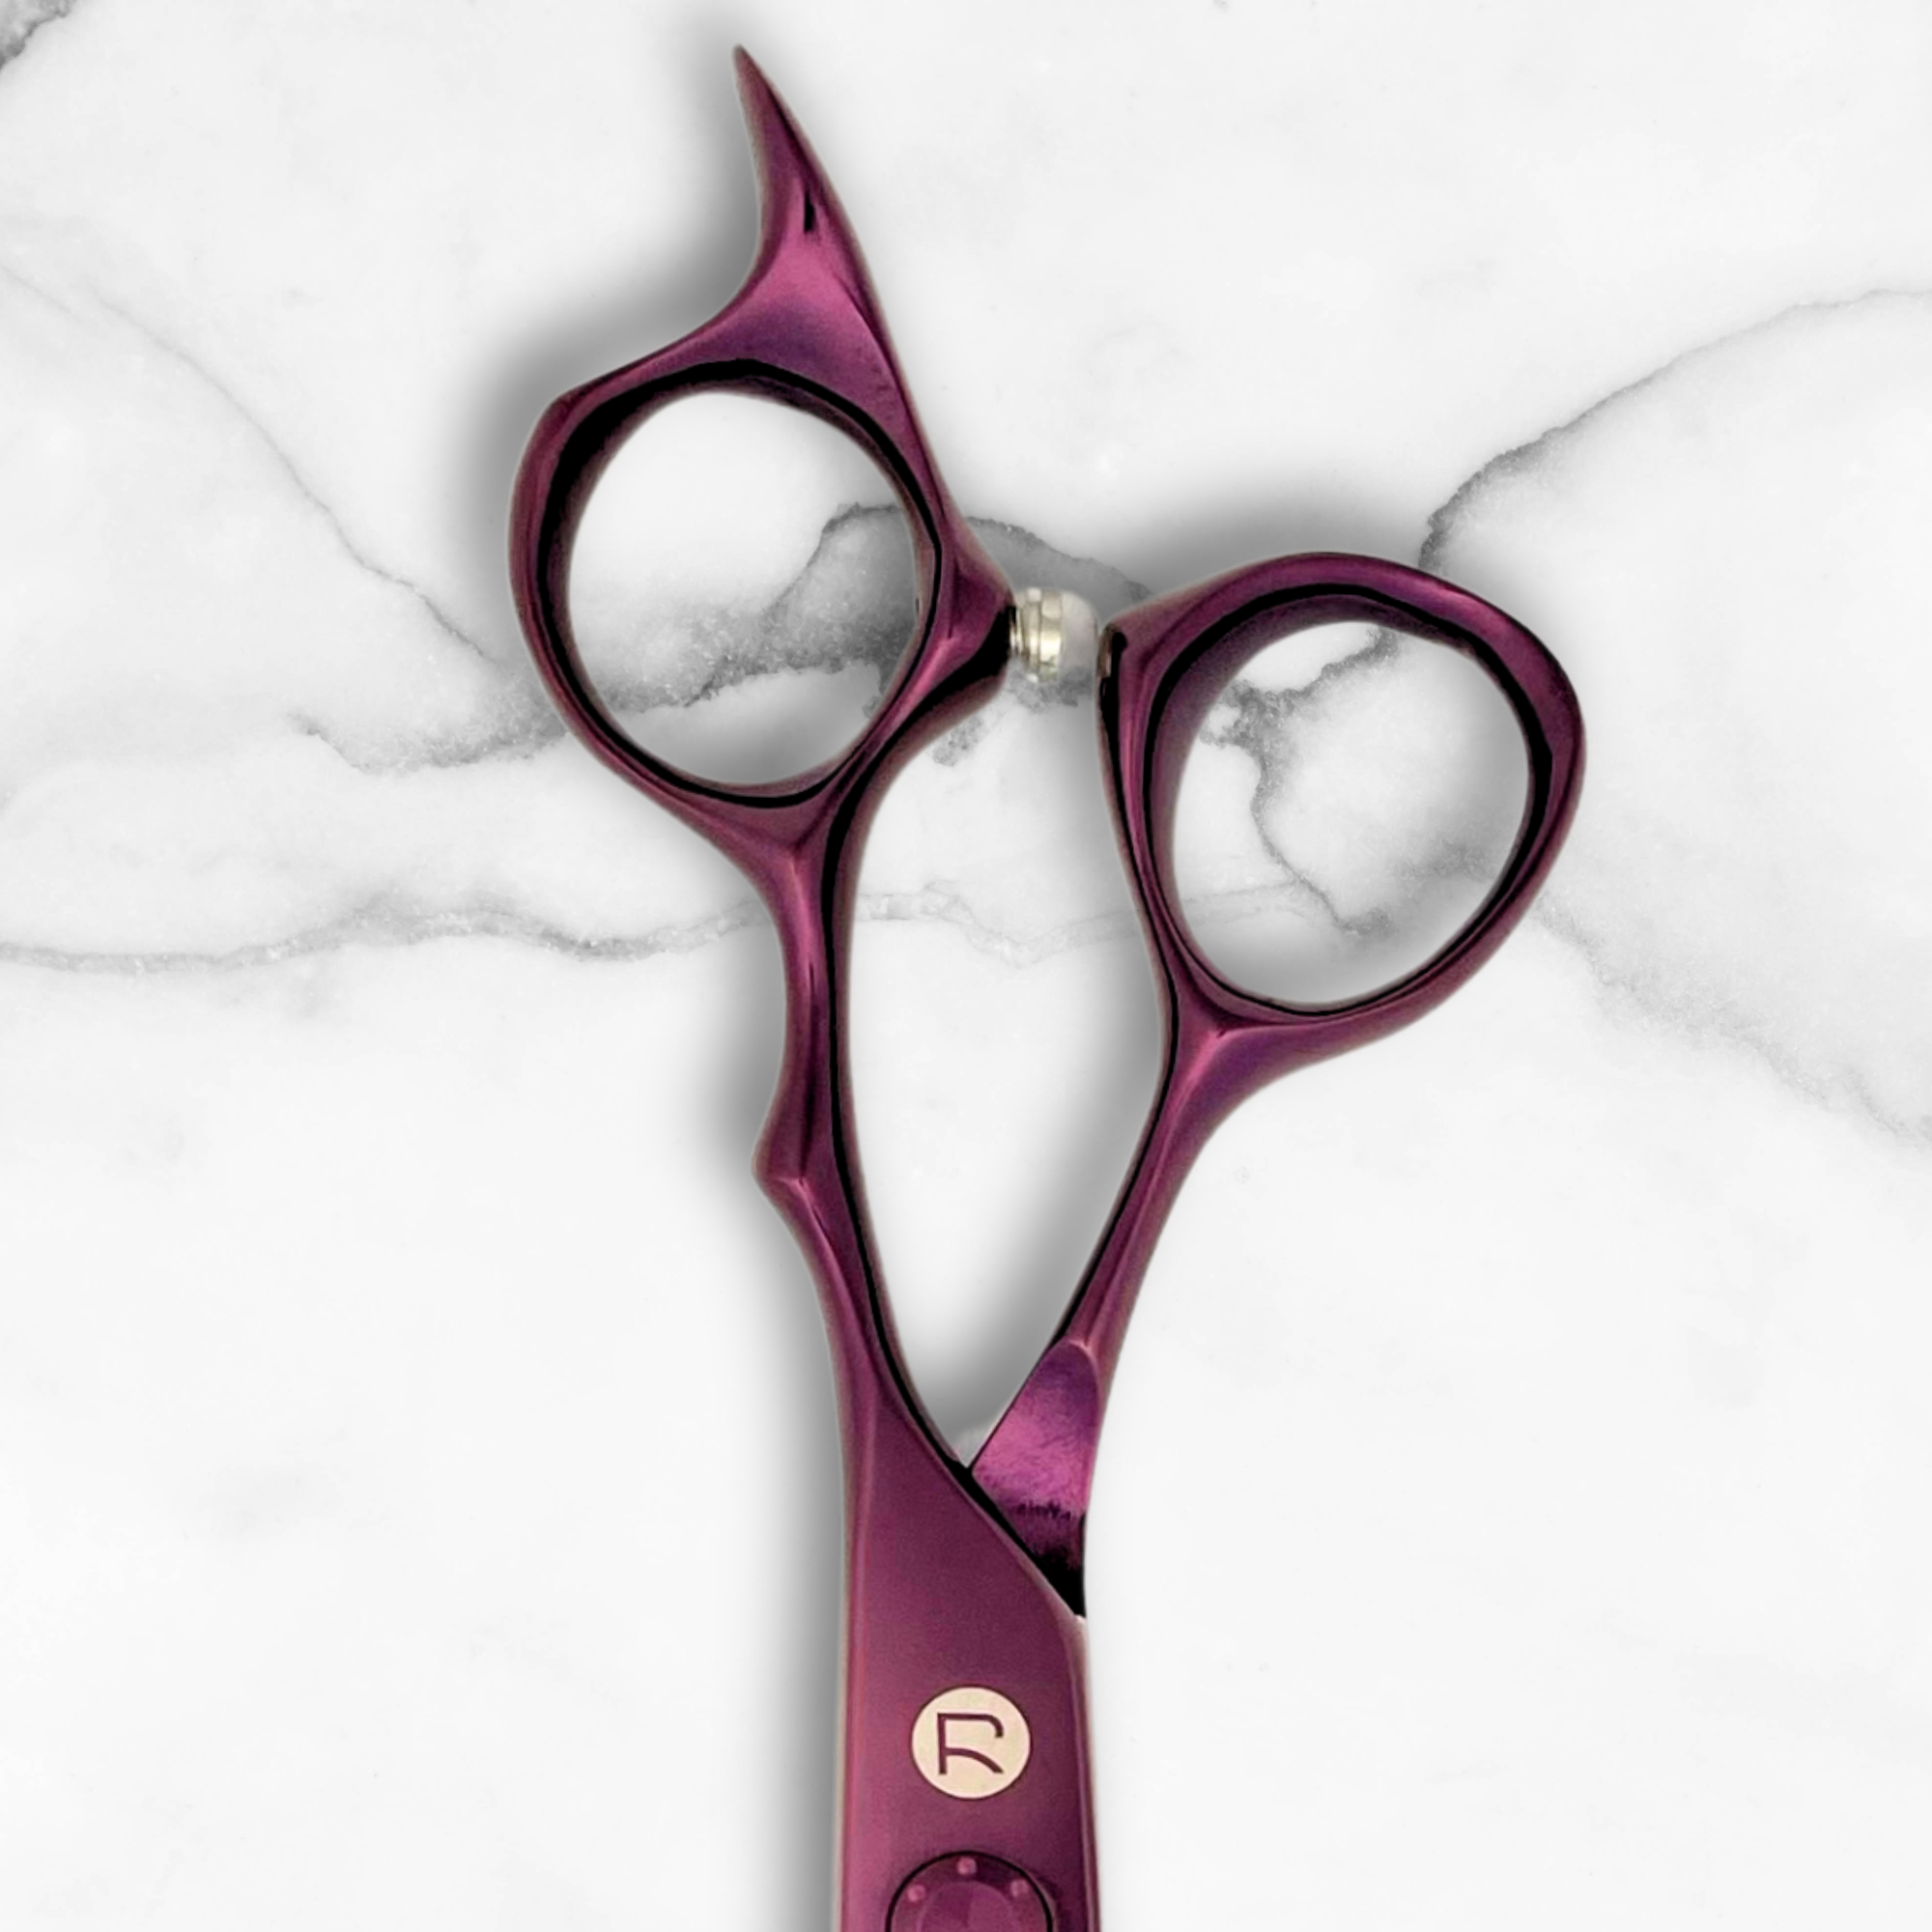
- Open the blades fully. Cleaning shears in the closed position leaves hair and residue trapped at the pivot, which is the area most prone to buildup and corrosion.
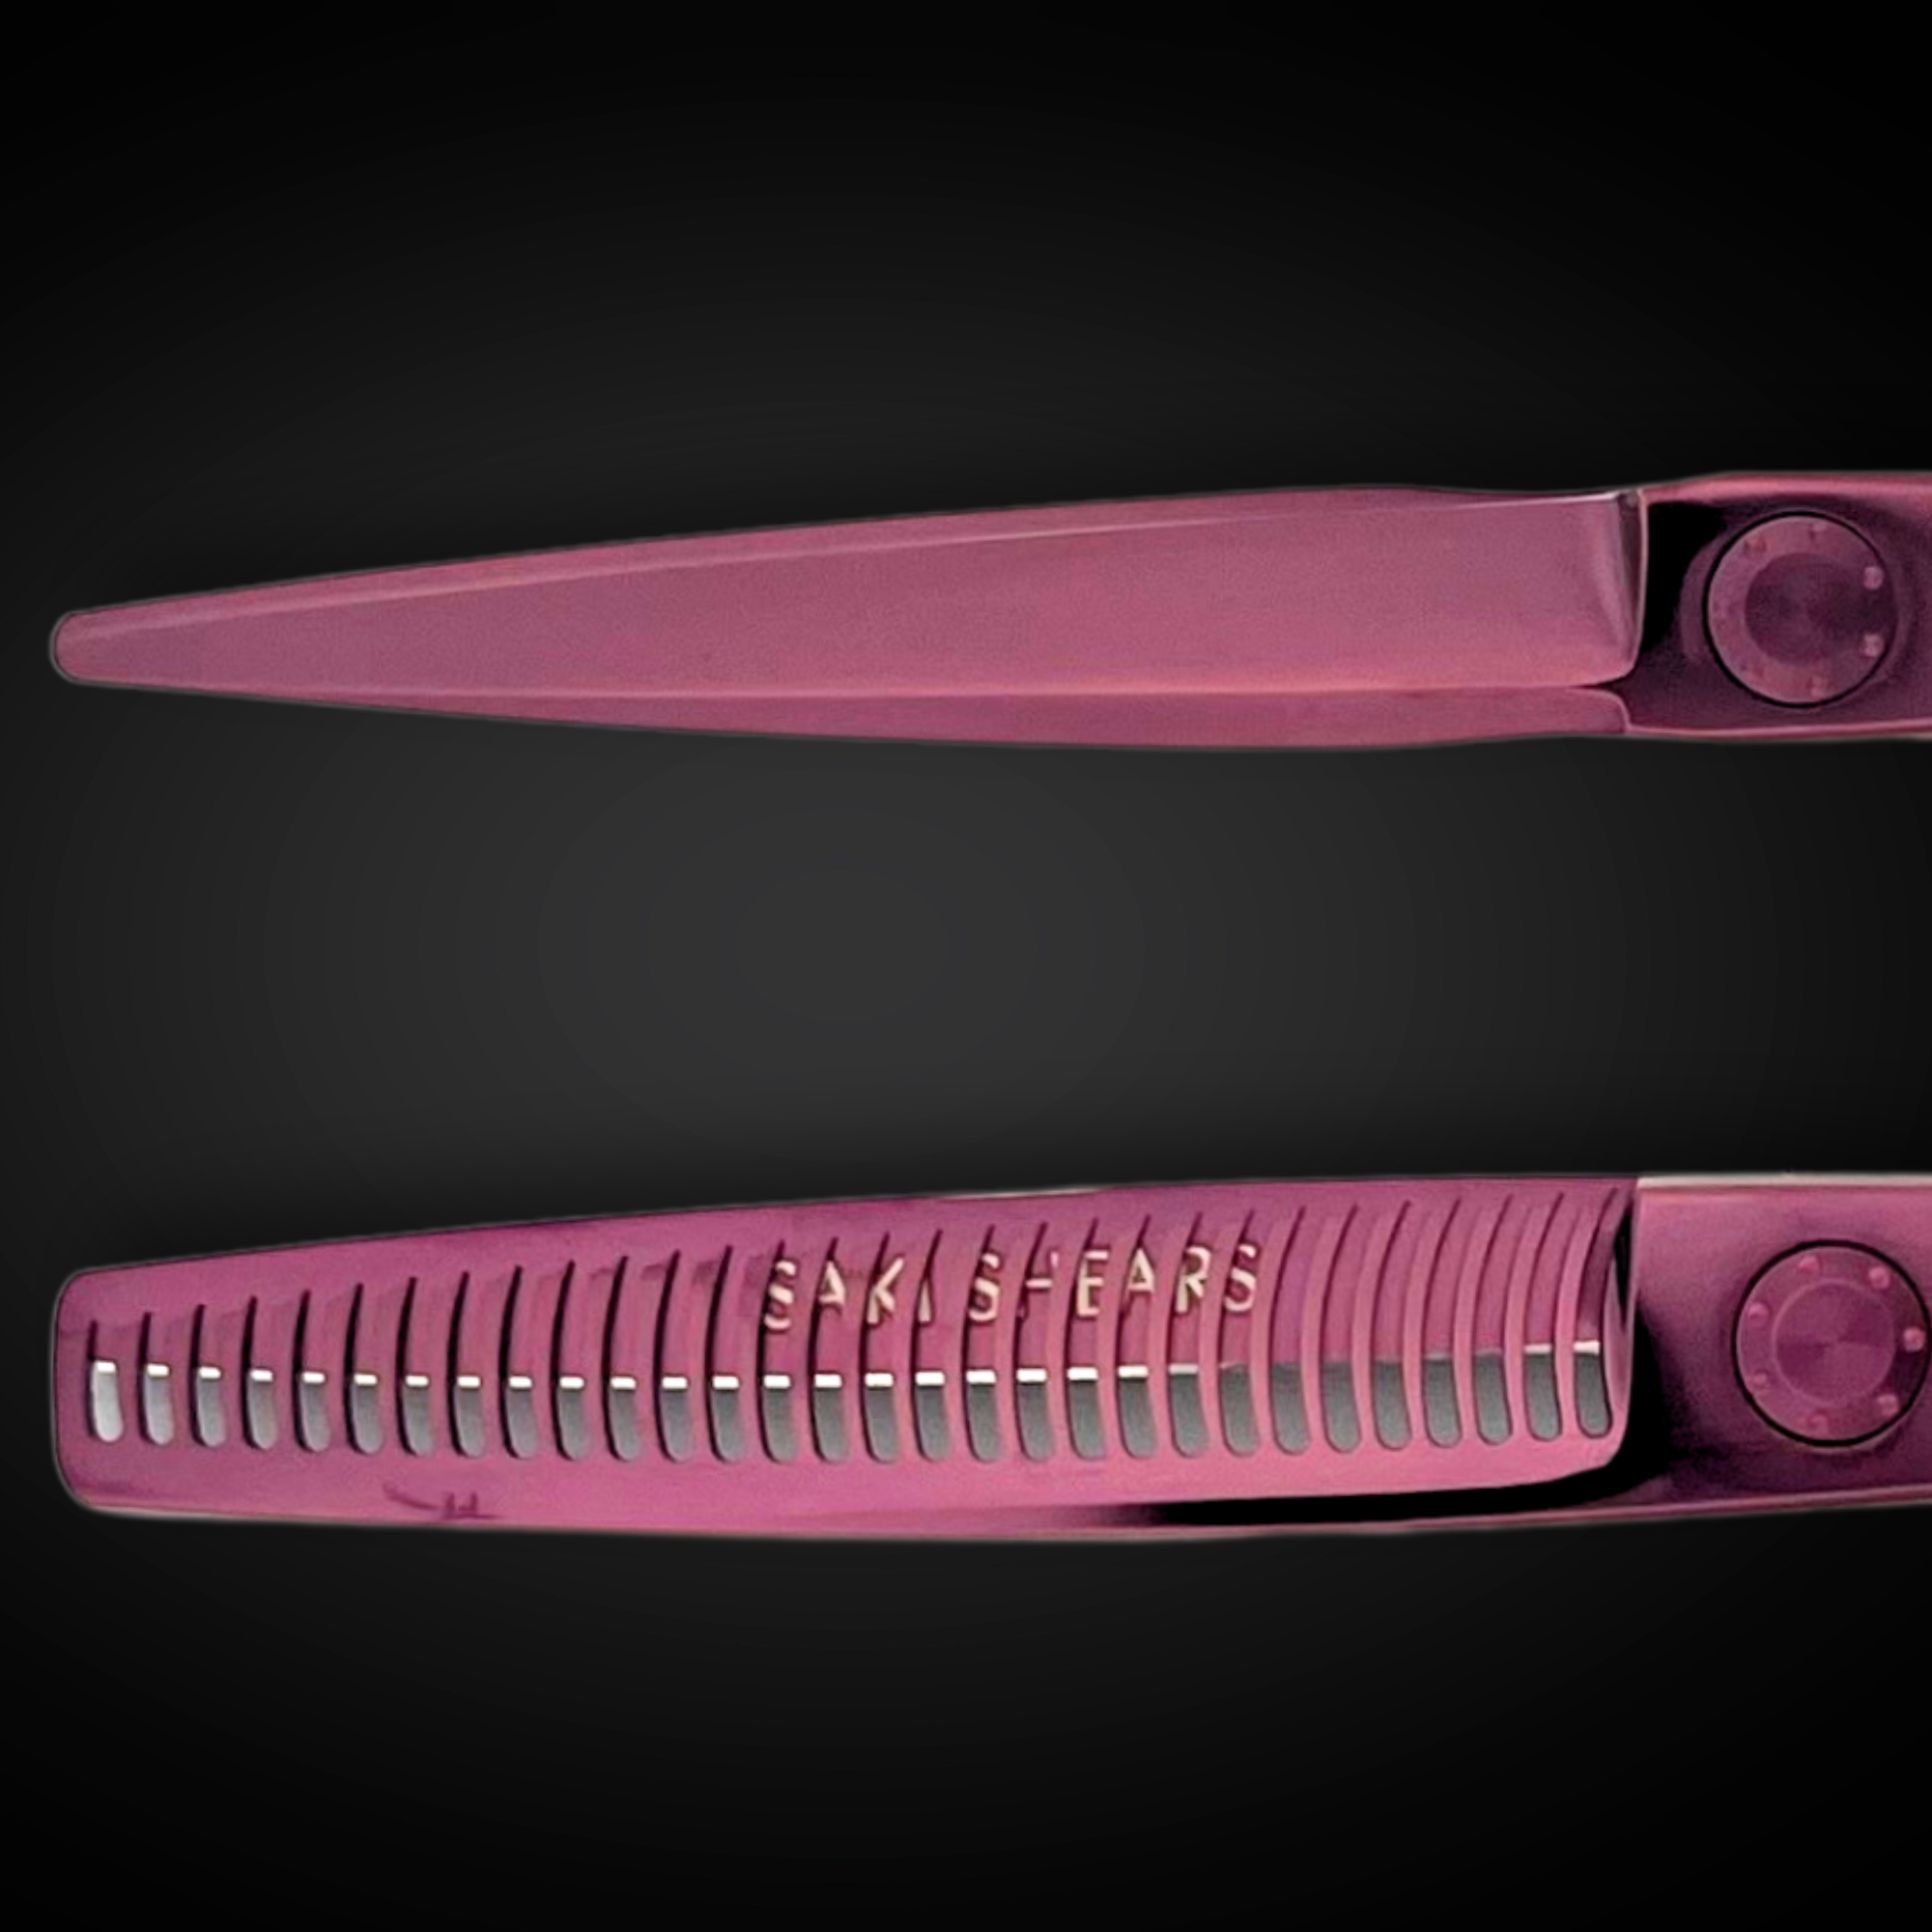
- Remove hair residue from the blade edge. Use the soft brush to clear any fine hair caught along the cutting edge and inside the pivot screw, working from the pivot outward so debris doesn't get pushed further in.
- Disinfect the blades. Dampen a clean cloth with alcohol or your approved disinfectant and wipe each blade individually. Never submerge or soak the shears — standing liquid works into the pivot and tang, promoting rust and breaking down any factory lubrication.
- Dry immediately and completely. Wipe the blades dry with a separate clean cloth right after disinfecting. Leaving any moisture on the steel, even briefly, is the single biggest cause of spotting and corrosion on professional shears.
- Oil the pivot. Open the blades and place one small drop of shear oil directly on the pivot screw, then open and close the blades several times so the oil works through the joint. Wipe away any excess that squeezes out — oil should lubricate the pivot, not coat the blade faces.
- Do a final wipe and inspection. Check the edge for nicks, check that the tension screw still moves smoothly, and give the blades one last light wipe before storing.
What to Avoid
A few habits ruin shears faster than normal wear does. Don't soak blades in alcohol, water, or disinfectant solution — soaking is common practice for combs and clips, but it's hard on the tang and pivot of cutting shears and voids most manufacturer warranties. Don't use ammonia-based cleaners, bleach, or abrasive powders, which strip factory coatings and etch the steel surface. Don't run shears through an ultrasonic cleaner unless the manufacturer specifically states the model can handle it, since ultrasonic cavitation can loosen pivot tension over time. And don't skip drying — a quick wipe with alcohol that's left to air-dry is not the same as manually drying the blade, since residual moisture sits in the pivot longer than it appears.
Weekly and Monthly Maintenance
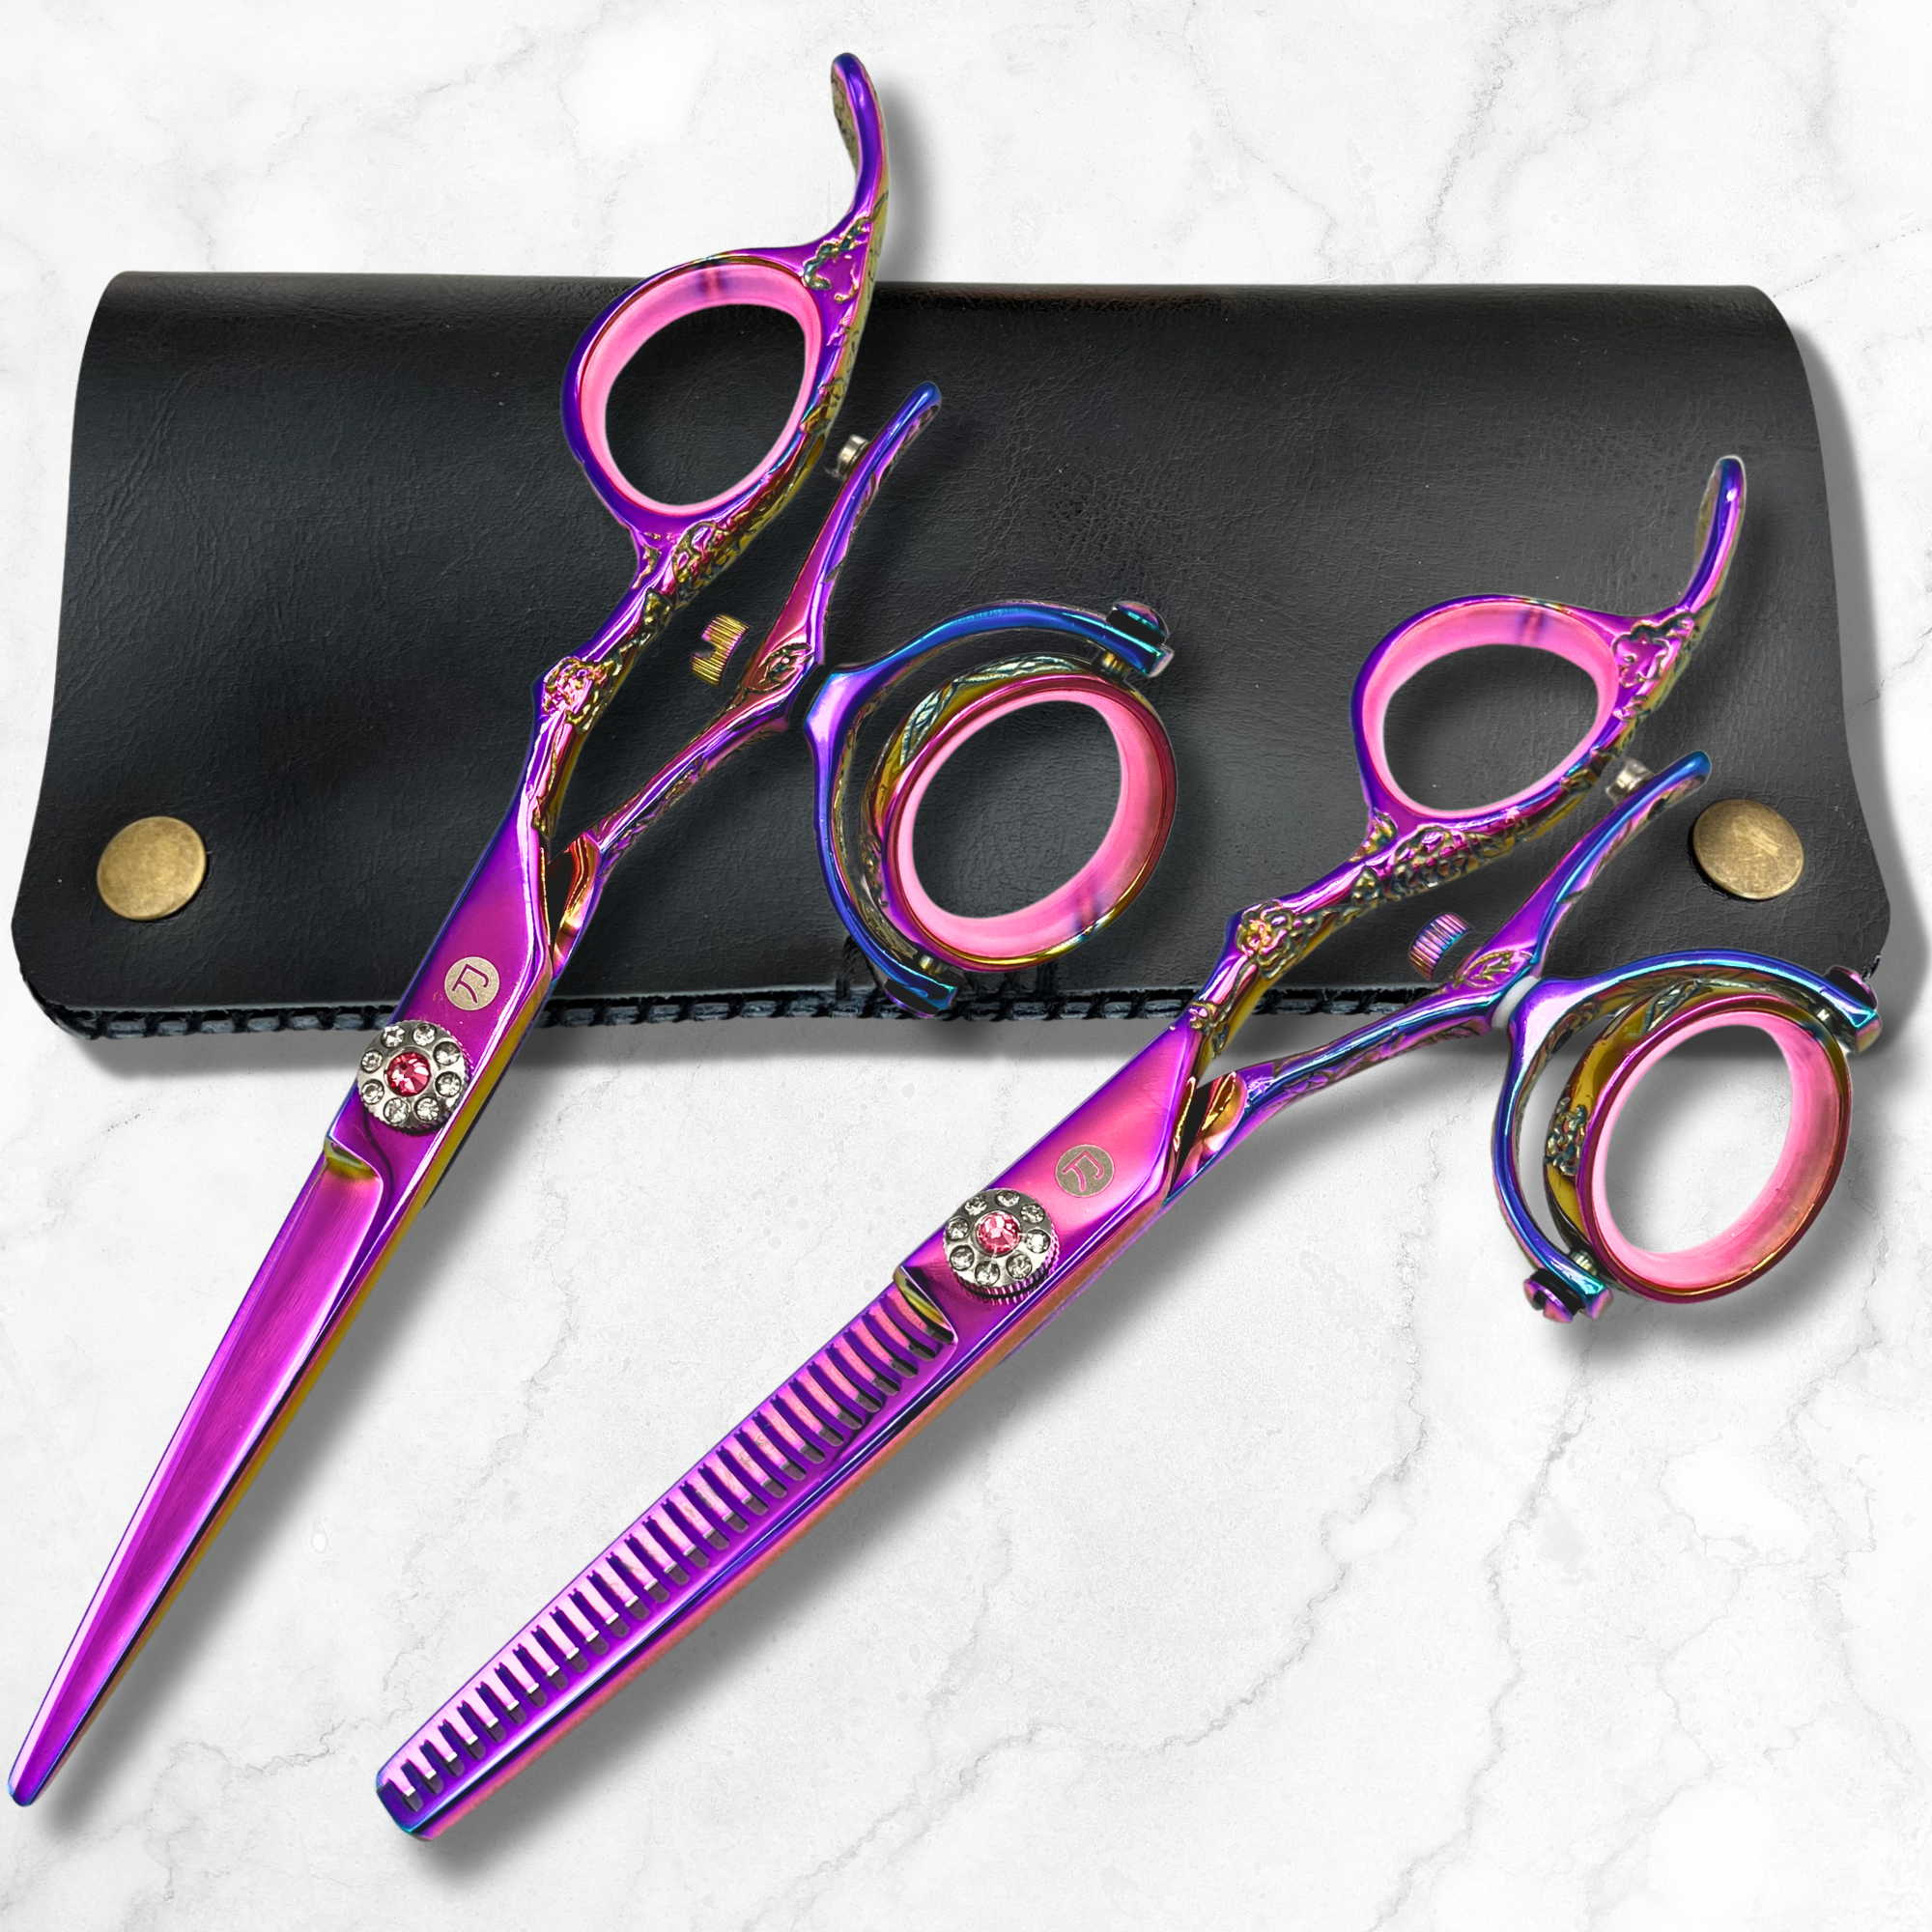
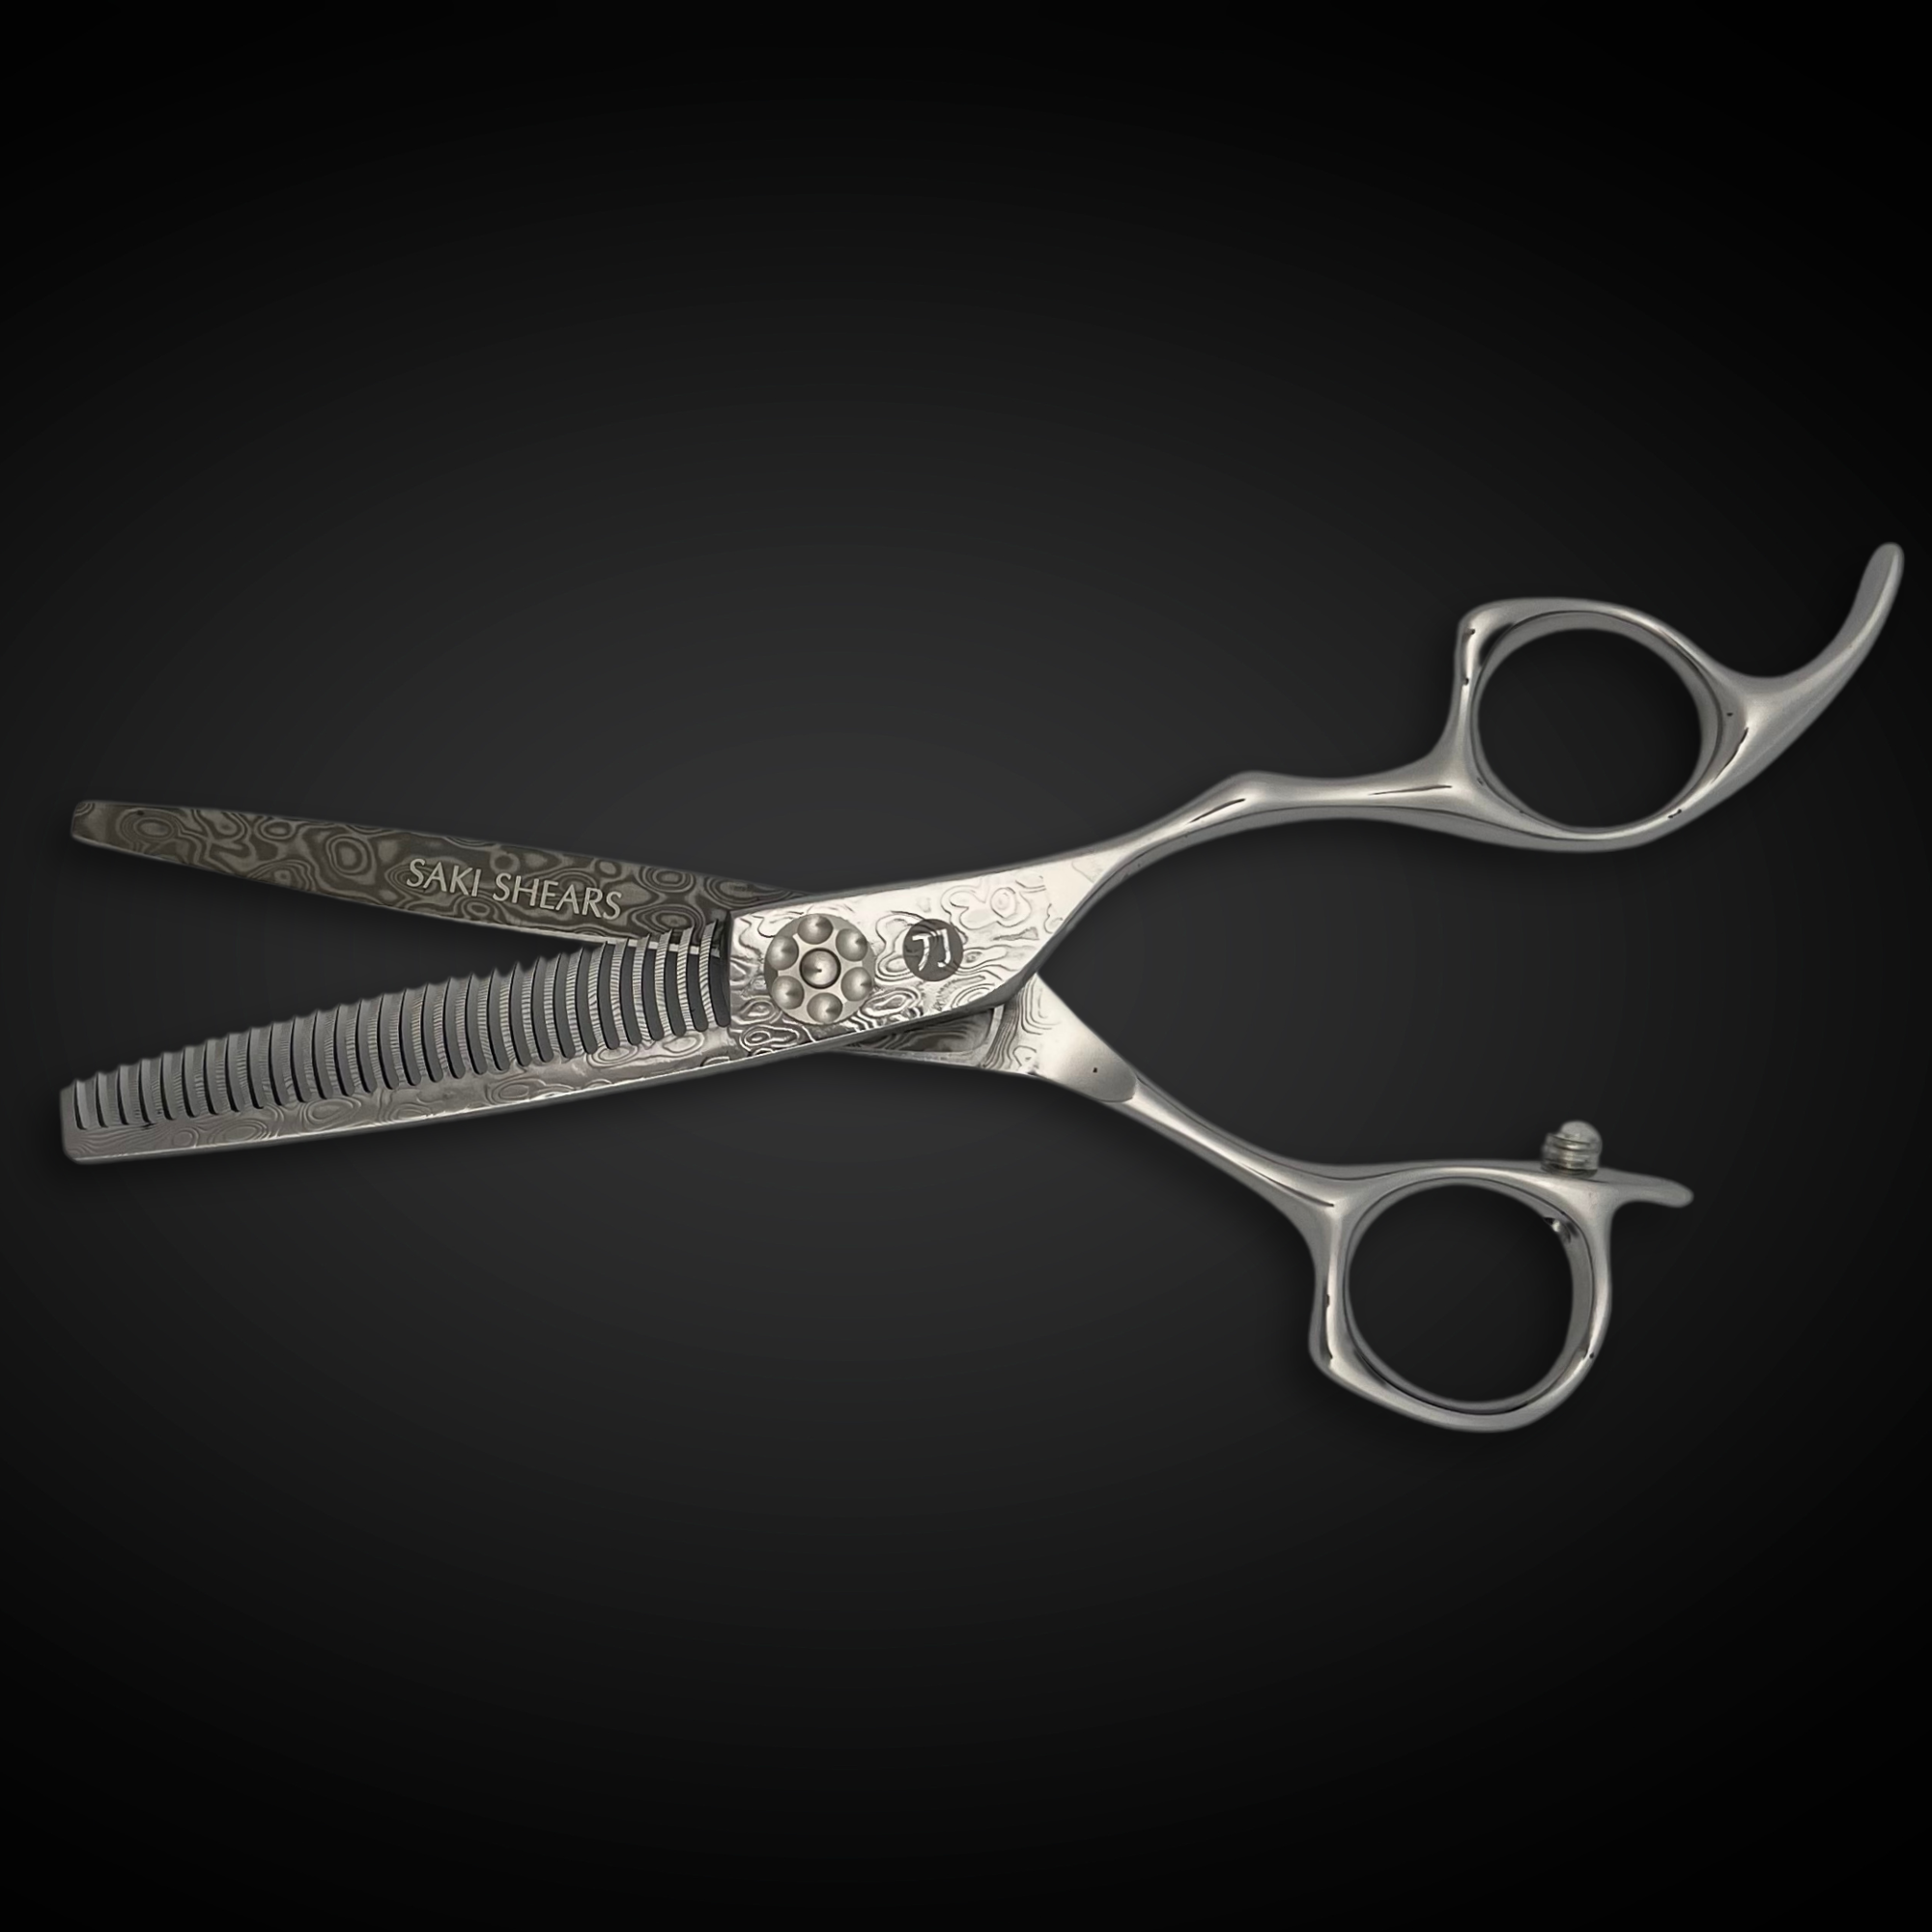
Daily wiping and oiling handles the majority of upkeep, but shears also benefit from a closer look on a weekly basis. Back the tension screw off slightly, clean the pivot area more thoroughly with the brush, and check the blade edges under good light for any rolling or micro-chipping that daily cleaning won't reveal. If you rotate between multiple pairs, this is also a good time to compare wear across your set and decide which shears need a professional sharpening. For barbers or stylists building out a rotation of specialty tools, the thinning shears and scissors collection is worth reviewing when it's time to add or replace a pair.
Proper Storage Between Uses
How shears are stored matters almost as much as how they're cleaned. Store them in a dry case or shear roll, blades closed only loosely or protected by a blade guard, away from other metal tools that can nick the edge on contact. Avoid leaving shears in a damp towel caddy, a bag with clippers and trimmers, or anywhere near direct heat, all of which shorten the life of the edge and pivot. A dedicated case takes up little counter space and is the simplest way to make sure a clean pair of shears stays that way until the next client sits down.
Make It a Habit, Not an Afterthought
The routine above takes under a minute once it's part of your muscle memory between clients. Stylists and barbers who build cleaning and oiling into every service — rather than doing a deep clean only when shears start feeling rough — get more consistent cuts, fewer mid-day snags, and significantly longer intervals between professional sharpenings. Treat the routine as part of the cut itself, not a separate chore, and your shears will hold their edge for years of daily use.

Written by Charles Harris