Blending vs. Texturizing Shears: A Technique Guide for Working Stylists
Blending and texturizing shears do different jobs, and mixing them up is one of the fastest ways to turn a controlled haircut into an uncontrolled one. Both tools remove hair between the guideline and the ends, but the tooth count, spacing, and where you apply them change the outcome entirely. Here's how to think about each one on a working day, not in a classroom.
Blending vs. bulk thinning: not the same tool
Thinning shears, typically in the 15-to-20-tooth range with wider gaps, are built to pull weight out of dense, uniform hair. They're the right call when a client's hair is simply too thick for the style to sit correctly — you're reducing overall volume without touching the shape of the line underneath.
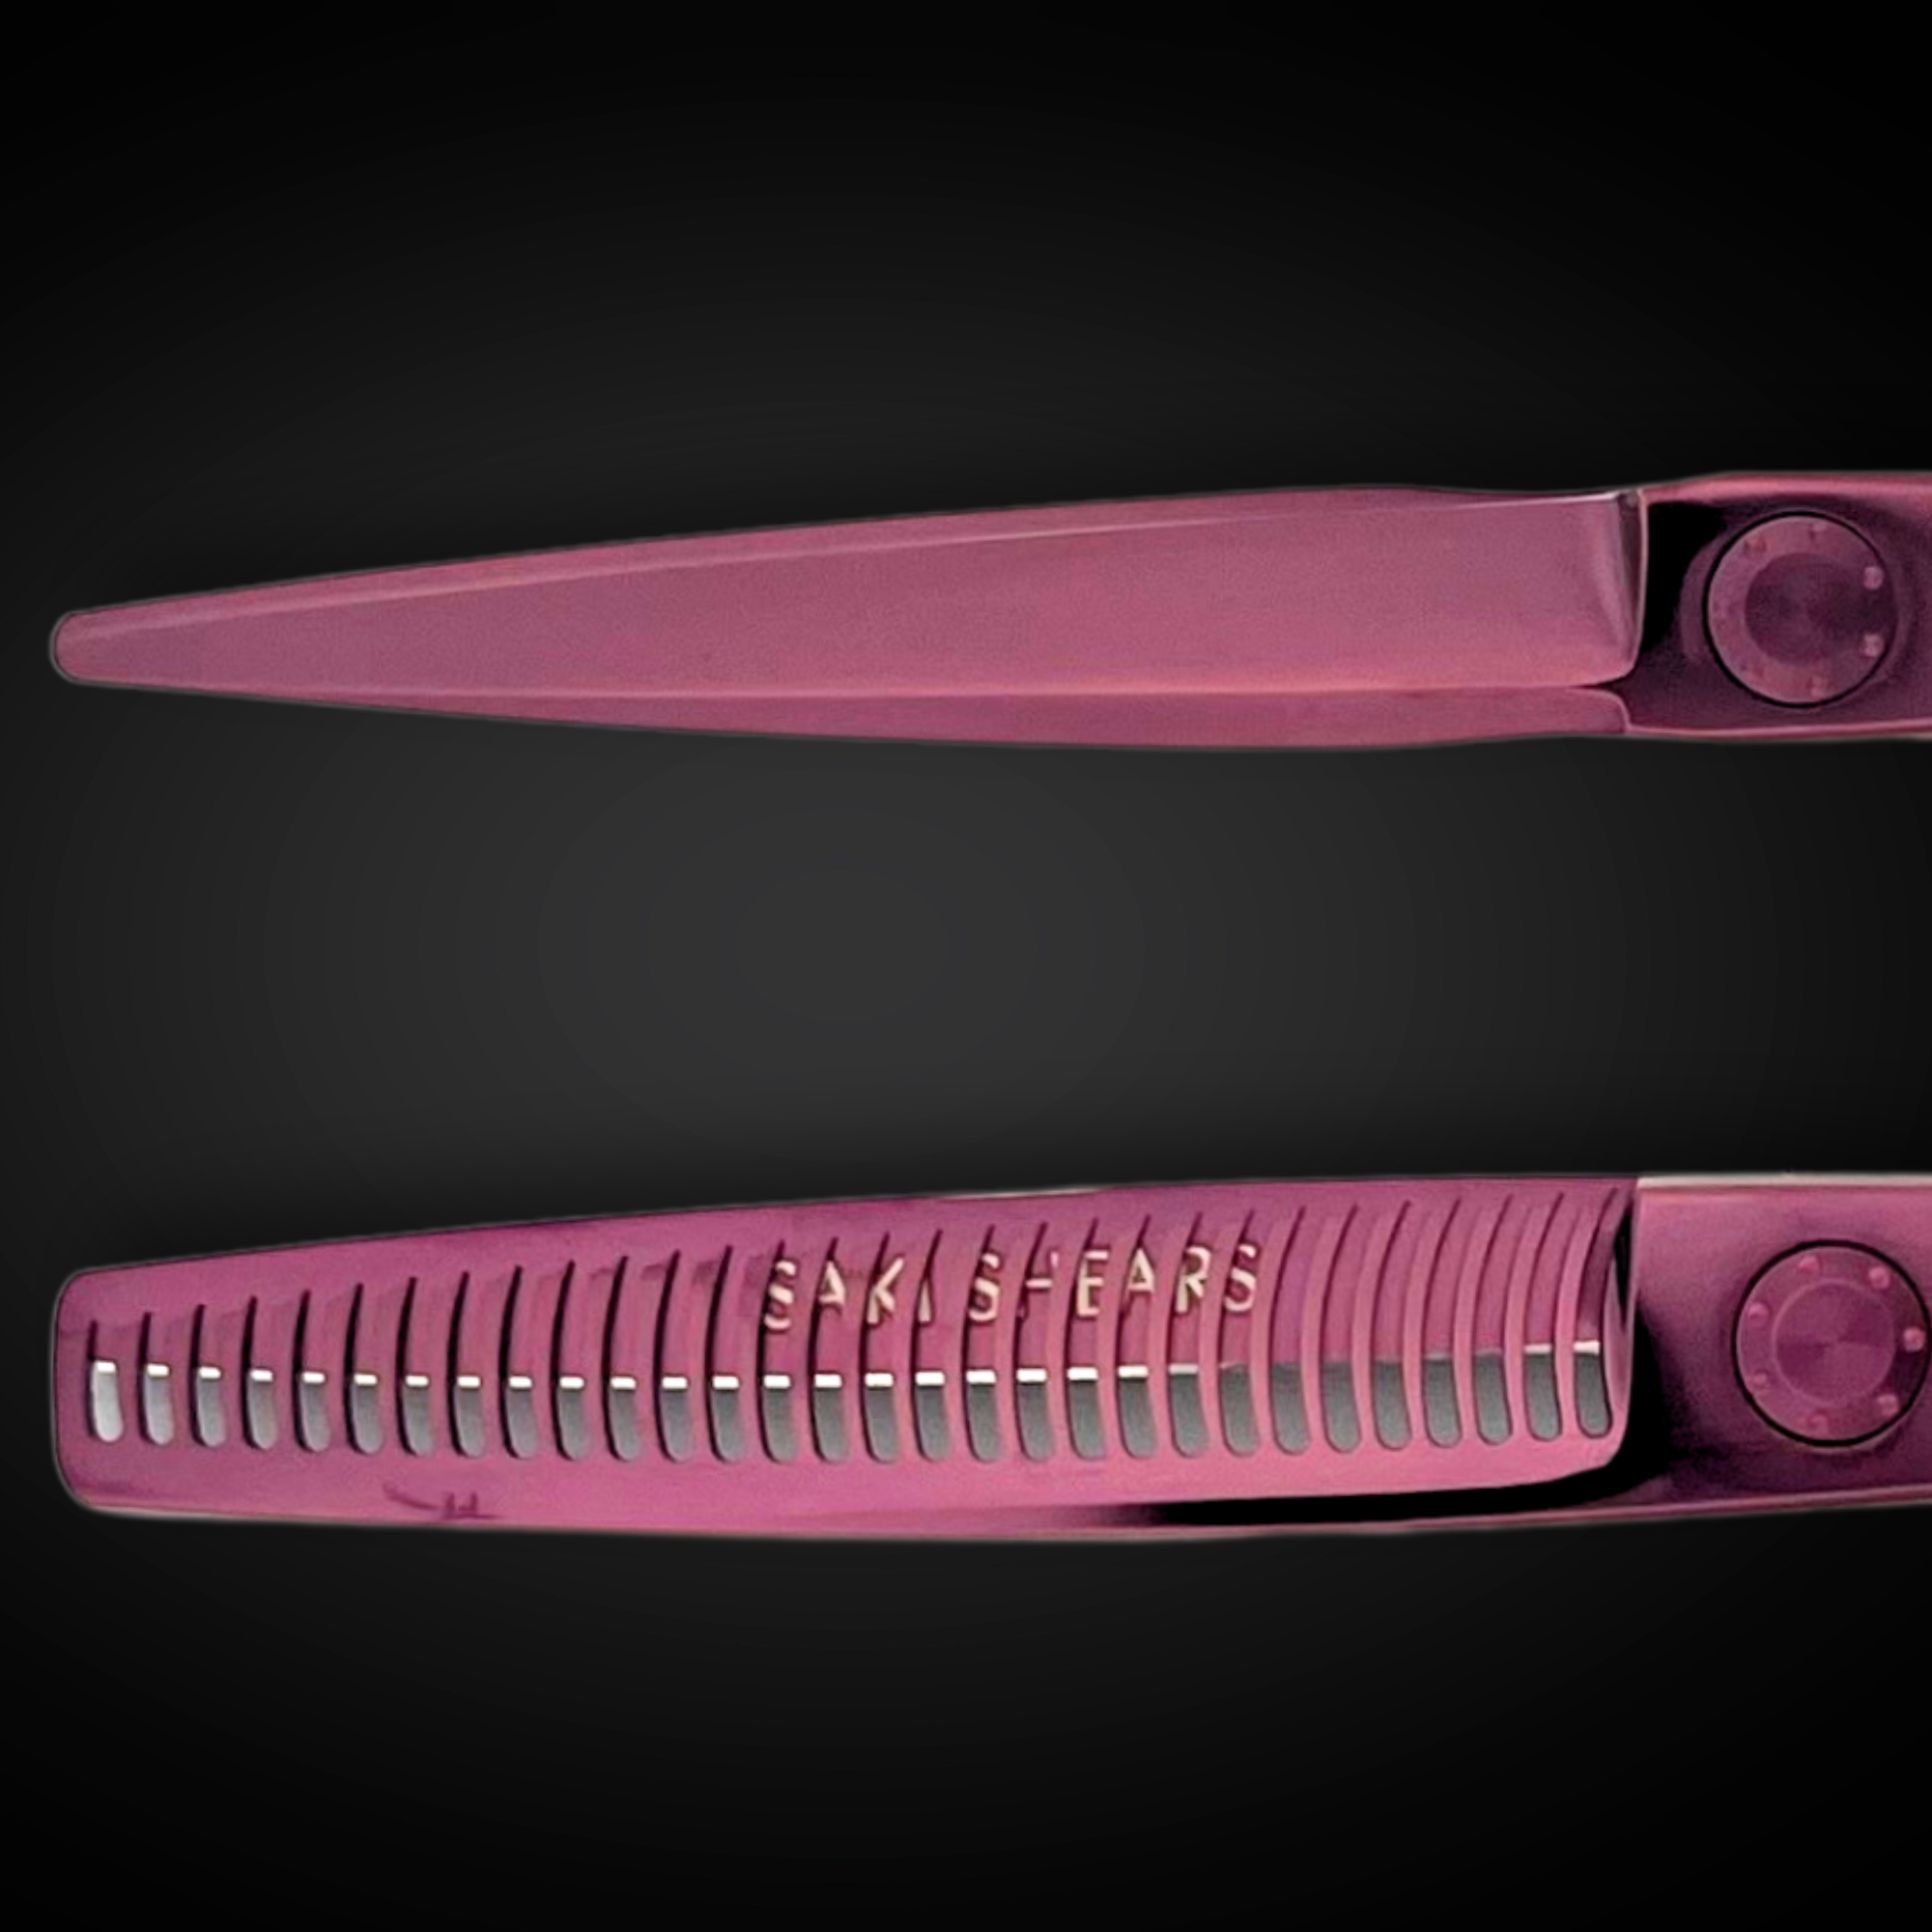
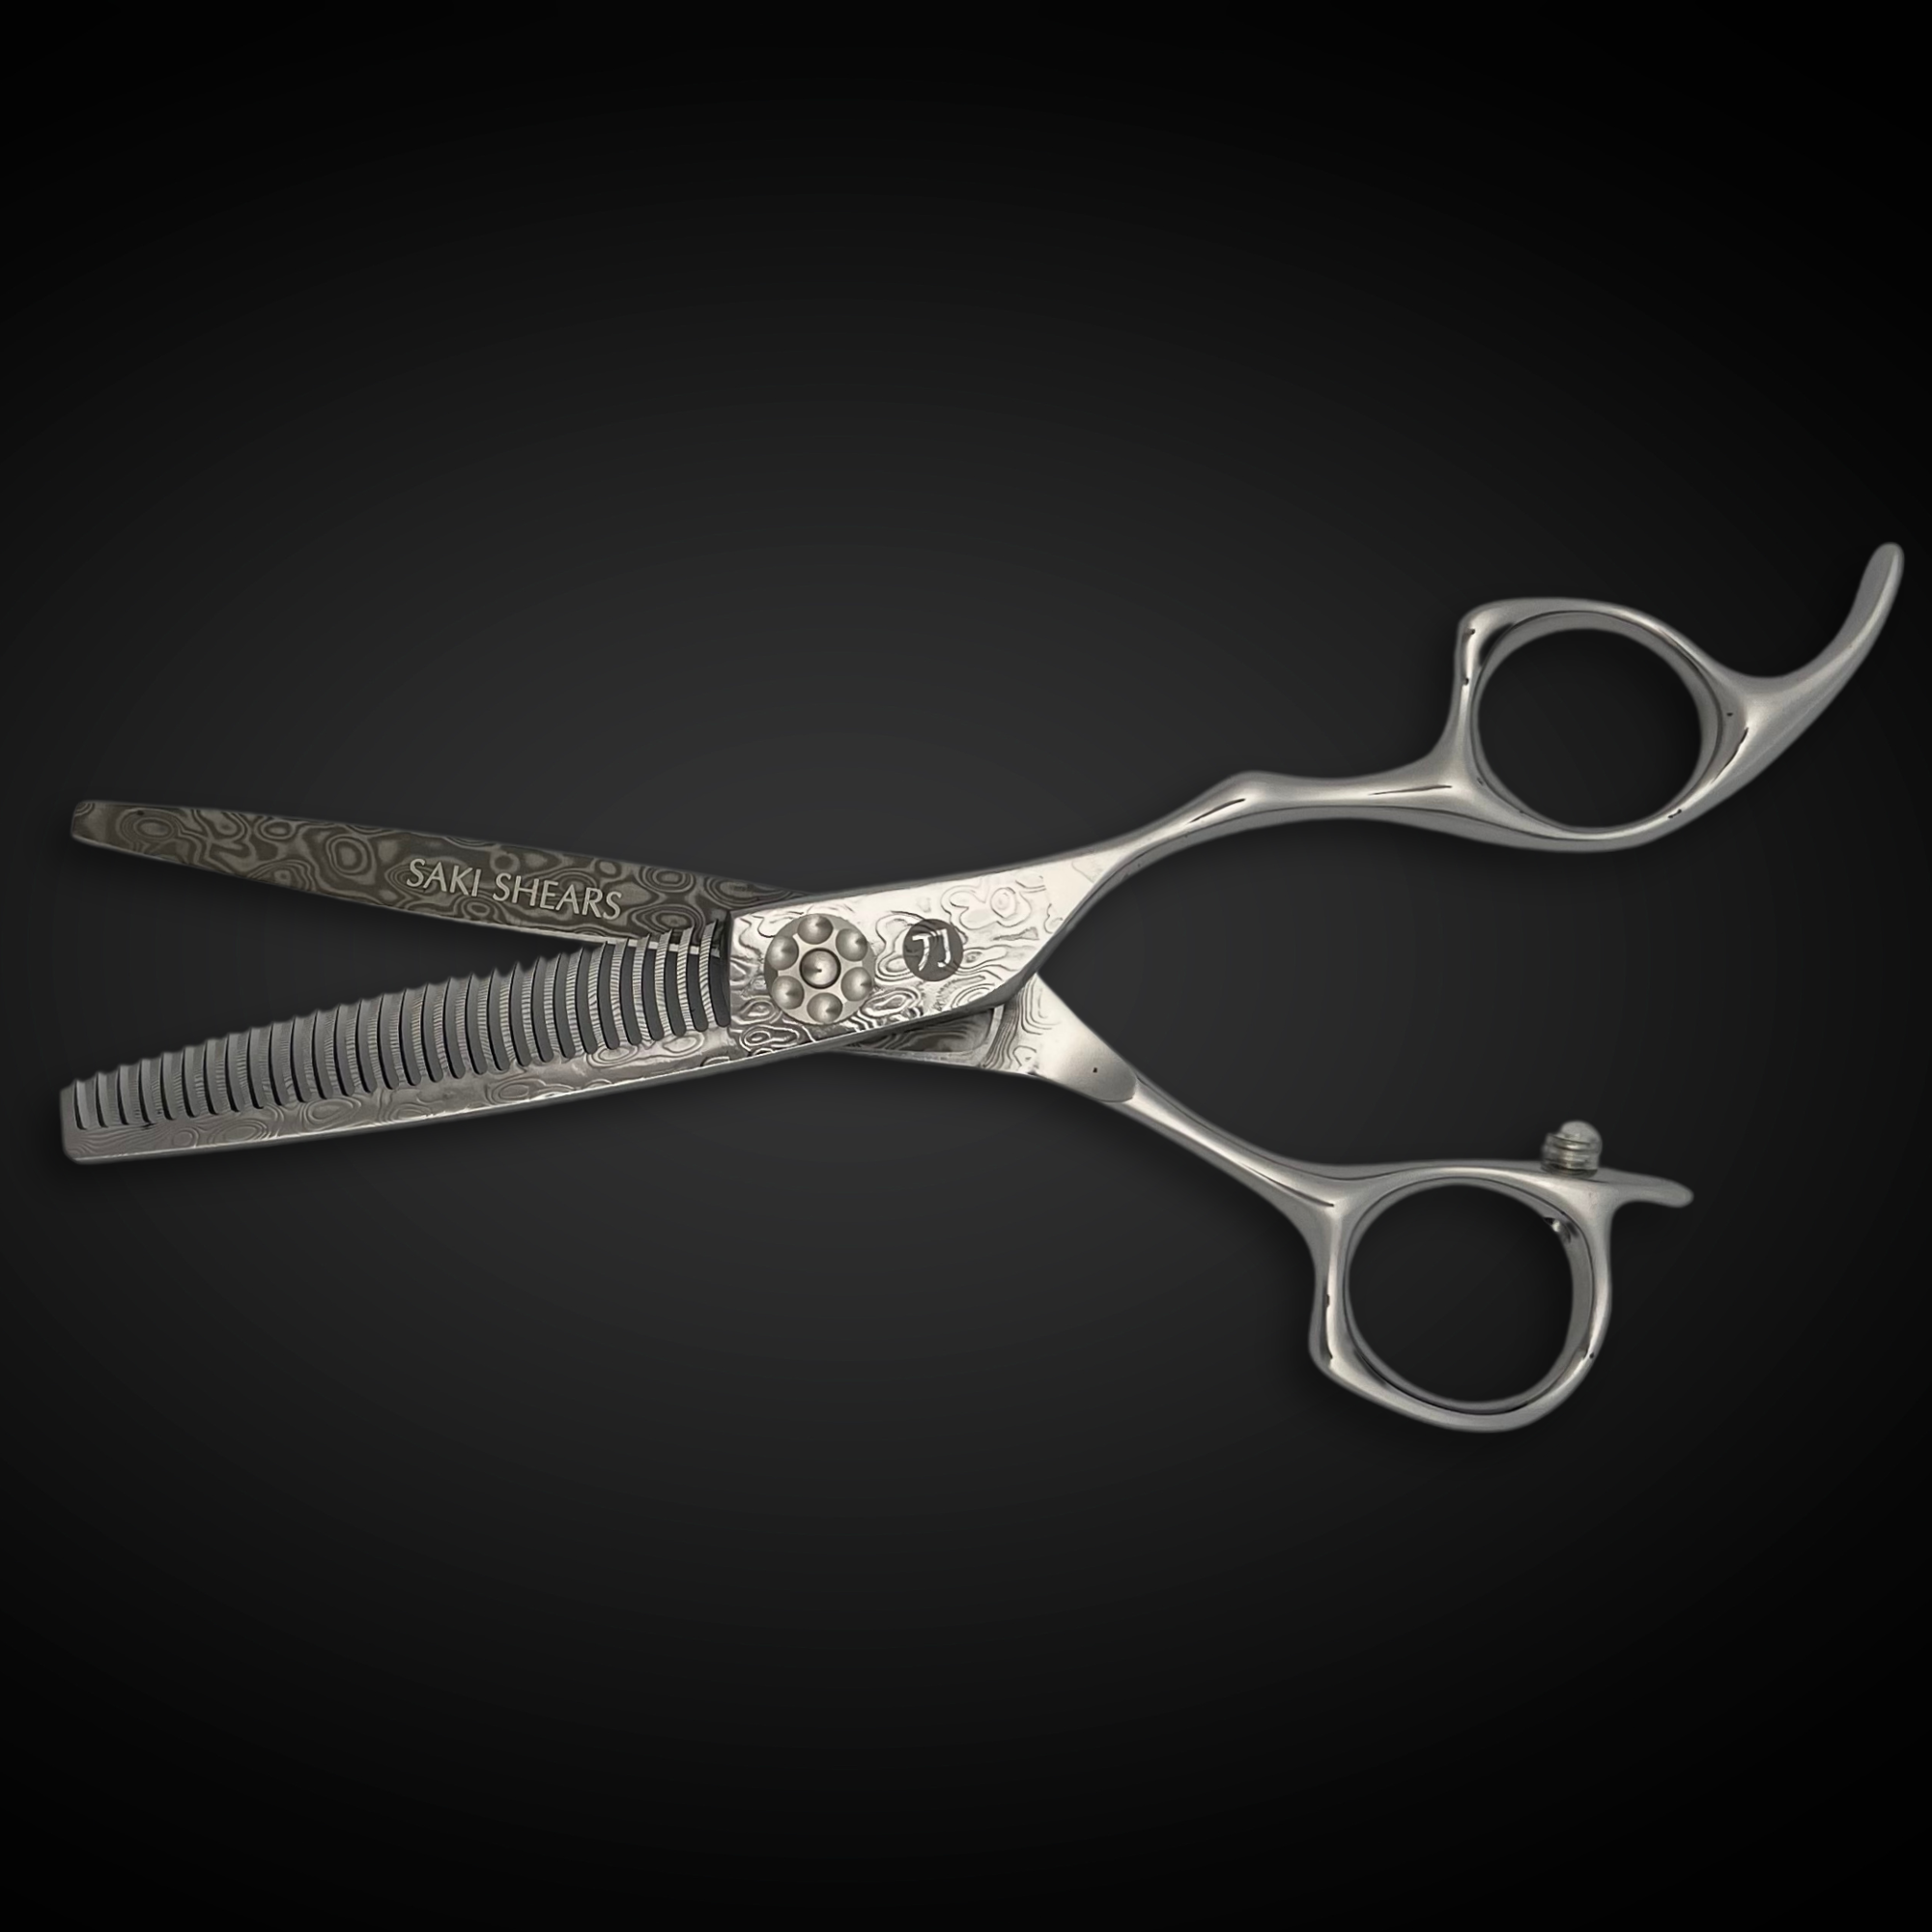
Blending shears sit at a higher tooth count, often 30 to 40+, with finer, more closely spaced teeth. Their job isn't to remove bulk; it's to soften the transition between two sections of different length — a blunt line into a layer, or one layer into the next. Run a 20-tooth thinner where a 40-tooth blender belongs and you'll strip too much hair per pass, leaving gaps in the line instead of a gradient. Run a fine blender where a client needs real bulk removal and you'll be there for twenty extra minutes chasing a result the coarser tool would've delivered in five strokes.
Where to texturize for a natural result
Texture reads as natural when it's placed where the hair actually moves — mid-shaft through the ends, following the existing layer structure rather than fighting it. A few placement principles that hold up across textures:
- Work on the interior, not the surface. Slide your section, texturize the underside or interior panel, and let the top layer of hair fall back over it. This removes weight where the client can't see the cut marks, instead of leaving visible notches on the outer canopy.
- Stay at least an inch or two off the root. Texturizing close to the scalp shortens hair enough that it can't lie down with the rest of the section — it stands up instead, especially on shorter or fine, straight hair.
- Follow the head's natural fall lines. Texture cut against the grain of how hair naturally sits will resist styling no matter how good the line underneath is. Point the shear in the direction the section wants to move before you close it.
- Adjust depth to density. Fine, low-density hair needs a light touch and fewer passes; thick, coarse hair can take deeper texturizing before it reads as over-thinned.
The most common mistakes
Over-texturizing. This is the number-one callback issue with texturizing shears. Once you've removed hair, it's gone until it grows back — there's no correcting an over-thinned section the way you can fix an uneven blunt line. The fix is procedural: texturize in small sections, check the result before moving to the next one, and stop earlier than feels necessary. You can always go back in for a second pass; you can't undo the first one.
Texturizing too close to the scalp. Short, textured pieces near the root create a stiff, "sprouting" layer that won't lie flat, produces frizz and flyaways as it grows out, and is especially noticeable on straight or fine hair where there's no curl pattern to disguise it. If a client needs weight removed near the crown or nape, favor point cutting or slide cutting with the cutting shear over texturizing shears in that zone.
Treating every head the same way. A tooth count and technique that blends beautifully on thick, coarse hair can shred fine hair into wisps. Match the tool to what's actually on the head, not to habit.
Skipping the dry check. Texturizing is easiest to judge accurately on dry, styled hair, since wet hair hides how much texture will actually show once it falls into place. If you're texturizing on damp hair, always dry and check before calling the cut finished.
Building the right kit
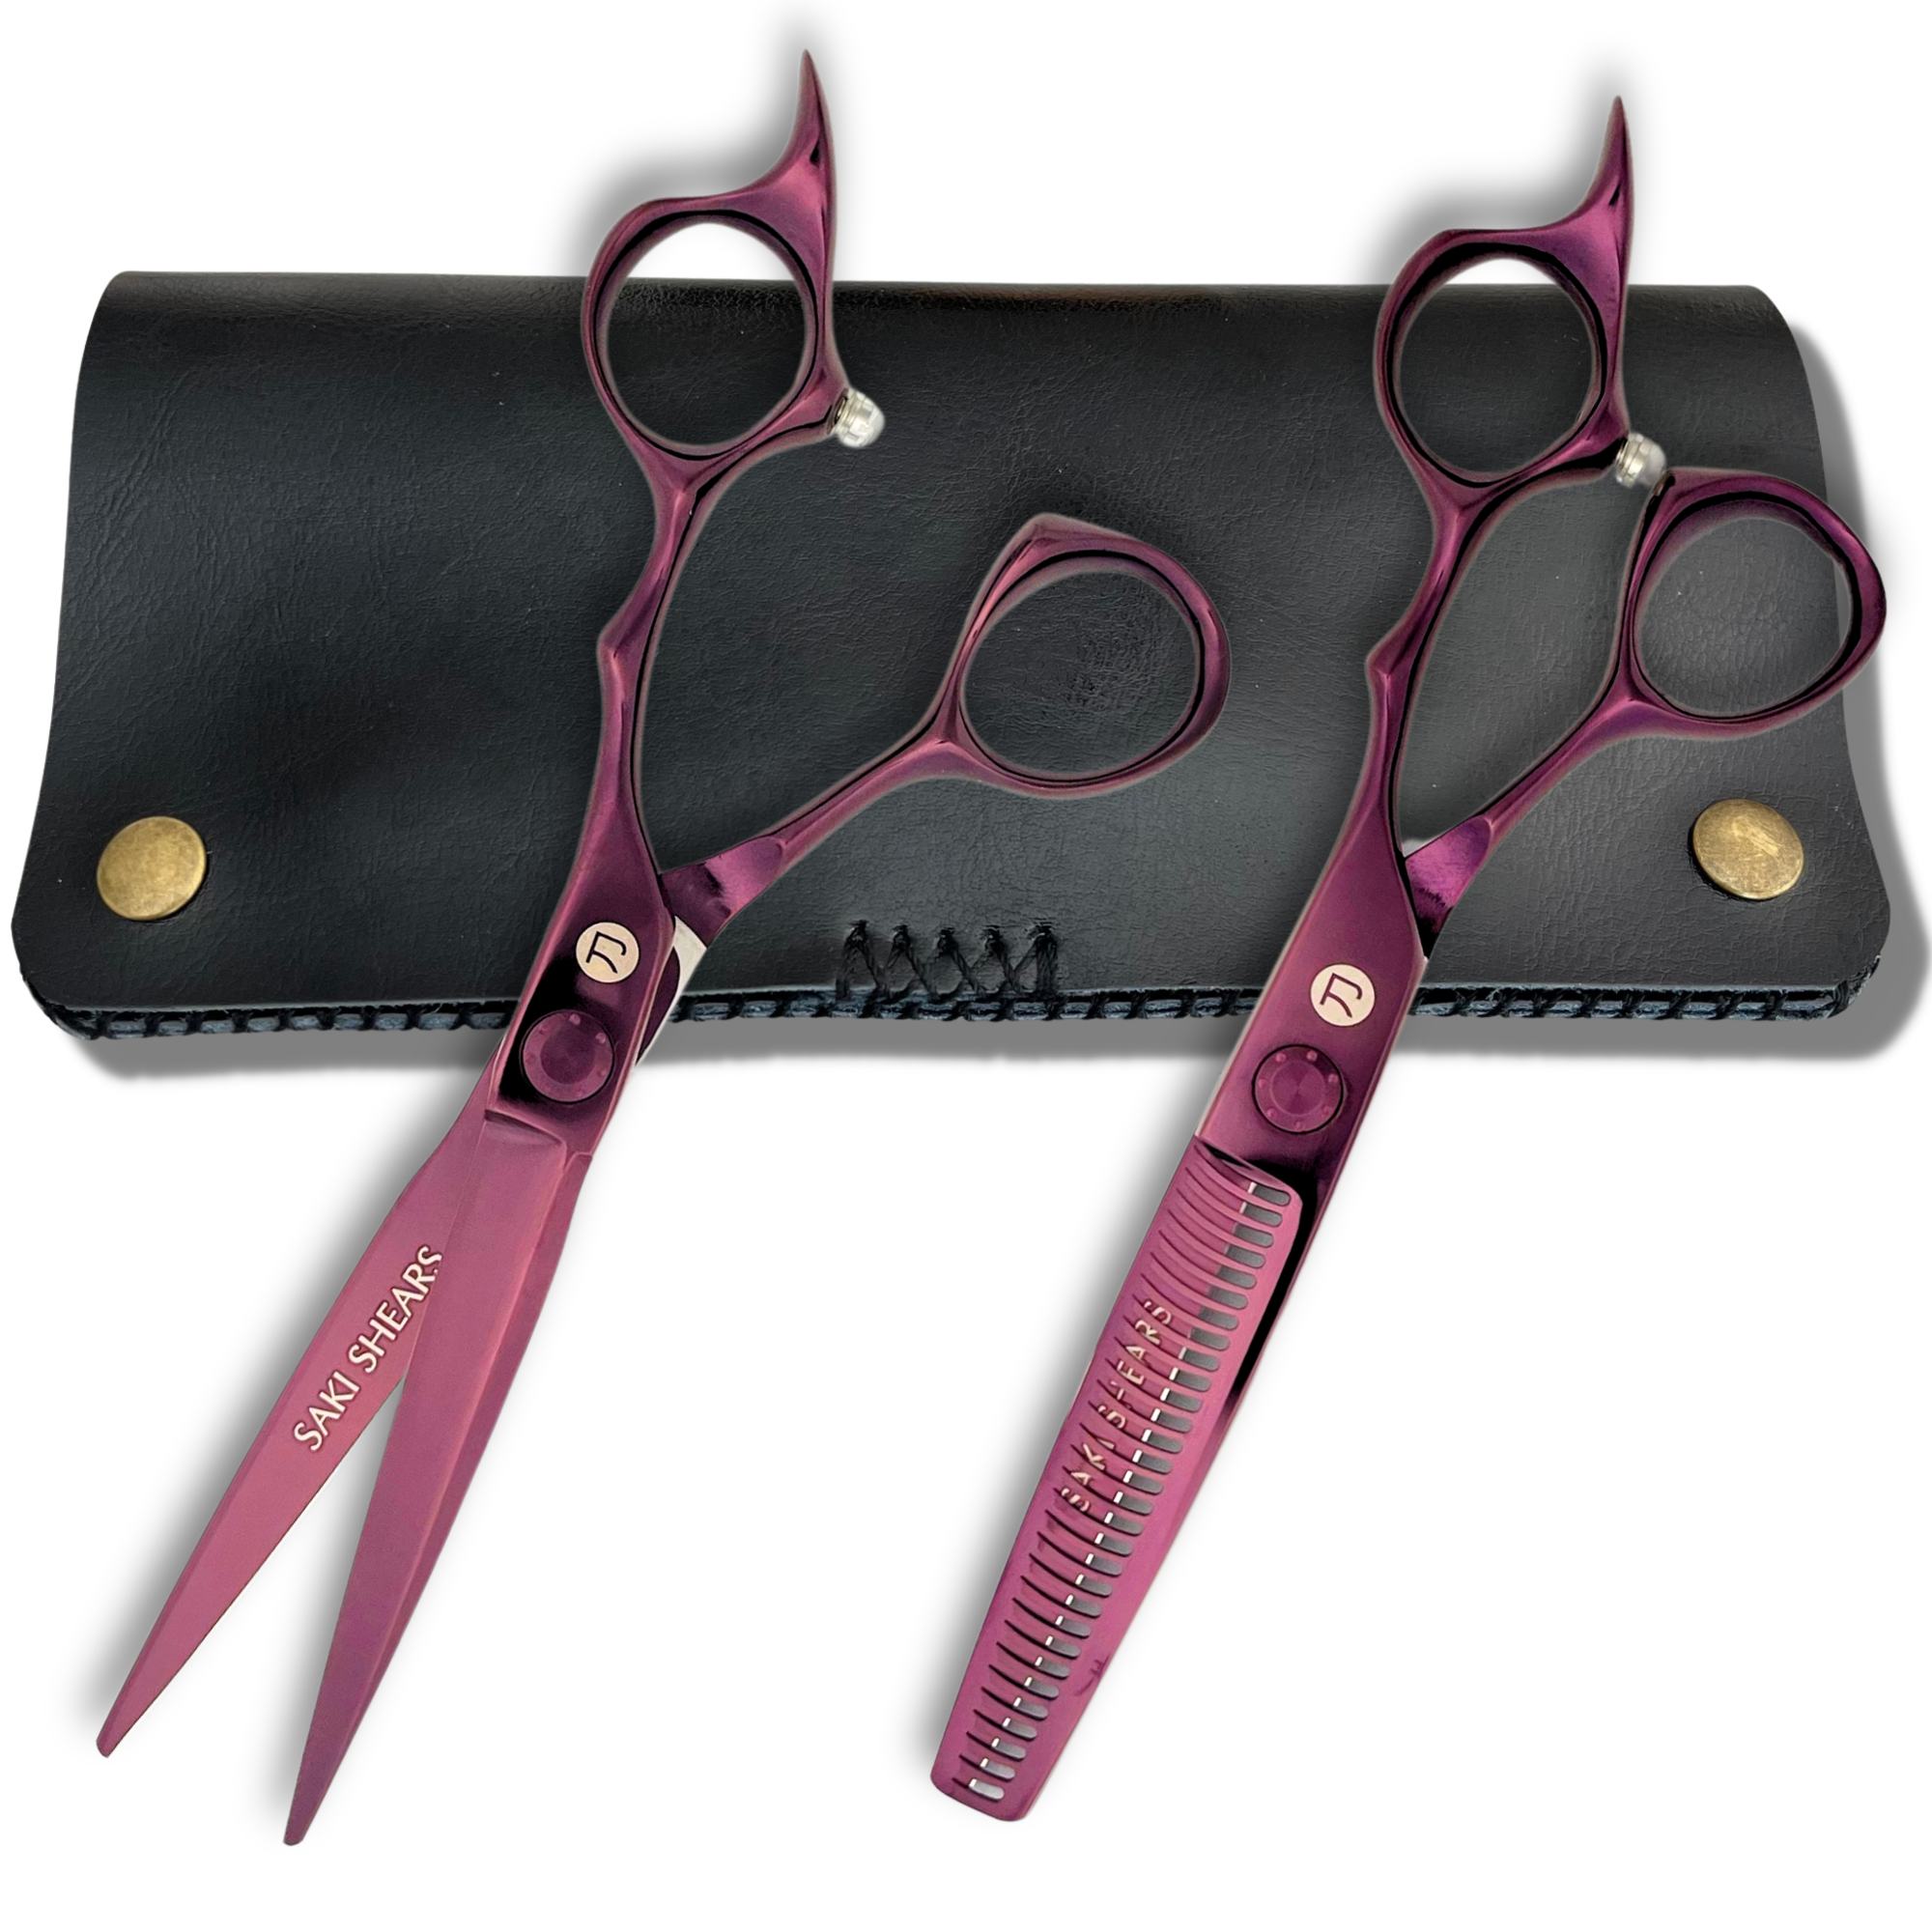
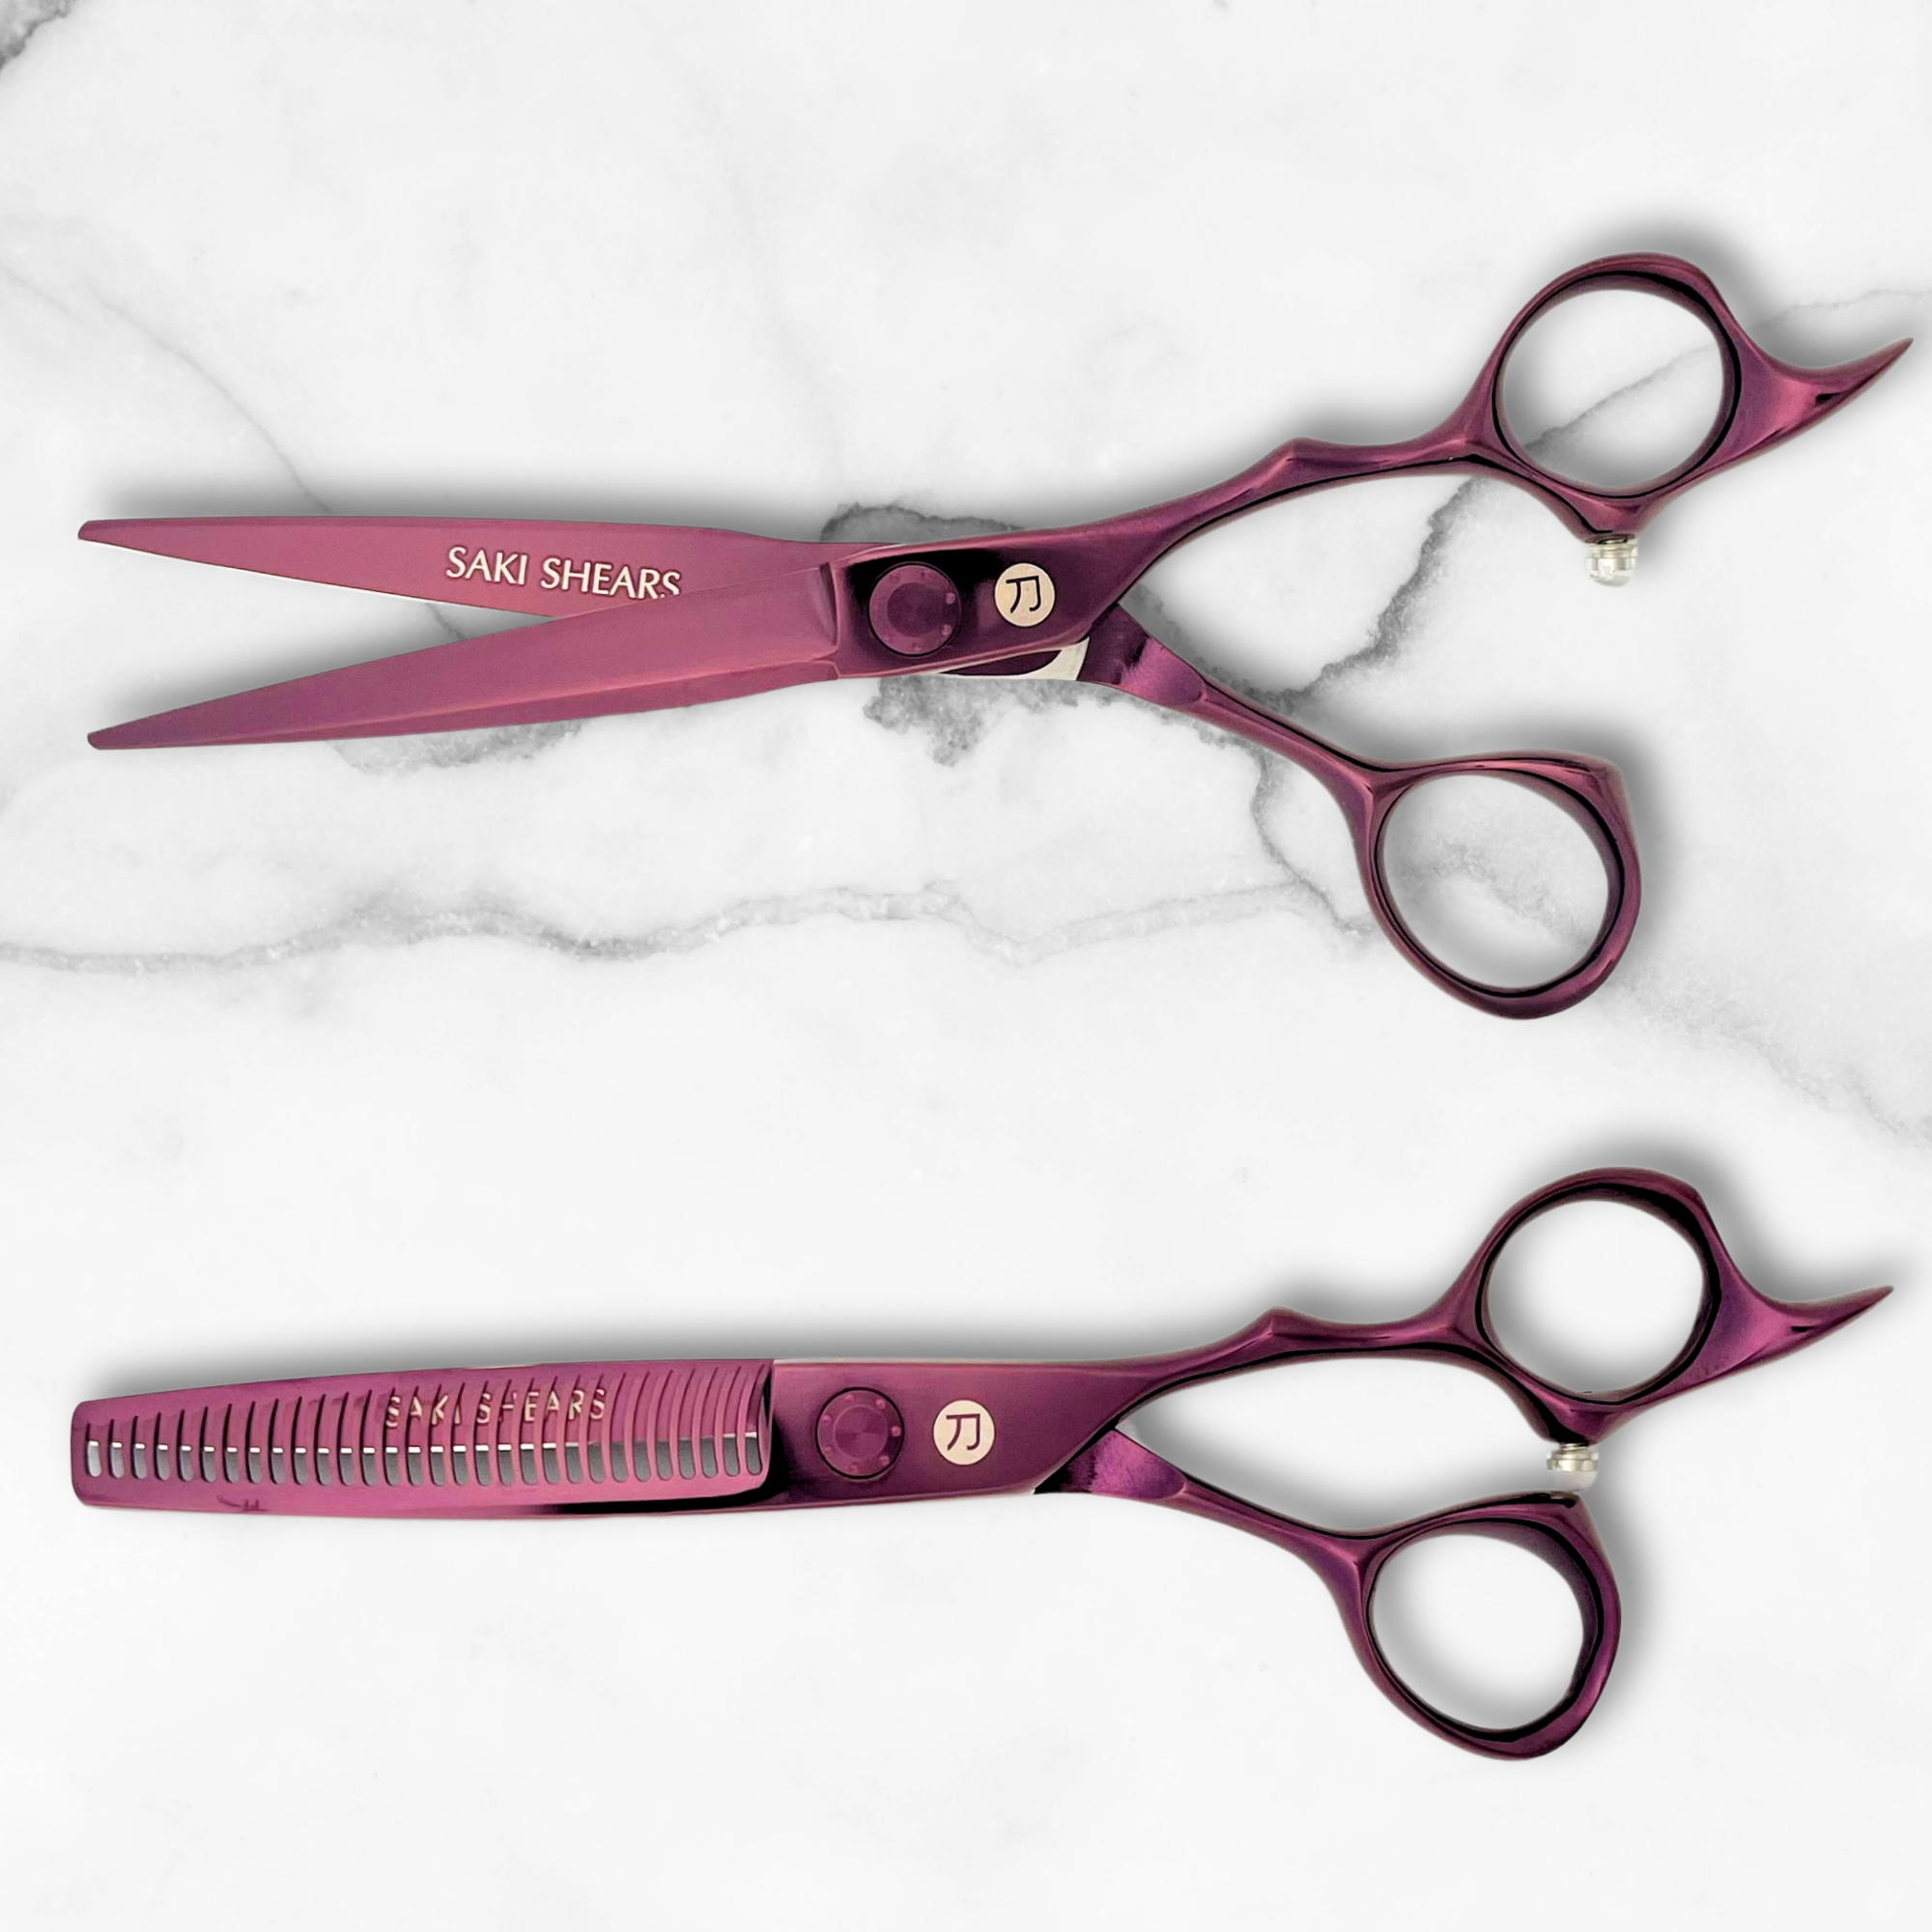
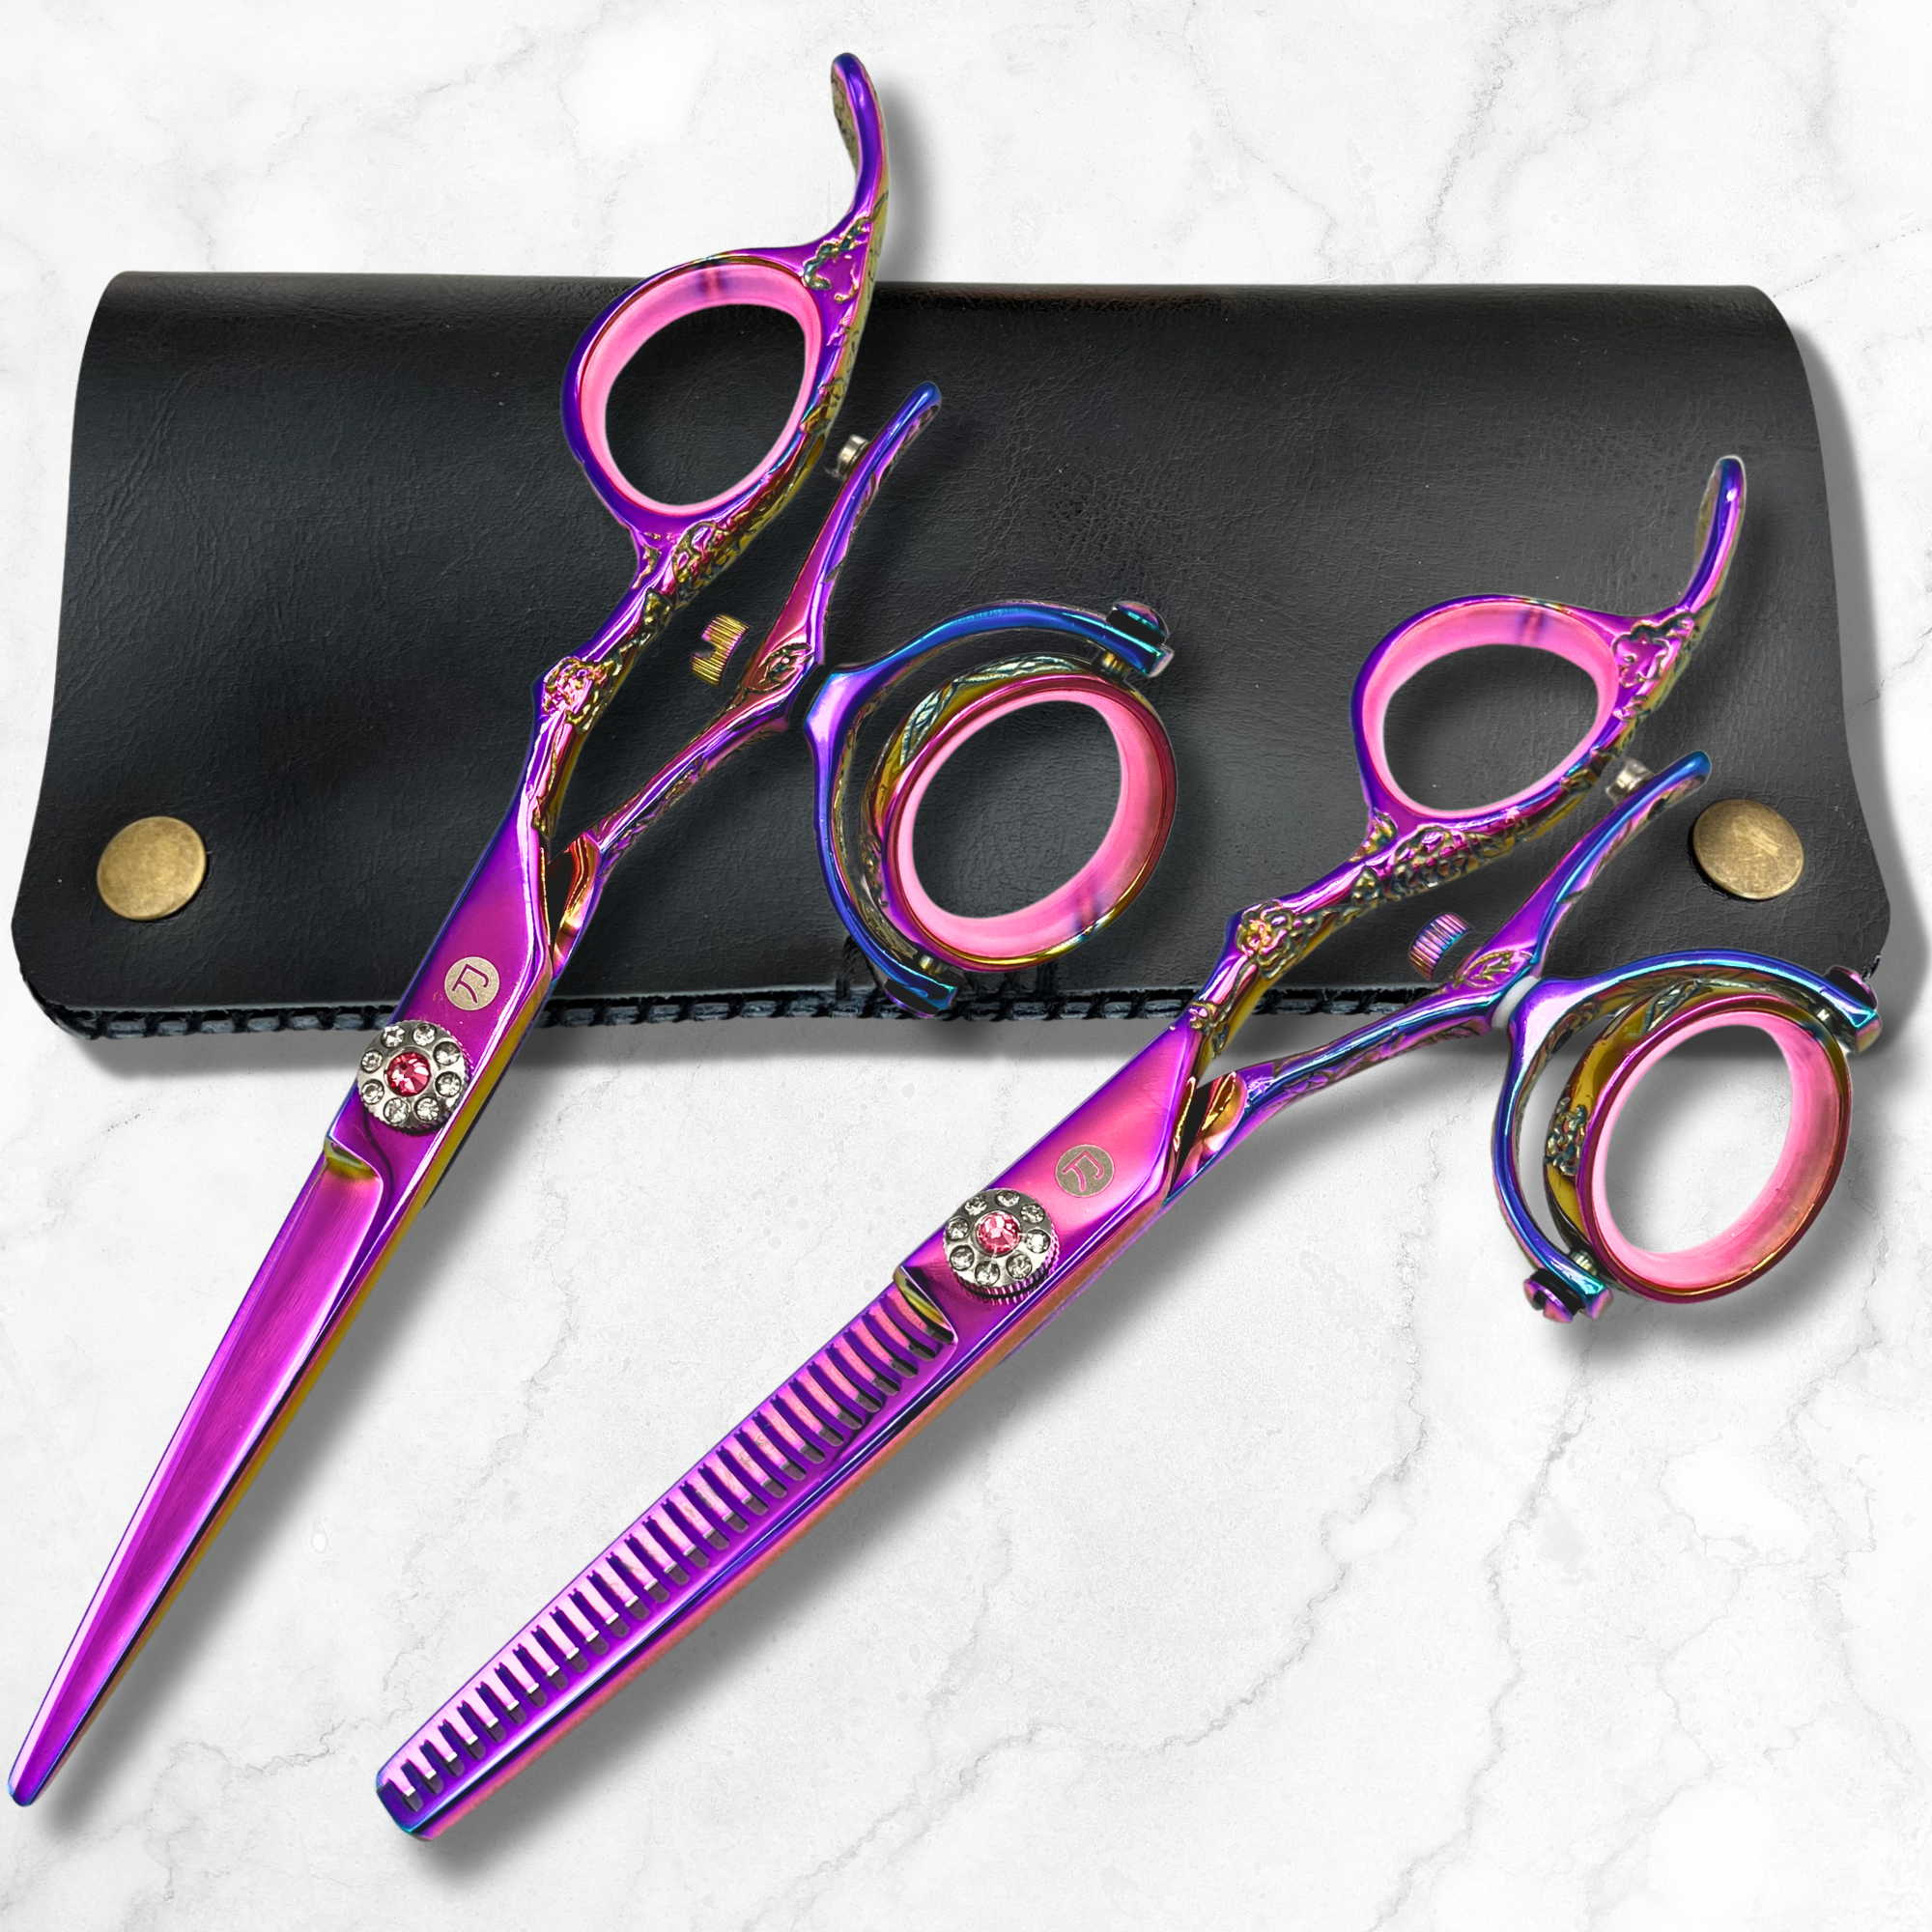
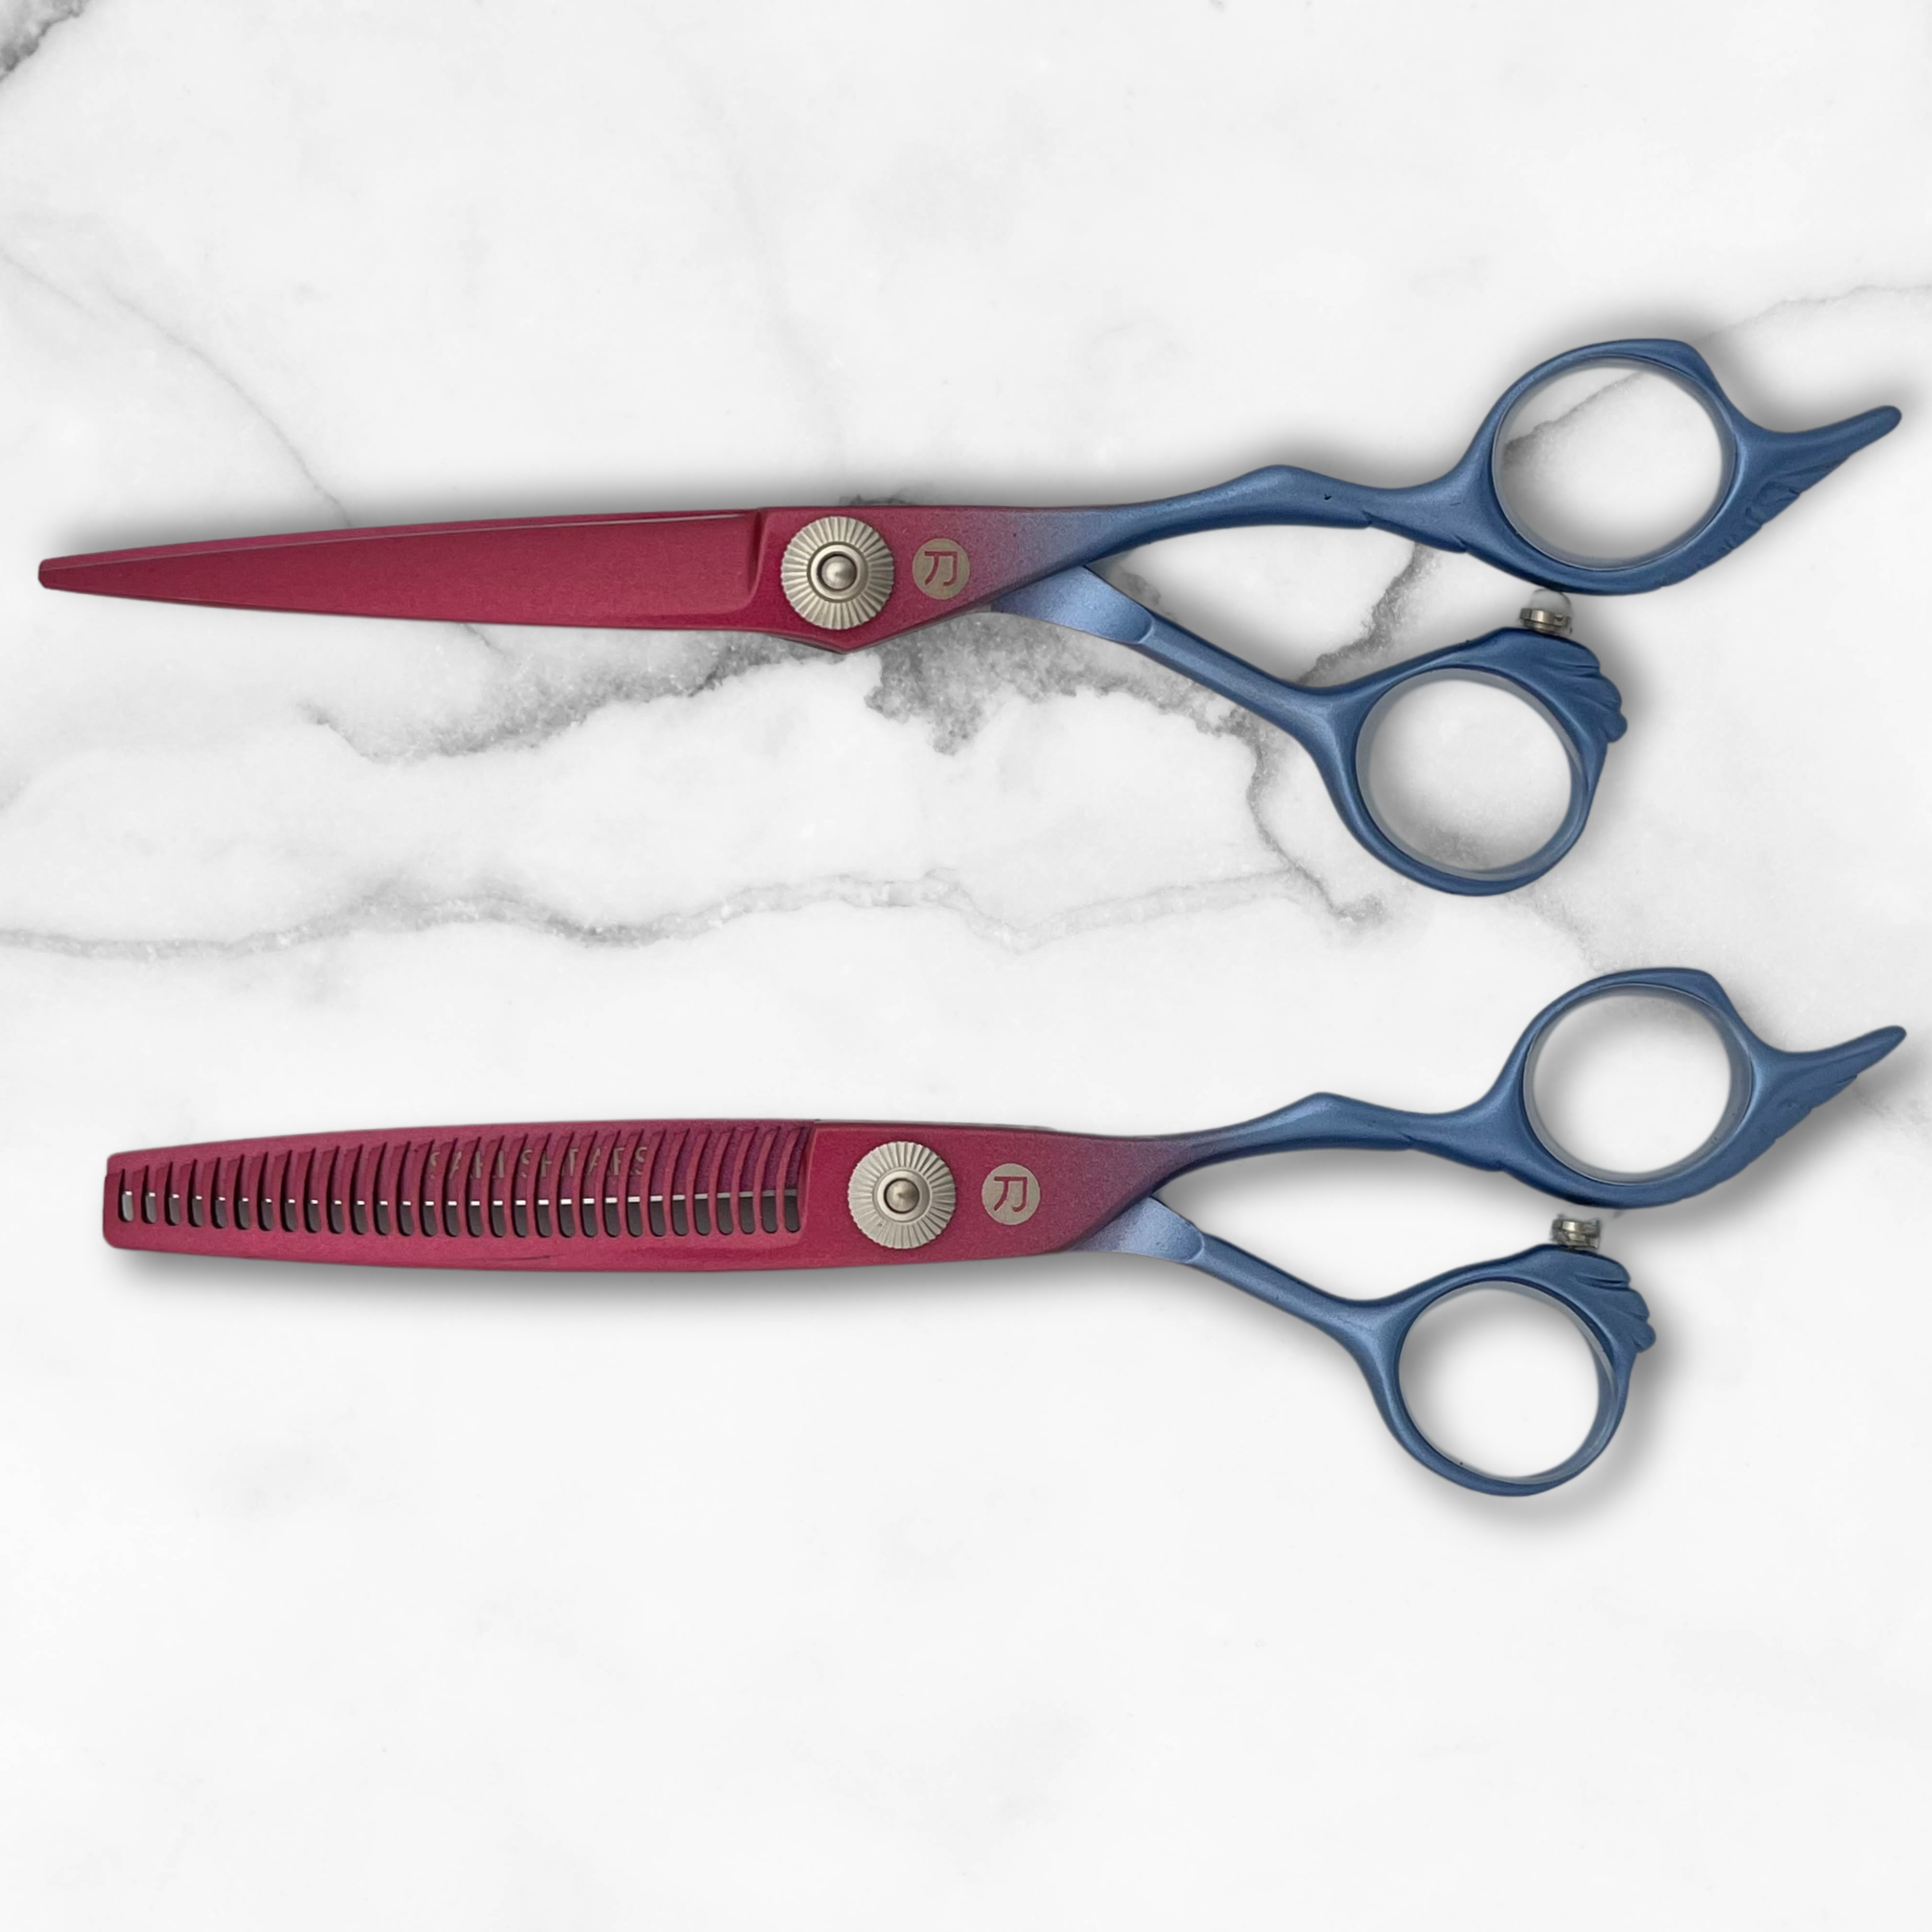
Most working stylists carry more than one texturizing tool — a higher-tooth blender for fine blending work and a lower-tooth thinner for bulk removal — rather than trying to make one shear do both jobs. If you're filling a gap in your kit, our thinning and texturizing shears are organized by tooth count and spacing, and pair well with a solid cutting shear for the guideline work that texture depends on.

Written by Charles Harris