Tips for Cutting Thick Hair Without Creating Bulk
Cutting thick hair can be tricky, especially if you're trying to reduce weight without creating unwanted bulk. Here's a quick guide to help you achieve smooth, natural results:
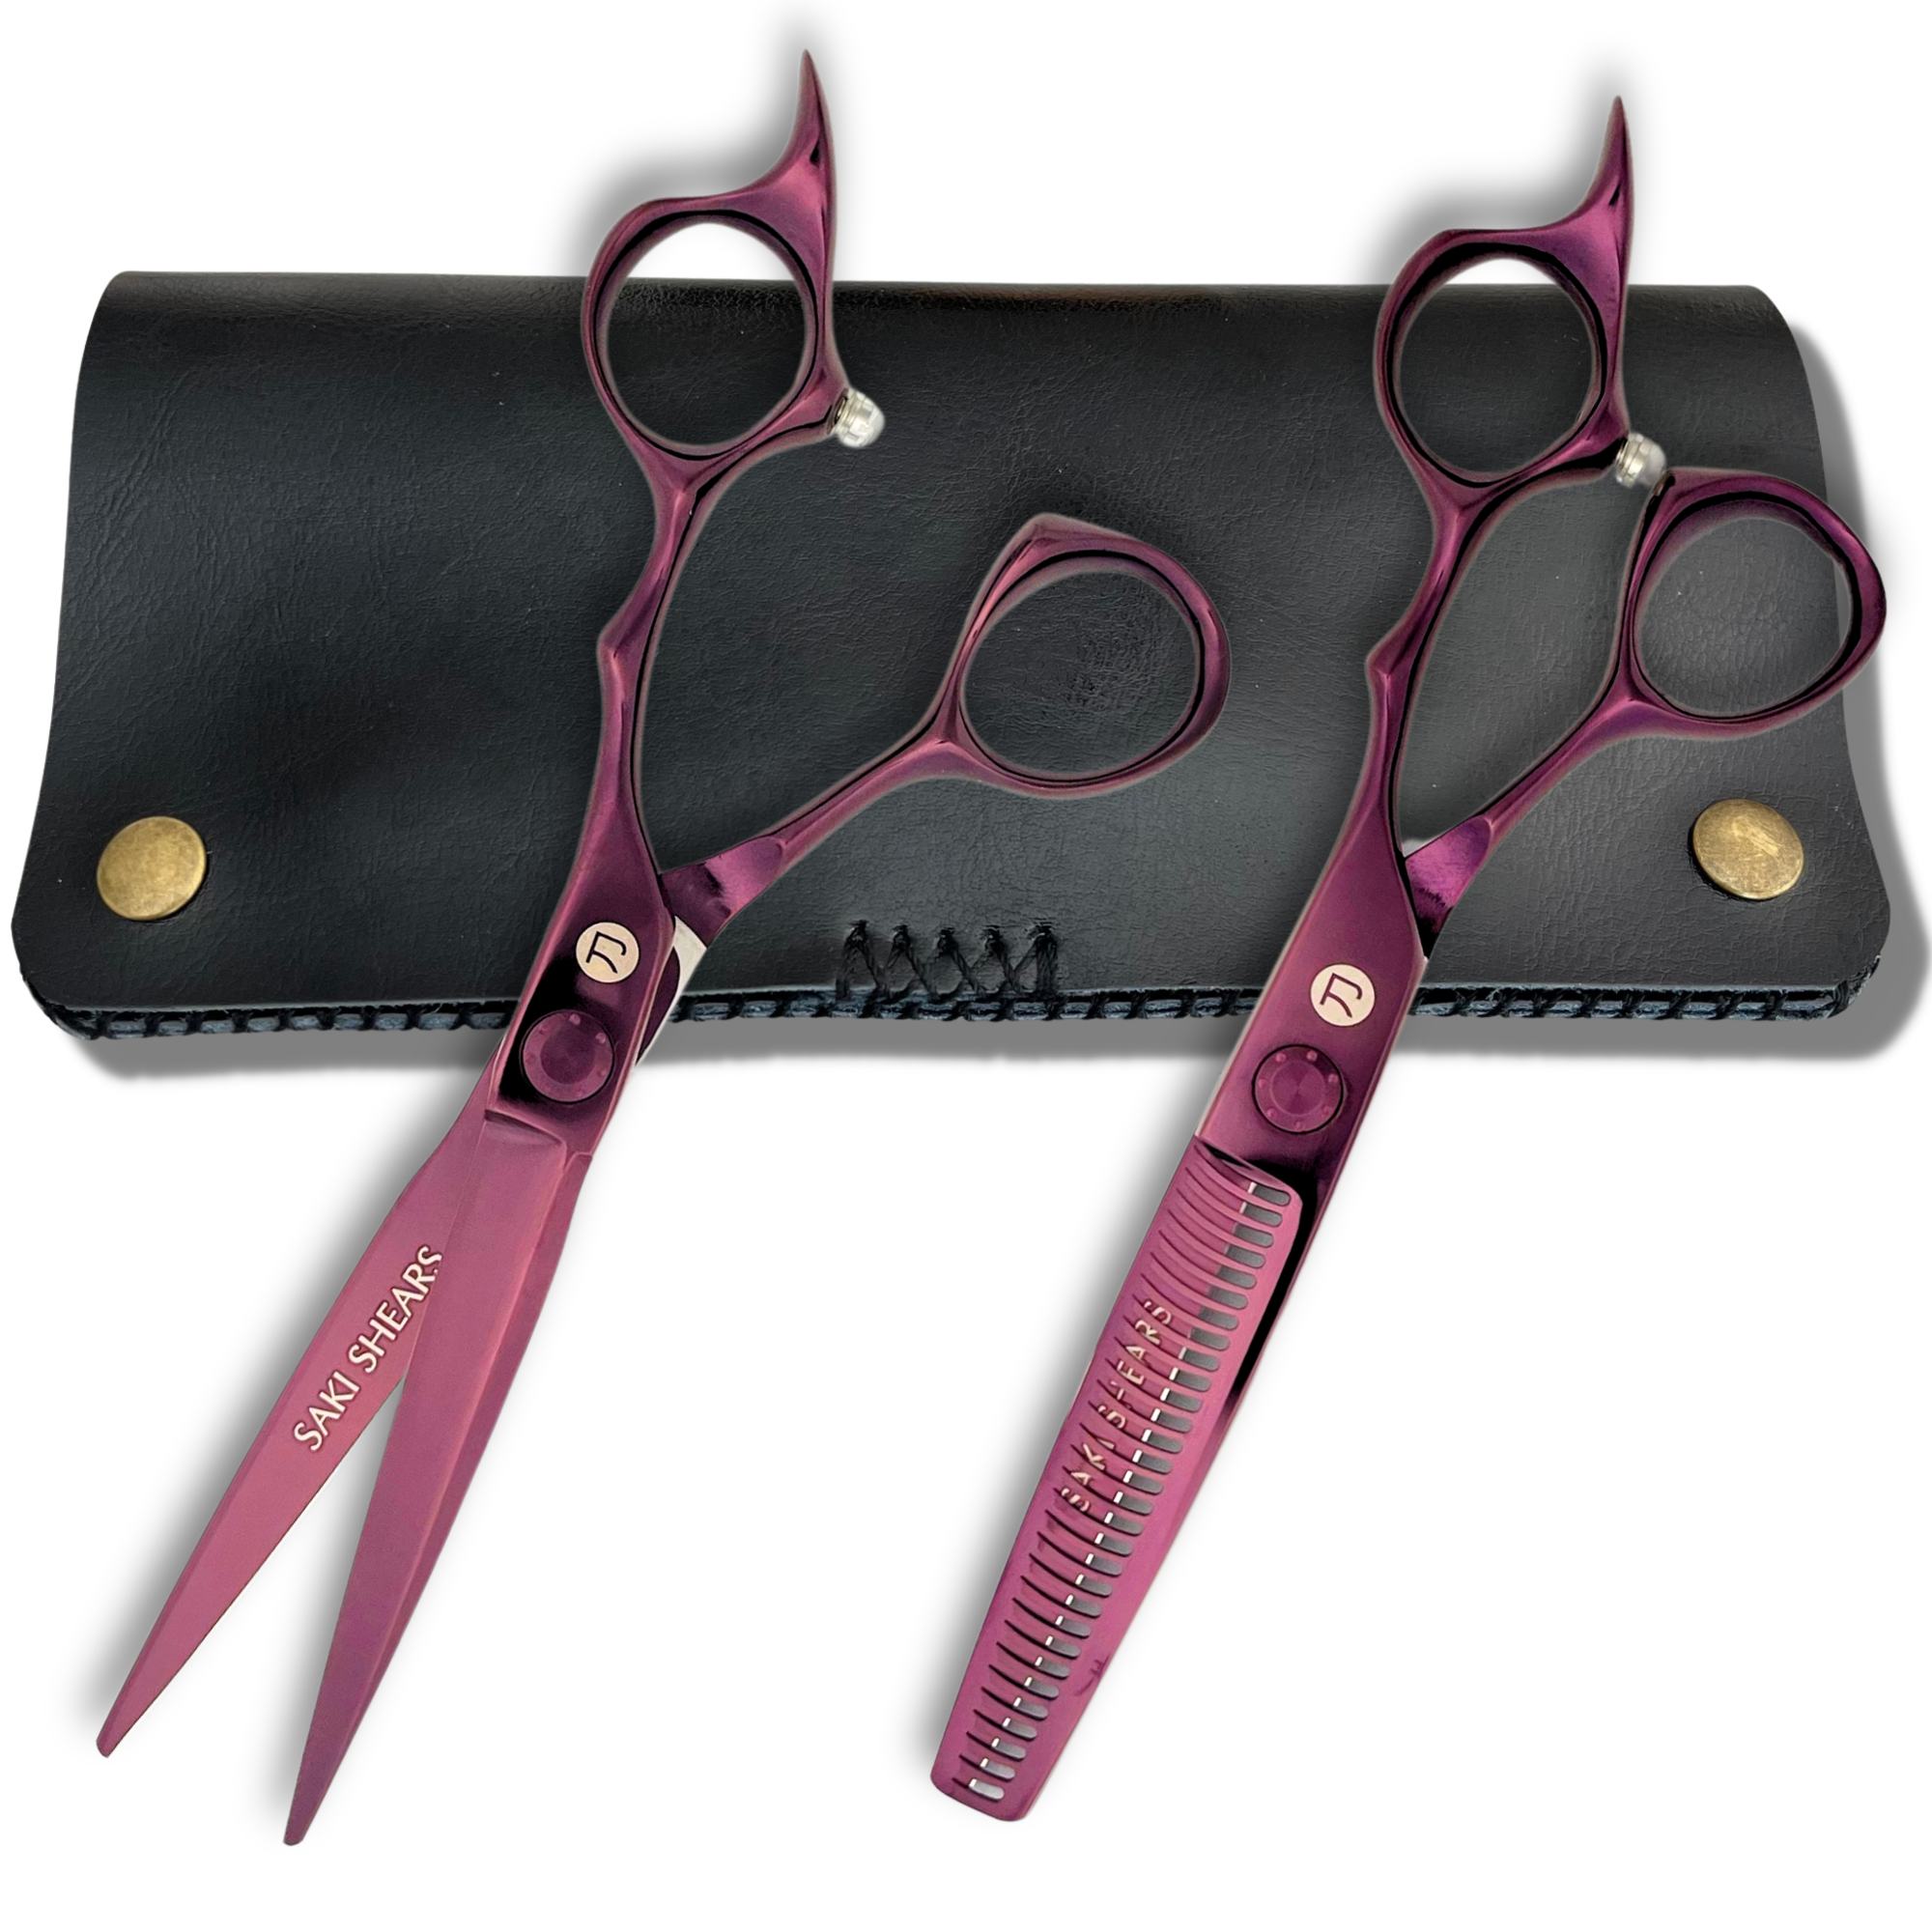
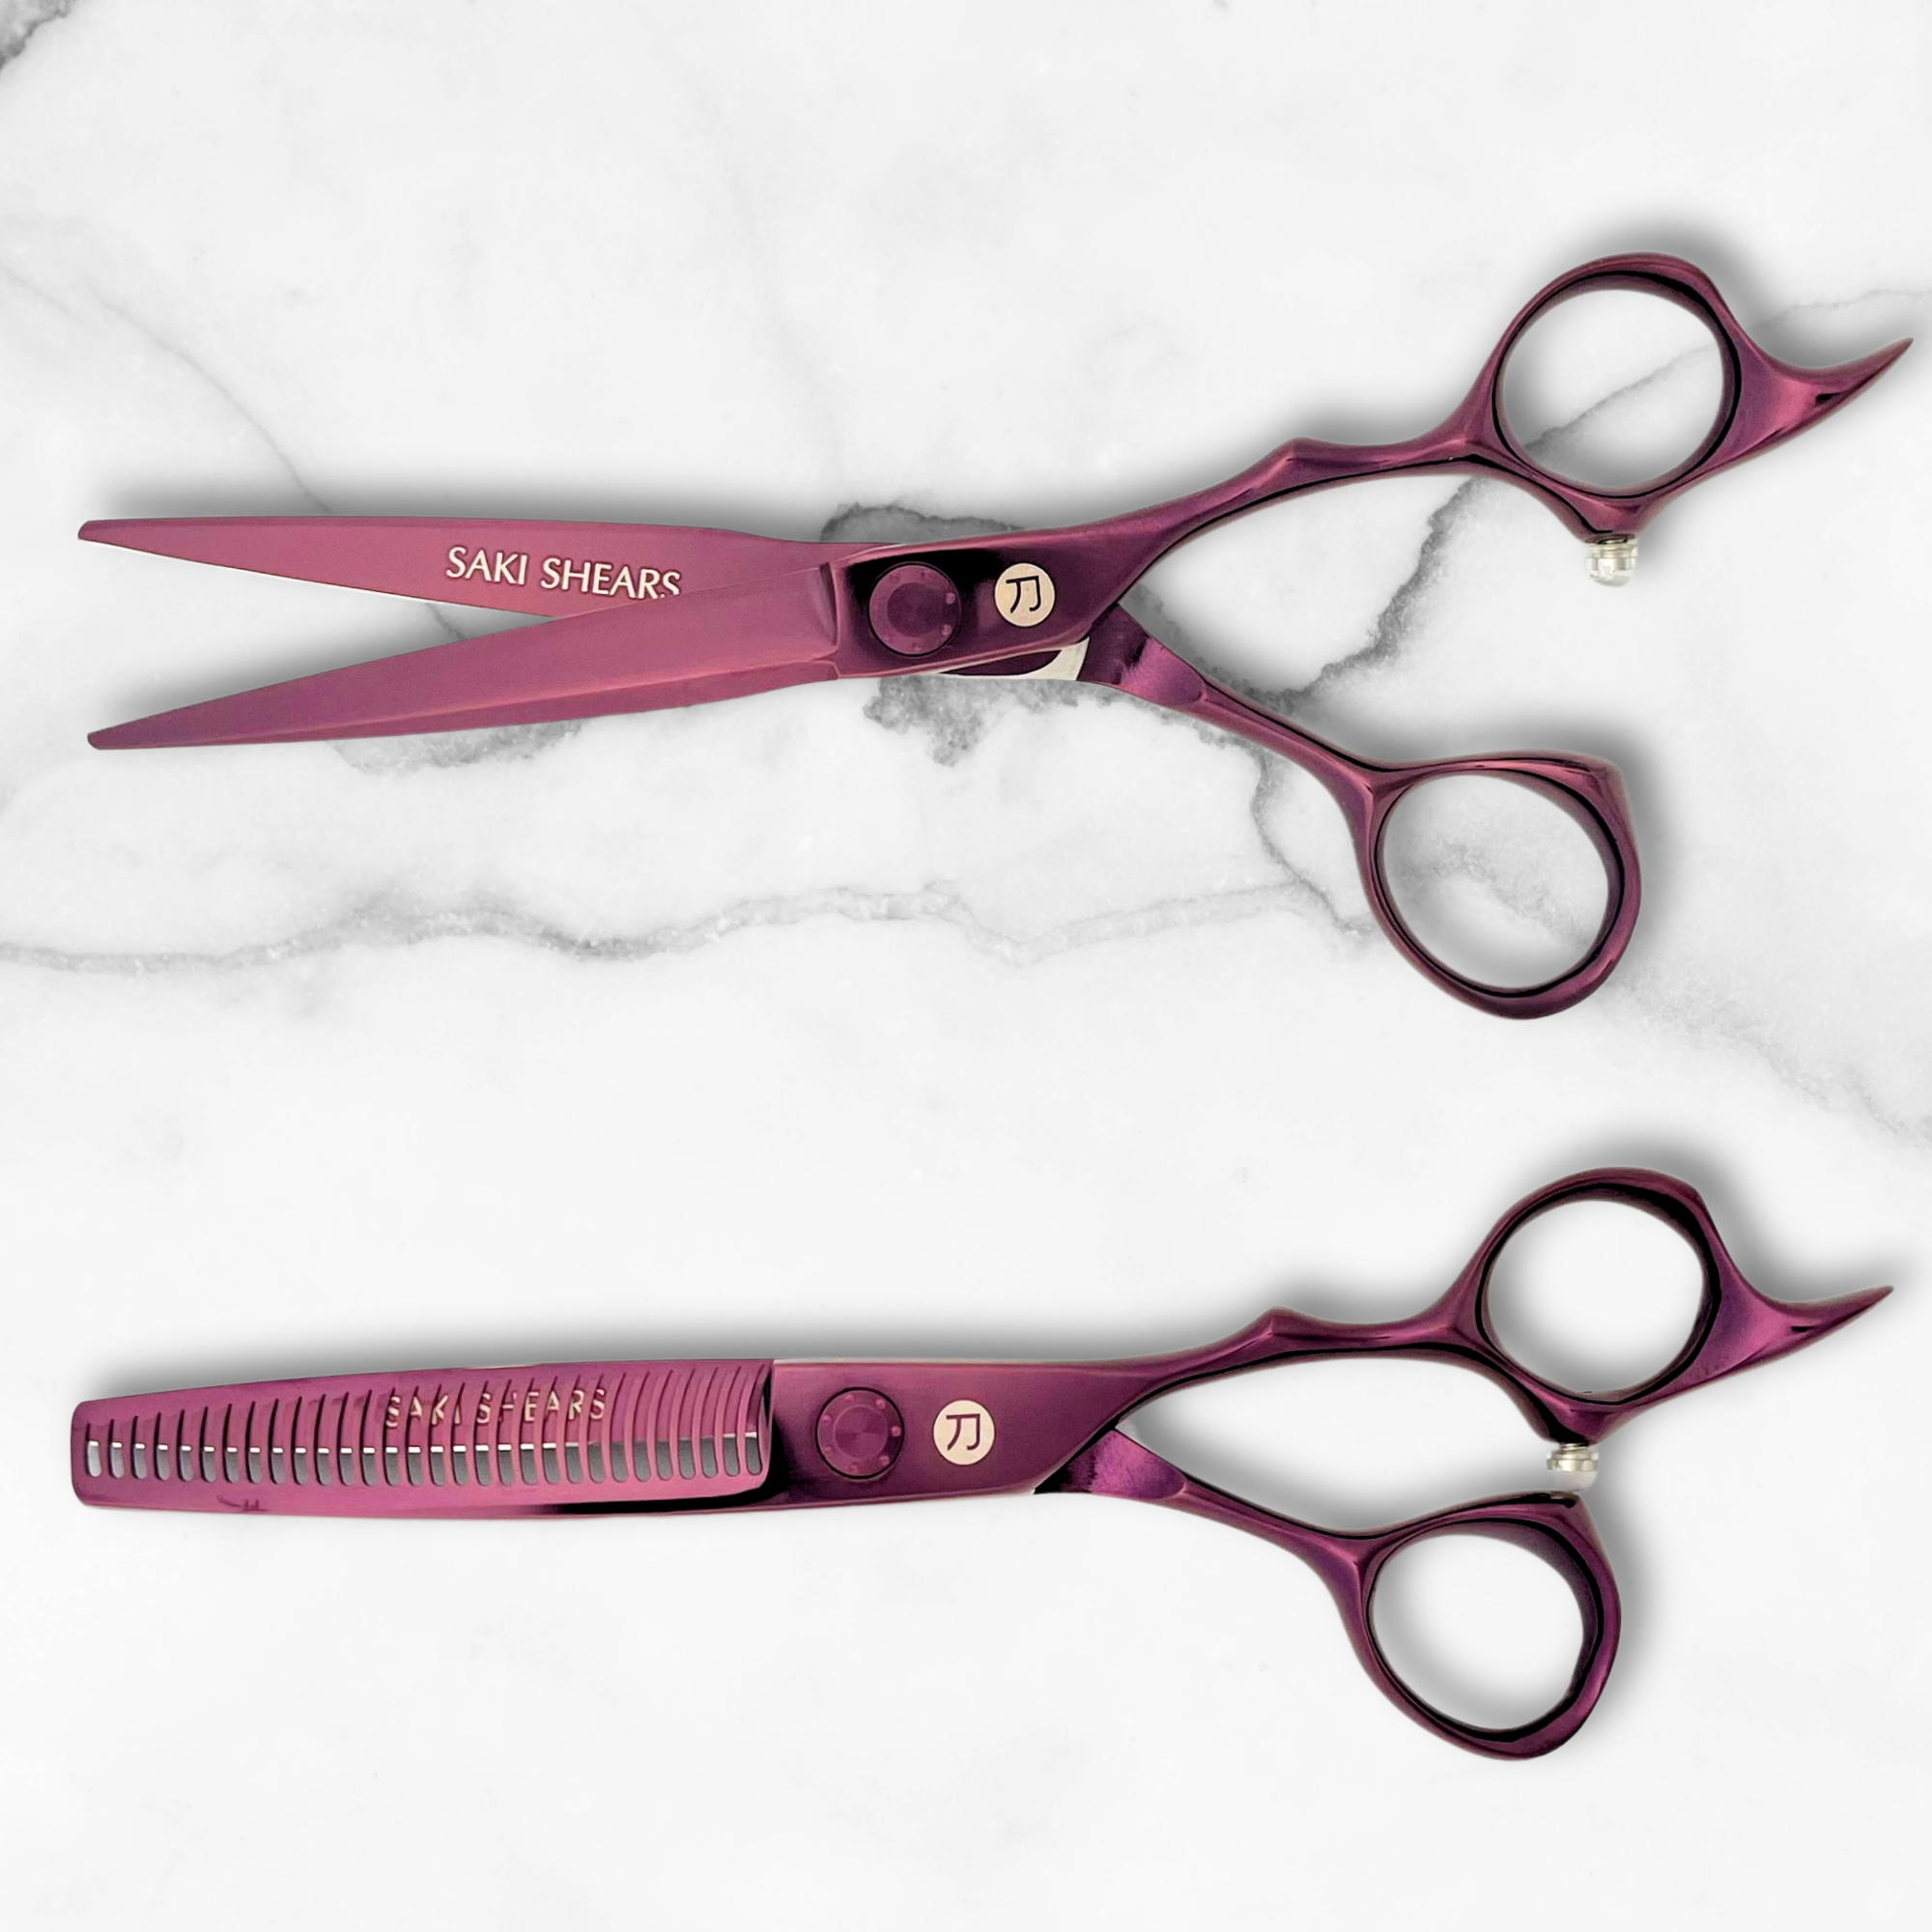
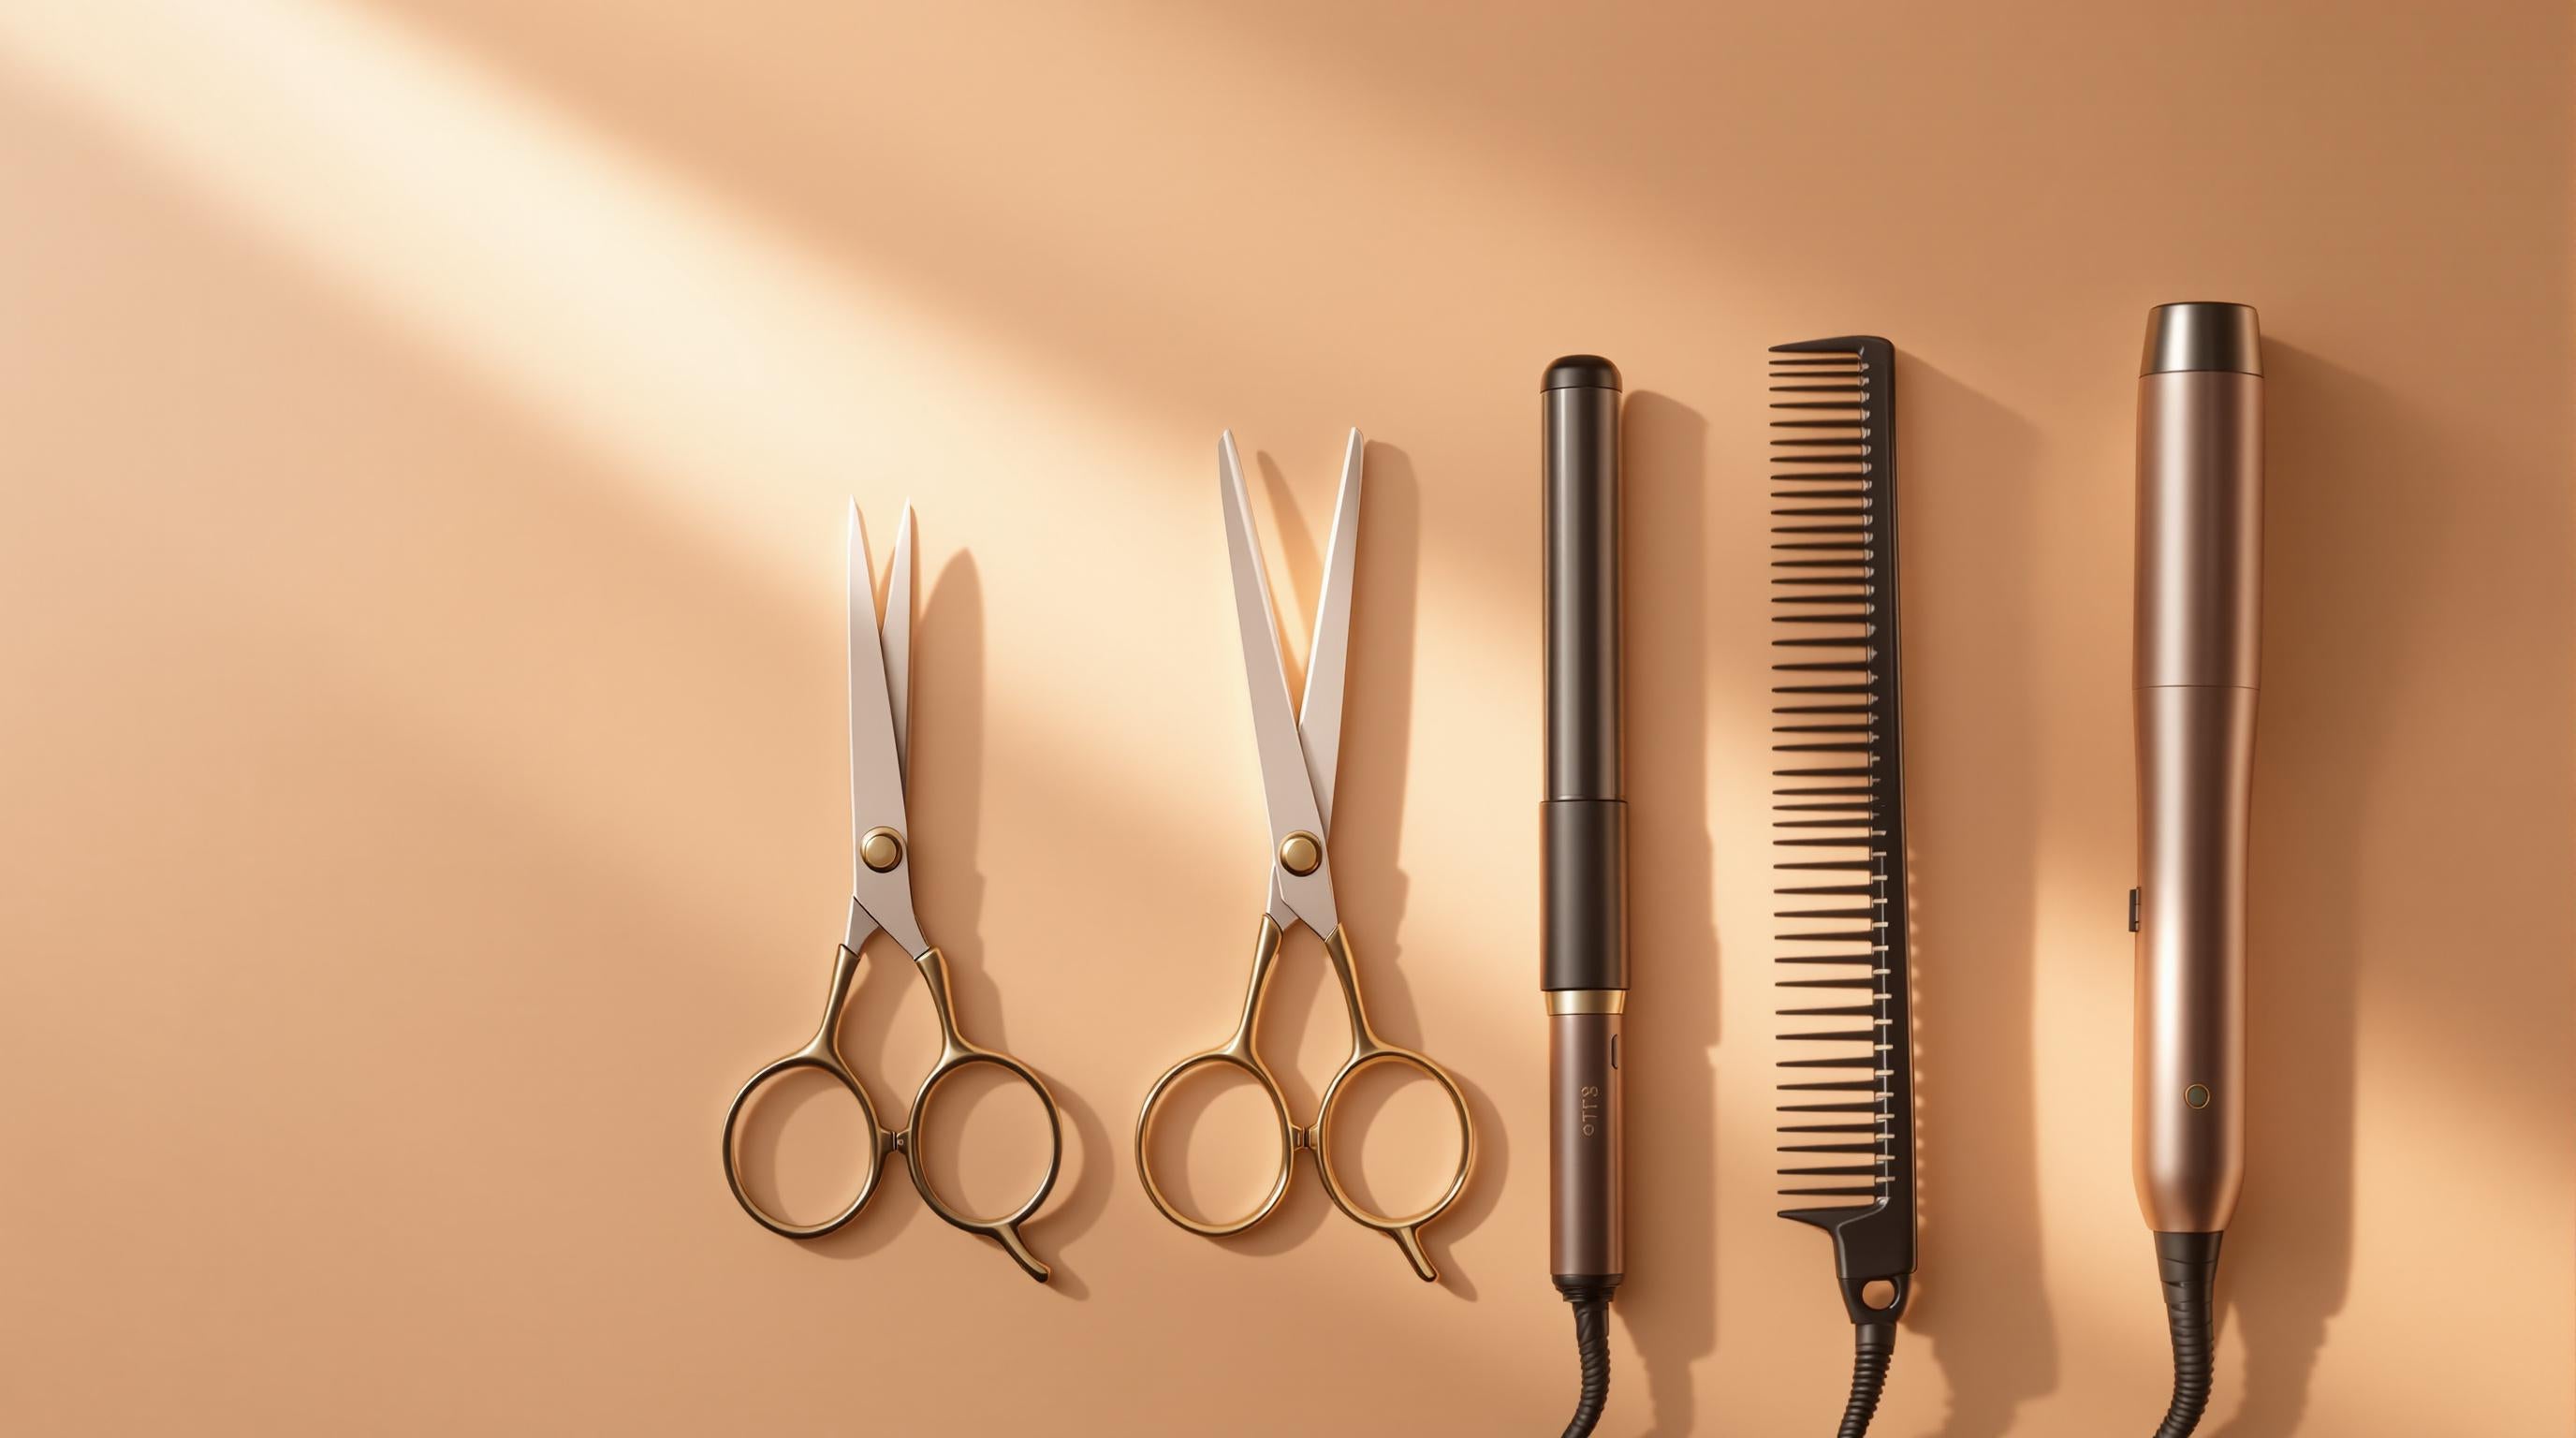
- Choose the Right Tools: Use professional shears, thinning shears, or texturizing tools to control weight and maintain natural flow.
- Prepare the Hair: Wash with a hydrating shampoo, detangle with a wide-tooth comb, and section the hair for precision.
- Use Proper Techniques: Point cutting, slide cutting, and layering are key methods to remove bulk while keeping the hair's shape and movement.
- Focus on Bulk Reduction: Target specific areas with thinning or chunking shears to avoid a stringy appearance.
- Finish with Styling Products: Use leave-in conditioners, styling creams, or treatment oils to enhance the final look and keep hair manageable.
Quick Comparison of Tools and Techniques
| Technique | Best For | Tools Needed |
|---|---|---|
| Point Cutting | Texture and bulk removal | Professional shears |
| Slide Cutting | Soft, feathered ends | Sharp scissors |
| Thinning Shears | Subtle weight removal | Thinning shears |
| Layering | Even weight distribution | Shears and sectioning clips |
How To Remove Weight From Thick, Coarse Hair Without Losing Length
Professional Tools for Thick Hair
Managing thick hair requires the right tools. High-quality shears made from Japanese steel deliver precise cuts, last longer, and help reduce bulk while maintaining the hair's natural flow. Consider investing in professional shears and thinning tools for better results.
Professional Shears and Thinning Tools
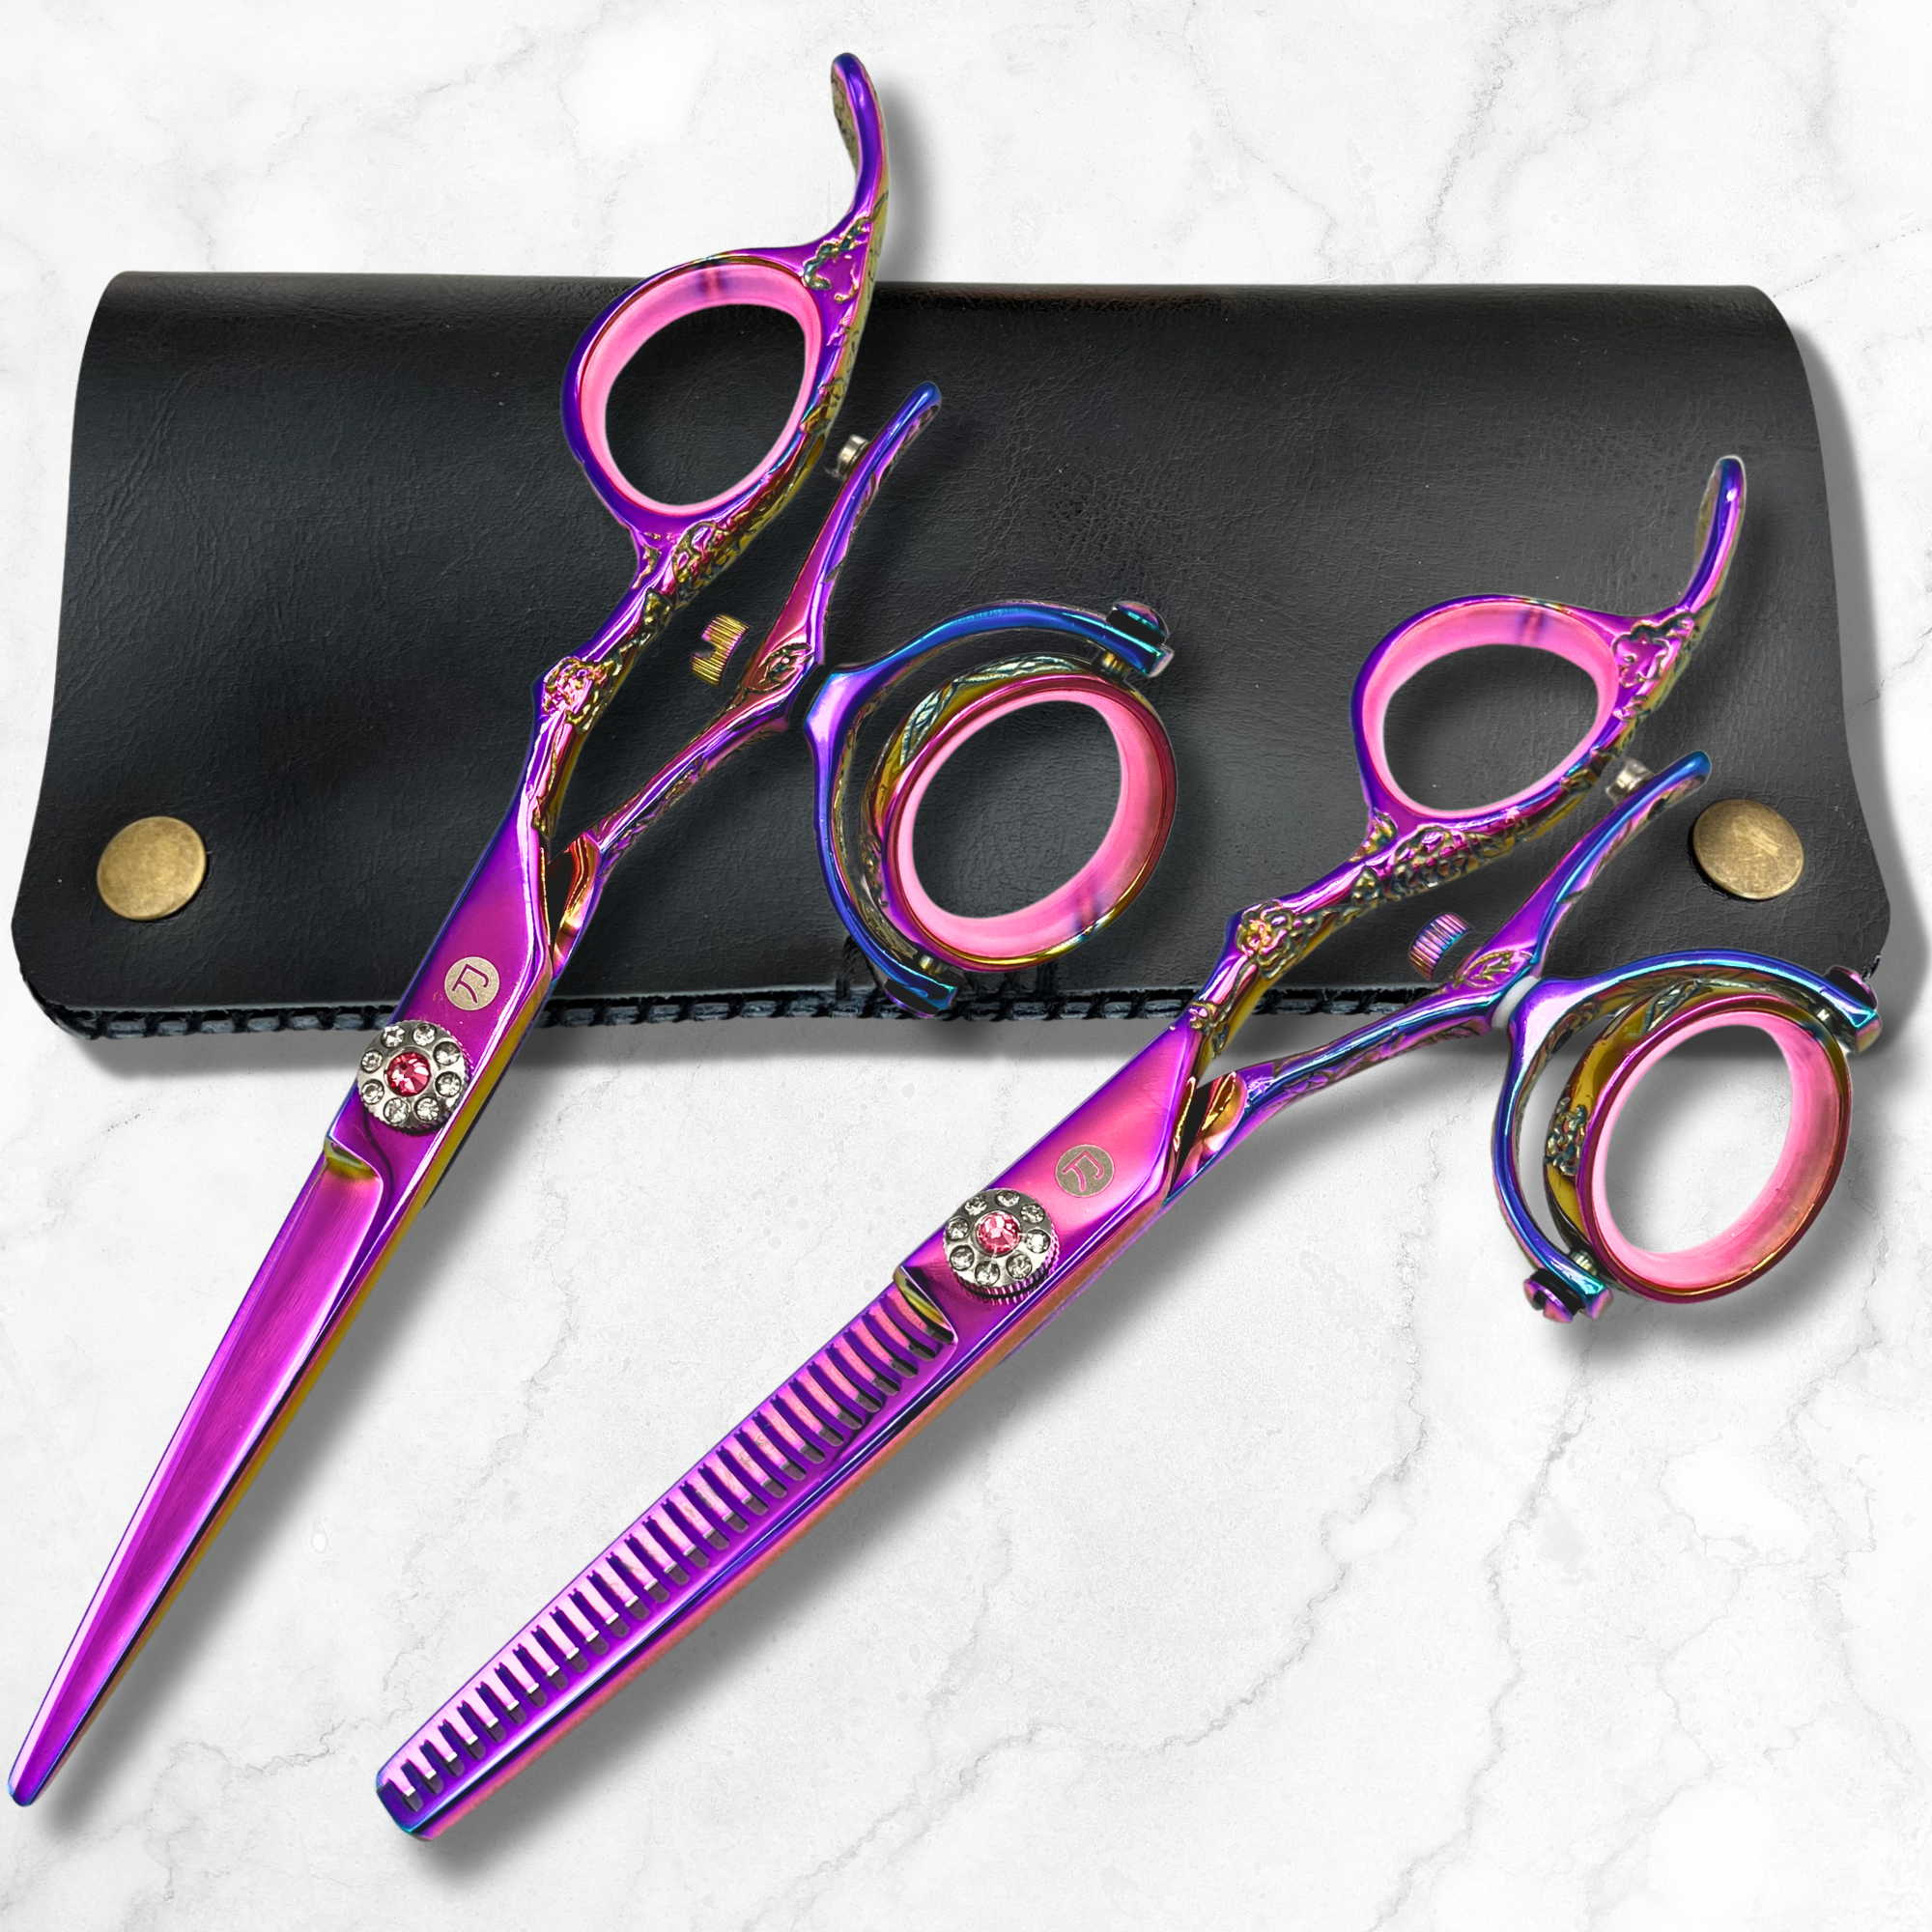
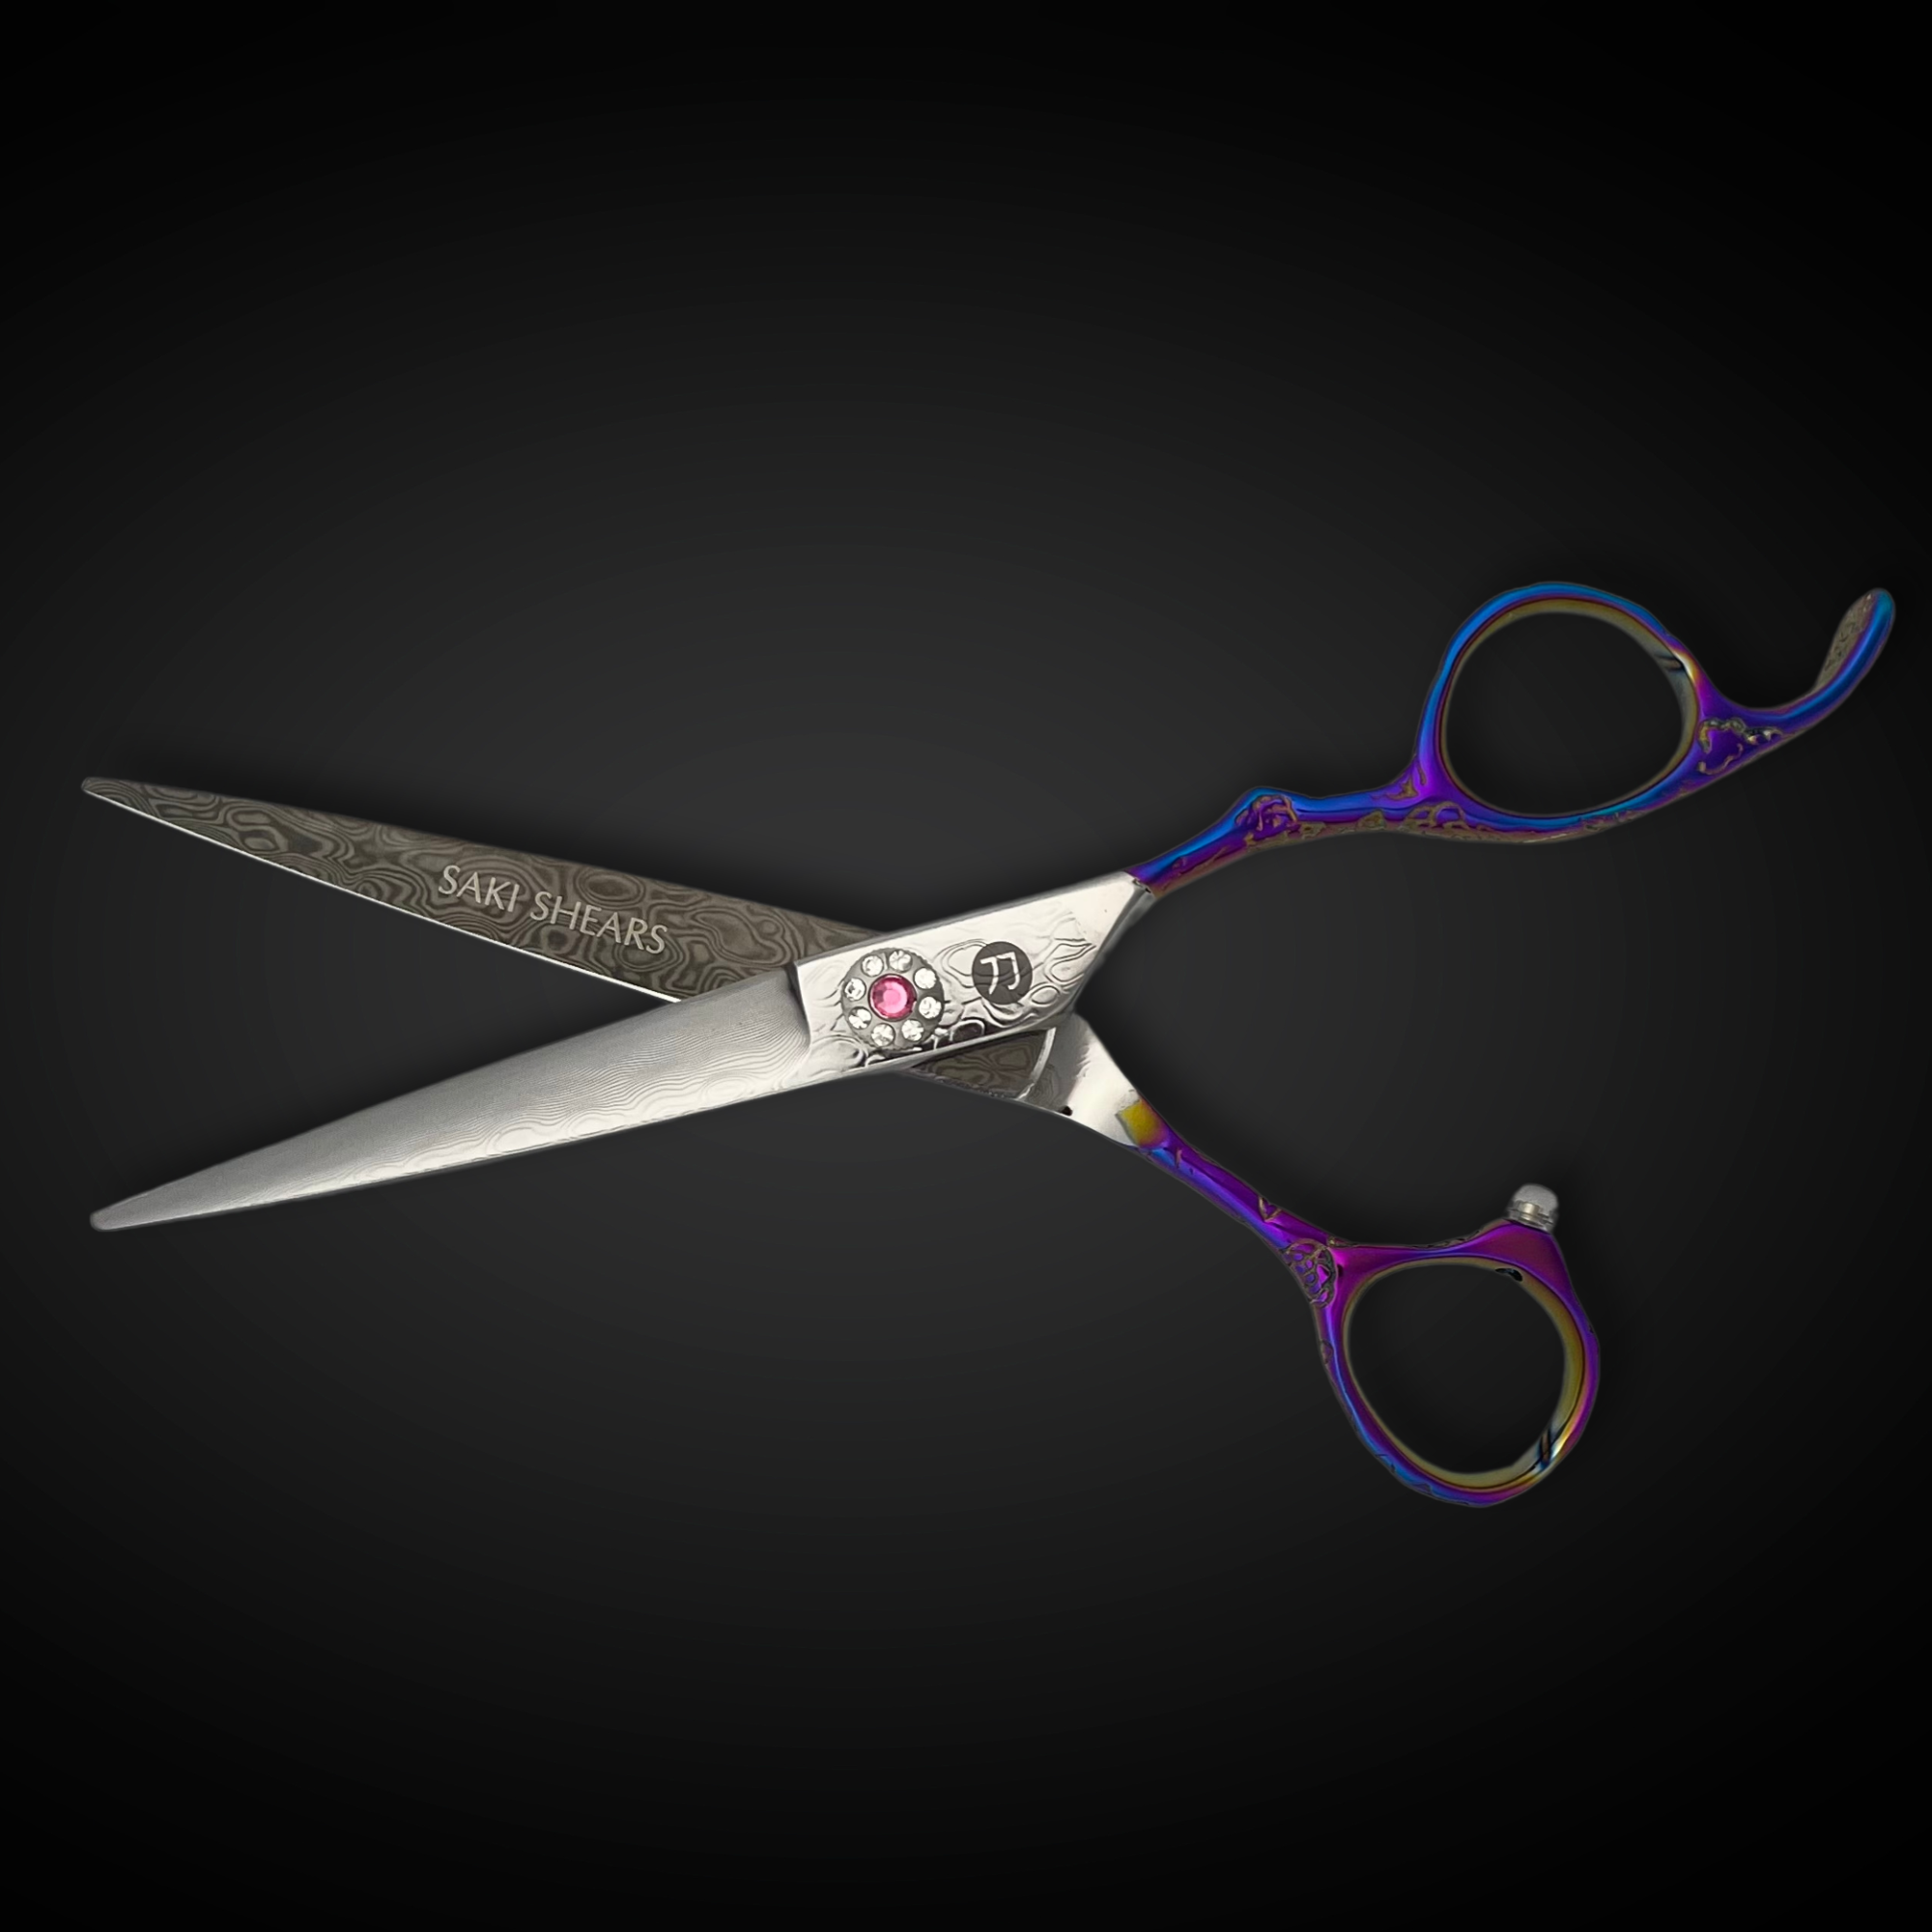
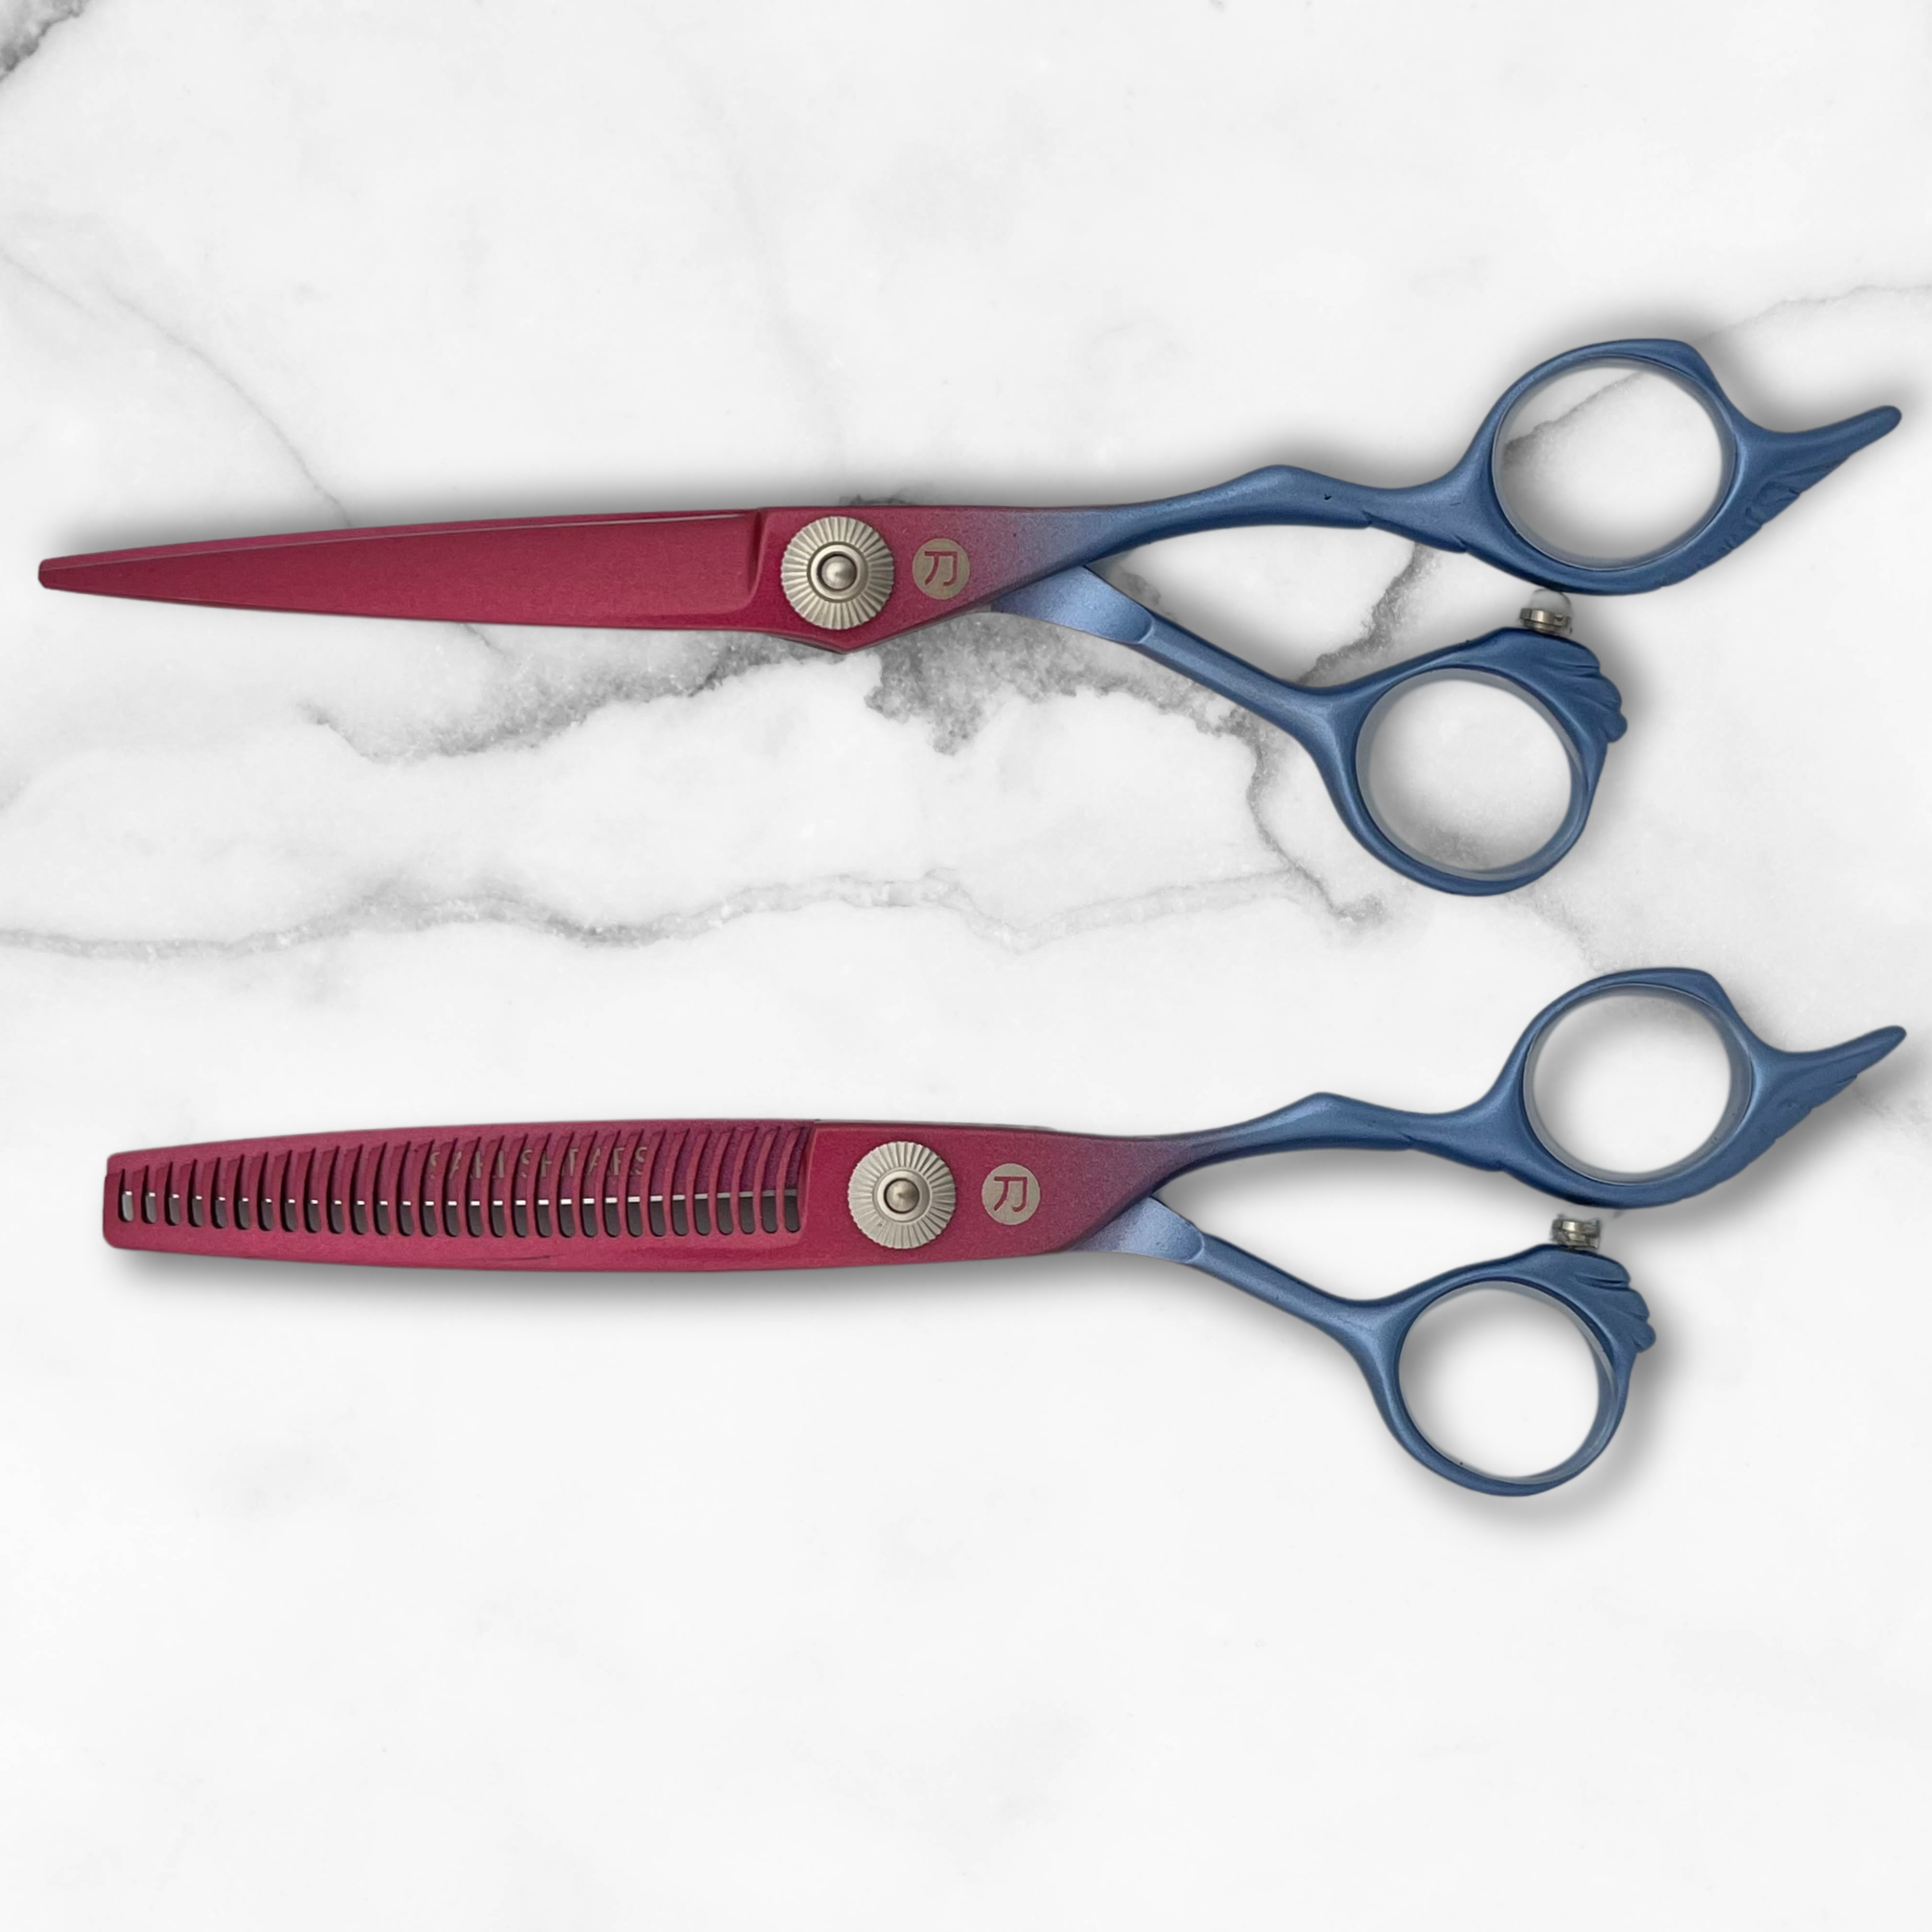
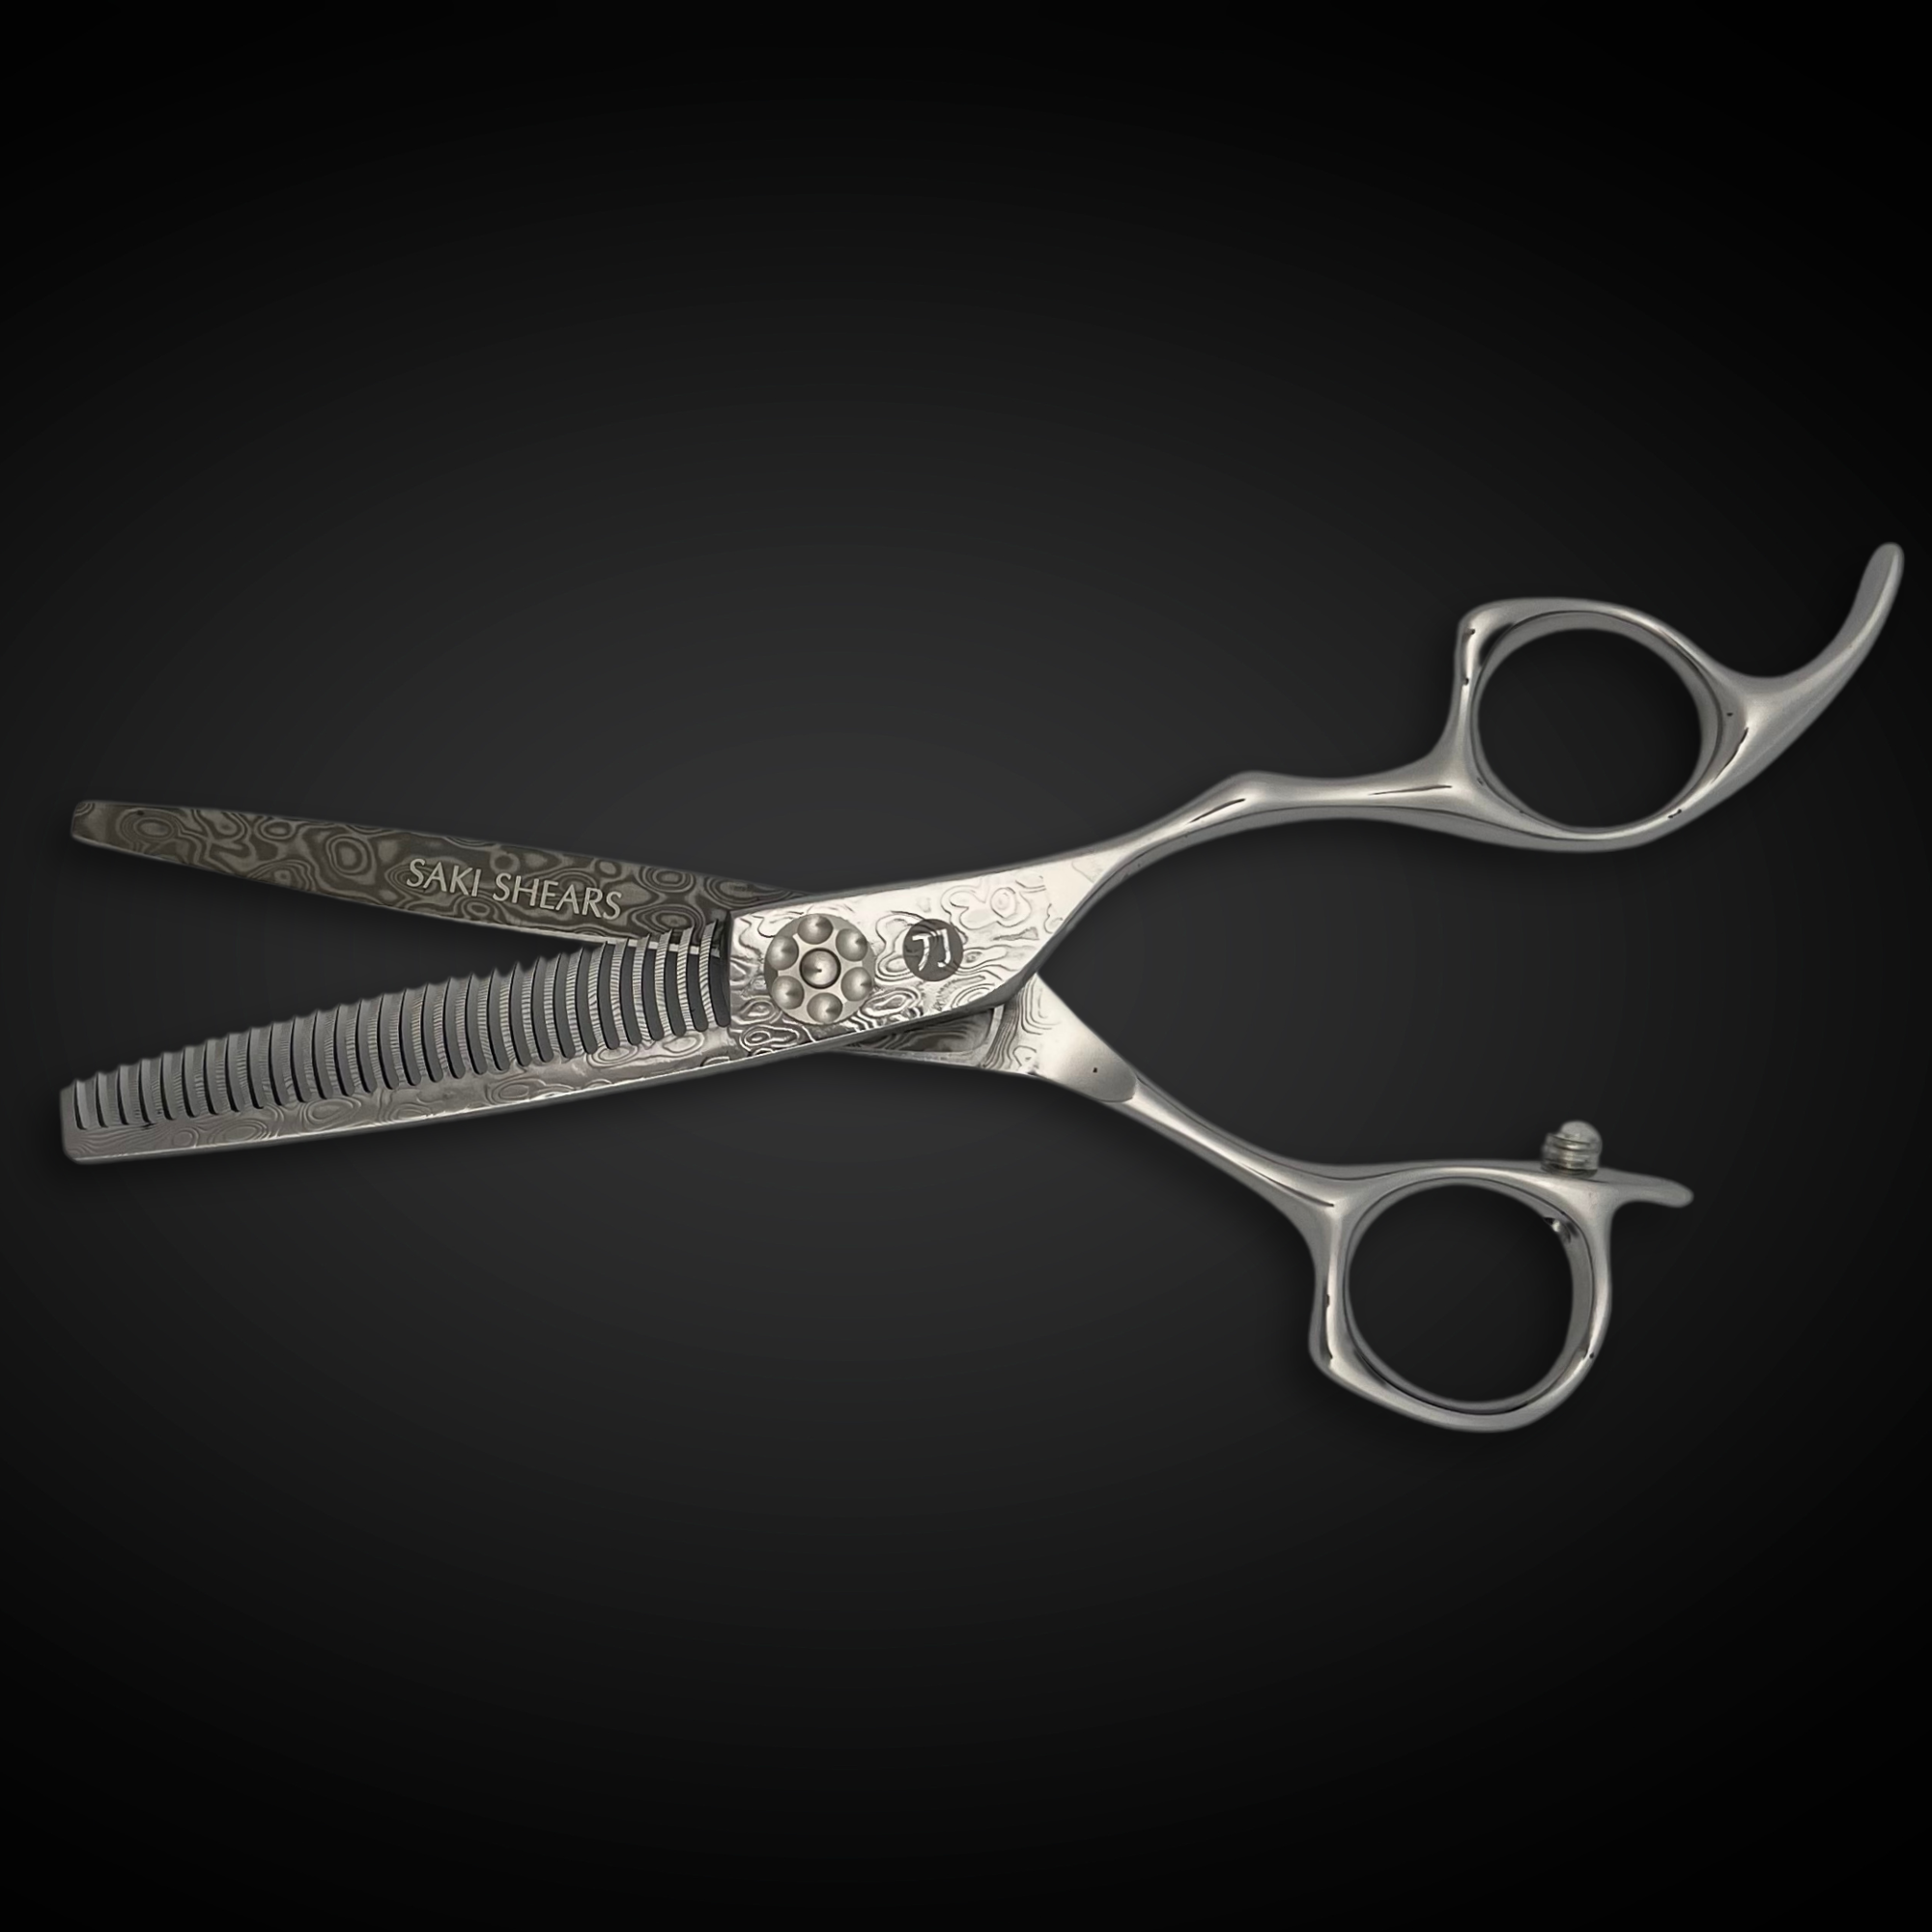
For thick hair, tools like the Saki Kanzen Damascus Hair Cutting Shears ($355.00) and the more affordable Saki Kohana Pink Hair Cutting Shears ($145.00) are excellent options. If you're looking to reduce bulk without sacrificing movement, the Saki Kanzen Damascus Texturizing/Thinning Shears ($329.00) are a solid choice.
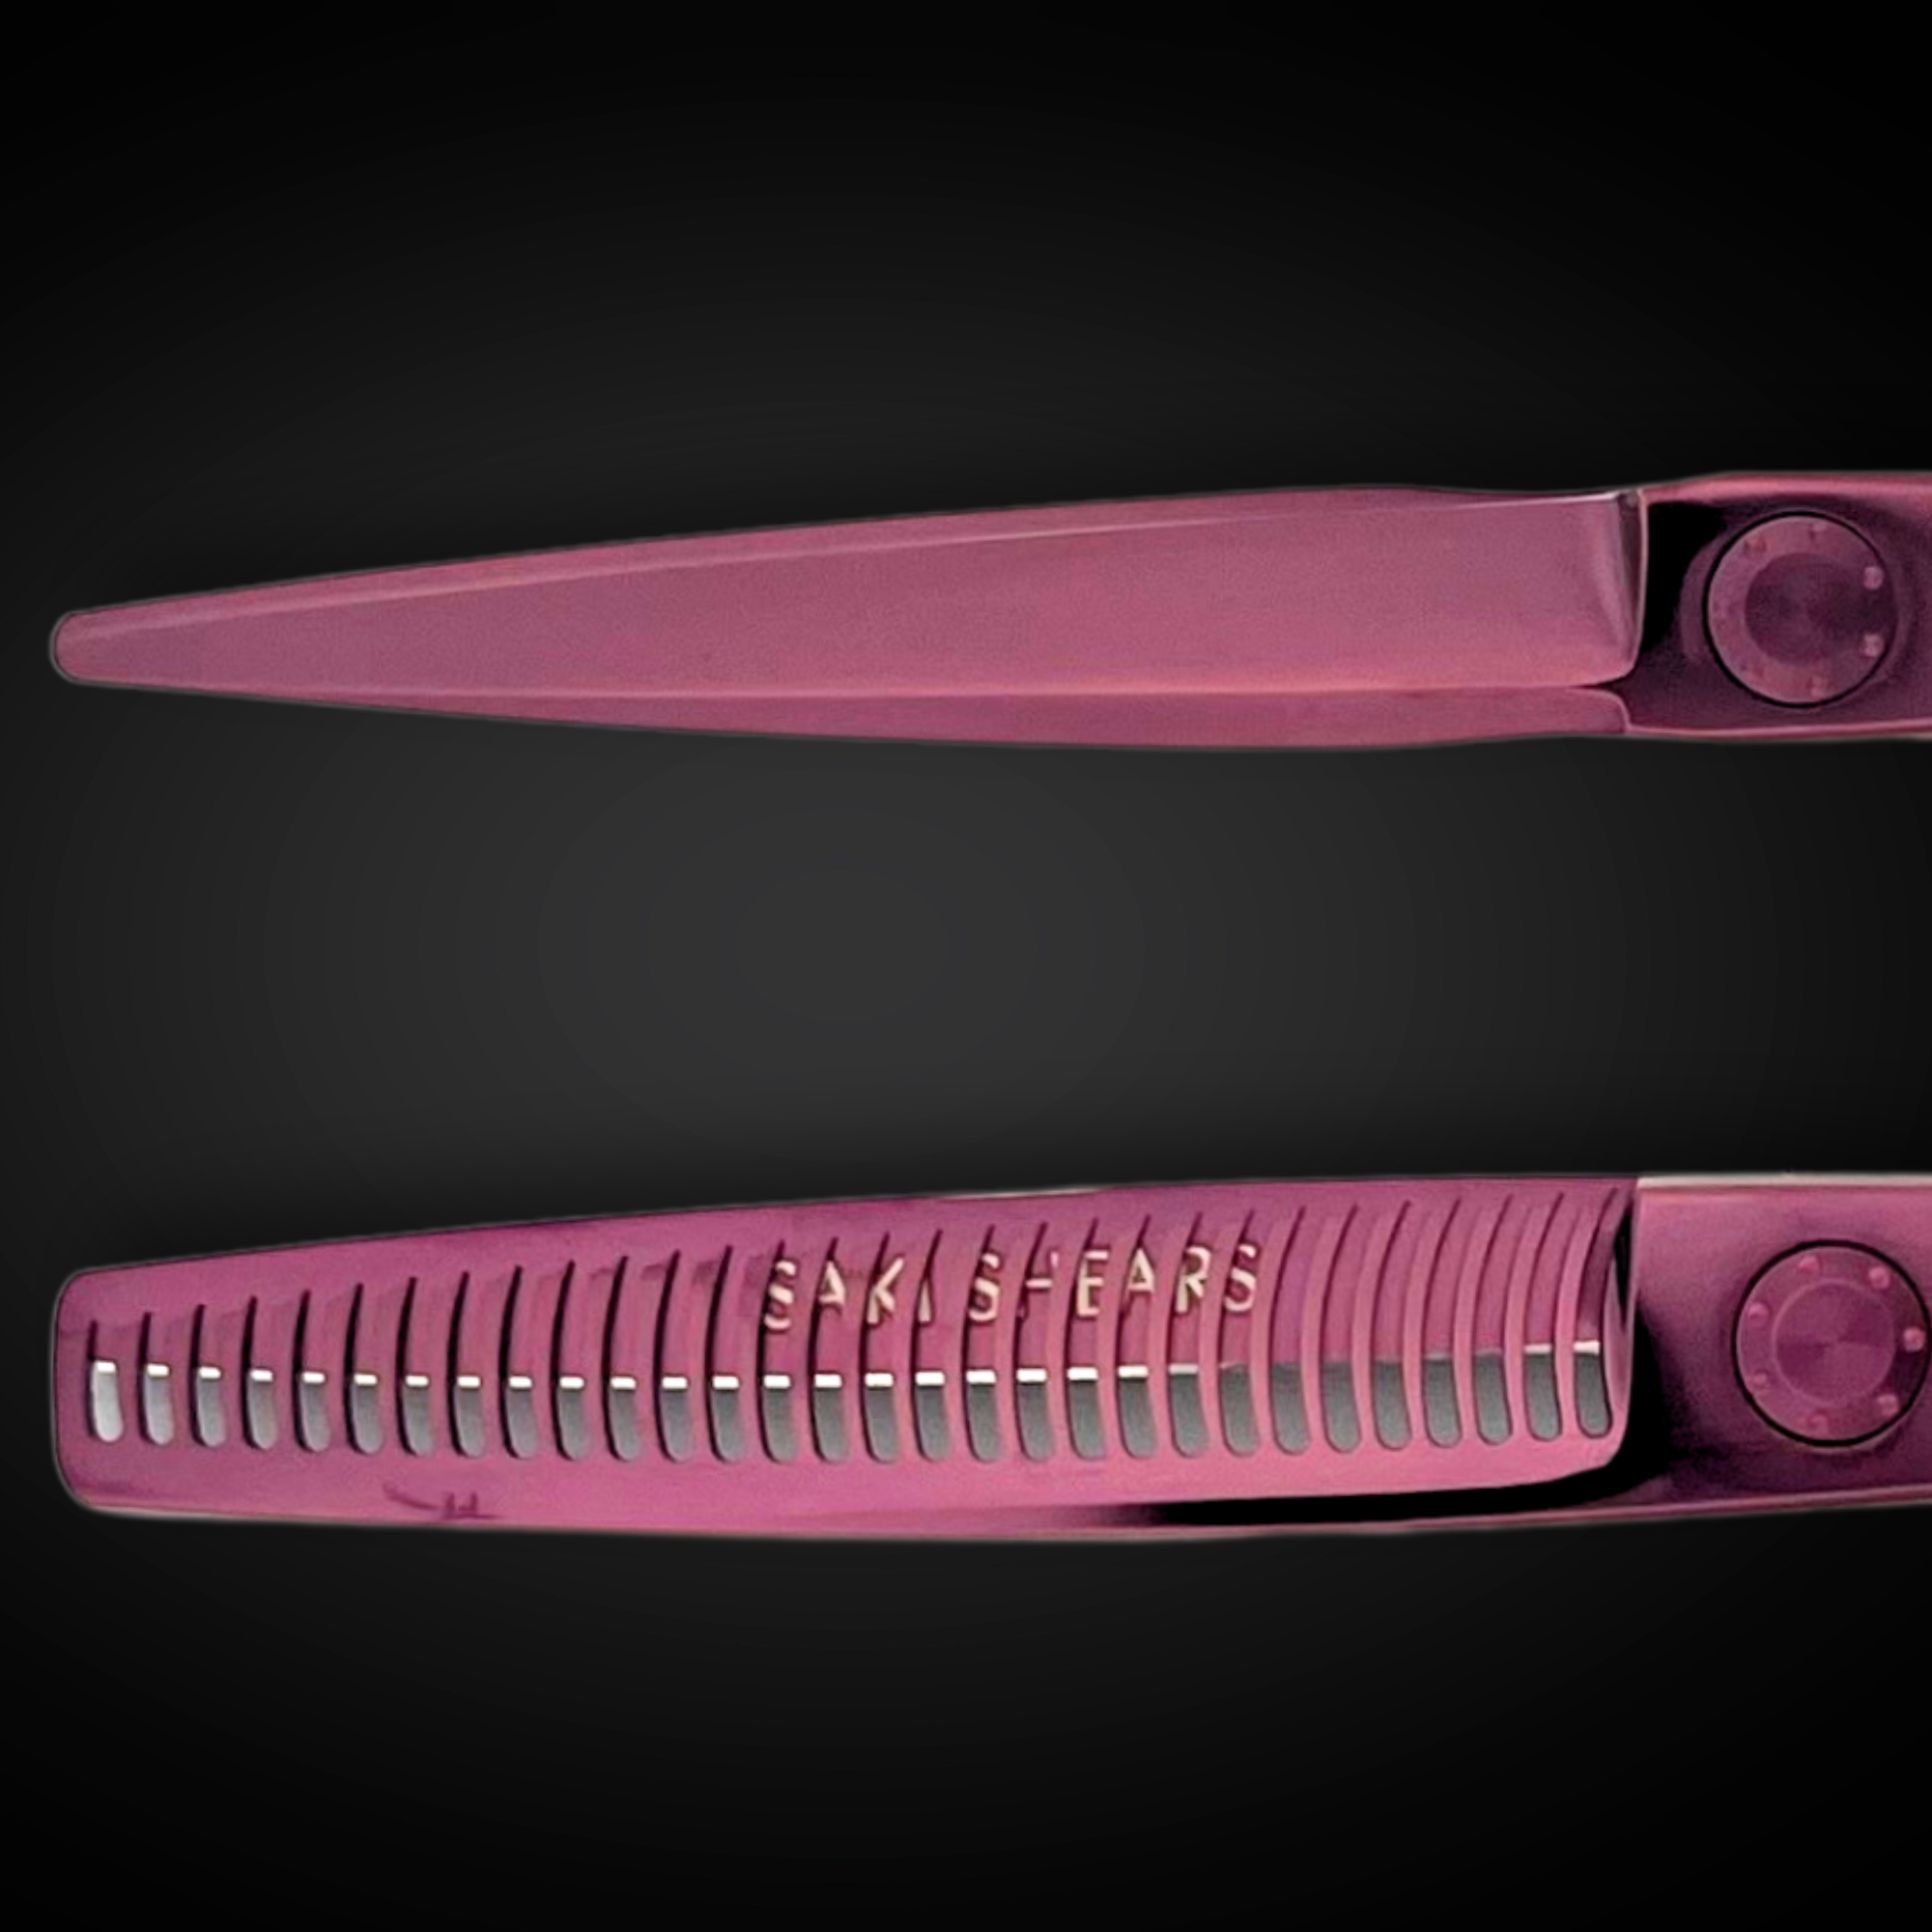
Bulk Reduction Tools
Texturizing and thinning tools are essential for shaping thick hair. Here’s a quick breakdown of the main types:
| Tool Type | Best Use | Key Features |
|---|---|---|
| Thinning Shears | Subtle bulk removal | Fine teeth with small gaps for blending |
| Chunking Shears | Heavy weight removal | Wide teeth for bold, dramatic layers |
| Texturizing Shears | Versatile styling | Combines features for natural results |
When using thinning shears, hold them at a diagonal angle to avoid creating visible cut lines.
Hair Products for Thick Hair
Pair your tools with the right hair care products to make styling easier. Use a moisturizing shampoo, conditioner, and weekly treatment masks to soften thick hair. Pre-styling products help with initial hold, while heavy-hold finishers provide long-lasting control.
"Products that properly hydrate and soften the hair will put a more fluid, glossy vibe back into the look", says Michael Van Clarke.
A recent survey found that 95% of people with thick hair experienced better manageability when using a complete thick hair care system.
Pre-Cut Hair Preparation
Getting the hair ready is crucial for a clean, bulk-free cut. Using the right steps ensures better control and results.
Washing Methods
Start with a cleansing cream or a hydrating shampoo to keep the hair moisturized. Washing every two days helps retain natural oils.
Tips for washing:
- Dilute shampoo in your hands before applying to protect the scalp.
- Focus on cleansing the scalp, not the ends.
- Use a microfiber towel to gently squeeze out excess water.
- Detangle with a wide-toothed comb and hair milk for smoother strands.
"The truth is that you have to focus on shampooing your scalp, rather than the ends of your hair. Apply shampoo only onto the scalp, and let it clean the rest of the hair when you rinse it out." - Monica Davis, Professional Hairstylist
Once the hair is clean, section it for precise and controlled cutting.
Section Division Guide
Dividing the hair into sections helps keep everything manageable during the cut. Here's a simple guide to sectioning:
| Section | Location | Purpose |
|---|---|---|
| Top | Crown to hairline | Forms the base for layering |
| Side (Right/Left) | Temple to ear | Ensures symmetry |
| Crown (Right/Left) | Behind ears | Balances weight |
| Nape (Right/Left) | Below crown | Reduces bulk at the bottom |
Aim for 4-6 layers per section. Start by parting the hair from ear to ear across the crown. Then, isolate a 0.5-inch (1.3 cm) strip along the hairline for precise cuts.
With sections ready, it's time to choose the right cutting angles.
Cutting Angle Selection
Careful sectioning sets the stage for selecting cutting angles that reduce bulk while keeping the hair's natural flow intact. Vertical graduation techniques work well to remove weight without losing shape.
"This really leans out the shape so it is flattering to her face... Since I have a section that will fall over this subtle graduation, the ends won't look wispy or frayed and it just removes the bulk right at her jawline." - Chris Jones, ARC™ Architect
Here are some cutting techniques to consider:
- Vertical cuts: Great for reducing weight.
- Diagonal angles: Add movement and flow.
- Point cutting: Softens edges for a natural look.
- Slide cutting: Targets bulk removal in specific areas.
Focus on removing bulk strategically instead of thinning the entire head. This ensures balance and avoids a stringy or uneven appearance.
Bulk Reduction Methods
Bulk reduction techniques are all about taking out weight from thick hair while maintaining its natural flow and movement.
Point Cutting Basics
Point cutting helps remove bulk while creating texture. Here's how to do it right:
- Preparation: Start with clean, detangled hair. For textured or tightly coiled hair, make sure it's dry and straightened first.
- Sectioning: Divide the hair into 2-inch sections and work systematically, starting at the crown.
- Execution: Hold the scissors vertically. For short to medium hair, make angled cuts shorter than 1 inch. For longer styles, increase the cutting depth by lowering the scissor angle.
Once you're comfortable with point cutting, you can move on to other methods for targeting interior weight.
Slide Cutting Steps
Slide cutting is a great way to complement point cutting and refine the shape. Here's how to do it:
- Use dry hair when focusing on bulk removal.
- Work with the natural fall of the hair.
- Start near the roots, working in small sections.
- Keep the blade slightly open as you slide down the hair shaft.
- Use smooth, controlled movements and check for balance between sections.
Layer Cutting Guide
Internal layering is perfect for reducing weight without sacrificing overall length or style.
"Many times, when cutting shaggy layers, there may not be a lot of length falling... It's more about interior hair and weight, so communicate that with your client beforehand and let her know it is about weight, rather than length." – Stephanie Carrillo, ARC™ Scissors Ambassador
Here’s a quick guide to layering techniques:
| Layer Type | Best For | Technique |
|---|---|---|
| Ghost Layers | Adding movement | Deep point cutting |
| Face Frame | Highlighting features | Overdirect to center |
| Internal Layers | Reducing interior weight | Slide cutting interior |
| Vertical Graduation | Slimming the jawline | Overdirect sections |
Thinning Shear Techniques
Thinning shears are excellent for targeting dense areas without leaving visible cut lines. Use them at a diagonal angle for the best results.
"When you customize haircuts based on your client's hair density and face shape, it brings out the best of the hair and showcases their best features." – Rachel Williams, ARC™ Scissors Artistic Team Member
Keep the hair slightly damp with a leave-in conditioner, work in small sections, and check the balance frequently as you go. This ensures a polished and even finish.
Final Steps and Styling
End Texturing Methods
Point cutting is a great way to create soft, blended ends while reducing bulk and keeping the hairstyle intact. For better control over texture, adjust your technique based on hair density:
| Technique | Best For | Effect |
|---|---|---|
| Point Cutting | Very thick hair | Removes bulk while keeping movement |
| Slide Cutting | Straight thick hair | Creates soft, feathered ends |
| Beveling | Blunt ends | Softens edges and adds dimension |
| Razor Cutting | Medium-thick hair | Adds texture and reduces weight |
After shaping the ends, shift your focus to framing the face in a way that complements the textured look.
Face-Frame Cutting Guide
Face-framing for thick hair is all about precision. Building on earlier bulk-reduction techniques, the goal is to frame the face in a way that balances the overall weight of the hair.
"When I do face-framing layers, I use the position of the corner lips to see where I'd like to start the framing layers... I like to use a razor for a more textured cut and then I go in with texturizing shears and blend til I get the desired look my clients are going for".
Here are a few tips for achieving the best results:
- Start with longer lengths, as thick hair tends to look shorter when it dries.
- Use vertical sections to ensure smooth blending.
- Work in smaller sections to maintain control.
- Regularly check for balance between both sides.
Once the face-framing layers are in place, finish the look with the right styling products.
Post-Cut Styling Products
The right products can help maintain the shape and movement created by precise cutting techniques. Here are some recommendations:
| Product Type | Recommended For | Example Product | Price |
|---|---|---|---|
| Leave-in Treatment | Daily control | Gisou Honey Infused Leave-In Conditioner | $31.99 |
| Styling Cream | Smooth finish | Aveda Botanical Repair Bond-Building Styling Crème | $34.50 |
| Treatment Oil | Frizz control | Percy & Reed I Need a Hero! Wonder Treatment Oil | $31.20 |
| Deep Treatment | Weekly care | Sol de Janeiro Triple Brazilian Butter Hair Repair Treatment | $18.00 |
For best results, apply these products sparingly to damp hair, focusing on the mid-lengths to ends. This approach keeps the style intact while ensuring natural movement.
Conclusion
Cutting thick hair requires expertise and the right tools. With proper techniques and professional equipment, stylists can achieve balanced and easy-to-maintain results.
High-quality tools, like the Saki Kanzen Damascus Hair Cutting Shears and Texturizing/Thinning Shears, allow for precise and controlled cuts. As stylist Ramon Garcia explains:
"When cutting hair dry, your haircut is only as good as the blow dry." - Ramon Garcia
The key methods - such as point cutting for texture, slide cutting for movement, layering to distribute weight, and thinning for reducing bulk - combine to create well-balanced styles. These techniques ensure an even weight distribution and enhance the hair's natural shape.
To maintain the style, trims every 2–4 months are recommended. Pay close attention to sectioning, weight distribution, and natural growth patterns, especially when working with dry hair.
