How to Master the Art of the Blunt Cut
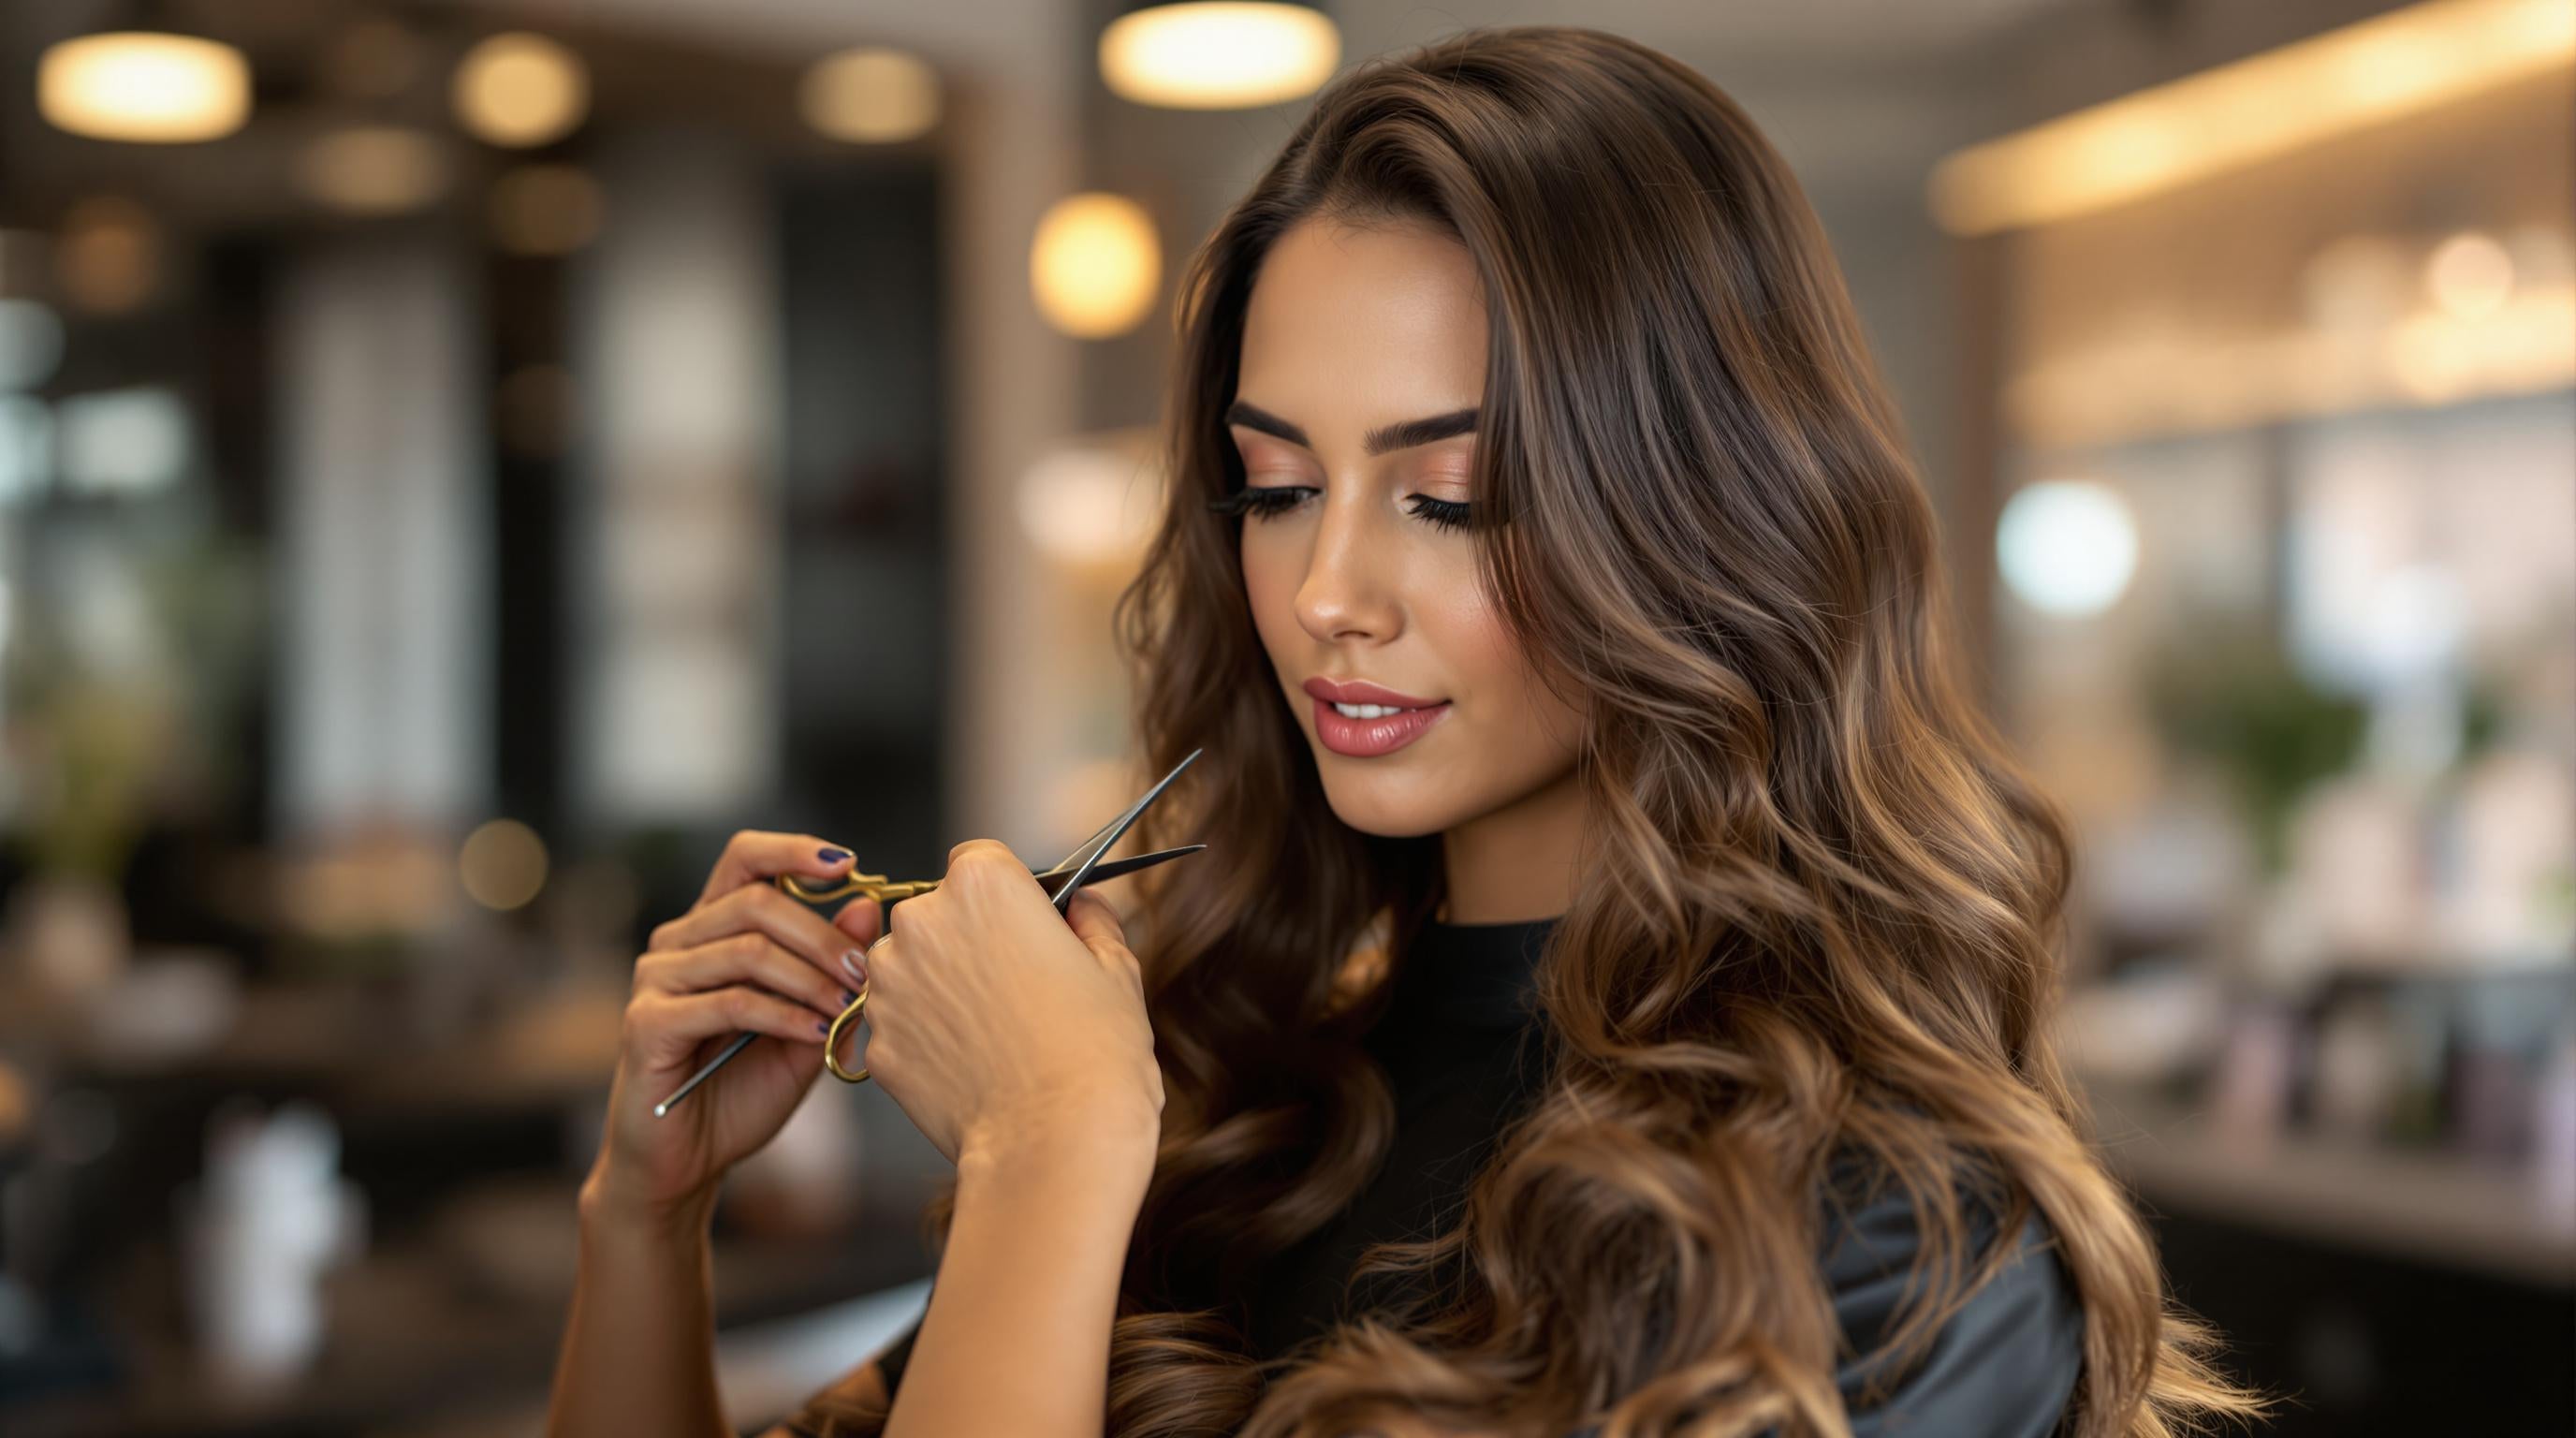
A blunt cut is a sleek, straight-across hairstyle that gives hair a fuller, healthier look. It's perfect for busy schedules because it's low-maintenance and works for all hair types. Here's what you need to know to get it right:
-
Why Choose a Blunt Cut?
- Makes thin hair look thicker.
- Easy to style and maintain.
- Offers a clean, polished look.
-
Tools You Need:
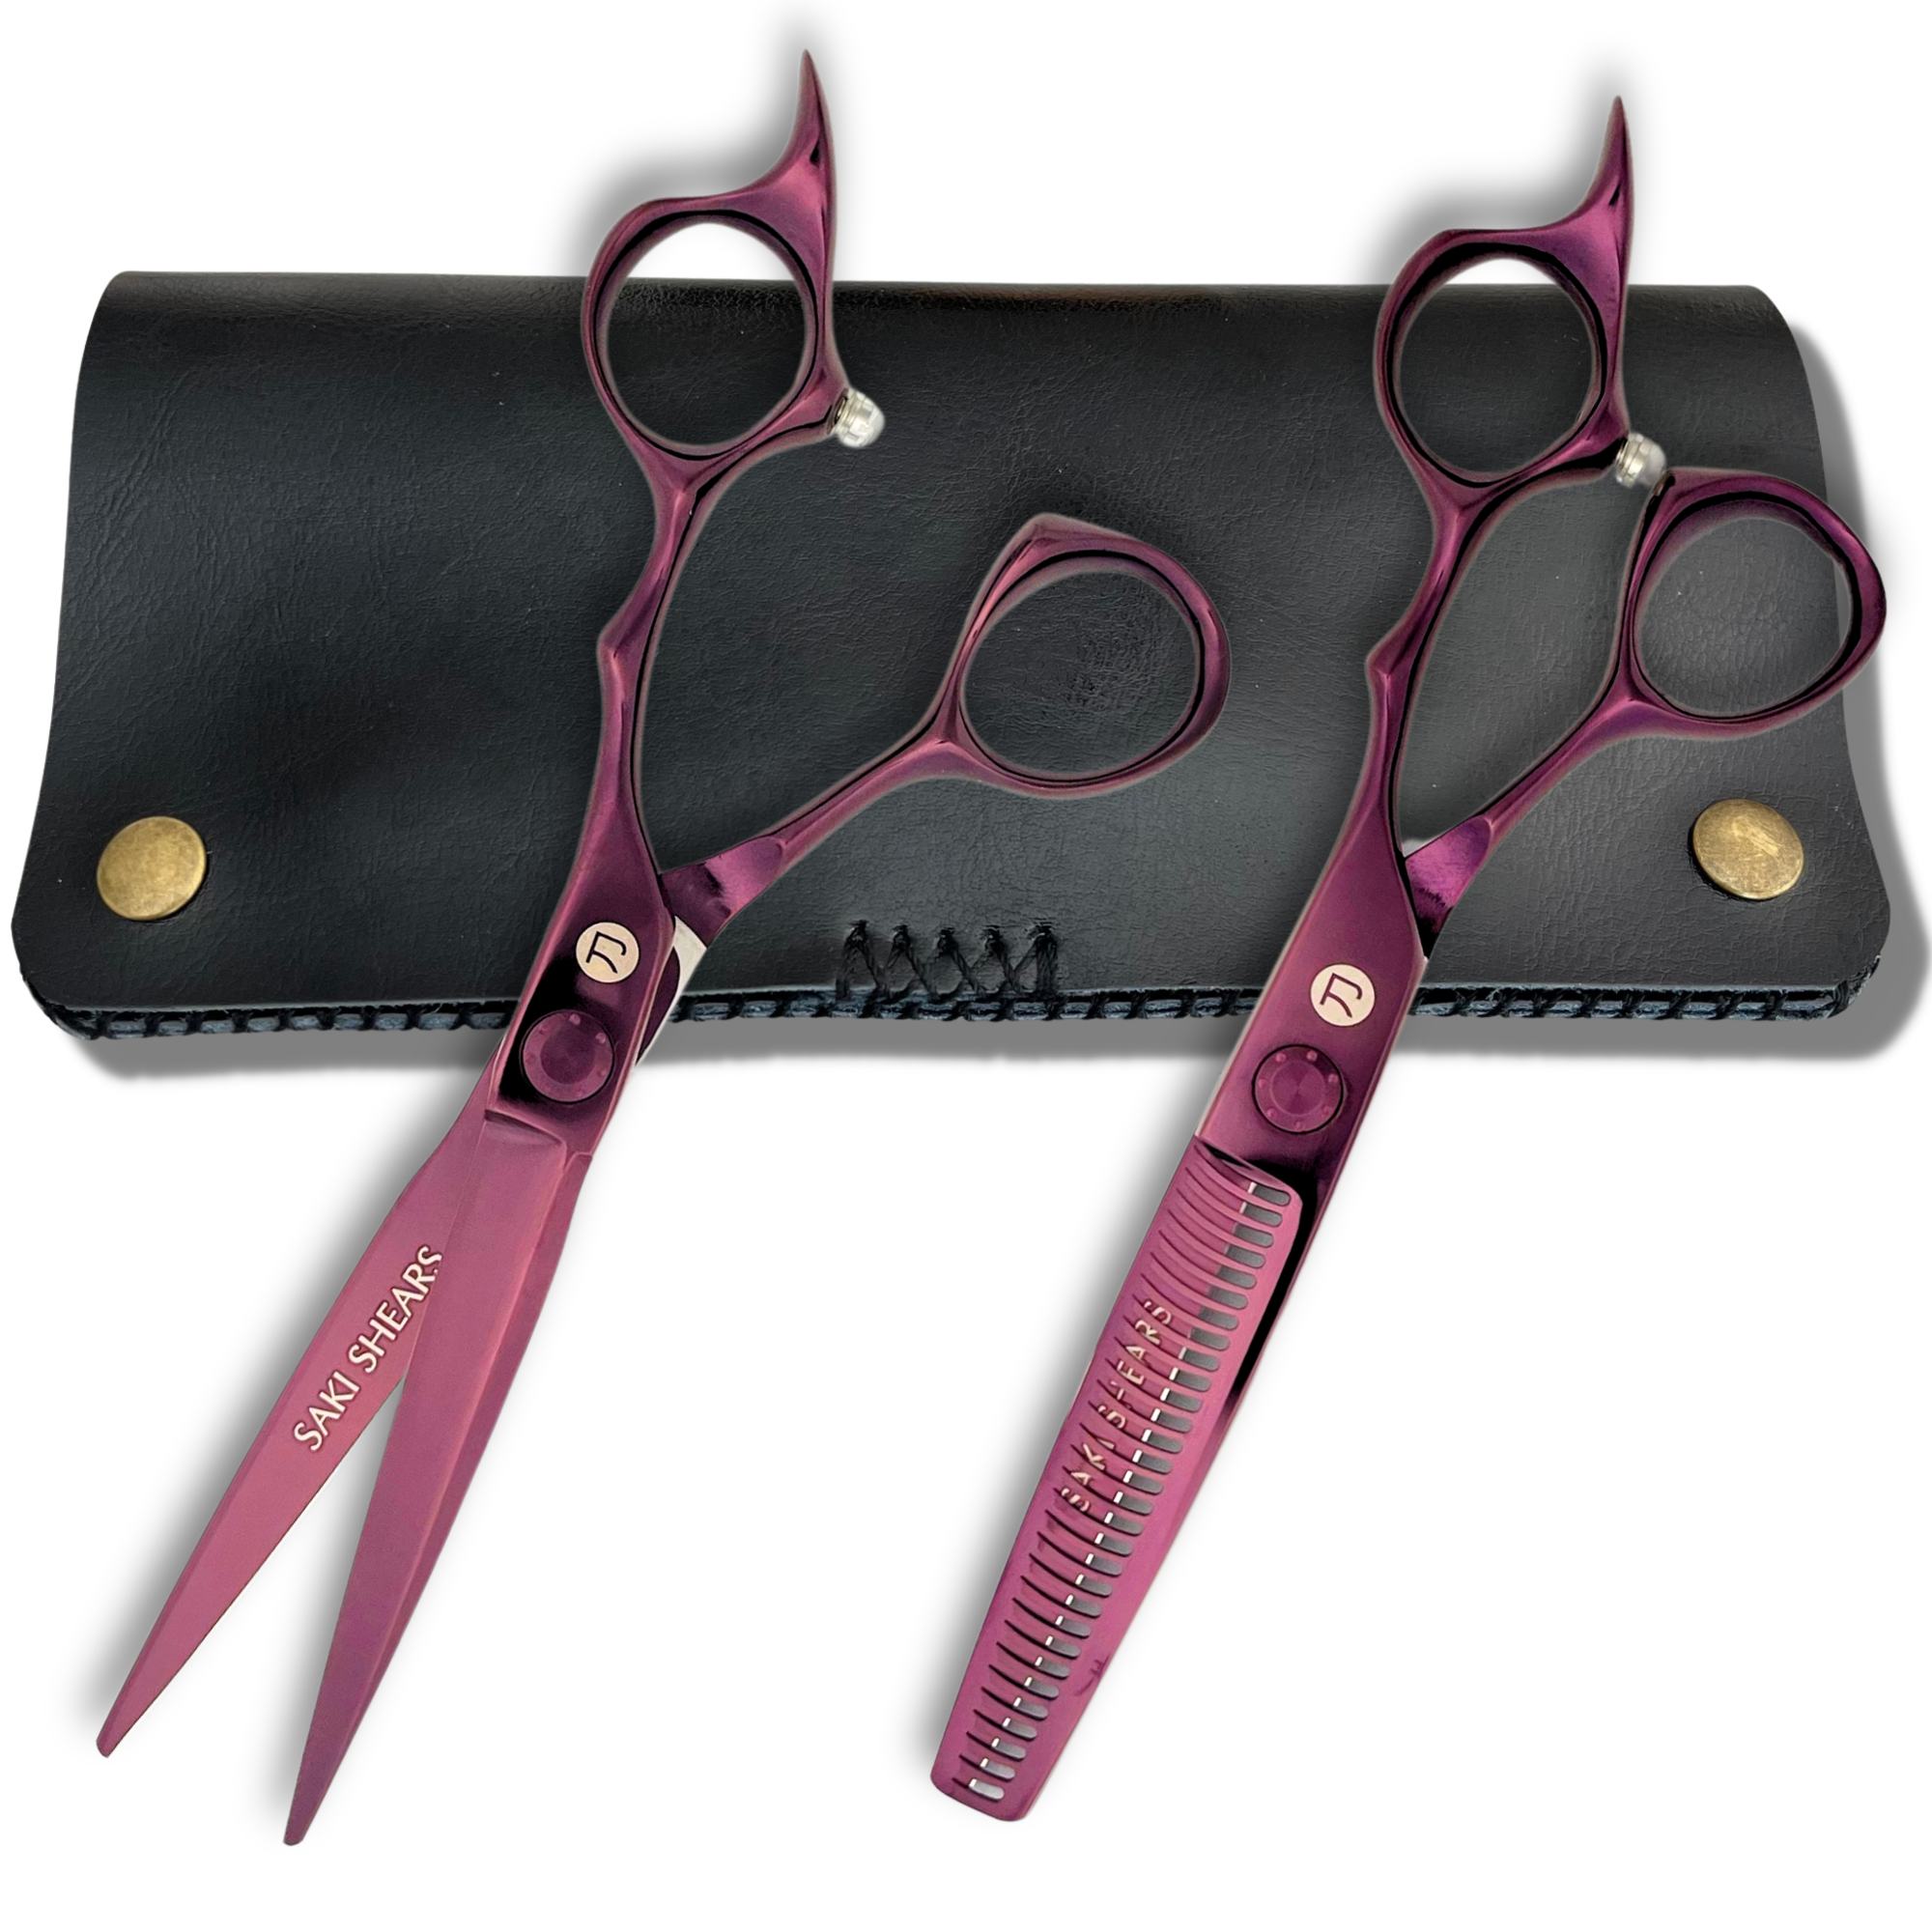
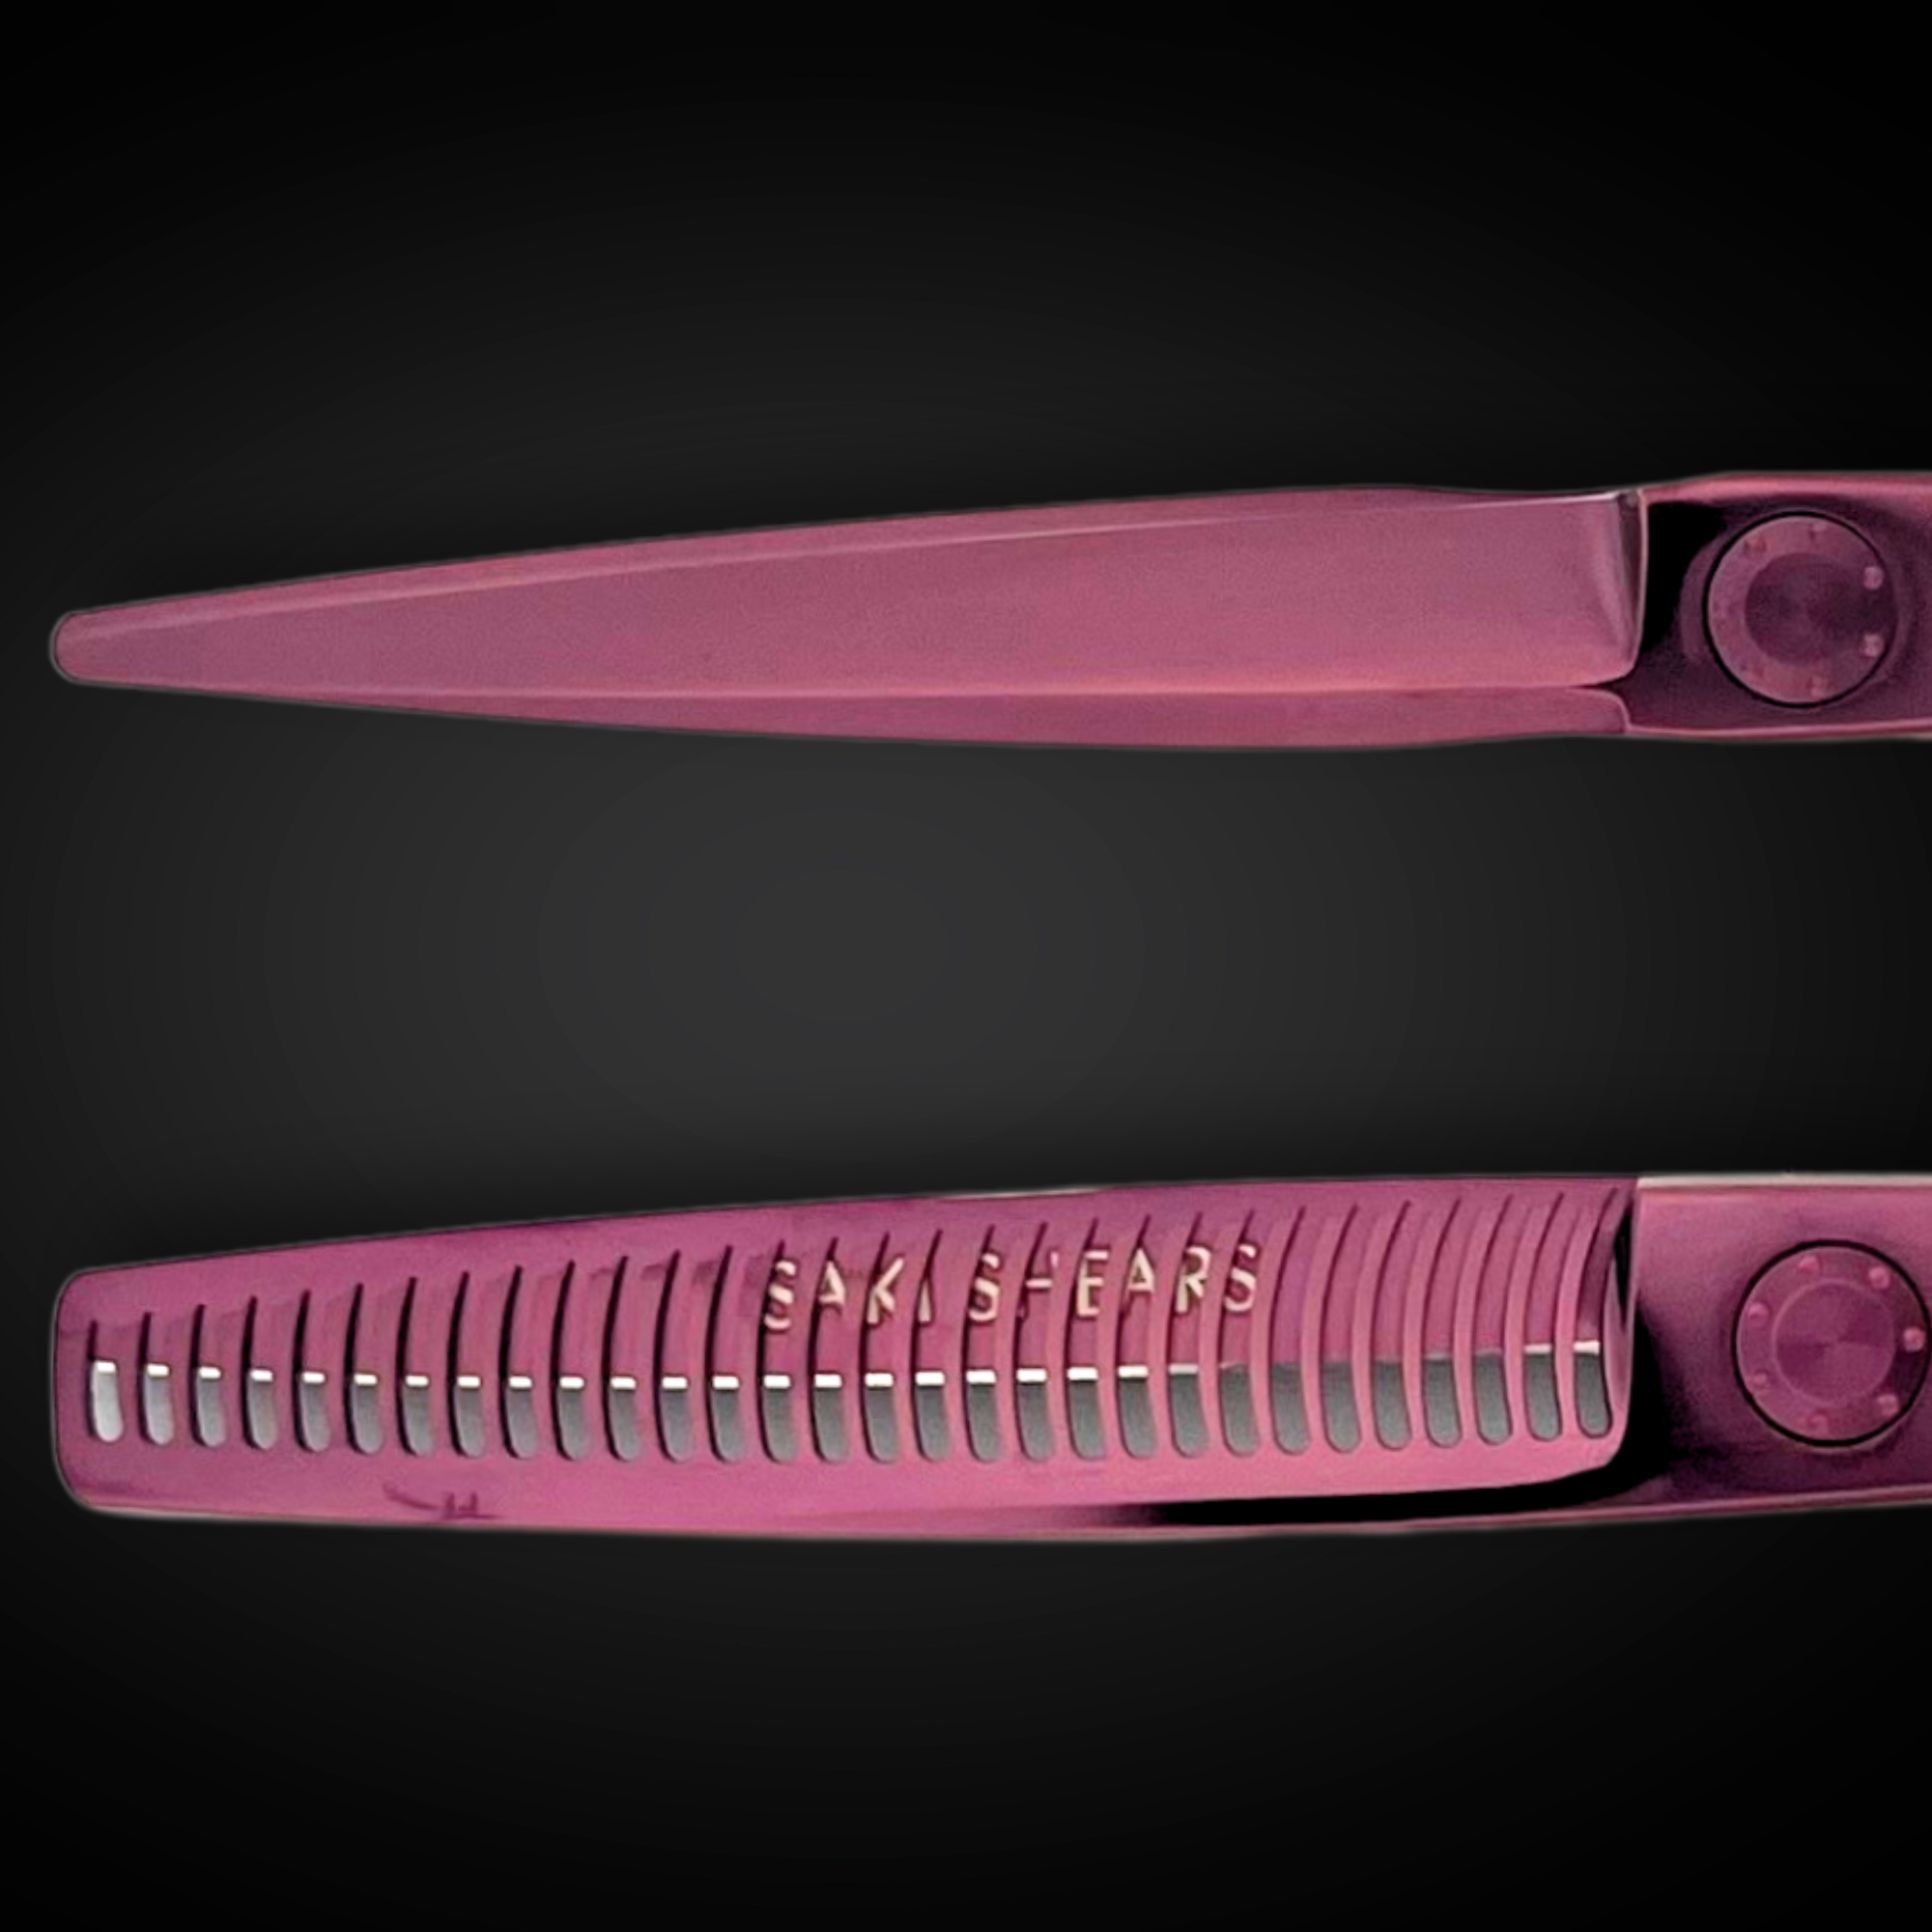
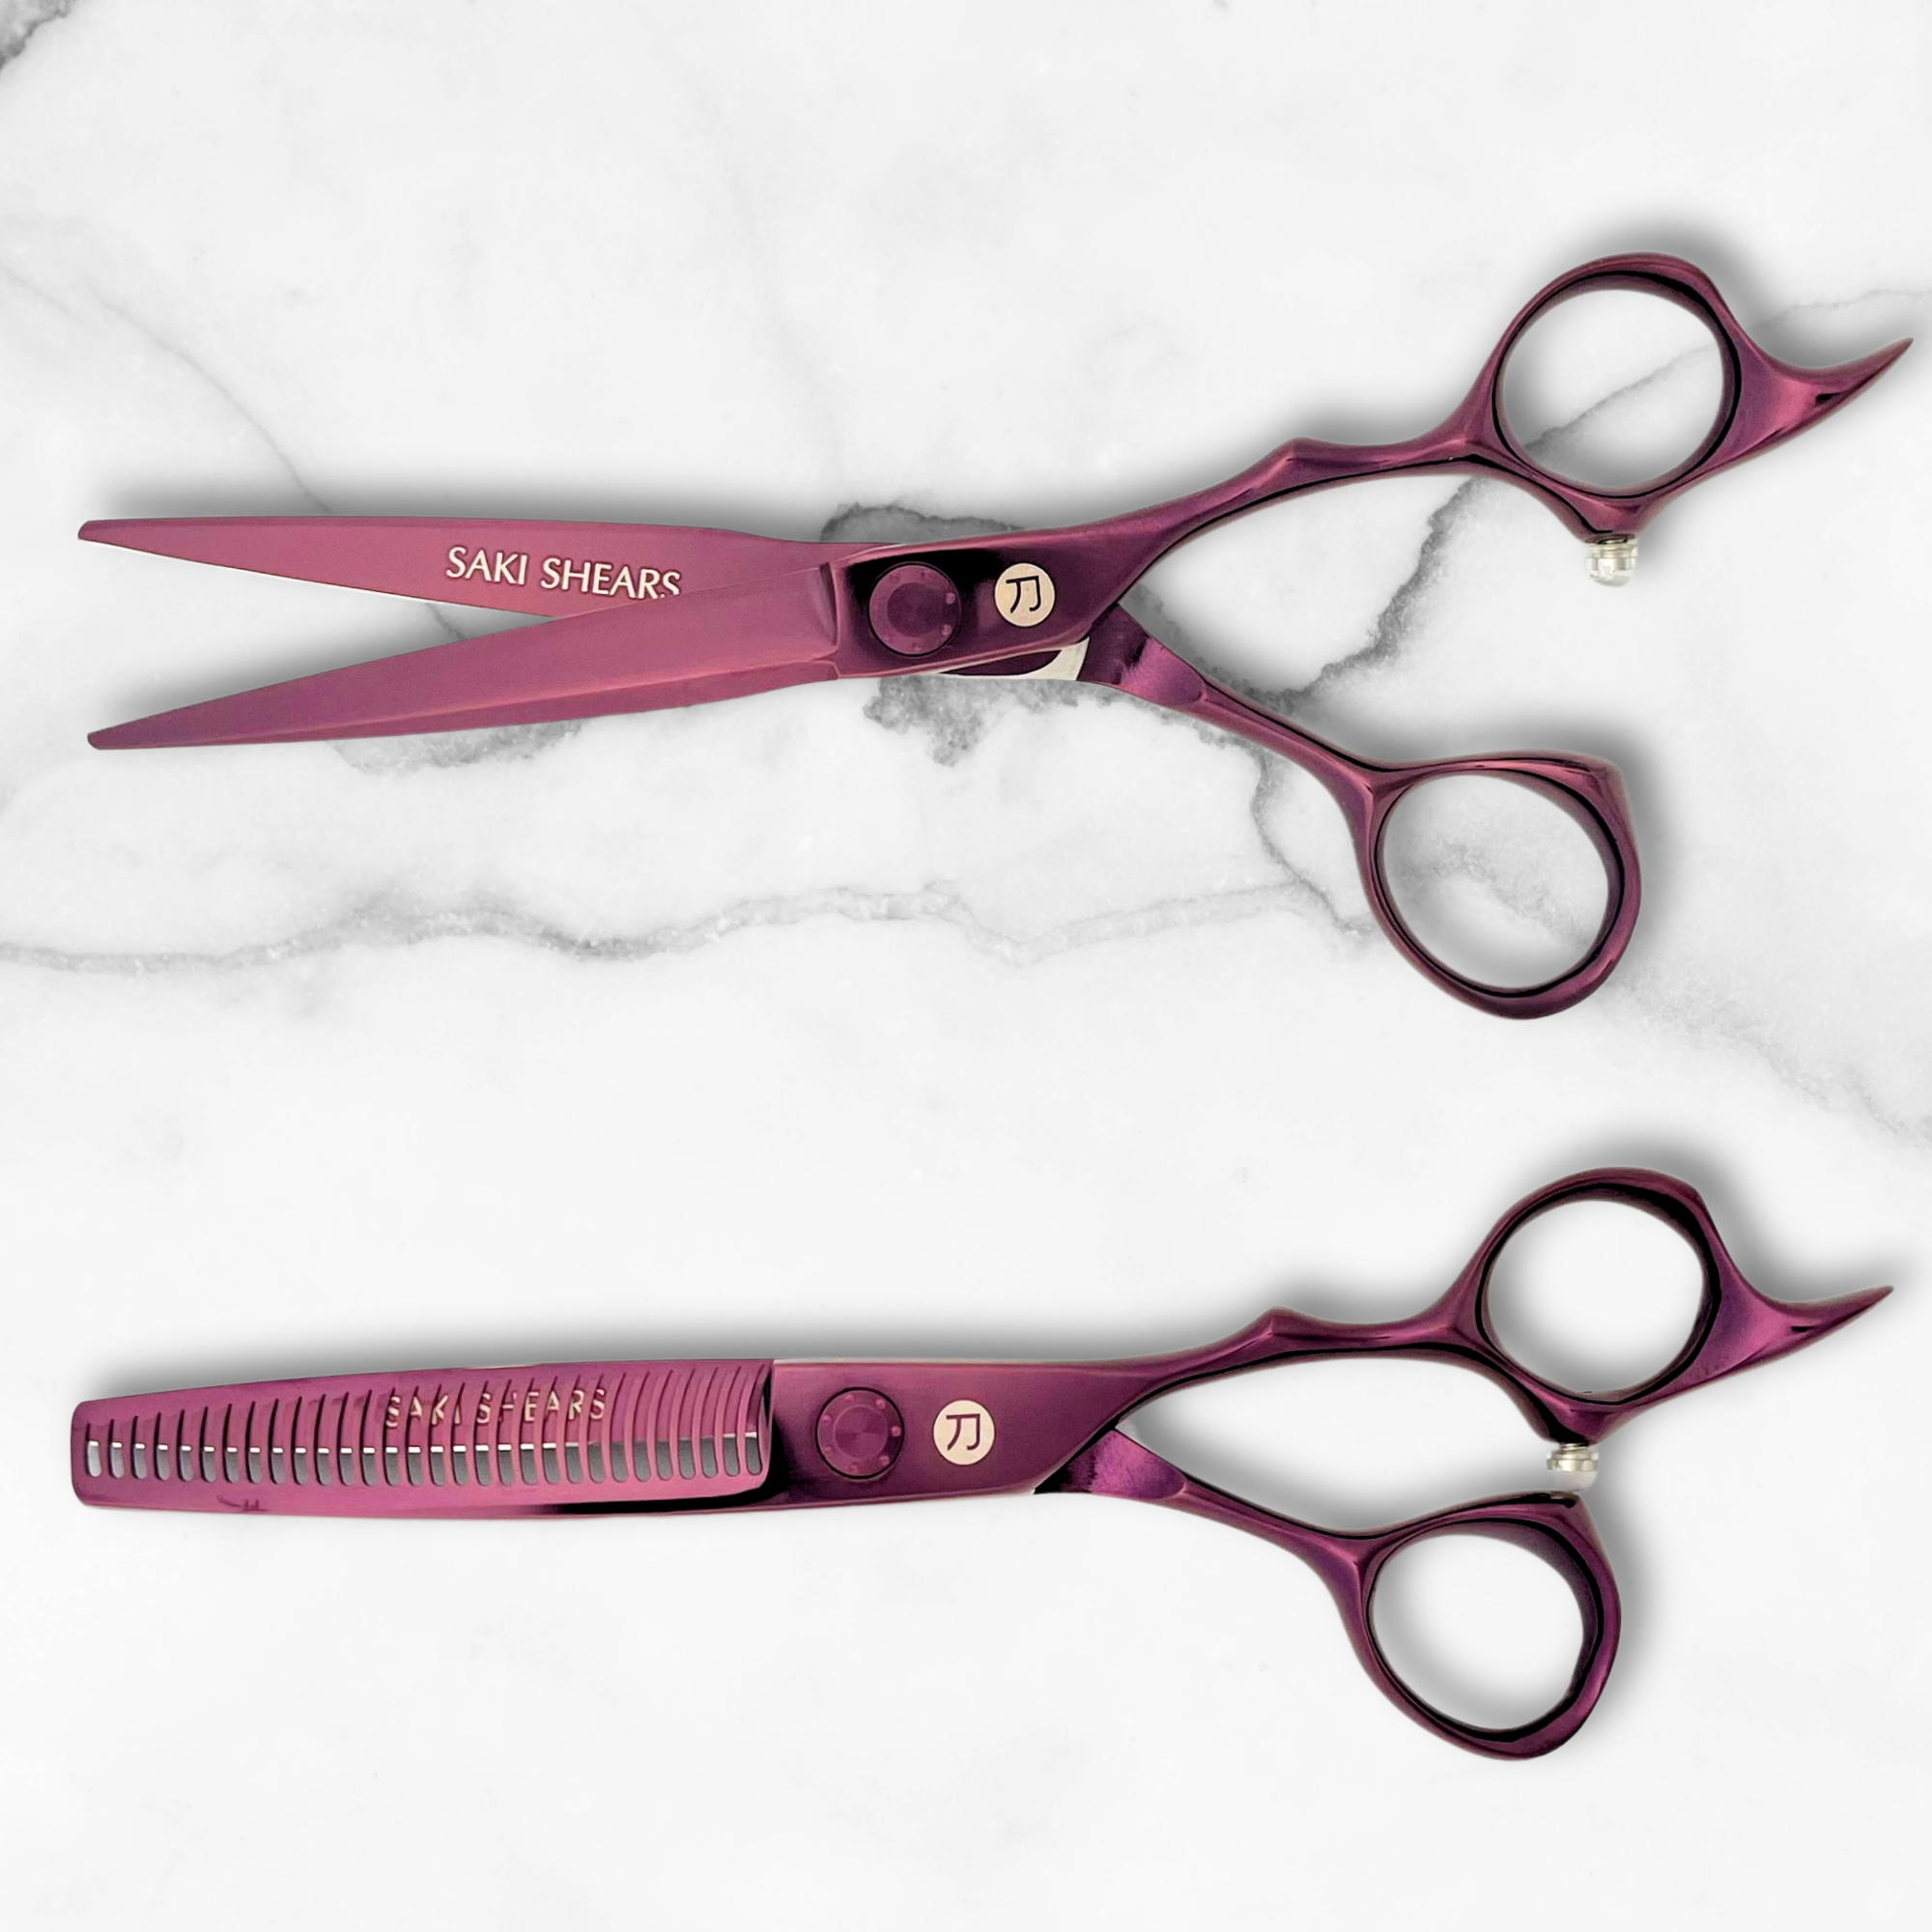
- 6" professional shears for sharp, precise cuts.
- Fine-tooth comb for even tension.
- Sectioning clips to keep hair secure.
- A flat iron for a smooth finish.
-
Key Techniques:
- Cut at 0° elevation for even edges.
- Use minimal tension to avoid uneven lines.
- Check symmetry frequently to ensure balance.
-
Hair Prep:
- Wash and condition based on hair type.
- Section hair into crown, nape, and side panels for precision.
- Set a clear horizontal guide line to follow.
Blunt cuts are versatile and work for fine, medium, or thick hair with slight adjustments. Follow these steps for a clean, professional finish every time.
Required Tools and Equipment
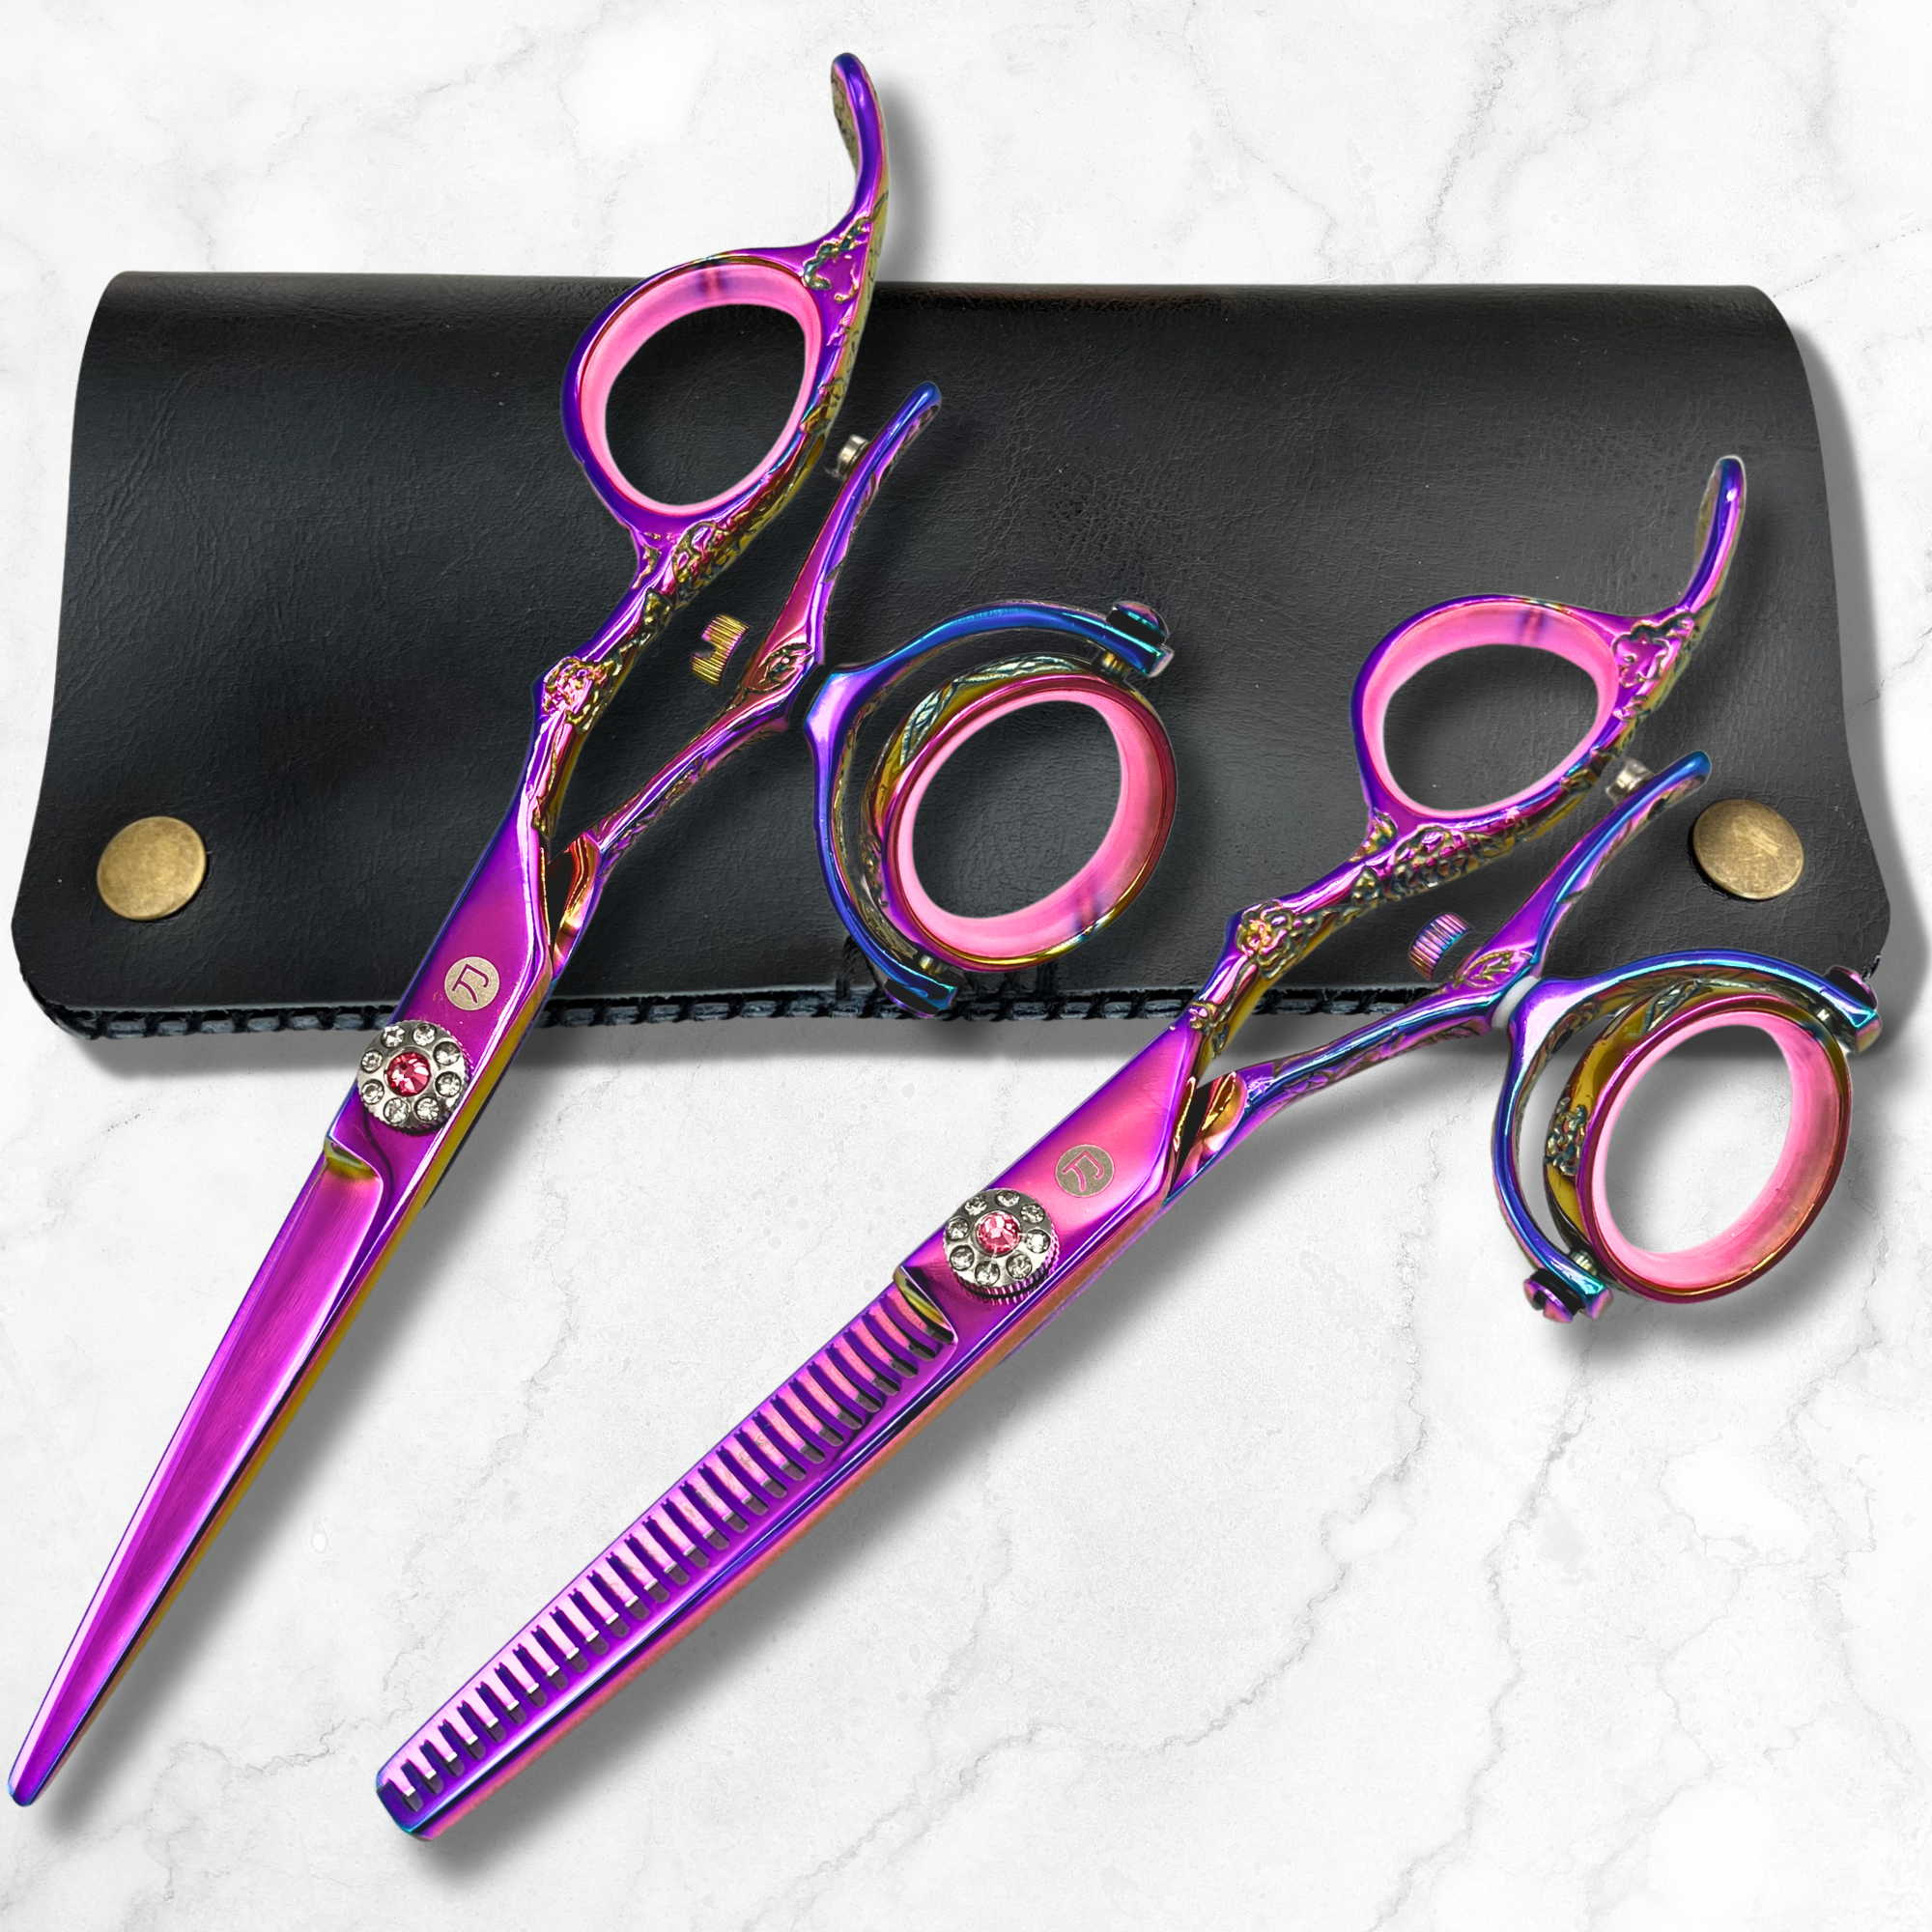
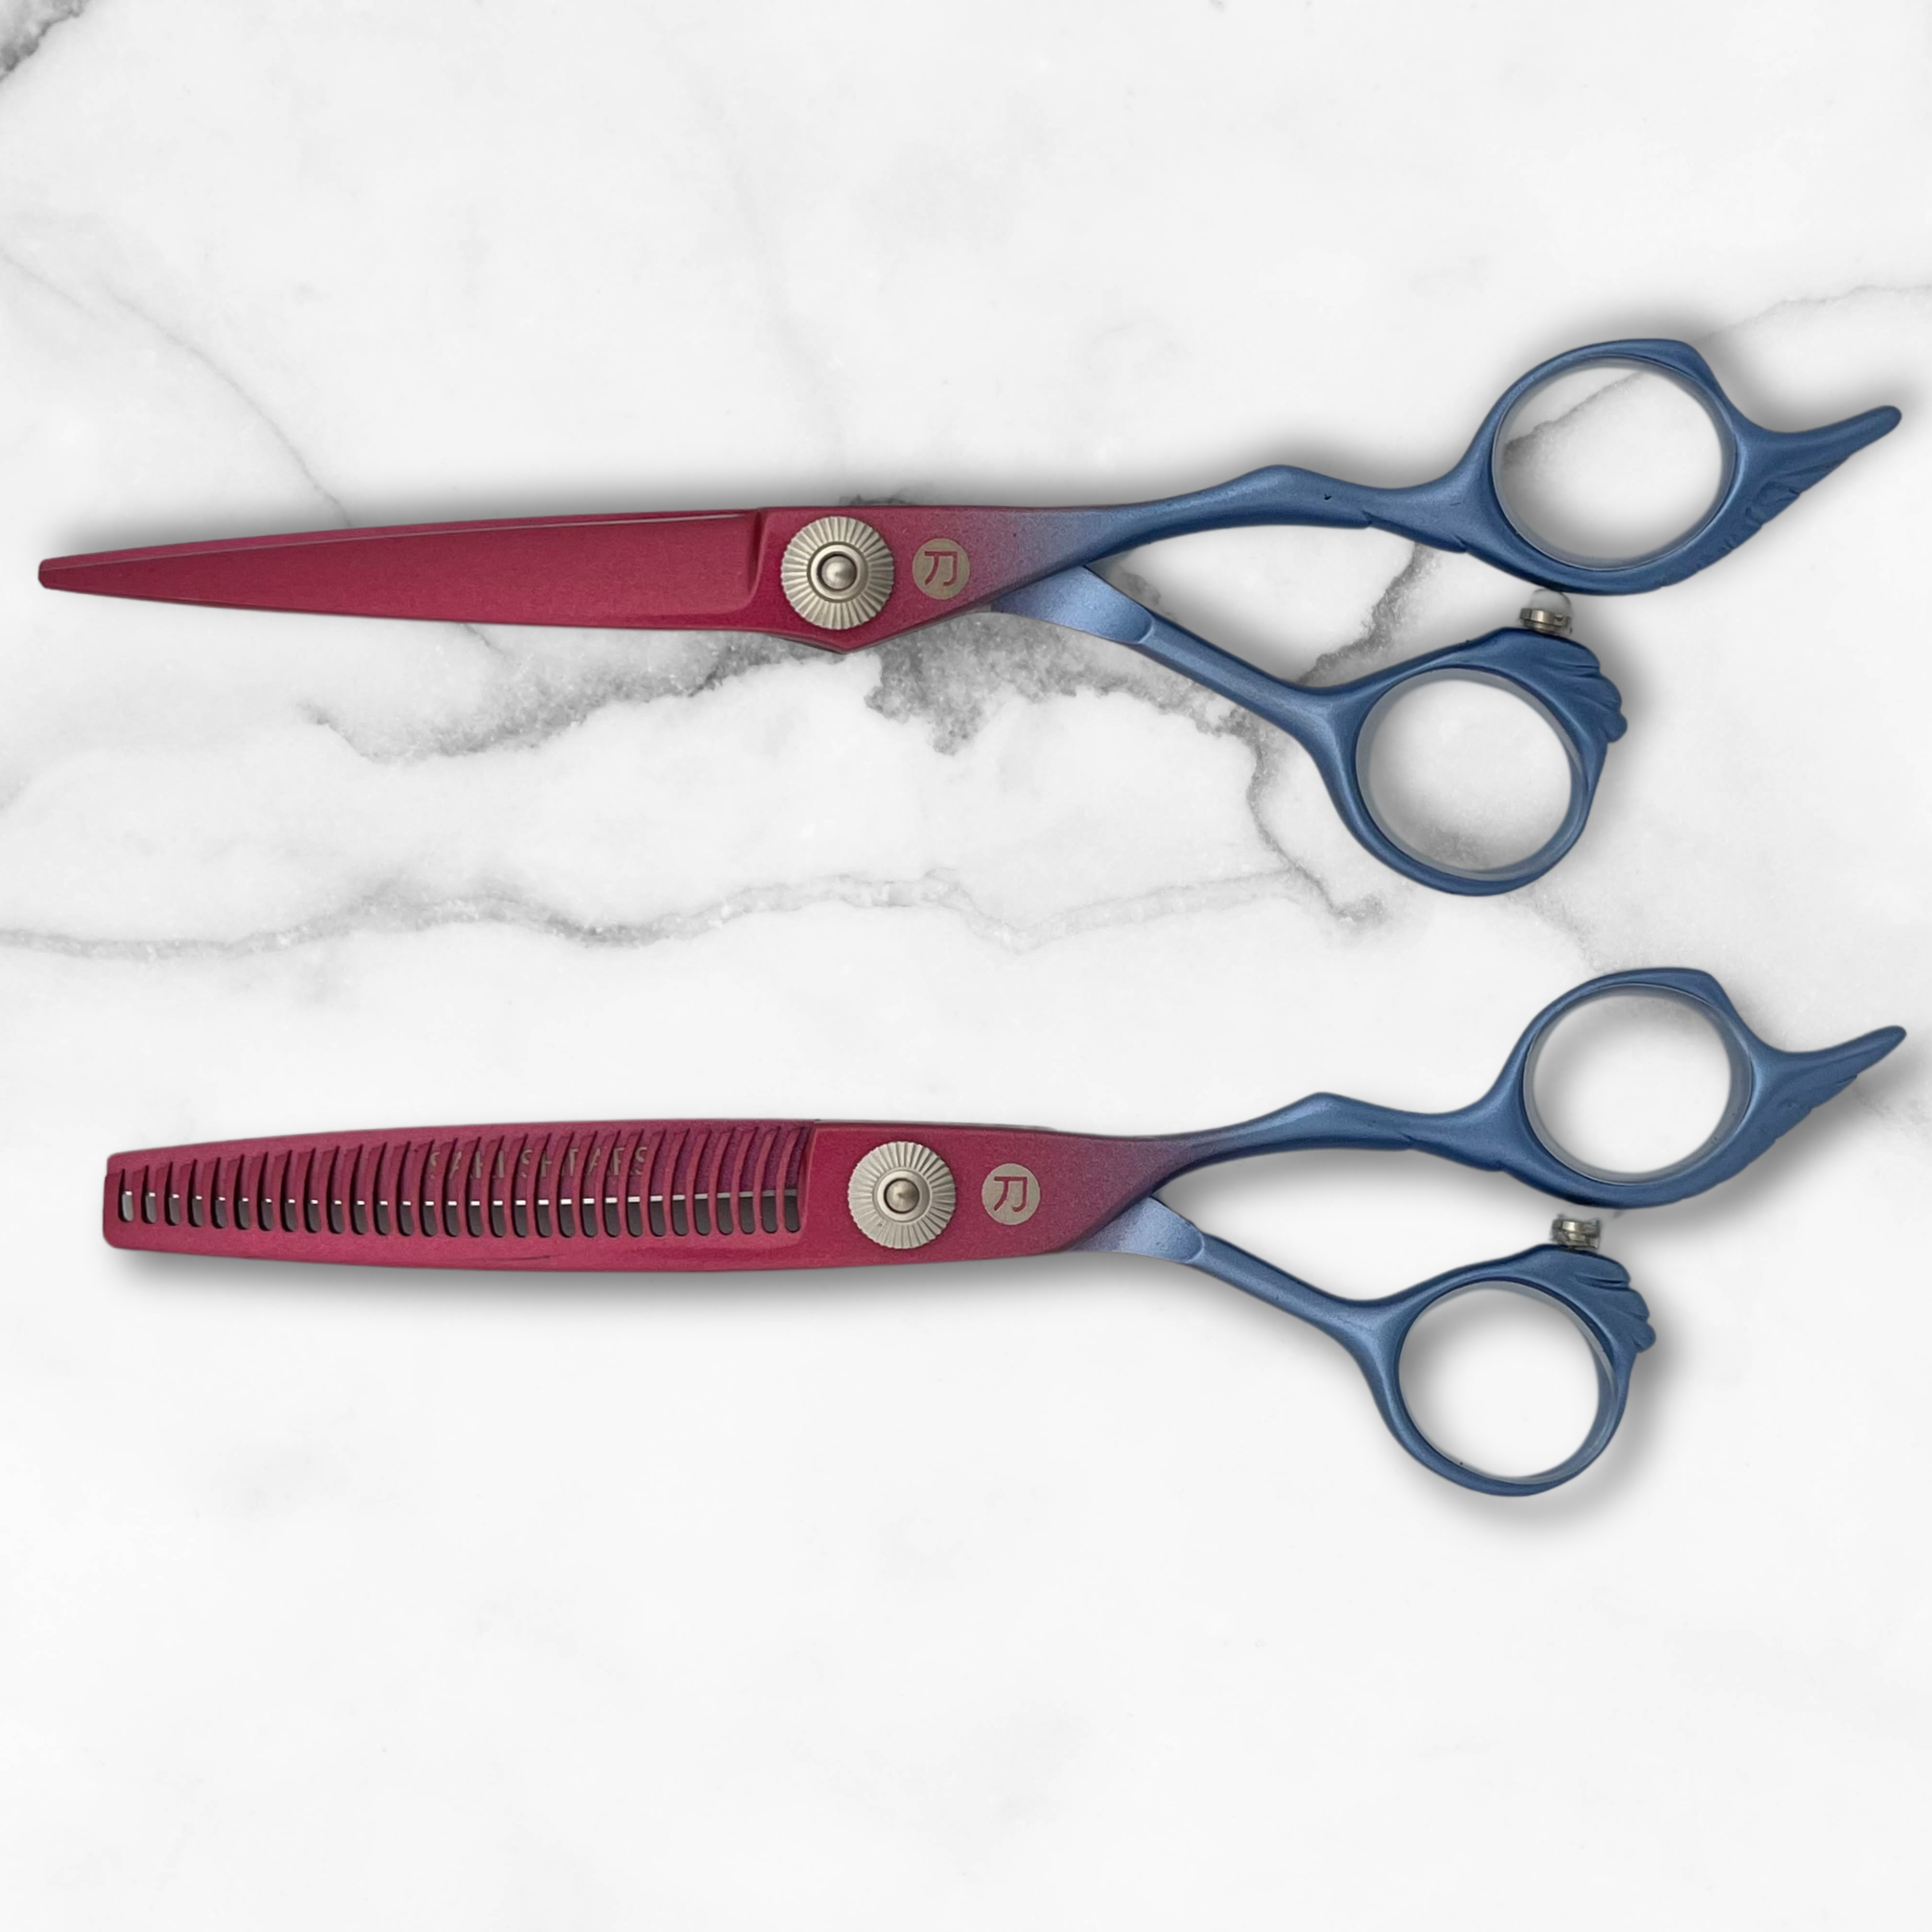
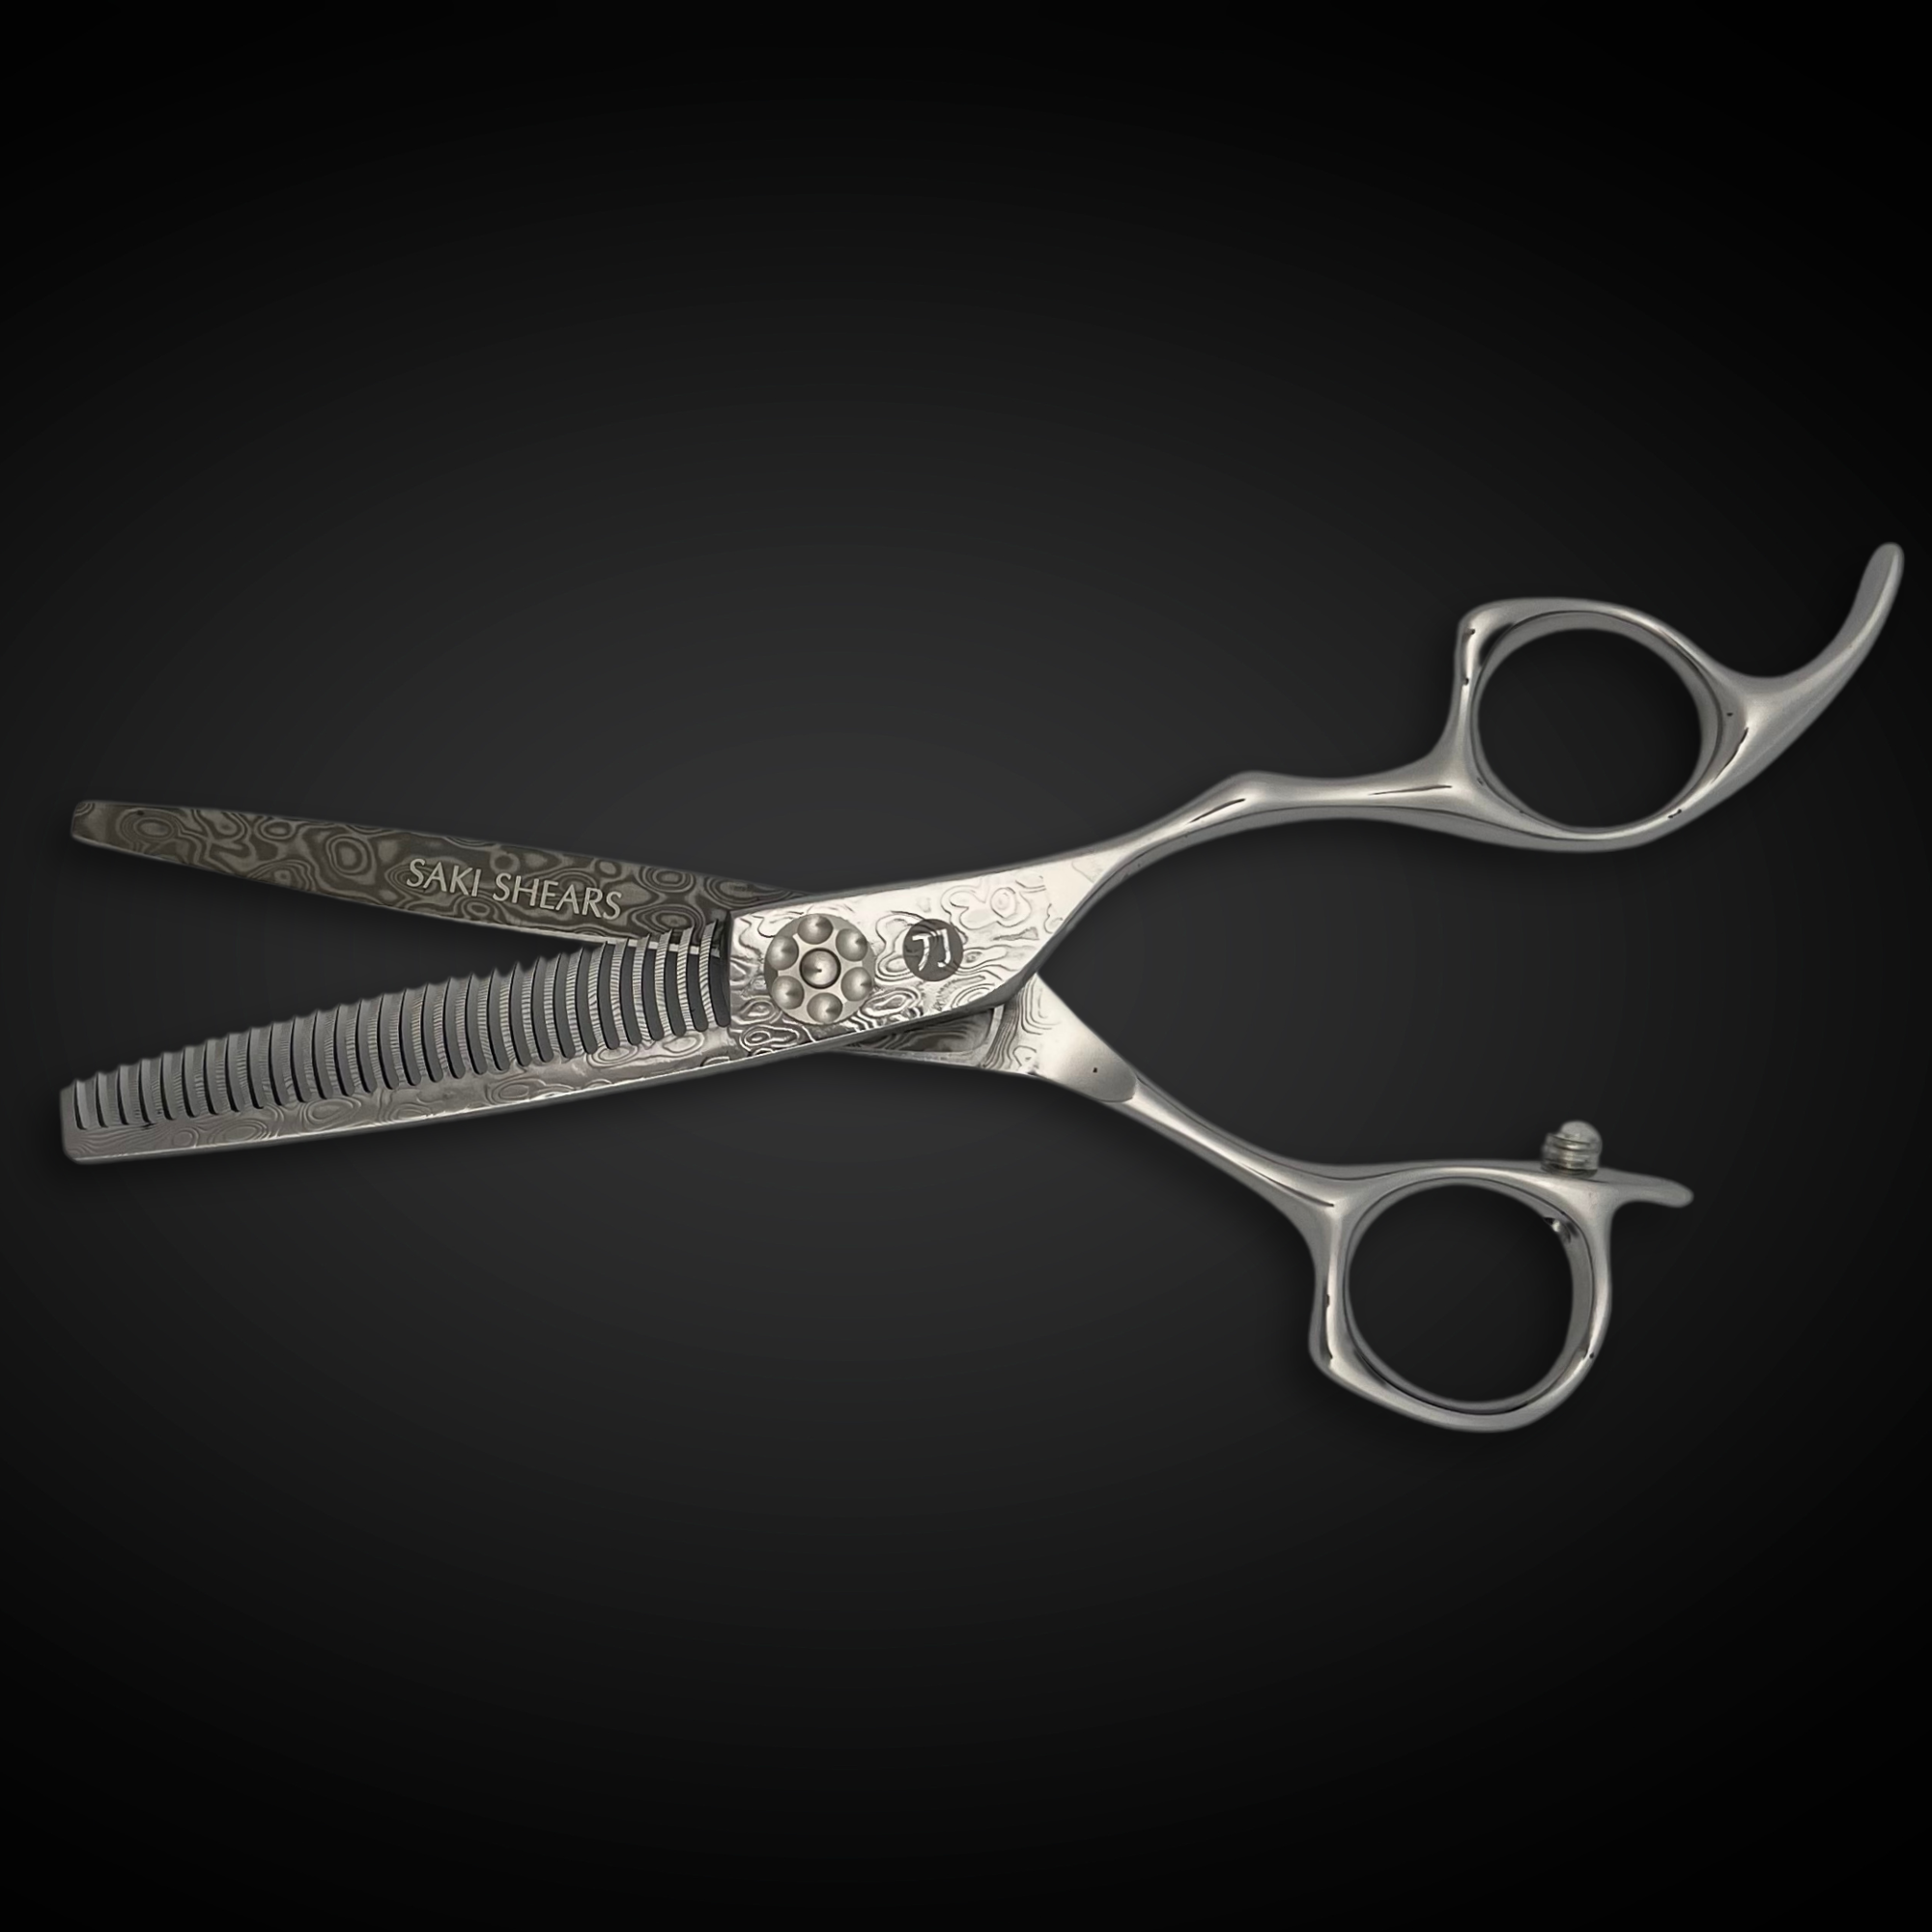
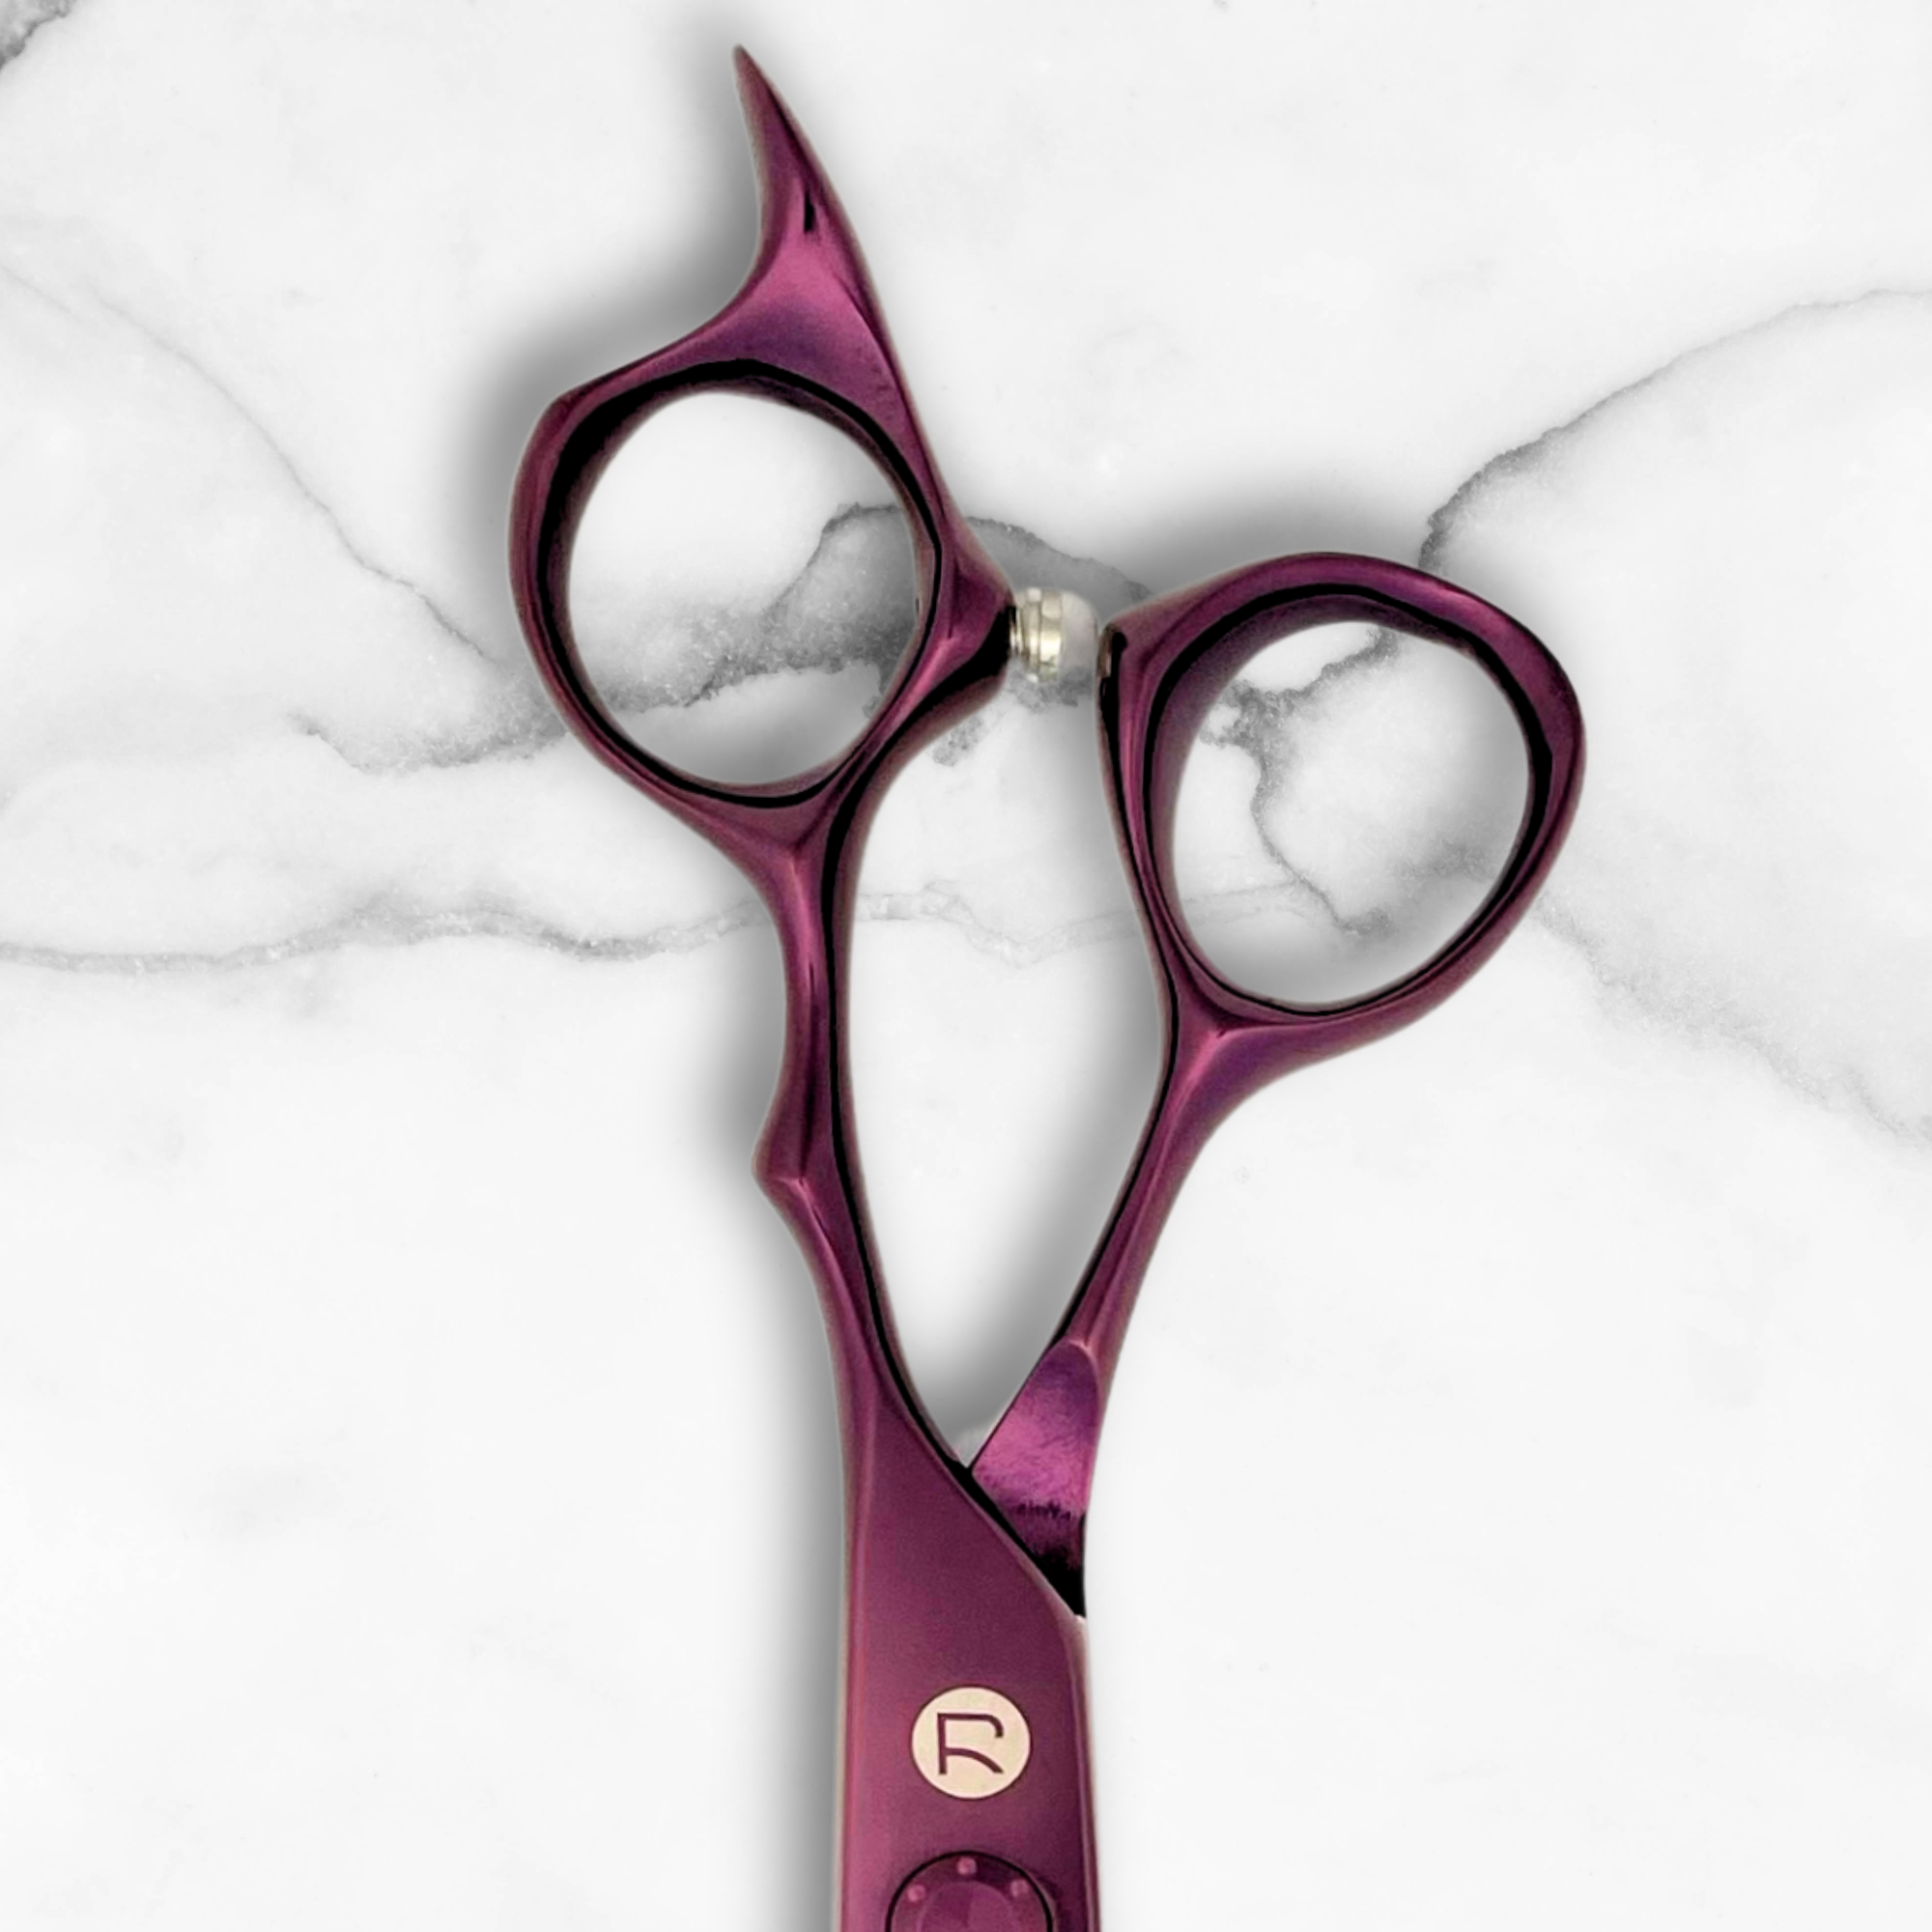
Choosing Professional Shears
Using professional shears is key to achieving sharp, precise blunt cuts. Look for shears with these features:
| Feature | Specification | Why It Matters |
|---|---|---|
| Blade Length | 5.5 to 6.5 inches | Provides better control and consistency |
| Blade Type | Convex edge | Delivers smoother, cleaner cuts |
| Material | Japanese steel or cobalt alloy | Stays sharper for longer periods |
| Handle Design | Offset or crane style | Reduces strain on your hand |
Master stylist Sam Villa explains the importance of choosing the right shears:
"When you understand how all of these factors affect your results behind the chair, you can find the right shears for YOU"
For those looking for reliable options, brands like the Saki Shears Premium Line offer lifetime warranties and start at $185.00.
Supporting Tools and Equipment
In addition to shears, a well-rounded toolkit is necessary for precise blunt cuts. Here are the essentials:
| Tool Type | Key Features | Purpose |
|---|---|---|
| Cutting Combs | Fine-tooth design | Ensures even tension |
| Sectioning Clips | Strong grip capability | Keeps hair sections secure |
| Water Bottle | Fine mist spray | Controls hair moisture levels |
| Cutting Cape | Professional-grade material | Protects client clothing |
Sam Villa also emphasizes the value of investing in a complete comb set:
"Invest in a comprehensive Comb Set featuring a tail comb, a short cutting comb, a long cutting comb and a wide cutting comb to cover all of your needs"
For better visibility while cutting, use black combs on light hair and white combs on dark hair to create a clear contrast.
Proper Tool Handling
Once you have the right tools, knowing how to use and care for them is just as important. Follow these tips for better results and tool longevity:
- Adjust the tension on your shears to avoid folding or pushing the hair during cuts.
- Maintain a comfortable body position to reduce strain on your wrist and shoulders.
- Sharpen your shears regularly to ensure clean, precise cuts.
- Check both sides frequently to maintain balance in your work.
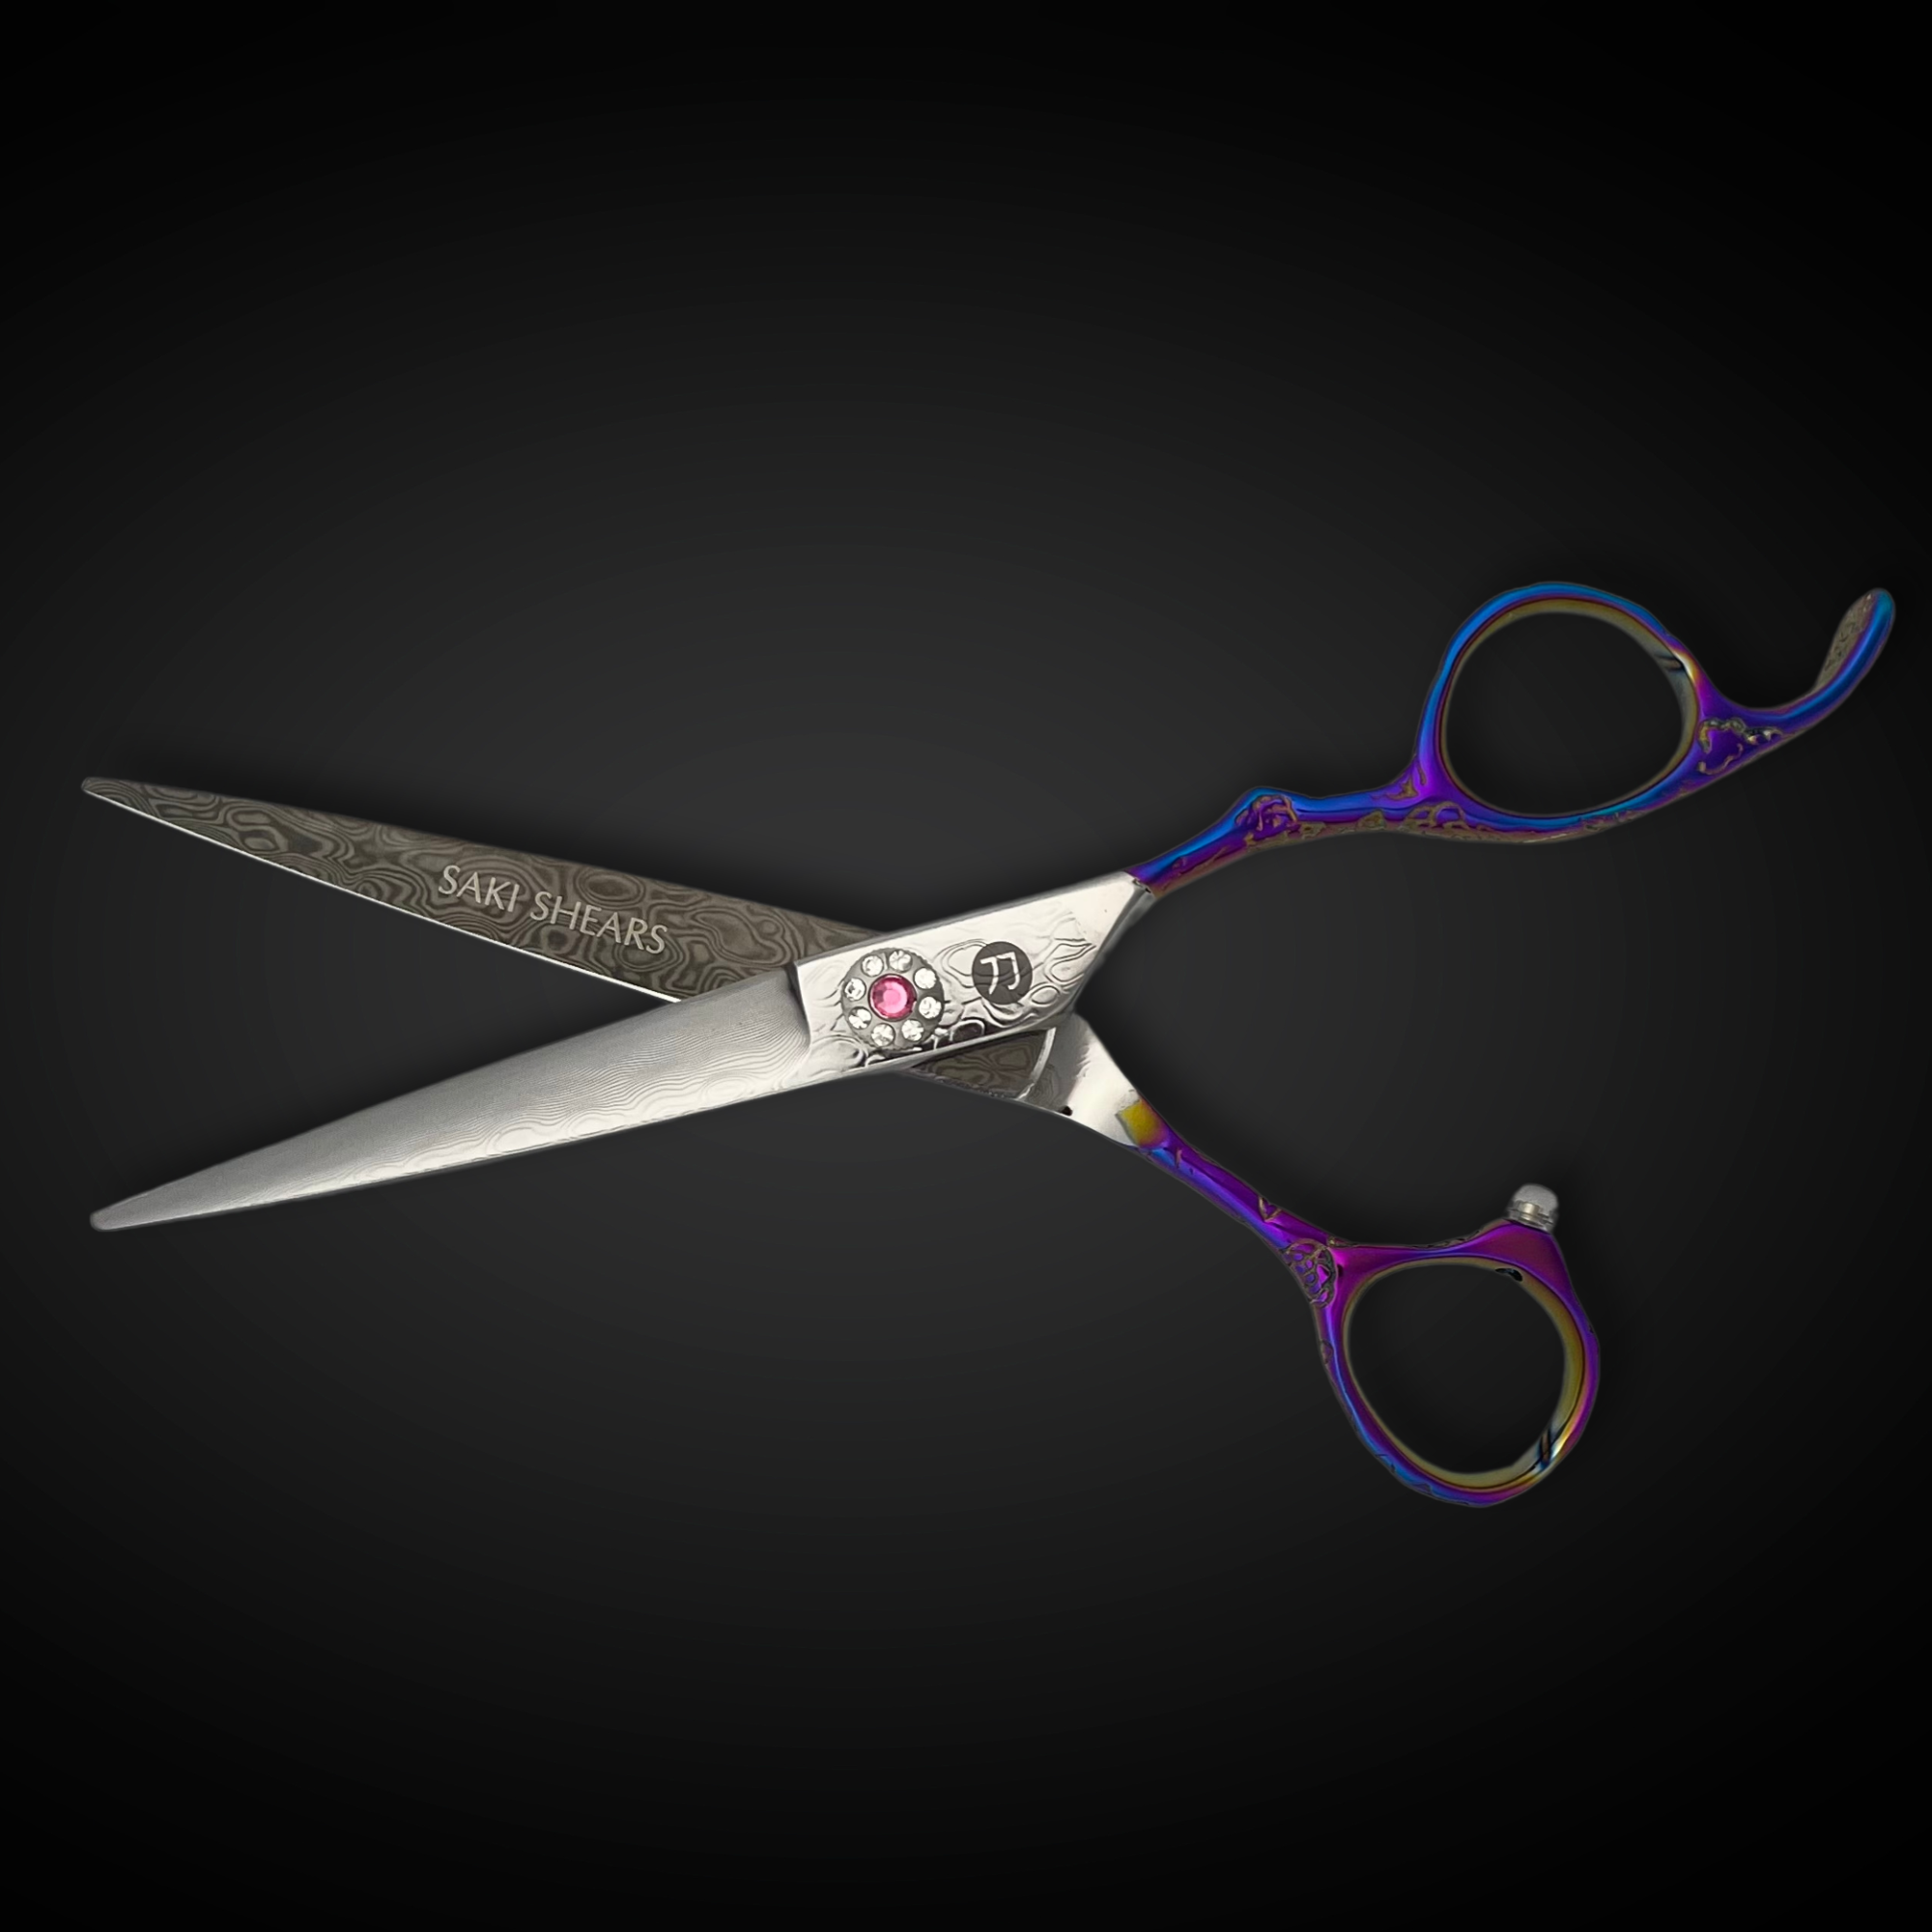
Top-tier shears like the Kamisori Black Diamond and Mizutani Acro Z II are celebrated for their precision in creating the straight, clean lines essential for blunt cuts, as noted by Nixcer Outlet in February 2025.
Pre-Cut Setup
Hair Preparation Steps
Getting the hair ready is key to achieving a sharp and accurate blunt cut. Start by choosing the right cleansing products for your client's hair type:
| Hair Type | Washing Frequency | Recommended Products |
|---|---|---|
| Fine/Thin | 3 times per week | Lightweight, volumizing shampoo |
| Medium/Wavy | Every other day | Balanced moisture shampoo |
| Thick/Curly | Twice per week | Moisturizing, sulfate-free formula |
Rinse the hair with warm water, apply the appropriate shampoo, and massage it into the scalp. Work conditioner through the mid-lengths to the ends, then finish with a cool rinse to smooth the cuticle. After cleansing, section the hair for cutting.
Hair Sectioning Method
Divide the hair into clear, primary sections to ensure precision:
| Section | Location | Purpose |
|---|---|---|
| Crown | Top of the head | Establishes the length guide |
| Nape | Back of the neck | Serves as the starting point |
| Side Panels | Temple to ear | Ensures balance and symmetry |
Use high-quality sectioning clips to keep the hair secure and maintain control during the process. Once sections are cleanly separated, you’re ready to set the guide line.
Setting the Guide Line
Joey Silvestera, owner of Blackstones salon, highlights the importance of a properly set guide line:
"For me, definition of a blunt haircut is when the scissors are cutting straight across, which leaves a very clean and precise edge to the shape when done properly"
Follow these steps to establish a guide line:
-
Initial Section
Begin at the nape area with a clean, horizontal parting. This serves as the foundation for the entire haircut. -
Tension Control
Keep tension minimal to avoid creating an uneven baseline. -
Verification
Use a cutting comb to periodically check both sides, ensuring the guide line stays perfectly horizontal. This step is crucial for achieving the clean and balanced blunt cut described in this guide.
One Length Blunt Haircut Step by Step
Blunt Cut Instructions
With your hair prepped and the guide line in place, follow these steps to achieve a clean and precise blunt cut.
Hair Tension and Cutting Angle
Getting a blunt cut just right requires steady tension and the correct cutting angle. Hold the hair between your fingers with consistent pressure, stopping at your first knuckle to keep the tension even. Keep your shears parallel to the floor at a 0° angle. Using a fine-tooth cutting comb flat against the hair section helps prevent any unintentional elevation.
| Cutting Position | Technique to Use | Mistakes to Avoid |
|---|---|---|
| Base | Zero-degree elevation | Lifting the section |
| Tension | Apply even pressure from root to end | Uneven pressure |
| Tool Position | Keep shears parallel to the floor | Angled cutting |
| Guide Check | Use a cutting comb for accuracy | Relying only on finger checking |
Make adjustments as needed to suit different hair textures for the best results.
Cutting Different Hair Types
Each hair type requires slight tweaks to get the perfect blunt cut:
- Fine Hair: Keep weight along the perimeter to create fullness. Use notch cutting at the ends to reduce stress and cut with a slight diagonal from the crown to add volume.
- Thick Hair: Use undercutting strategically from the occipital bone to the ear level to reduce bulk while keeping the line sharp and clean.
Final Check and Touch-ups
Once the initial cut is done, follow these steps to ensure everything looks polished:
- Check the cut line visually from multiple angles to confirm it’s perfectly horizontal.
- Compare both sides to ensure balance.
- Ask the client to shake their head to see how the cut naturally falls.
Use your Saki precision shears for any final adjustments, ensuring the ends stay clean and sharp without compromising the overall look.
Problem-Solving Guide
Common Mistakes to Avoid
Here are some common errors to watch out for when aiming for a perfect blunt cut:
"The most common mistake is using fingers or a fine tooth comb to hold the hair because both will create graduation. Tension, elevation and overdirection will all create some form of graduation."
- Matt Swinney, L'ANZA Global Artistic Director
| Common Error | How to Prevent It | Effect on Result |
|---|---|---|
| Poking Perimeter | Tilt the client's head forward when cutting below the occipital area | Ensures a clean outline |
| Unwanted Graduation | Use a wide-tooth comb at zero elevation | Creates even weight distribution |
| Poor Visibility | Cut 75% dry from a profile view | Improves line accuracy |
| Uneven Edges | Use sharp, professional shears | Produces clean, precise edges |
| Uneven Ear Area | Create a small bevel above the ear using a comb | Achieves a balanced perimeter |
These tips can help you fine-tune your technique to suit each client's hair type and deliver precise results.
Customizing Client Results
For tailored results, make small adjustments based on hair texture and density. For thicker hair, strategic undercutting from the occipital bone to ear level can reduce bulk while maintaining a clean, sharp line.
"Generally, I encourage blunt hair cutting for people with fine to medium hair texture and densities. It makes hair look and feel fuller and is less likely to break down overtime, where over-texturizing fine to medium hair speeds up the breakage process."
- Joey Silvestera, Owner of Blackstones Salon
"The issue with blunt cuts and thick hair is that the cut builds up too much weight, when the hair is mid-length. Over the years, to reduce weight and still create a clean line, you can take a section from the occipital bone - lower back part of the skull - to the top of the ears and reduce weight by undercutting. This underneath length can be anywhere from shaved to finger length."
- Joey Silvestera, Owner of Blackstones Salon
Advanced Cutting Methods
Once you've mastered the basics, refine your skills with these advanced techniques:
-
Dry Cutting Technique
"Cutting the sides dry allows me to see the exact length and line. This eliminates having to guess how the hair will lay when clients style their hair at home."
- Chris Jones
-
Texturizing Solutions
Use point cutting or thinning shears to reduce bulk while keeping the clean, sharp line intact. -
Sectioning Improvement
Place front partings behind the ear to secure extra hair, then rotate your palm when joining sections to ensure seamless blending.
Conclusion
Quick Reference Guide
Creating a flawless blunt cut requires accuracy, the right tools, and a steady hand. Here's a breakdown of the key elements to nail the look:
| Element | Key Requirements | Professional Tips |
|---|---|---|
| Tools | 6" professional shears for main cuts; 4" shears for details | Regularly sharpen and maintain shears |
| Hair Preparation | Clean, flat-ironed hair | Use a flat iron for the neckline and face-framing sections |
| Cutting Technique | Zero-degree elevation with even tension | Keep shears perfectly parallel for straight lines |
| Precision Check | Assess balance on dry hair | Double-check symmetry after drying |
"Blunt cuts are my favorite because they make thin hair look strong and full and they make thicker hair look well-groomed and expensive. Plus, blunt ends make curls look like they are behaving."
– Gregory Patterson, Celebrity Stylist
Mastering these basics ensures a polished, professional result.
Professional Tools Guide
Here’s a list of must-have tools for perfecting a blunt cut:
- 6-inch shears: Ideal for one-length cuts
- 4-inch shears: Best for detailed, palm-to-palm work
- Fine-tooth comb: Keeps tension even during cutting
- Flat iron: Smooths lines for a clean finish
Using professional-grade tools is key to achieving clean, crisp lines in a blunt cut.
"All hair types and textures can achieve the blunt haircut look. It is more about the technique and who is cutting/styling your hair than the type of hair you have."
– Priscilla Valles, Celebrity Extensionist
The right tools, combined with proper care and technique, make all the difference in creating a standout blunt cut.
