How to Create the Perfect Soft Layers
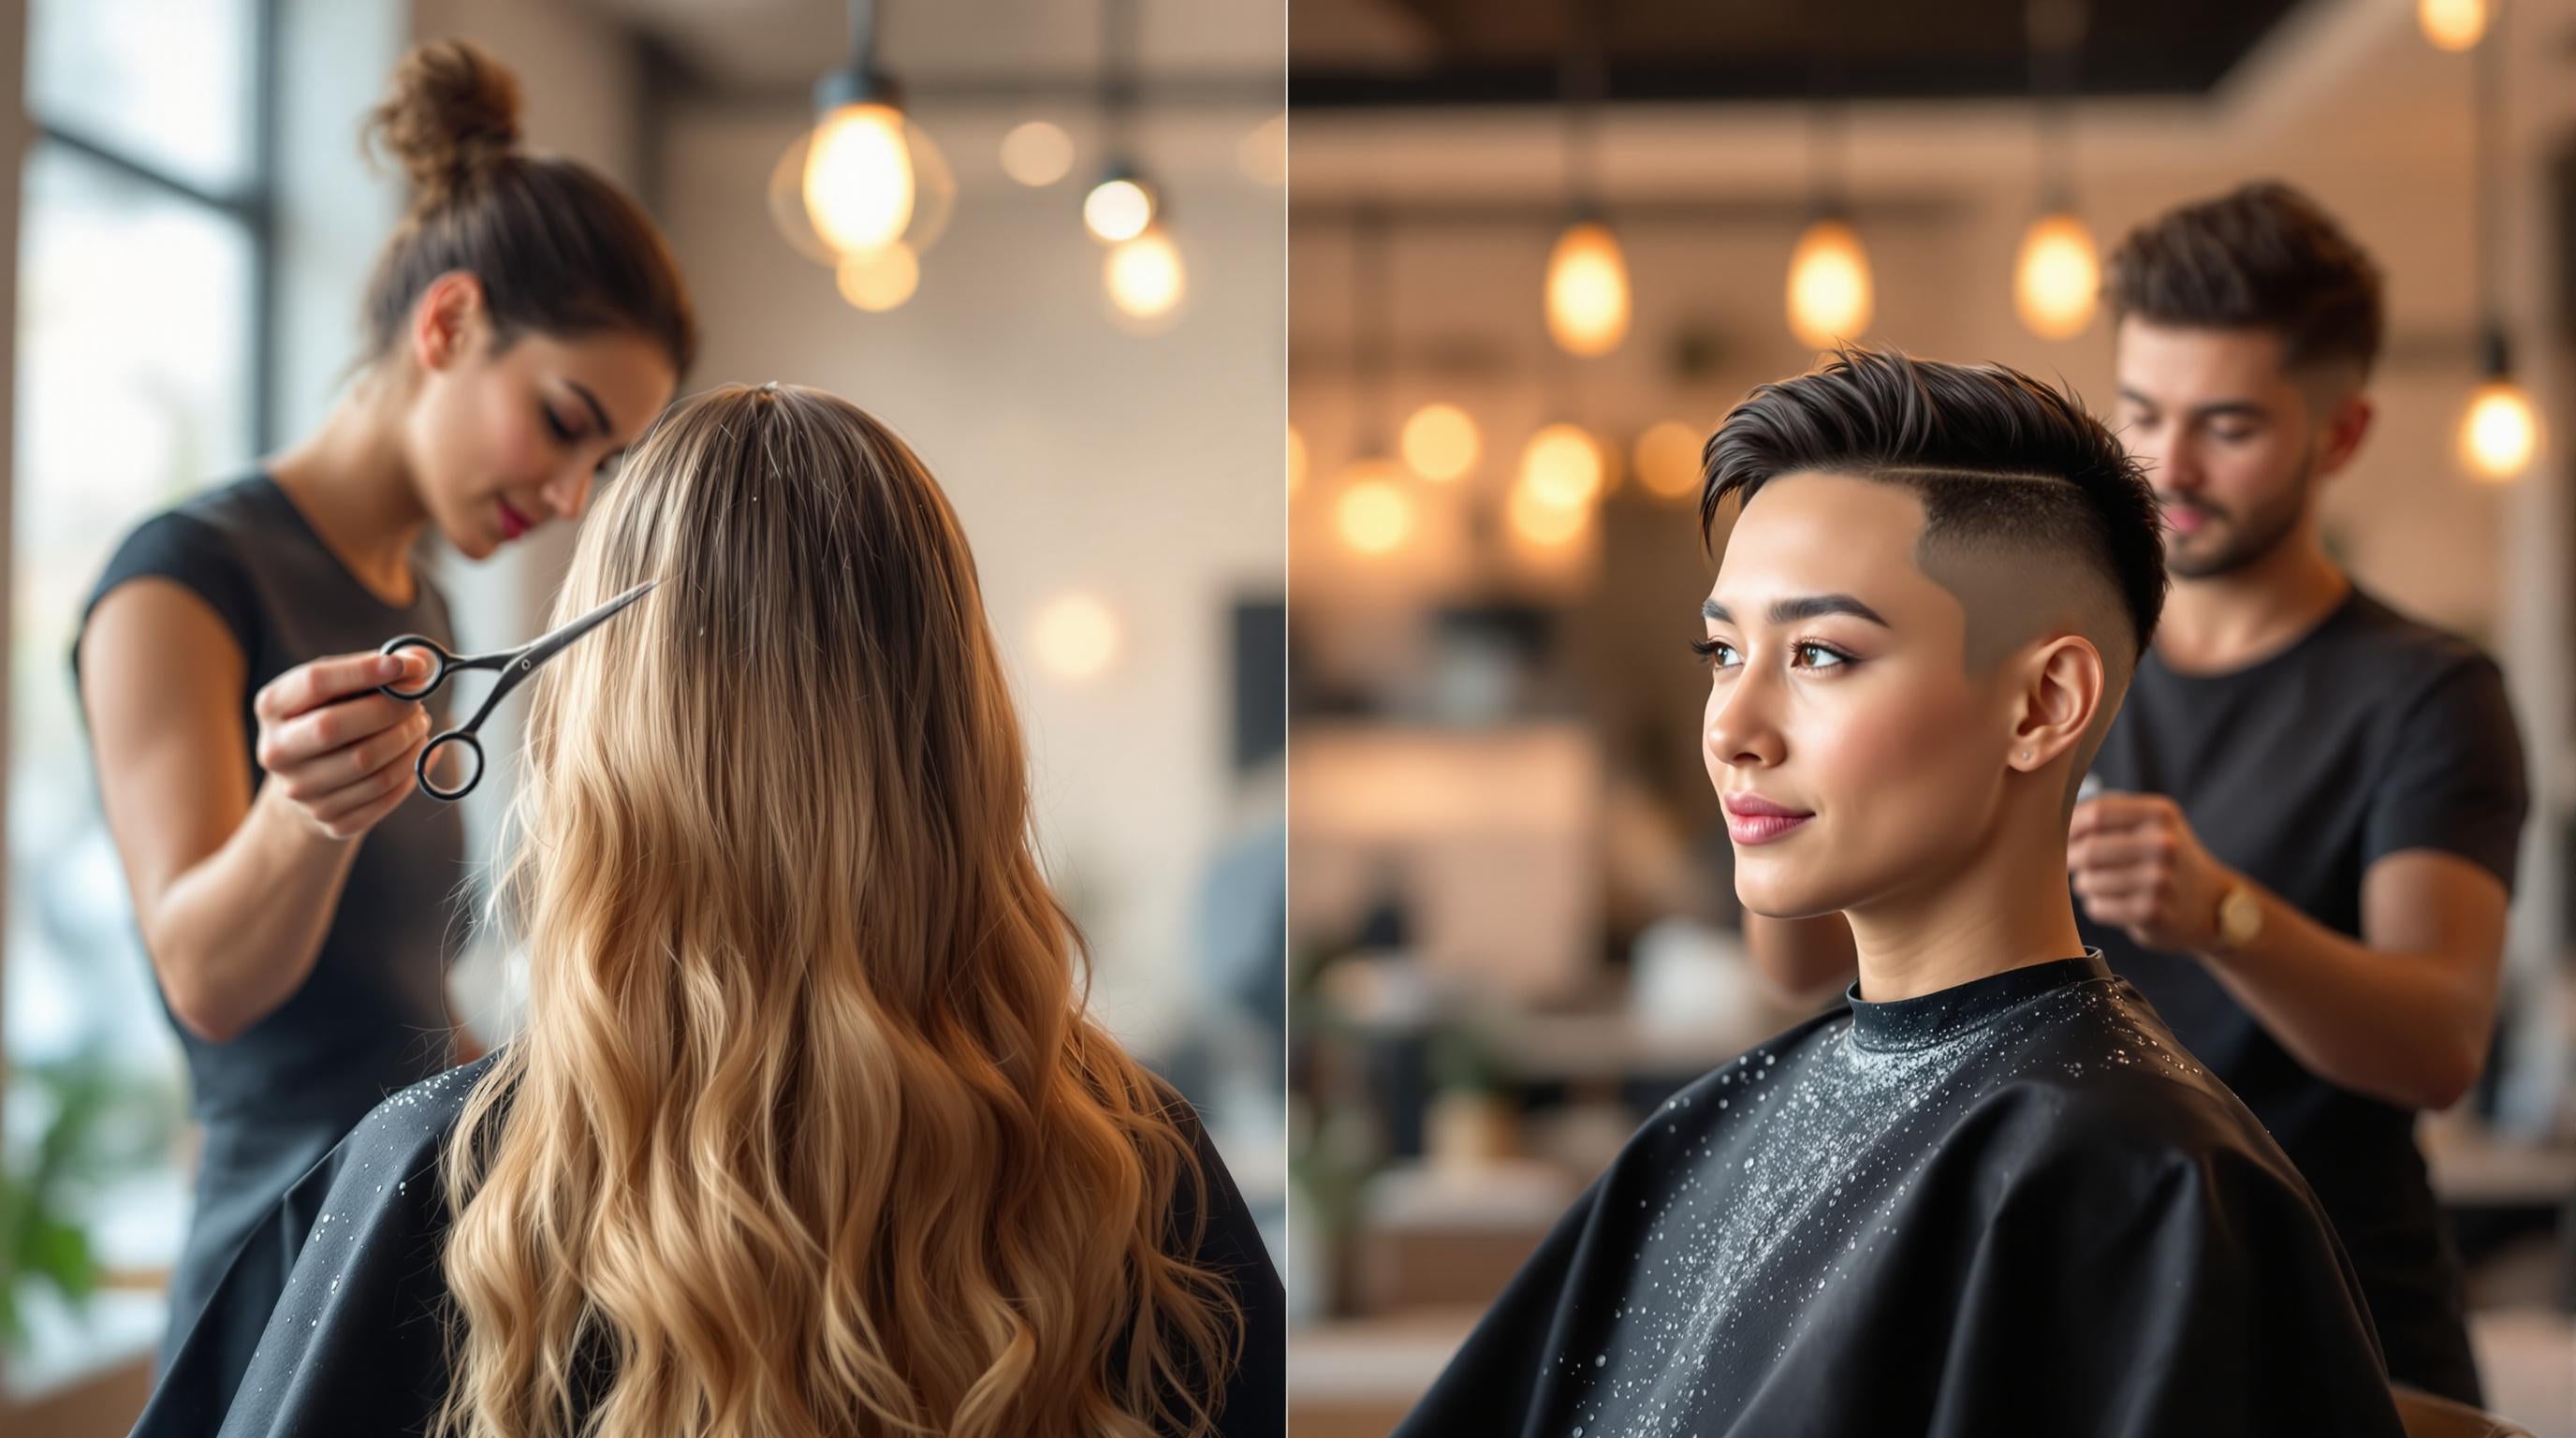
Soft layers add movement, shape, and texture to your hair, creating a natural and youthful look. Whether you have fine, thick, curly, or straight hair, soft layers can be tailored to suit your face shape, hair type, and styling preferences. Here's a quick breakdown of what you need to know:
- What Are Soft Layers? Layers that blend seamlessly into your hair, removing weight and adding dimension without harsh lines.
-
Benefits by Hair Type:
- Fine hair: Boosts volume without losing density.
- Thick hair: Reduces bulk while maintaining structure.
- Curly hair: Enhances curl definition and bounce.
- Straight hair: Adds texture and movement.
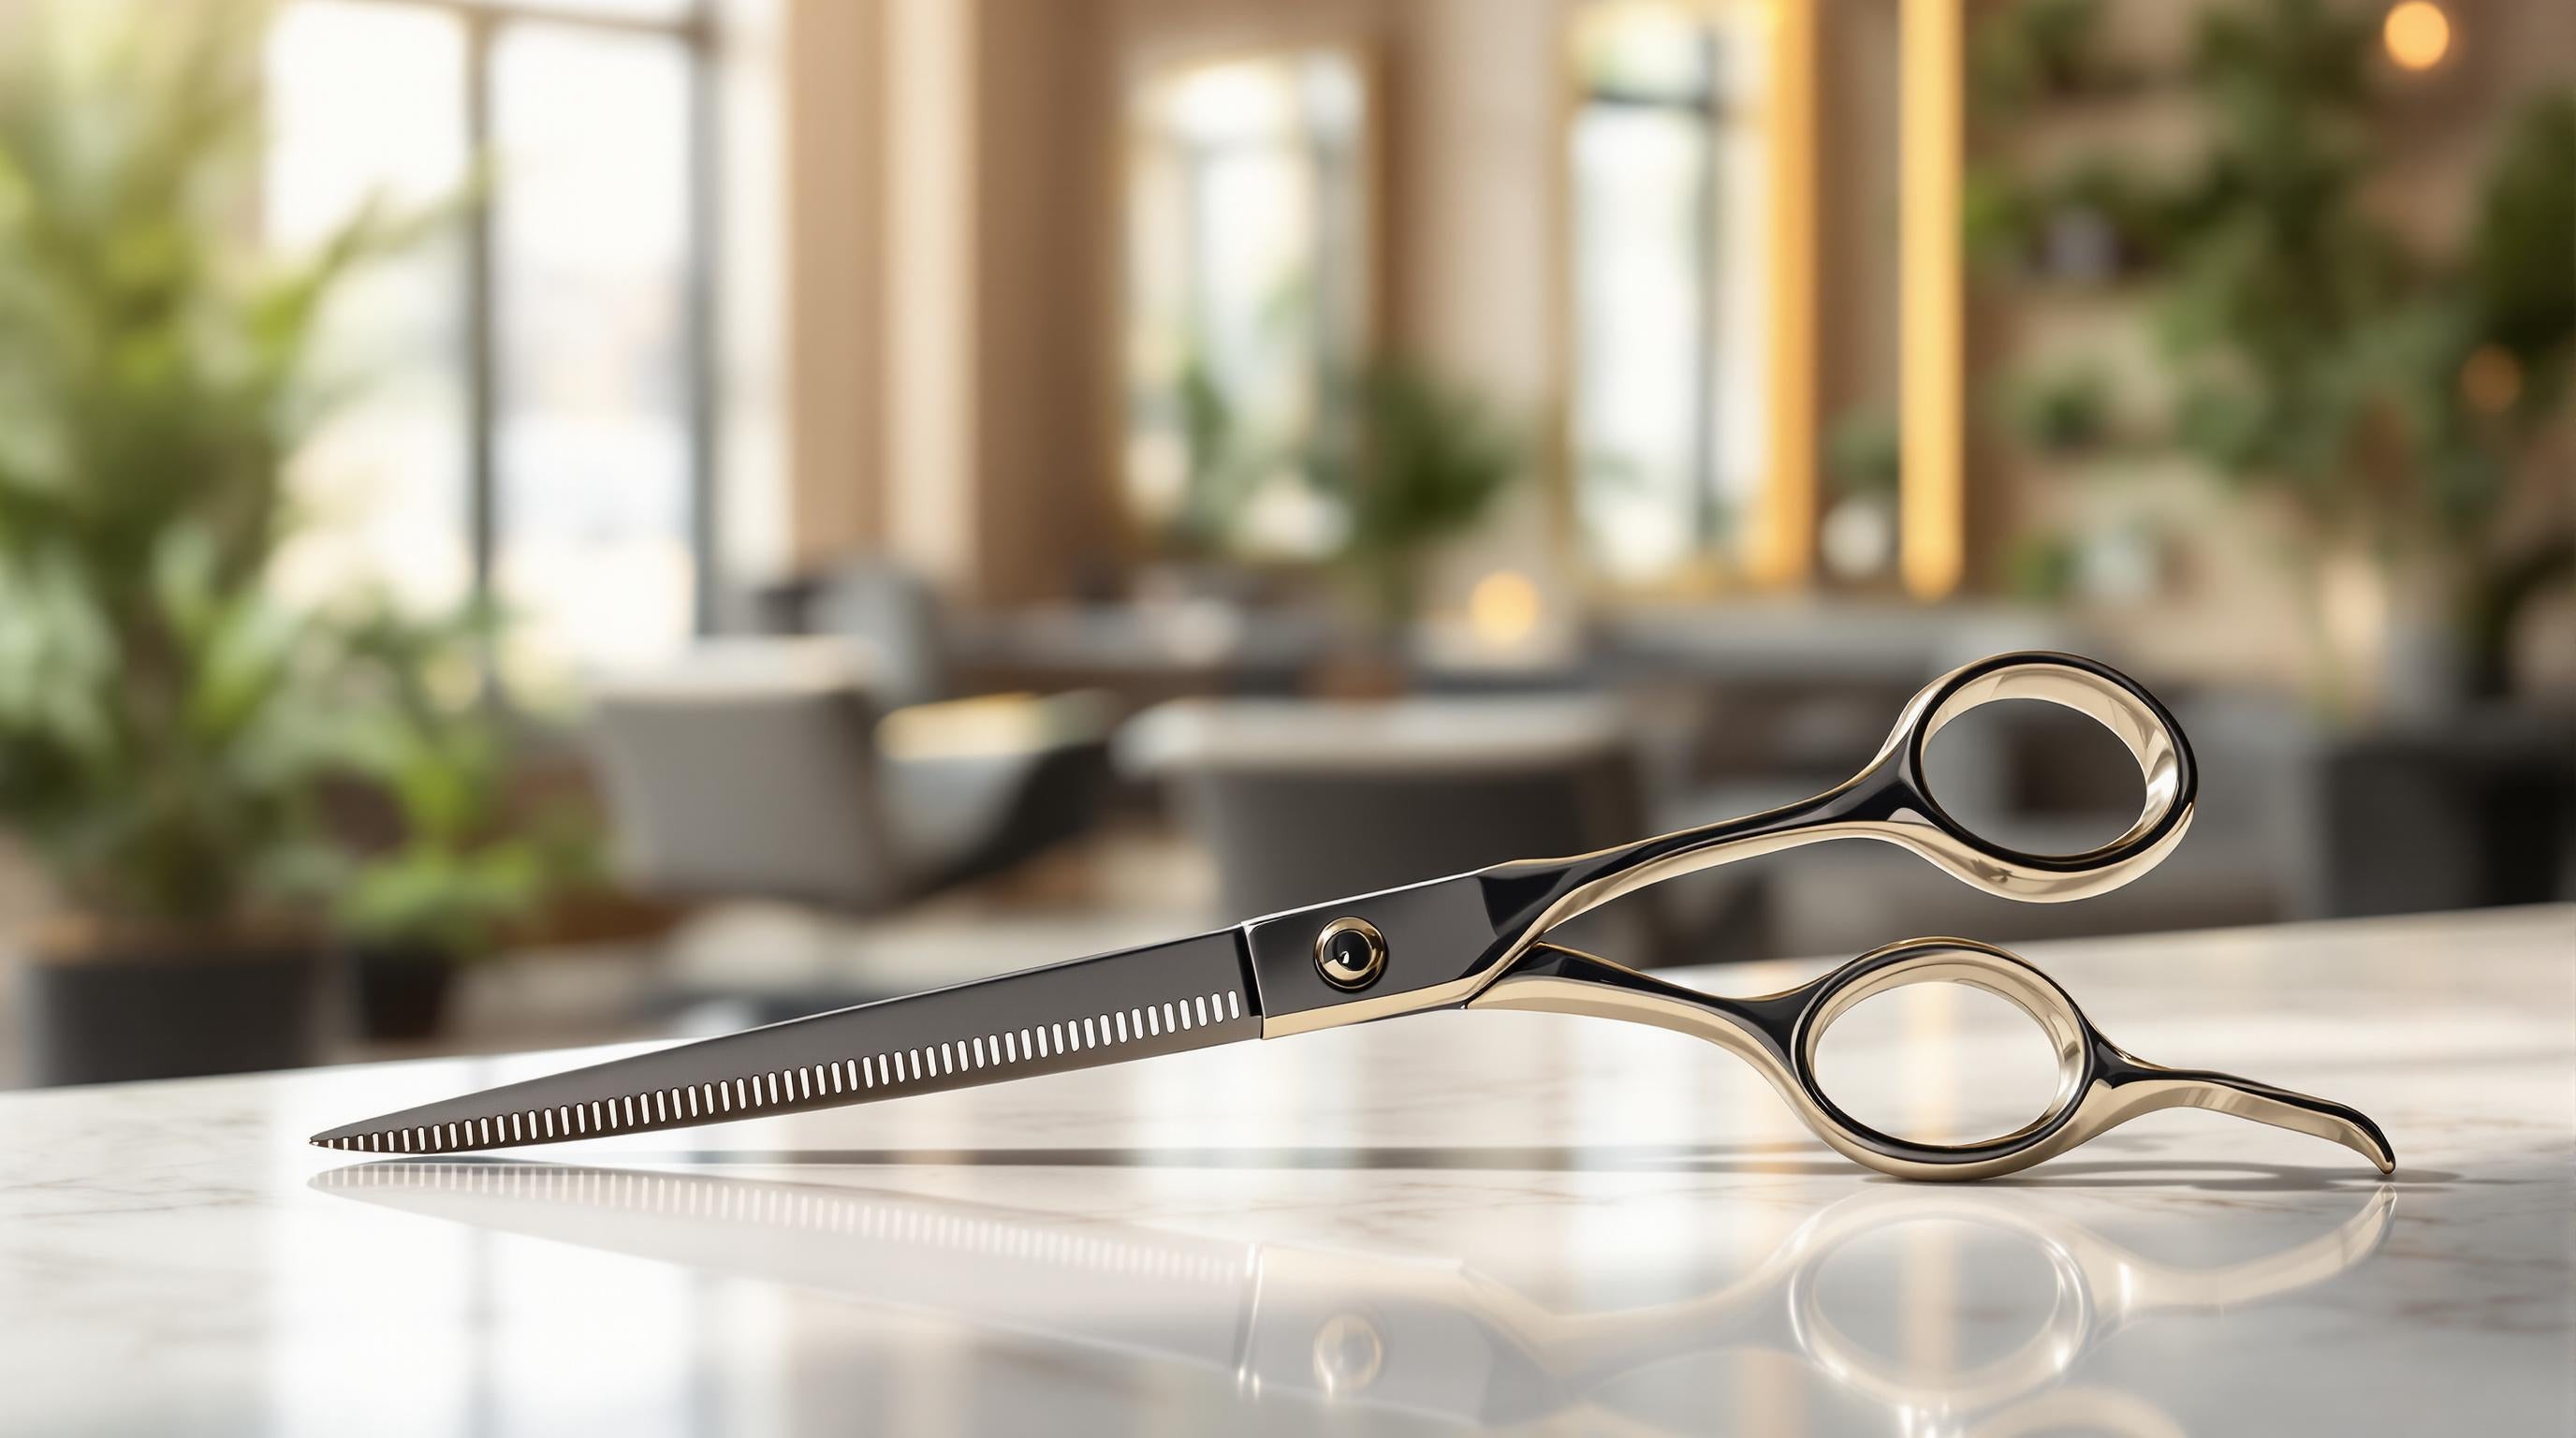
- Key Tools: High-quality Japanese steel shears, texturizing tools, and proper cutting combs.
- Styling Tips: Blow-dry with a round brush, use the right products for your hair type, and maintain the cut with regular trims.
Soft layers are versatile and customizable, making them a popular choice for anyone looking to refresh their hairstyle while keeping it low-maintenance. Read on for step-by-step guidance on achieving the perfect soft layers.
Required Tools
Choosing Quality Shears
The right shears are essential for crafting soft layers. Japanese steel shears are a top choice in the industry, offering excellent edge retention and precision. Sam Villa, Founder of Sam Villa Pro, highlights their importance:
"These are like a pair of Louis Vuittons, they may take a week to get used to, but after that you're performing at a higher level"
When picking shears, focus on these key types:
| Shear Type | Purpose | Recommended Length |
|---|---|---|
| Wet Cutting | Primary cutting | 5.5" - 6.25" |
| Dry Cutting | Detail work | 4.5" - 5.5" |
| Texturizing | Adding volume | 6" - 6.5" |
| Thinning | Removing weight | 5.75" - 6" |
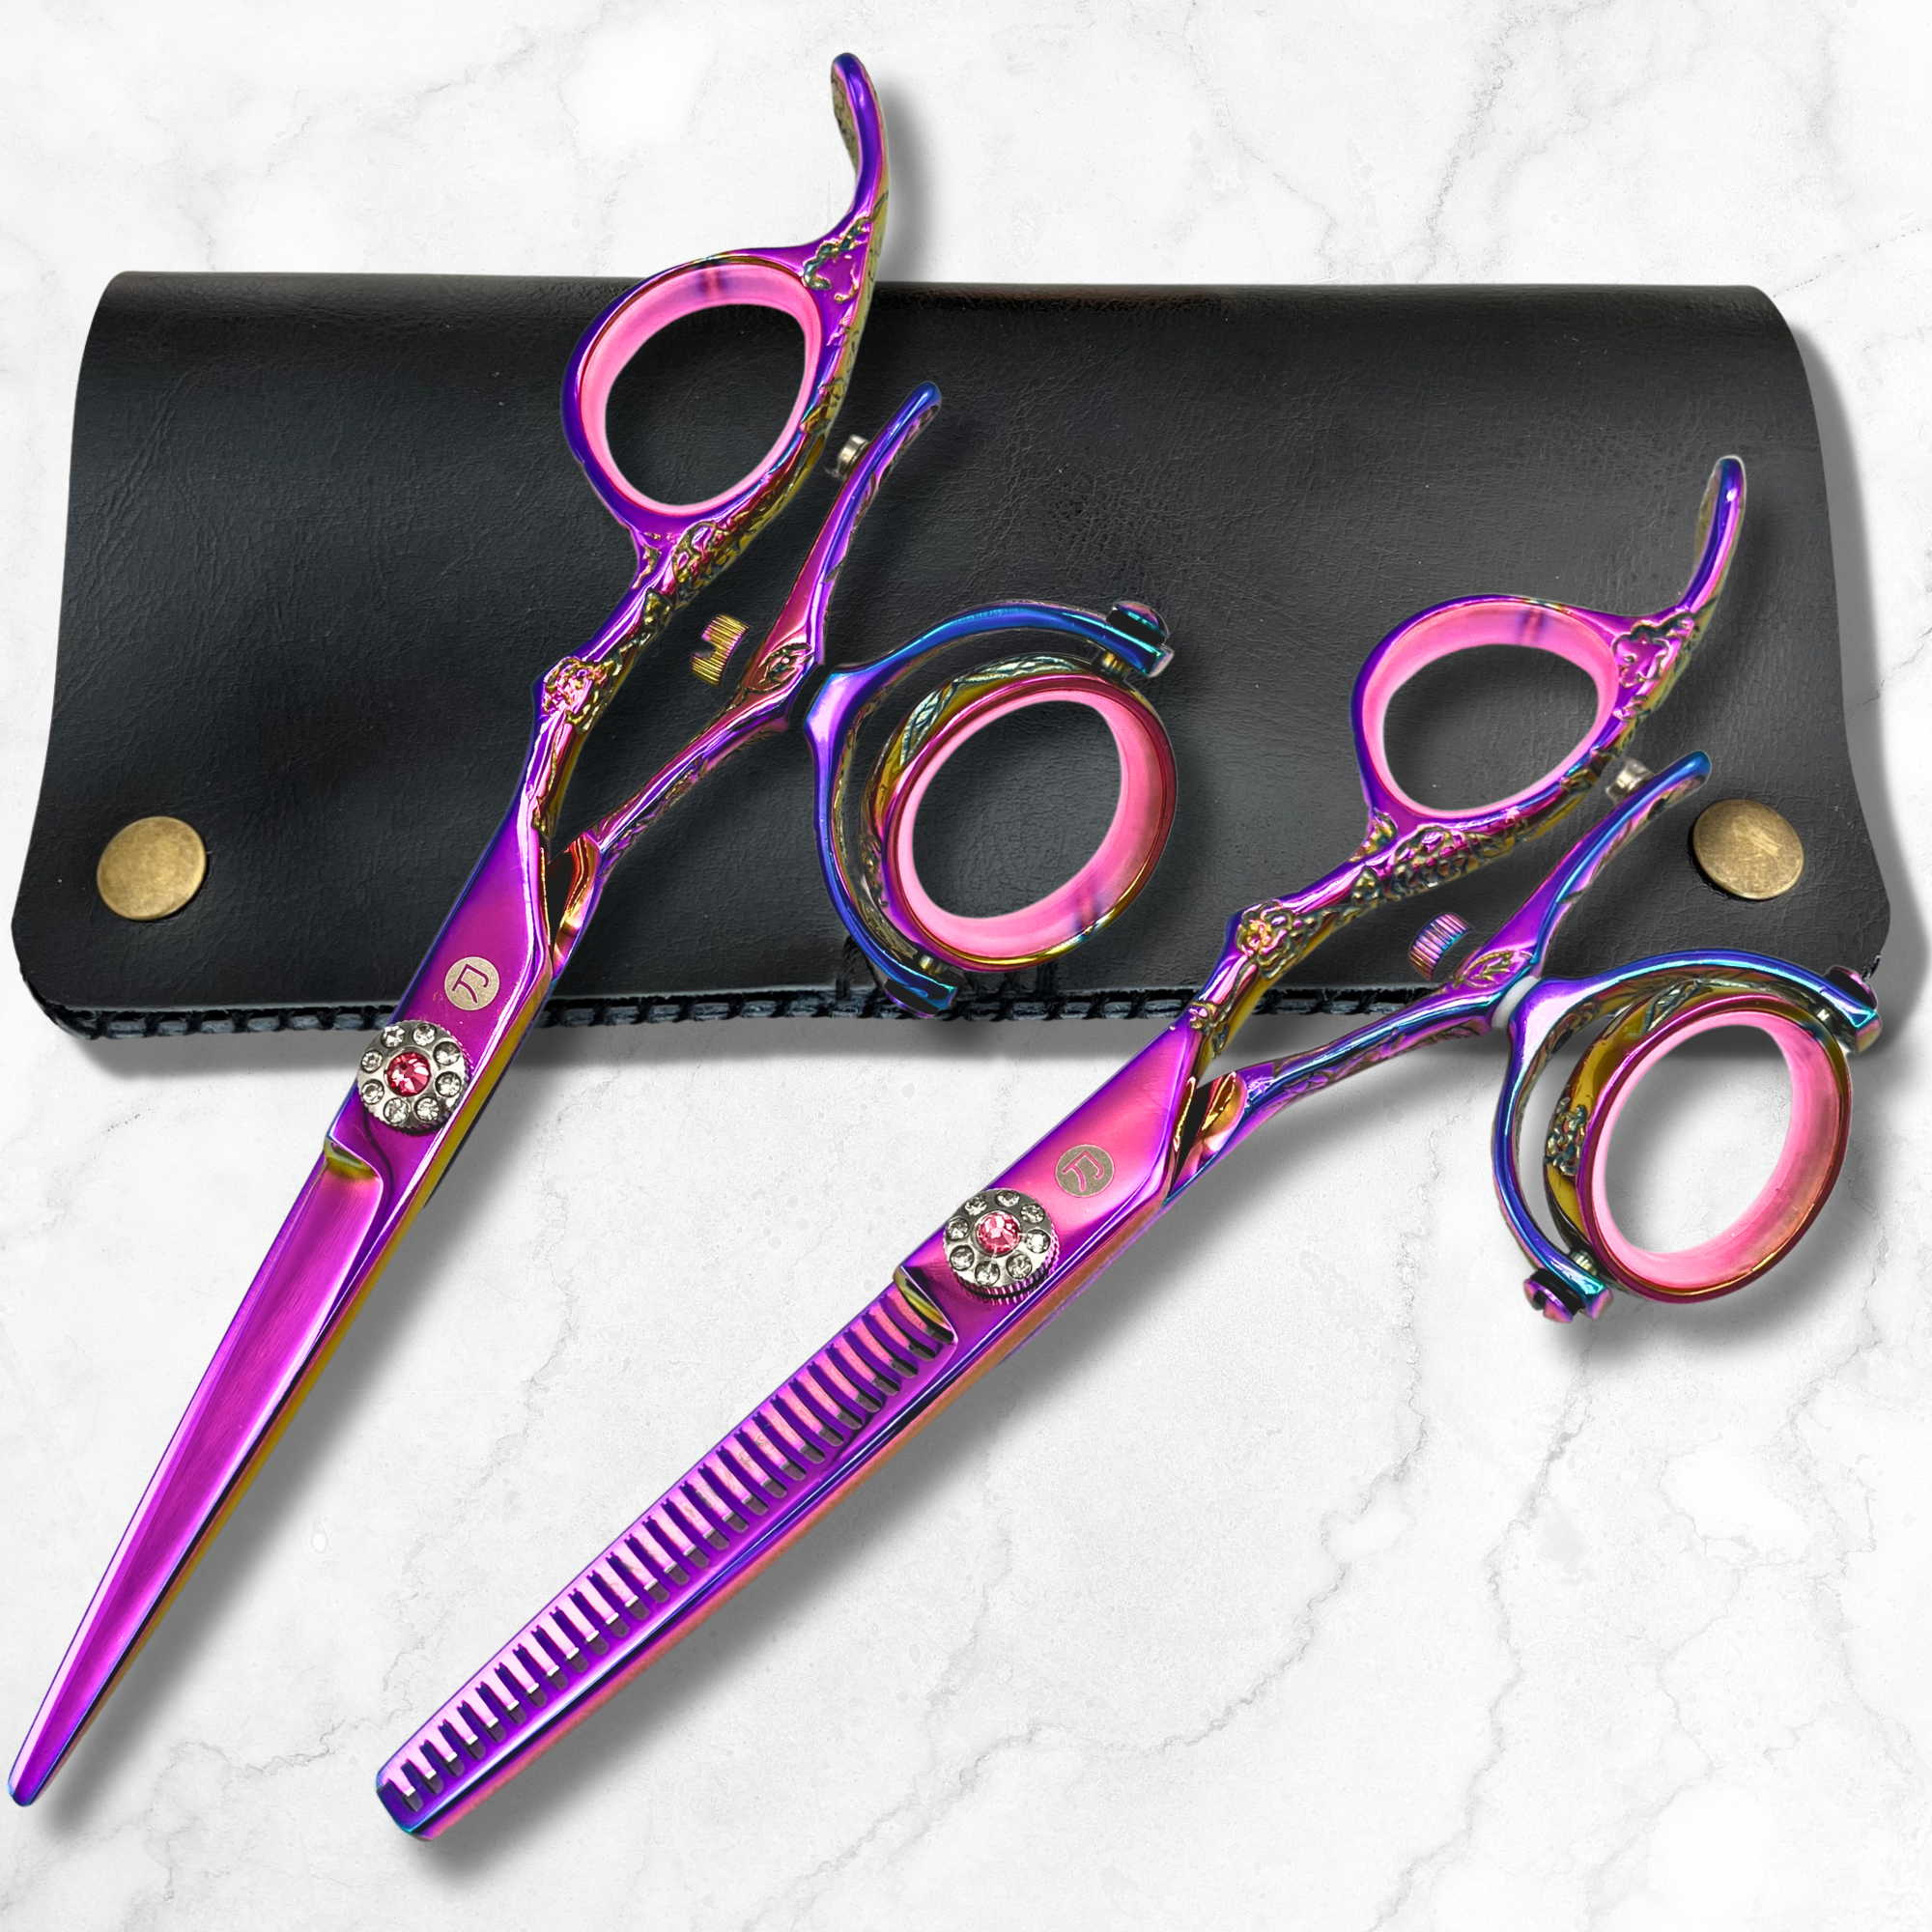
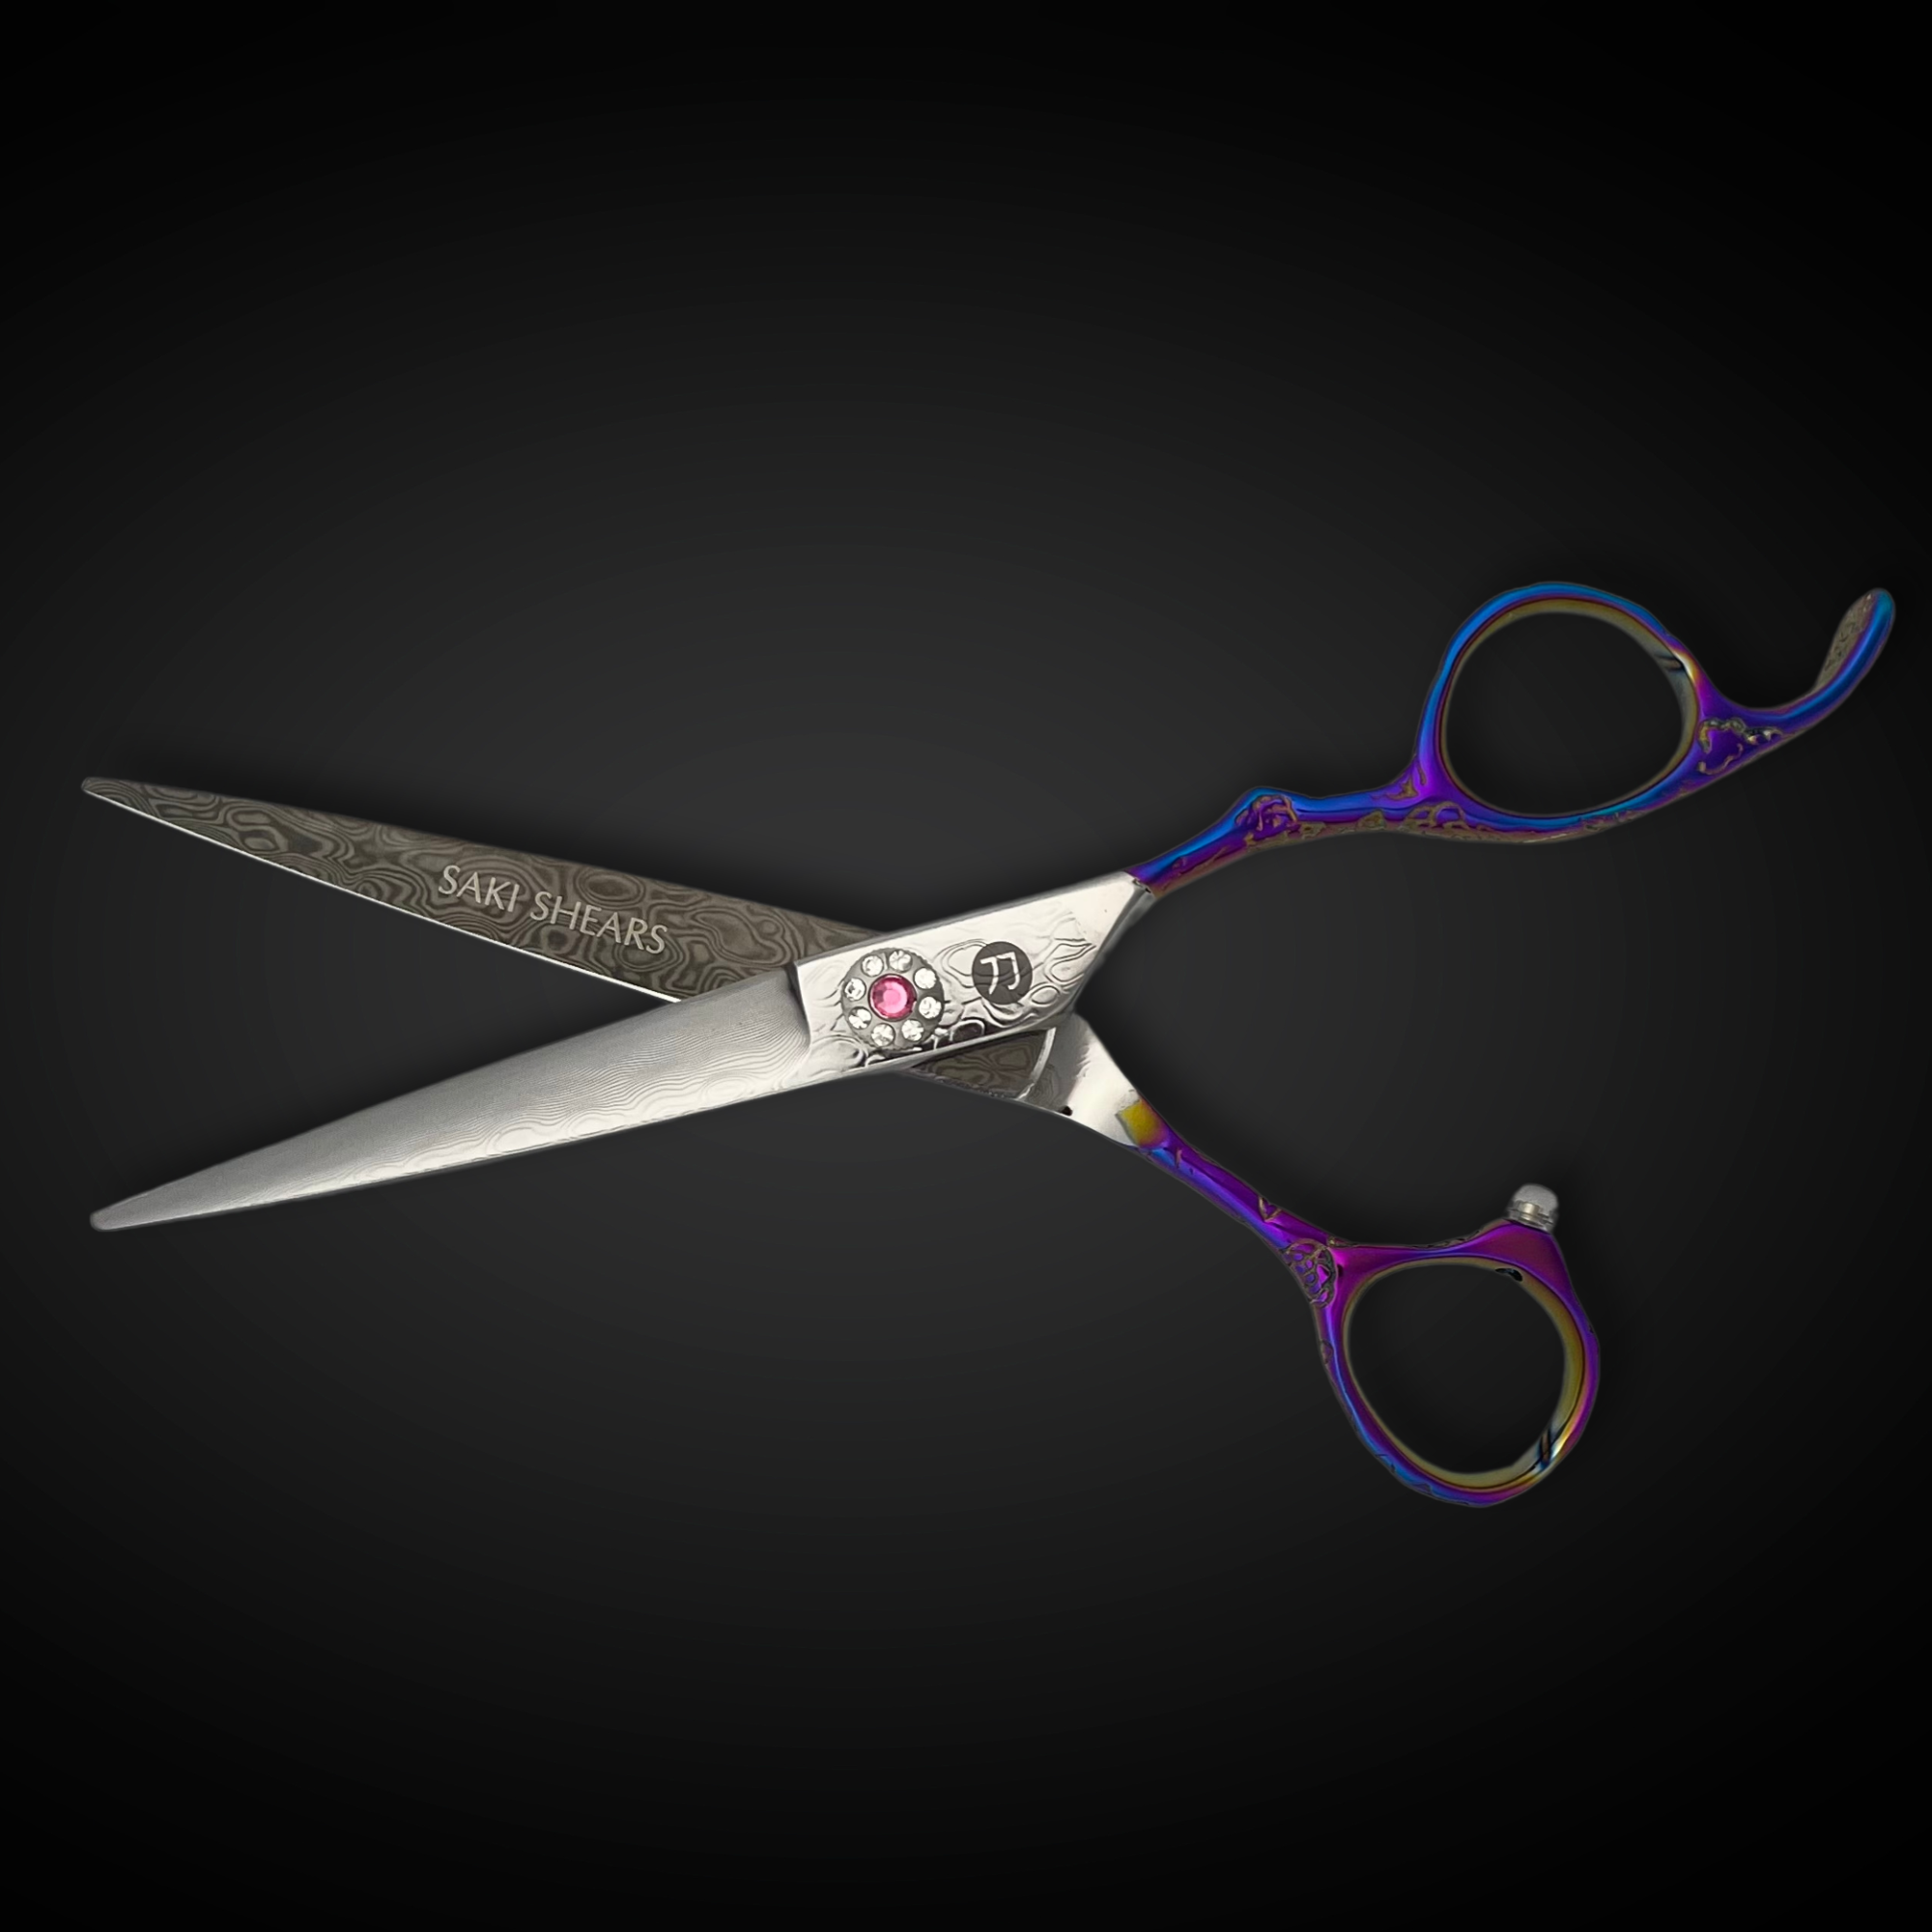
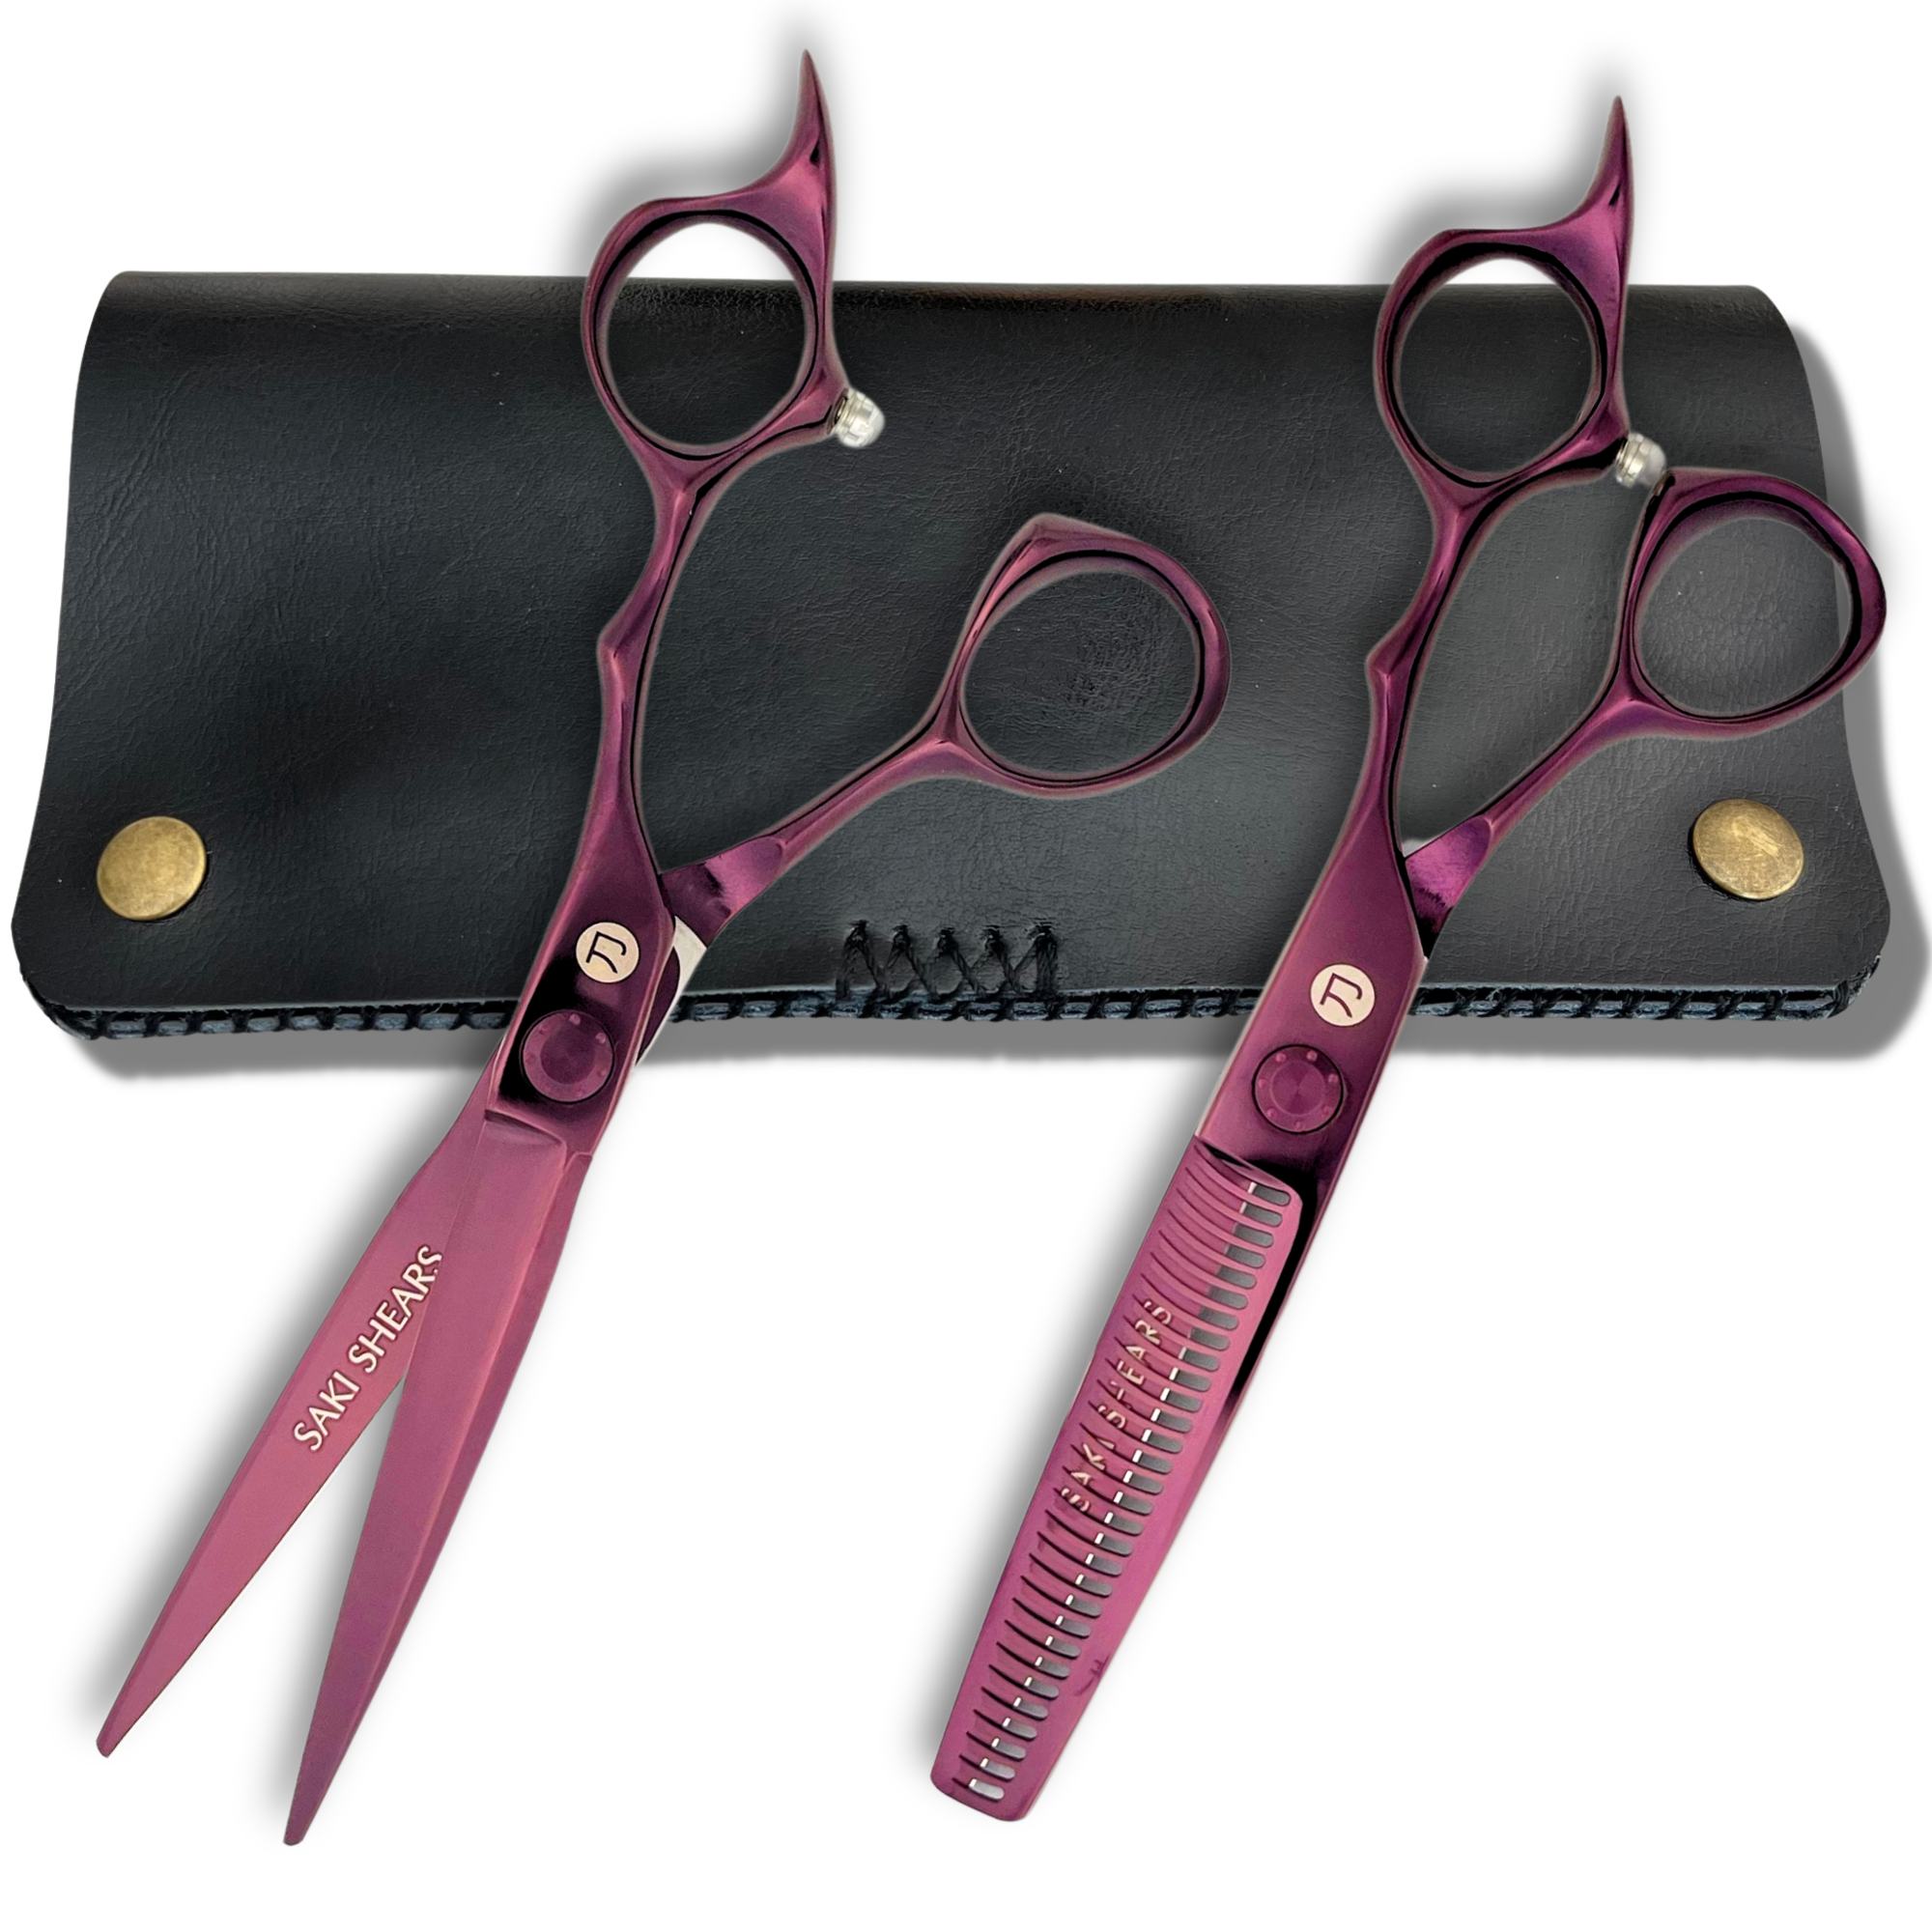
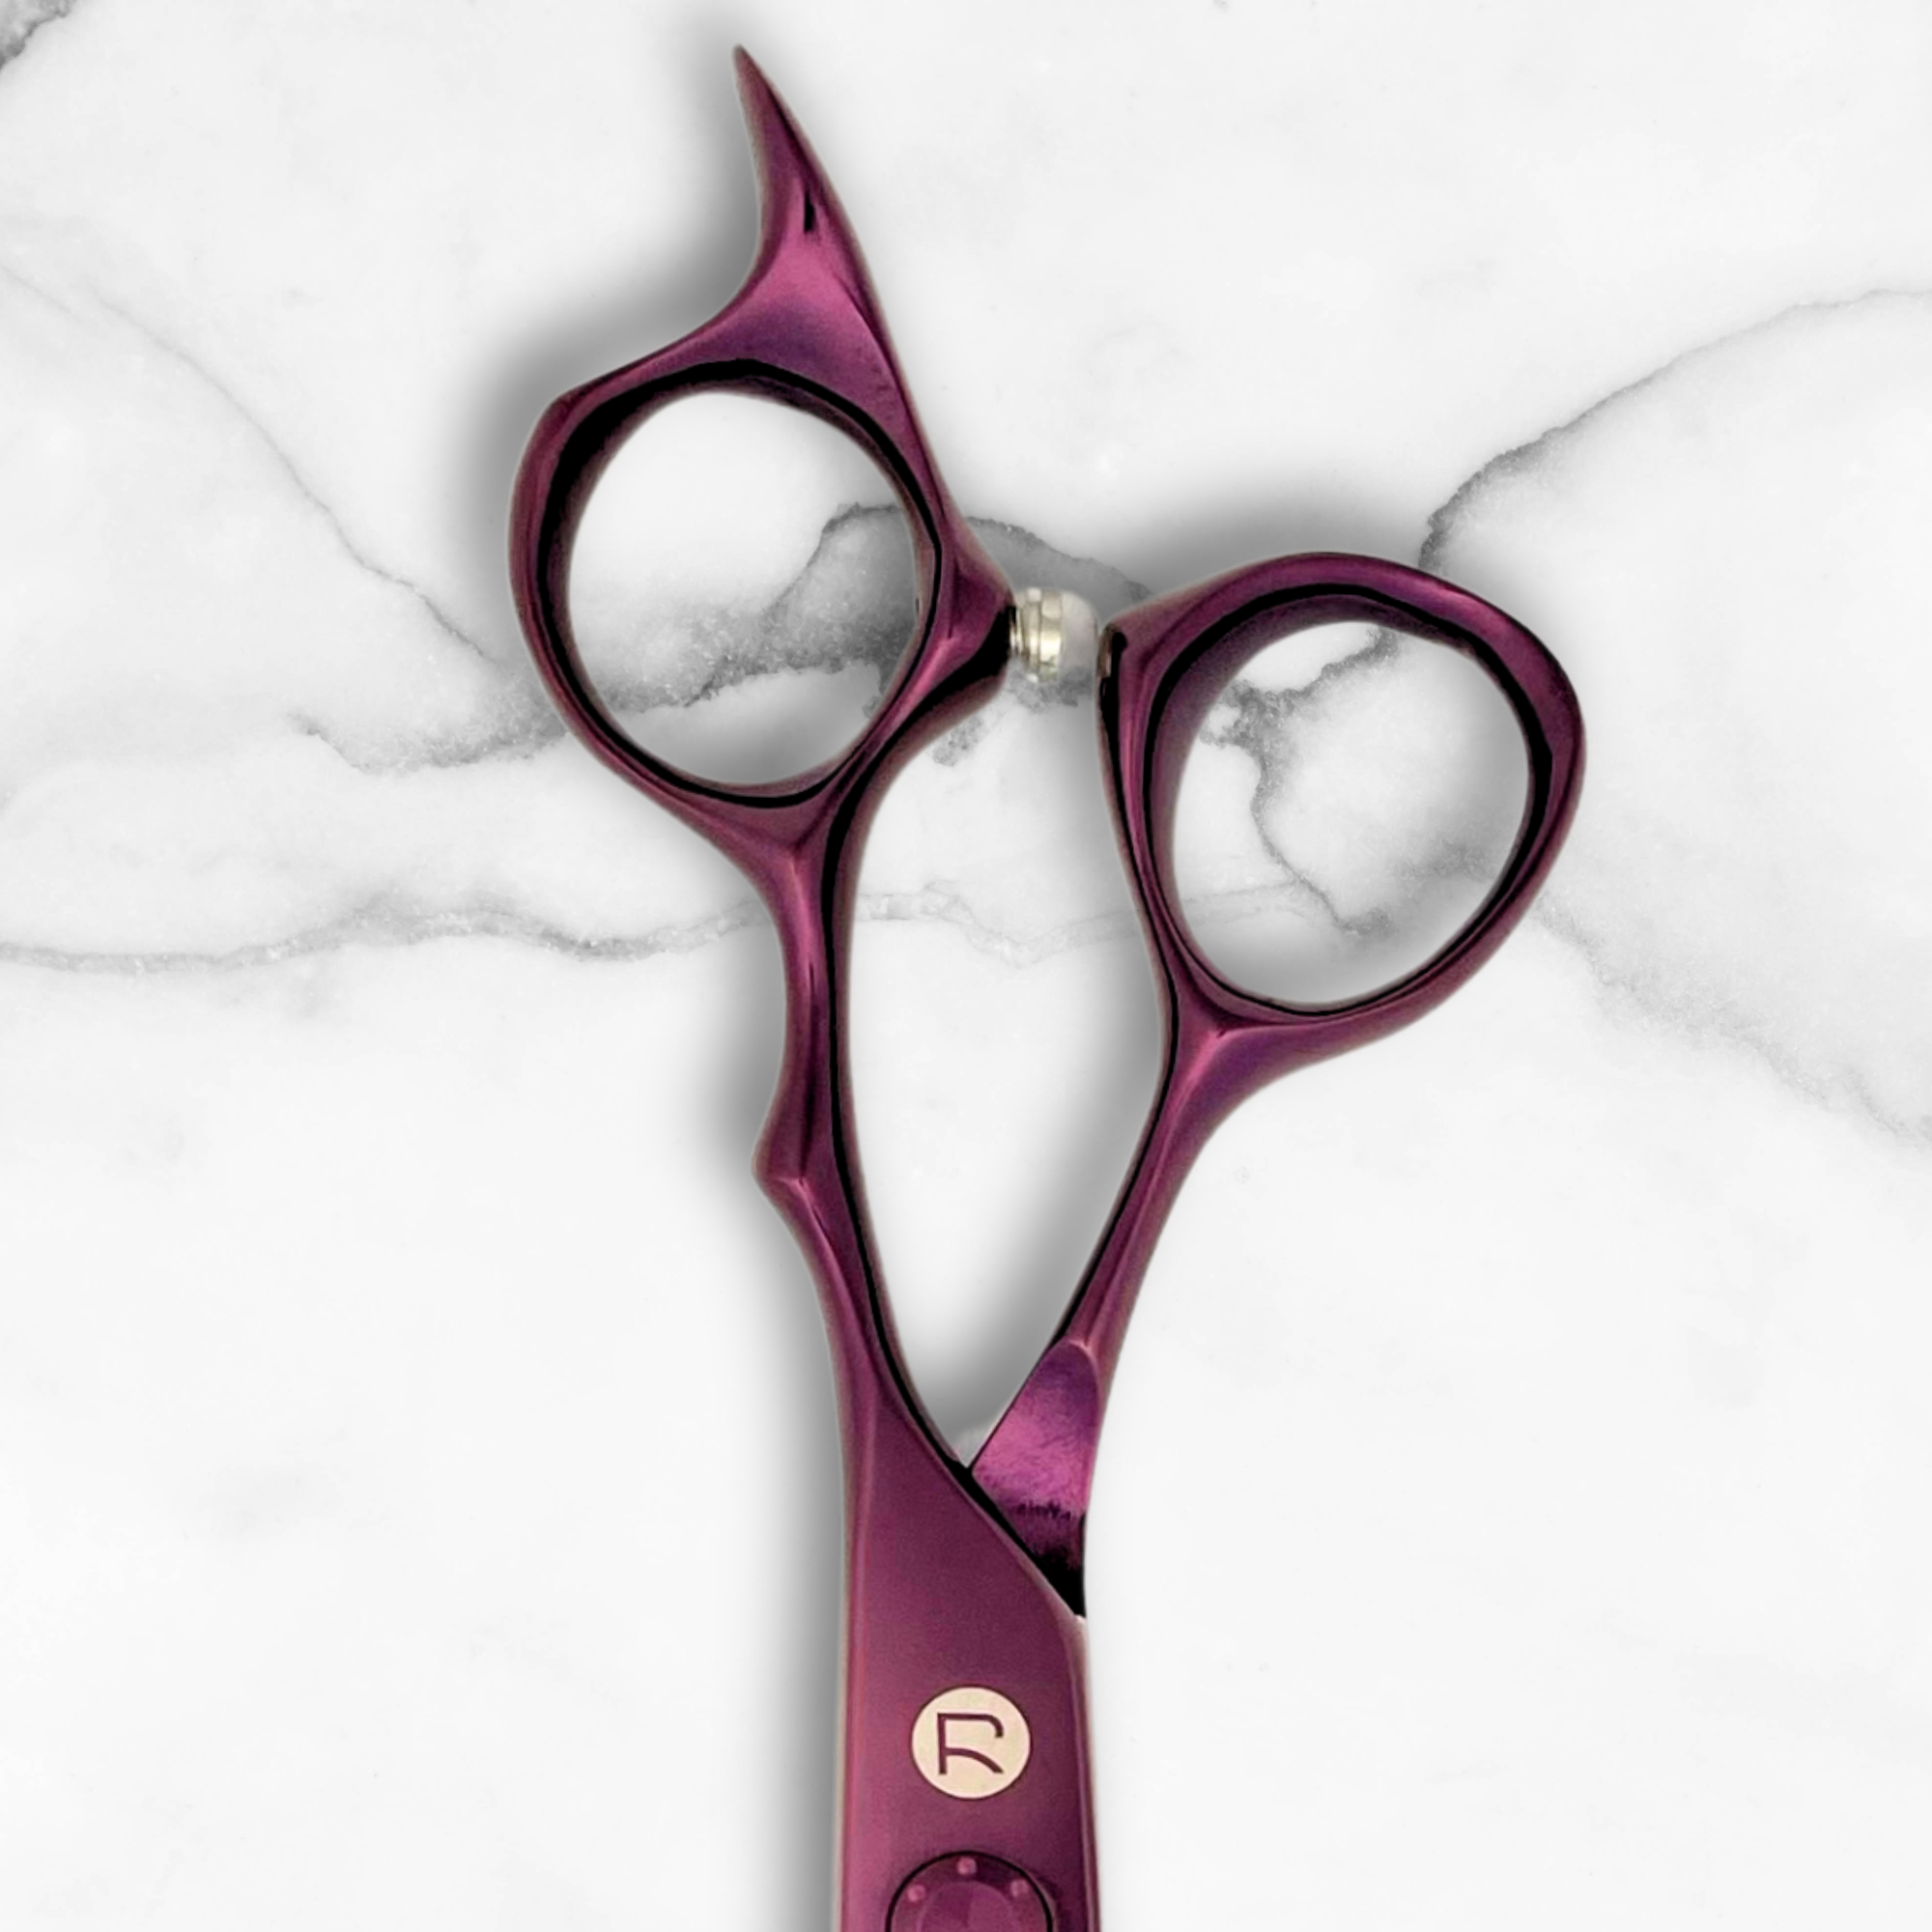
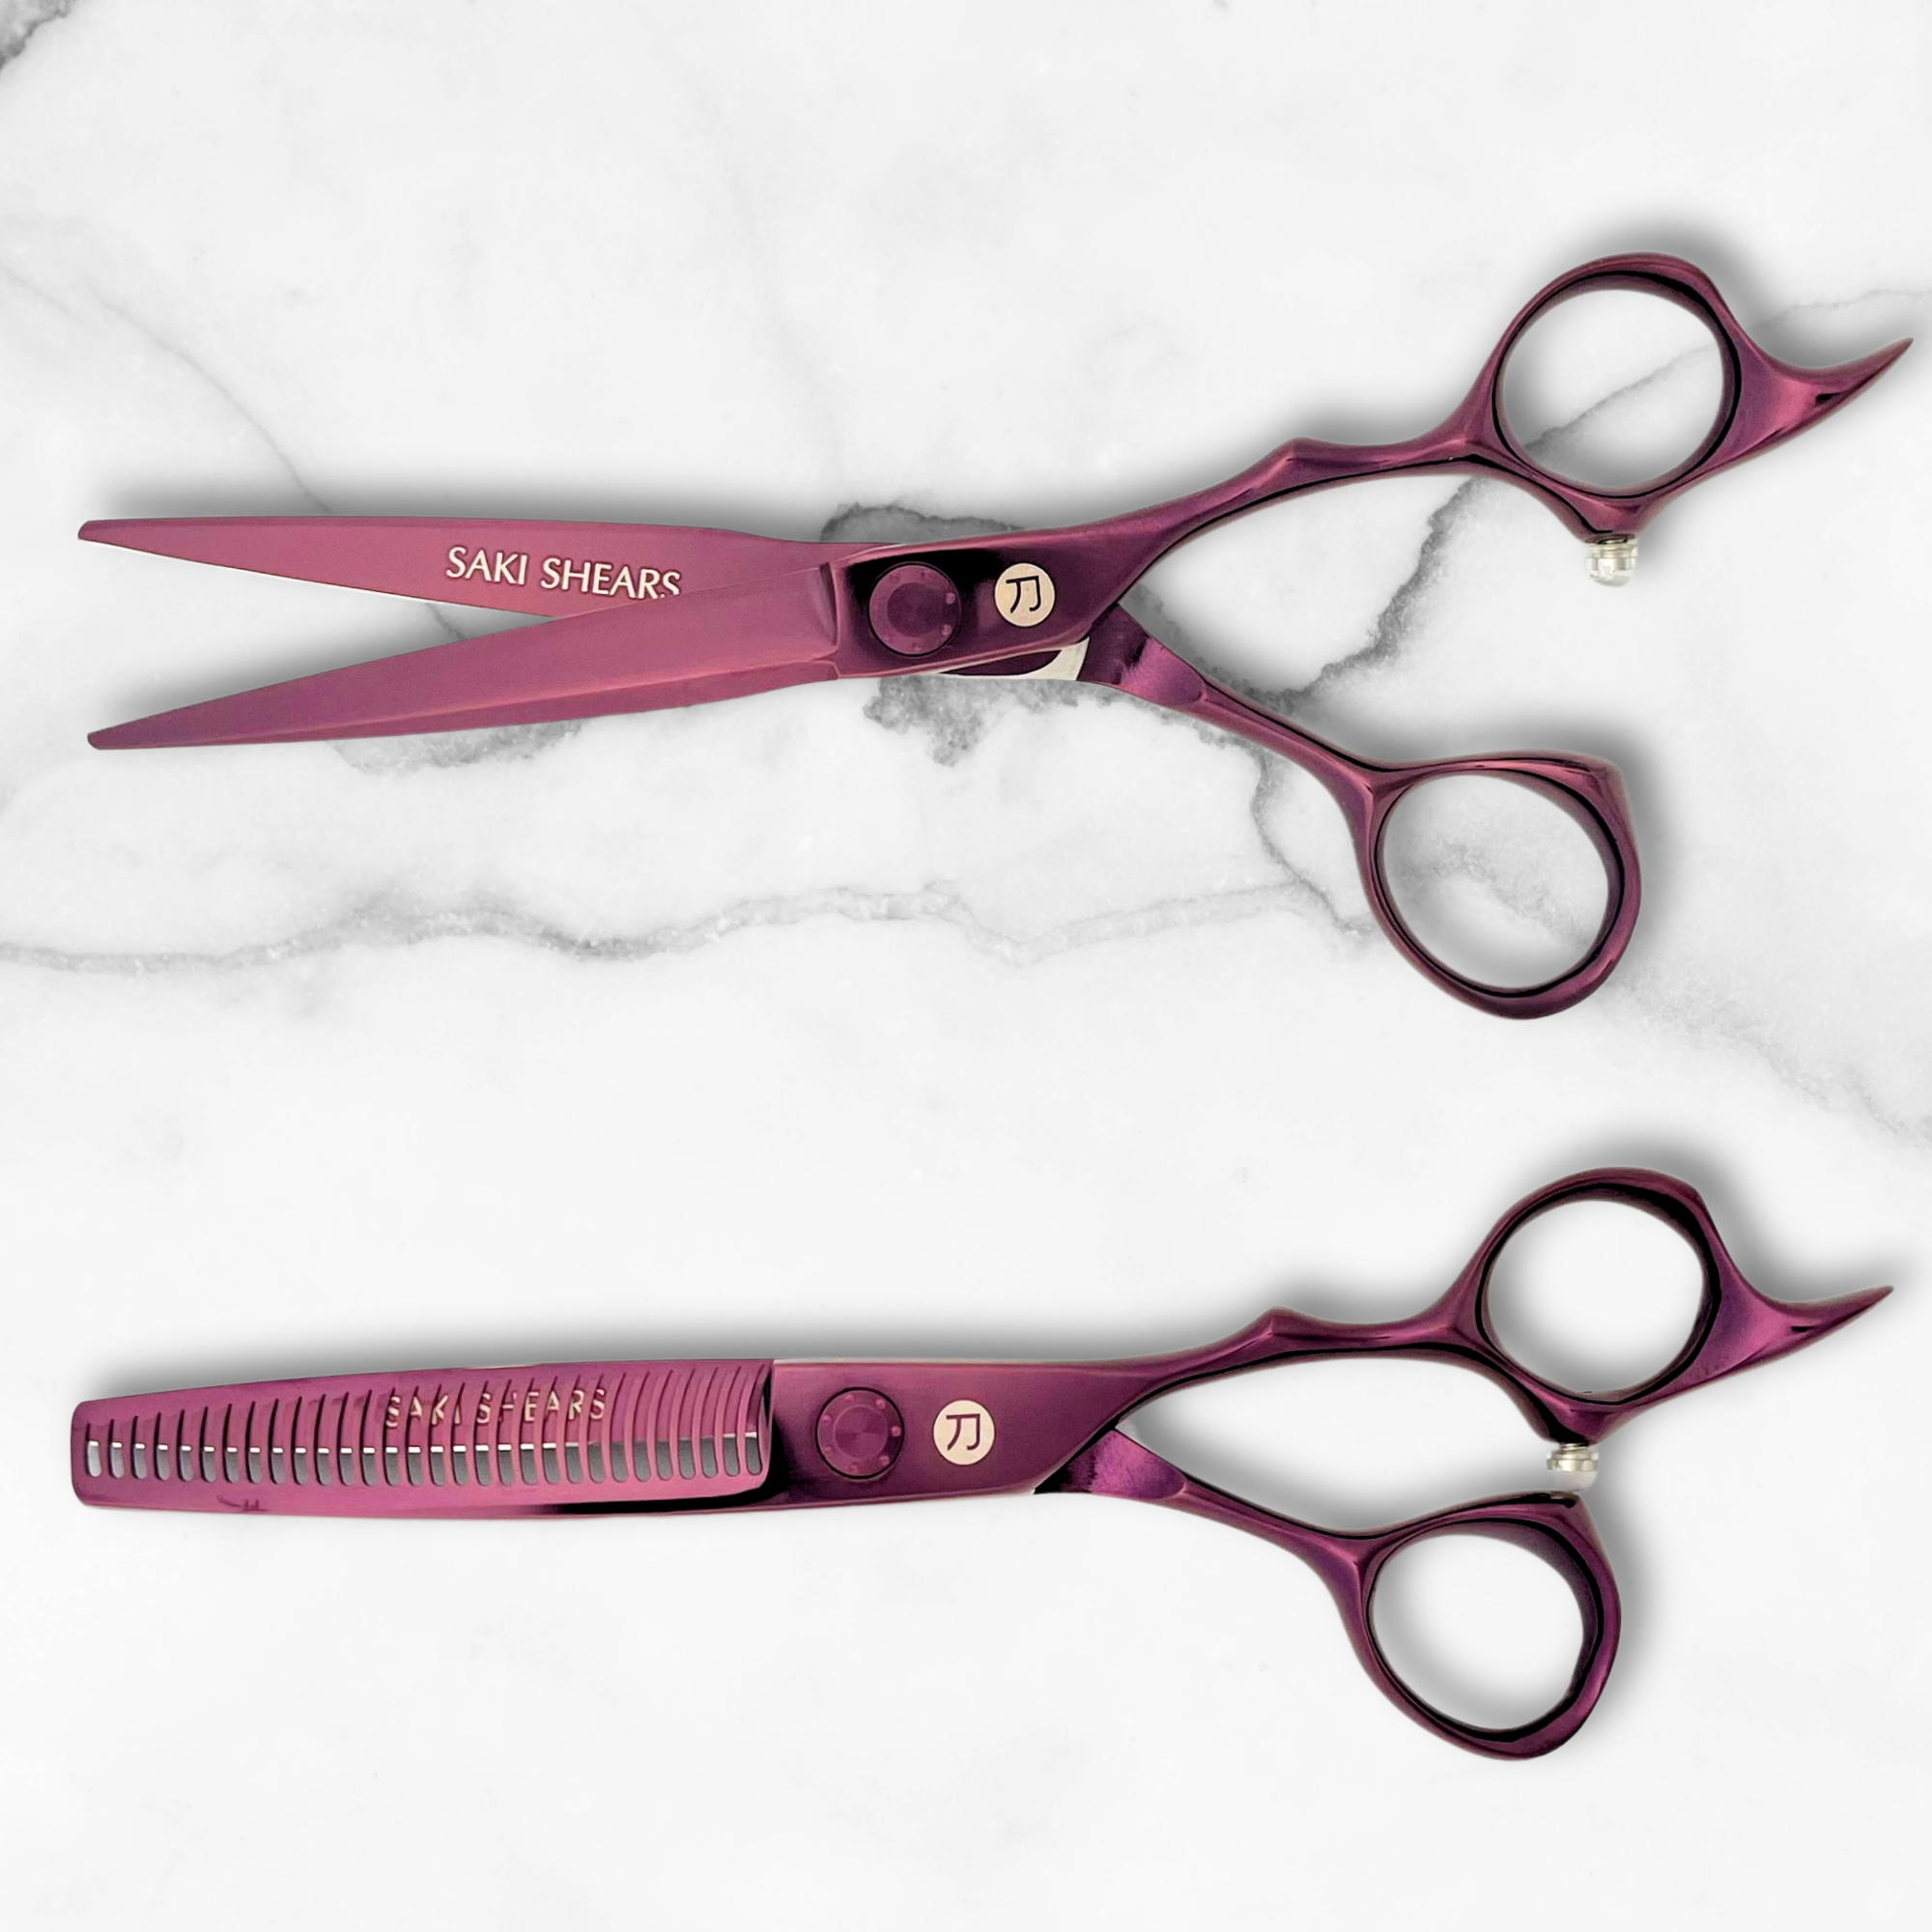
Look for ergonomic handles like crane or offset styles to reduce hand strain during long sessions. High-end options, such as Saki Shears' Signature Series ($386-$489), feature Japanese Molybdenum Alloy blades and crane handles, making them perfect for precision layering.
Basic Cutting Tools
In addition to shears, a few other tools are essential:
Texturizing Tools
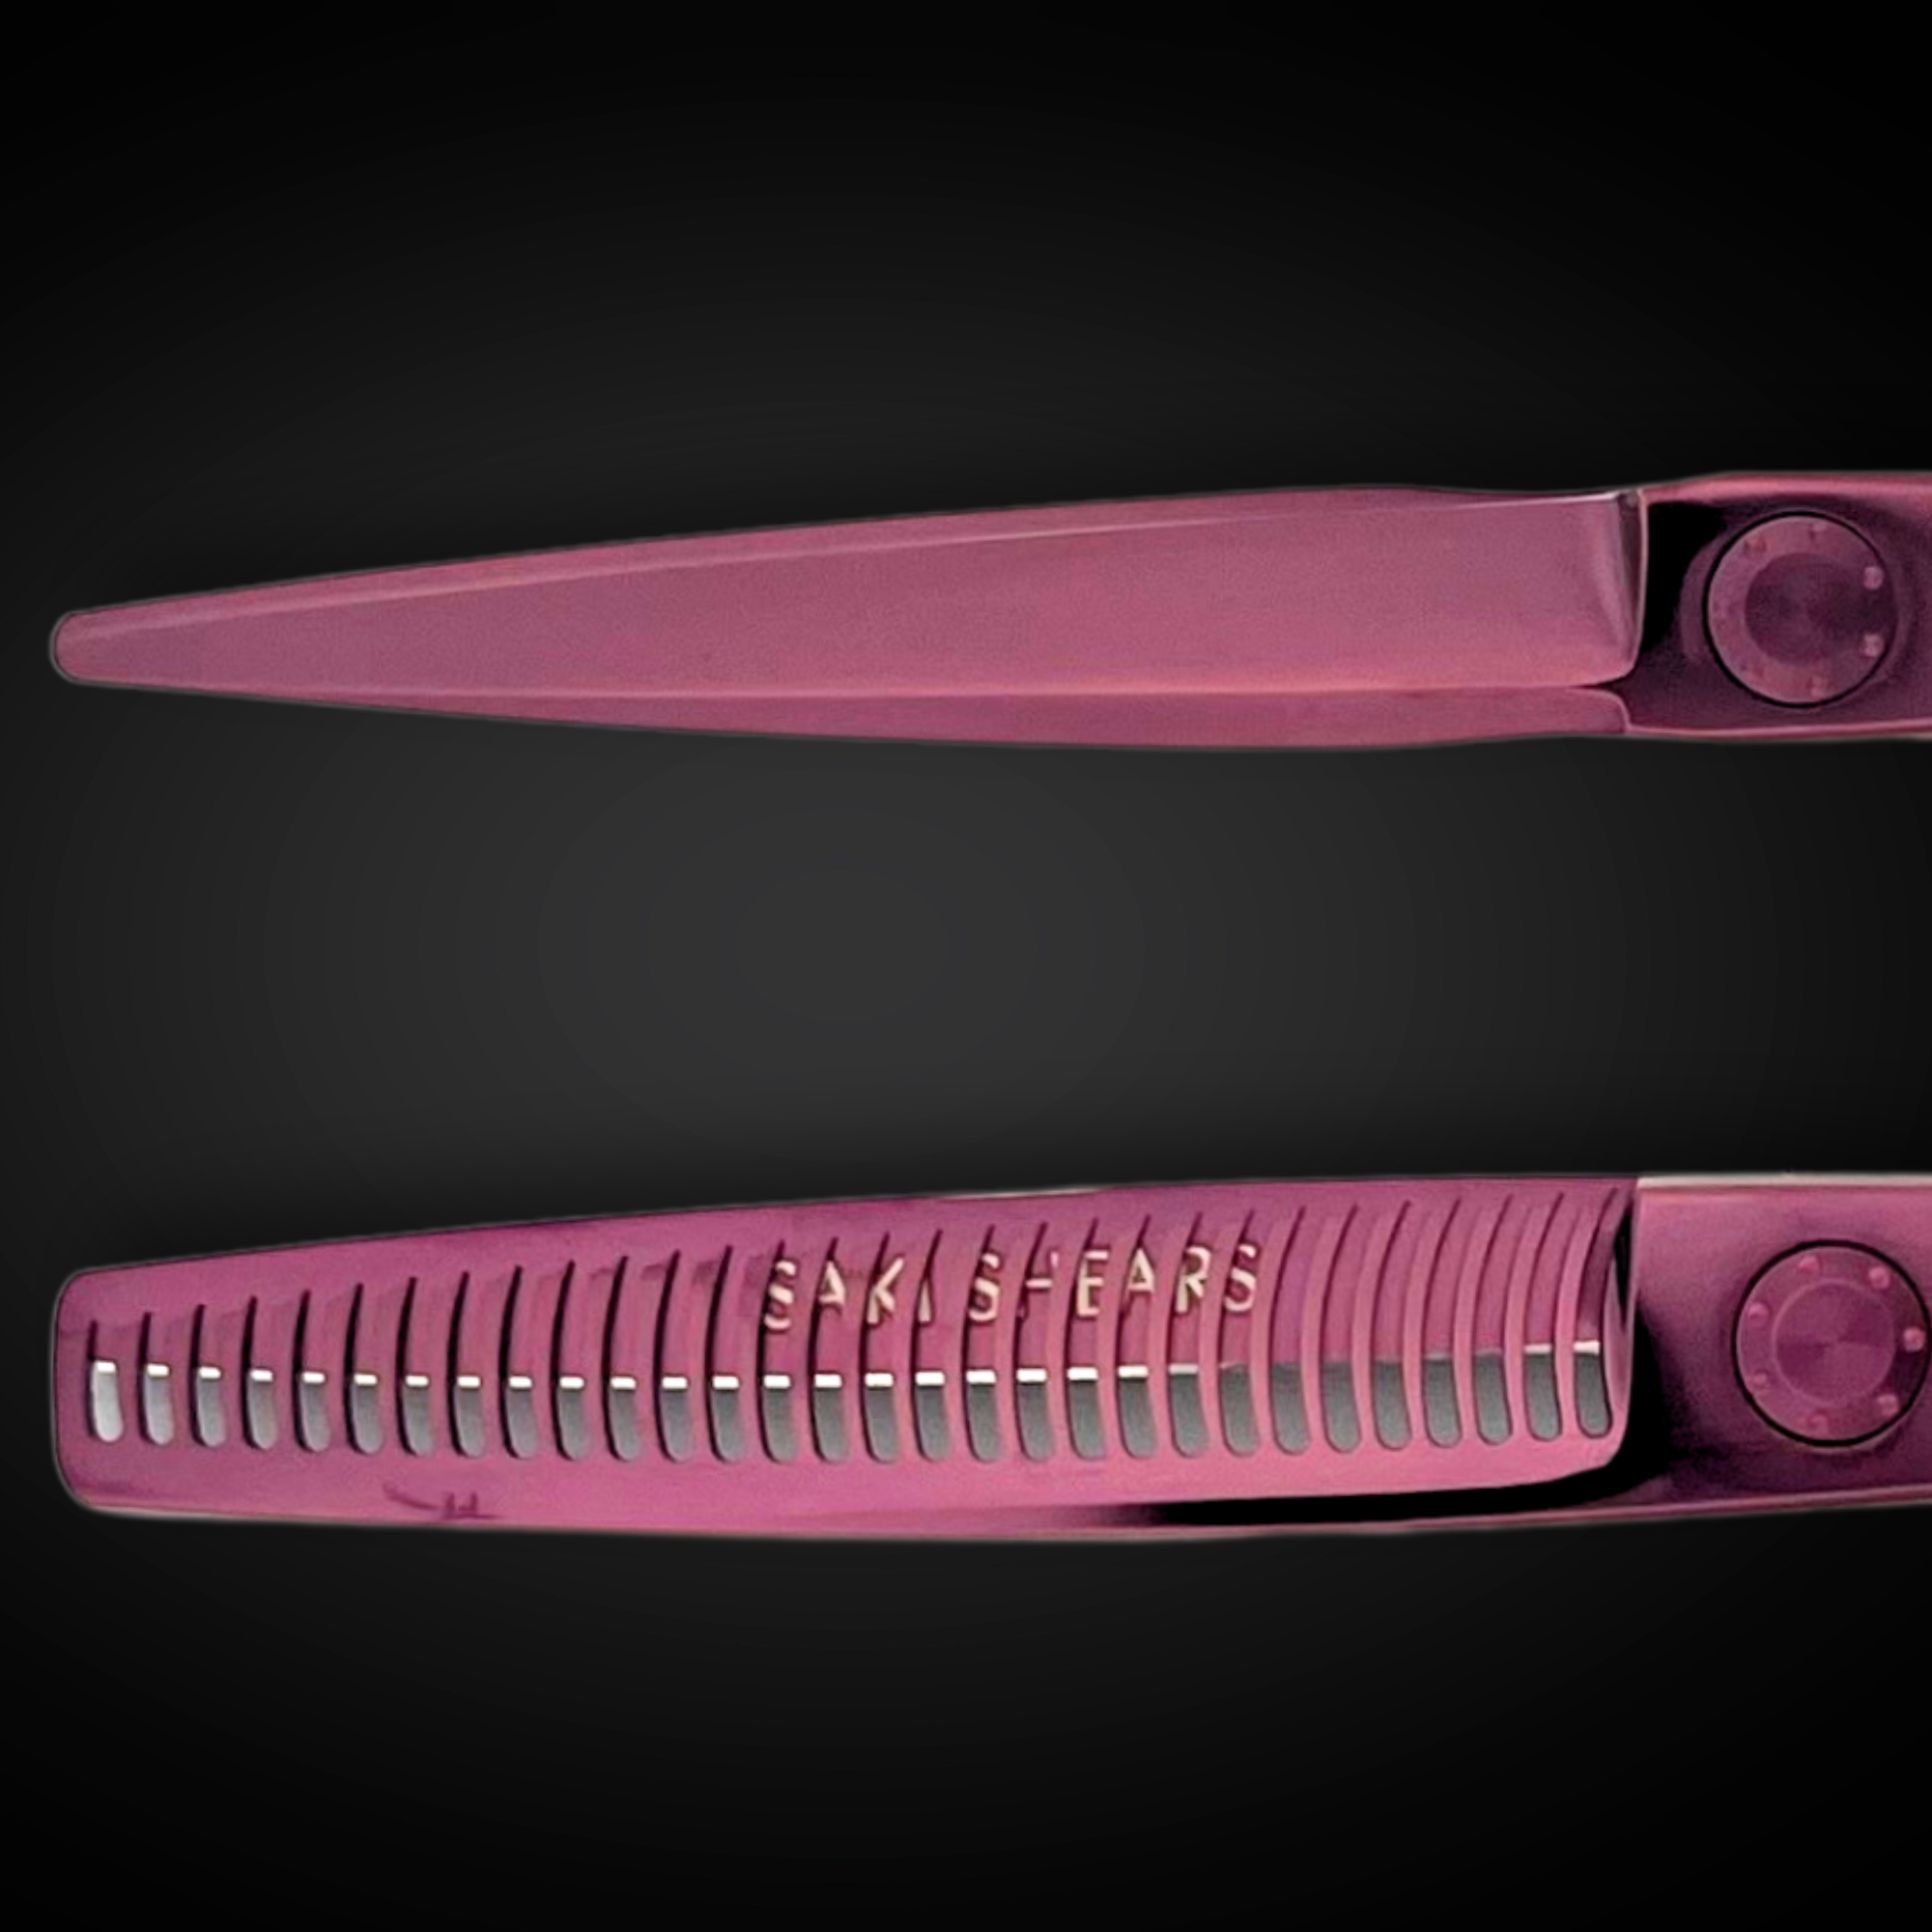
The Olivia Garden TextureCut collection, including the TC-21B blending shear with 21 teeth, is designed for soft, natural-looking layers. For varied texturing effects, use both thinning and texturizing shears:
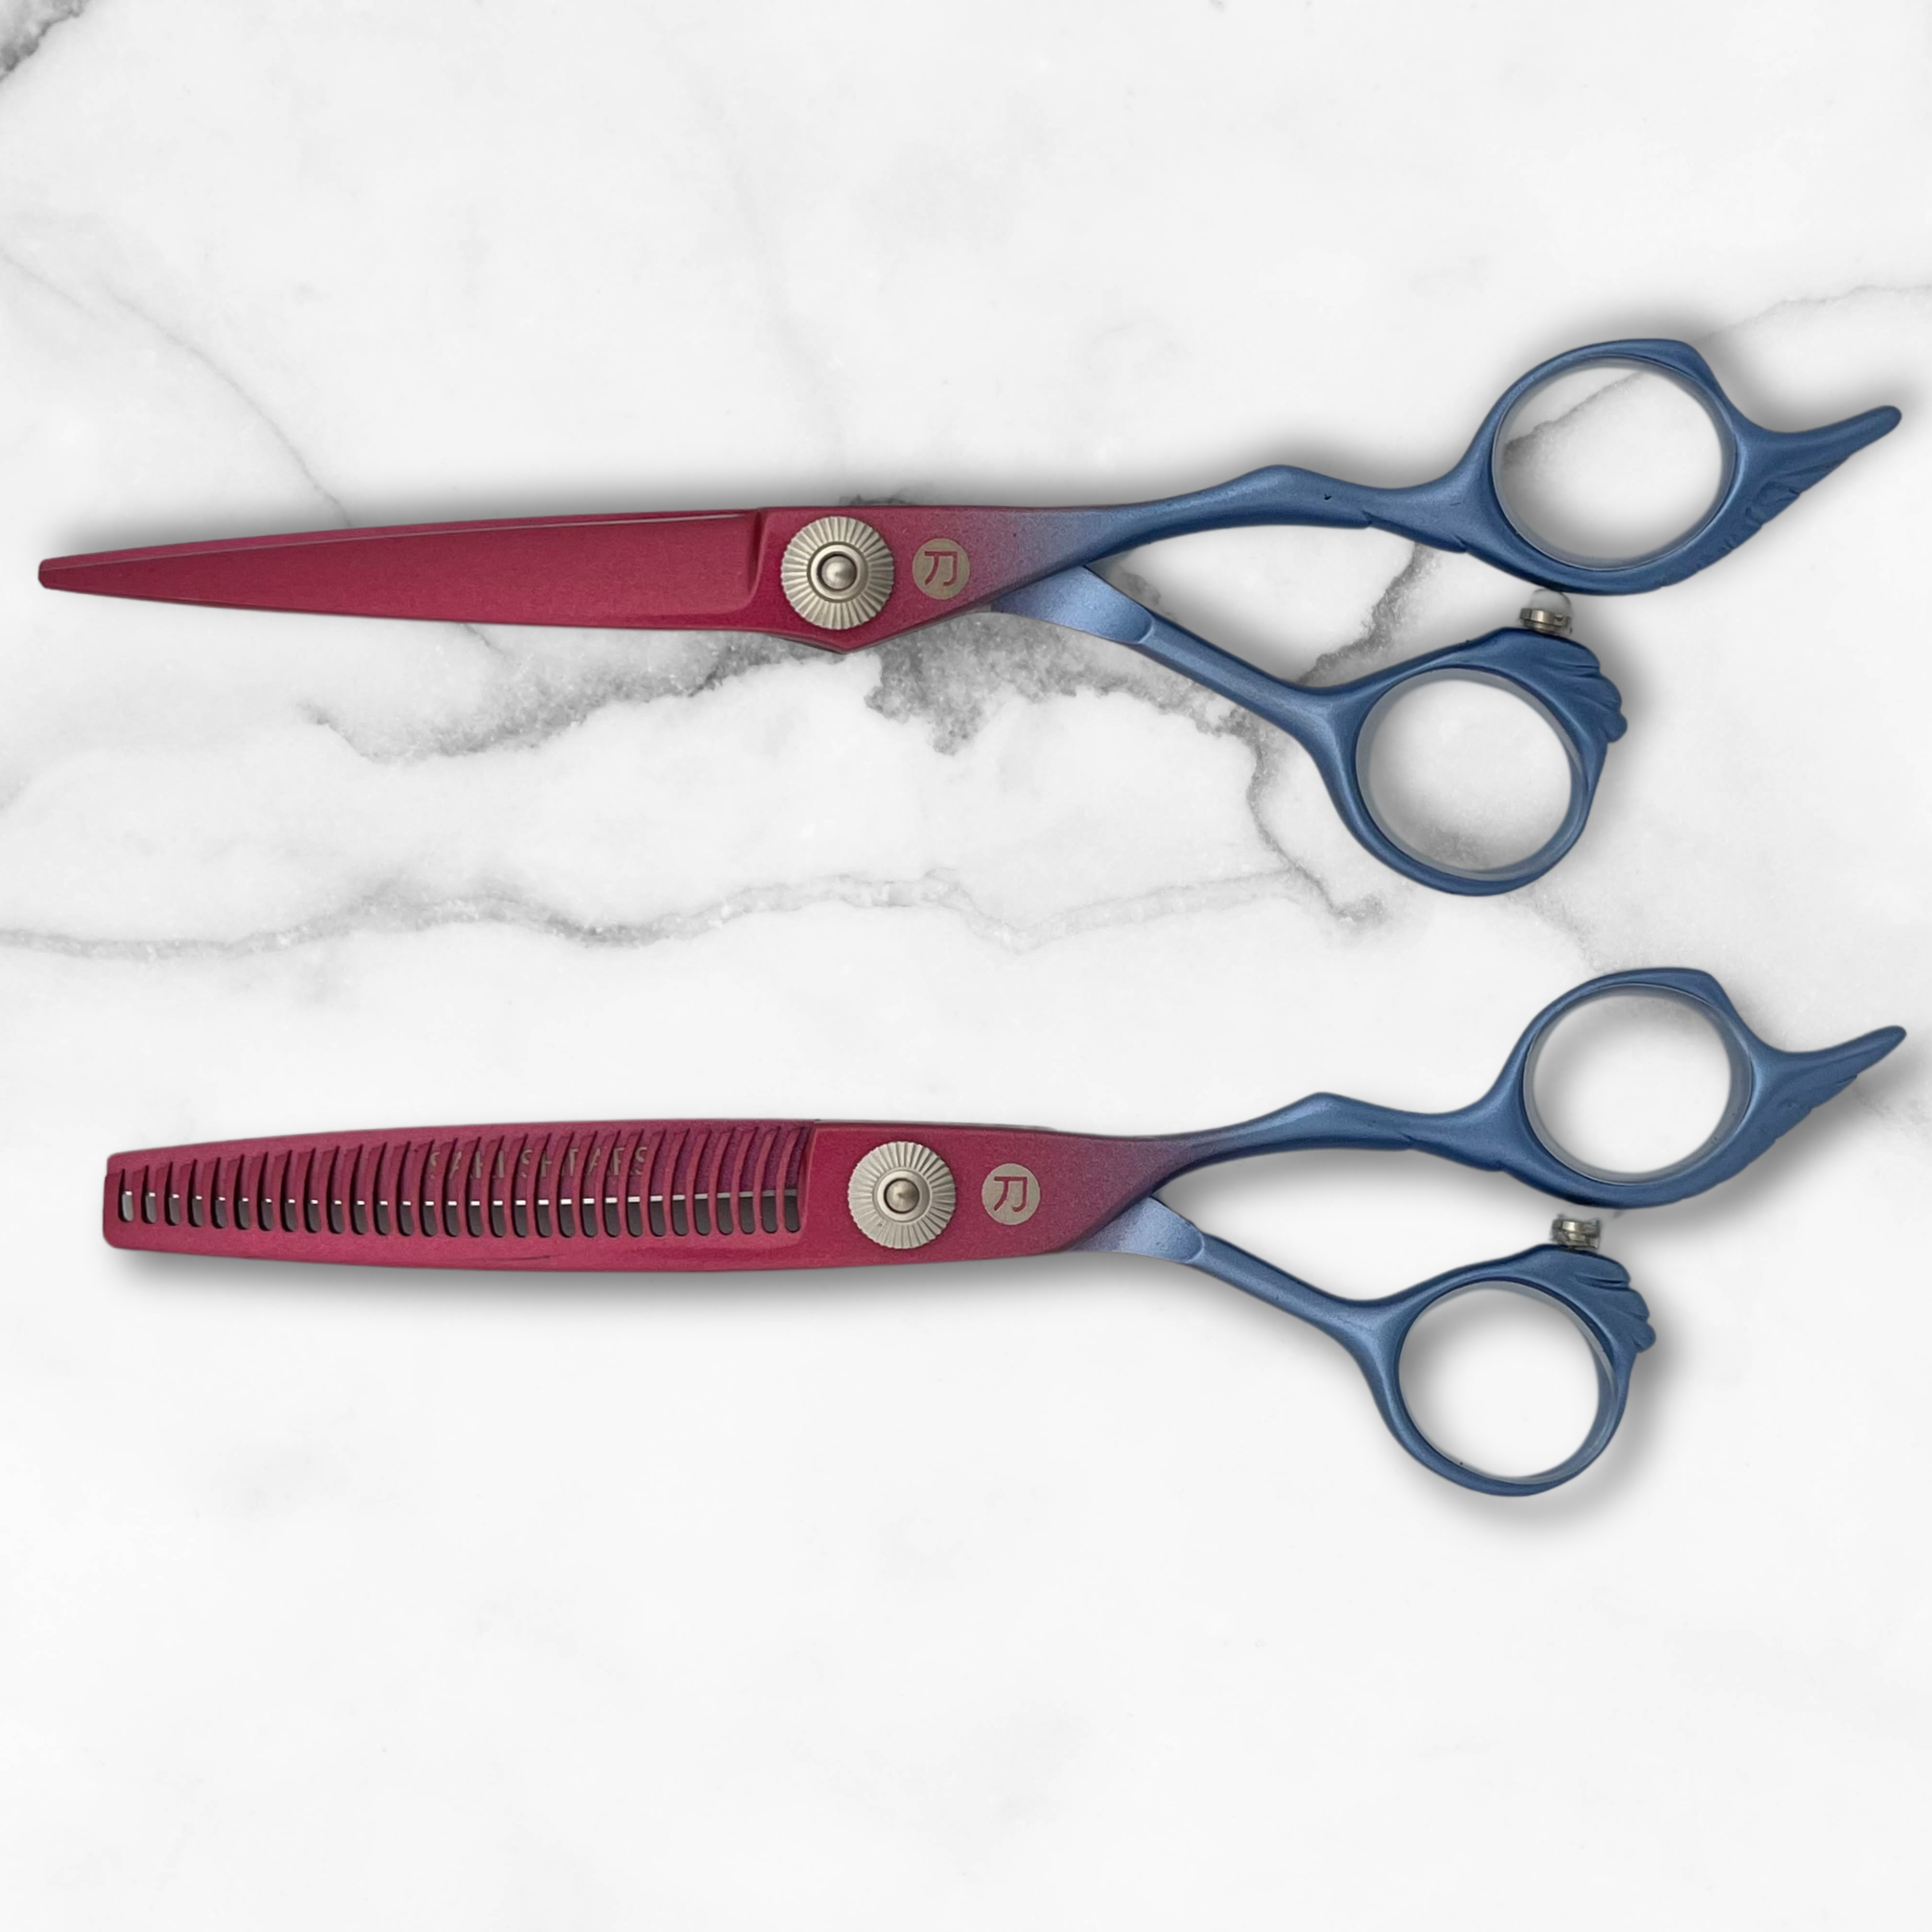
- Thinning Shears: With 20-40 teeth, these are ideal for removing extra weight and blending harsh lines.
- Texturizing Shears: Featuring 5-14 wider-spaced teeth, these help create volume and movement.
Other must-have accessories include:
- Professional cutting combs with wide and fine teeth
- Sectioning clips for precise parting
- A quality razor tool for softening edges
- A professional blow dryer with a concentrator attachment
- A spray bottle to keep hair evenly damp
To extend the life of your tools, clean and oil your shears daily, and get them professionally serviced every 6-12 months. With proper care, a good pair of shears can last 15 years or more.
Pre-Cut Steps
Meeting with Clients
A good consultation sets the stage for flawless soft layers. Start by discussing the client's goals while evaluating their hair texture and condition. Lorna Pollack, a seasoned hairstylist, highlights:
"Understanding what your hair does naturally - and what you're willing to do to maintain a desired look - is of the utmost importance."
When planning layered cuts, consider these factors:
| Face Shape | Suggested Layer Placement | Purpose |
|---|---|---|
| Oval | Flexible placement | Preserves natural balance |
| Round | Longer layers starting at the chin | Adds a lengthening effect |
| Square | Soft, face-framing layers | Reduces angular appearance |
| Heart | Mid-length to long layers | Balances a wider forehead |
| Diamond | Short to medium layers | Adds fullness at the cheekbones |
| Oblong | Side-swept layers | Provides width and balance |
Take note of the client's daily routine, hair texture, product usage, past chemical treatments, and lifestyle preferences.
Once the consultation is complete, proceed to prepare and section the hair for cutting.
Hair Prep and Sectioning
After the consultation, proper preparation is key. Here's how to get started:
- Work with damp hair for straight or wavy textures.
- Cut curly hair while it’s fully wet.
- Style coily hair in its natural state before cutting.
Divide the hair into clean sections by following these steps:
- Part the hair down the middle from the front to the nape.
- Create a horizontal parting across the head.
- Clip each section securely.
- Detangle using a wide-tooth comb.
For thicker hair, break each quadrant into smaller subsections to maintain control and ensure precision. Keep a spray bottle with filtered water handy to keep the hair moist.
Before making the first cut, check for even tension and symmetry. This organized approach ensures balanced, flattering layers that suit your client's natural features, styling preferences, and maintenance habits.
Cutting Methods
Starting Guide Lines
To begin, section off a clean, horizontal 1-inch strand at the nape of the neck. This will act as your guide. Cut a 1-inch (2.5 cm) section at the base to establish a straight, even starting point.
Jenny Balding, Co-owner of Cutler Arlo Salon, shares:
"Personalization is one of the best elements of a layered haircut, and your stylist can customize your layers to complement your face shape and structure."
Keep the tension consistent and hold the hair at a 90-degree angle while cutting the initial guidelines. Afterward, adjust the angle of the hair to create the desired layering effect.
Hair Elevation
The angle at which you hold the hair determines the shape and length of the layers:
| Elevation Angle | Result | Best For |
|---|---|---|
| Below 45° | Longer layers with minimal graduation | Fine hair, preserving length |
| 45° | Medium layers with balanced graduation | Most hair types |
| Above 45° | Shorter layers with dramatic graduation | Thick hair, adding crown volume |
For the crown area, use diamond sectioning by dividing it into four triangles. This approach provides precise control over layer lengths and ensures smooth transitions from shorter to longer sections. Once the elevation is set, refine the edges using blending techniques.
Blending Techniques
Blending layers is key to achieving a polished look. Use specialized texturizing tools and techniques for smooth transitions:
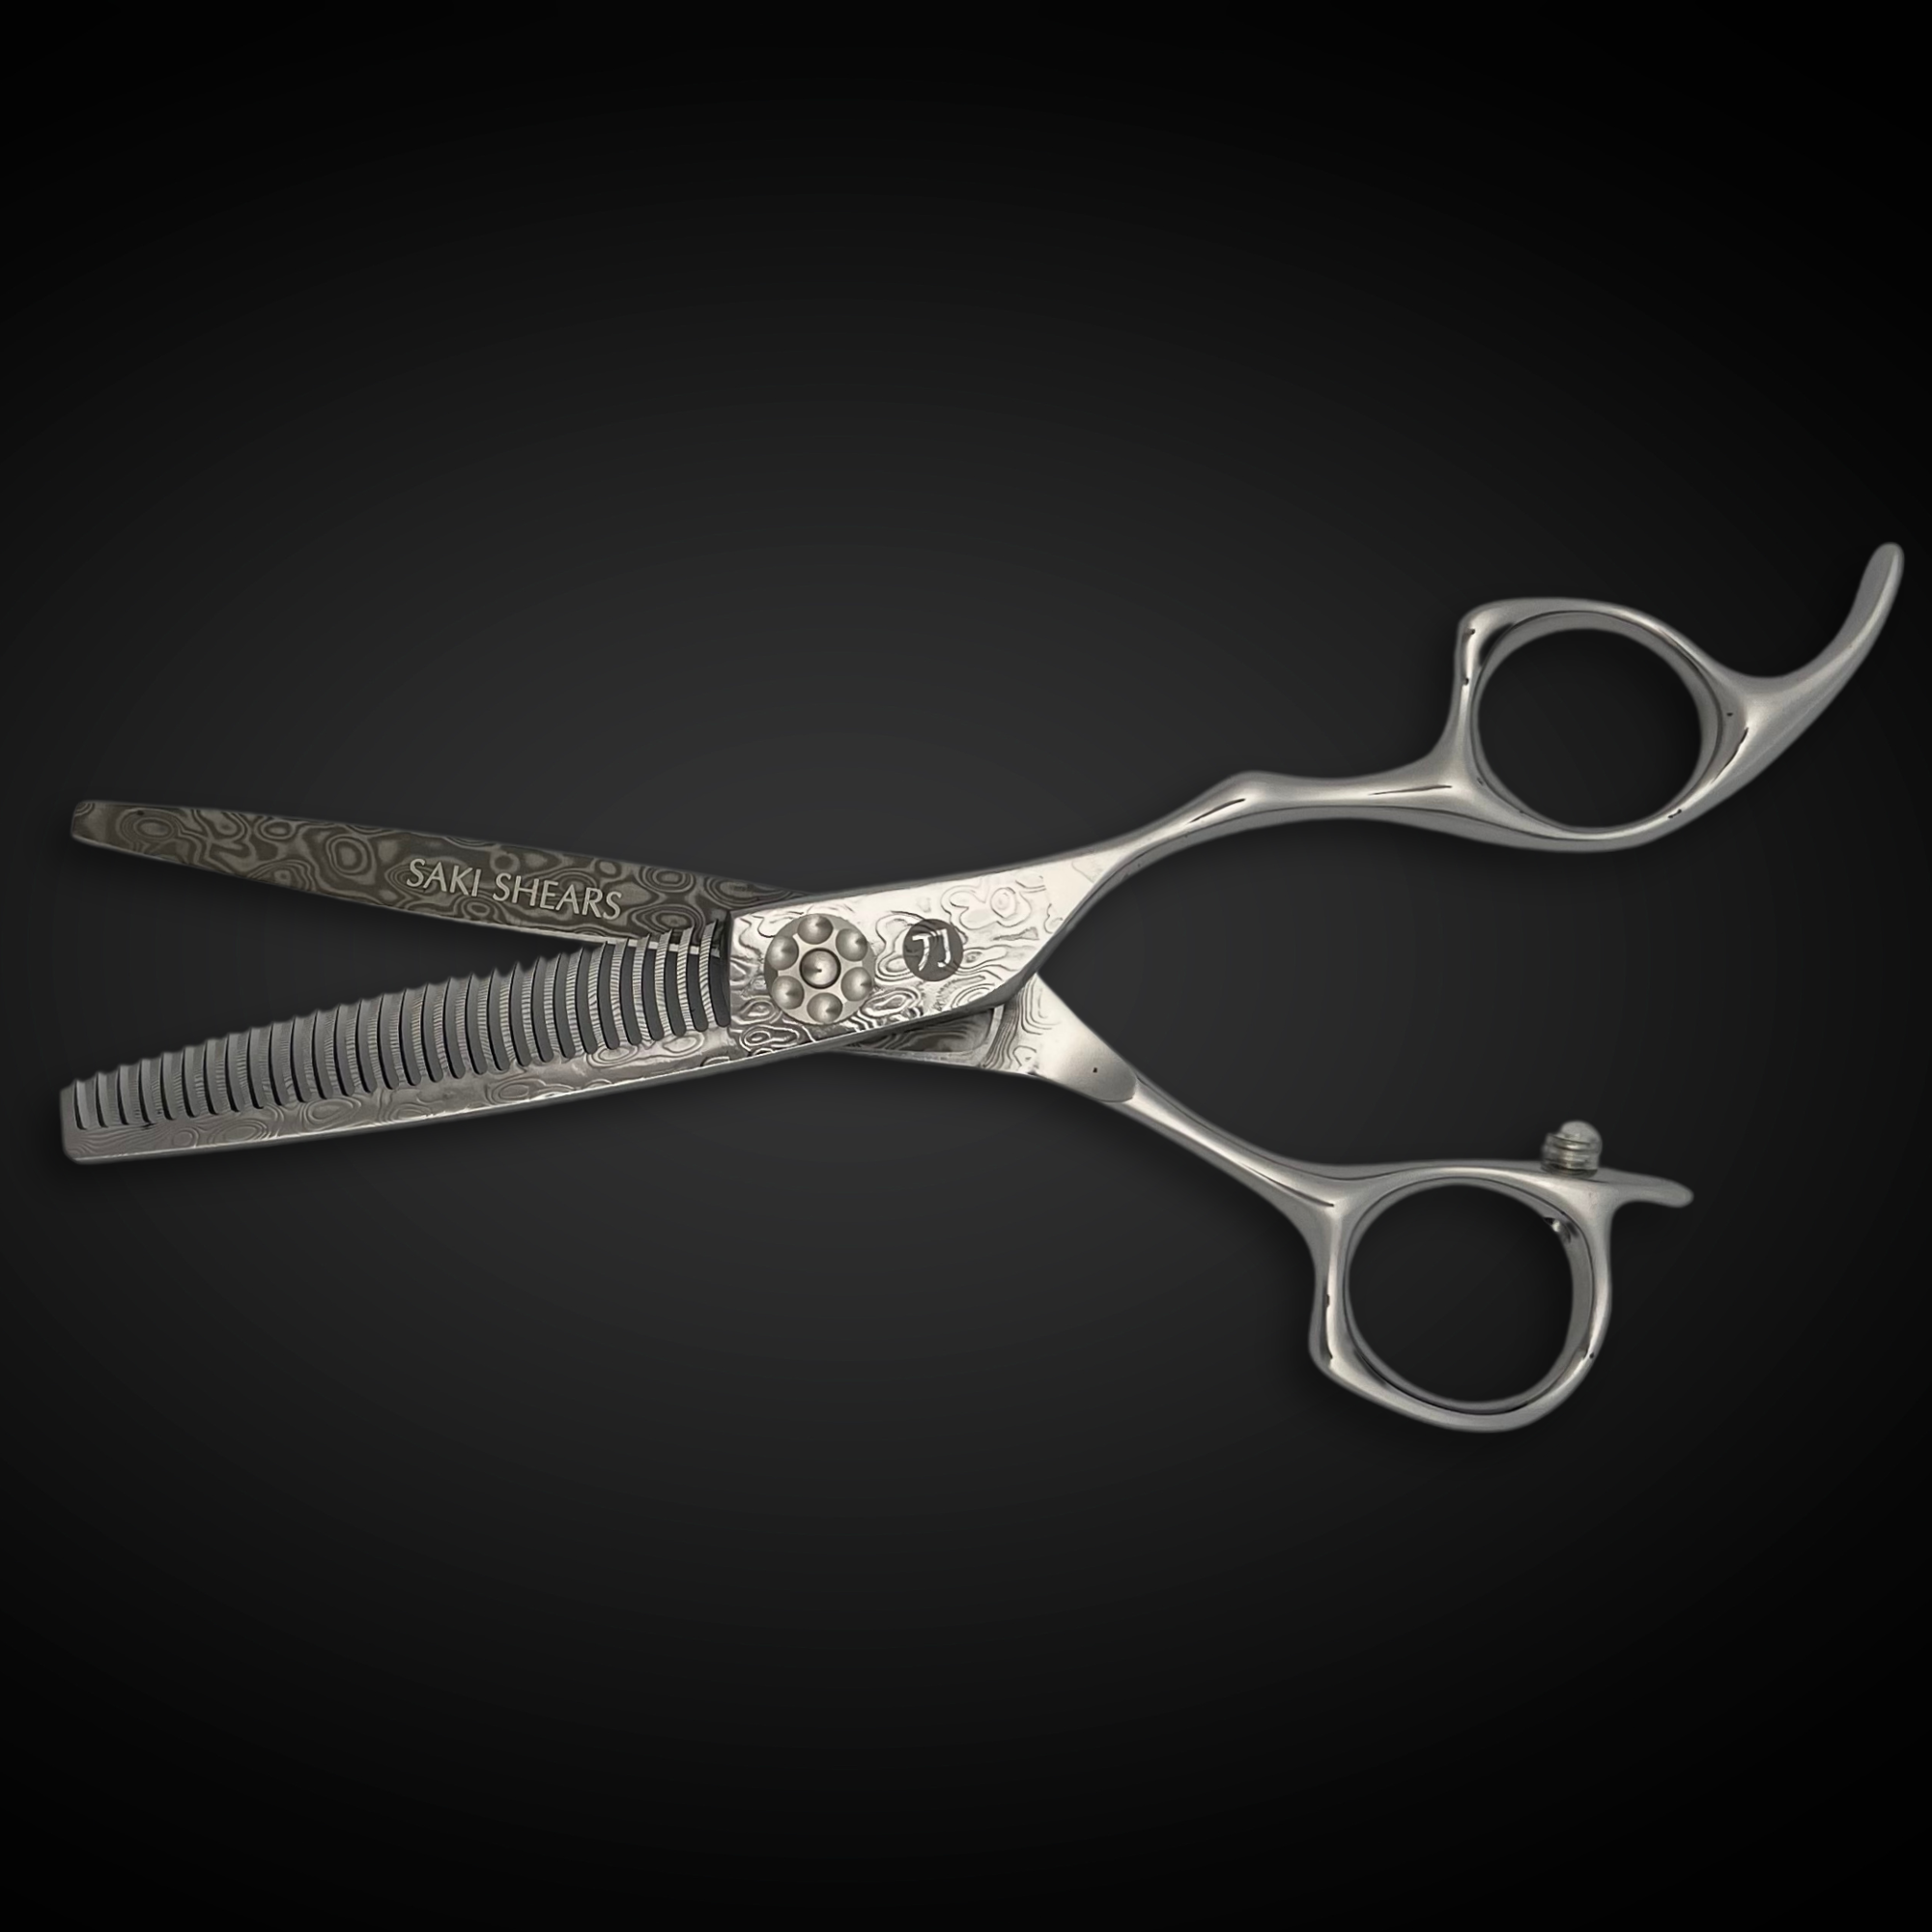
- Point Cutting: Hold the hair between your fingers and cut at a 45° angle. Tools like Saki's 30-tooth texturizing shears are ideal for creating soft, blended layers.
- Slide Cutting: Glide the shears down elevated sections with steady pressure. This method is great for thinning out bulk while keeping a natural finish.
- Razor Techniques: Use a razor at a shallow angle with light, controlled strokes. This technique is perfect for adding movement and reducing weight without creating harsh lines.
Cassie Siskovic, Moroccanoil's Artistic Director, explains:
"A layered haircut can completely change your look by adding movement and shape to a style."
When blending, pay close attention to the transition areas between layers. Use longer shears (6.5" to 7") for better control over extended layers. For fine or curly hair, leave more bulk at the ends to avoid a thin appearance.
Styling and Care
Blow-Dry Methods
For thin, straight hair, start by brushing out any tangles, apply a heat protectant, and blow-dry upside down using a round brush to add volume. If you have thick or curly hair, divide it into sections using clips, then dry each layer starting from the bottom. Use a round brush to shape the ends as you go. Stick to medium heat to avoid unnecessary damage. Finish by using hair products that suit your hair type to lock in your style and keep your cut looking fresh.
Hair Products
Choose products that match your hair type for the best results:
- Fine hair: Opt for a volumizing spray or lightweight mousse.
- Medium hair: Try a sea salt spray or texturizing cream.
- Thick hair: Use a smoothing serum or curl-defining cream.
When applying smoothing serum, focus on the mid-shaft to the ends of your hair. Use just one drop for fine hair, but thicker hair may require a few more drops for proper coverage.
At-Home Care
Keep your layered hairstyle in great shape with these simple tips:
- Wash your hair twice a week with lukewarm water and a hydrating shampoo that contains ingredients like hyaluronic acid or coconut oil.
- Deep condition after every wash or use a nourishing mask once a week.
- Dry your hair gently with a microfiber towel to minimize frizz and breakage.
- Schedule trims every 3–6 months to maintain the shape of your layers.
- Adjust your product routine based on the weather - use anti-frizz products in humid conditions and increase conditioning during dry seasons.
How to Create A Haircut with Long Layers
Summary
Creating soft, layered haircuts requires skilled techniques, high-quality tools, and a tailored approach. Professional stylist Jenny Balding highlights the importance of customization:
"personalization is one of the best elements of a layered haircut, and your stylist can customize your layers to complement your face shape and structure"
Beyond personalization, mastering technique is crucial. Elevation angles play a major role in shaping layers - higher angles result in shorter layers at the crown, while lower angles create longer layers. Precision is key, and using reliable tools like Saki Katana shears, crafted from Japanese 440C stainless steel (59–61 HRC), ensures clean, accurate cuts. Celebrity hairstylist Tom Smith explains:
"layers have exceptional power to change the silhouette of the haircut and can therefore be extremely versatile when creating custom shapes"
Different hair types require different layering approaches. For fine hair, long and subtle layers help retain thickness at the ends. Medium hair benefits from feathered or invisible layers for added movement, while thick hair can handle more dramatic layering techniques. Reversible blending shears are ideal for creating smooth transitions.
Proper tool maintenance is also essential. High-quality shears should be sharpened every 6–12 months. This upkeep ensures you can consistently deliver the natural, seamless layers that clients love.