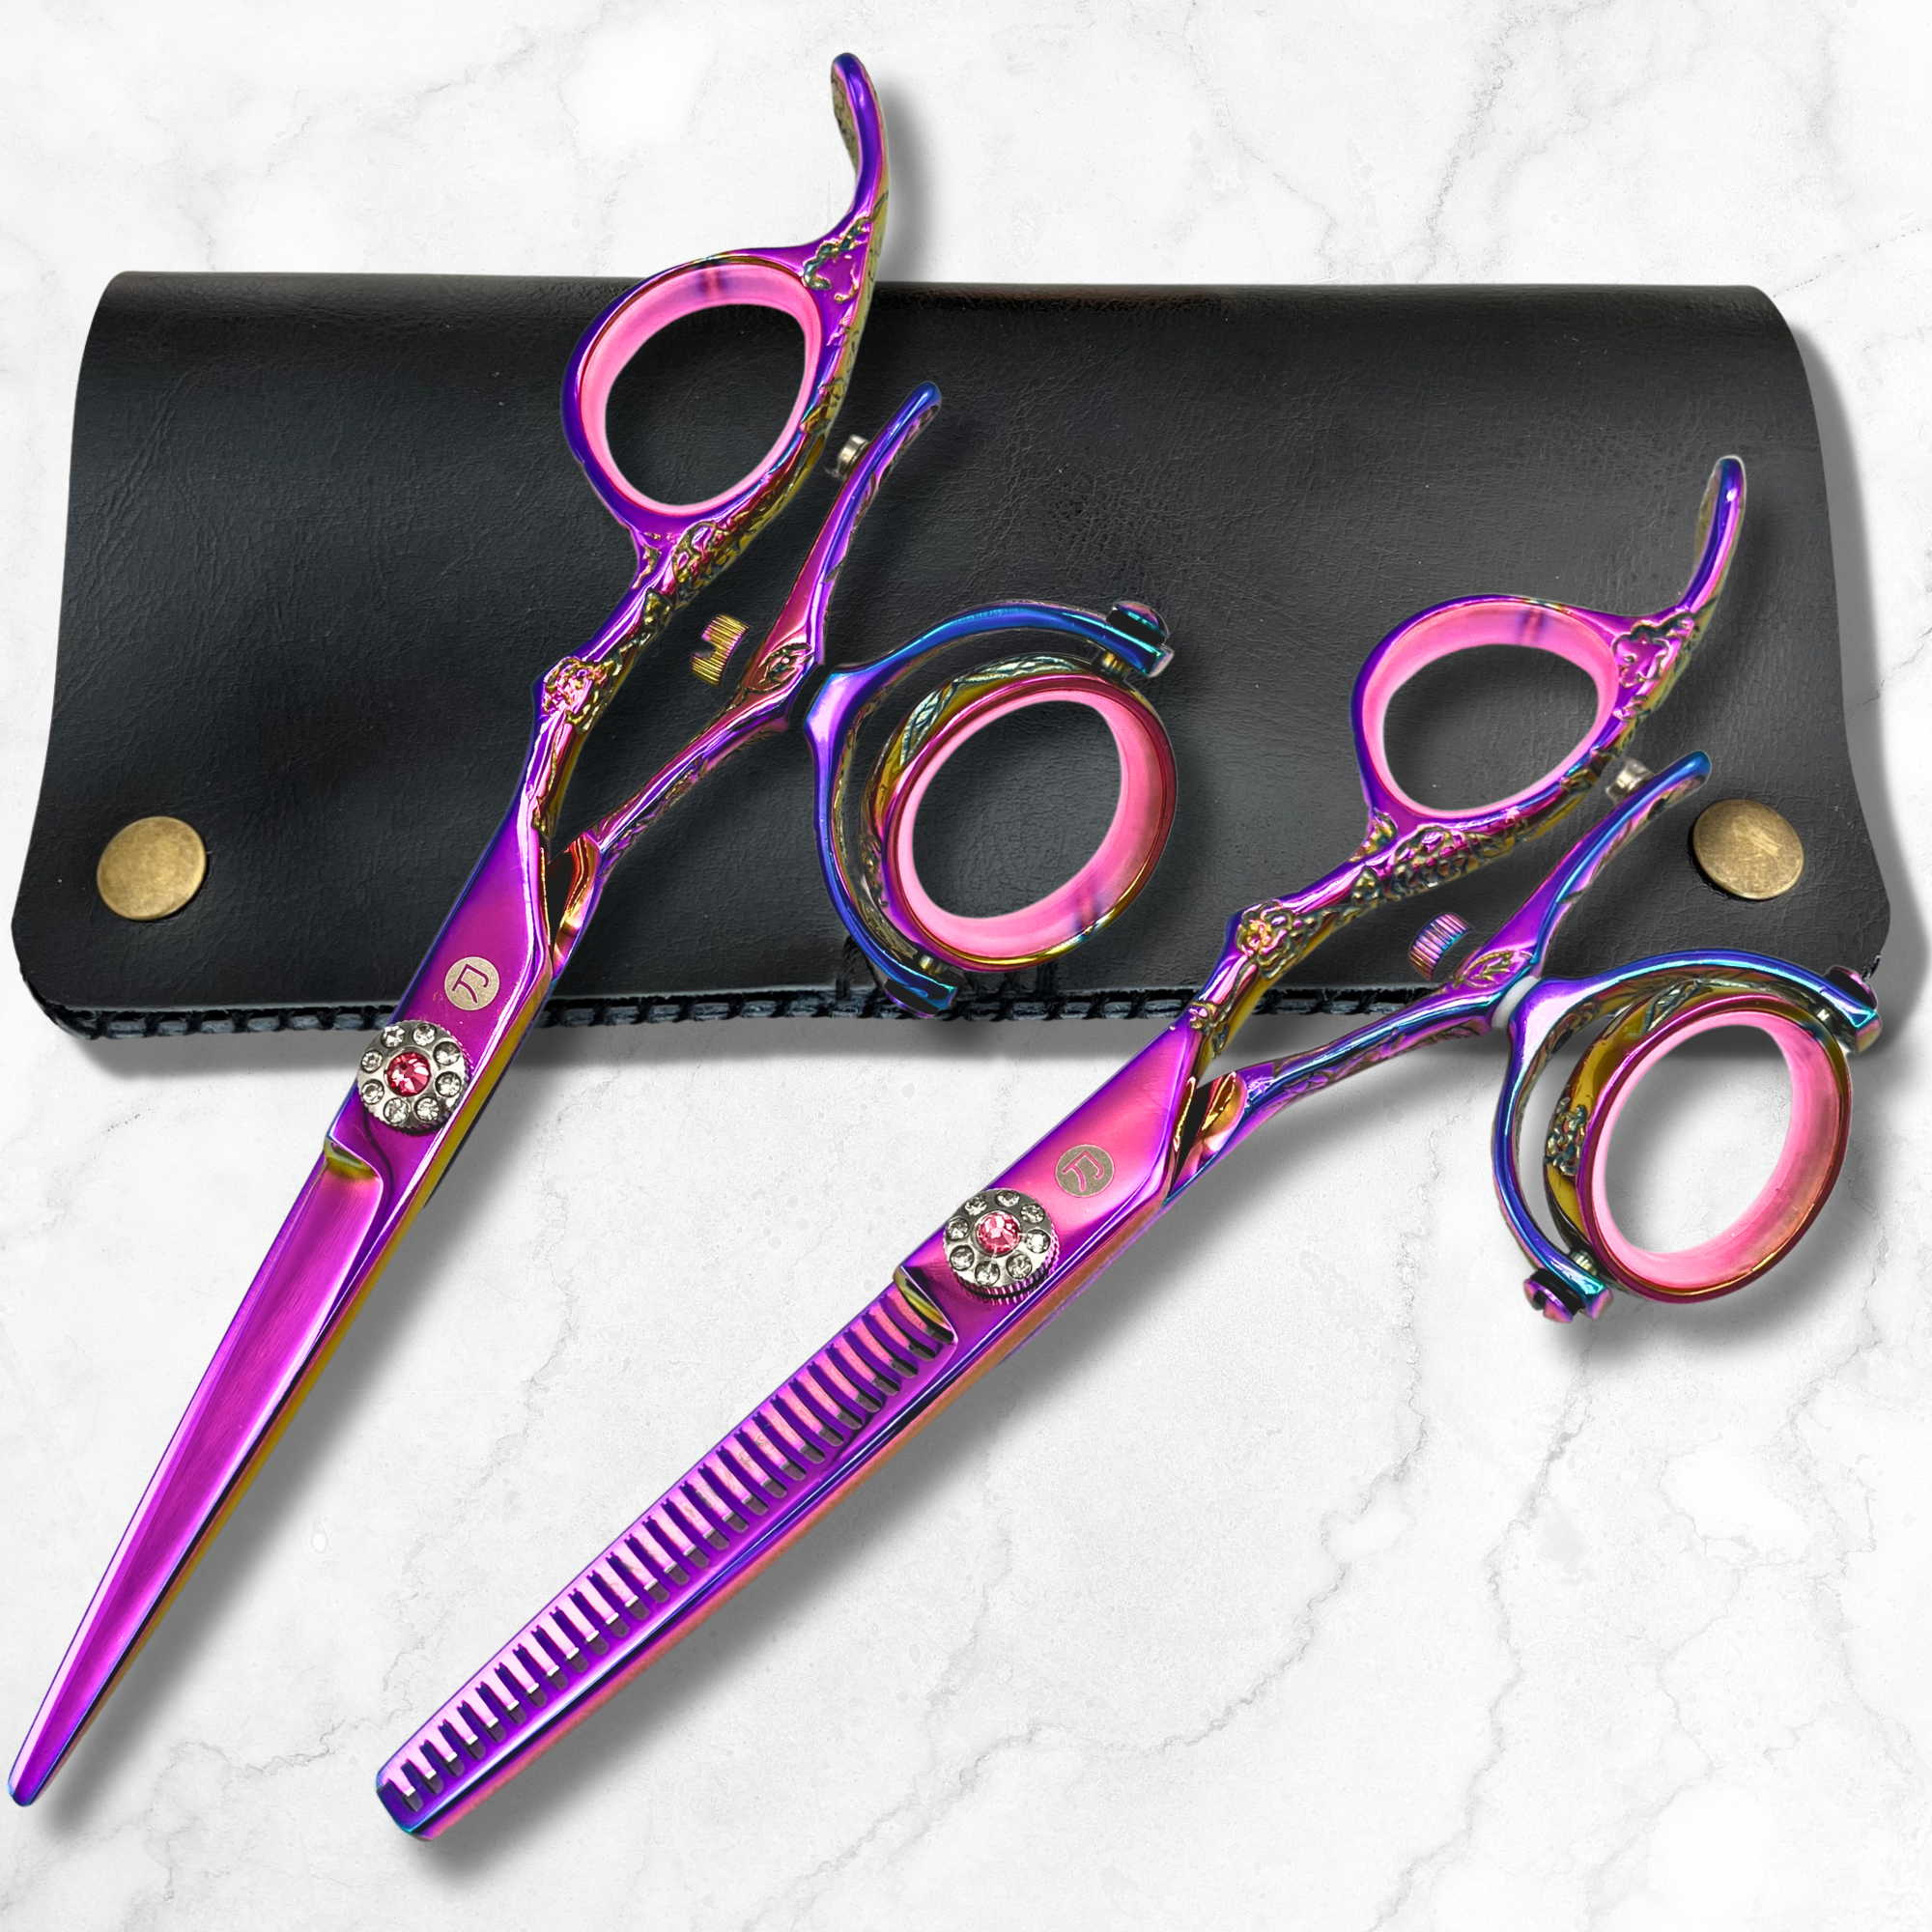
Crafting the Perfect Pixie Cut: Techniques and Recommended Saki Shears for Stylists
Want to master the art of pixie cuts? Here's everything you need to know:
- Key Techniques: Use vertical cuts for structure, point cutting for softness, and texturizing for movement. Adjust these based on face shape for a perfect fit.
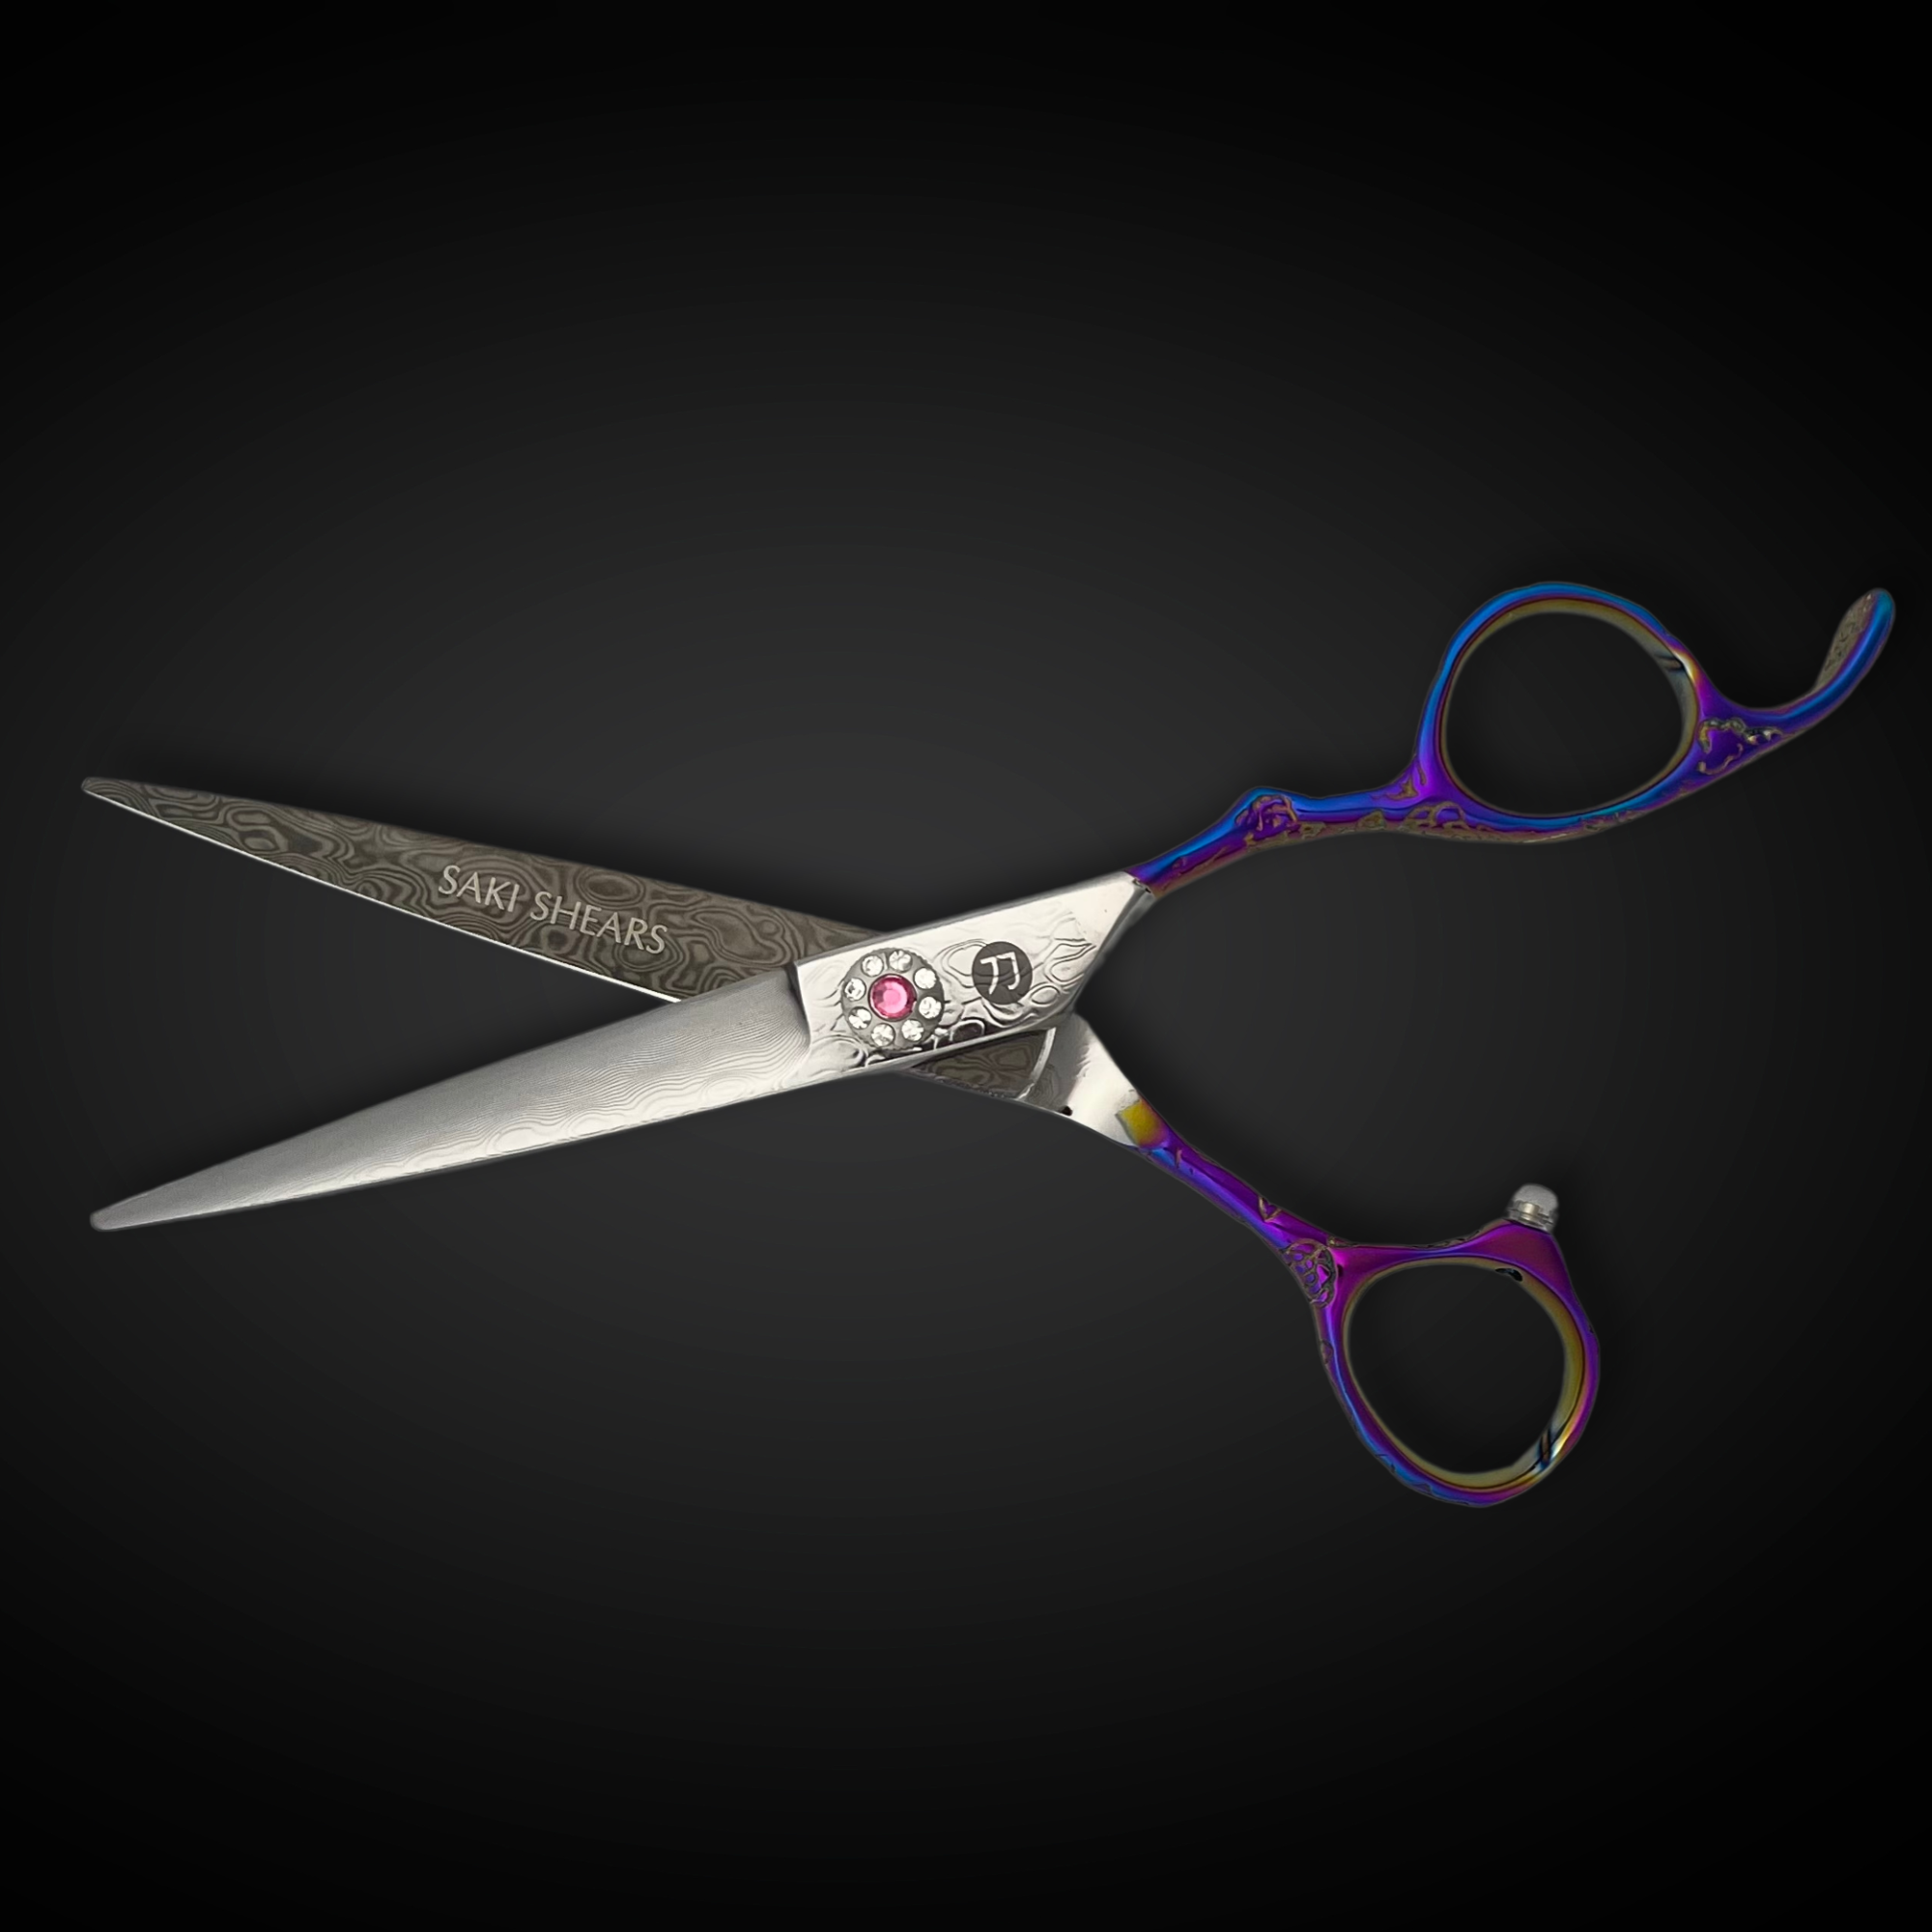
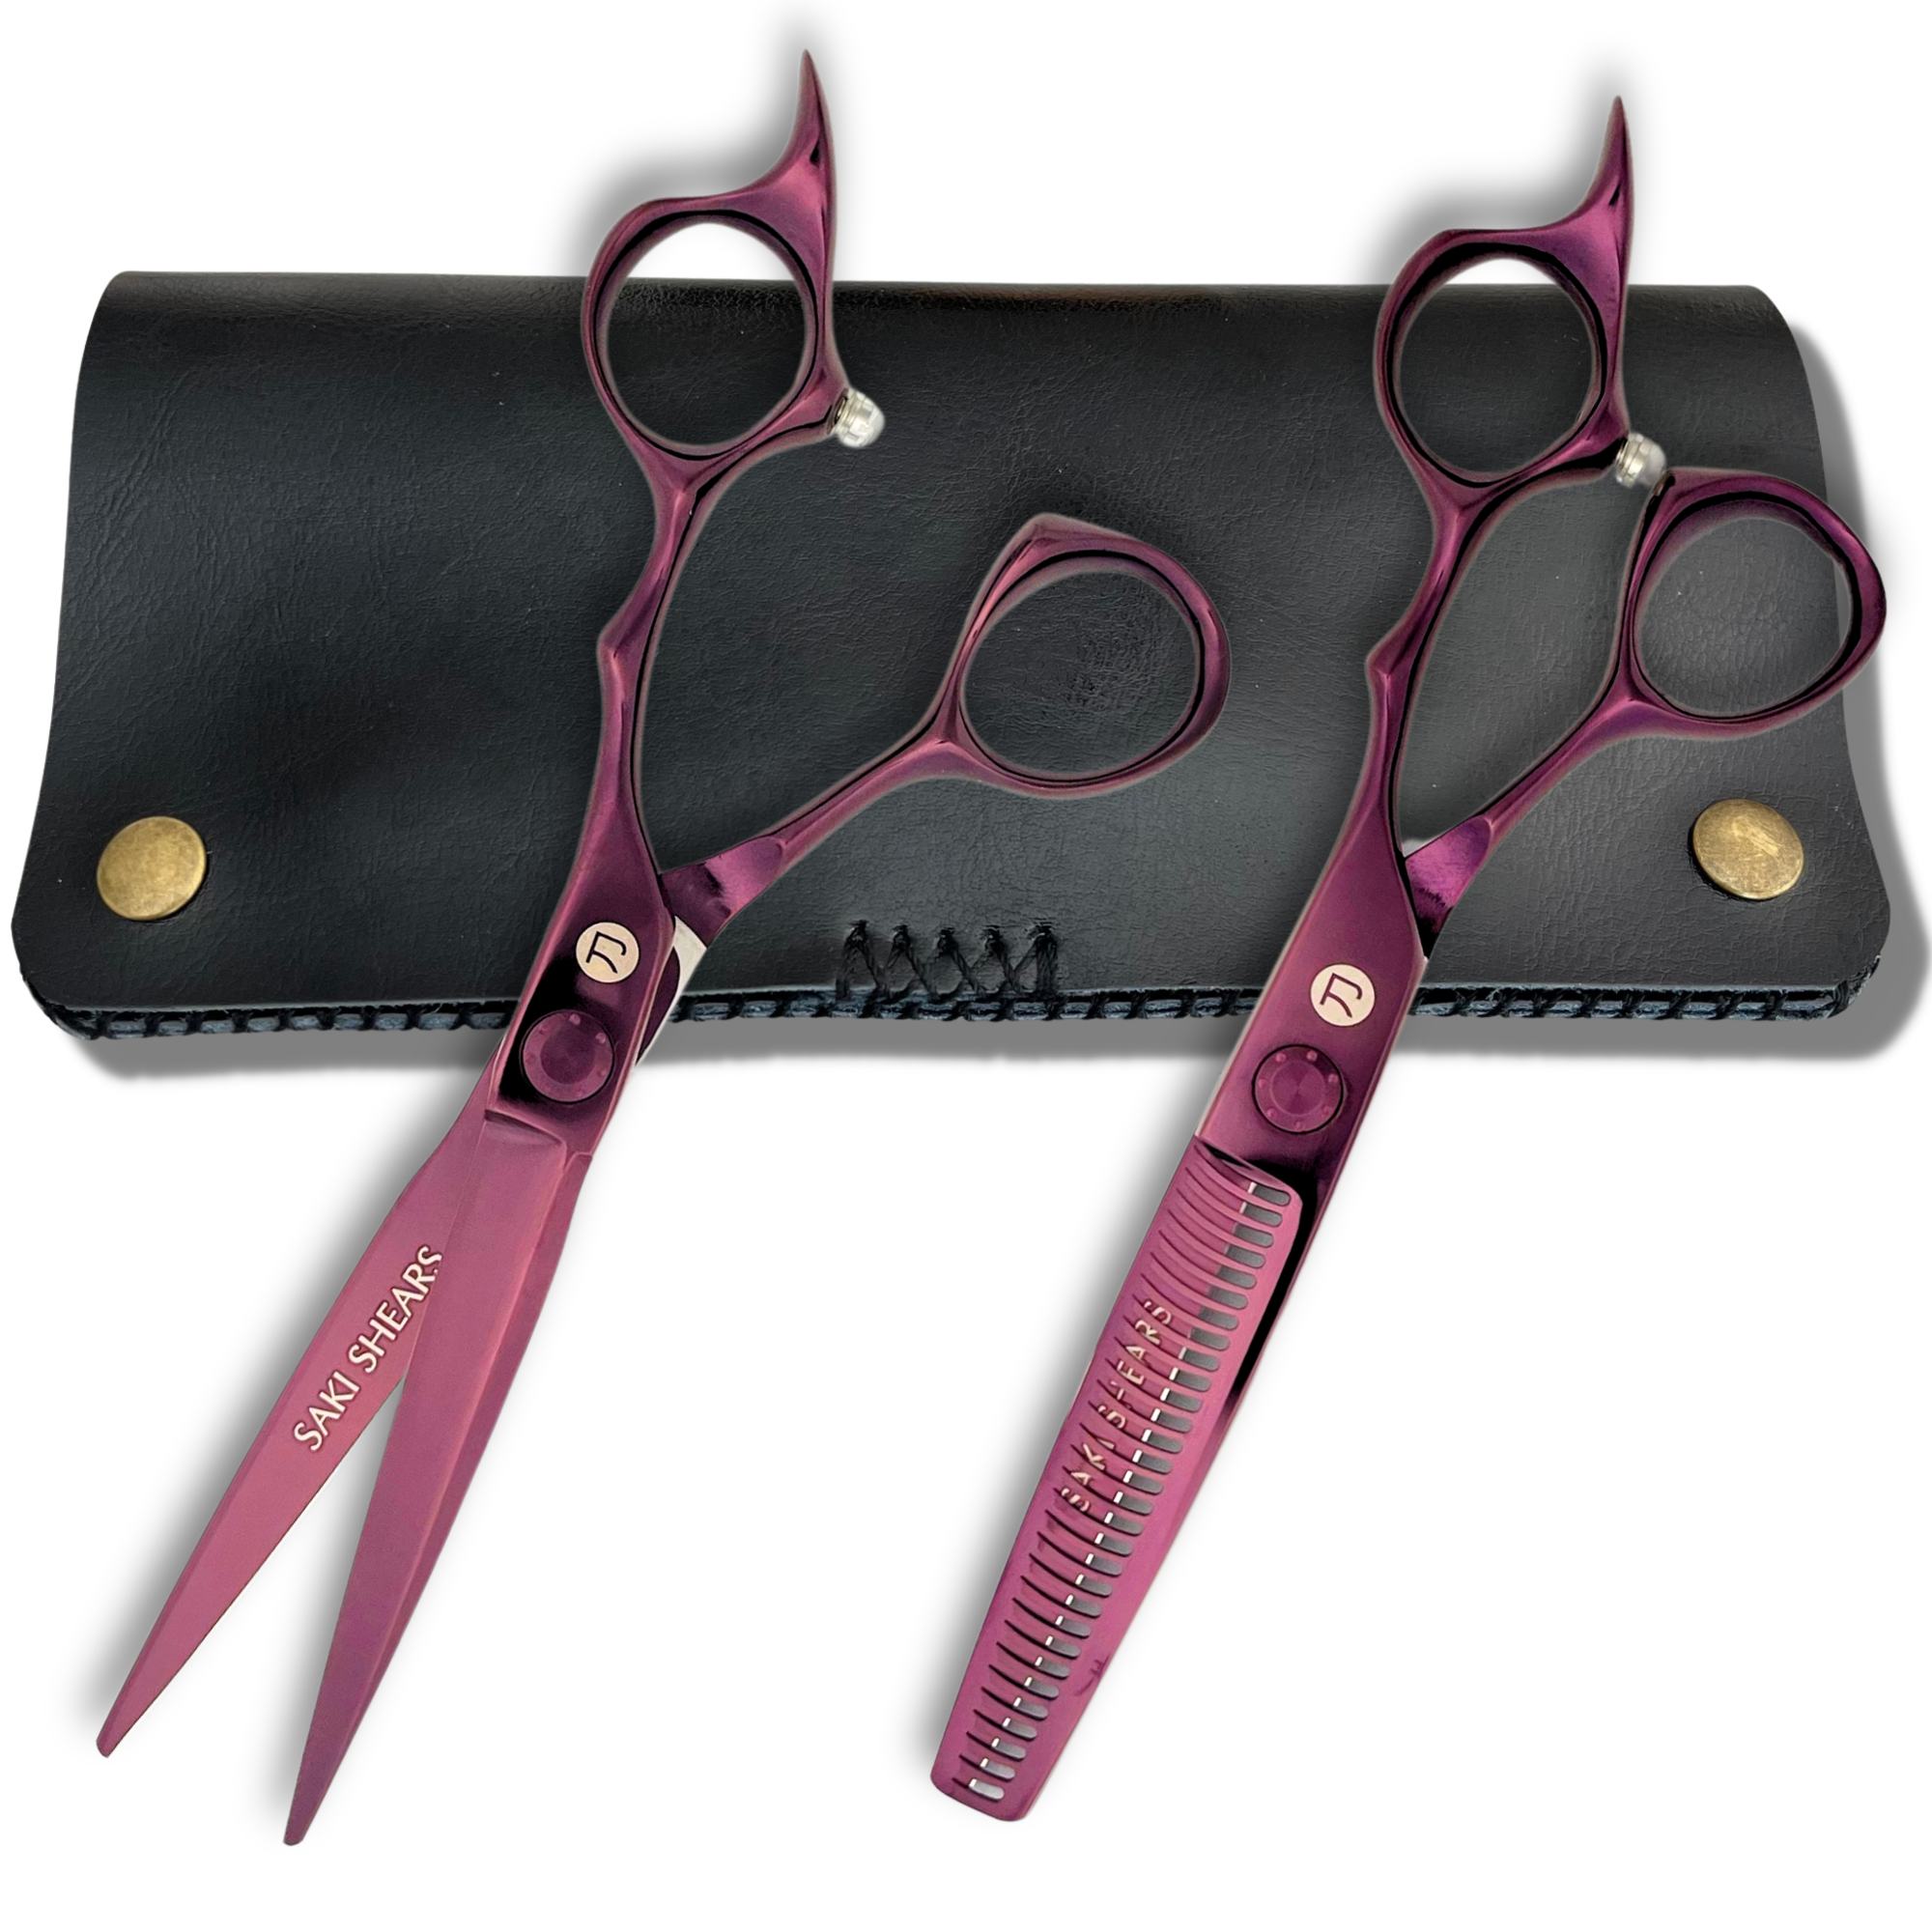
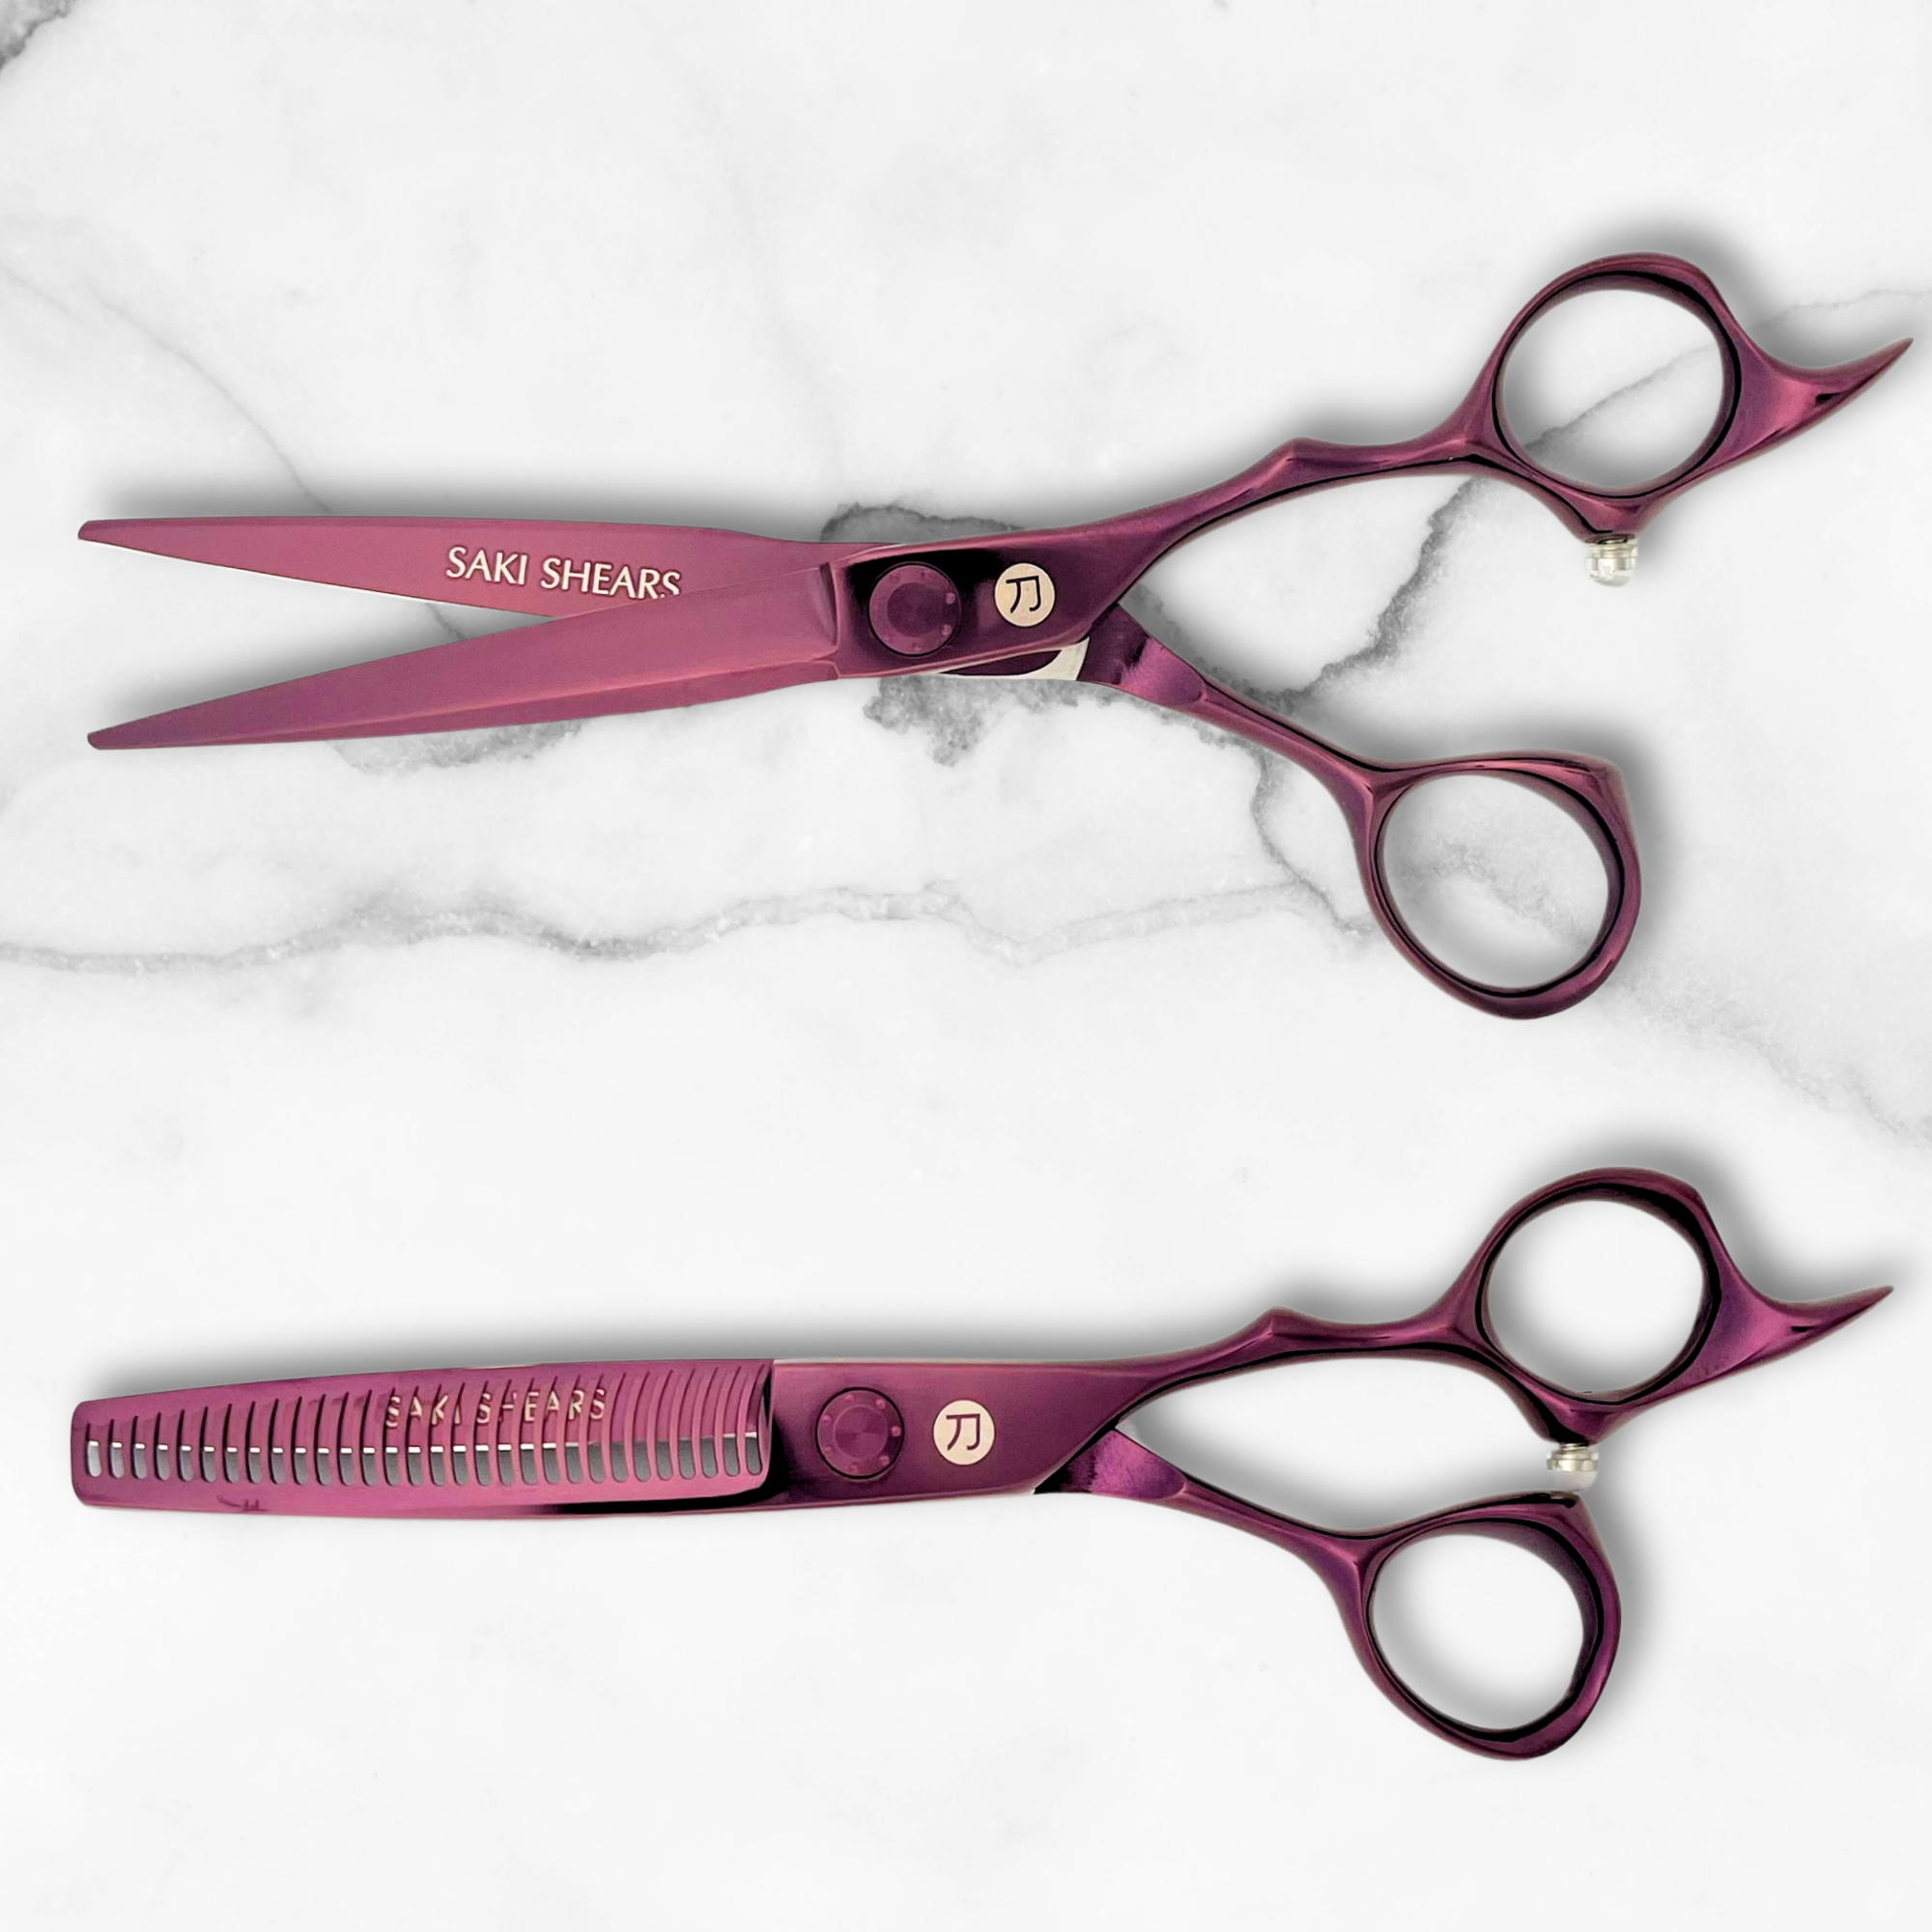
- Tool Essentials: High-quality shears like Saki Tanto (precision) and Saki Grand Master (versatility) make clean, sharp cuts while reducing wrist strain.
- Styling Tips: Avoid over-texturizing, work with natural hair flow, and tailor cuts to complement facial features.
Pixie cuts demand precision and skill, but with the right techniques and tools, you can create stunning, personalized styles every time.
The Ultimate Cutting Tutorial to Master The Pixie
Techniques for Cutting a Pixie
Achieving a perfect pixie cut requires precision, careful techniques, and a sharp eye for detail.
Preparing Hair for a Pixie Cut
Start by dividing the hair into sections: crown, sides, back, and bangs. Use high-quality clips to keep each section secure and ensure your workspace stays neat and manageable. This step is crucial for maintaining control throughout the process.
Using Vertical Cuts for Pixie Shape
Vertical cuts are essential for shaping a classic pixie. Hold your fingers at a 45-degree angle from the base to the crown to create a graduated effect [1]. For a clean, tapered look, use close vertical cuts at the nape. On the sides, a 45-degree elevation ensures balanced graduation, while increased elevation at the crown adds volume.
Once the basic structure is in place, focus on adding texture and movement to give the cut a polished and dynamic finish.
Creating Texture and Movement
After establishing the shape, refine the style by adding texture and dimension. This step brings personality and flow to the cut.
"The secret to a dynamic pixie is in the subtle texturizing of the crown area, combined with strategic diagonal back parting for natural movement." [4]
Incorporate techniques like diagonal back parting, horizontal blending, point cutting, and soft crown texturing to create seamless movement. Adjust these techniques based on the client's face shape. For round faces, extra height and texture can help elongate the features. For square faces, longer top layers and textured bangs work well to soften angular features [4].
Saki Shears Recommended for Pixie Cuts

Why Stylists Love Saki Shears
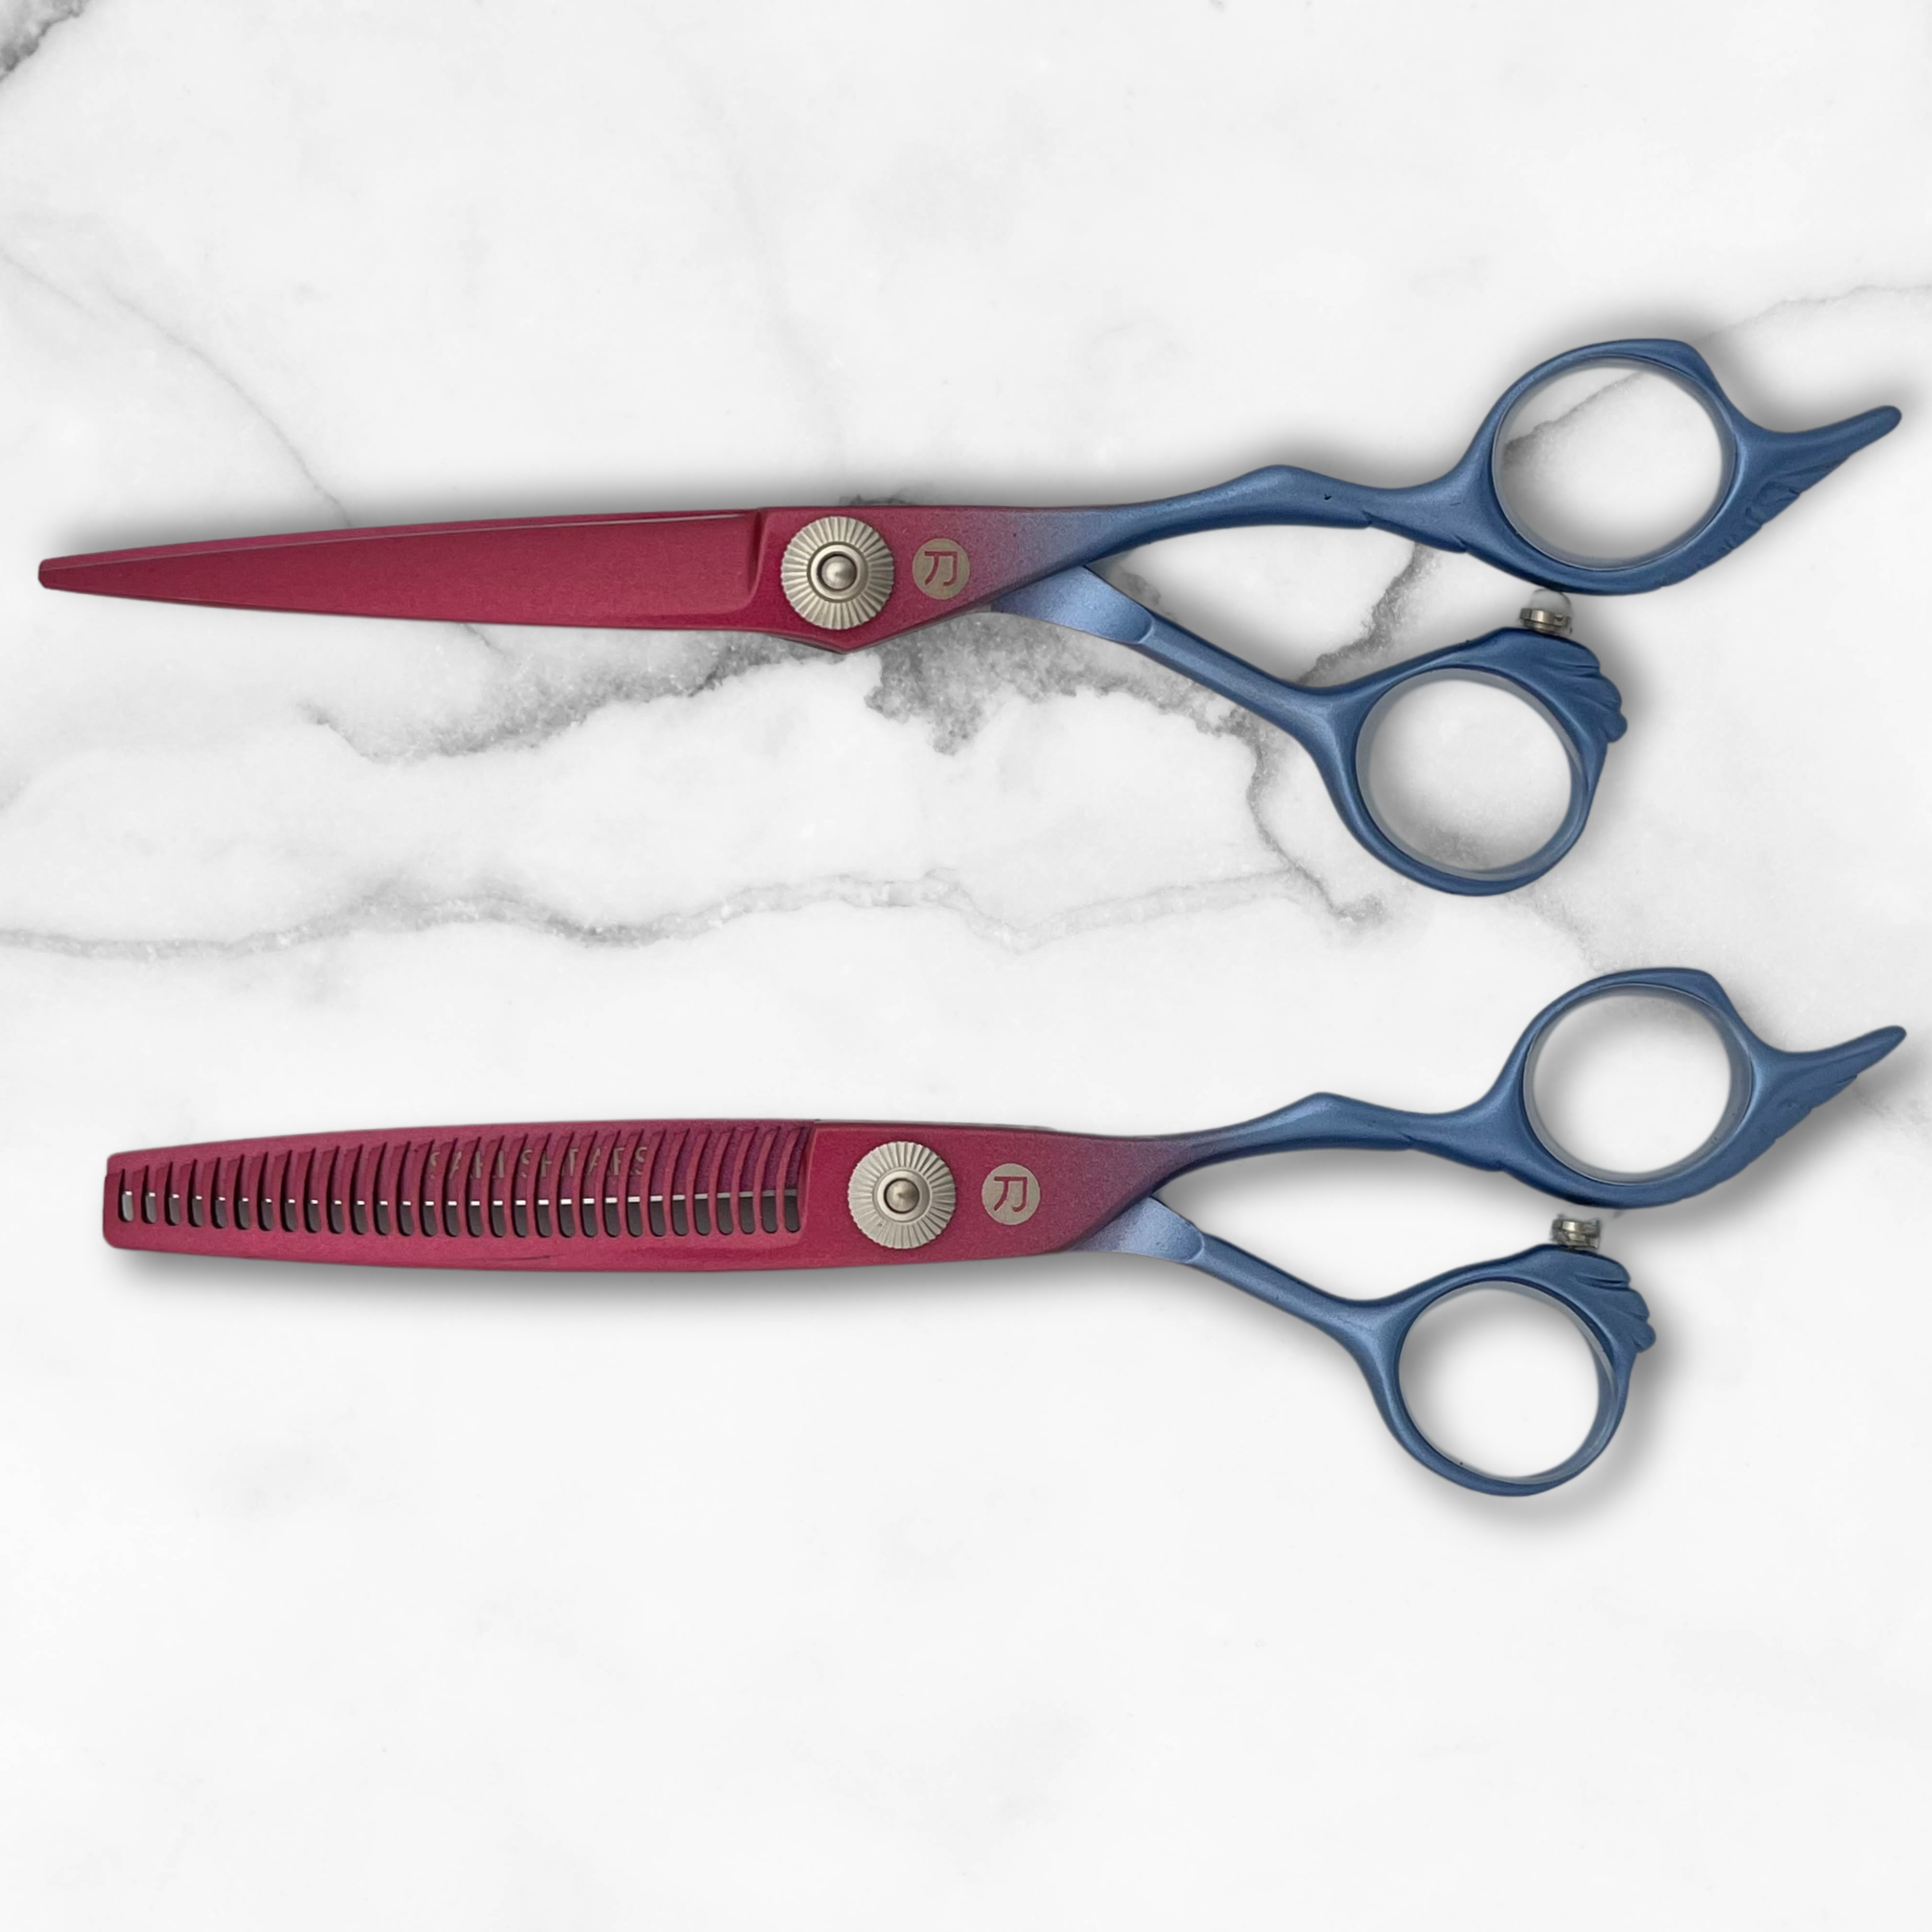
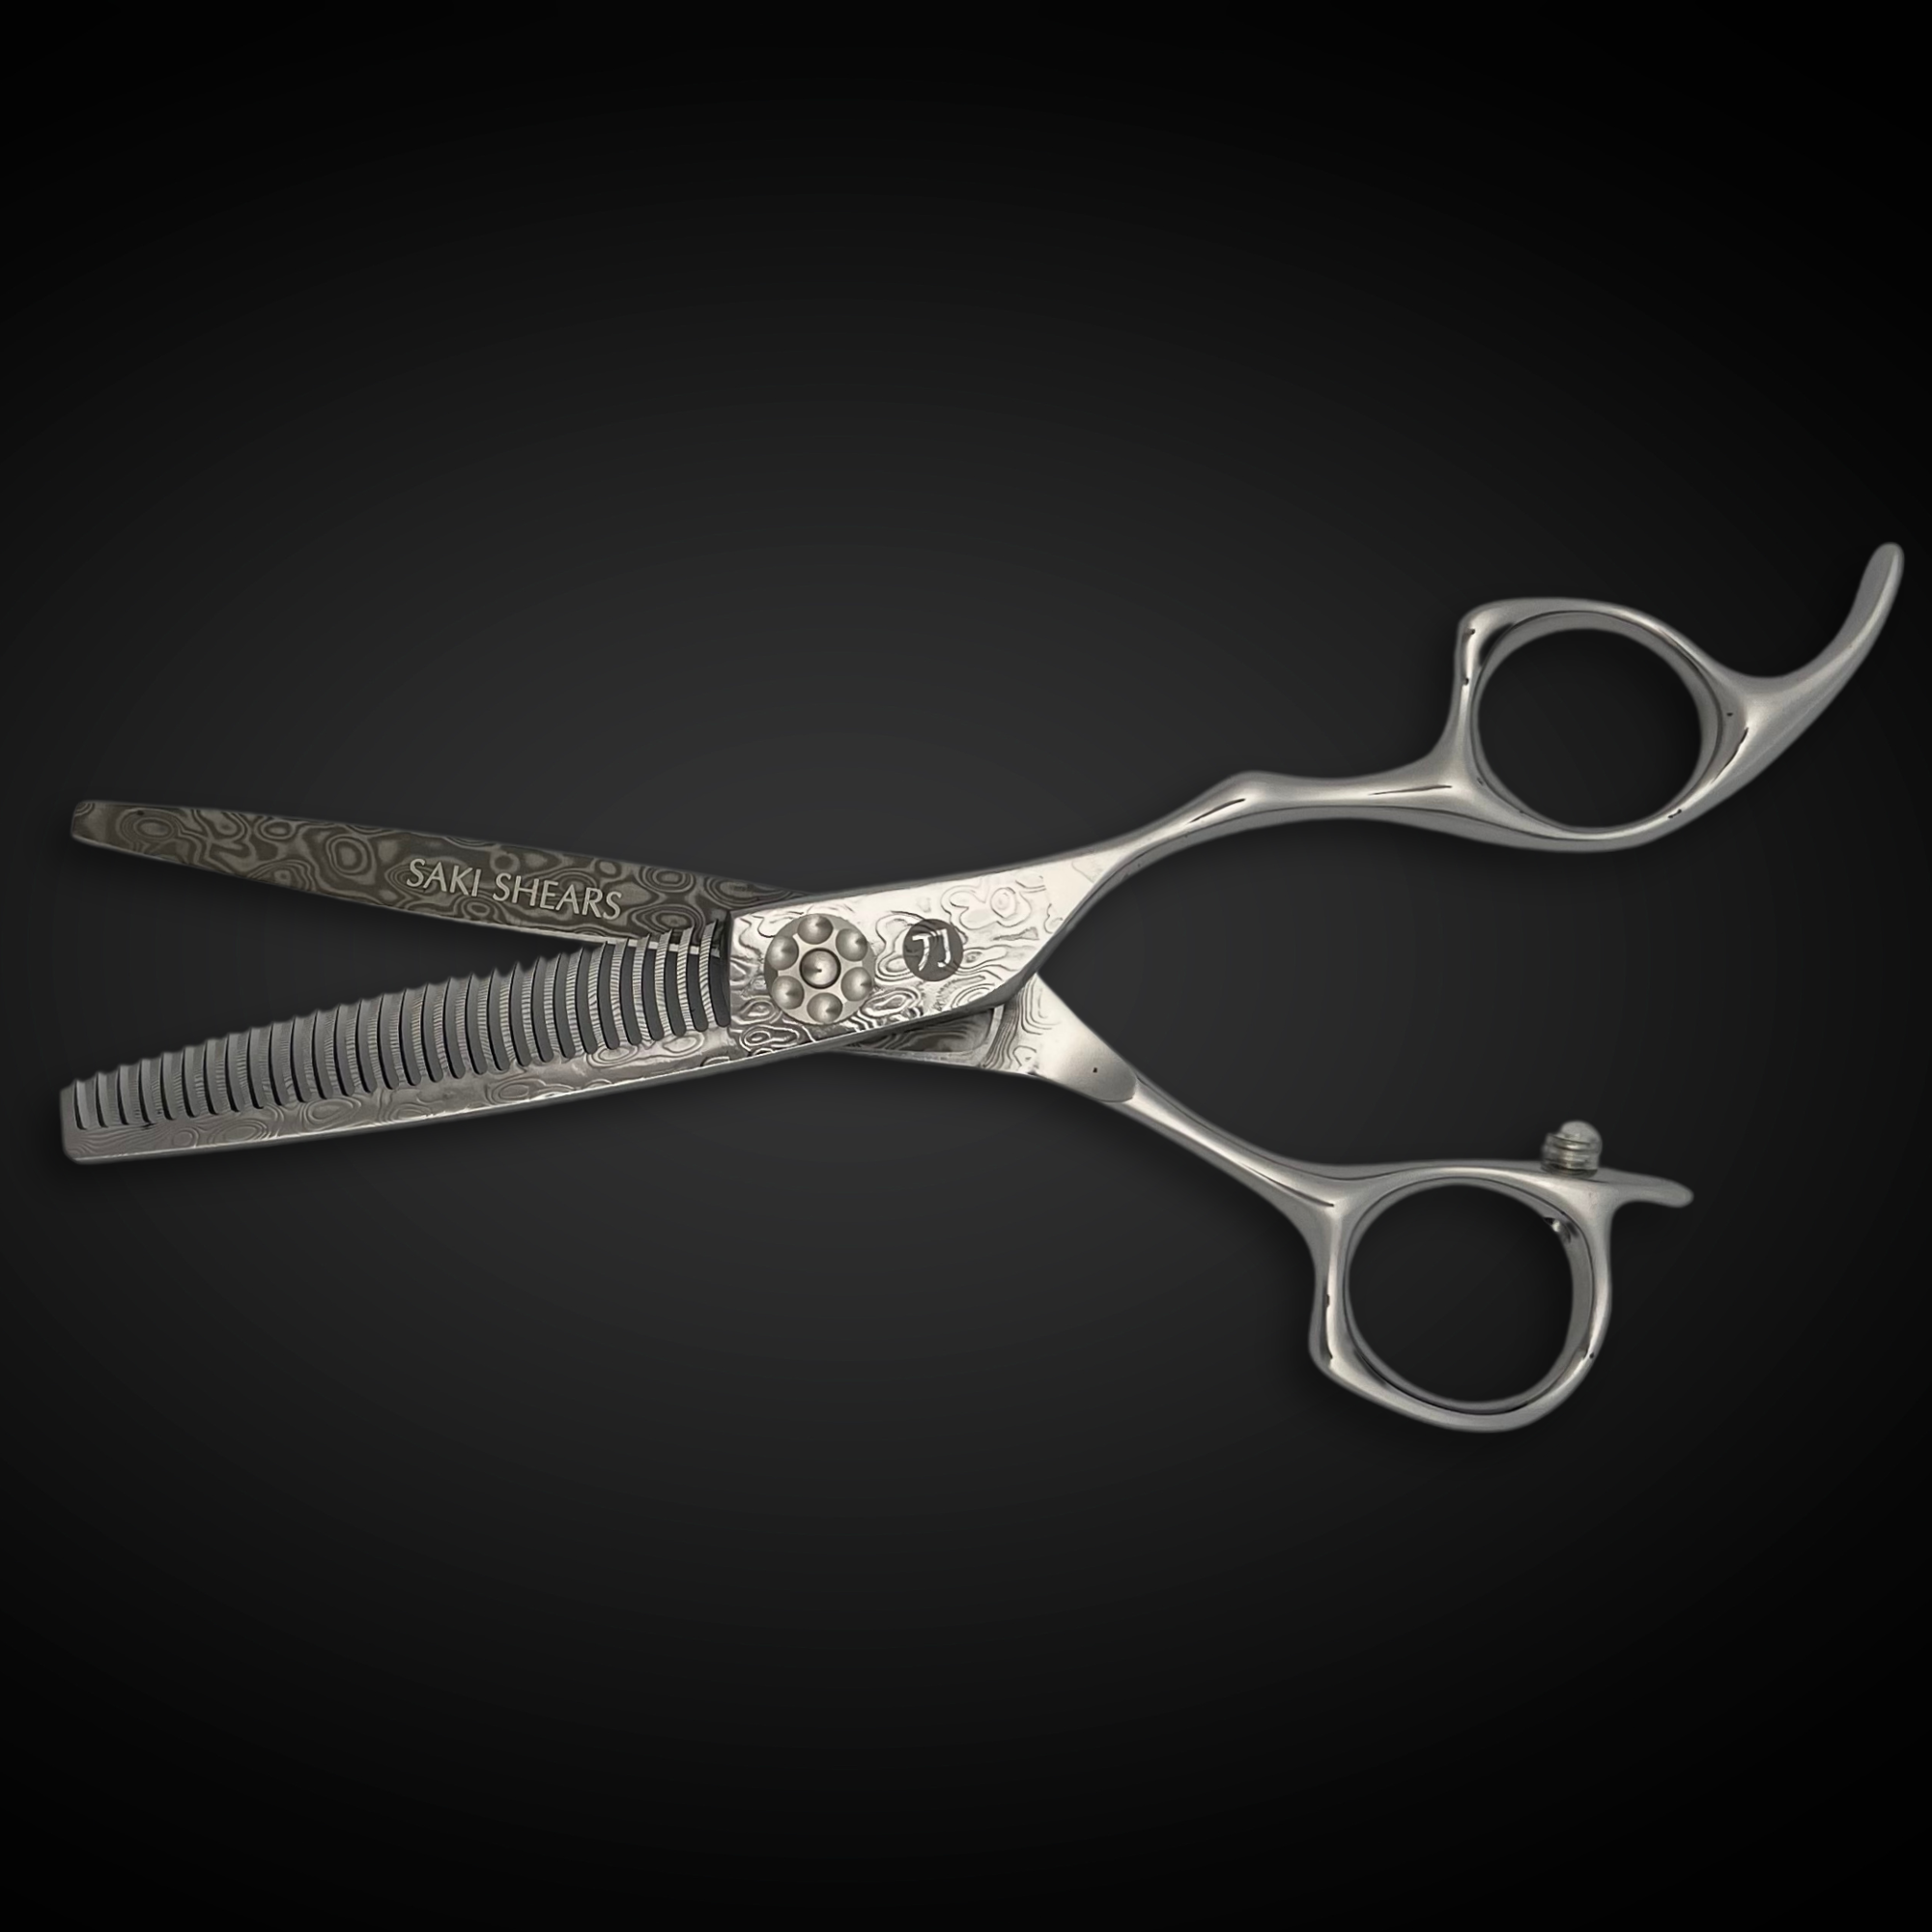
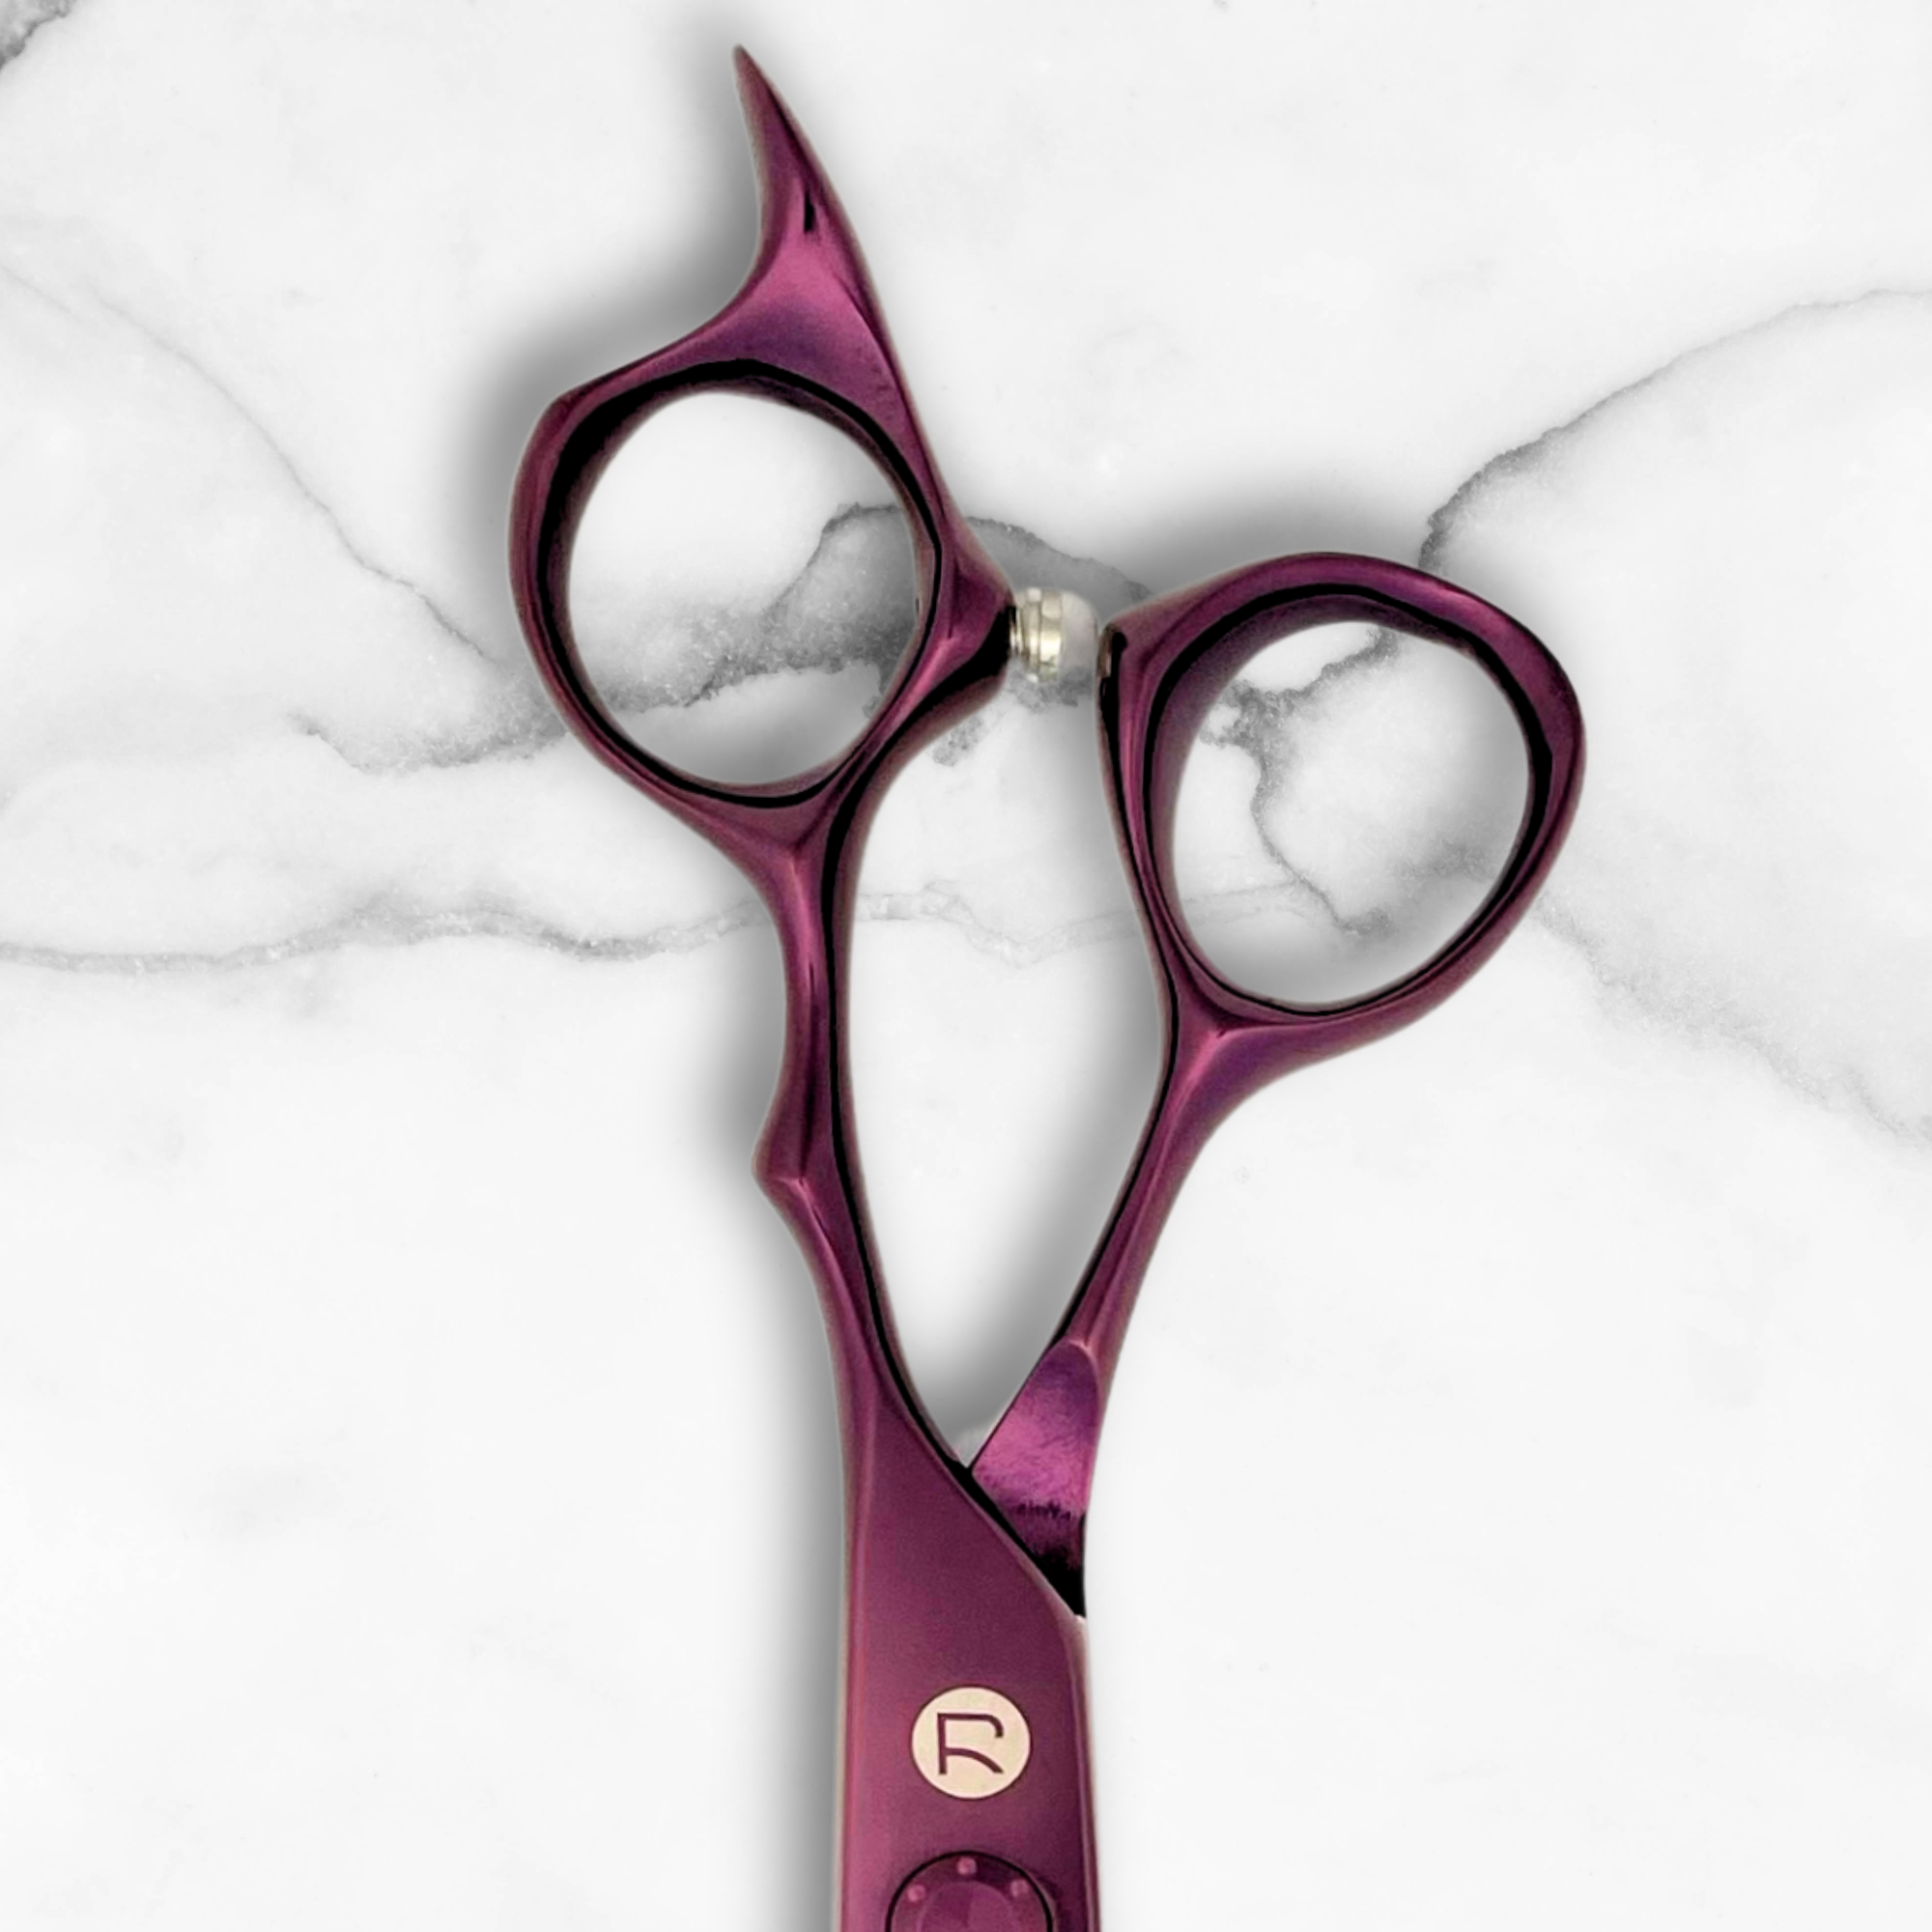
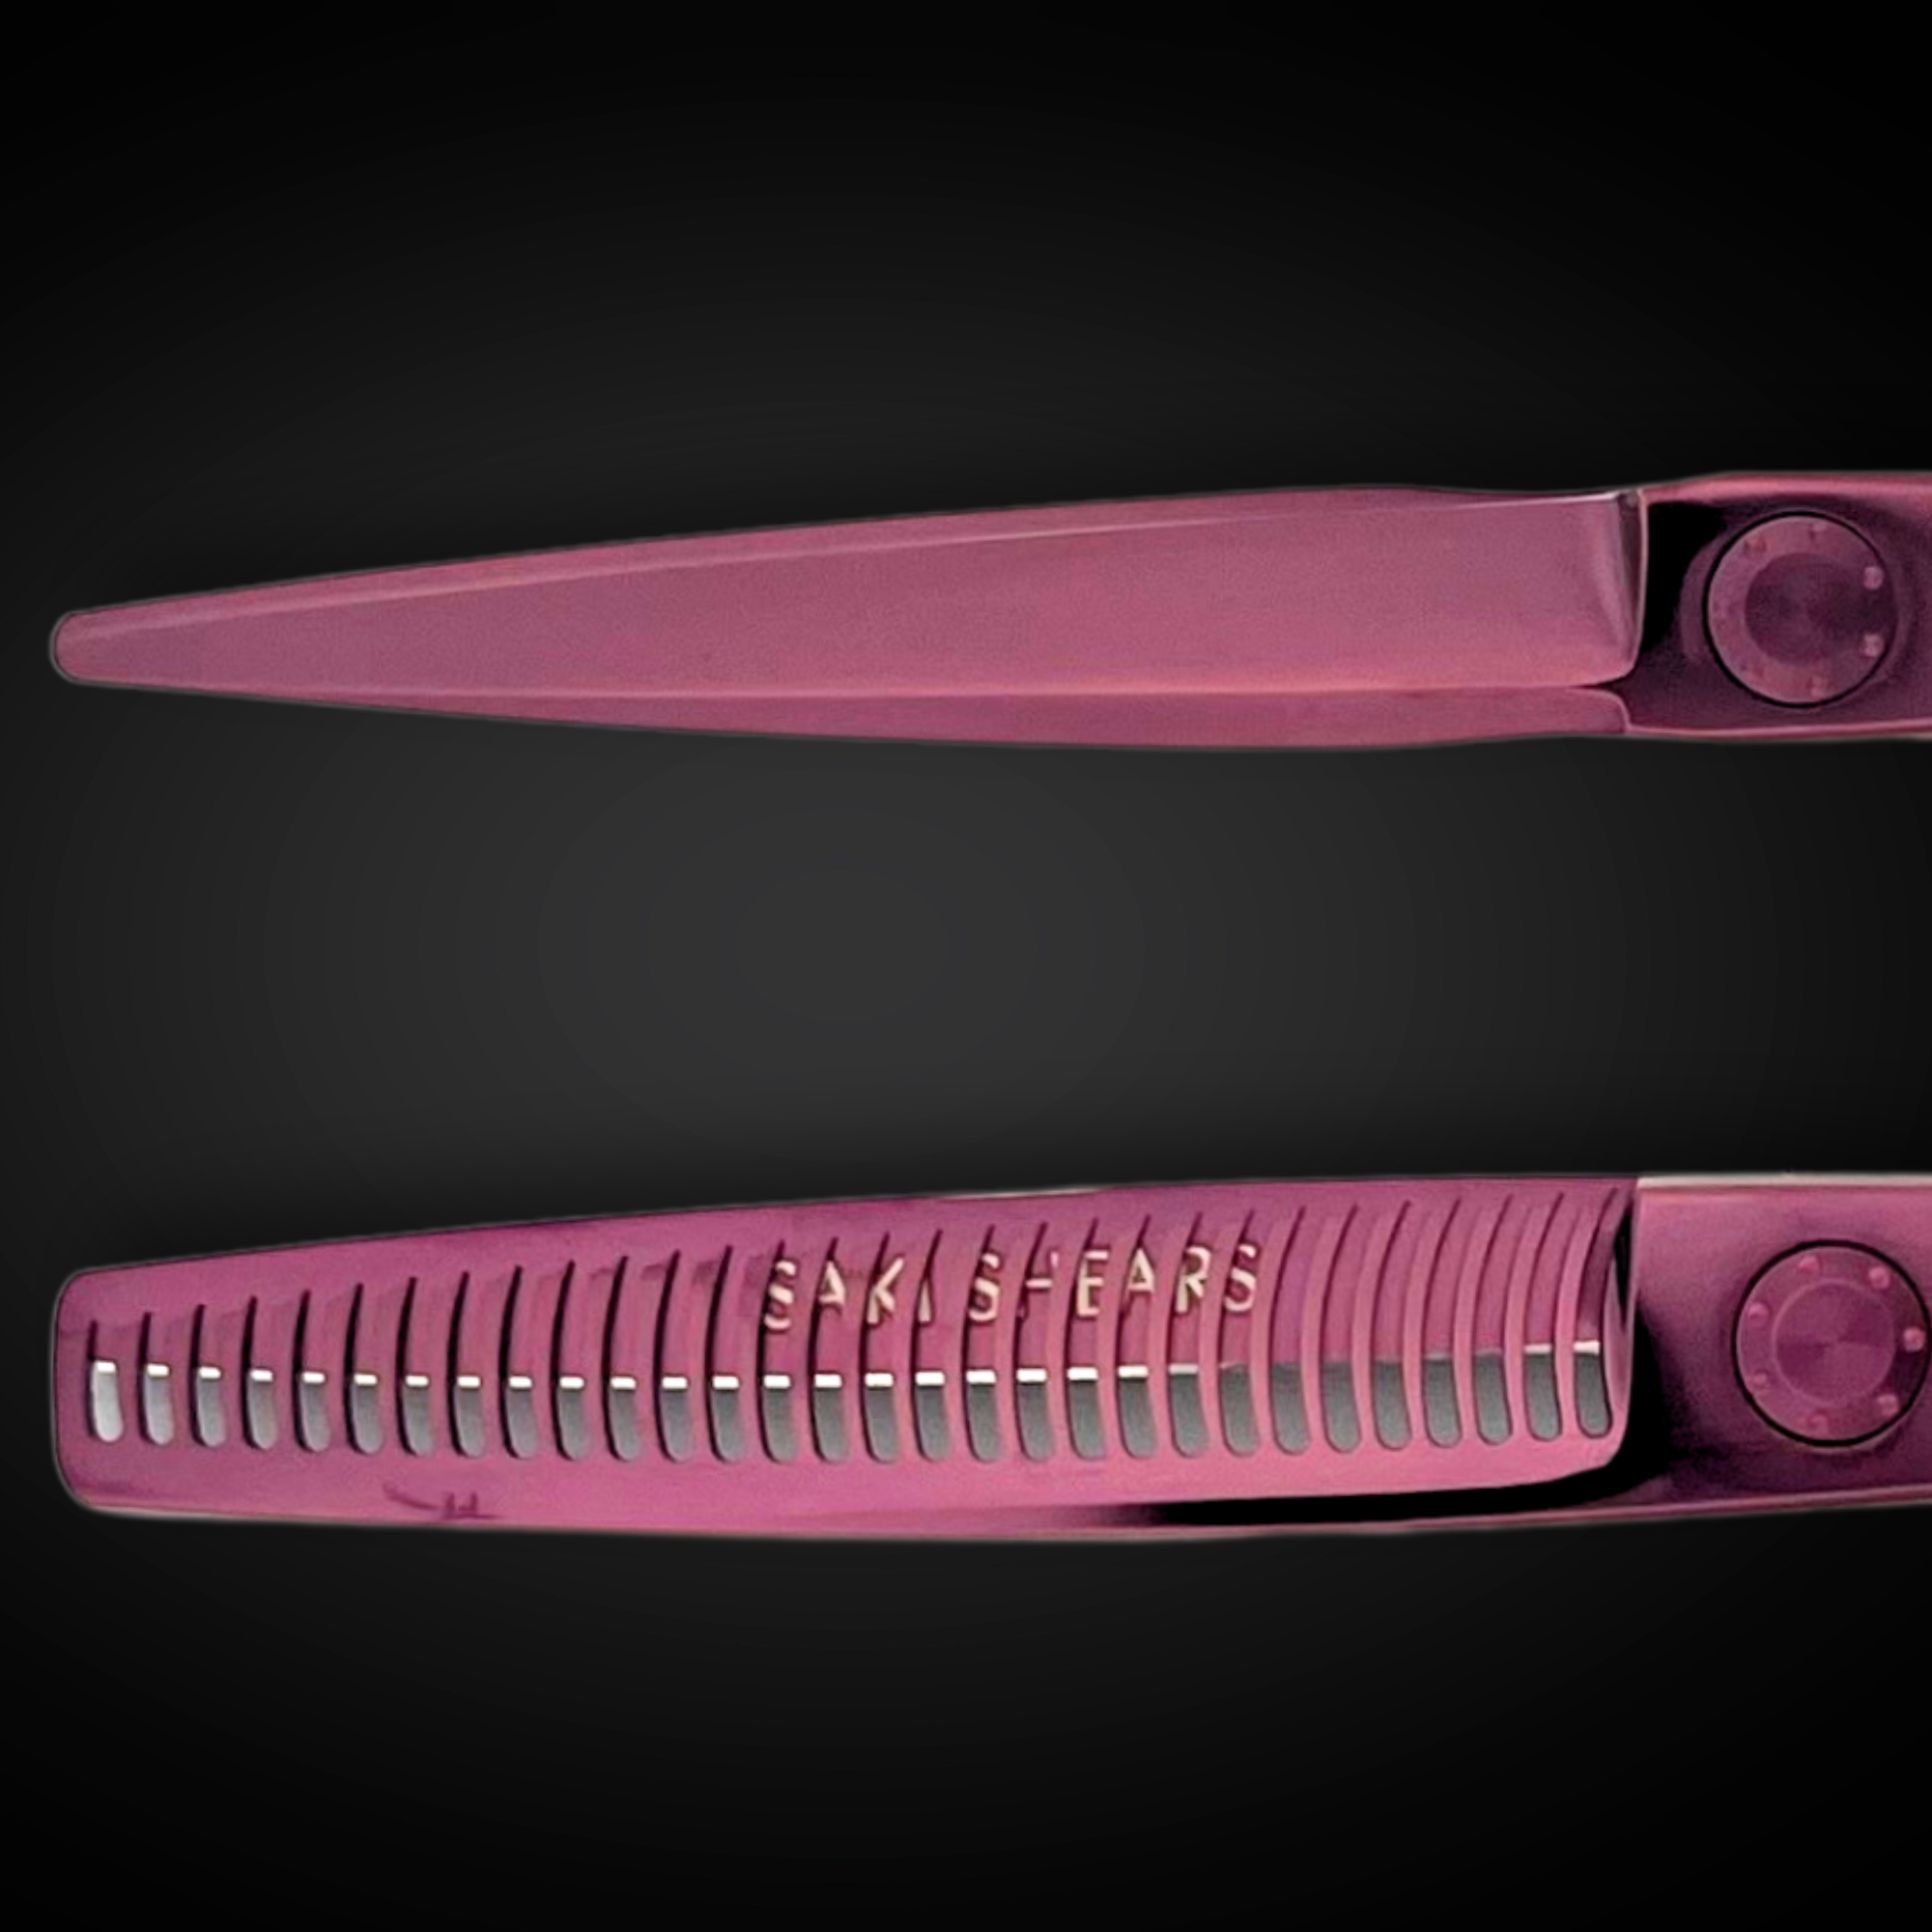
Saki Shears are made from high-quality 440C Japanese stainless steel, ensuring their edges stay sharp even after extensive use. Designed with ergonomics in mind, these shears reduce wrist strain, making them perfect for long cutting sessions. Features like finger rests and adjustable tension give stylists the control needed for intricate work, such as the vertical cutting and texturizing techniques often used in pixie cuts.
"The secret to achieving precise pixie cuts lies in the quality of your tools. The ergonomic design of Saki Shears significantly reduces wrist fatigue, allowing stylists to work for longer periods without compromising accuracy or comfort" [2].
Top Saki Shears for Pixie Cuts
When it comes to pixie cuts, two models stand out for professional stylists:
| Model | Features | Ideal For |
|---|---|---|
| Saki Tanto | Precision blades, adjustable tension | Detailed crown work, sharp precision cuts |
| Saki Grand Master | Wide blades, excellent stability | Wet/dry cutting, fine detailing around edges |
The Saki Tanto shears are perfect for creating clean, precise cuts that define the key elements of a pixie style. Meanwhile, the Grand Master model offers great control for wet or dry cutting, making it ideal for shaping delicate areas like around the ears and neckline [2][3].
With the right pair of shears, stylists can focus on perfecting their craft and delivering custom pixie cuts tailored to each client.
sbb-itb-3cc0078
Tips for Improving Pixie Cuts
Personalizing the Cut
Creating a great pixie cut means blending the client’s features with their personal style. Face shape plays a big role in tailoring the look. Here’s how to approach it:
| Face Shape | Suggested Technique | Styling Focus |
|---|---|---|
| Round | Add height at the crown | Use vertical cuts for a lengthening effect |
| Square | Incorporate soft, textured bangs | Point-cut edges for a softer finish |
| Diamond | Add side-swept layers | Keep some length around the ears for balance |
Using tools like Saki Shears can help you achieve precise results. Their sharp blades make it easier to craft cuts that highlight each client’s features while preserving the overall style [1].
Avoiding Common Mistakes
One frequent misstep with pixie cuts is over-texturizing, which can lead to thinning and make styling harder. To avoid this, work in small sections and go easy on texturizing, especially around the crown. Saki Shears offer excellent control, letting you create clean, seamless blends that work with the natural flow of the hair [3].
Keep these techniques in mind for better results:
- Work with the hair’s natural direction to ensure smooth movement.
- Use mirrors to check blending and maintain consistent tension without overstretching.
- Apply texturizing sparingly, focusing on adding movement rather than reducing bulk.
"The secret to a successful pixie cut lies in understanding how to adapt the style to complement your client's natural features while maintaining their desired aesthetic preferences" [1].
Conclusion
Creating a flawless pixie cut takes a mix of technical expertise, artistic vision, and the right tools. High-quality shears like the Saki Tanto and Grand Master help stylists achieve clean, precise cuts while minimizing wrist strain during extended styling sessions.
Every detail matters when crafting the perfect pixie cut, from the initial consultation to the final touches. Precision and texturizing are key techniques that bring the style to life. Tools like Saki Shears provide the sharpness and control needed to execute these methods with confidence.
Here’s a quick breakdown of the essential factors behind a standout pixie cut:
| Aspect | Impact |
|---|---|
| Precision & Detail Work | Clean lines, better control, and enhanced accuracy |
| Texturizing | Adds movement and defines the overall style |
| Ergonomic Efficiency | Reduces fatigue during intricate styling tasks |
The bond between stylist and client grows stronger with consistent attention to detail and care. By combining skill, technique, and the right tools, stylists can ensure client happiness while building their professional reputation.
FAQs
What cutting techniques are used for a pixie cut?
Creating a pixie cut involves using techniques like point-cutting, vertical cutting, and texturizing to achieve the desired shape and movement. Typically, stylists start at the nape and work upward, adjusting their approach to complement the client's face shape.
Here’s a quick breakdown of these techniques:
| Technique | Purpose |
|---|---|
| Point-cutting | Softens edges and adds texture |
| Texturizing | Enhances movement |
| Vertical cutting | Builds the overall structure |
For clients with round faces, adding height and texture can help elongate their features. On the other hand, softer layers and textured bangs work well for square faces, helping to balance out angular features [4].
Maintaining a pixie cut is just as important as cutting it. Using the right styling products and methods ensures the cut retains its shape and natural movement between salon visits. And don’t underestimate the importance of professional tools - high-quality shears, like Saki Shears, make precision cuts easier and more comfortable, leading to consistently great results that clients love.

