

Face Shape Assessment: Placing Face-Framing Layers by Shape
Why Face Shape Assessment Comes Before the Comb
Face framing layers only read as flattering when their placement is matched to the client's underlying bone structure. The same layer length and angle that opens up a round face can exaggerate width on a square jaw or add unwanted fullness to a heart-shaped face. Before you pick up shears, a quick face-shape assessment during consultation tells you where to start your layers, how long to cut them, and which angle will do the work you want.
This guide covers the assessment step itself and the placement decisions that follow for each face shape. For general layer-cutting technique — elevation, sectioning, and blending — see the companion technique guide on this blog.
Reading Face Shape at the Chair
A fast, reliable assessment takes under a minute and doesn't require special tools. Have the client pull hair back off the face, then look at three reference points together:
- Width at the forehead compared to width at the cheekbones and jaw
- Length of the face from hairline to chin relative to its width
- Where the jaw is sharpest or roundest — a defined angle, a soft curve, or a narrow point
Stand or sit directly in front of the client at eye level rather than relying on the mirror angle alone, since mirror perspective can distort proportions. Tracing the outline lightly with a comb handle on the reflection can help confirm what you're seeing before you commit to a placement plan.
Round Faces: Building Length and Angle
Round faces have similar width and length with soft, curved edges at the cheek and jaw — there isn't a strong angle anywhere along the perimeter. The goal with framing layers is to introduce vertical line and lift the eye away from the width at the cheekbones.
Start your longest layer at or below the chin rather than at cheekbone height, and angle your sections so the shortest piece sits just past the jaw. Keep layers longer overall through the front — shorter, chin-length framing on a round face tends to widen it rather than slim it. A slight diagonal, front-to-back elevation reinforces the vertical line you're building.
Oval Faces: Preserving Balance
Oval faces are the most proportionally balanced shape, with the forehead slightly wider than the jaw and no single feature that needs correcting. Framing layers here are about maintaining that balance rather than compensating for anything.
You have the most placement freedom with an oval face. Cheekbone-length framing, chin-length framing, and longer face-grazing pieces all work — the decision comes down to hair texture, density, and what the client wants to highlight, such as eyes or jawline, rather than any structural correction.
Square Faces: Softening the Angles
A square face has a strong, angular jaw and a forehead of similar width, with minimal curve at the corners. The objective with framing layers is to soften that angularity without hiding it entirely.
Place your first layer break at or just above the jawline so the ends fall past the angle rather than landing directly on it — layers that end right at the jaw corner will emphasize the width instead of softening it. Rounded, textured ends work better here than a single blunt line. Longer, slightly graduated pieces that curve inward toward the chin help break up the squared edge.
Heart Faces: Reducing Width at the Forehead
Heart-shaped faces are widest at the forehead and temples and narrow toward a pointed or narrow chin. The framing goal is to reduce visual width up top and add balance toward the jaw.
Avoid heavy layers that end at cheekbone height, since that placement sits directly at the widest point and draws attention there. Instead, start the framing layer lower — around jaw to chin length — so the fullest part of the shape sits near the narrower chin instead of the wider forehead. If the client wears any fringe, keep it swept rather than centered and blunt, which can widen the forehead further.
Long Faces: Adding Width, Not Length
Long faces have more vertical distance between hairline and chin relative to their width, often with a narrower forehead and jaw. Framing layers should add horizontal width and break up the vertical line rather than extending it further.
Cheekbone-length framing works well here, since it sits at the widest natural point of most long faces and creates horizontal visual weight. Avoid long, straight, face-grazing layers that run parallel to the face shape — they reinforce length instead of interrupting it. A slight outward flick or curve at the ends adds width without requiring extra length in the cut.
Adjusting for Texture and Density
Face shape sets the placement plan, but texture and density determine how much a given layer length will actually show. Fine, low-density hair shows framing placement more precisely, so small adjustments in where a layer starts matter more. Thick or coarse hair has more natural volume and swing, which can soften the effect of a placement decision — you may need to cut slightly shorter or with more elevation to get the same visual result you'd get with finer hair at a longer length.
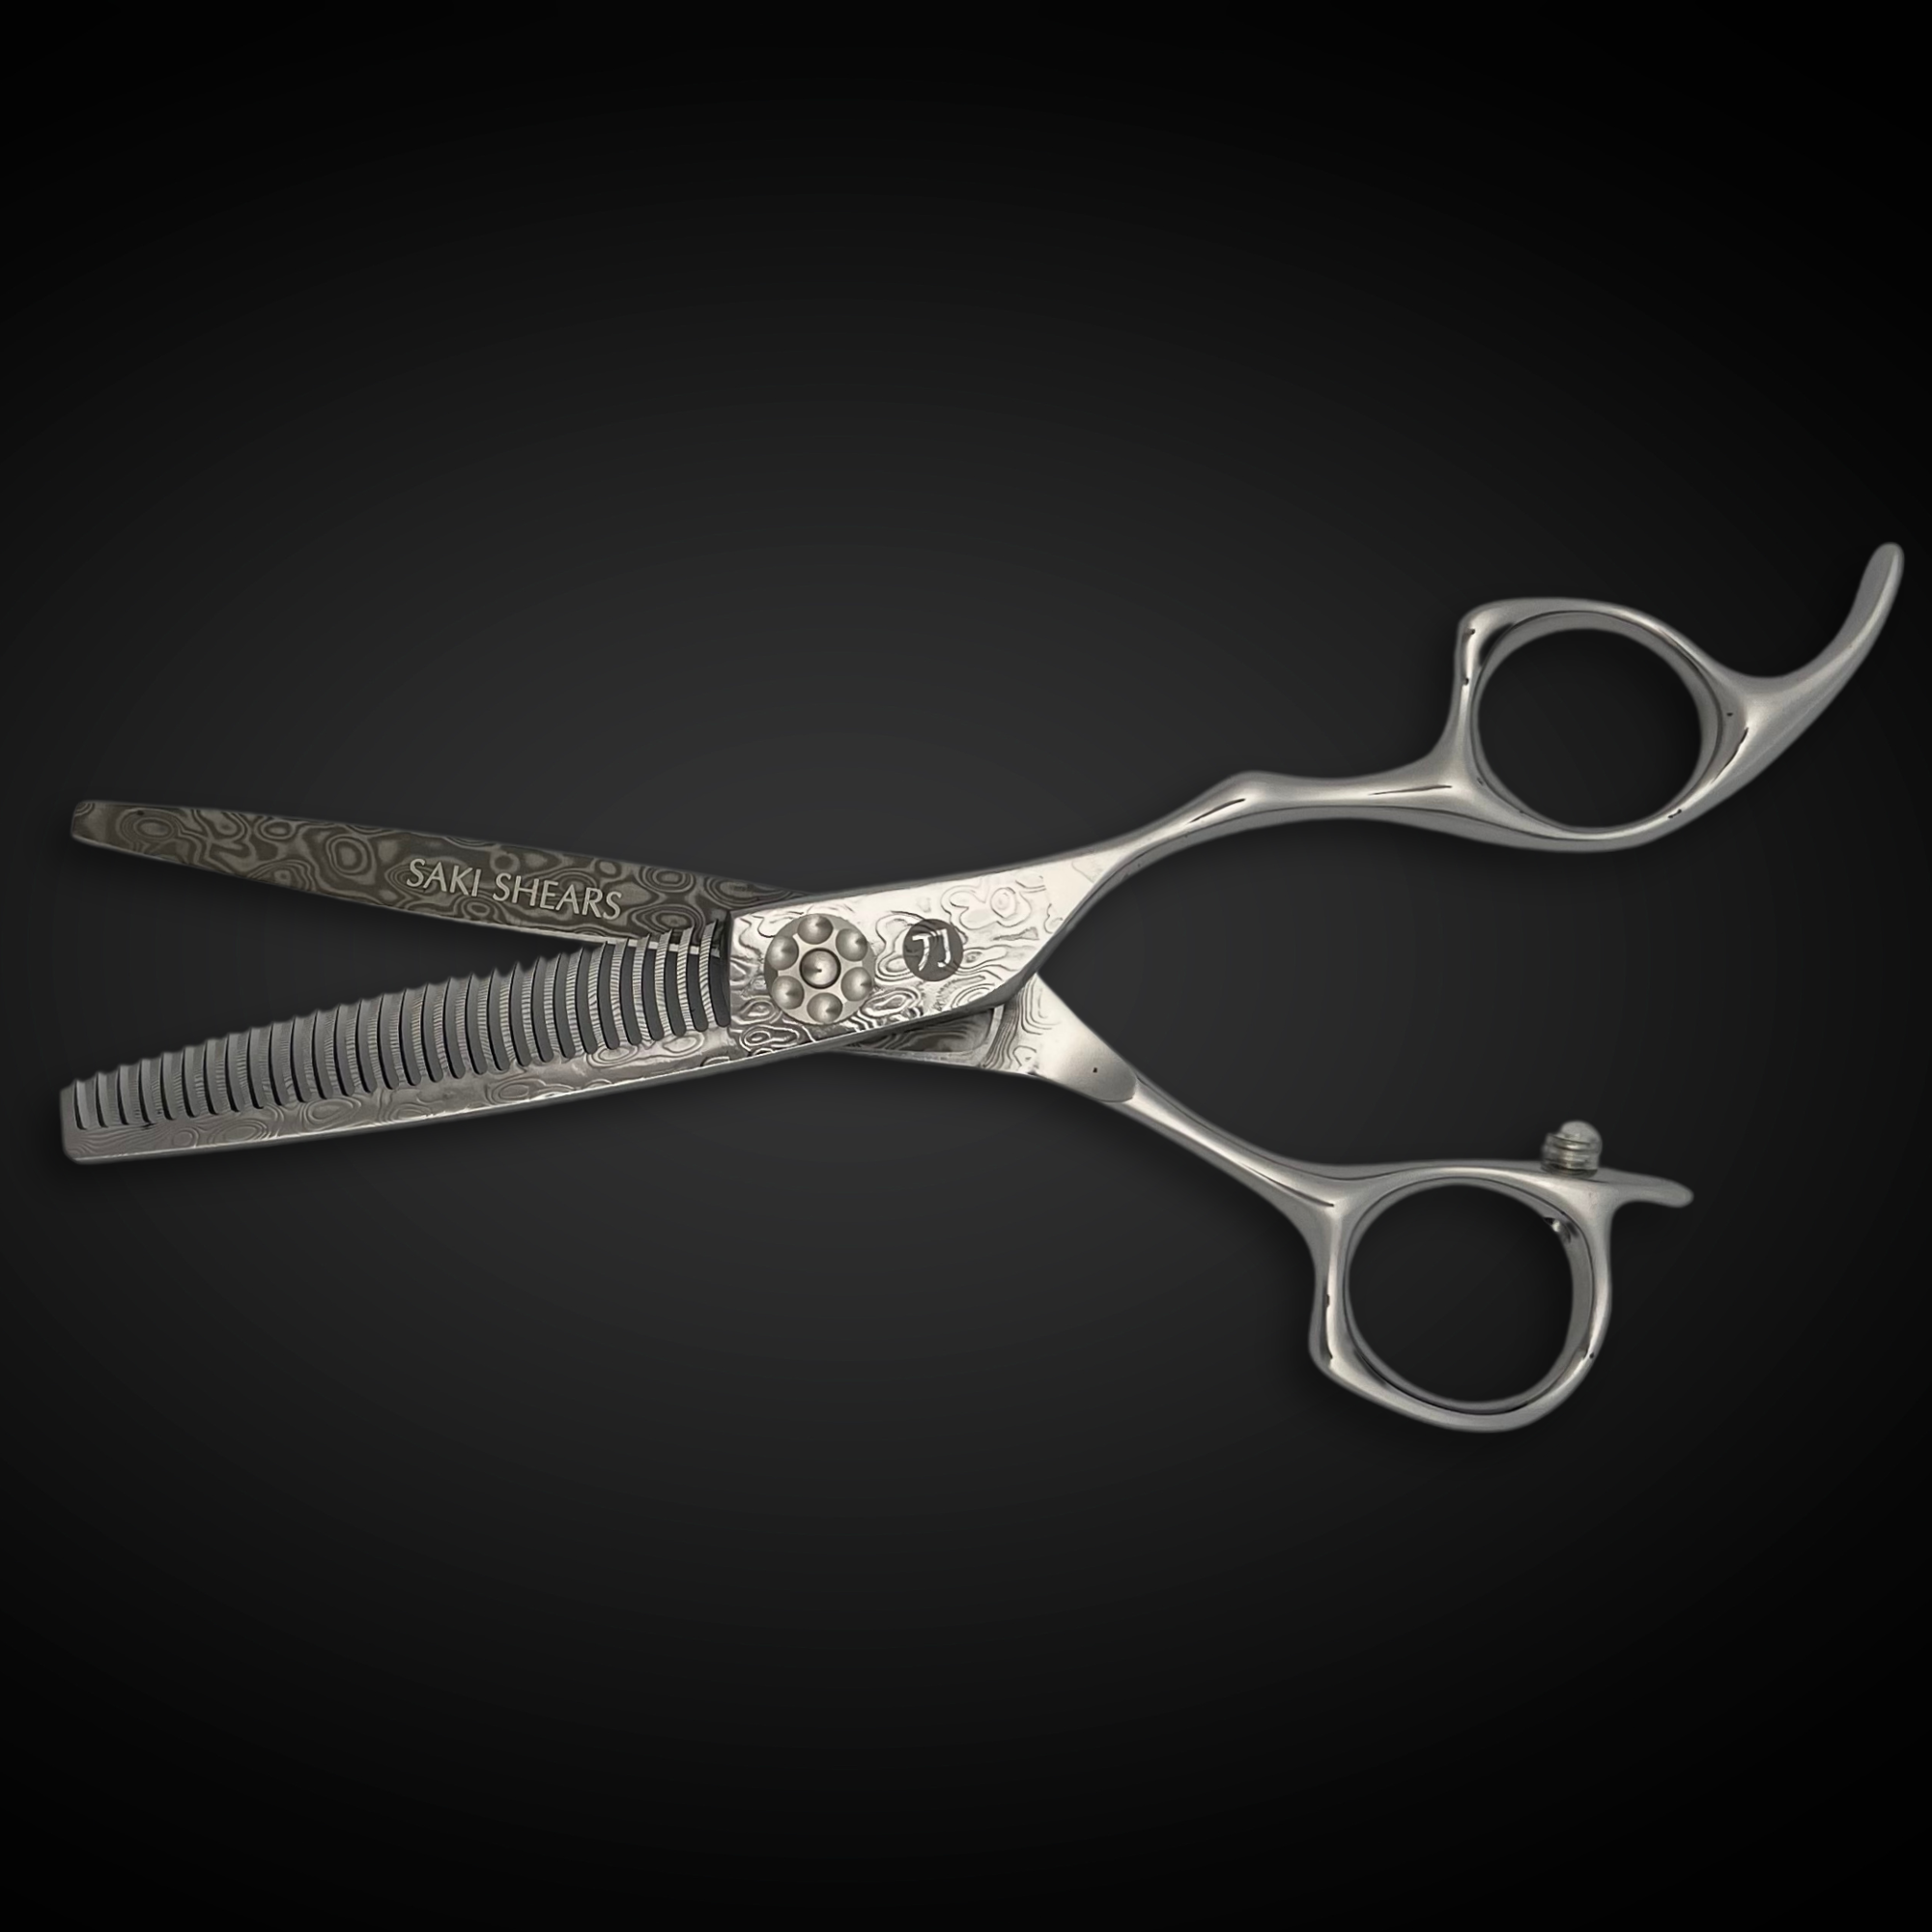
A sharp, well-maintained shear makes it easier to execute these precise placement decisions consistently, particularly on fine hair where a dull or mismatched blade can leave visible discrepancies at the framing line. Browse our hair cutting shears collection for options suited to detail work around the face.
Confirming the Placement Before You Cut
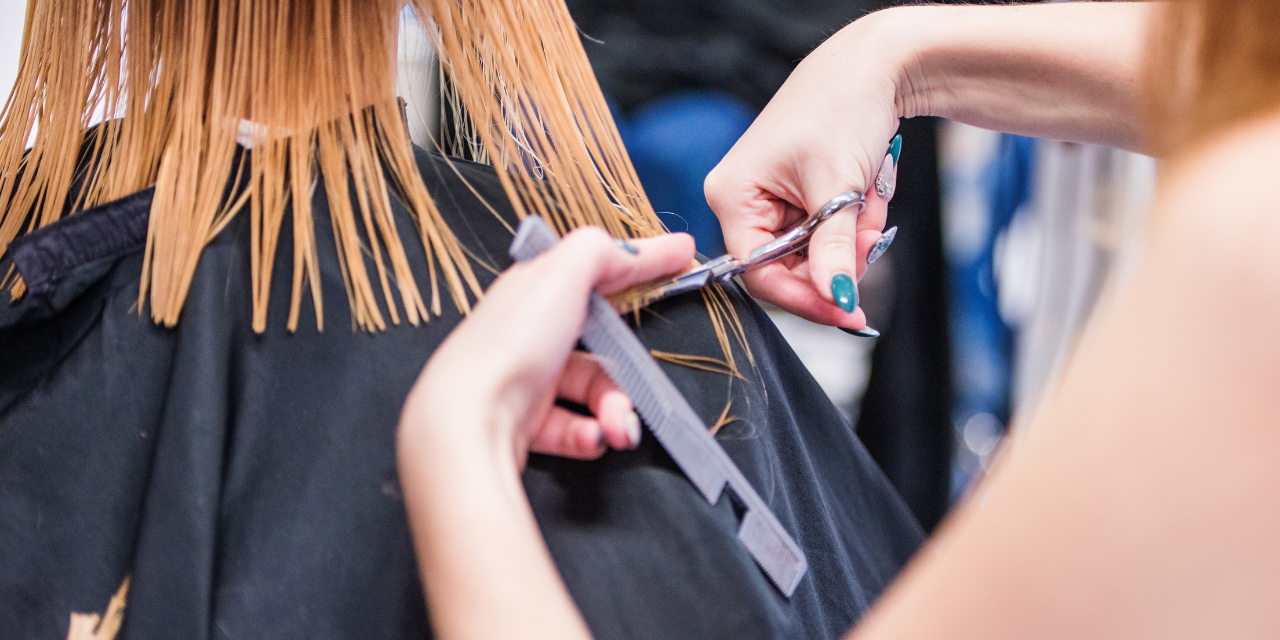
Before committing shears to hair, section off the planned framing piece and hold it at the proposed length against the client's face, dry or damp. This lets you and the client see the intended placement relative to their bone structure before it's permanent. For clients transitioning between face-shape categories — for example, a face that reads oval-to-round — err toward the more conservative placement and adjust on a follow-up visit once you've seen how the cut settles and moves.
Documenting the face shape and layer starting point in the client's file also saves time on repeat visits — you can confirm the assessment still holds and refine placement based on how the previous cut grew out, rather than starting from scratch.

Written by Charles Harris