The Art of the Straight Razor: Mastering Traditional and Shavette-Style Shaving
Straight razor shaving is a skill that combines precision, history, and expertise. Whether you're a barber or an enthusiast, understanding the differences between traditional straight razors and shavettes is essential for mastering this craft. Here's what you need to know:
- Traditional Straight Razors: Durable, long-lasting tools with a permanent high-carbon steel blade. Ideal for full-face shaves and premium services but require regular stropping, honing, and sterilization.
- Shavettes: Lightweight razors with disposable blades. Perfect for high-volume barbershops, detailed work, and easier hygiene maintenance.
Quick Comparison
| Feature | Traditional Straight Razor | Shavette |
|---|---|---|
| Cost | $100-300 | $20-100 |
| Maintenance | Stropping & honing required | Blade replacement only |
| Learning Curve | Extensive training | Moderate training |
| Precision | Best for full-face shaves | Great for detailed lines |
| Hygiene | Requires sterilization | Disposable blades ensure hygiene |
| Longevity | Lasts a lifetime with care | Limited by blade replacements |
Key Takeaways:
- Straight razors offer a closer shave (85% of users agree) and can increase service pricing by 50-100%.
- Shavettes are practical for busy professionals, while traditional razors suit luxury services.
- Mastering techniques like grip, blade angle (30°), and shaving patterns takes practice but elevates your shaving results.
Whether you're choosing tools, preparing skin, or maintaining razors, this guide covers everything you need to excel in straight razor shaving. Let’s dive in!
Comparing Traditional Straight Razors and Shavettes
Differences in Design and Construction
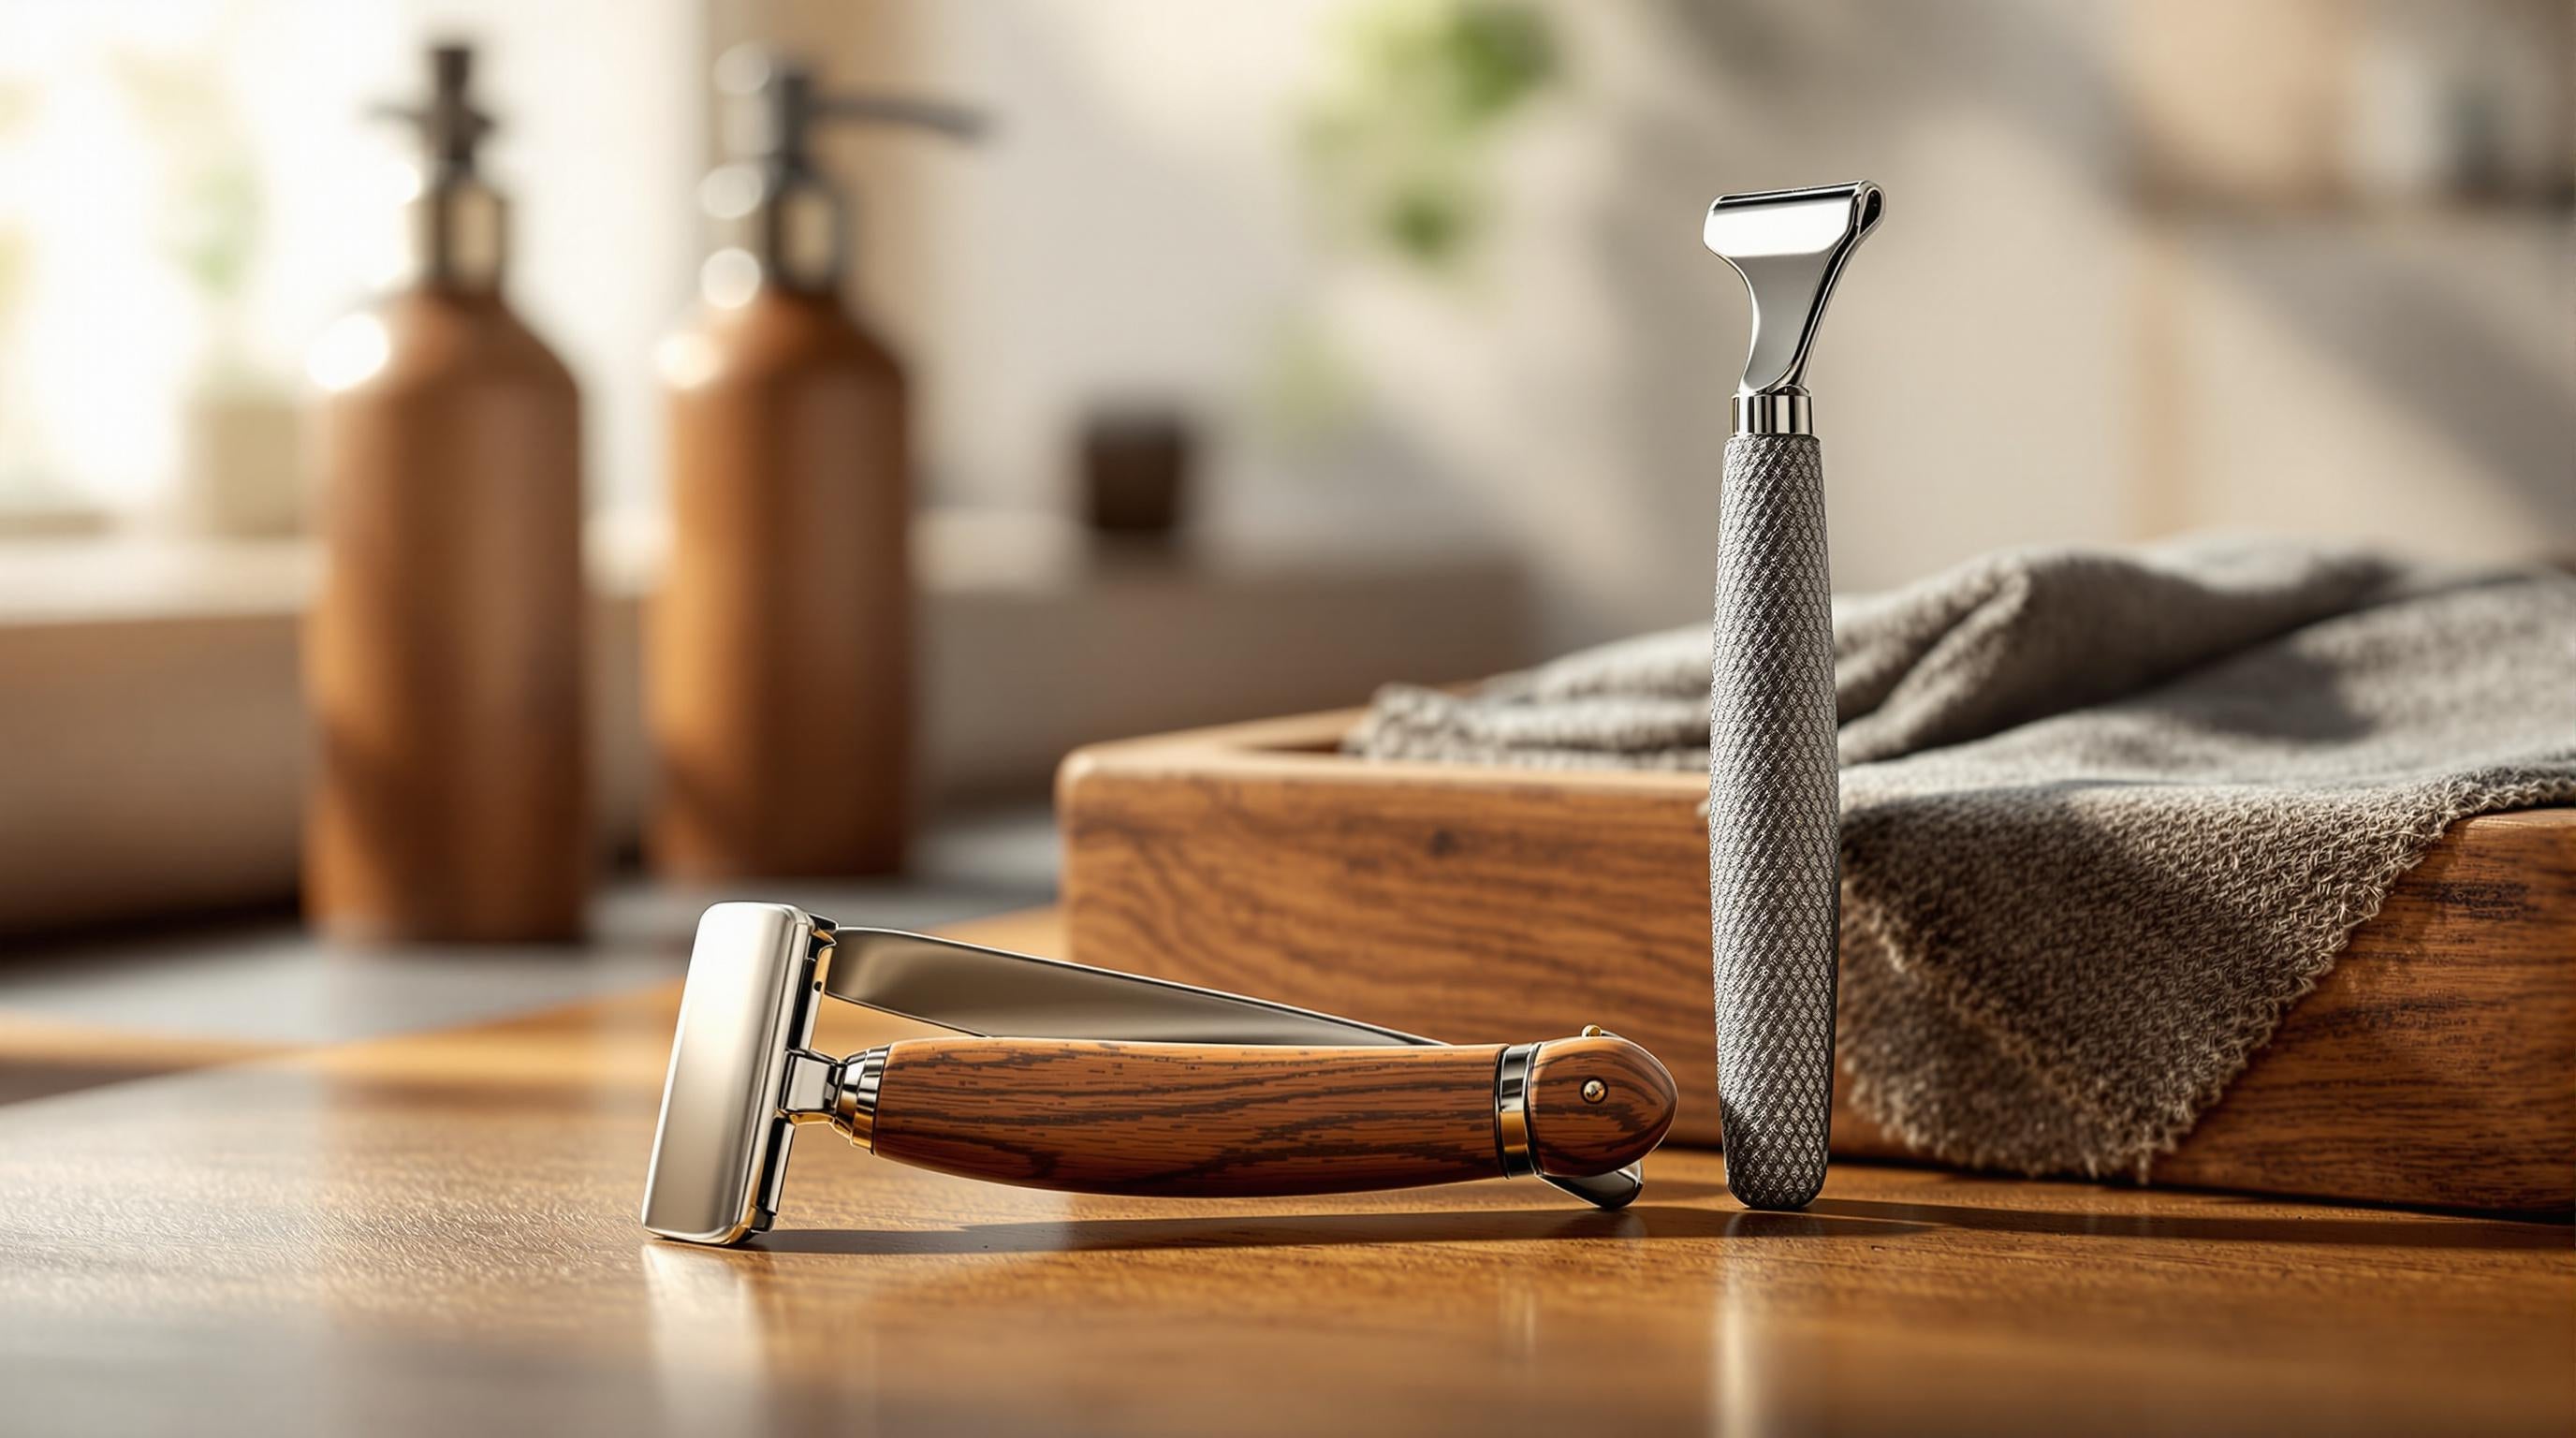
Traditional straight razors come with a 3-3.5" high-carbon steel blade permanently attached to handles made from materials like horn, bone, or stabilized wood composites. On the other hand, shavettes use disposable 1.5" blades housed in stainless steel or aluminum holders. While traditional razors are crafted for durability and longevity, shavettes focus on practicality. The full-length blade and weighted handle of straight razors allow for smooth, controlled strokes, especially over larger areas.
"The shavette is an excellent bridge between cartridge razors and traditional straight razors. It offers much of the precision of a straight razor with the convenience of disposable blades." - Larry Olmsted, Forbes Contributor
Advantages and Disadvantages of Each Type
| Feature | Traditional Straight Razor | Shavette |
|---|---|---|
| Initial Cost | $100-300 | $20-100 |
| Maintenance | Regular stropping, periodic honing | Simple blade replacement |
| Learning Curve | Extensive training required | Moderate learning period |
| Precision Work | Excellent for full-face shaves | Superior for detailed lines |
| Hygiene | Requires thorough sterilization | Built-in through disposable blades |
| Sustainability | Long-lasting with minimal waste | Regular blade disposal needed |
The Dovo Shavette, with a 4.4/5 rating from over 3,700 Amazon reviews, highlights the rising popularity of disposable blade systems, especially among professionals.
Choosing the Right Razor
Deciding between these tools depends on your professional needs and client demands:
For busy barbershops, shavettes are a practical choice. Their quick blade changes and low maintenance make them ideal for high-volume environments. They’re especially effective for beard shaping and intricate hair designs, thanks to their precision.
Traditional straight razors, however, are perfect for luxury barbershops that emphasize premium services. While they need more care, they offer unmatched control for full-face shaves. Their weight and balance allow for smoother strokes with less pressure, which may reduce skin irritation for clients. Plus, with proper care, they can last a lifetime.
"While shavettes are more forgiving for beginners, nothing beats the control and satisfaction of mastering a traditional straight razor for the closest possible shave." - Mark Herro, Executive Editor, Sharpologist
Many professionals choose to keep both on hand: traditional razors for full shaves and shavettes for detailed work, ensuring they can meet a variety of grooming needs.
Tools and Preparation for Straight Razor Shaving
Selecting Razors and Accessories
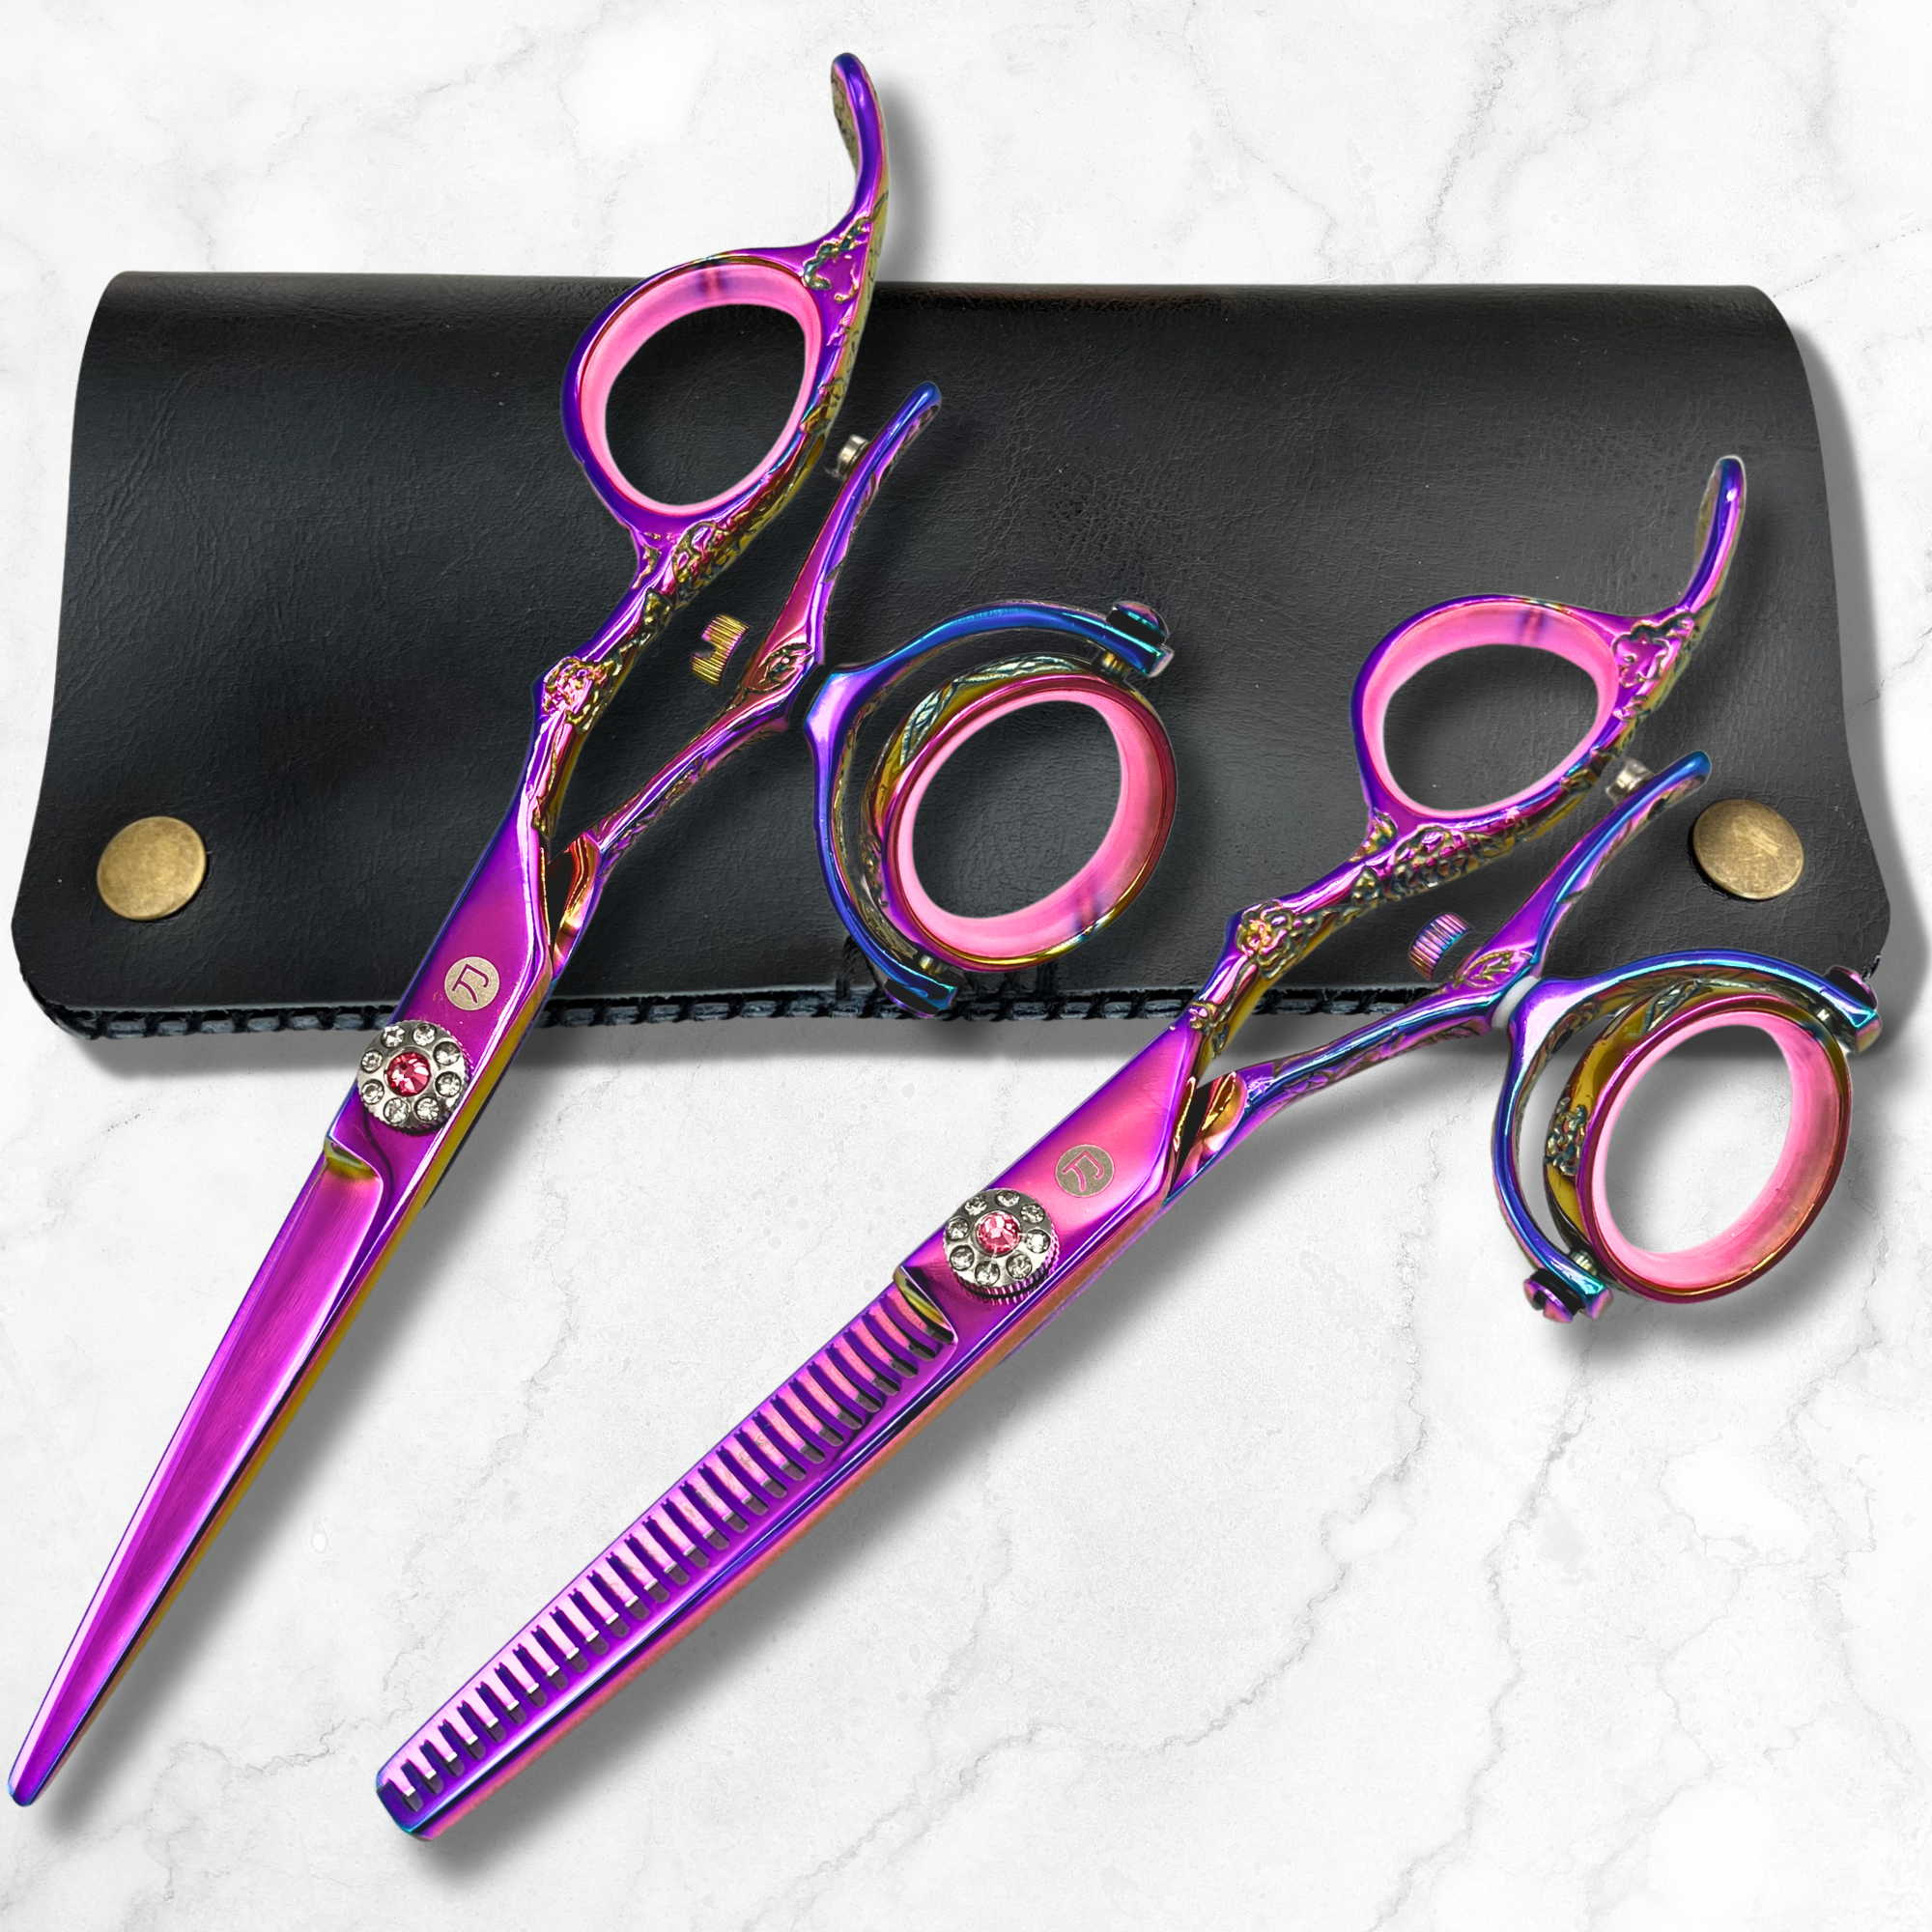
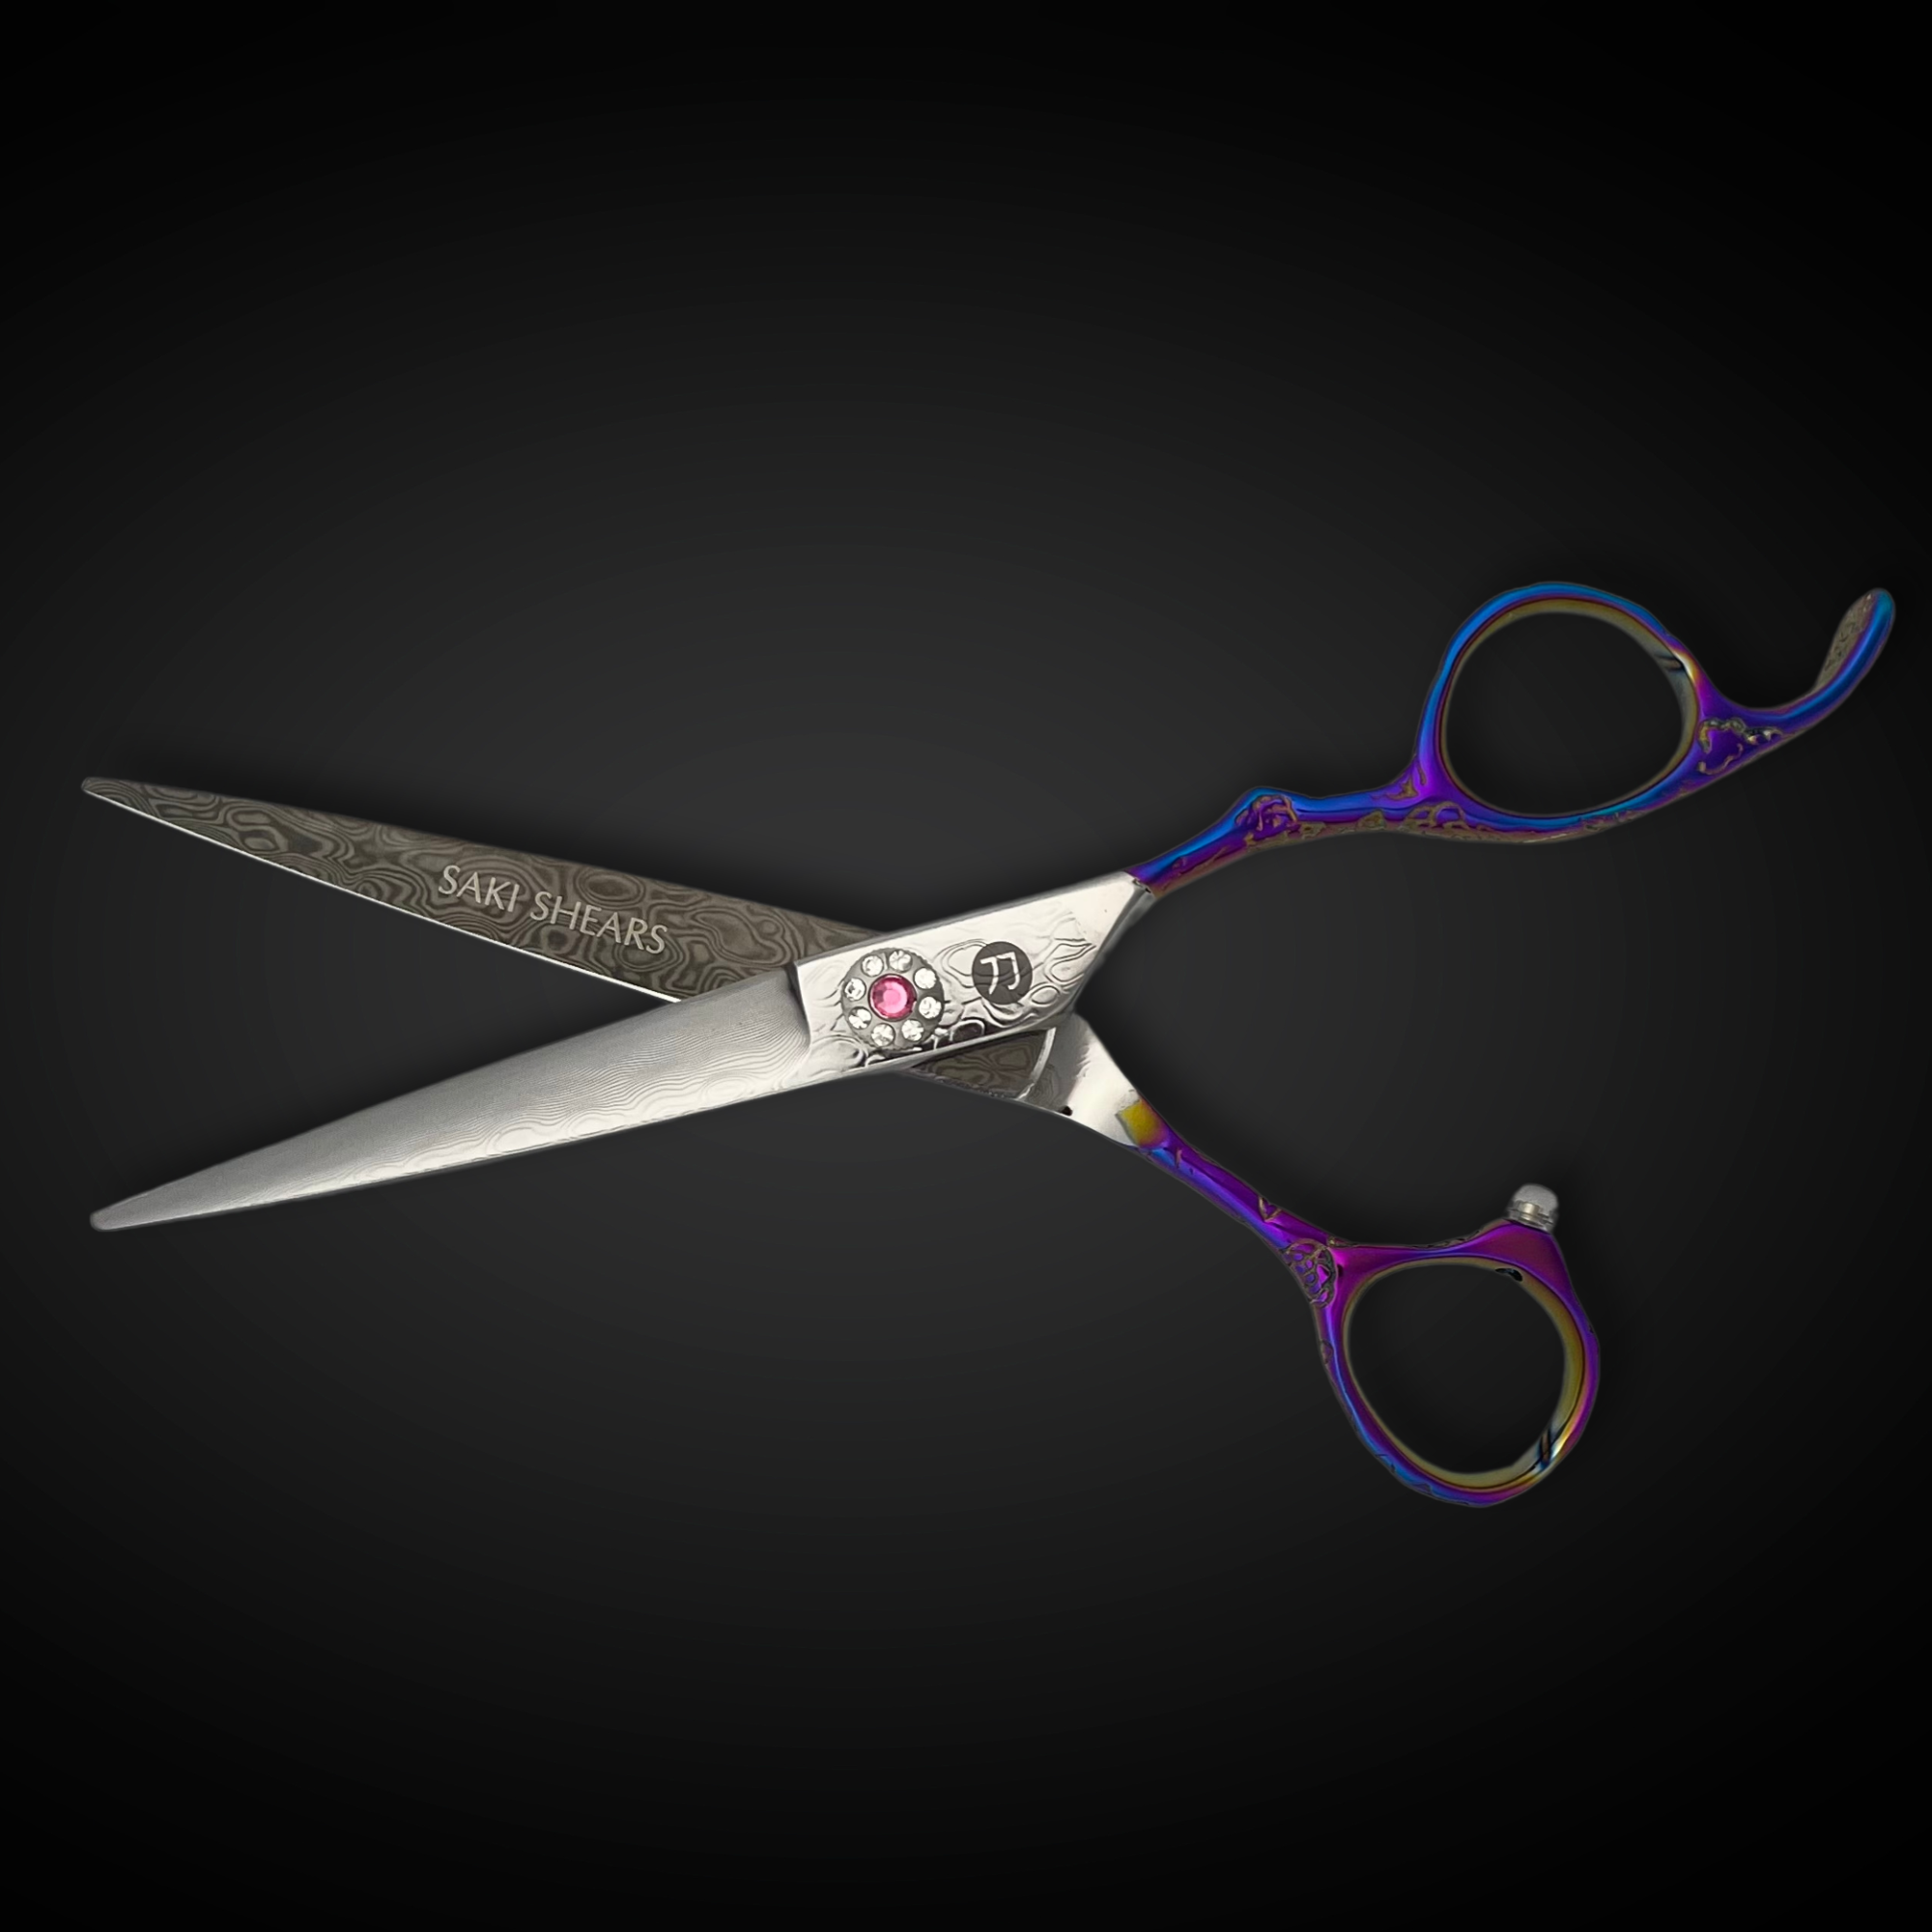
The right tools make all the difference in achieving professional-level results. For traditional straight razors, go for a full hollow ground blade between 5/8" and 7/8" wide, made from high-carbon steel. For instance, the Saki Katana, with its 7/8" Japanese steel blade, stands out as a top choice for experienced barbers who value precision. Another popular option is the Dovo Shavette, known for its quality and craftsmanship.
Here’s a quick comparison of the essential tools for traditional razors versus shavettes:
| Tool Type | Traditional Razor Setup | Shavette Setup |
|---|---|---|
| Primary Tool | High-carbon steel blade (5/8"-7/8") | Holder with disposable blades |
| Brush | 24mm Silvertip badger (e.g., Simpsons Chubby 2) | 24mm Silvertip badger |
| Strop | 2" x 20" leather strop | Not required |
| Bowl | Textured lather bowl | Textured lather bowl |
| Safety Items | Styptic pencil, alum block | Blade bank, alum block |
Pre-Shave Preparation
Getting your skin ready is key to a smooth and effective shave. Master barber Eric Malka stresses the importance of preparation, starting with a good cleanse. Use a gentle facial cleanser to remove oil and dirt. Next, apply a hot towel to your face for 2-3 minutes - this softens your facial hair and opens up pores. Afterward, massage pre-shave oil into your skin to enhance the razor's glide and provide extra protection.
"Proper preparation is 90% of a great shave. Take the time to soften your beard and create a rich lather, and you'll see a dramatic improvement in your shaving experience."
Creating Lather
Start by soaking your shaving brush in warm water for about 1-2 minutes. Then, create your lather in a textured bowl using circular motions. Keep working it until you get a slick, stable consistency with small, tight bubbles. A good lather should feel smooth on the skin and hold up throughout the shave.
Techniques for Straight Razor Shaving
Grip and Blade Angle
Getting the right grip is key to a smooth and safe shave. Use your dominant hand to hold the razor, placing your index finger on the blade's spine and your thumb near the pivot. Let the rest of your fingers naturally wrap around the handle for balance and control.
Keep the blade at a 30-degree angle to the skin. This angle strikes the perfect balance between cutting hair effectively and protecting your skin. If you're just starting out, a visual reference tool can help you master this angle.
| Razor Type | Grip Pressure | Recommended Stroke Length |
|---|---|---|
| Traditional | Firm grip (heavier blade) | Long, flowing strokes |
| Shavette | Light grip (lighter weight) | Short, precise strokes |
| Both Types | 30-degree angle | Adjust based on facial area |
Once you've nailed the grip and angle, it's time to focus on shaving patterns for each part of the face.
Shaving Patterns
Shaving in the direction of hair growth is essential for reducing irritation. Each part of the face has its own quirks, so a planned approach is important.
"Treat each area of the face as its own unique landscape. Take a moment to plan your approach before moving to a new section." - Master barber Elena Rodriguez
"Always prioritize skin safety over closeness – multiple light passes yield better results than aggressive strokes." - Lisa Chen
While basic techniques work for most areas, some spots require extra care and precision.
Shaving Difficult Areas
"Take your time in these areas. It's better to make multiple light passes than to risk cuts with heavy-handed strokes." - Tony Chen
Here’s how to handle tricky spots:
- Jawline: Use your free hand to stretch the skin tight, and make short strokes (no longer than 2 inches).
- Adam's apple: Have the client swallow to shift the skin, then use gentle diagonal strokes.
- Ears: Carefully fold the ear back and use the razor tip with a shallow 15-degree angle.
These techniques ensure a smooth shave, even in the most challenging areas.
Comparing Between Shavette vs Straight Razor
Maintaining Straight Razors
Keeping your straight razor in top condition is essential for achieving a smooth shave and extending its lifespan. Whether you prefer a traditional straight razor or a shavette, regular maintenance is key.
Stropping and Honing
Daily stropping is the backbone of razor upkeep. It ensures the blade stays sharp and ready for use. For high-carbon steel blades, you’ll also need to hone them periodically to maintain their edge. When stropping, hold the razor with the spine against the strop at a 20-30 degree angle, applying light pressure. Make 15-20 passes per side before each shave.
| Maintenance Task | Frequency | Key Tips |
|---|---|---|
| Stropping | Before each use | Use light pressure, 15-20 passes |
| Basic Honing | Every 60-100 shaves | Start with a 4000 grit stone |
| Deep Honing | As needed | Use finer stones (8000-12000 grit) |
"Most professionals need to hone their razors every 60-100 shaves, but this varies based on usage and care." - Master barber John Smith
For honing, begin with a 4000-grit waterstone and move to finer grits, using an X-pattern stroke. Test the sharpness between sets. If the razor tugs during shaving or fails the hanging hair test, it’s time for honing.
Replacing Shavette Blades
Replacing shavette blades requires precision, much like shaving sensitive areas. Follow these steps for safe blade replacement:
- Open the blade compartment with the thumb lever.
- Dispose of the old blade in a sharps container.
- Insert the new blade edge-first.
- Securely snap the closure.
Cleaning and Storage
Cleaning and storing your razor properly is the final step in its care routine. Research shows carbon steel blades retain their edge better when maintained correctly.
Key cleaning and storage tips:
- Rinse the razor thoroughly with warm water after each use.
- Apply a thin layer of rust-preventive oil.
- Store the razor in a leather pouch at around 70°F/21°C with no more than 50% humidity.
For professional use, ensure client safety by sanitizing the razor:
- Wash with hot water and a disposable cloth.
- Immerse the razor in barbicide for 10 minutes.
- Rinse and dry completely.
- Apply protective oil before storing.
Proper maintenance not only ensures a better shave but also helps protect your investment in quality shaving tools.
Conclusion: Mastering Straight Razor Shaving
Straight razor shaving is more than just a skill - it's a blend of timeless technique and the demands of modern grooming. Barbers who specialize in this craft often see a boost in their professional worth, with many charging 15-20% more for this premium service.
Achieving mastery takes time, precision, and the right tools. While it may take 6-12 months to become proficient, reaching an expert level can take years of dedication. Investing in high-quality equipment and maintaining it properly is key to delivering top-notch results.
| Mastery Indicator | Benchmark |
|---|---|
| Service Duration | 20-30 minutes for a full shave |
| Client Retention | 78% higher satisfaction among informed clients |
| Skill Development | 6-12 months to reach proficiency |
| Advanced Mastery | 2-3 years of regular practice |
FAQs
For those looking to refine their straight razor technique, here are answers to some common questions.
What is the best technique for a straight razor?
Mastering a straight razor starts with a proper grip and maintaining the correct angle (refer to the Techniques section). Let the razor's natural weight do the work - avoid forcing it. Each facial area requires a slightly different approach:
| Area | Technique | Adjustment |
|---|---|---|
| Cheeks | Long, smooth strokes | Shave in the direction of hair growth |
| Chin/Jawline | Short strokes | Use your free hand to stretch the skin |
| Upper Lip | Very short strokes | Pull the skin taut for precision |
| Neck | Light downward strokes | Map out hair growth patterns first |
Common mistakes to watch out for include applying too much pressure, inconsistent angles, rushing through the shave, or neglecting proper preparation.
When hygiene is a priority - like in commercial settings - shavettes are a better choice, as noted in the razor selection guidelines.
These techniques, combined with good maintenance habits and the right tools, will help you achieve consistent and effective results.