
How to Perfect the Face-Framing Layers Look
Face-framing layers are a timeless haircut technique that enhances your natural features by adding dimension and movement to your hairstyle. Whether you have straight, wavy, or curly hair, these layers can be tailored to suit different face shapes and hair textures. Here's what you need to know:
- What They Are: Shorter hair sections around the face that contour and highlight your features.
- Why They Work: They soften sharp angles, add balance, and grow out naturally.
- How to Customize: Adjust layer placement based on face shape (e.g., below the chin for round faces, at the jawline for square faces).
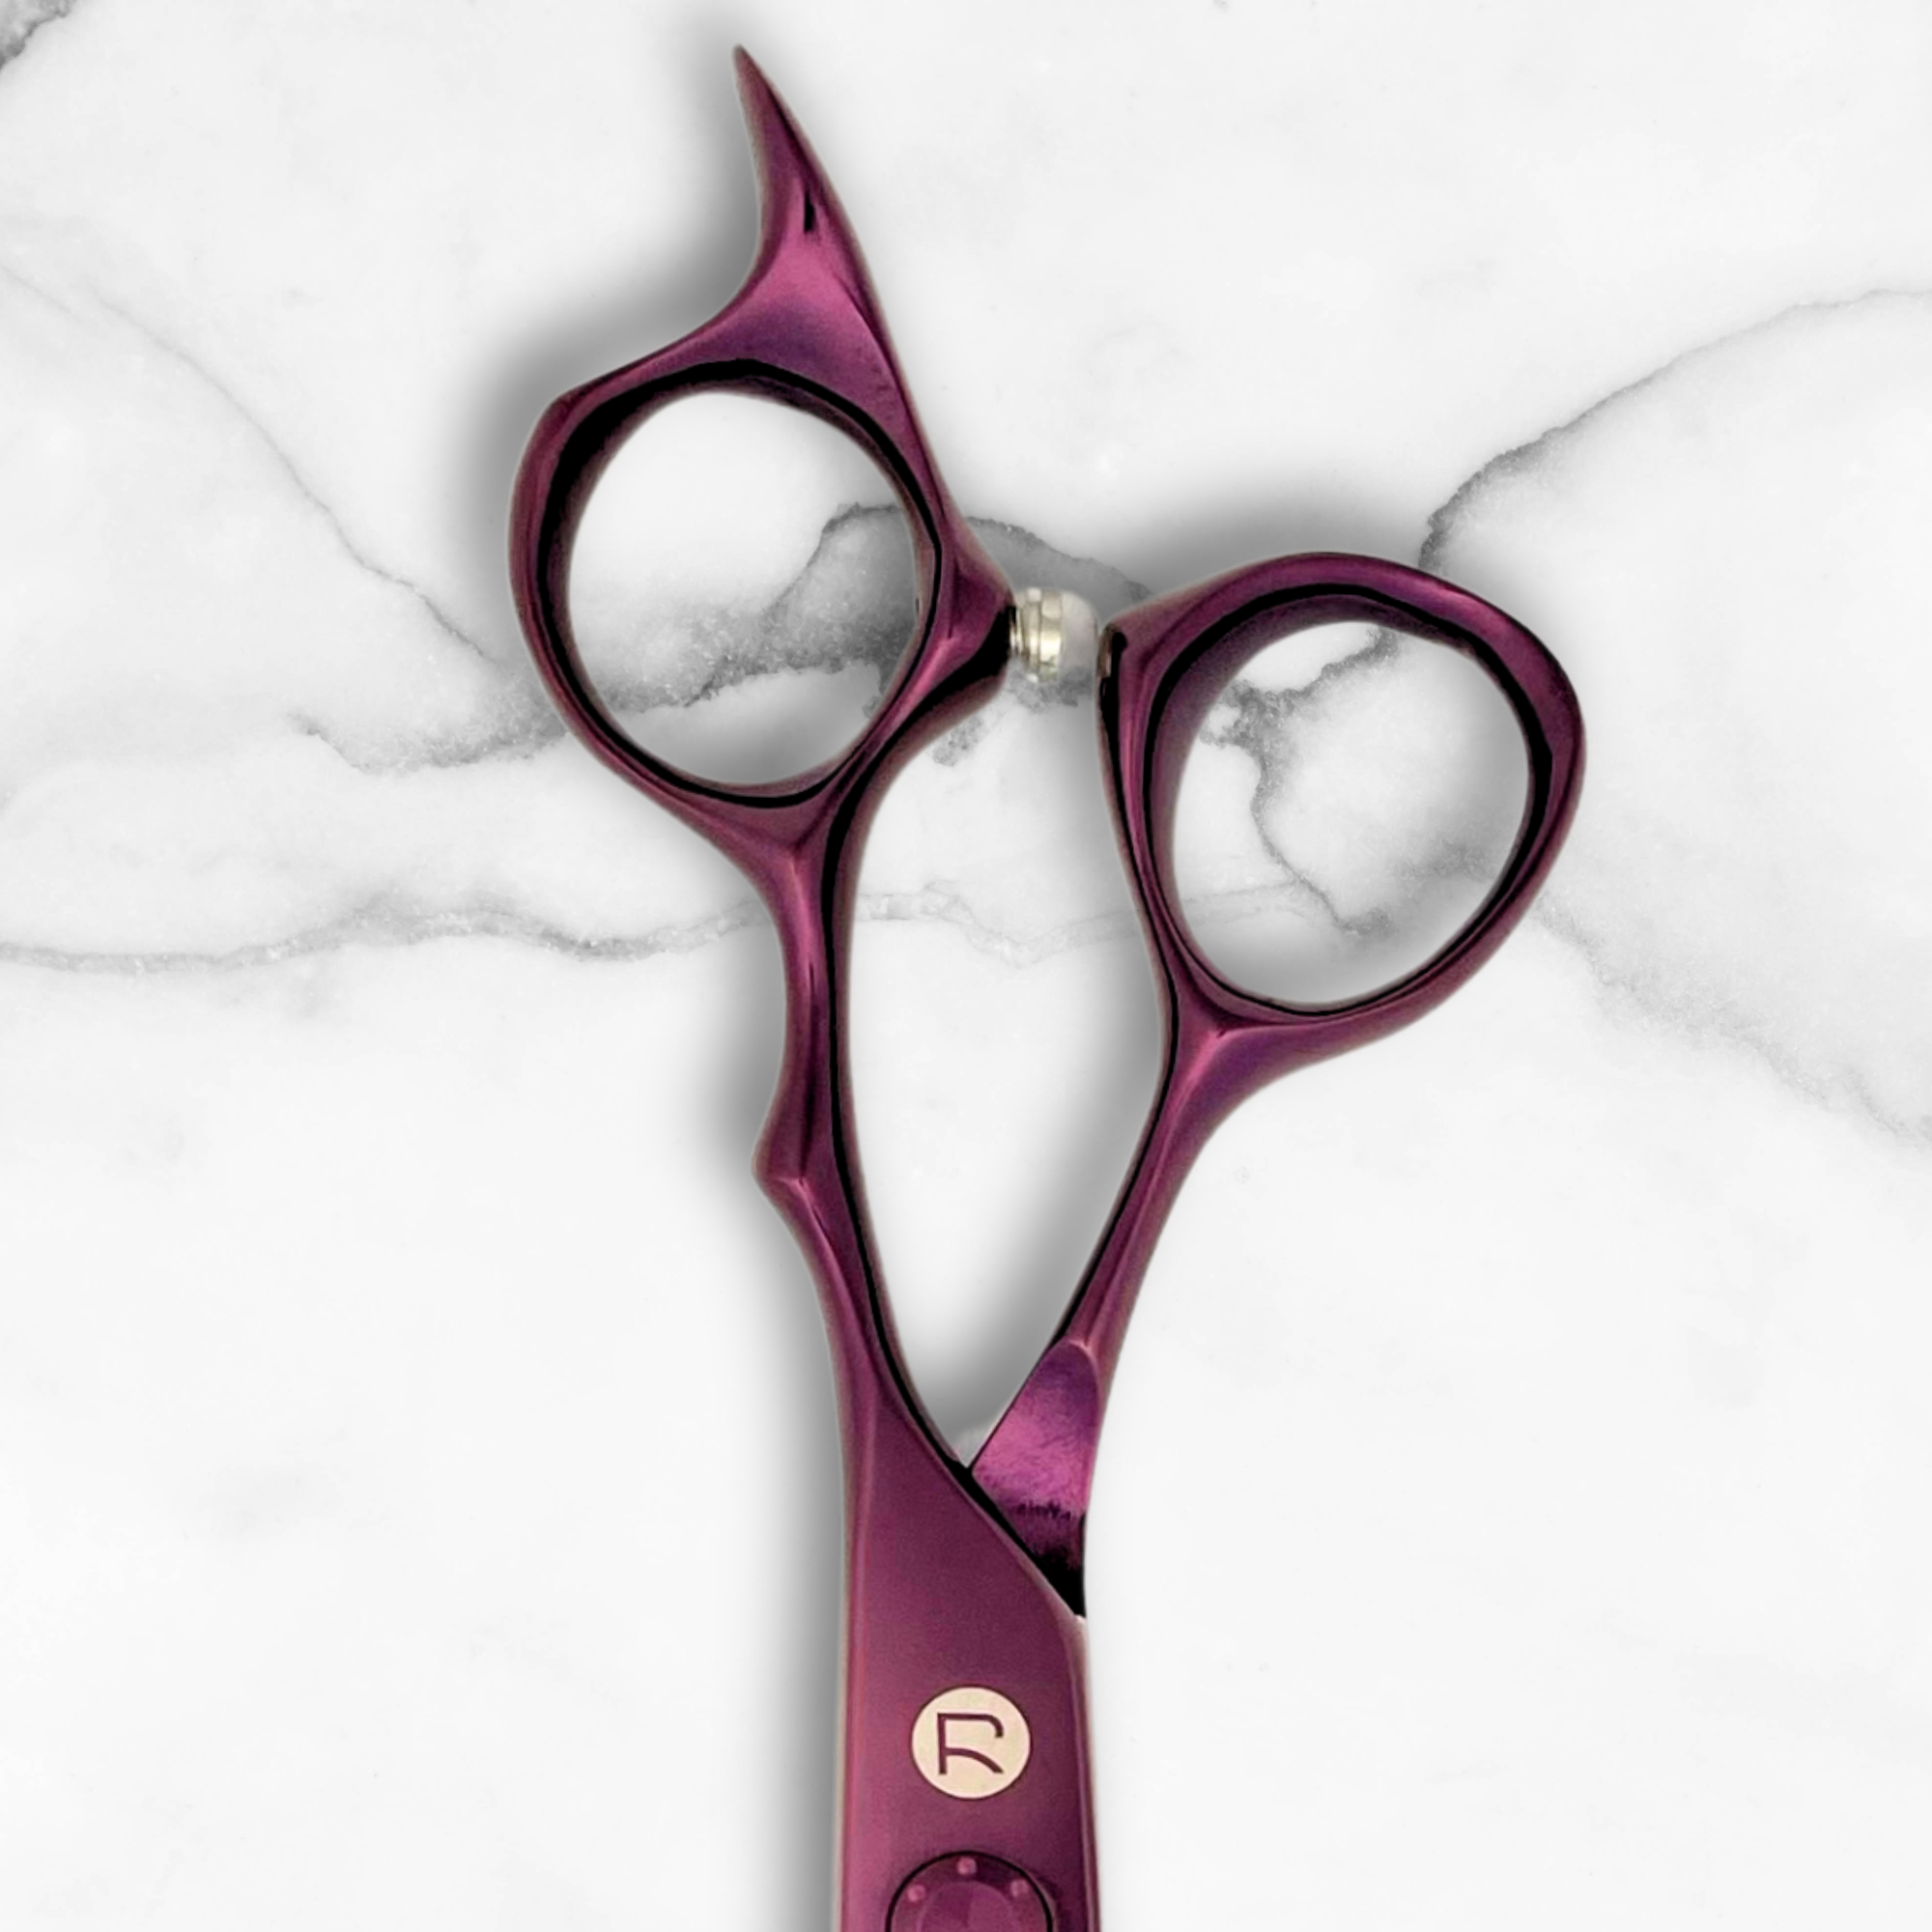
- Key Tools: High-quality shears like Saki Shears, thinning shears for blending, and proper maintenance for precision cuts.
- Styling Tips: Use heat protectants, styling creams, and regular trims (every 3–5 weeks) to keep layers fresh and polished.
Face-framing layers combine technique and creativity to deliver a personalized, flattering look for every client or individual.
Face-Framing Layers Basics
Definition and Purpose
Face-framing layers are shorter sections of hair designed to contour the face, highlight features, and add movement to your hairstyle. These layers can be tailored to suit different face shapes, making them versatile and flattering.
"Face-framing layers create a seamless blend between the hair and face and bring out shape and balance, giving your hairstyle a polished, finished look." - Angie Ceja, Hairstylist and Zotos professional educator
Choosing Layers for Different Face Shapes
The placement of face-framing layers plays a key role in enhancing a client’s features. Adjusting the layers based on face shape can dramatically change the final look.
| Face Shape | Layer Placement | Effect |
|---|---|---|
| Round | Below the chin | Adds length and vertical lines |
| Square | Soft, wispy layers at the jawline | Softens sharp angles |
| Heart | Focus on jawline | Balances a narrower lower face |
| Oval | Around cheekbones | Highlights natural symmetry |
"All faces can benefit from face-framing layers. The reason why is that you can customize what areas of the face are highlighted." - Serina Battaglini, Hairstylist
"Think about placement when adding face-framing layers on different face shapes to soften and enhance your features. For example, a round face looks best when layers begin lower than the chin to elongate." - Raven Hurtado, Stylist at Maxine Salon in Chicago
By carefully choosing the placement, stylists can create a balanced and personalized look for every client.
Working with Different Hair Types
Beyond face shape, hair texture also influences how face-framing layers should be cut. Straight hair benefits from precise cuts that add movement and volume, while wavy hair thrives with layers that define the waves without weighing them down.
"Others with wavy hair also benefit from face-framing layers as they help to define the waves and prevent them from getting weighed down." - Serina Battaglini, Hairstylist
For curly or fine hair, it’s important to avoid over-thinning, as it can compromise natural volume.
"Another mistake is over-thinning or texturizing. You don't always have to texturize face-framing layers, especially with fine hair because the ends would feel finer and wispy." - Raven Hurtado, Stylist at Maxine Salon in Chicago
How to Cut Face-Framing Layers
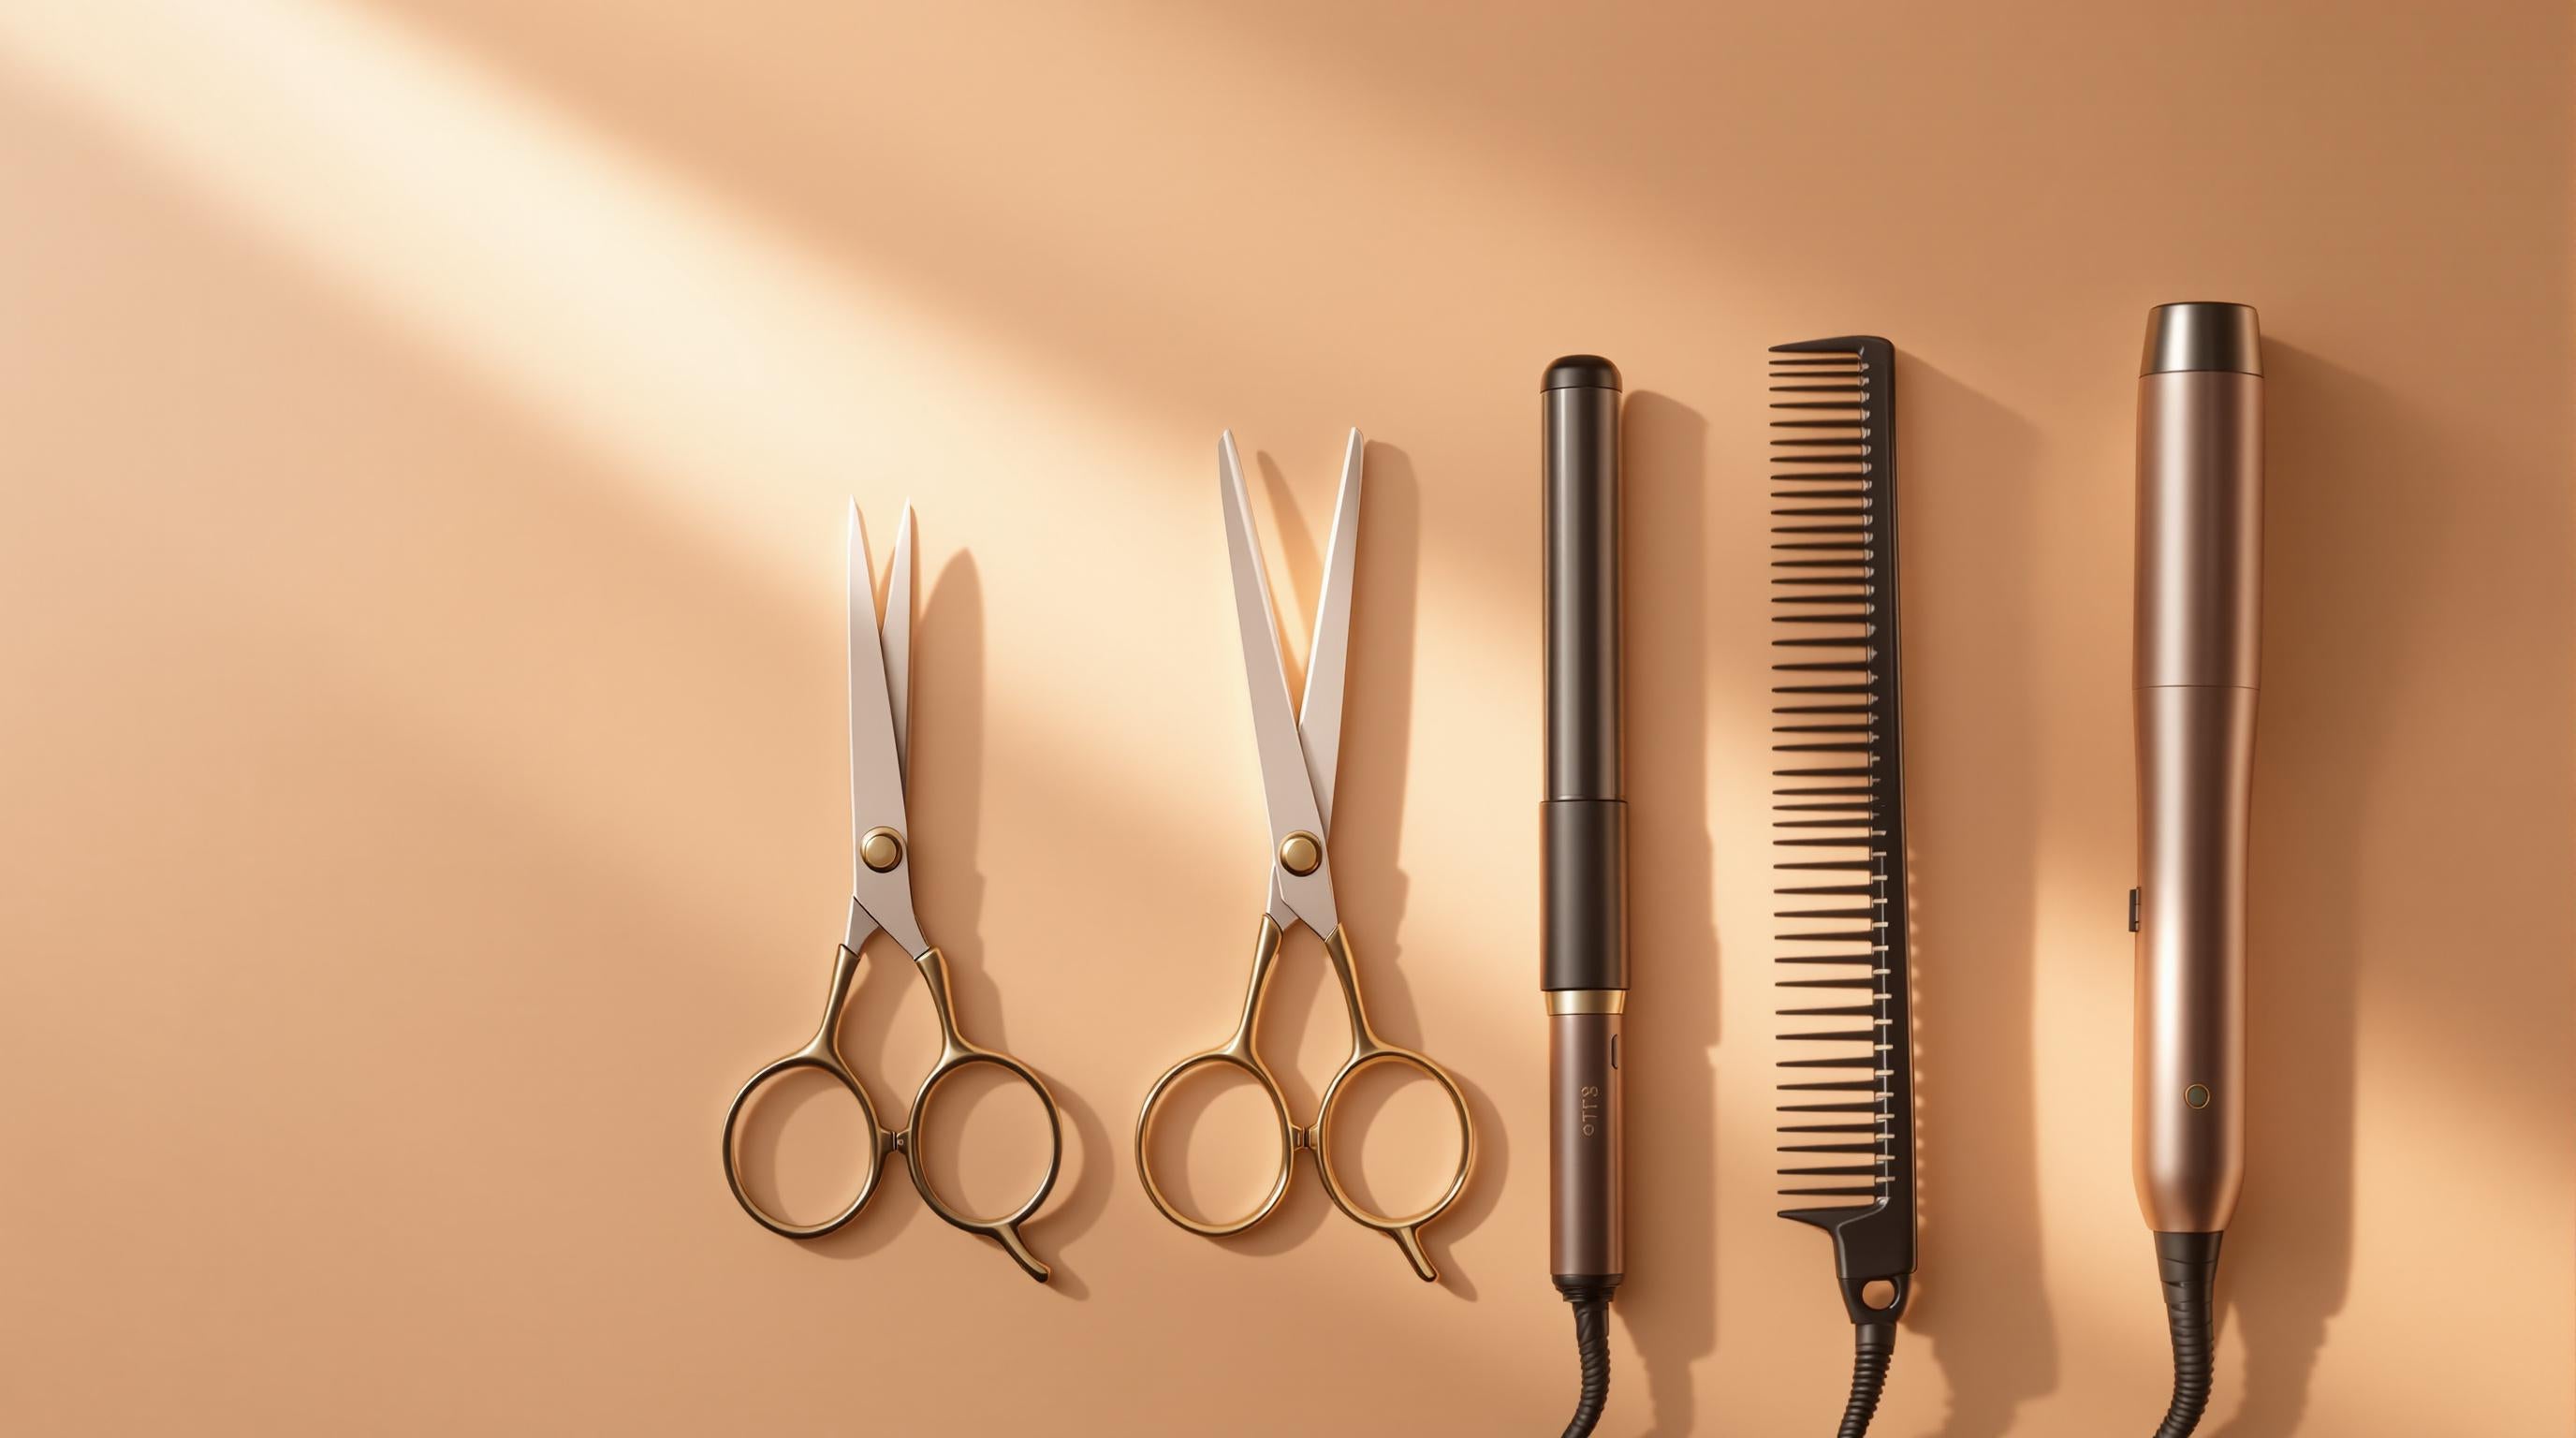
Professional Cutting Tools
Creating perfect face-framing layers starts with the right tools. Precision equipment not only improves the final look but also ensures stylists can work comfortably and efficiently.
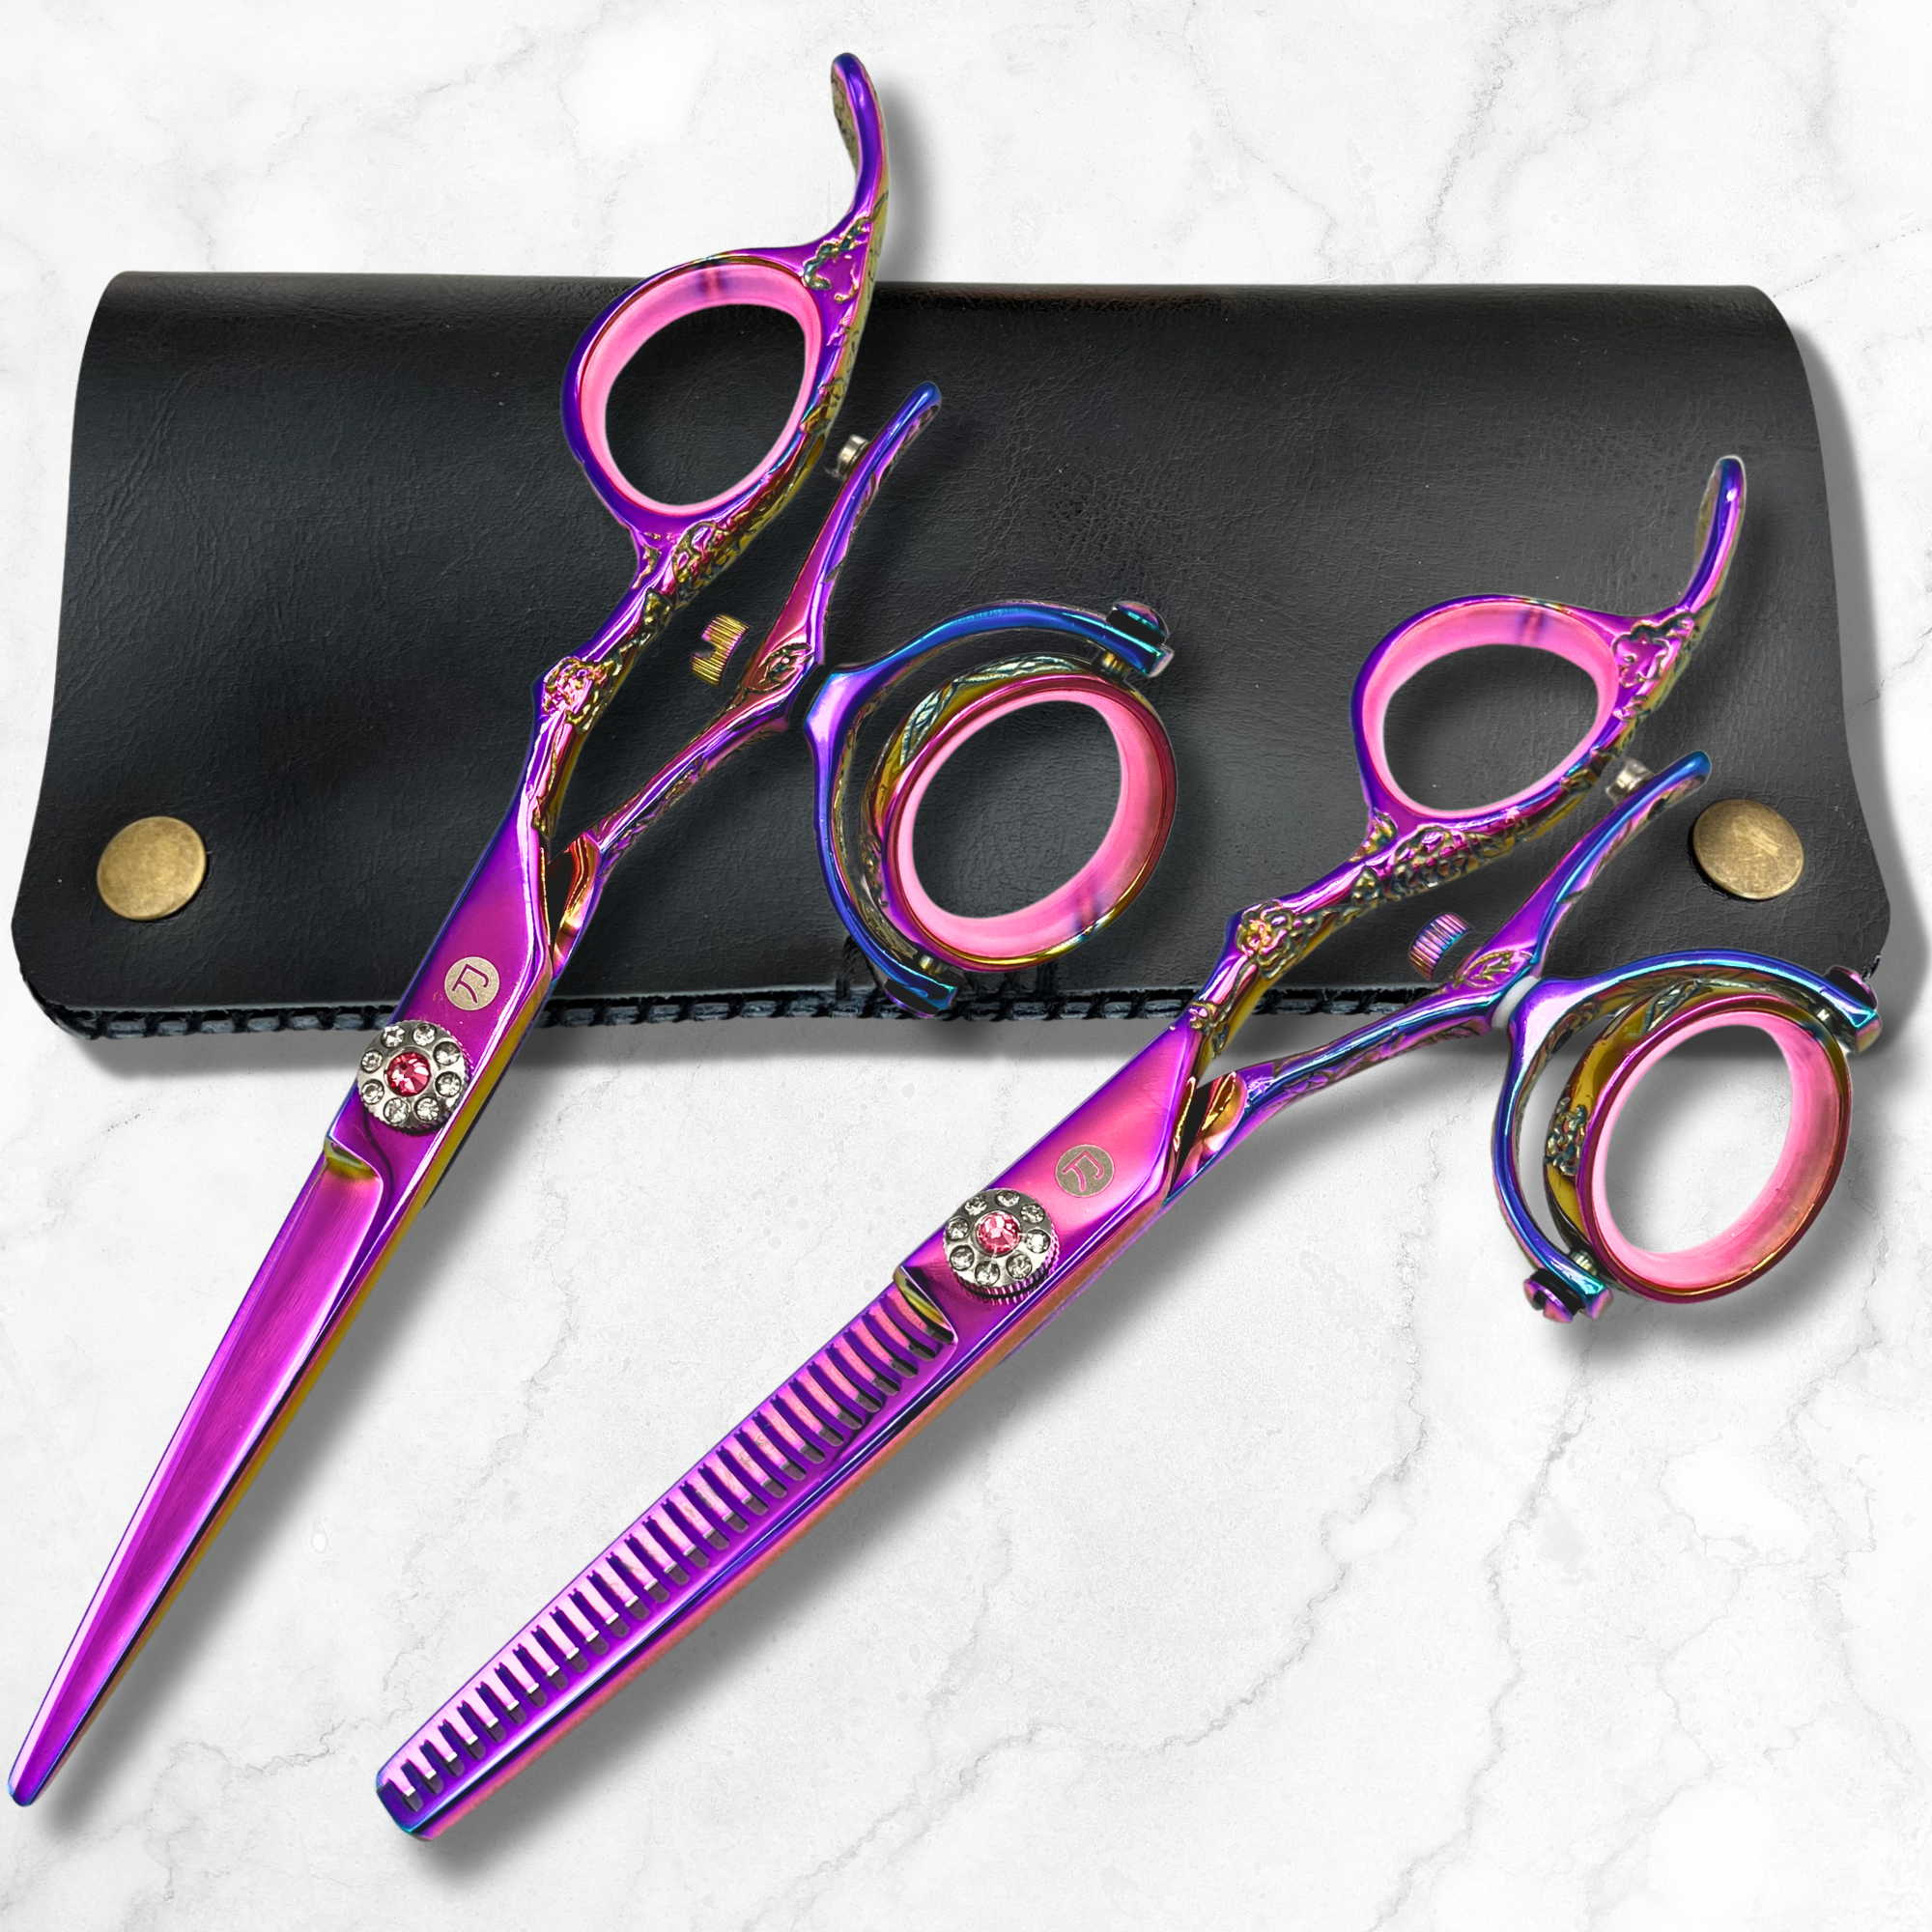
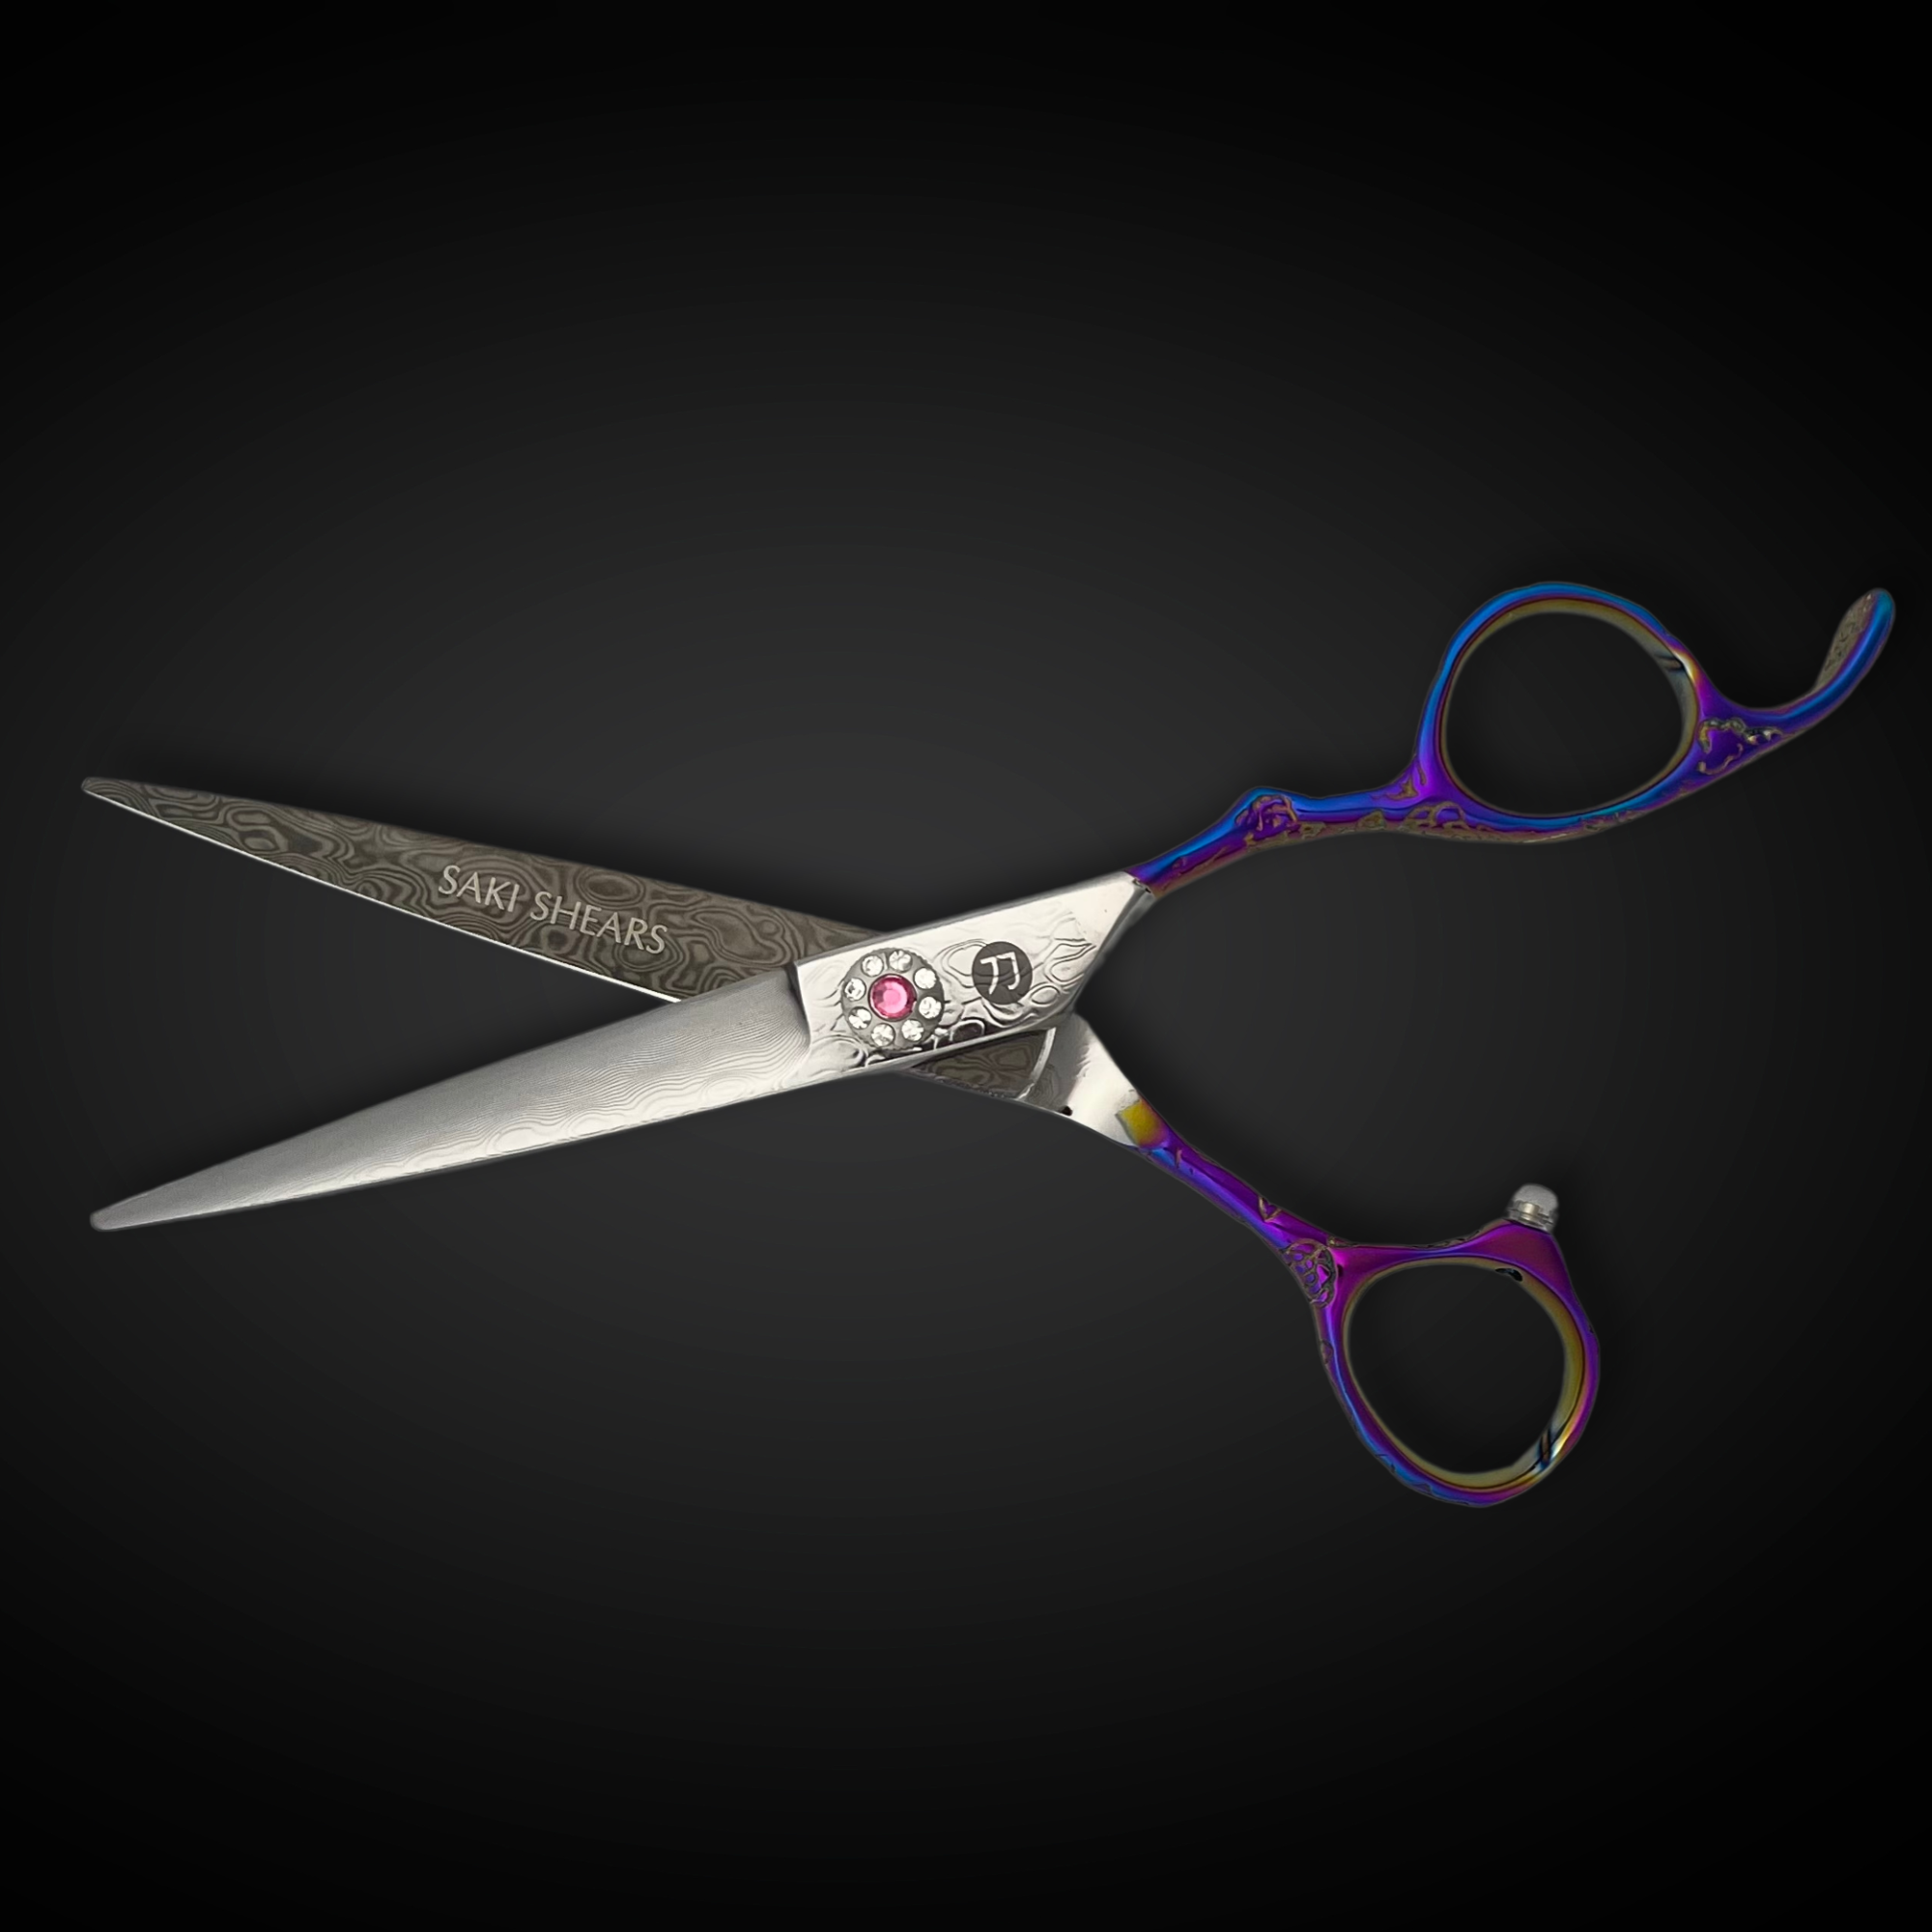
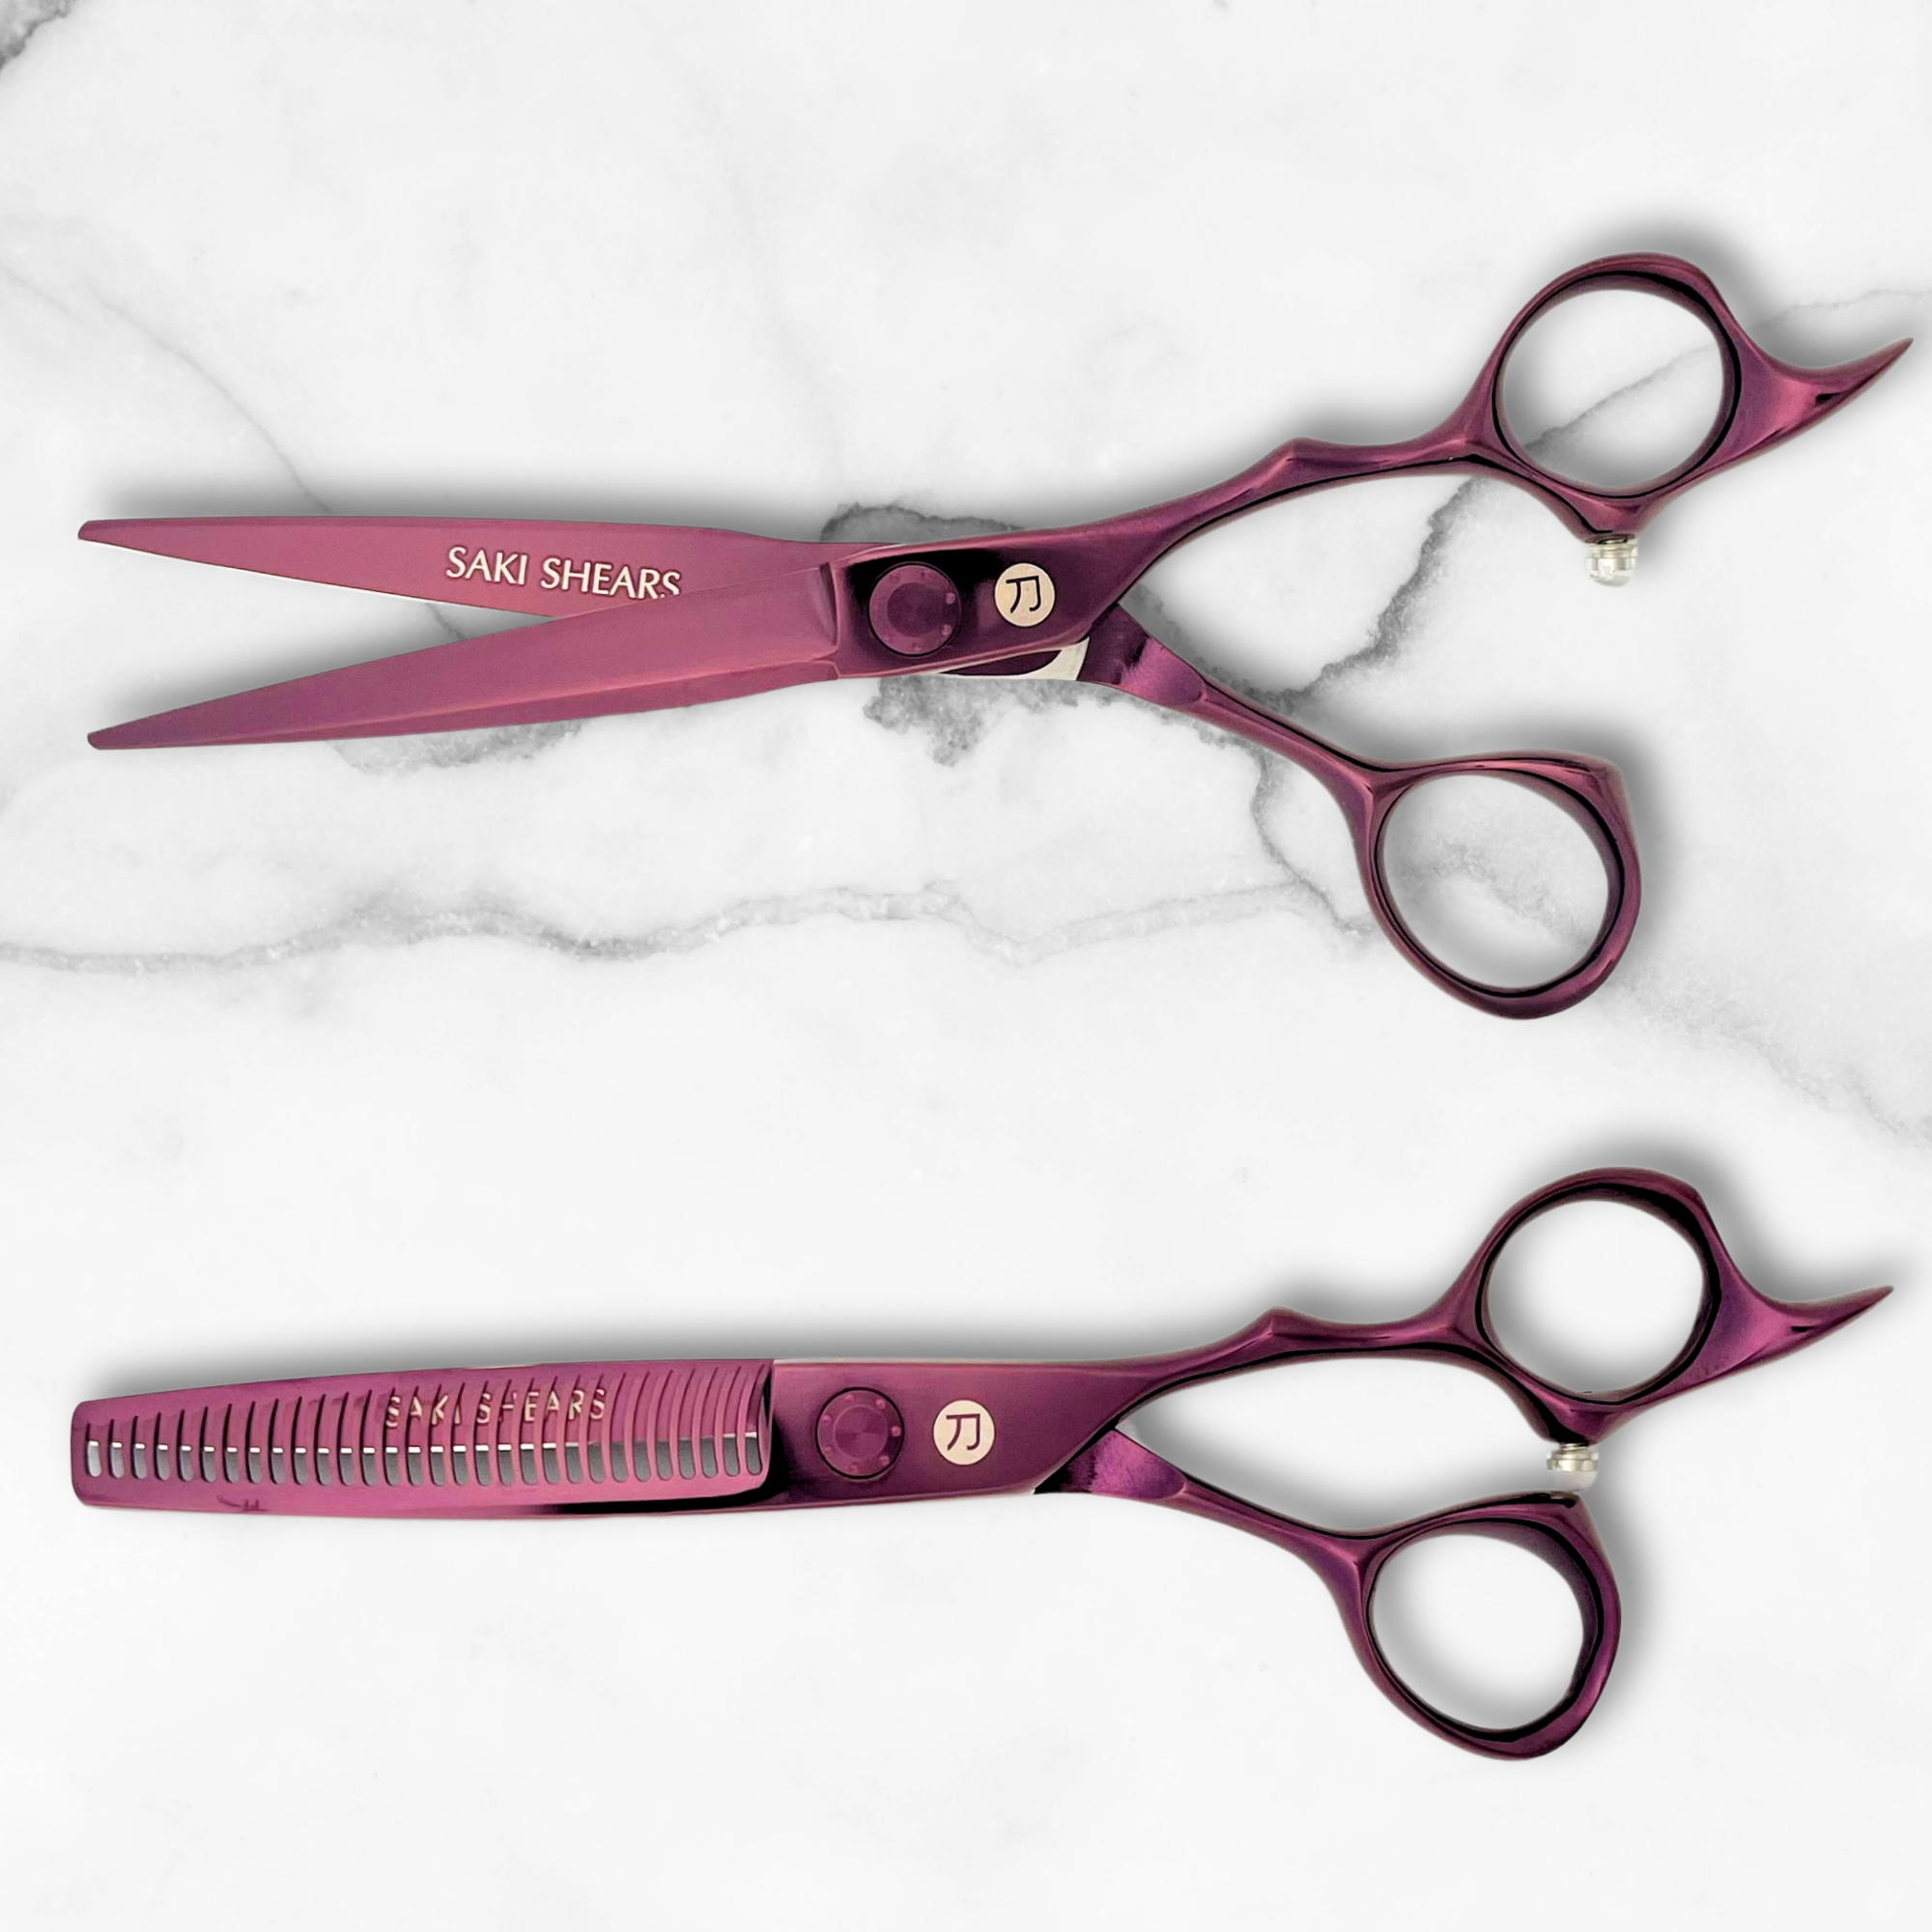
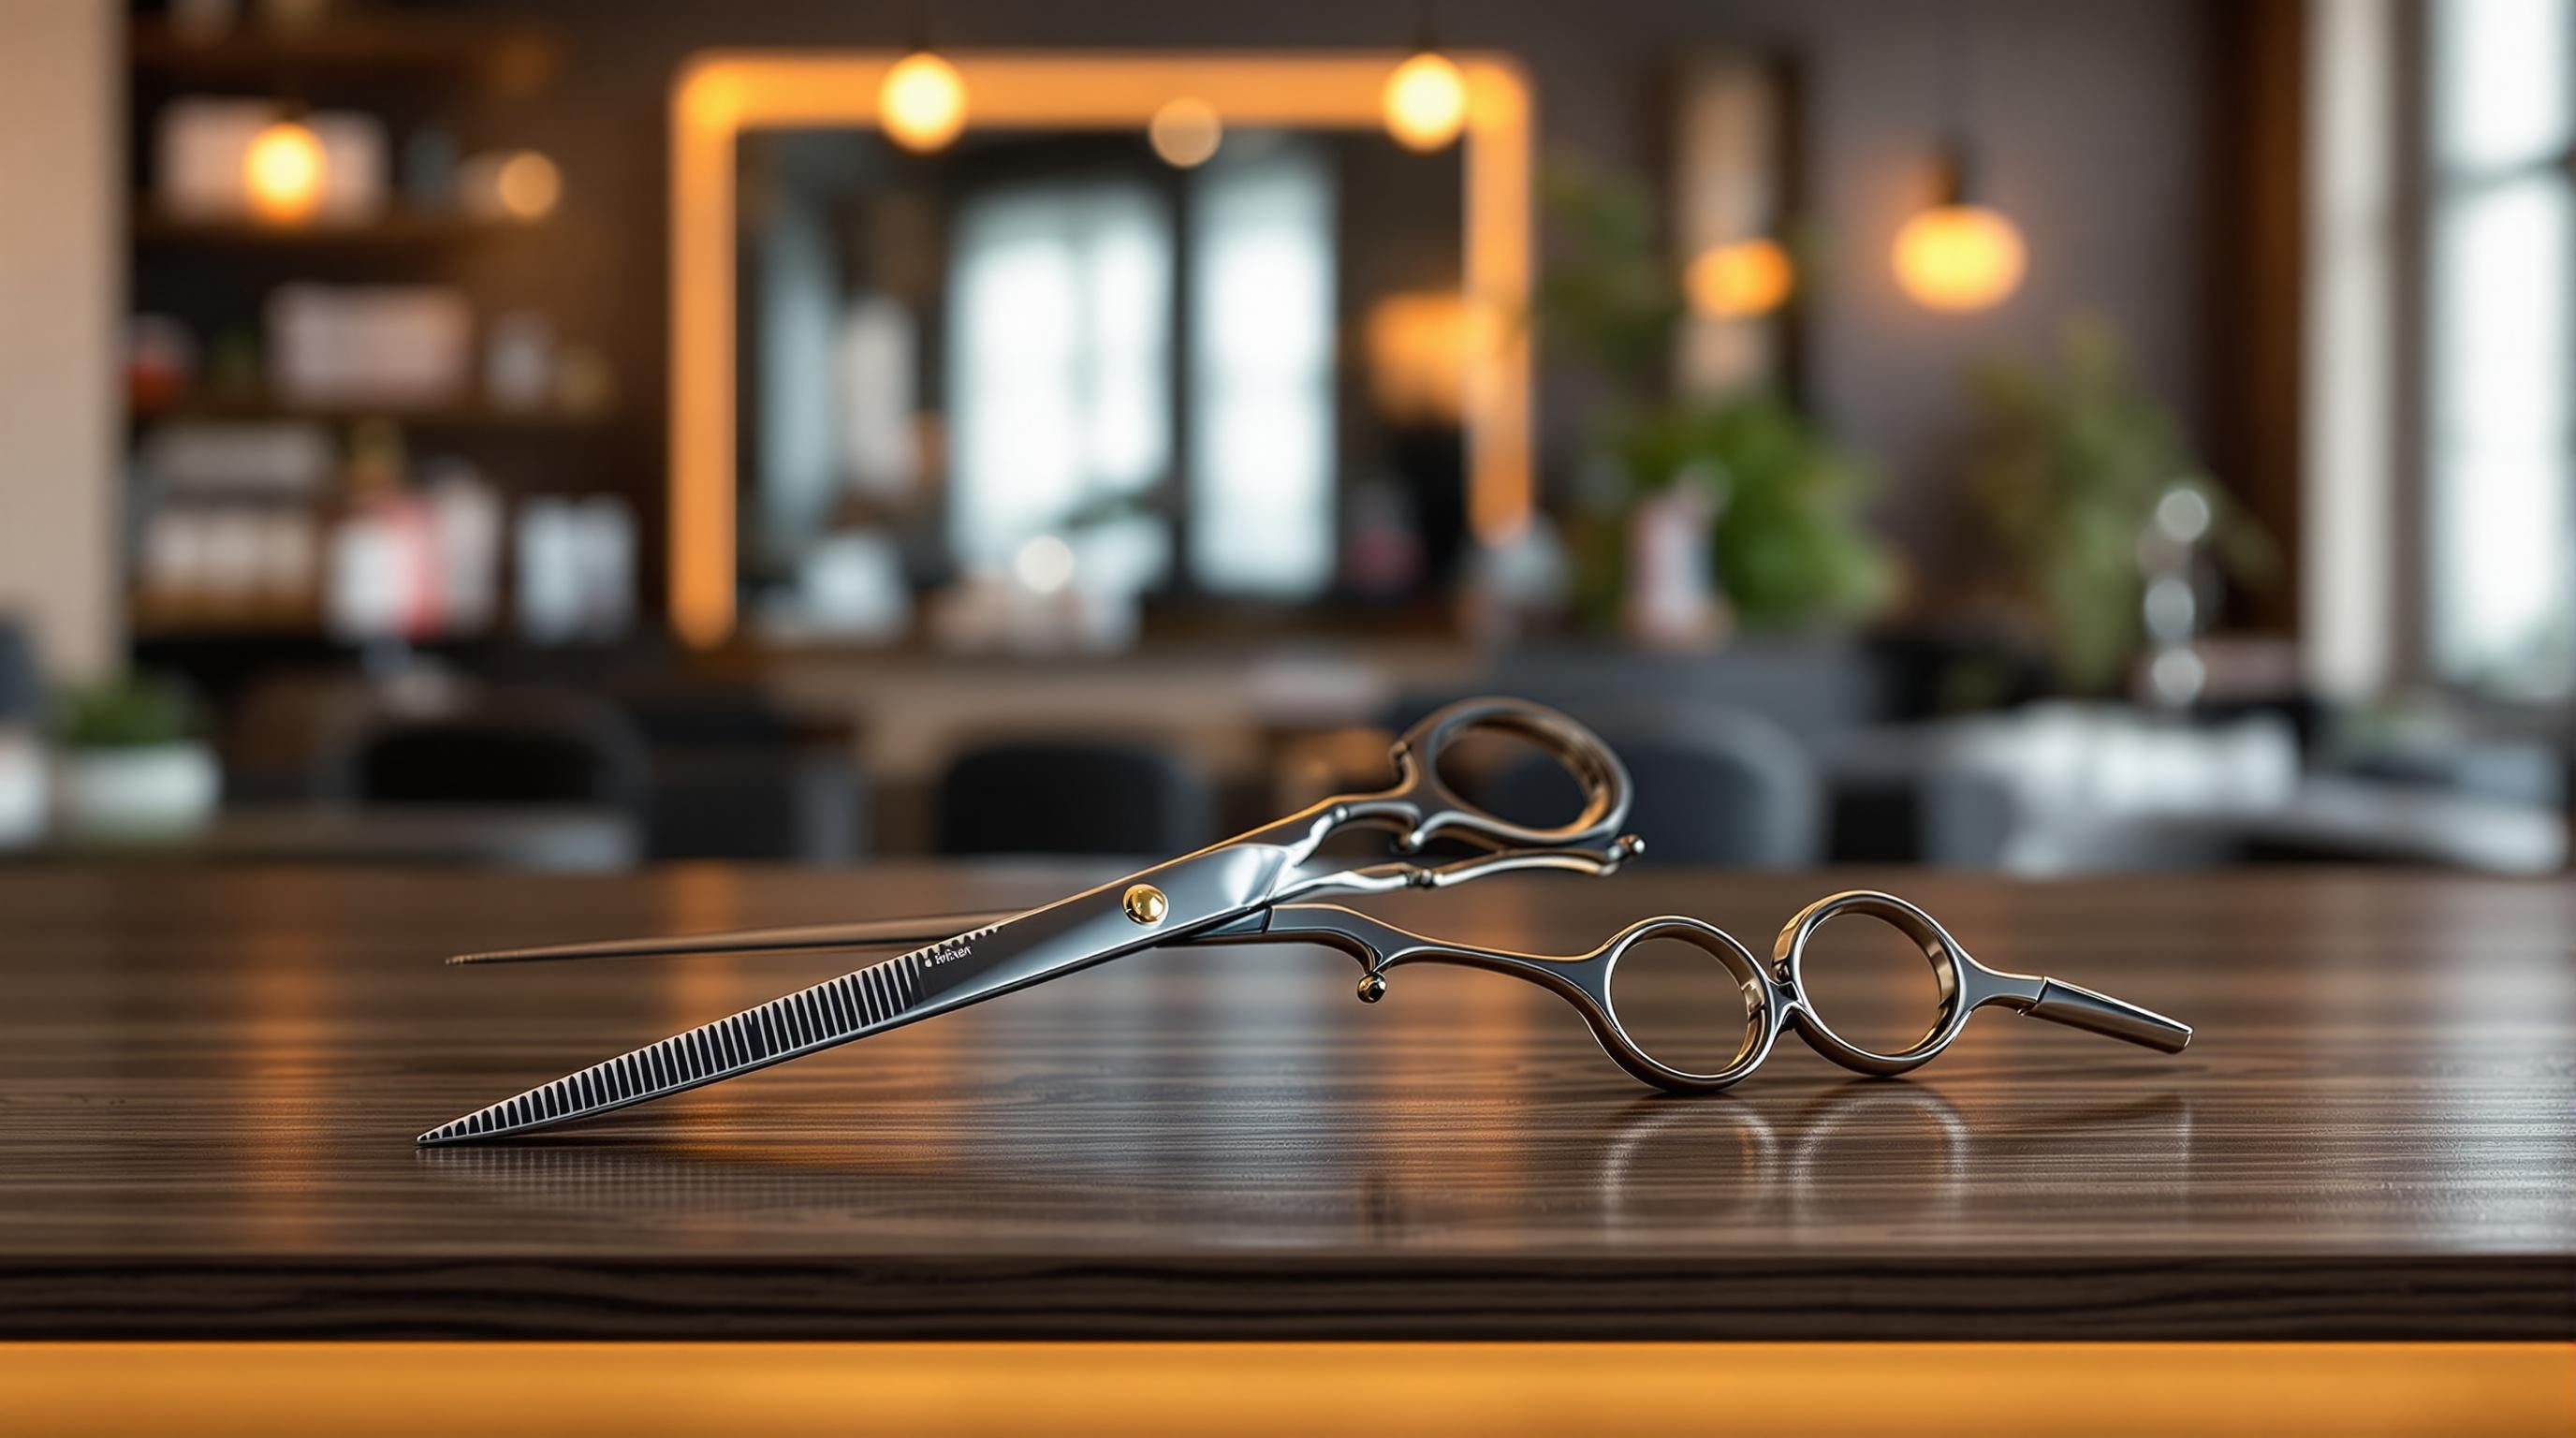
Saki Shears: Hair Cutting Tools for Professionals

Saki Shears specializes in high-quality Japanese steel tools designed for precise layering. Their product range includes several standout options:
| Shear Type | Price Range | Features |
|---|---|---|
| Basic Professional | $124.99 - $175.00 | Ergonomic grip, ultra-sharp blades |
| Mid-Range Damascus | $285.00 - $355.00 | High-grade steel, adjustable tension system |
| Premium Diamond Series | $699.00 | Damascus steel, diamond accents for durability and style |
These shears are ideal for advanced techniques, including texturizing and layering.
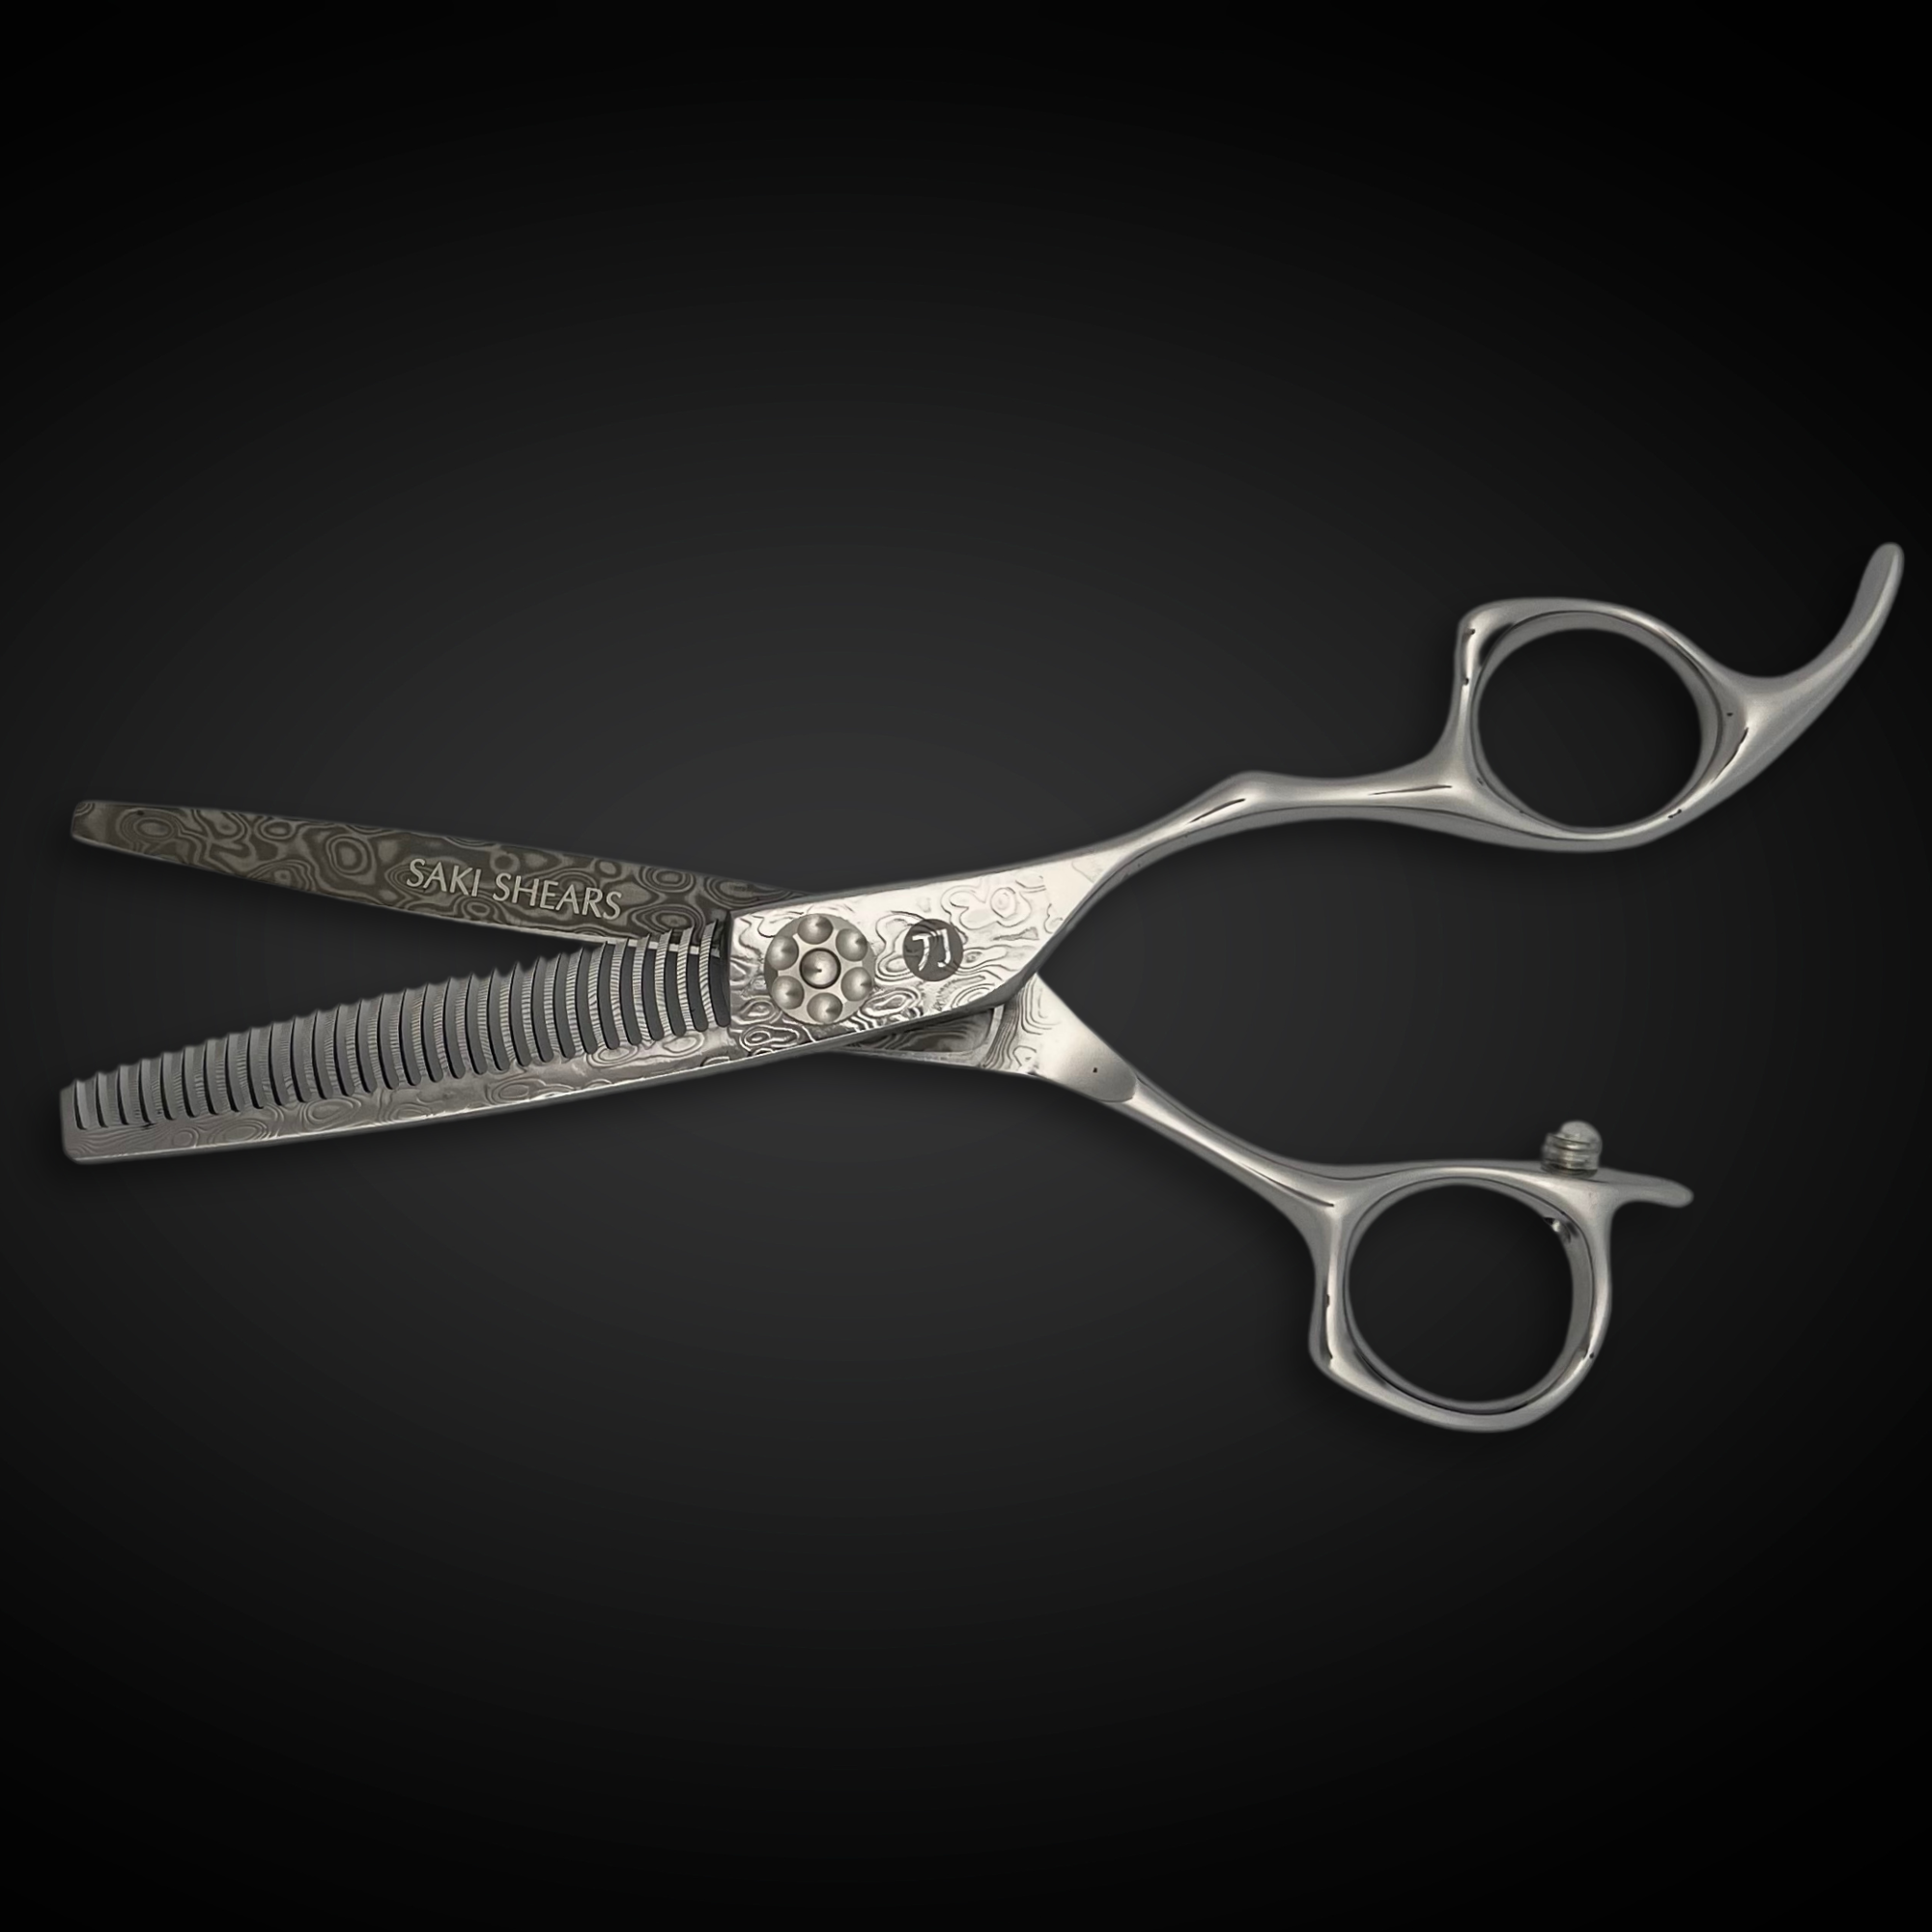
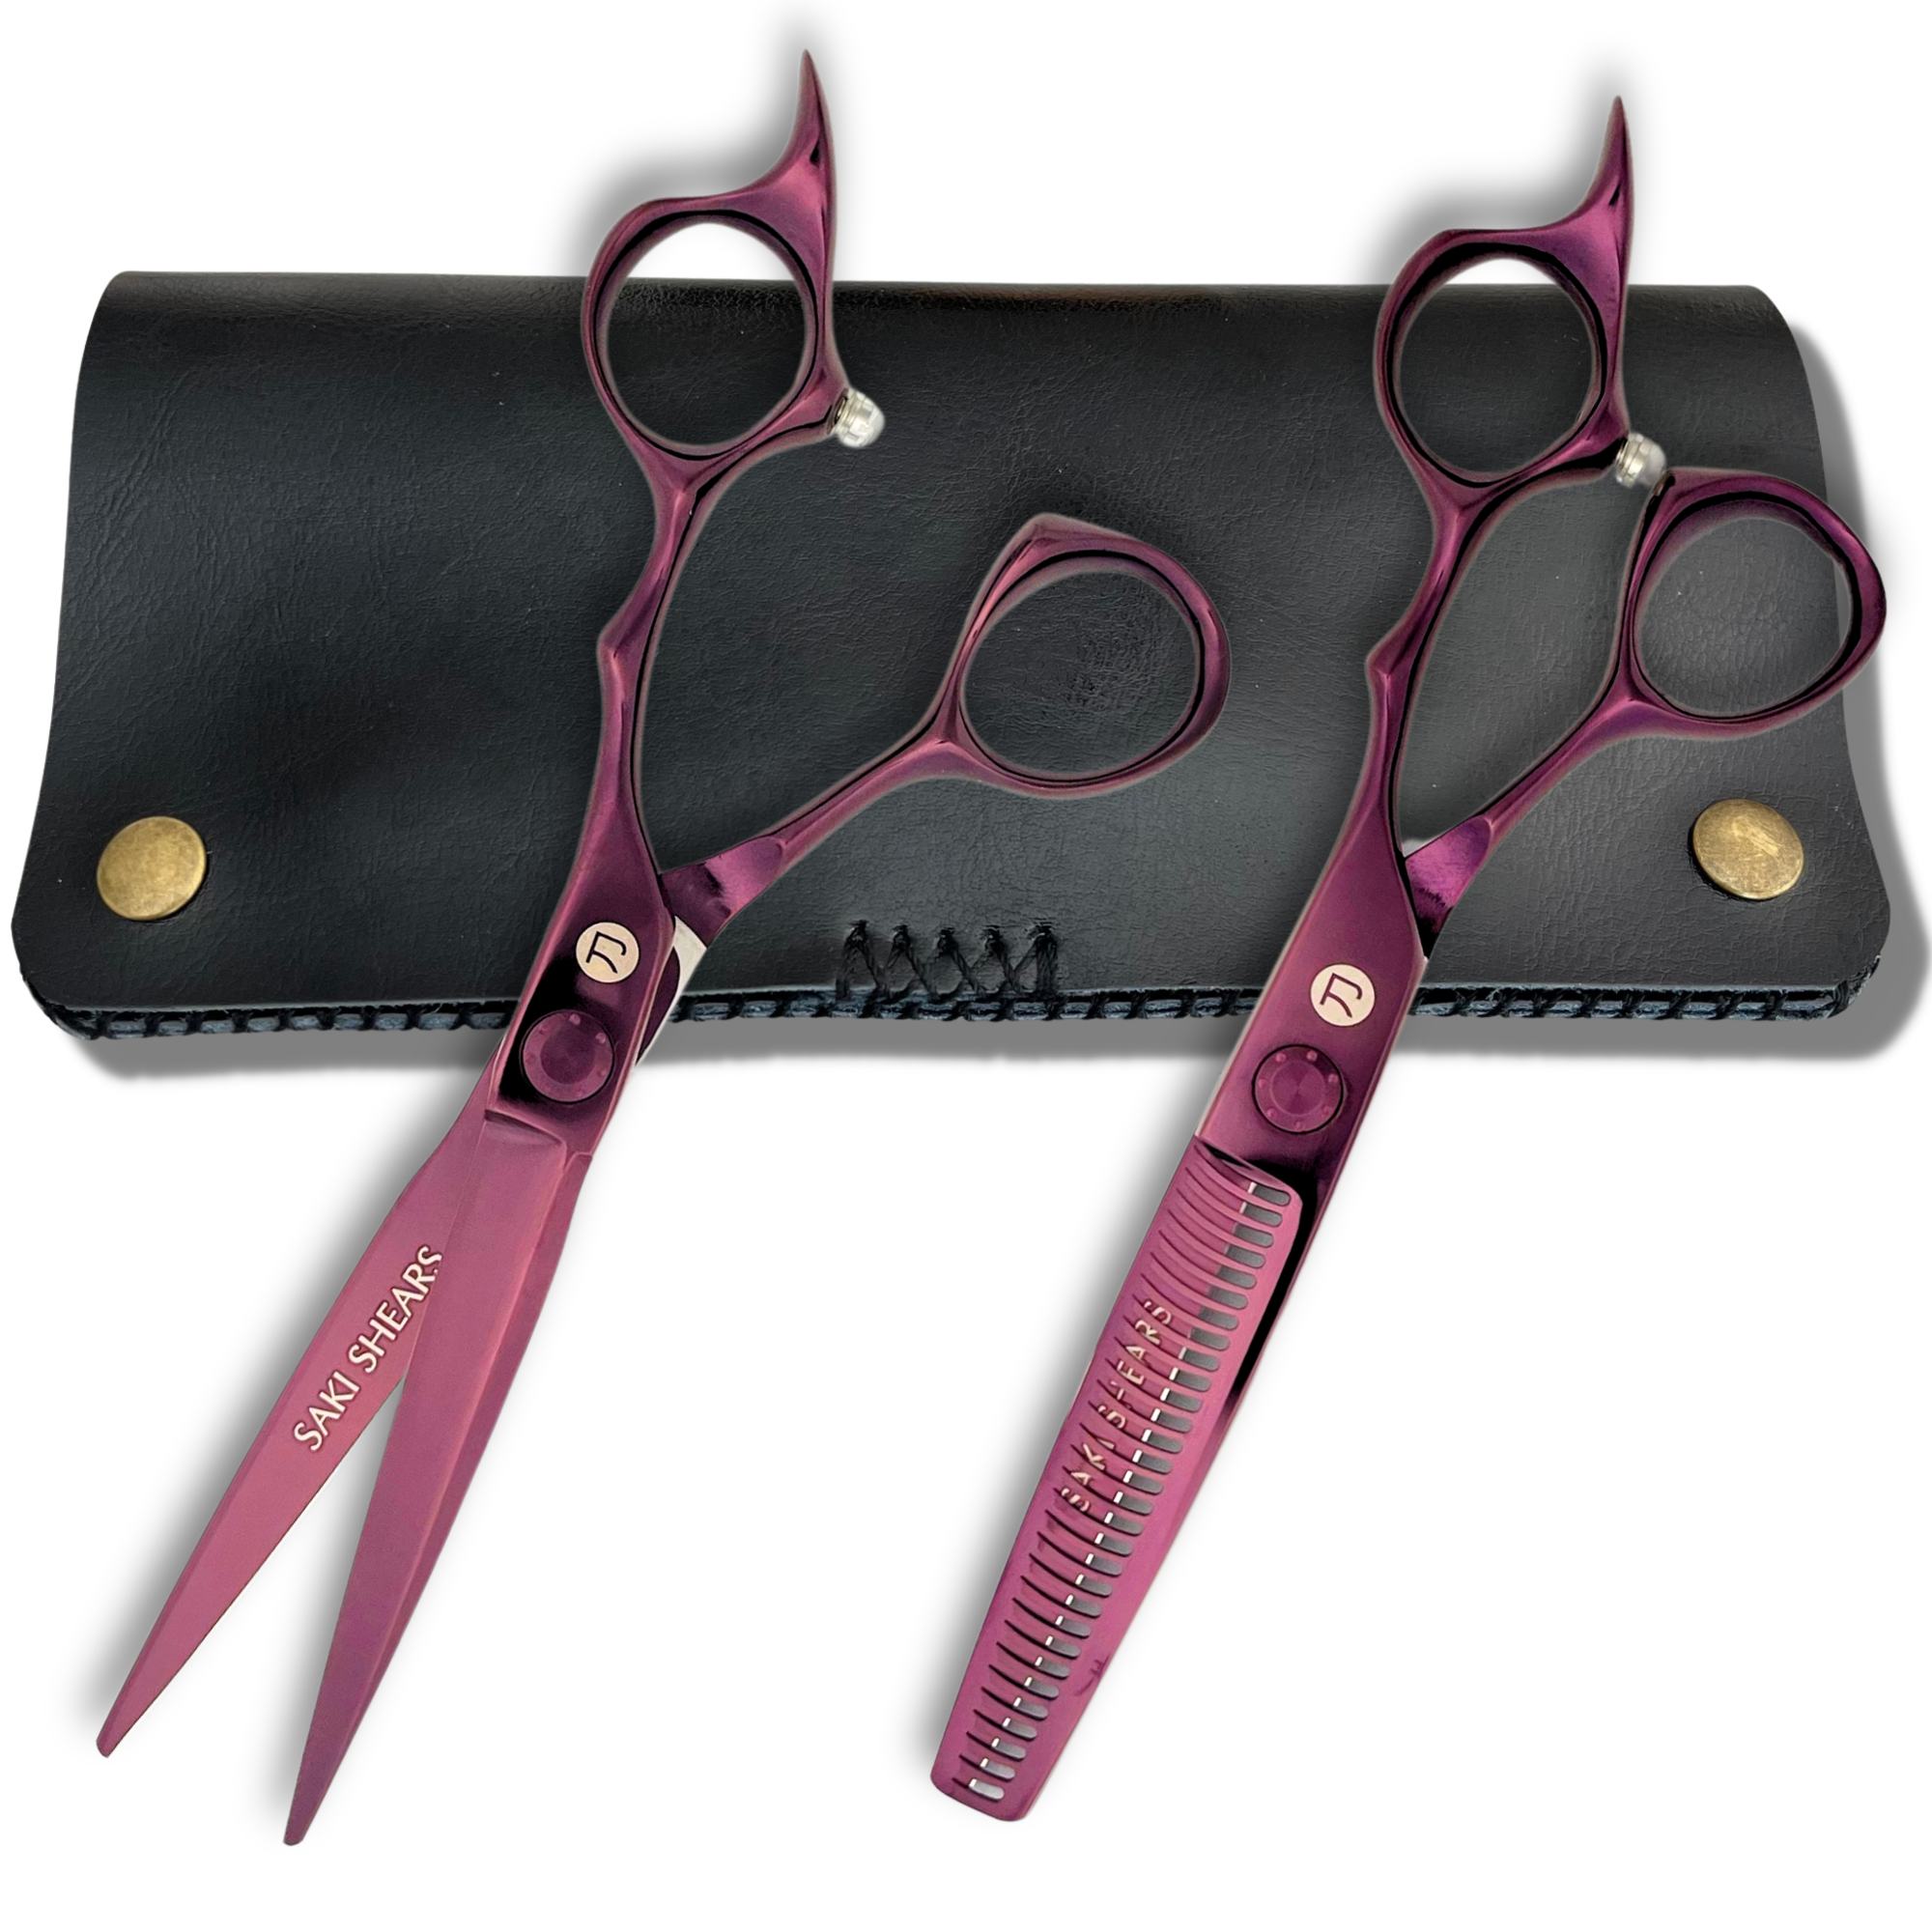
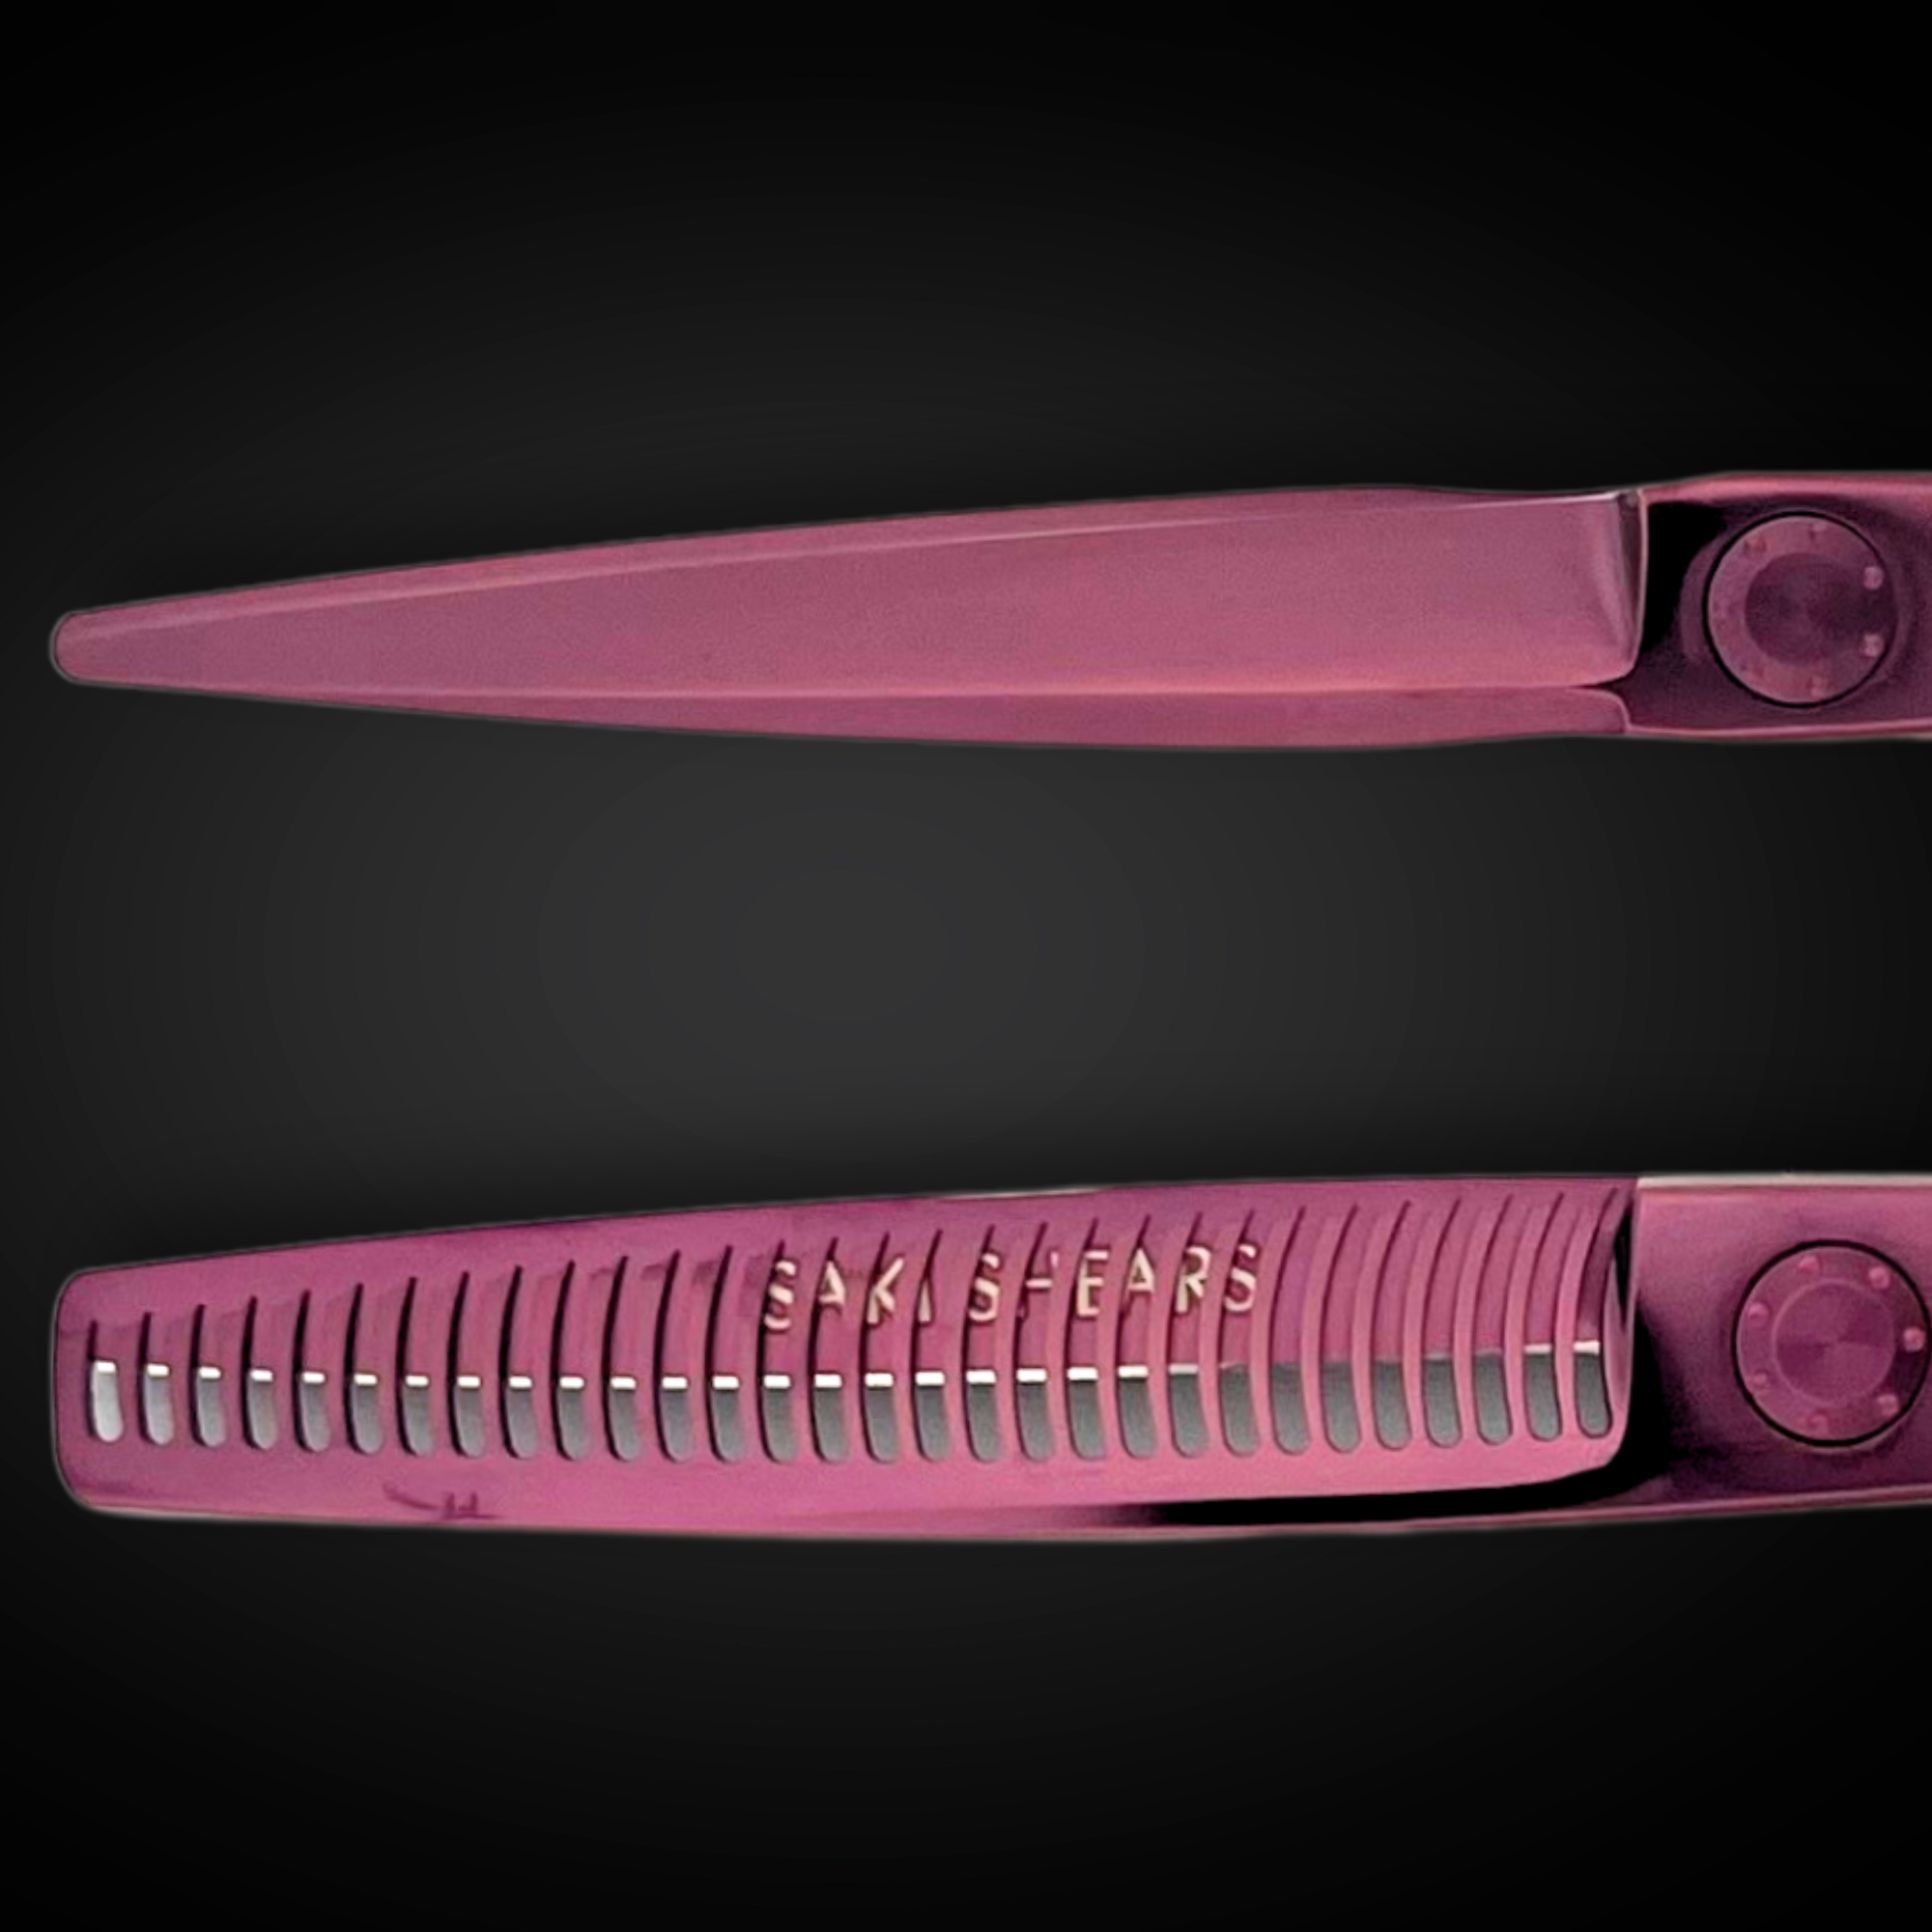
Thinning Shears: A Must-Have for Layering
Thinning shears make smooth transitions between layers possible. Depending on the level of texture needed, options vary in thinning percentages and price:
- 15% Thinning: Adds a subtle texture, ideal for light weight removal.
- 25% Thinning: Perfect for blending and softening layers.
- 35% Thinning: Creates bold texture and removes significant weight.
For detailed work, the Saki Kanzen Damascus Texturizing Shears ($329.00) offer excellent control, making them a great choice for face-framing layers.
Caring for Your Tools
Proper maintenance keeps your tools in top shape, ensuring they stay sharp and effective. Here’s a quick guide to essential care:
| Task | How Often | Why It Matters |
|---|---|---|
| Cleaning | After each use | Removes hair and product buildup to prevent damage. |
| Oiling | Weekly | Keeps the blades moving smoothly. |
| Professional Sharpening | Every 6-12 months | Restores cutting precision. |
"In the bustling world of professional hairdressing, sharp shears are paramount. Beyond merely facilitating a cut, they ensure precision, protect the stylist from strain, and guarantee satisfied customers." - Saki Shears Website
Always store your shears in their protective case and check the tension regularly to maintain accuracy. Well-cared-for tools are the foundation of precise cutting techniques.
Cutting Face-Framing Layers: Step by Step
Hair Preparation Steps
Start with clean, damp hair to remove any buildup and ensure even moisture levels. Keep a spray bottle handy to maintain consistent dampness throughout the process. For curly hair, work with thoroughly wet strands and use products designed to enhance and protect curls.
"For my curly girls, before cutting, you want to make sure your hair is prepped."
Setting the Base Layer
Once the hair is prepped, the next step is creating a solid base before adding layers. Begin with a consultation to pinpoint where the shortest pieces should fall around the face.
"As you discuss what your guest wants, ask them where they would like the shortest pieces to fall around their face."
Follow these steps for the base cut:
- Divide the hair into four sections, following its natural shape.
- Choose guide pieces at the desired length.
- Apply consistent tension when cutting.
- Cross-check to ensure balance and evenness.
Keep the hair damp while cutting, especially if it’s fine. Use high-quality shears, like Saki shears, with the right tension to achieve clean and precise cuts.
Layer Blending Techniques
With the base set, refine the look by blending the layers. This step ensures the face-framing layers look natural and complement the hair's movement.
"You want to consider your hair type/texture and how likely you are to style your hair when creating face-framing layers. They take a little maintenance, but they're worth it! For a round face, layers that start just below the chin can help elongate the face."
Adjust your blending technique based on the hair’s texture. Avoid over-texturizing fine hair to preserve volume. Instead, focus on smooth transitions that highlight the hair’s natural flow while enhancing its shape.
Styling and Care Guide
Recommended Styling Products
The right styling products can make all the difference in perfecting your look. For well-defined curls, Amika Defining Cream works wonders by enhancing your natural texture and keeping frizz at bay. Want sleek, polished layers? Try Bb.Hairdresser's Invisible Oil for a smooth, shiny finish. If you're after volume, Andrew Fitzsimons Body Volume Blowdry Spray adds lift and bounce at the roots. For that effortless beachy vibe, Uppercut Deluxe Salt Spray ($19.00) delivers natural-looking waves and texture.
Need more texture and volume? Uppercut Deluxe Styling Powder ($21.00) provides a matte finish with plenty of grip and movement.
Heat Styling Methods
Before using heat tools, always apply a heat protectant to shield your hair from damage. Start blow-drying at the neckline with a paddle brush, and once your hair is about 75% dry, switch to a round brush to add volume.
For best results, direct the airflow downward, use medium heat, and lift the roots while curling sections away from your face. This technique helps reduce frizz and creates natural-looking volume.
Between-Cut Maintenance
Keep your face-framing layers in top shape by scheduling trims every 3–5 weeks. Regular trims prevent split ends and maintain the structure of your layers.
"As long as you are keeping your shape defined, your face-framing layers should stay cohesive and give you that seamless volume." - Angie Ceja, Hairstylist and Zotos professional educator
To maintain your layers, use a moisturizing shampoo and leave-in conditioner. Pair these with styling products suited to your hair type and incorporate weekly scalp treatments for overall hair health. Alternate between heat styling and air-drying to minimize damage.
Client-Specific Layer Techniques
Layers for Different Hair Lengths
Face-framing layers can be tailored to suit any hair length. For longer or oblong face shapes, starting layers just below the chin helps frame the face and balance proportions. For square-shaped faces, shorter cuts with textured layers soften angles while highlighting facial structure. These adjustments show how important it is to match layers to each client's unique features.
Combining Bangs with Layers
Adding bangs to layered hairstyles brings even more personalization. Curtain bangs, for example, pair beautifully with face-framing layers, giving plenty of styling flexibility.
"Heart-shaped faces look great with curtain bangs and layers placed so they're feathering out away from the center of the face."
– Paul Labrecque, Creative Director at Paul Labrecque Salon and Skincare Spa
When choosing bangs and layers, it's important to discuss your daily styling habits with your stylist. This ensures the layers and bangs work well with your routine and preferred look.
Curly Hair Layer Techniques
Curly hair requires a different approach to layering. Start by prepping the hair with moisturizing products and finger-sectioning to maintain the natural curl pattern.
When cutting, hold strands at a 90° angle and use a slide cutting technique, beginning at the shortest desired length and blending in additional curls gradually.
"Using a slide cutting technique allows the curls to look most natural. After you cut the middle curl, continue to add in and work around the face shape. Add in curls as you go to create the shape that you want."
– Graham Nation, Celebrity Stylist
For a bold option, the "Waterfall Wolf Cut" combines elements of the Waterfall Cut, Wolf Cut, and Unicorn Cut. Vertical cutting at an angle ensures connected layers, boosting volume and shape while keeping curl definition intact.
Conclusion
Blending technical precision with a client-centered approach is key to achieving flawless face-framing layers. These layers require accurate cutting, proper tool maintenance, and attention to each client's distinct features. Skilled stylists know that success starts with understanding hair texture and face shape.
Here are some essential tips to keep in mind:
| Key Aspect | Expert Tip |
|---|---|
| Cutting Technique | Use zigzag sectioning for added crown movement |
| Layer Placement | Begin layers between the cheekbone and jawline |
| Maintenance | Schedule trims every 6–8 weeks |
| Tool Care | Always keep shears sharp and clean |
"You want to consider your hair type/texture and how likely you are to style your hair when creating face-framing layers. They take a little maintenance, but they're worth it! For a round face, layers that start just below the chin can help elongate the face".
"Another mistake is over-thinning or texturizing. You don't always have to texturize face-framing layers, especially with fine hair because the ends would feel finer and wispy".
Keeping tools in top condition ensures precise cuts, whether you're crafting soft, subtle layers or bold, dramatic ones. Balancing technical expertise with a personalized approach allows you to consistently deliver the face-framing layers your clients are looking for. Regularly refining your methods helps maintain professional standards and keeps your skills sharp.