How to Cut Your Own Hair
Cutting your own hair saves money, gives you control over your style, and lets you maintain your look on your schedule. With the right tools and preparation, you can achieve professional results at home. Here's what you need to know:
- Tools: Use professional shears, combs, clips, and a three-way mirror for precision.
- Preparation: Work with clean, dry hair in a well-lit space. Section your hair for better control.
- Techniques: Start with simple trims like split ends. Progress to layering, bangs, or fades as you gain confidence.
- Maintenance: Regular trims (every 4-6 weeks) and proper hair care prevent split ends and maintain your style.
Invest in quality tools and practice patience to master self-haircuts. For big style changes, consider consulting a professional. Ready to start? Let’s break it down step by step.
How to Cut Your Own Hair - Quick and Easy Home Self Haircut Tutorial
Tools Needed for Hair Cutting
Getting professional-looking results starts with having the right tools specifically designed for haircuts.
Professional Shears
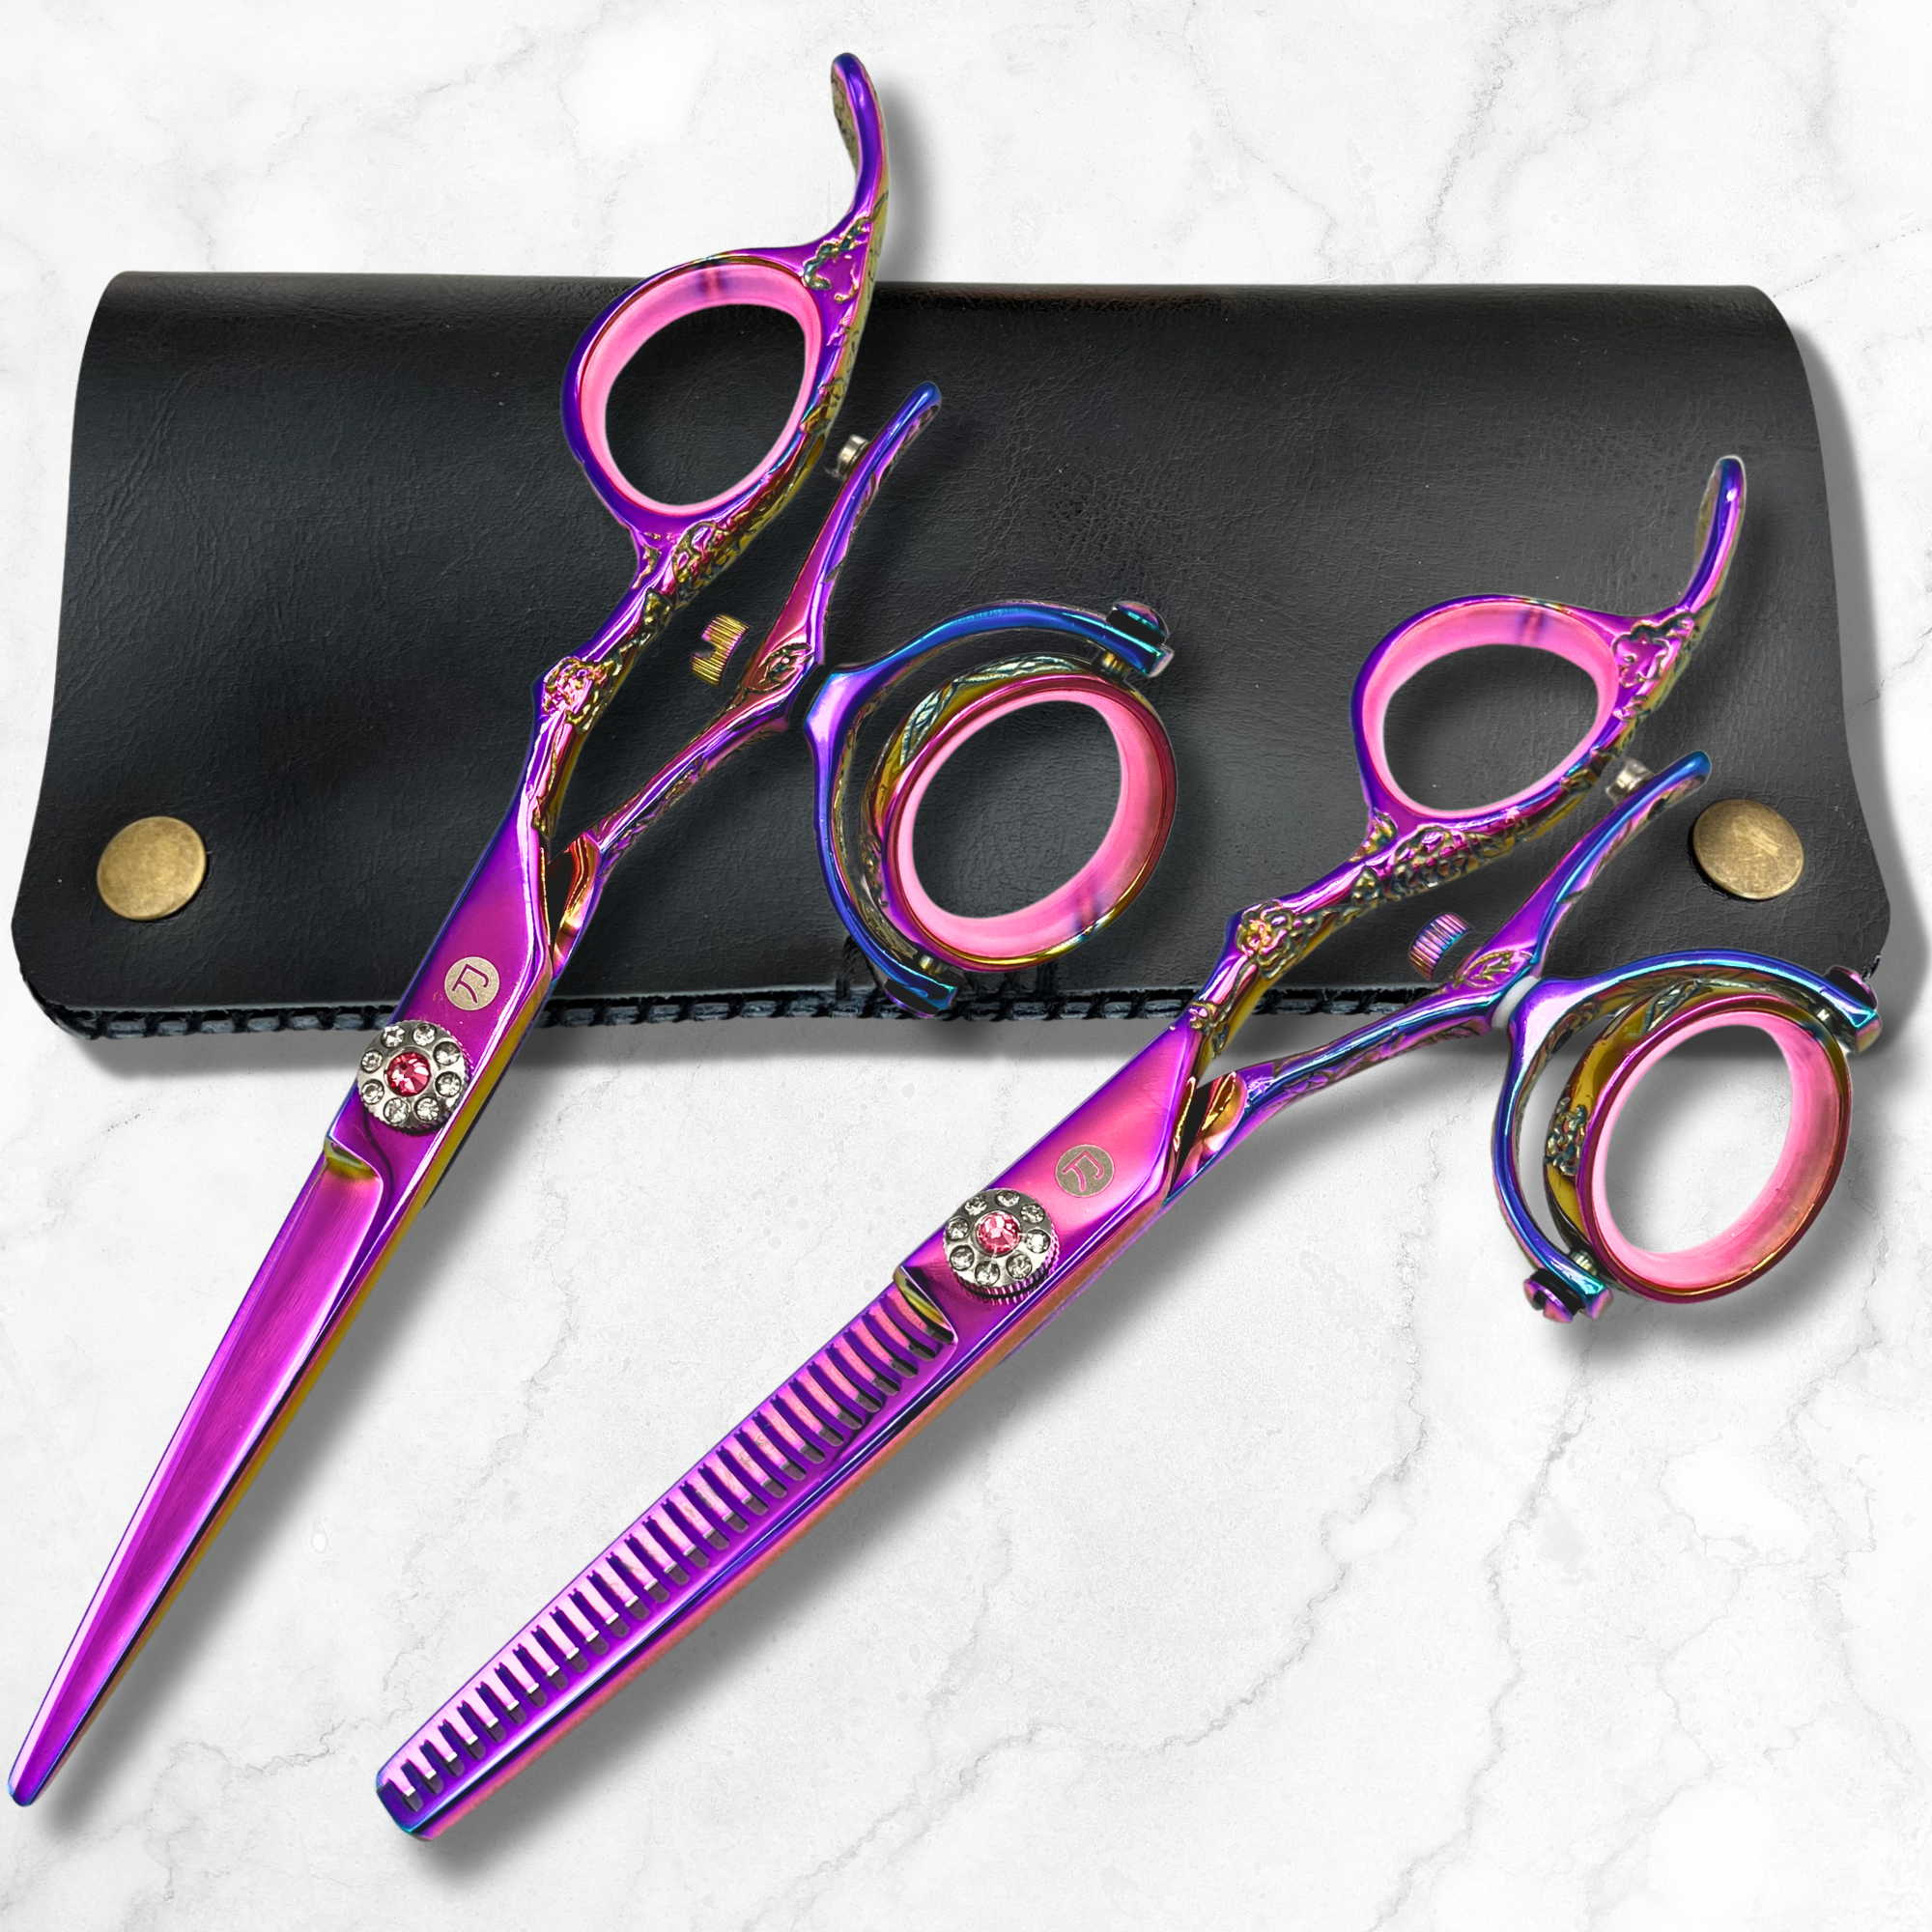
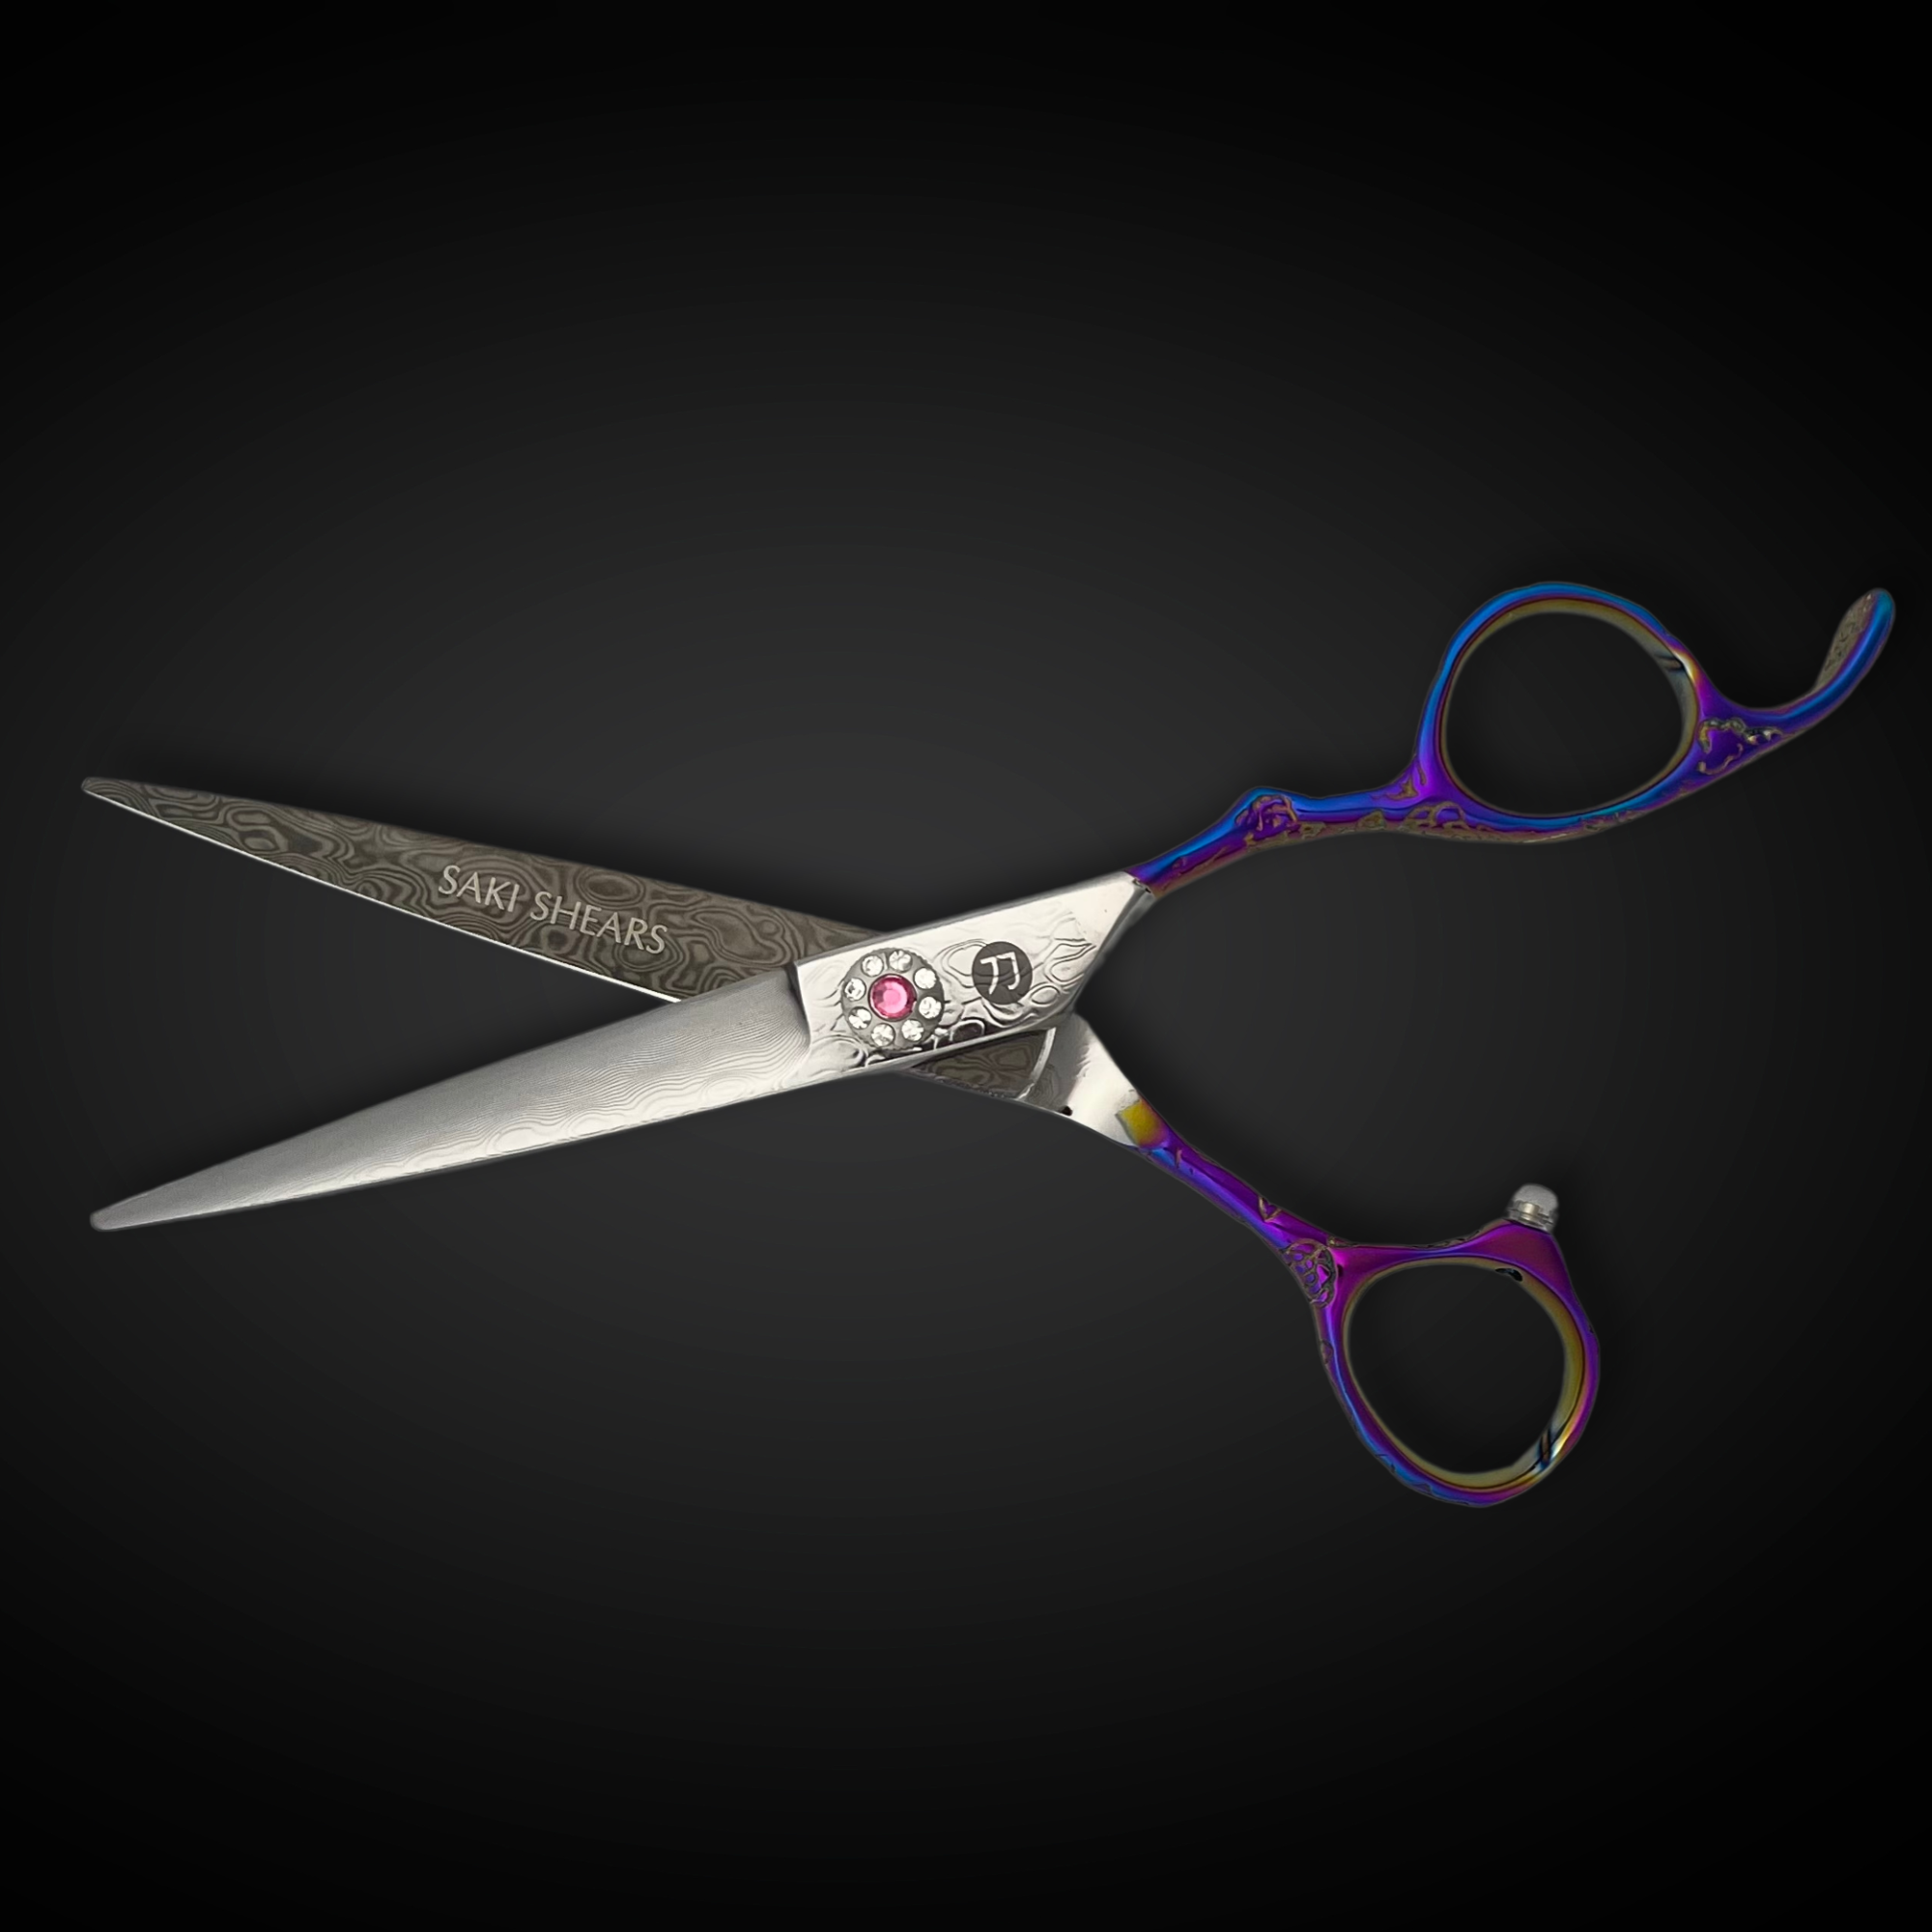
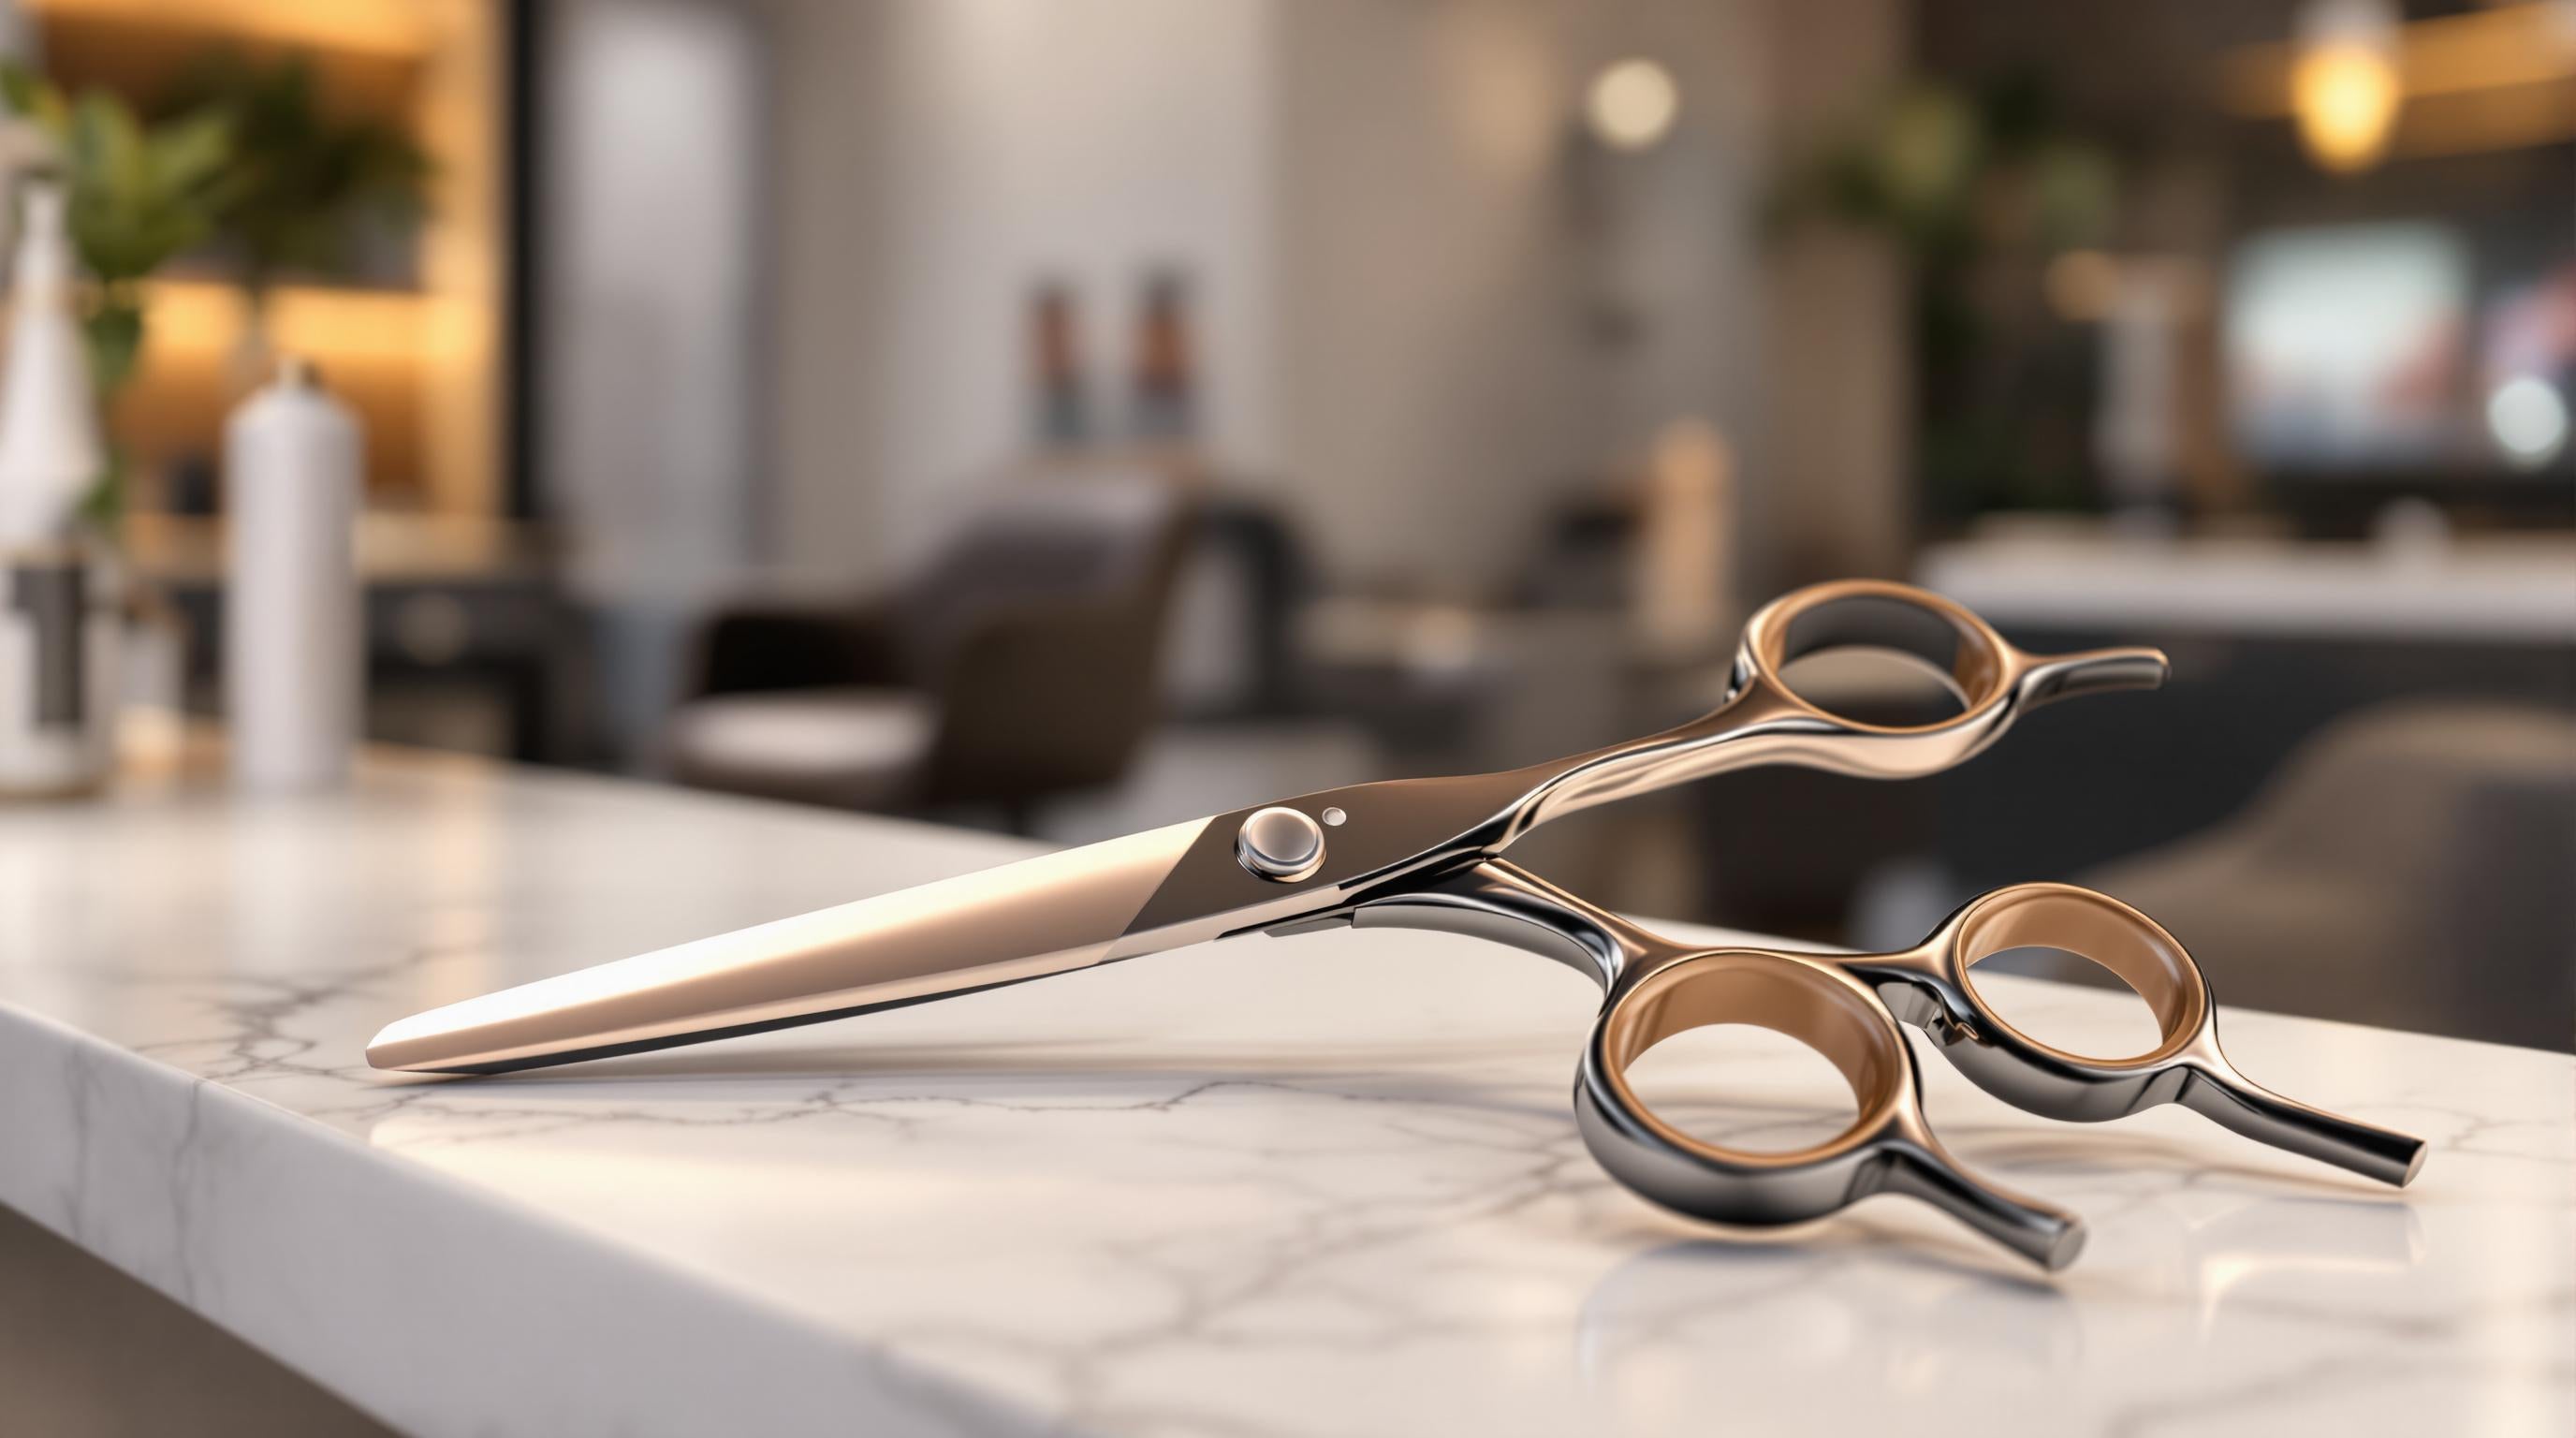
High-quality shears, such as those crafted from Japanese steel, deliver clean and precise cuts while helping to prevent split ends [1]. Whether you're just starting out or an experienced stylist, there are options to fit your needs:
| Shear Type | Best For | Price Range |
|---|---|---|
| Basic Professional | Regular trims | $124.99+ |
| Premium Japanese Steel | Precision cutting | $185.00+ |
| Damascus Steel | Advanced styling | $285.00+ |
Combs, Mirrors, and Clips
A combination of tools like wide-tooth combs, fine-tooth combs, sectioning clips, and a three-way mirror system is essential. These tools help with detangling, creating clean sections, and ensuring even cuts. The three-way mirror setup offers a full view of your head, making it easier to avoid uneven results.
Tools for Advanced Techniques
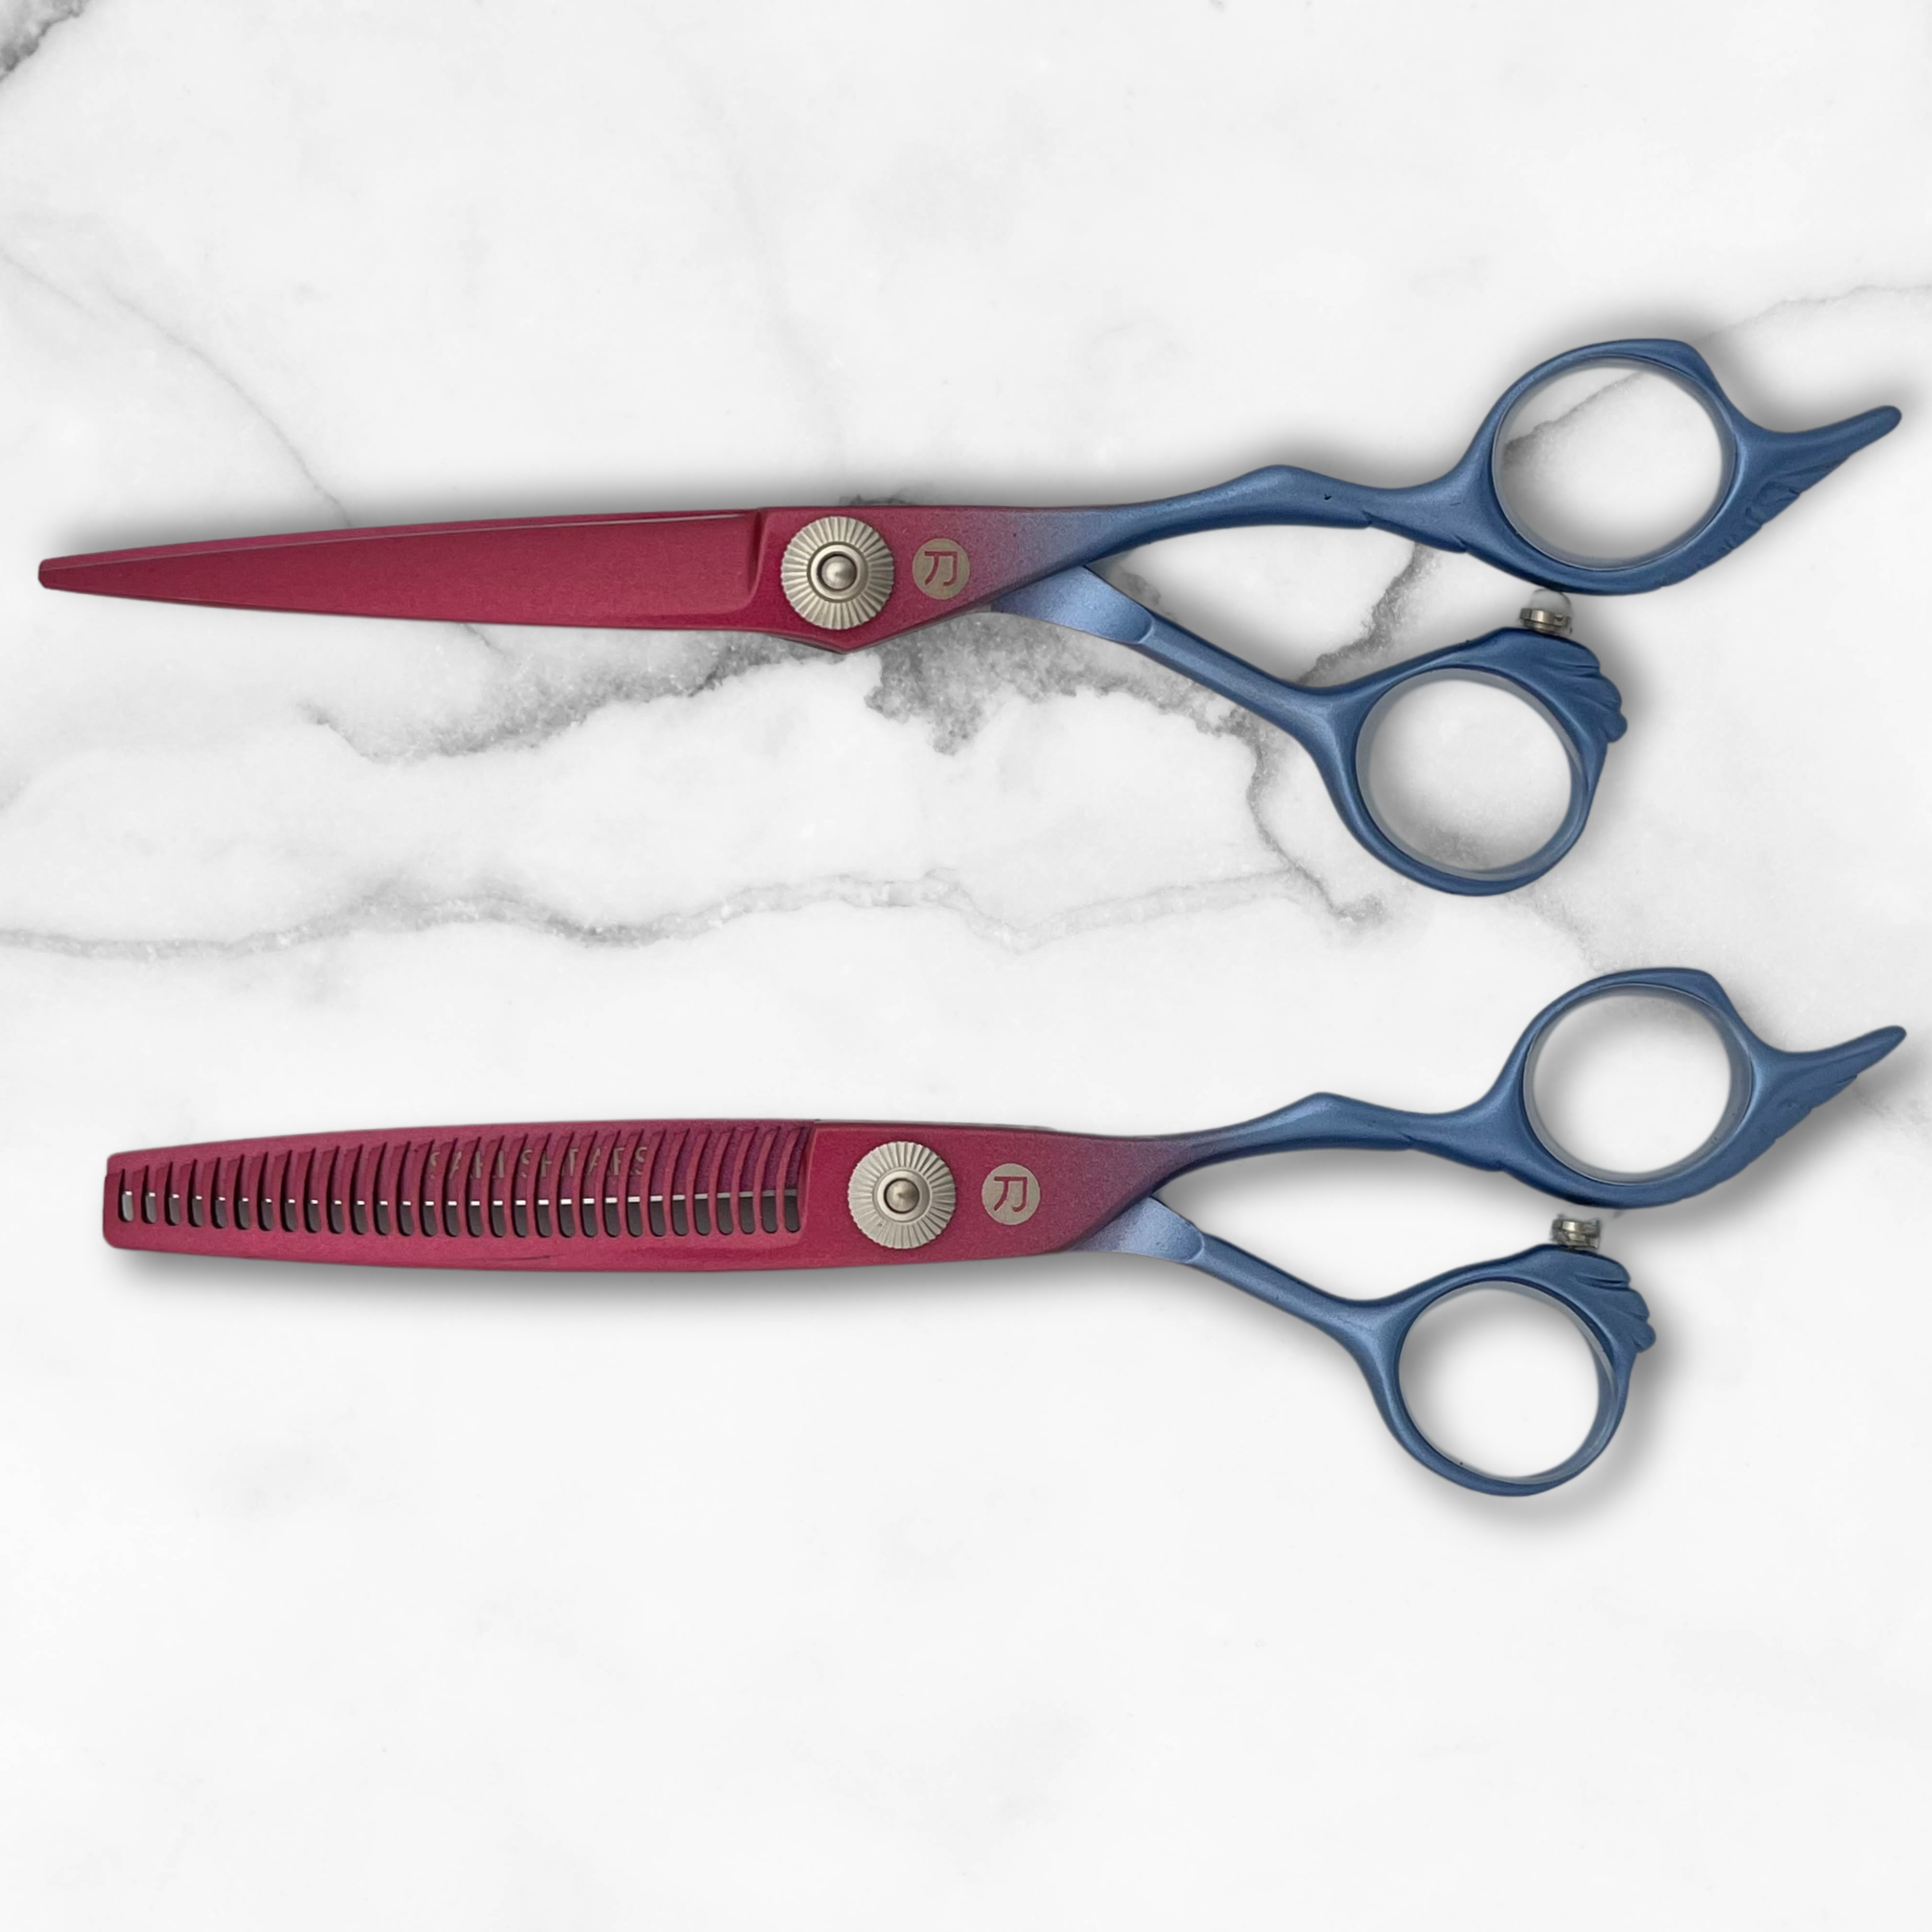
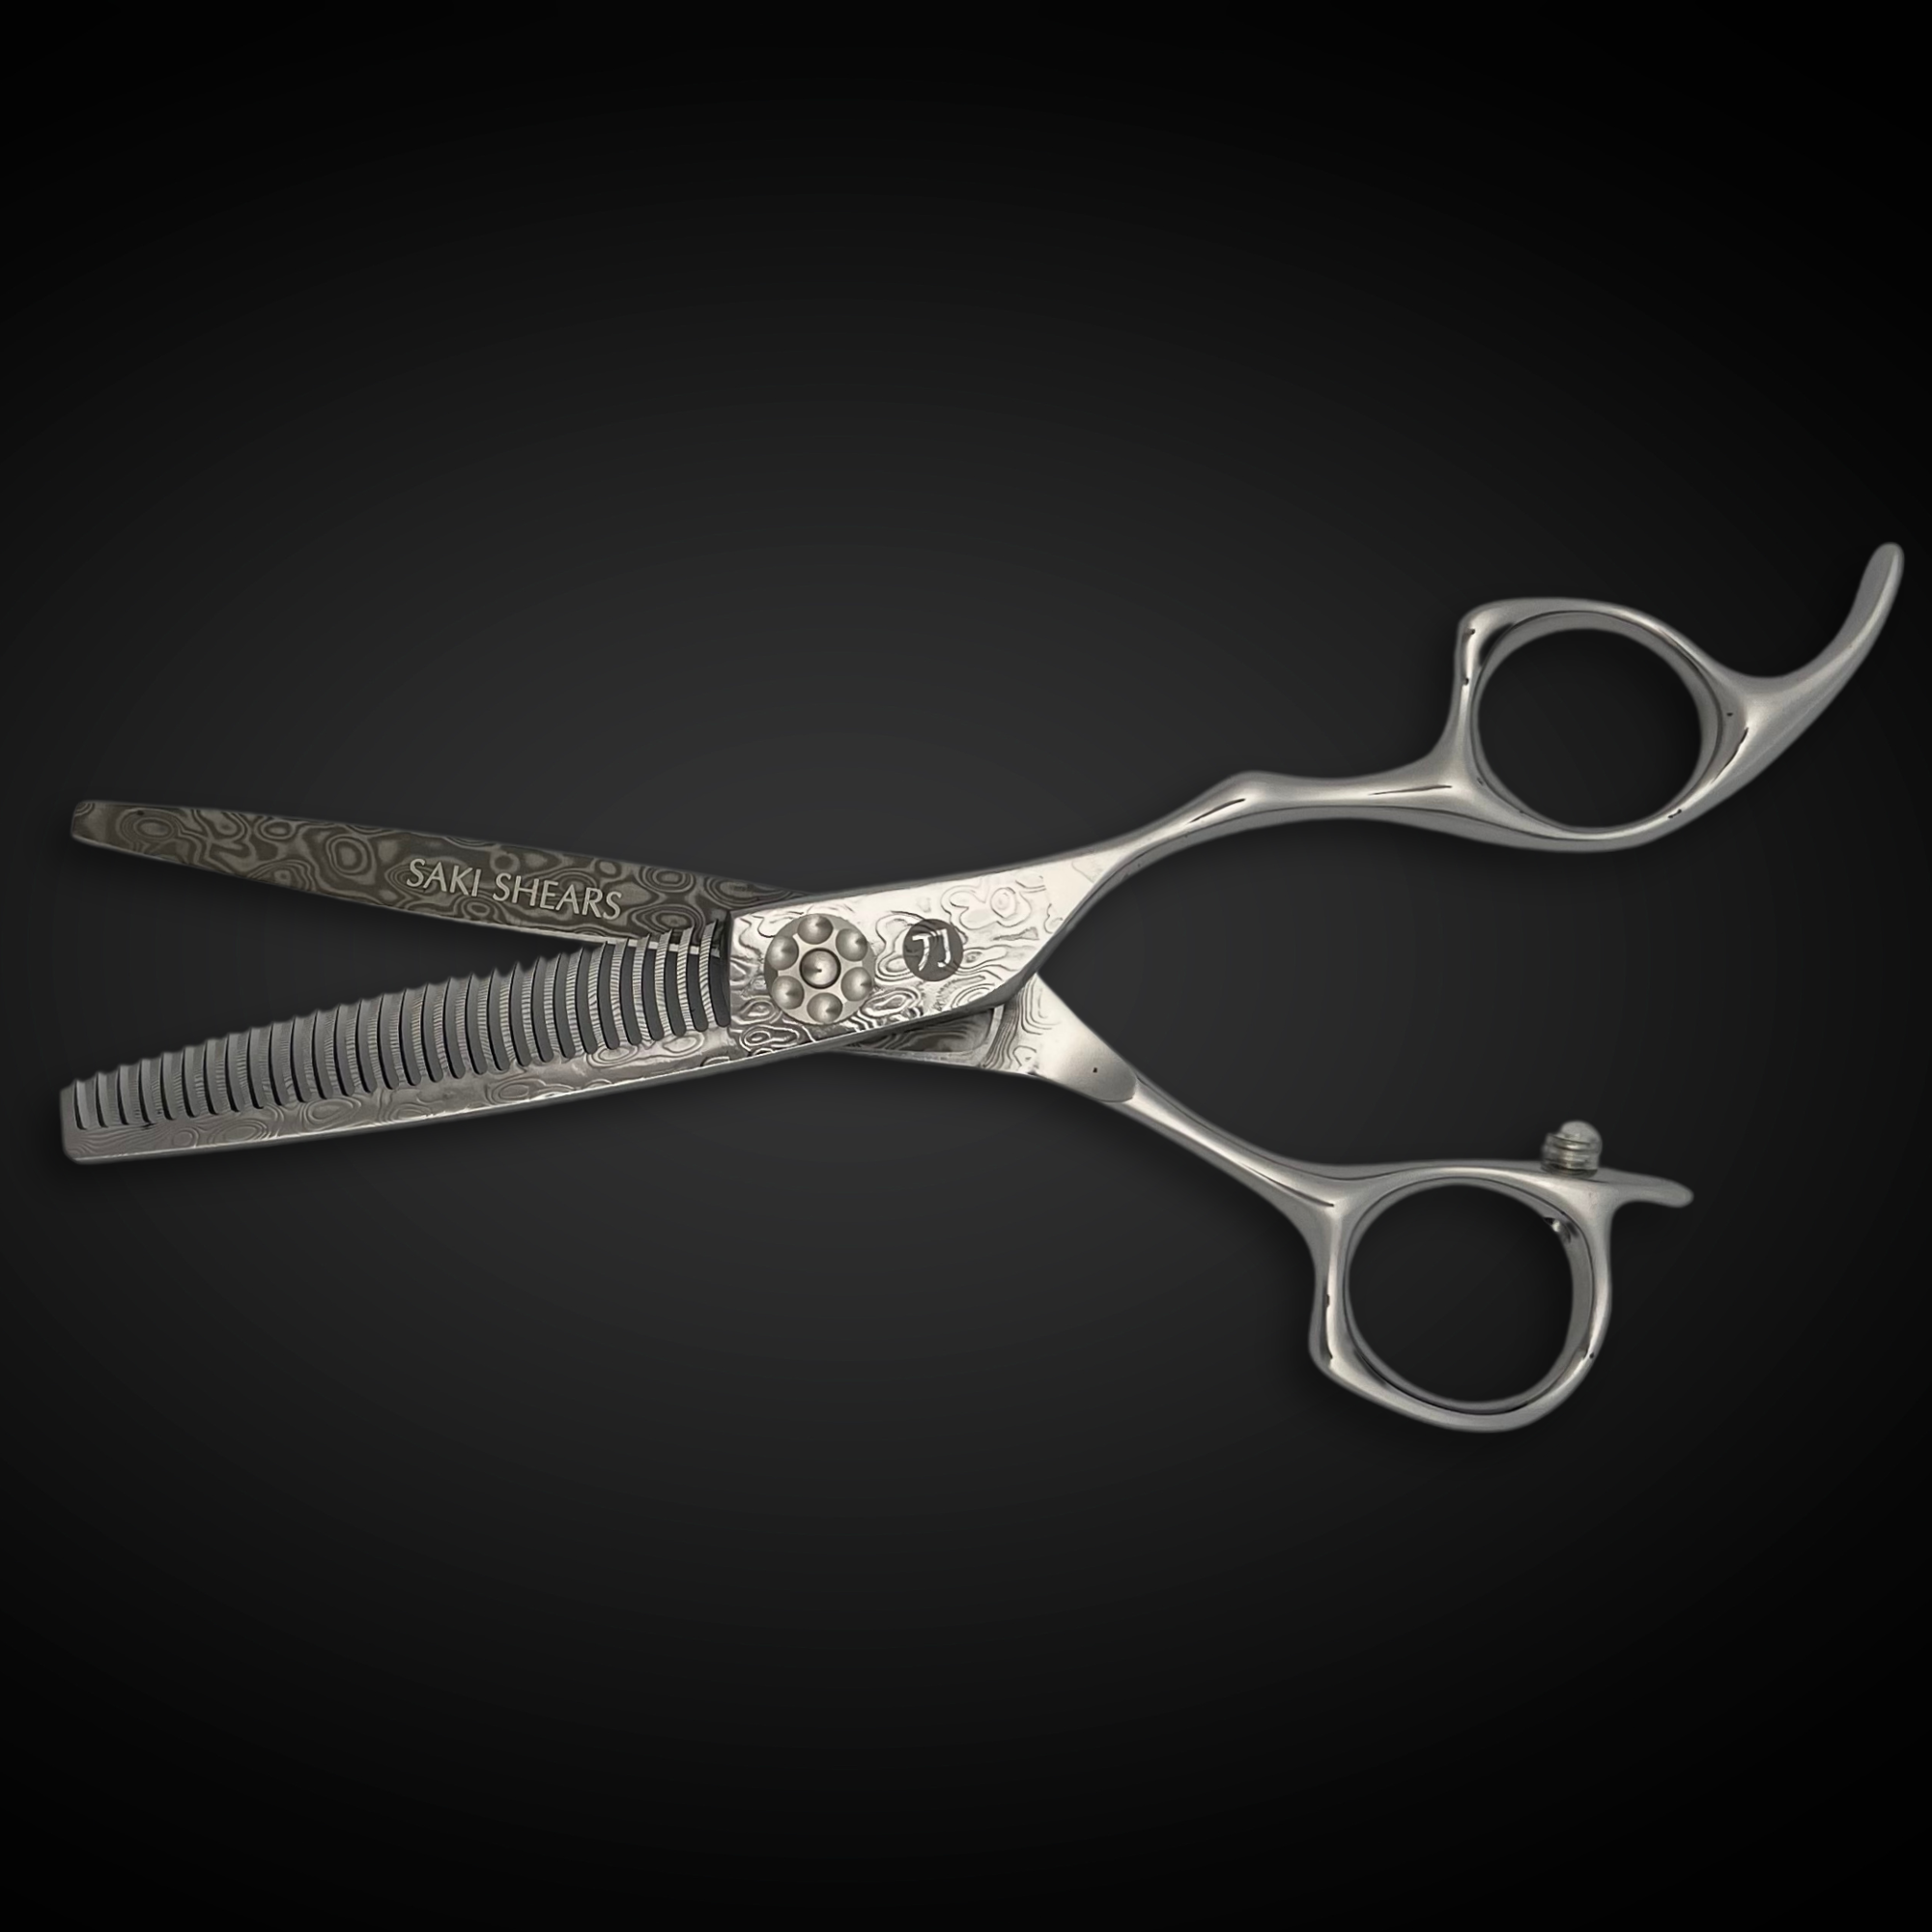
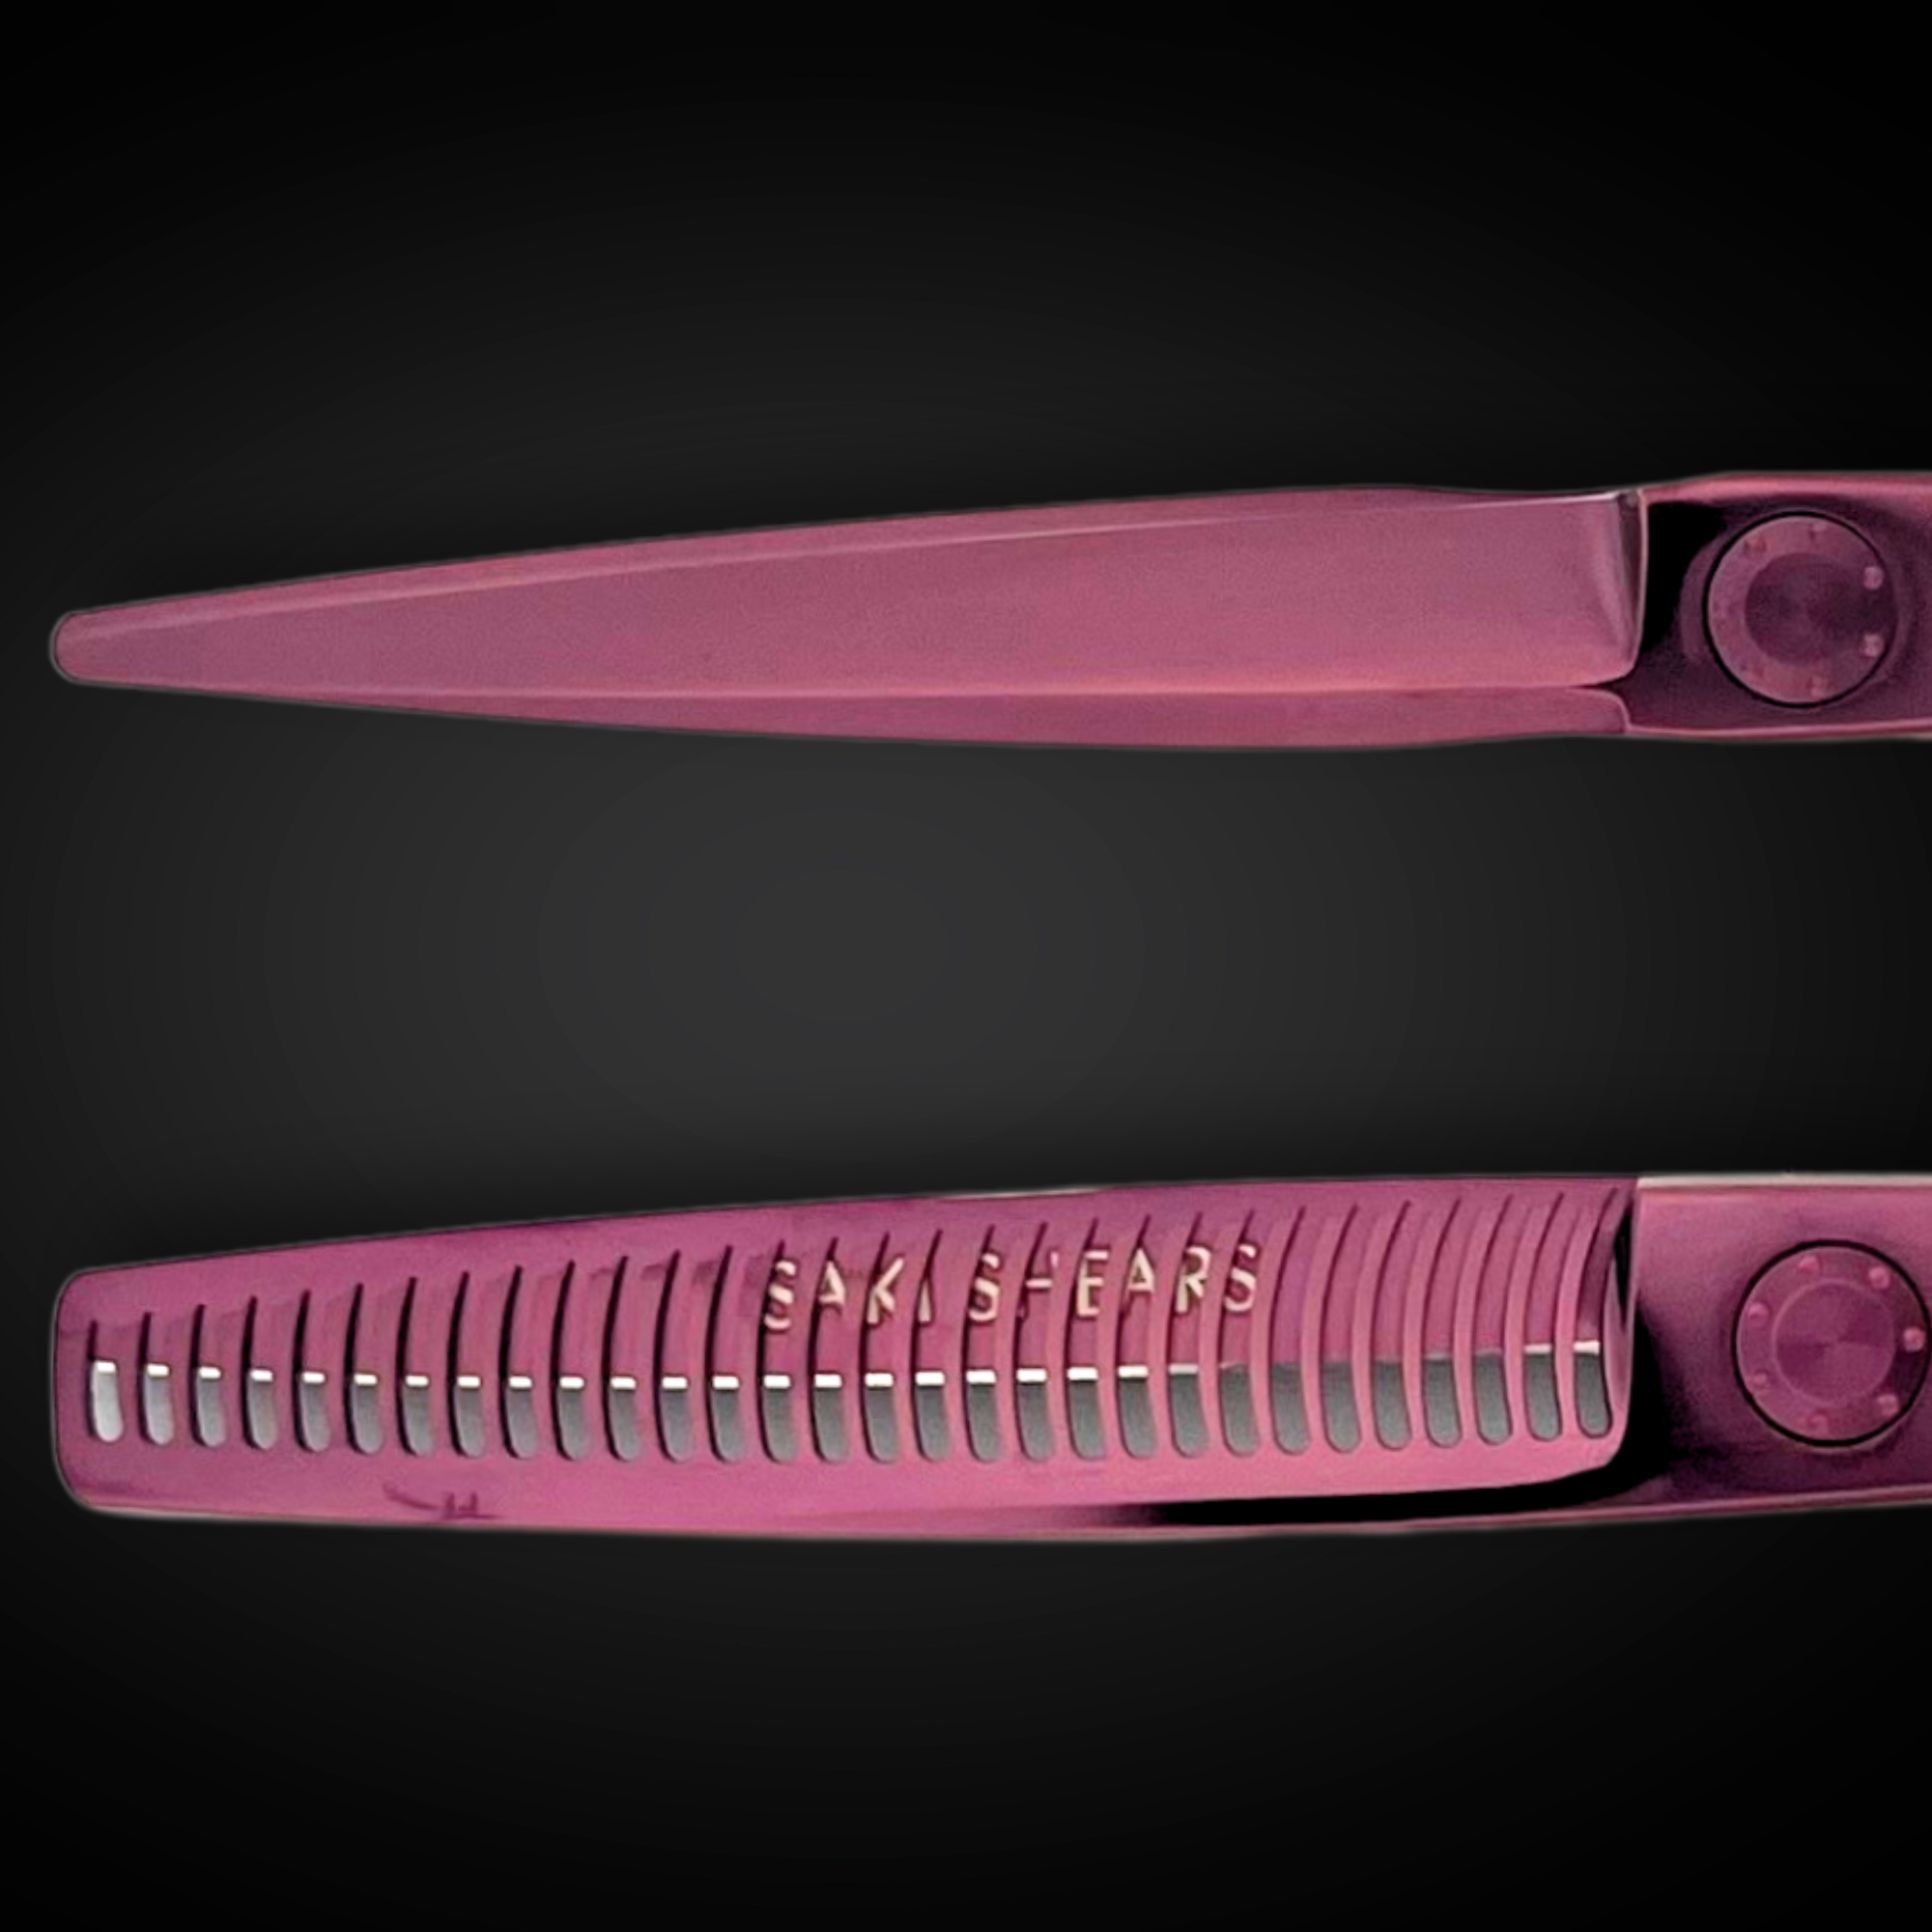
For more detailed work, consider adding thinning shears to reduce bulk and add texture, clippers for fades or maintaining short styles with precision blades [2], and texturizing razors to create volume and movement in layered hairstyles [2]. These tools are key to achieving salon-level results at home.
With these essentials, you're ready to set up your space and prepare for a successful haircut.
Preparing for Your Haircut
Washing and Drying Hair
Start with clean, dry hair to get the best results and highlight its natural texture. Use a gentle shampoo and conditioner to remove any product buildup or oils that could interfere with cutting. Let your hair air dry fully to show its natural patterns and movement.
Setting Up Your Workstation
Create a clean, well-lit space for accurate and confident cutting. Good lighting is essential - combine natural and overhead lighting to avoid shadows. Tools like the YS Park Golden Balance Mirror system [5] can help you see your hair from multiple angles.
| Workstation Essential | Purpose | Placement |
|---|---|---|
| Main Mirror | For a clear view | At eye level, about an arm's length away |
| Side Mirrors | To check angles | Positioned at 45-degree angles on both sides |
| Task Lighting | To avoid shadows | Placed above and slightly forward |
| Tool Tray | For easy access | Within arm’s reach on your preferred side |
A well-organized workstation helps you stay focused and achieve precise results.
Sectioning Your Hair
Sectioning is key to maintaining control and achieving even cuts. Start by parting your hair down the middle from the front to the back. Then, create a horizontal part from ear to ear, dividing your hair into four main sections. If you have curly hair, work with slightly damp sections to minimize frizz and make it easier to handle [3]. Keep sections no wider than 2 inches for better precision.
With your hair properly sectioned, you’re ready to start cutting with confidence and accuracy.
Cutting Techniques
Trimming Split Ends
Start your haircut journey with a simple task: trimming split ends. This step helps keep your hair healthier and sets the stage for more advanced techniques. Take small sections of hair (about 1-2 inches wide), hold them between your fingers, and angle them slightly outward from your head. Trim roughly 1/4 inch from the ends. For wavy or curly hair, follow the natural texture and trim curl by curl to maintain its shape.
Once you're comfortable with trimming, you can explore shaping your hair with basic or more advanced cutting techniques.
Cutting Straight Hair
Straight hair requires precision for a clean, even look. Use the sections you prepared earlier, working with small portions to stay in control.
Here’s how to get started:
- Begin by cutting a small section to establish your desired length. Use point-cutting (small, upward snips) for a softer finish.
- Frequently check both sides to ensure they’re even.
If you want to add movement or depth, layering is a great next step.
Adding Layers
Adding layers can bring volume and texture to your hair, making it a good option once you’re confident with simpler cuts. Here’s a method to try:
- Start at the crown and choose a small section. Decide on the shortest length you want.
- Lift each section at the same angle to match your guide length.
- Cut systematically around your head, using the guide as a reference. For thicker hair, thinning shears can help reduce bulk without creating harsh lines [4][5].
Advanced Hair Styling
Cutting Bangs
Cutting bangs takes precision and care. If you're maintaining existing bangs, it's easier to handle at home. But creating new bangs is a different story - it’s best to go slow and trim in small sections to avoid any major mishaps.
To trim bangs, slightly dampen them and use sharp, professional shears. Divide your bangs into small sections. Hold each section between your fingers at a 90-degree angle from your forehead, and use the point-cutting method (small, upward snips) for a softer, more natural look.
Once you’re comfortable with trimming smaller sections, you can experiment with tools like clippers for more intricate styles.
Using Clippers for Fades
Clippers are a must-have for achieving clean fades and tapers in shorter hairstyles. Here’s a simple approach to creating a fade:
- Start with a higher guard number (like #4) at the top.
- Gradually switch to smaller guard sizes as you move downward.
- Use the corner of the clipper blade for smooth blending.
- Keep your motions steady and consistent to ensure an even finish.
Make sure your clippers are well-maintained and oiled before starting. Good lighting and multiple mirrors will help you monitor your progress from all angles. After the fade is complete, consider adding texture or thinning for a polished look.
Texturizing and Thinning
Texturizing helps reduce bulk and adds movement to your hair. To use thinning shears effectively, stick to these tips for a natural outcome:
- Work on dry sections of hair no wider than your thinning shears.
- Position the shears 2–3 inches from the scalp and make clean, single cuts.
- For added movement, hold sections at a 45-degree angle and use vertical cuts on the mid-lengths to ends to create soft layers.
Always start with minimal cuts - it’s easier to remove more hair later than to fix over-thinning. Using professional-grade tools, like high-quality thinning shears and clippers, will give you better control and results compared to basic home-use tools [2][4][5].
sbb-itb-337cfe6
Post-Cut Hair Care
Once you've nailed your haircut, keeping it looking great means taking care of it properly. Here's how to maintain healthy, well-styled hair.
Preventing Split Ends
Split ends can sneak up on you, often caused by heat styling, brushing too aggressively, or daily wear and tear. To minimize damage, always use a heat protectant before styling and wrap your hair in a silk scarf at night to reduce friction.
"Dull edges on household scissors could potentially give you even more split ends." - Iudina, Good Housekeeping [1]
Choosing Hair Products
The right products can make all the difference in maintaining your haircut and keeping your hair healthy.
| Product Type | Purpose | Usage Frequency |
|---|---|---|
| Heat Protectant | Protects from styling heat | Before every heat use |
| Deep Conditioning Mask | Adds moisture and repairs | Weekly |
| Leave-in Serum | Controls frizz, adds shine | 2-3 times per week |
| Sulfate-free Shampoo | Cleanses gently | Every 2-3 days |
If your hair tends to be dry, look for products with hydrating ingredients like argan oil or shea butter. For oily hair, stick to lightweight formulas that won't weigh it down.
Scheduling Trims
Regular trims are key to maintaining your haircut. For faster-growing hair, aim for a trim every 4-6 weeks. If your hair grows more slowly, every 8-12 weeks should do the trick. Pay attention to when your haircut starts losing its shape - this is a good sign it's time for a trim.
Weekly hair masks can also help keep your hair hydrated and prevent brittleness between trims. If you spot split ends before your next scheduled trim, don't wait. Taking care of them early stops the damage from spreading further up the hair shaft.
Tips for Successful Self-Haircuts
Cutting your own hair can seem intimidating, but with the right approach and some patience, you can achieve great results. Here's how to handle common challenges and improve your technique.
Fixing Mistakes
Mistakes are bound to happen, especially when you're starting out. The key is to fix them carefully, working in small sections instead of making drastic changes.
| Common Mistake | How to Fix | How to Avoid It |
|---|---|---|
| Uneven Sides | Re-section and trim gradually | Use guide clips for accuracy |
| Choppy Ends | Point-cut vertically | Work in smaller sections |
| Crooked Lines | Trim just above the uneven area | Section hair thoroughly before cutting |
"Cutting too much hair at once is the most common mistake beginners make. Always start with small sections and trim conservatively - you can always cut more, but you can't put it back." - Good Housekeeping [1]
After fixing any mistakes, focus on improving your technique for better results in the future.
When to See a Professional
While self-haircuts can be a great way to save time and money, there are situations where it's best to visit a professional stylist. Consider professional help for:
- Big style changes that require precise techniques
- Advanced layering or chemical treatments
- Areas that are difficult to reach or see clearly
Patience and Practice
Learning to cut your own hair takes time and consistent practice. Start with simple trims, document your progress with photos, and invest in professional-quality shears for cleaner cuts. A good routine is to practice every 4-6 weeks, which aligns with natural hair growth cycles.
Even seasoned stylists spent years perfecting their skills. Focus on improving one technique at a time, and don't rush the process. With persistence, you'll gain the confidence and ability to master self-haircuts.
Recommended Tools and Resources
Using high-quality tools can make all the difference when it comes to achieving professional results at home. Below are some trusted brands and products that can help you master self-haircutting.
Saki Shears

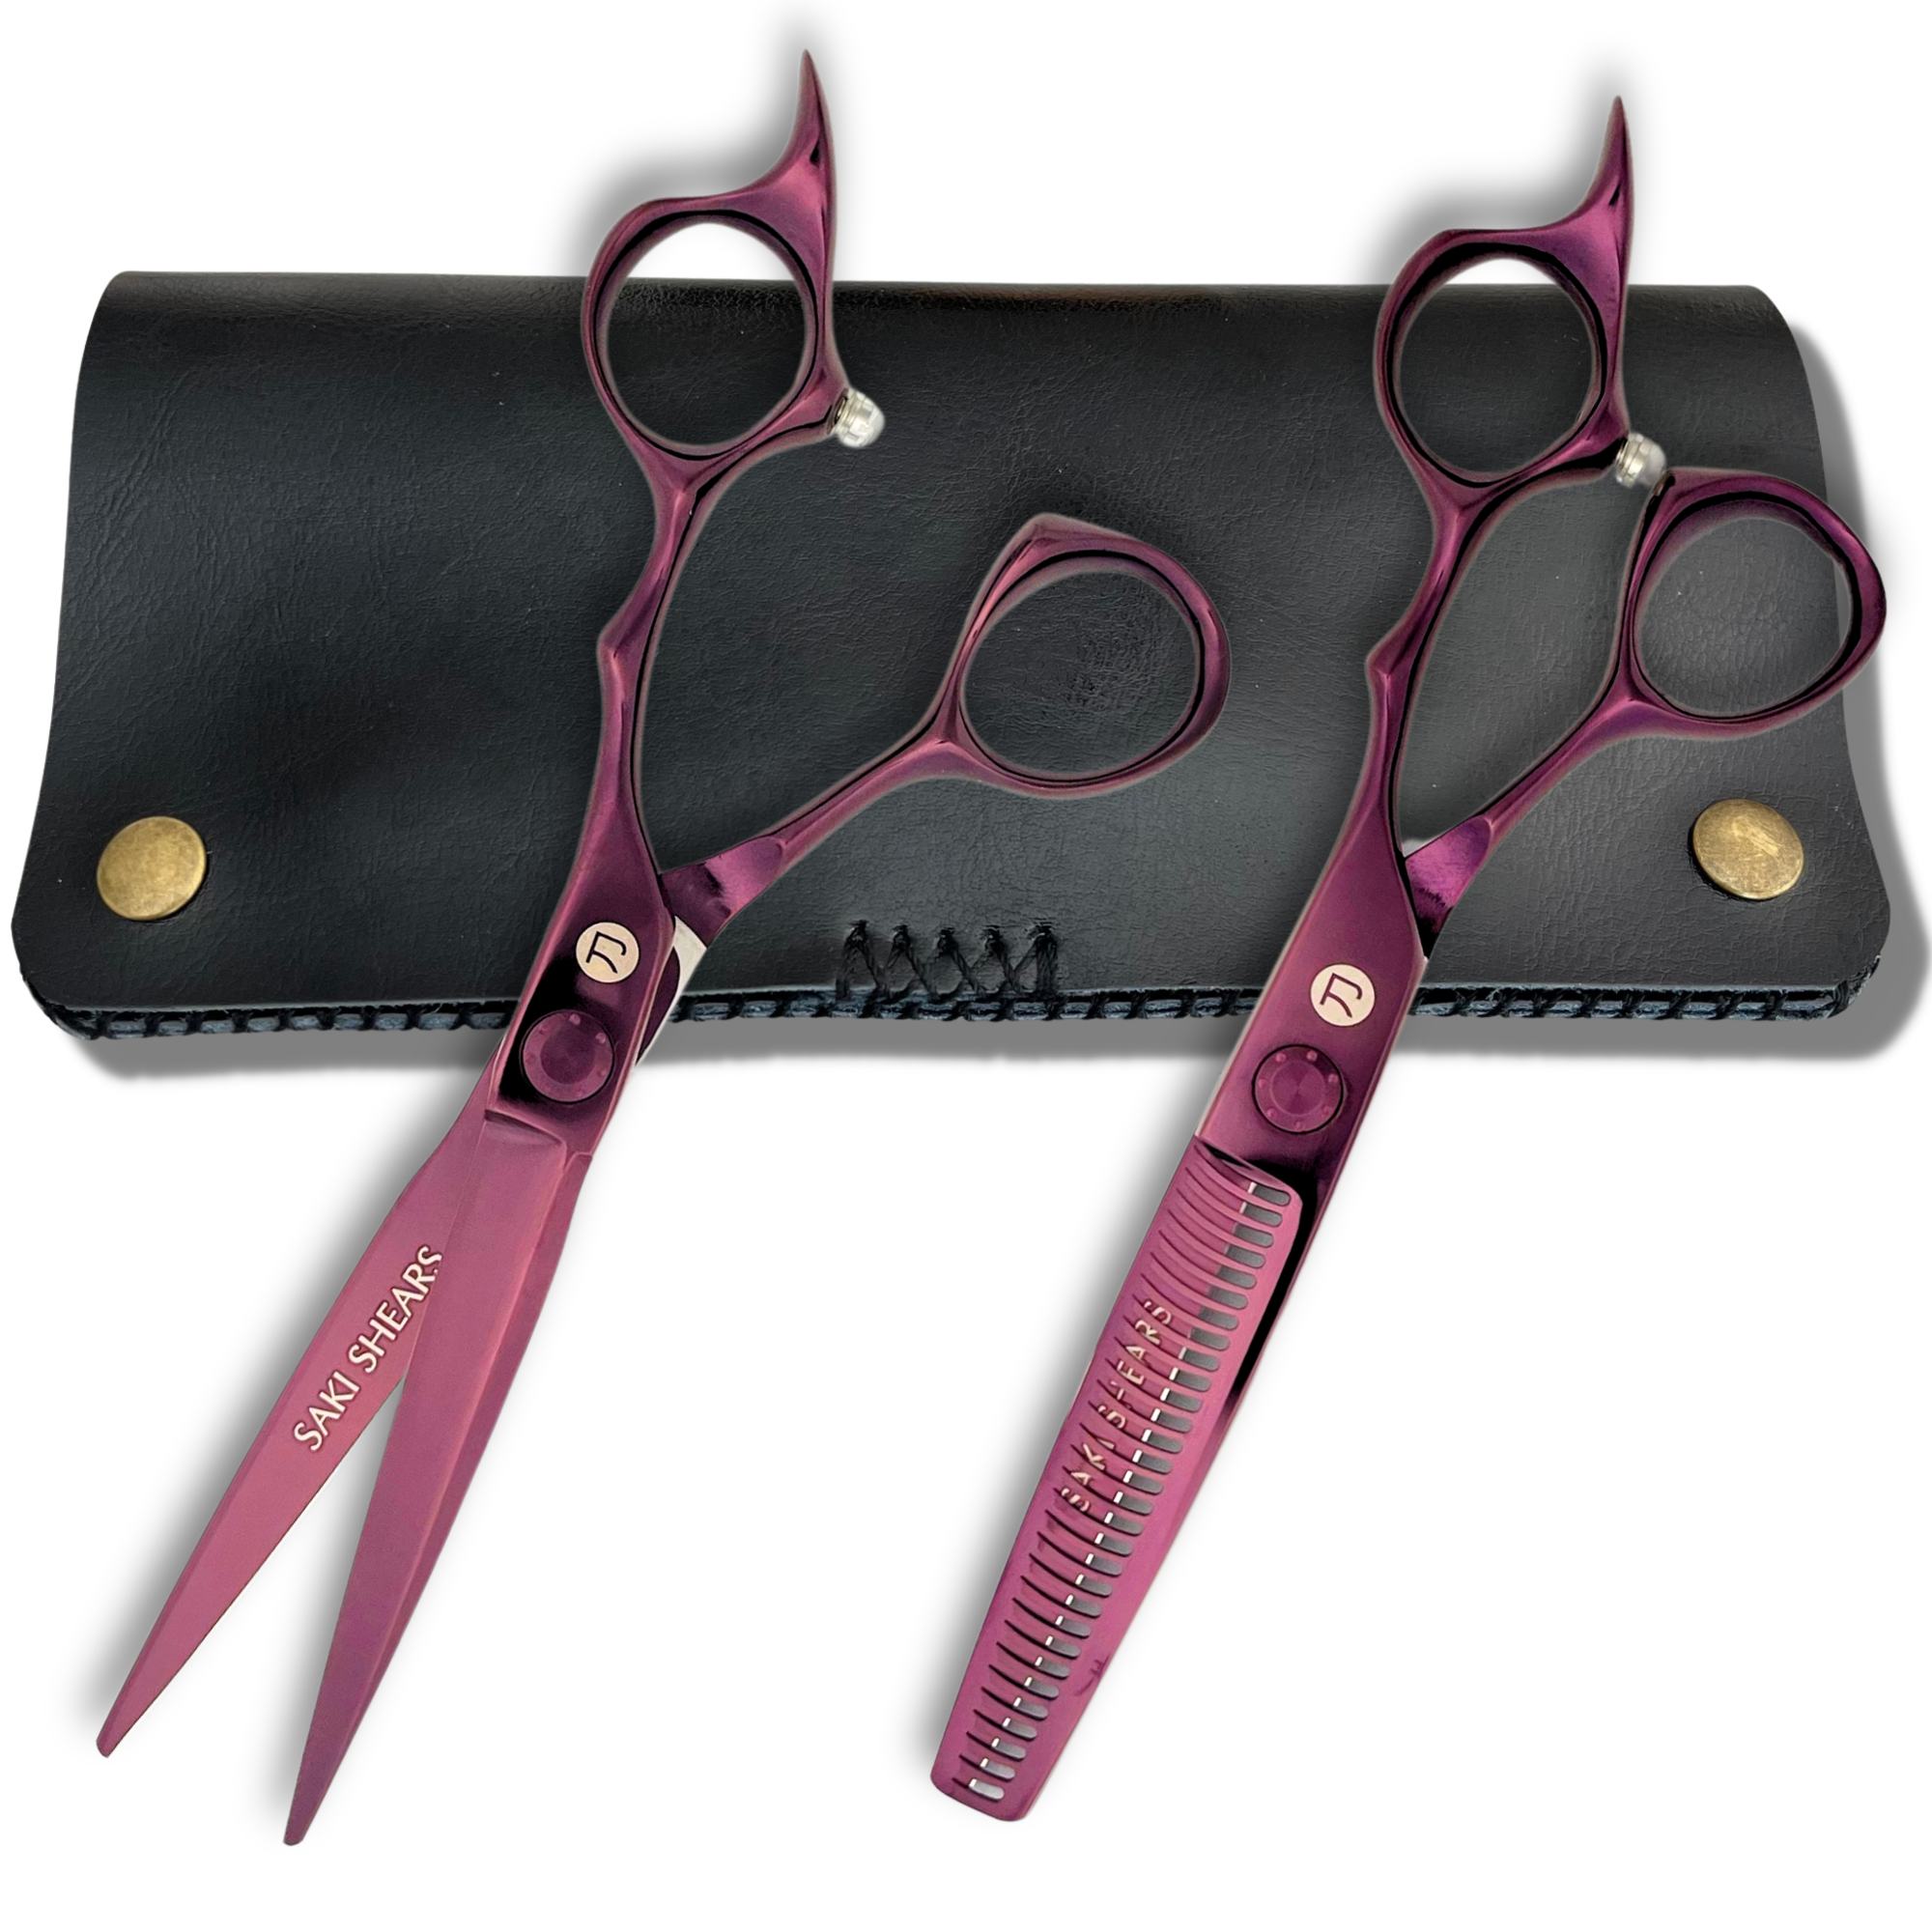
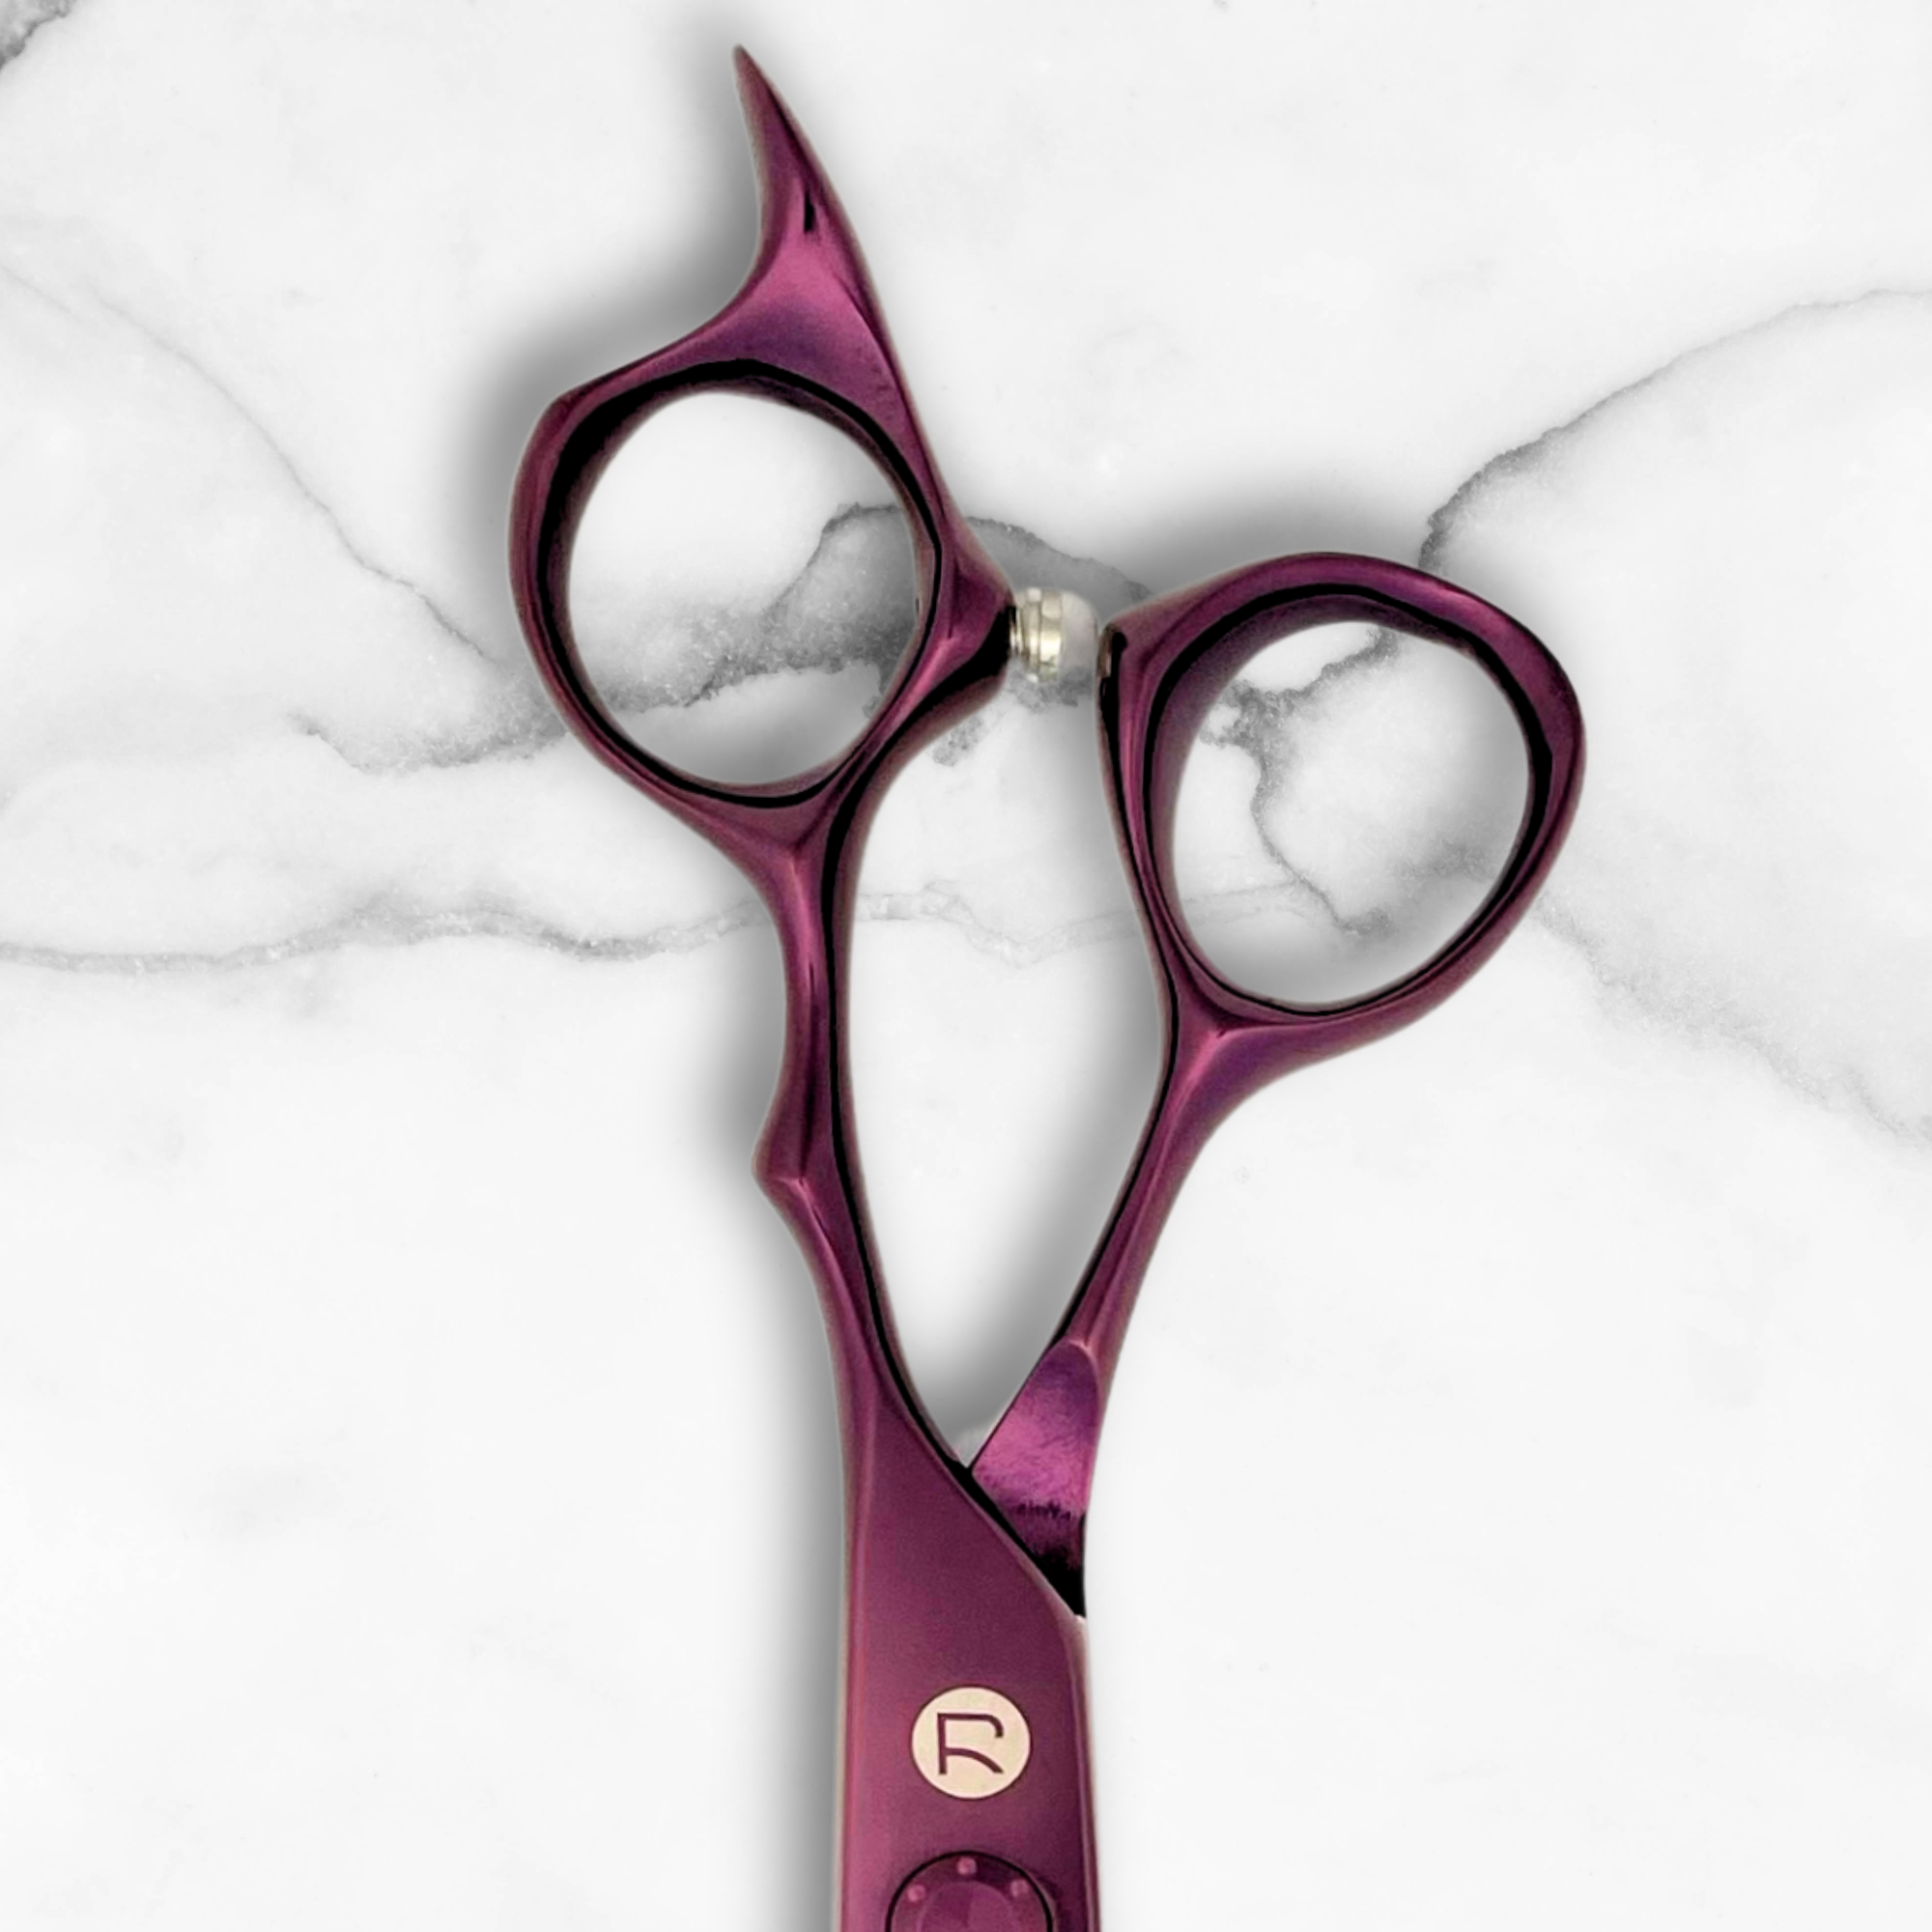
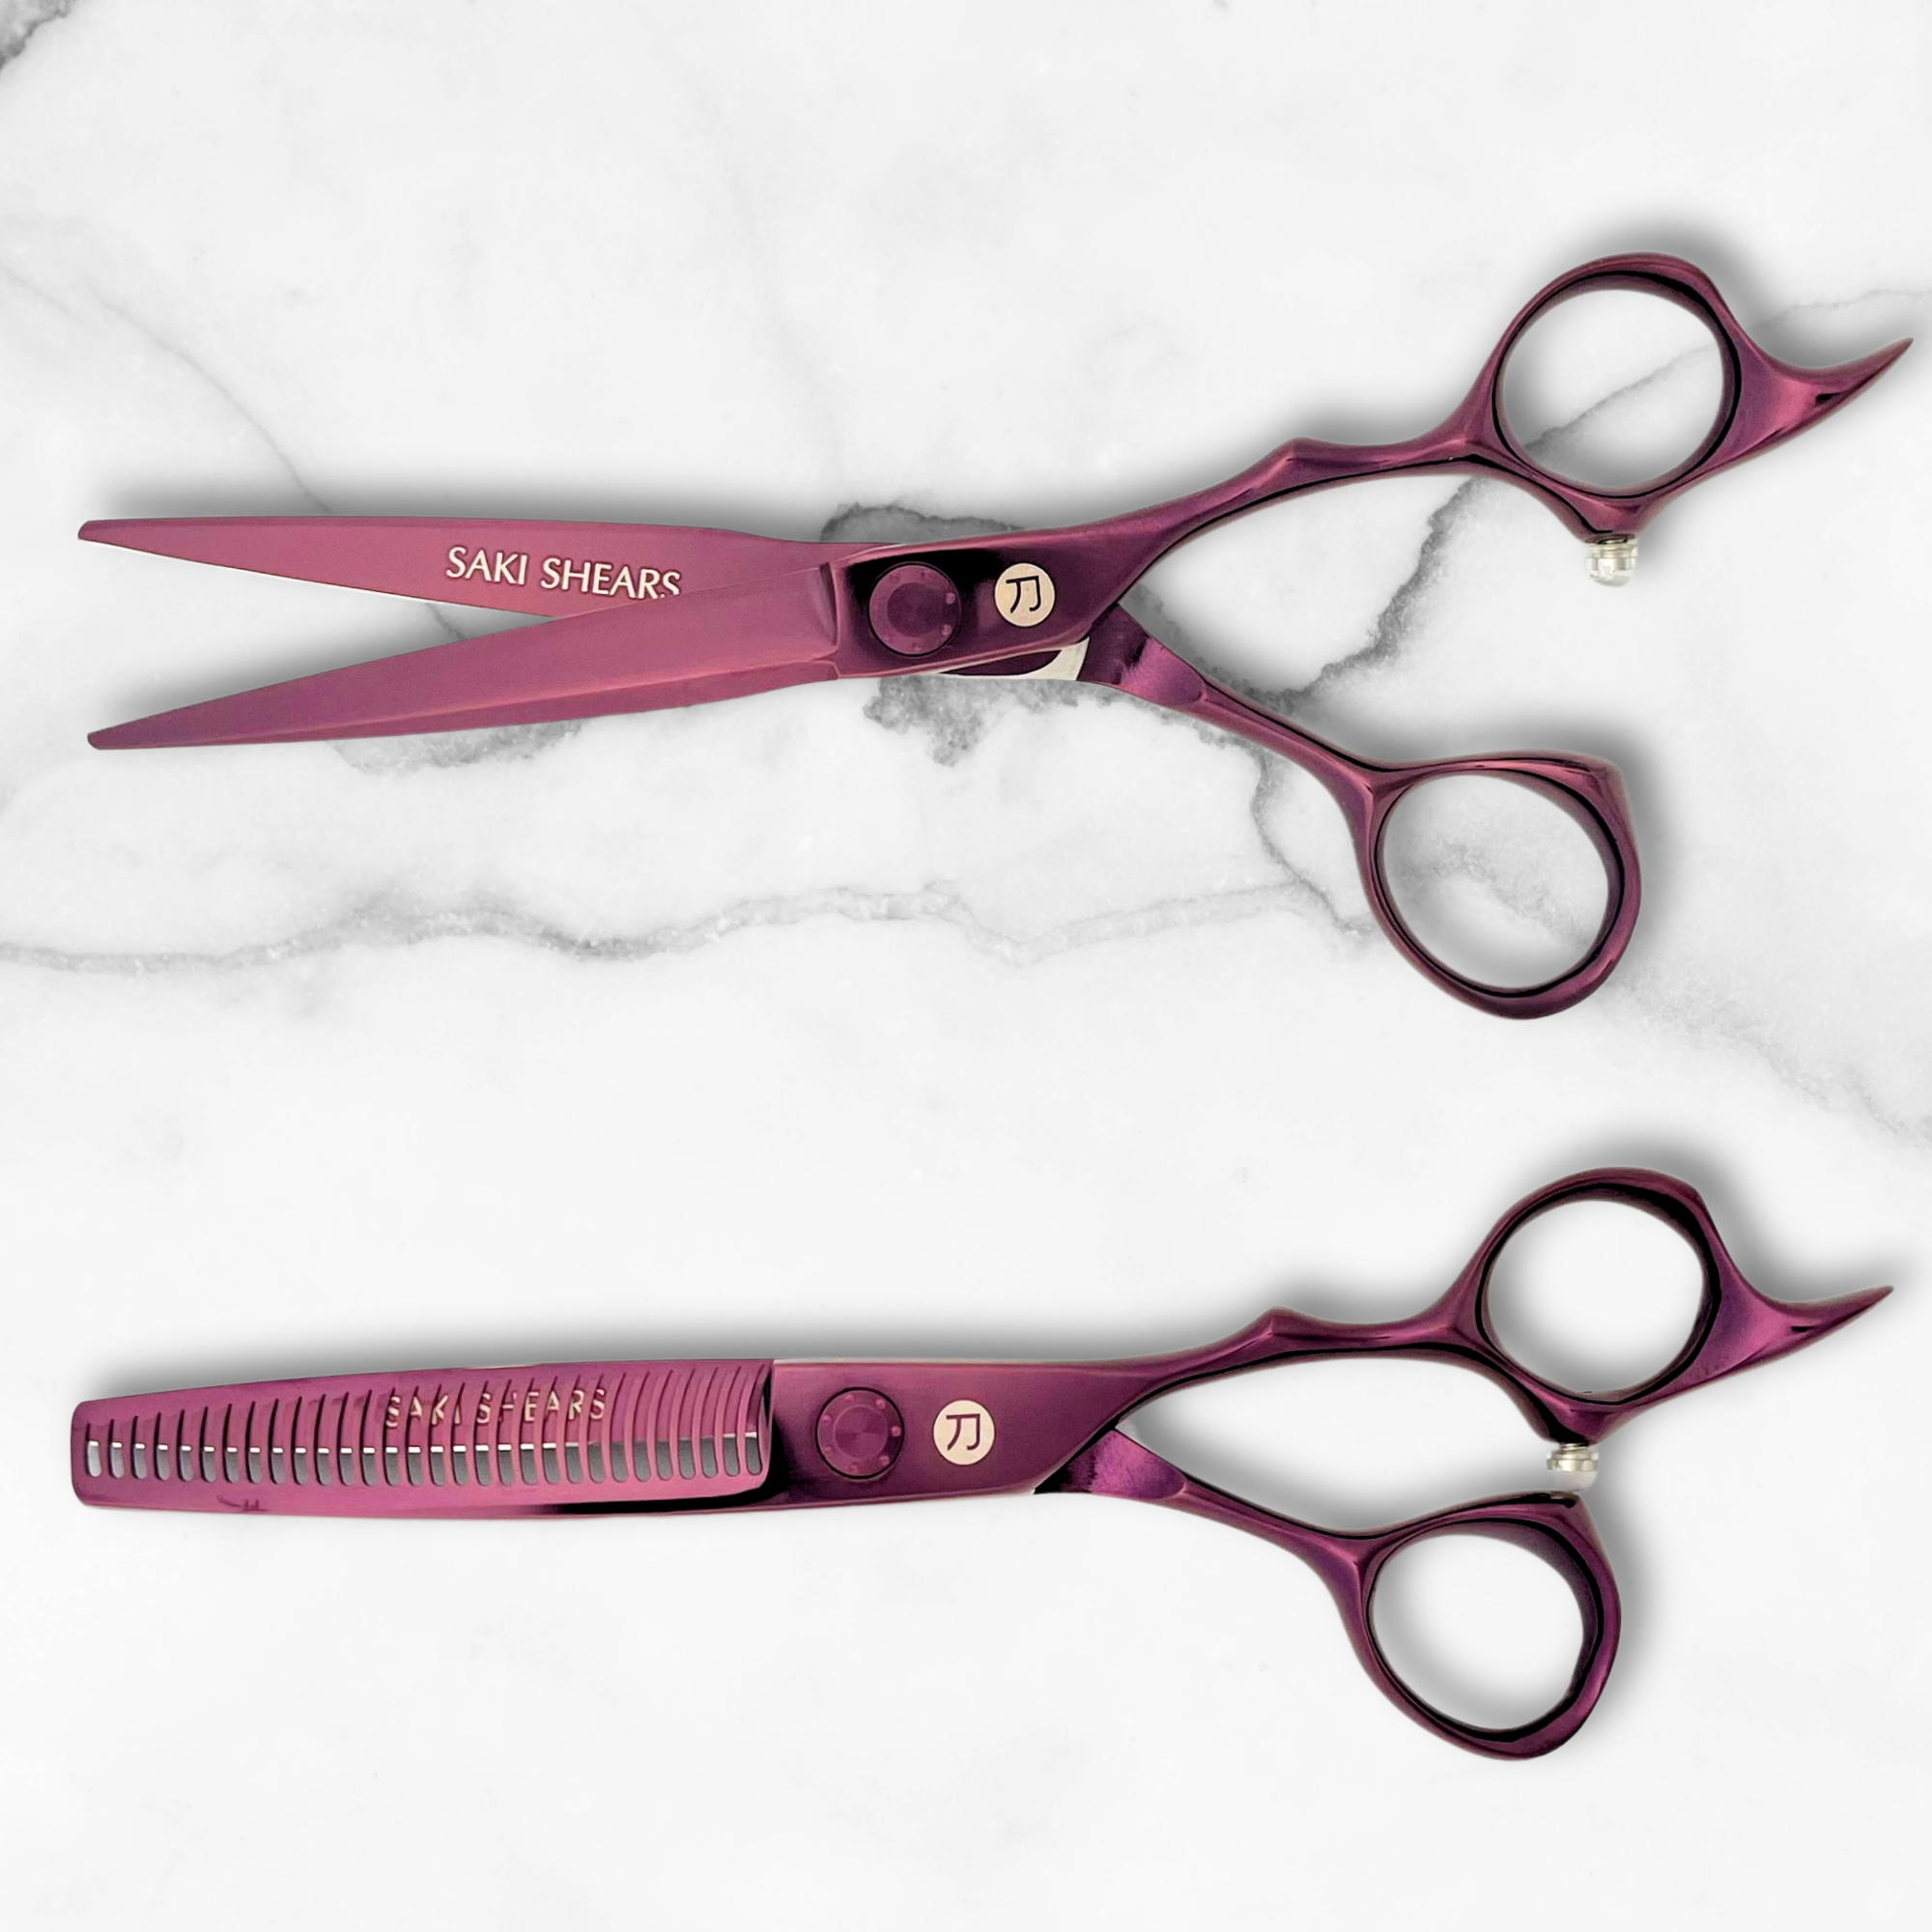
Saki Shears offers a range of professional-grade shears suitable for everything from simple trims to advanced styling. Their tools are designed with comfort and precision in mind, featuring ergonomic handles and adjustable tension settings. Whether you're layering or point-cutting, these shears deliver accuracy.
| Product Line | Price Range | Features |
|---|---|---|
| Basic Shears | $124.99+ | Sharp blades, ergonomic grip |
| Mid-Range | $185.00+ | High-quality steel, adjustable tension |
| High-End | $285.00+ | Damascus steel, lifetime warranty |
Self-Cut System

The Self-Cut System is a complete setup designed for at-home haircuts. It includes a three-way mirror for full 360-degree viewing, cordless clippers for fades, and a mount that adjusts to your needs. This system makes it easier to apply the techniques outlined in this guide.
Minerva Beauty

Minerva Beauty offers a variety of tools for texturizing, precision cutting, and styling. Their products cater to different hair types and styling preferences, giving you the flexibility to achieve your desired look.
With these tools, you’ll have everything you need to approach self-haircuts with confidence and skill.
Conclusion
Cutting your own hair takes preparation, the right tools, and proper techniques to get the results you want. Using high-quality, professional tools is key to achieving clean and precise cuts.
It’s not something you’ll master overnight - it takes patience and practice. Start small, as Artero recommends, with minor trims to allow room for adjustments and to build your confidence.
Here are the three key elements to successful self-haircuts:
| Factor | Why It Matters | Best Tip |
|---|---|---|
| Tool Quality | Ensures precision | Invest in professional shears and mirrors |
| Preparation | Improves results | Work with clean, dry hair in good lighting |
| Technique | Affects the outcome | Learn basic cuts before trying advanced styles |
As discussed earlier, preparation and using the right tools are essential to getting professional-looking results at home. For more intricate styles or if you're unsure about a technique, seeking advice from a stylist can be incredibly helpful. With the proper tools, careful preparation, and consistent practice, you can take control of your own hairstyle and enjoy the satisfaction of doing it yourself.
FAQs
Here are answers to some common questions about selecting and maintaining hair-cutting shears.
Which scissors are best for cutting hair at home?
If you're aiming for salon-like results at home, professional hair-cutting shears are a must. Below are some top-rated options:
| Shear Model | Best For | Key Features |
|---|---|---|
| Equinox Professional Razor Edge 6.5" | All-purpose cutting | Japanese stainless steel, easy to handle |
| Sanguine Professional 5.5" | Precision work | Lightweight, designed for extended use |
| ULG Hair Thinning 6.5" | Thick hair | Thinning teeth, ergonomic and comfortable grip |
What to consider when choosing shears:
- Blade Material: Look for high-quality stainless steel or titanium for long-lasting sharpness.
- Care and Maintenance: Regular sharpening (every 1-3 months) and replacing shears every 6-12 months can keep them in top condition.
- Hair Type: Thick hair may require heavier-duty shears, while finer hair pairs better with lighter options.
"Professional shears are crafted for clean, efficient cuts, reducing split ends and damage." [4][5]
For best results, use your shears along with sectioning clips and combs, and always keep them clean and dry. If you're just starting out, stick to basic trims before trying more advanced techniques.
While professional-grade tools might seem like a bigger investment, they deliver cleaner cuts and last longer than cheaper alternatives. With the right tools and proper upkeep, you can confidently achieve precise, polished results from the comfort of your home.

