Cutting and Styling Classic Rock-Era Hairstyle Archetypes
Rock-era hairstyles remain a steady request in the chair. Clients bring in reference photos of shags, mullets, and heavy feathered layers expecting a modern, wearable version of a look with roots in the 1970s and 80s. Delivering it well means understanding the cut structure behind each archetype, not just the surface silhouette. This guide breaks down the technique for the four style families that come up most often, along with styling and finishing notes for the consultation and behind the chair.
The Shag: Heavy Layering with Disconnection
The shag is built on aggressive layering and intentional disconnection between the top, sides, and perimeter. The goal is volume at the crown with texture that breaks up rather than blends.
- Section the head into top, sides, and back, and work each zone independently rather than blending them into one continuous layer.
- Point-cut or slide-cut the ends to remove weight and encourage the pieced, textured finish the style is known for.
- Keep the crown layers shorter and the perimeter longer to build the silhouette without over-thinning the base.
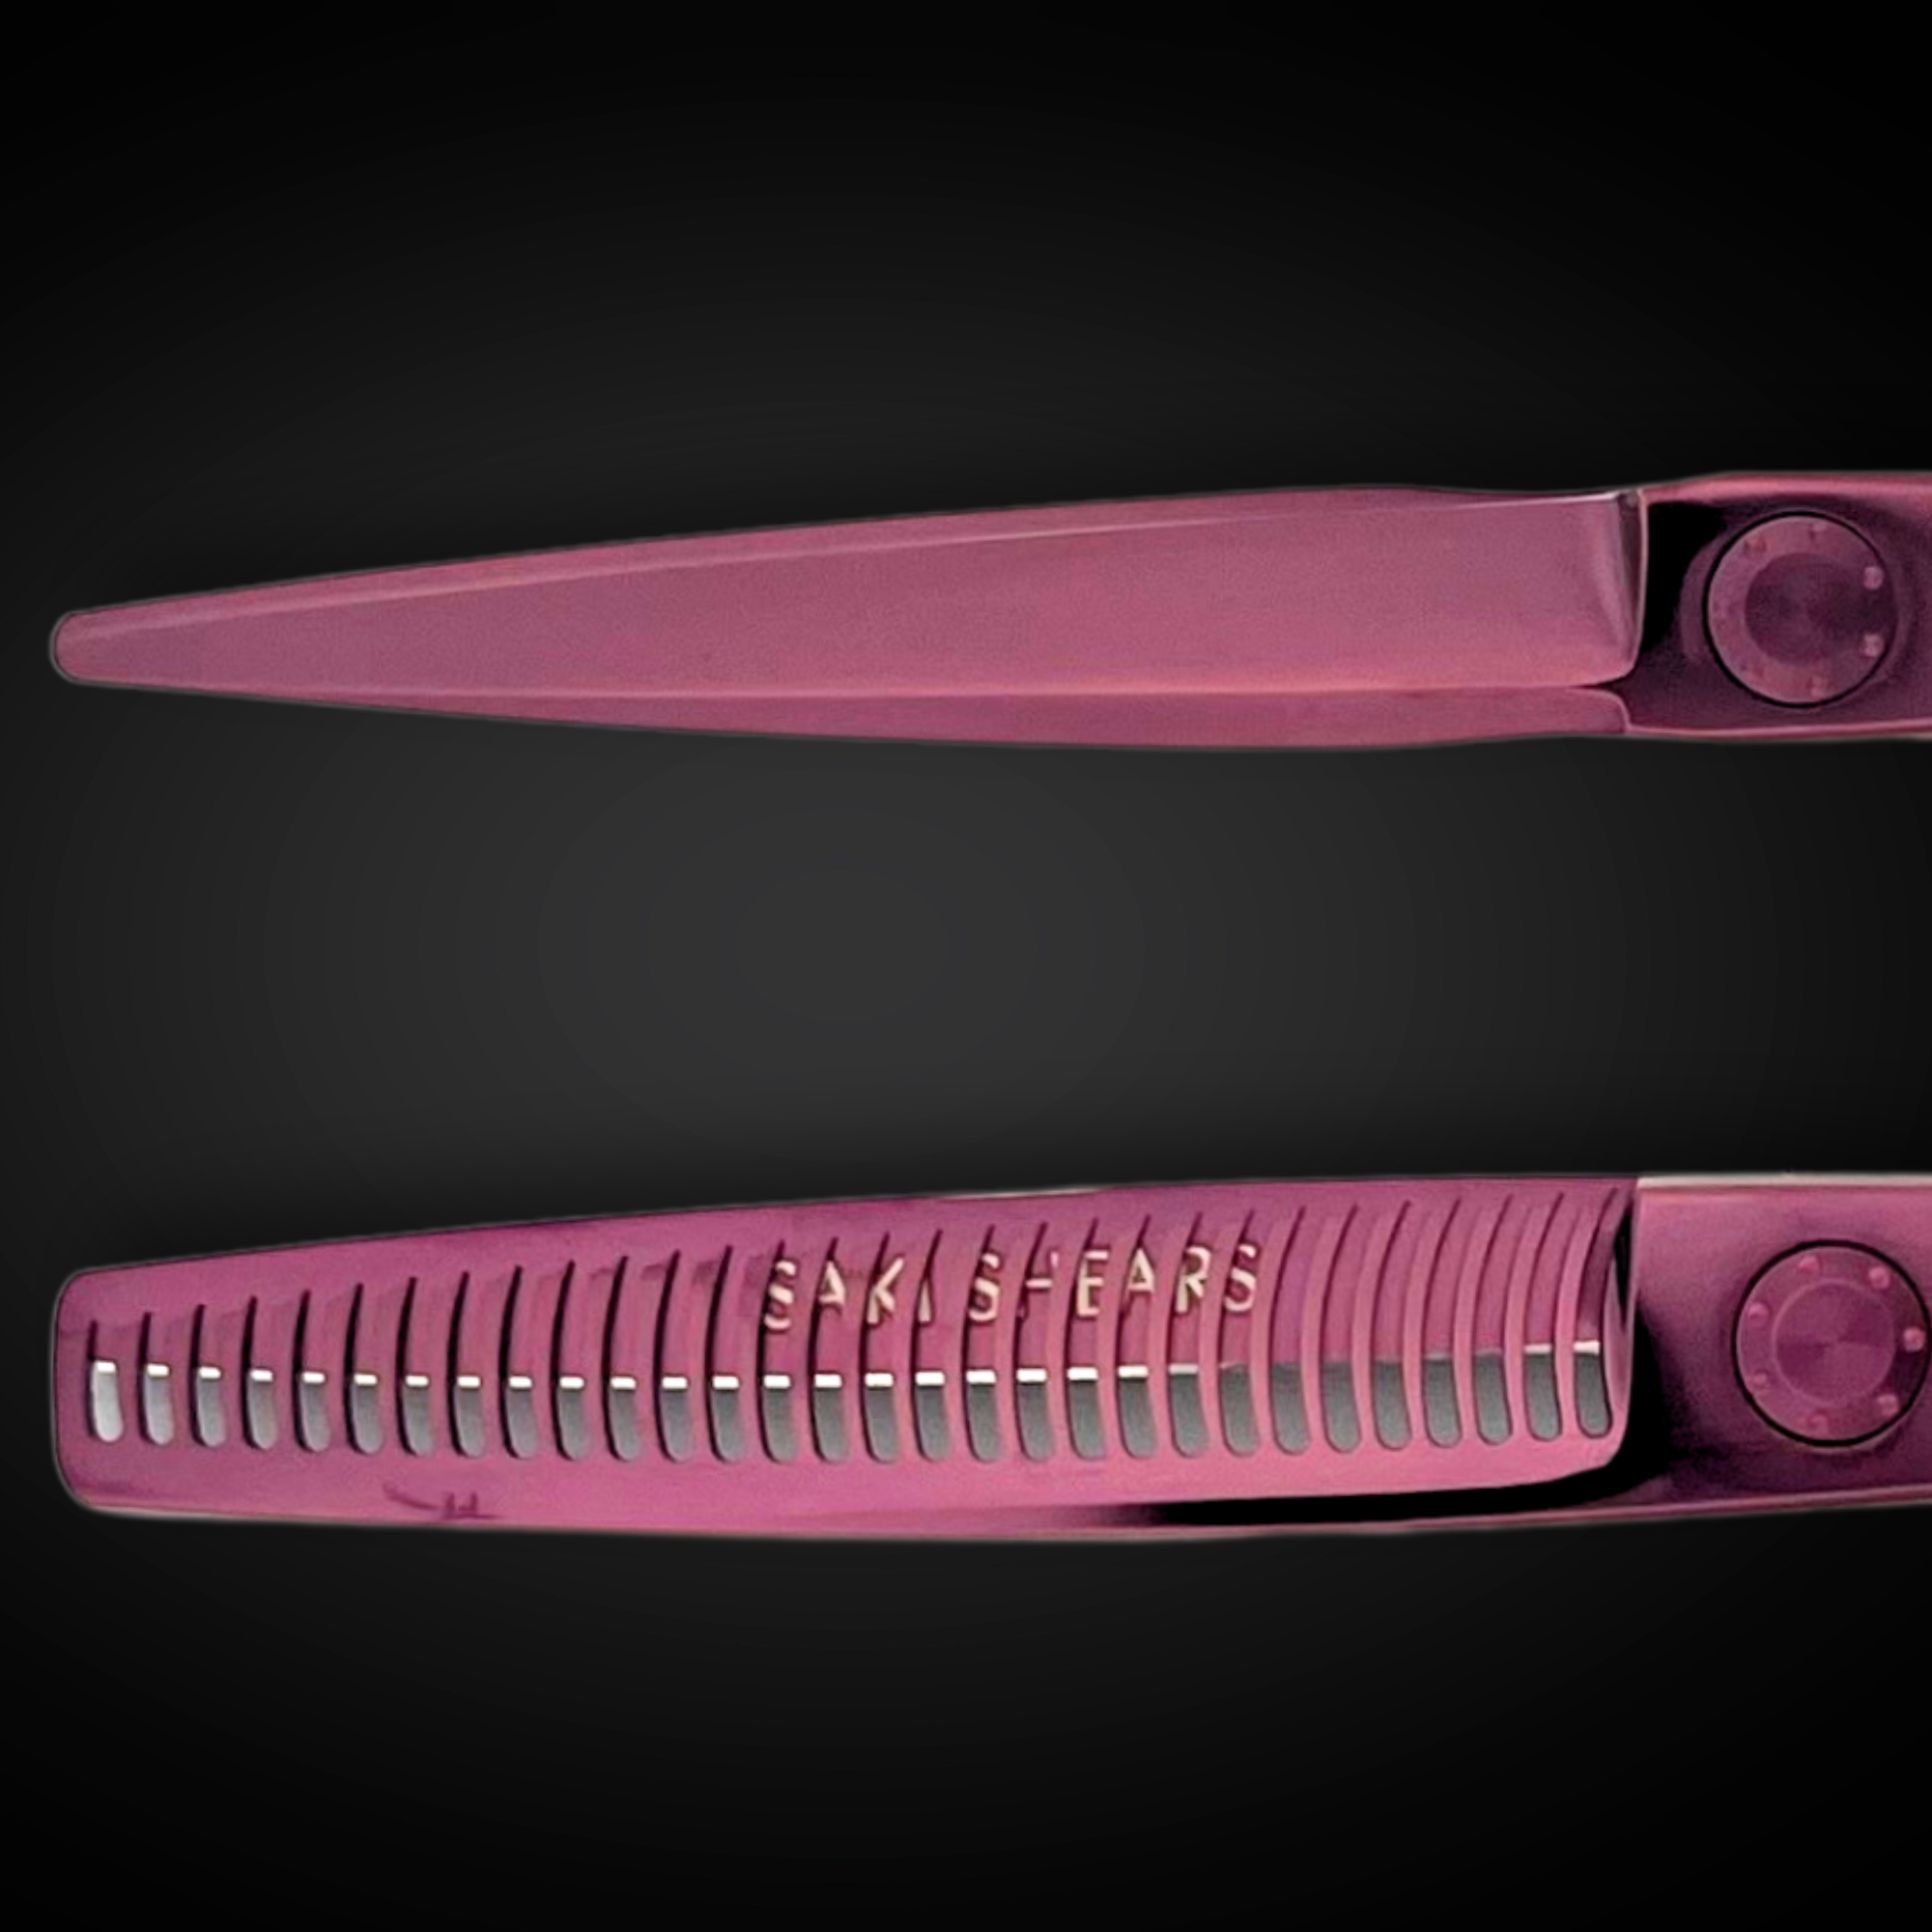
- Use a thinning shear sparingly at the mid-lengths to soften transitions without flattening the volume.
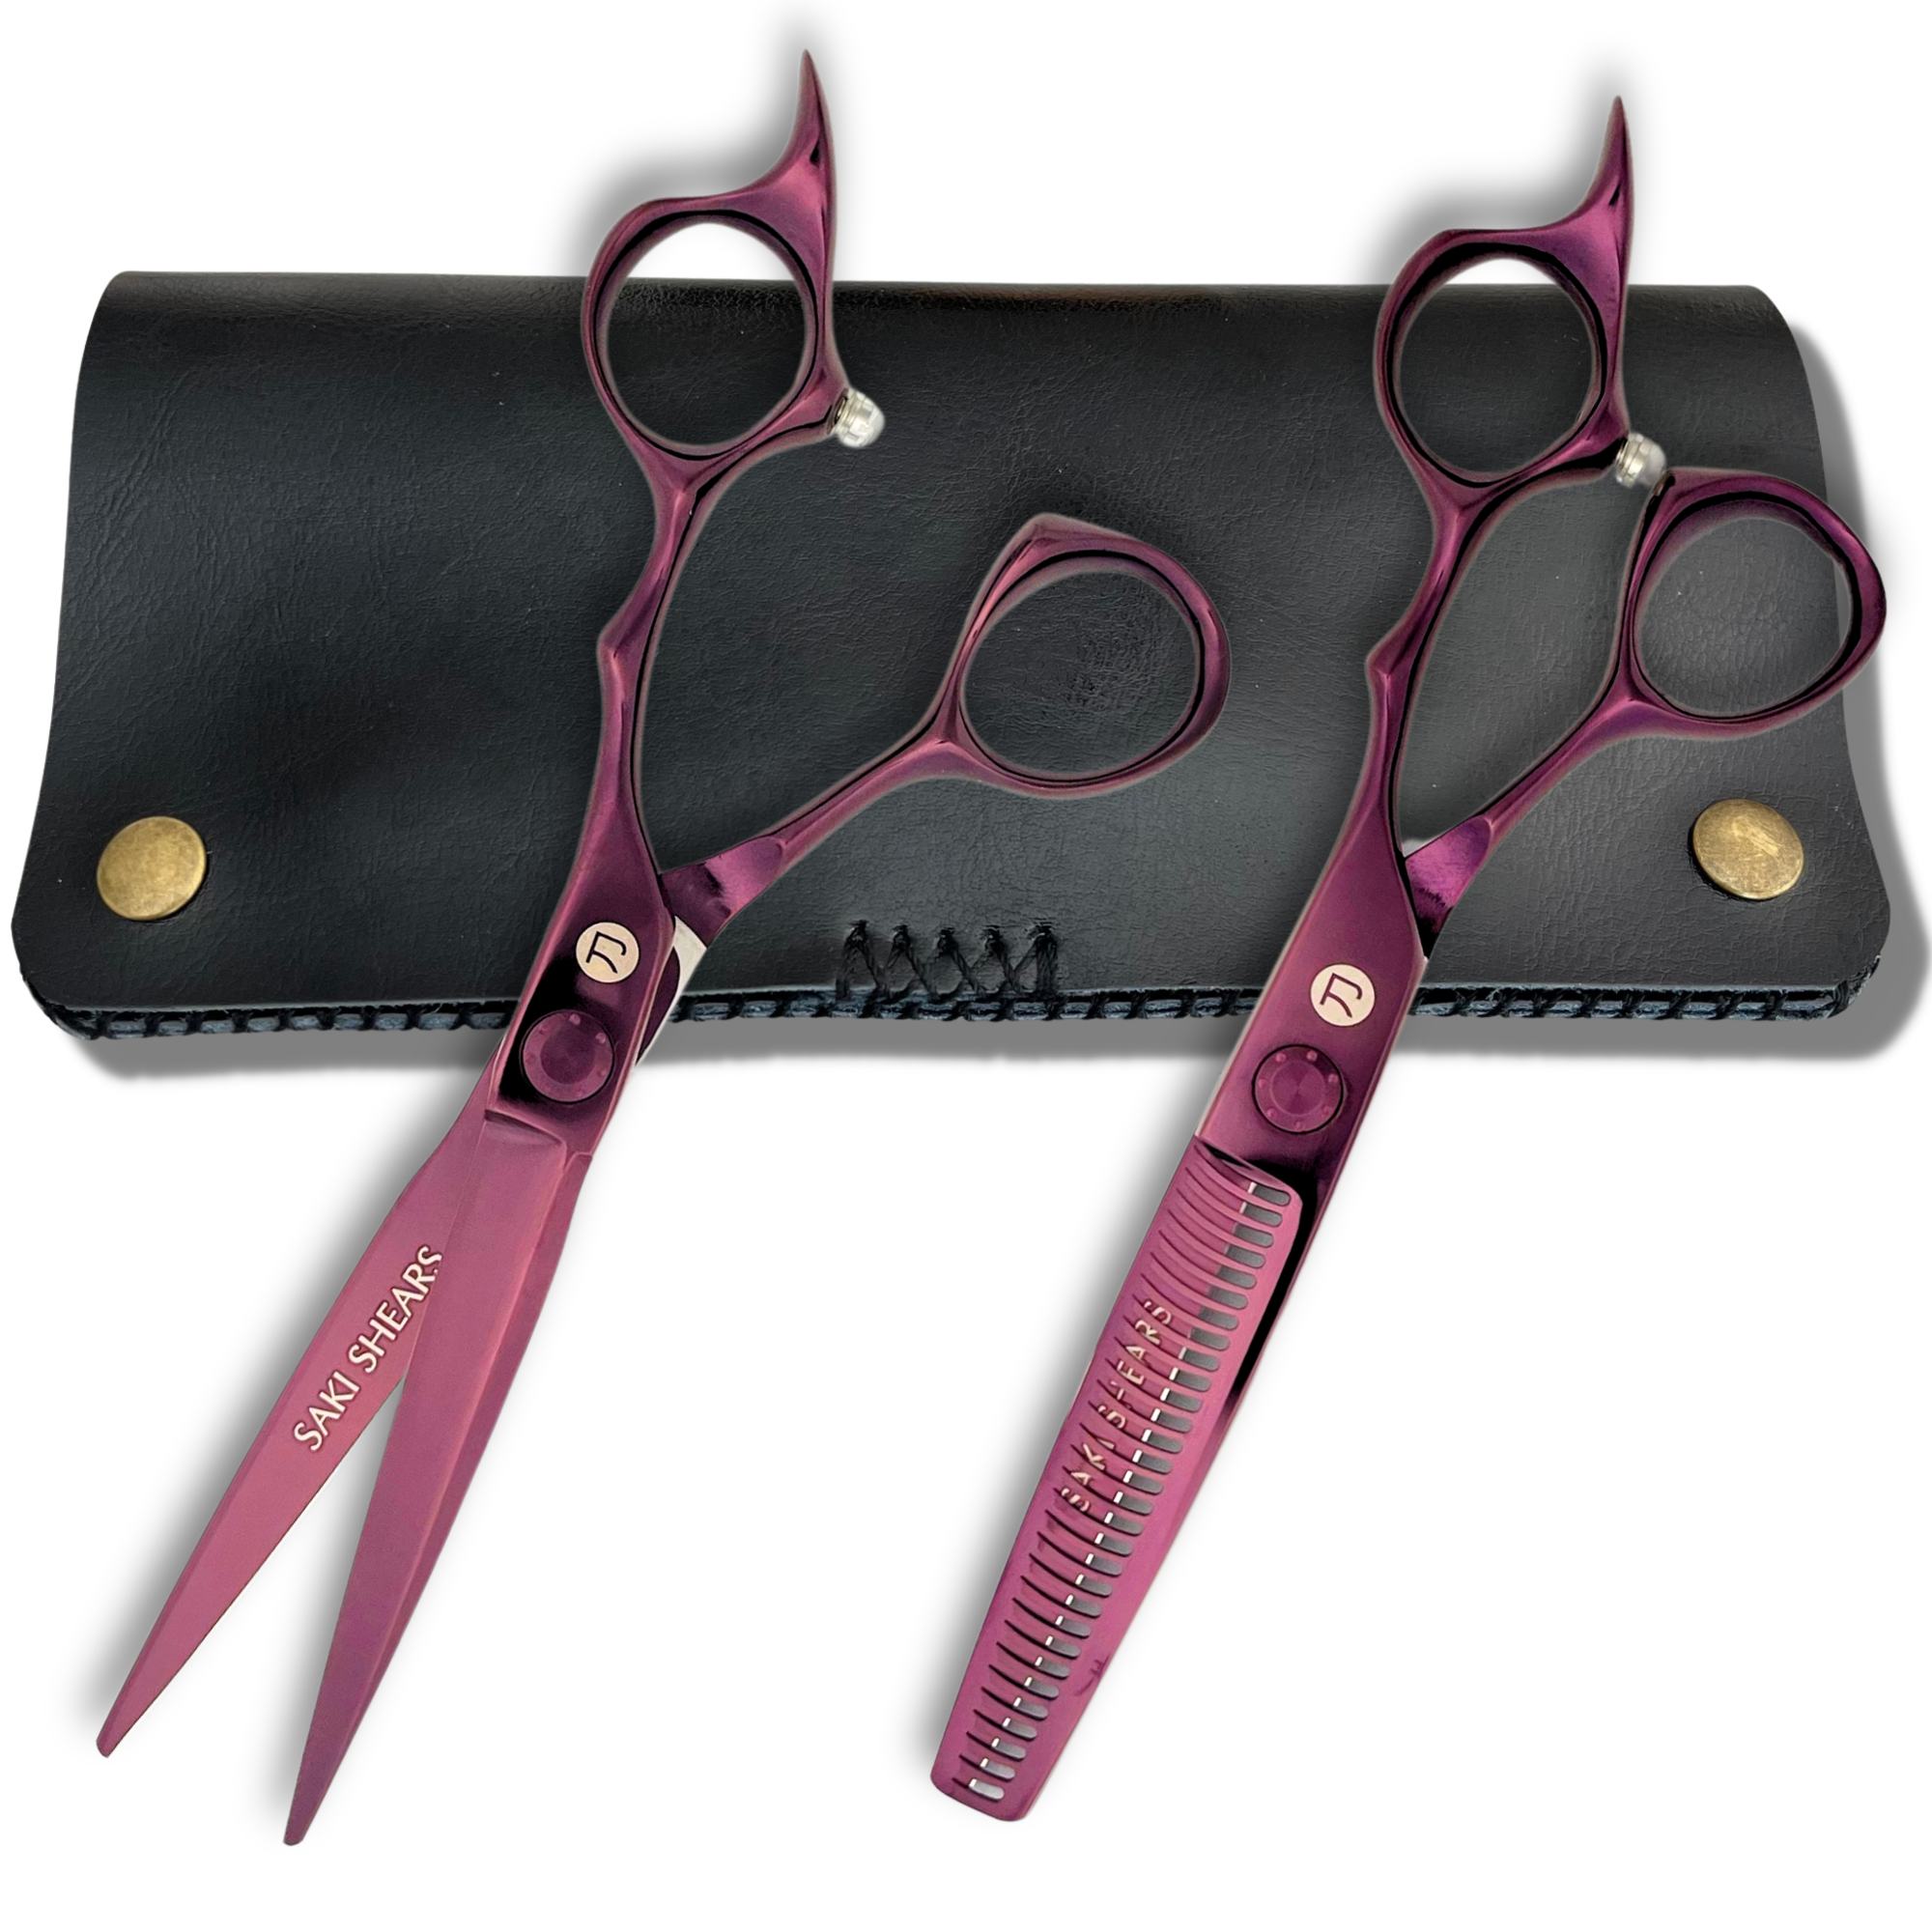
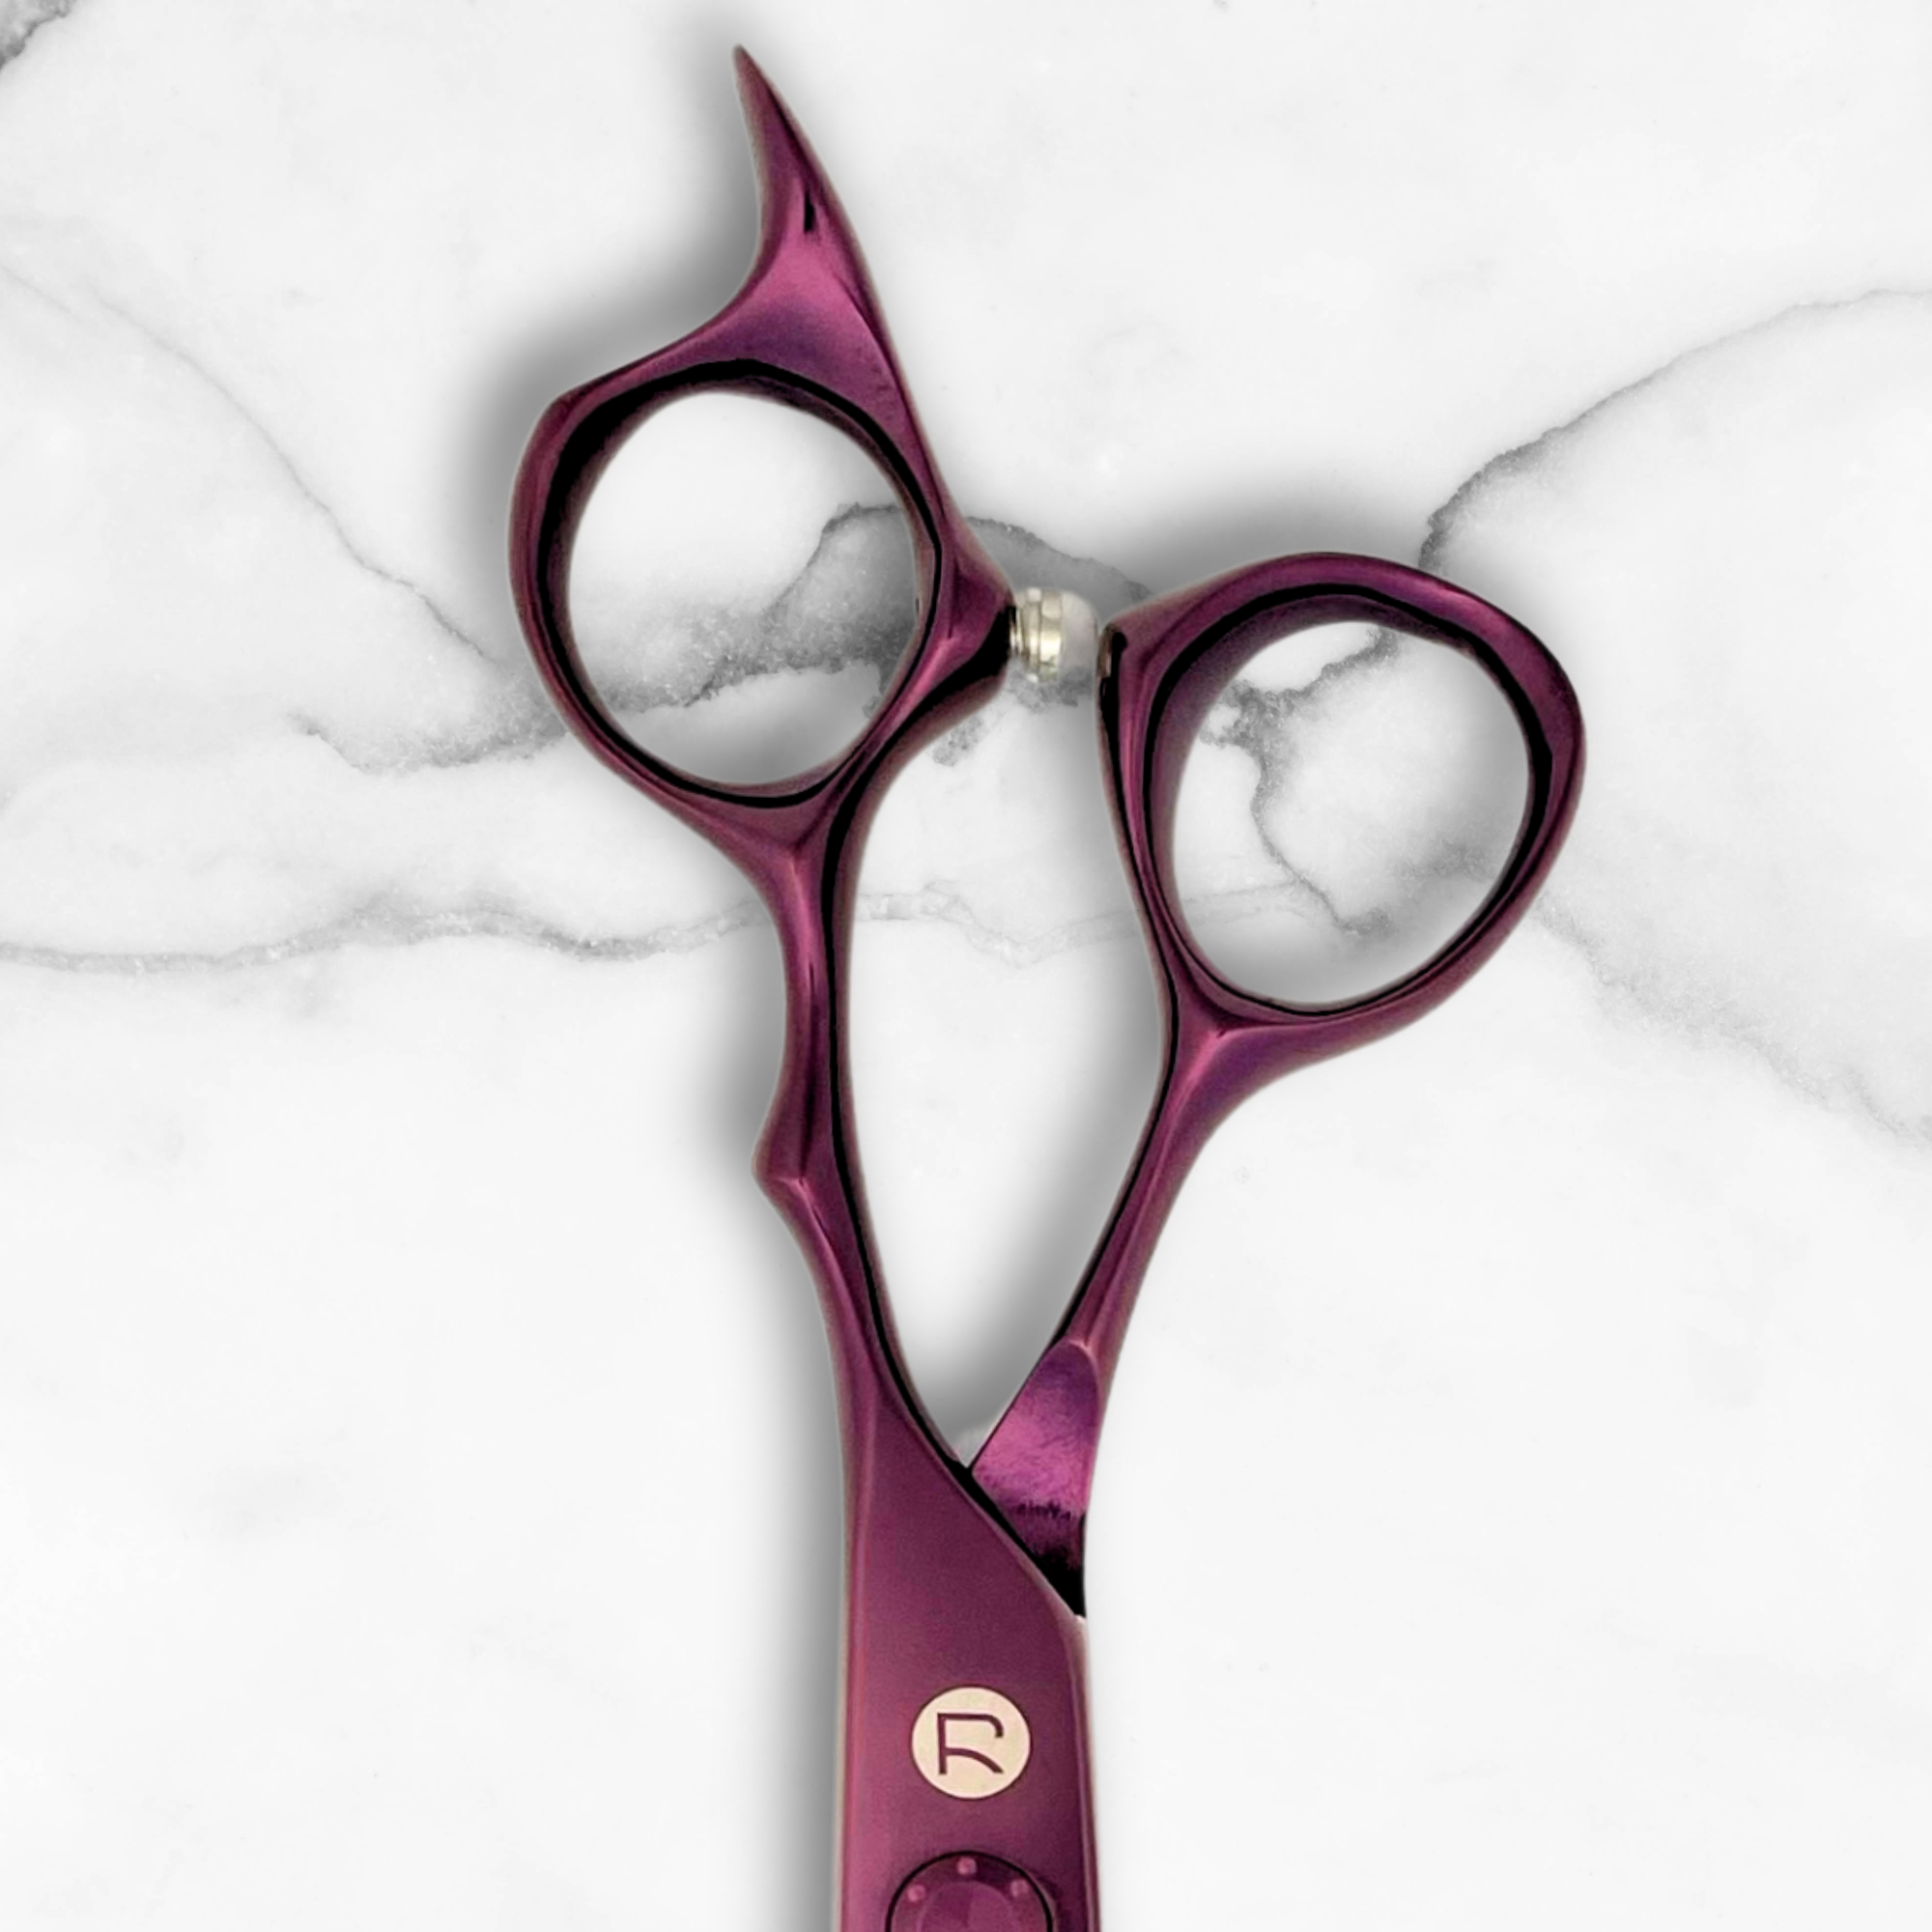
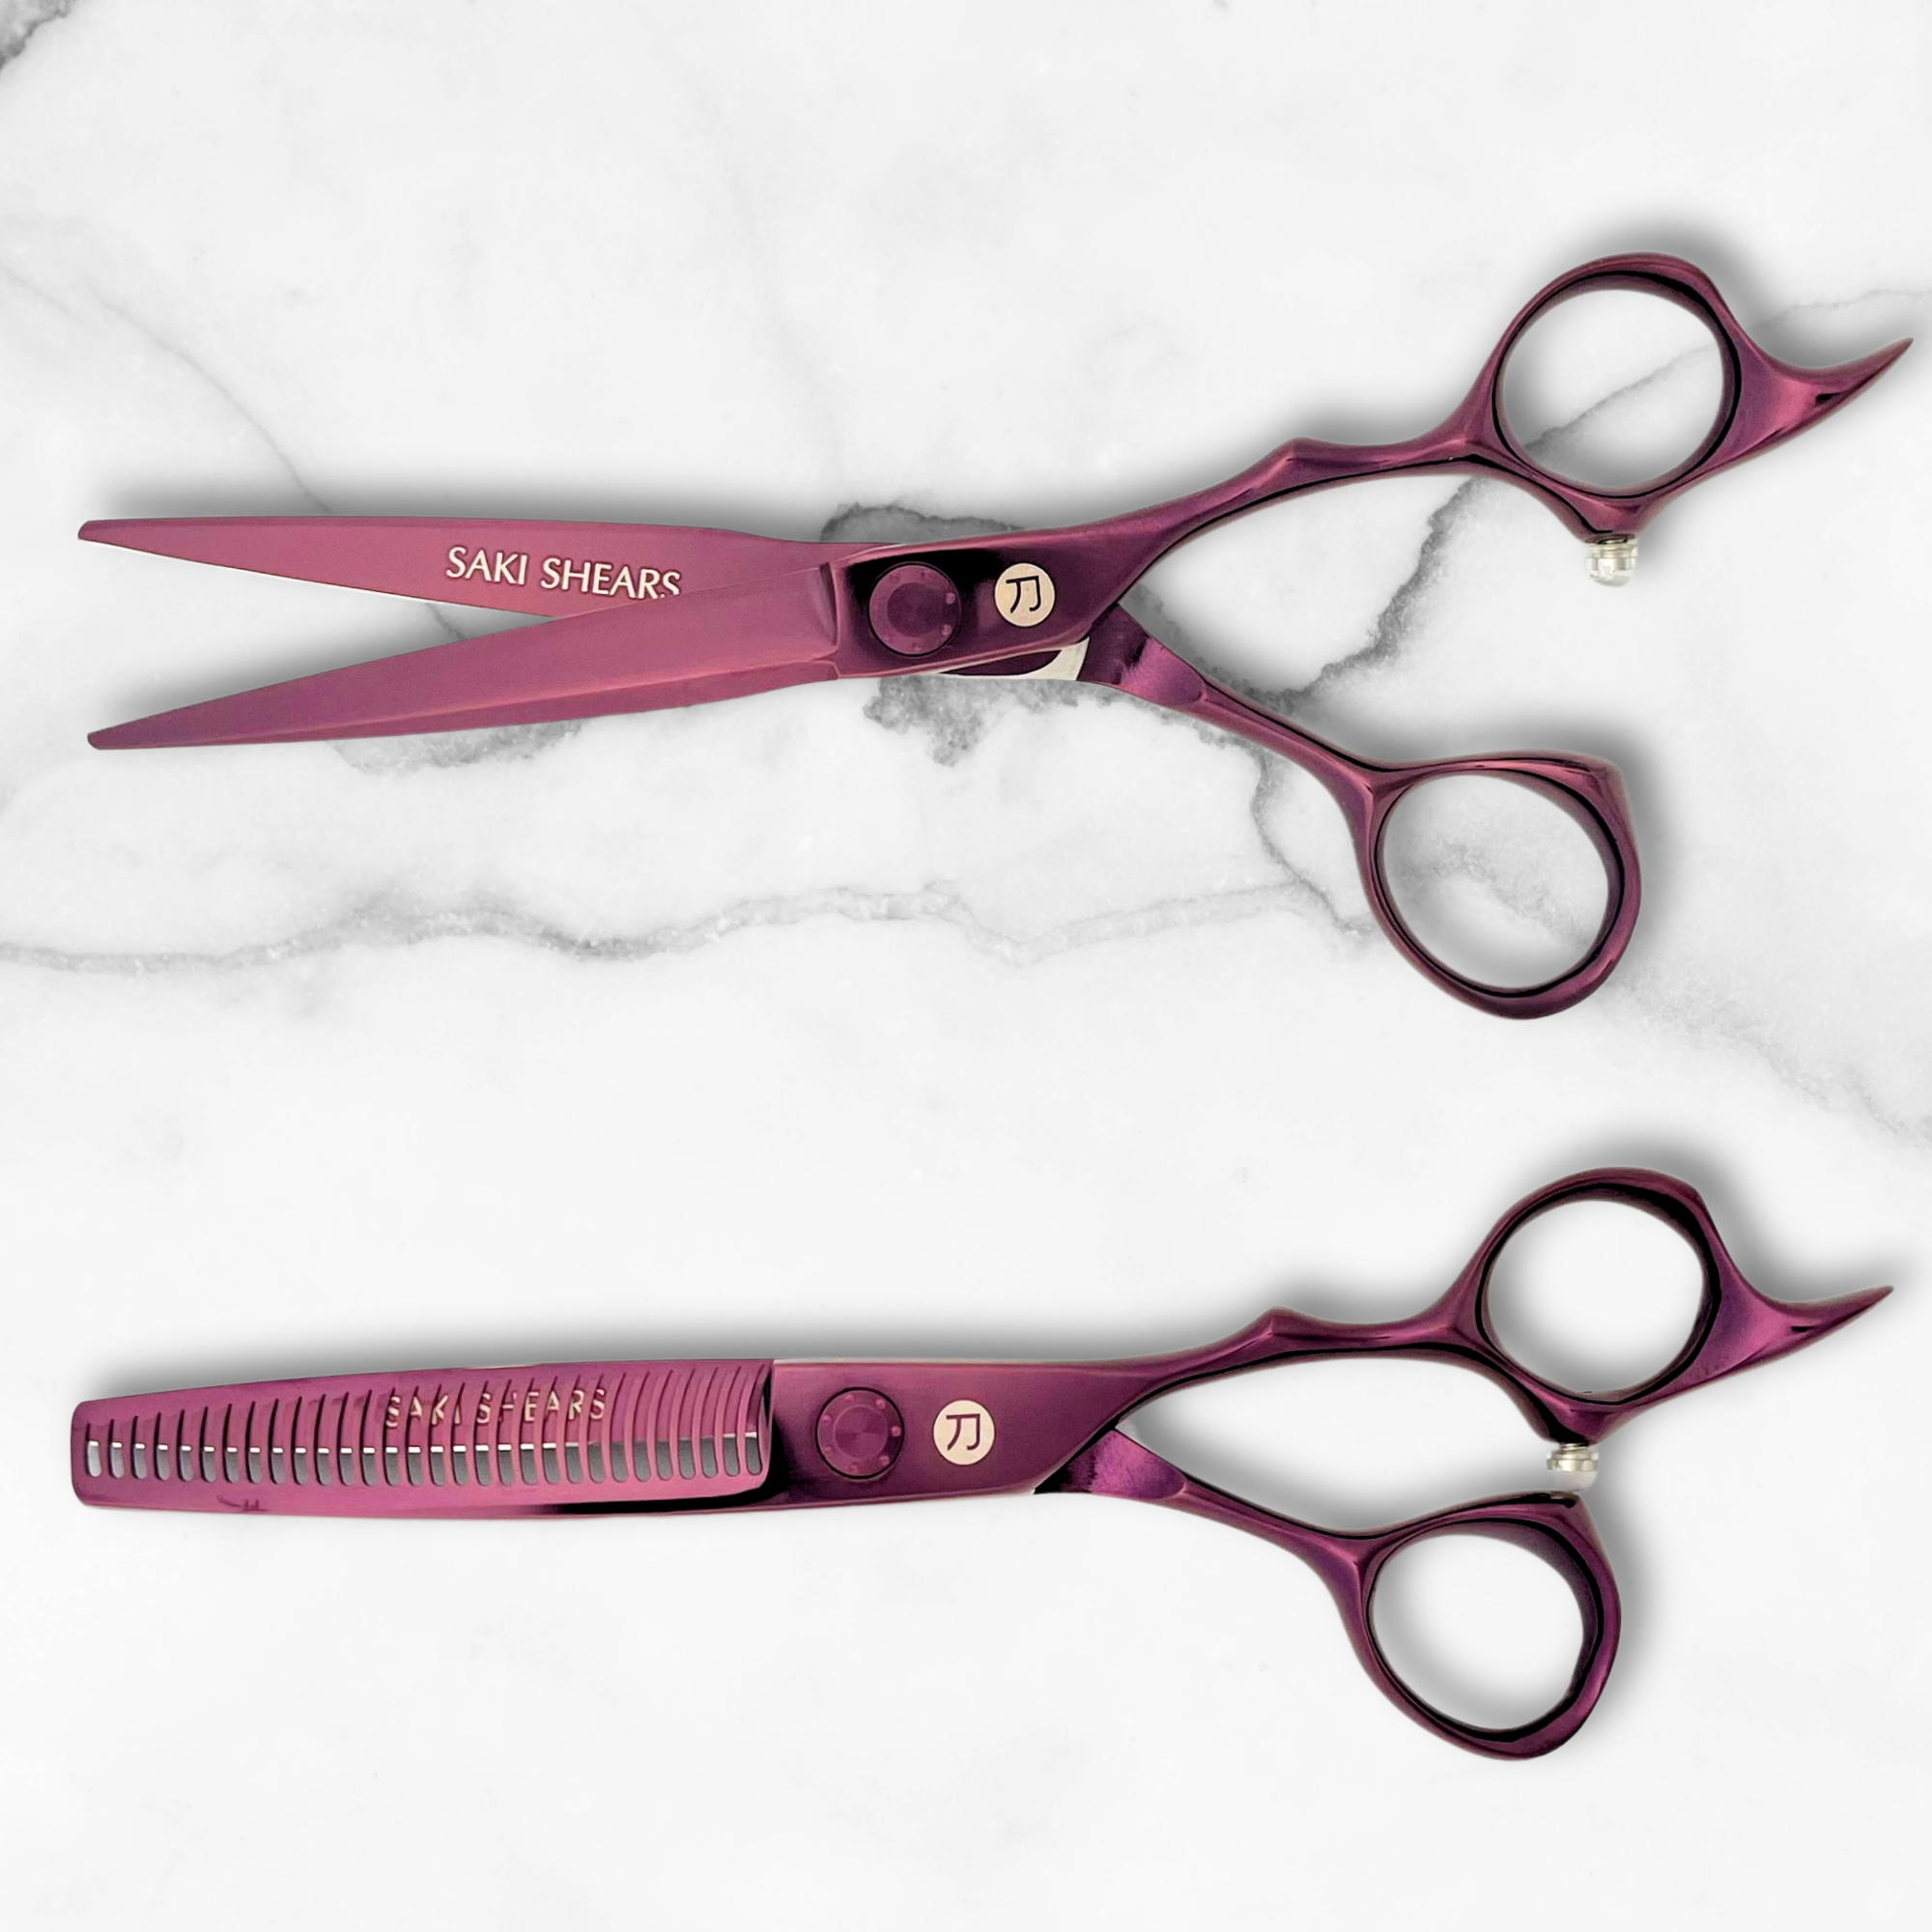
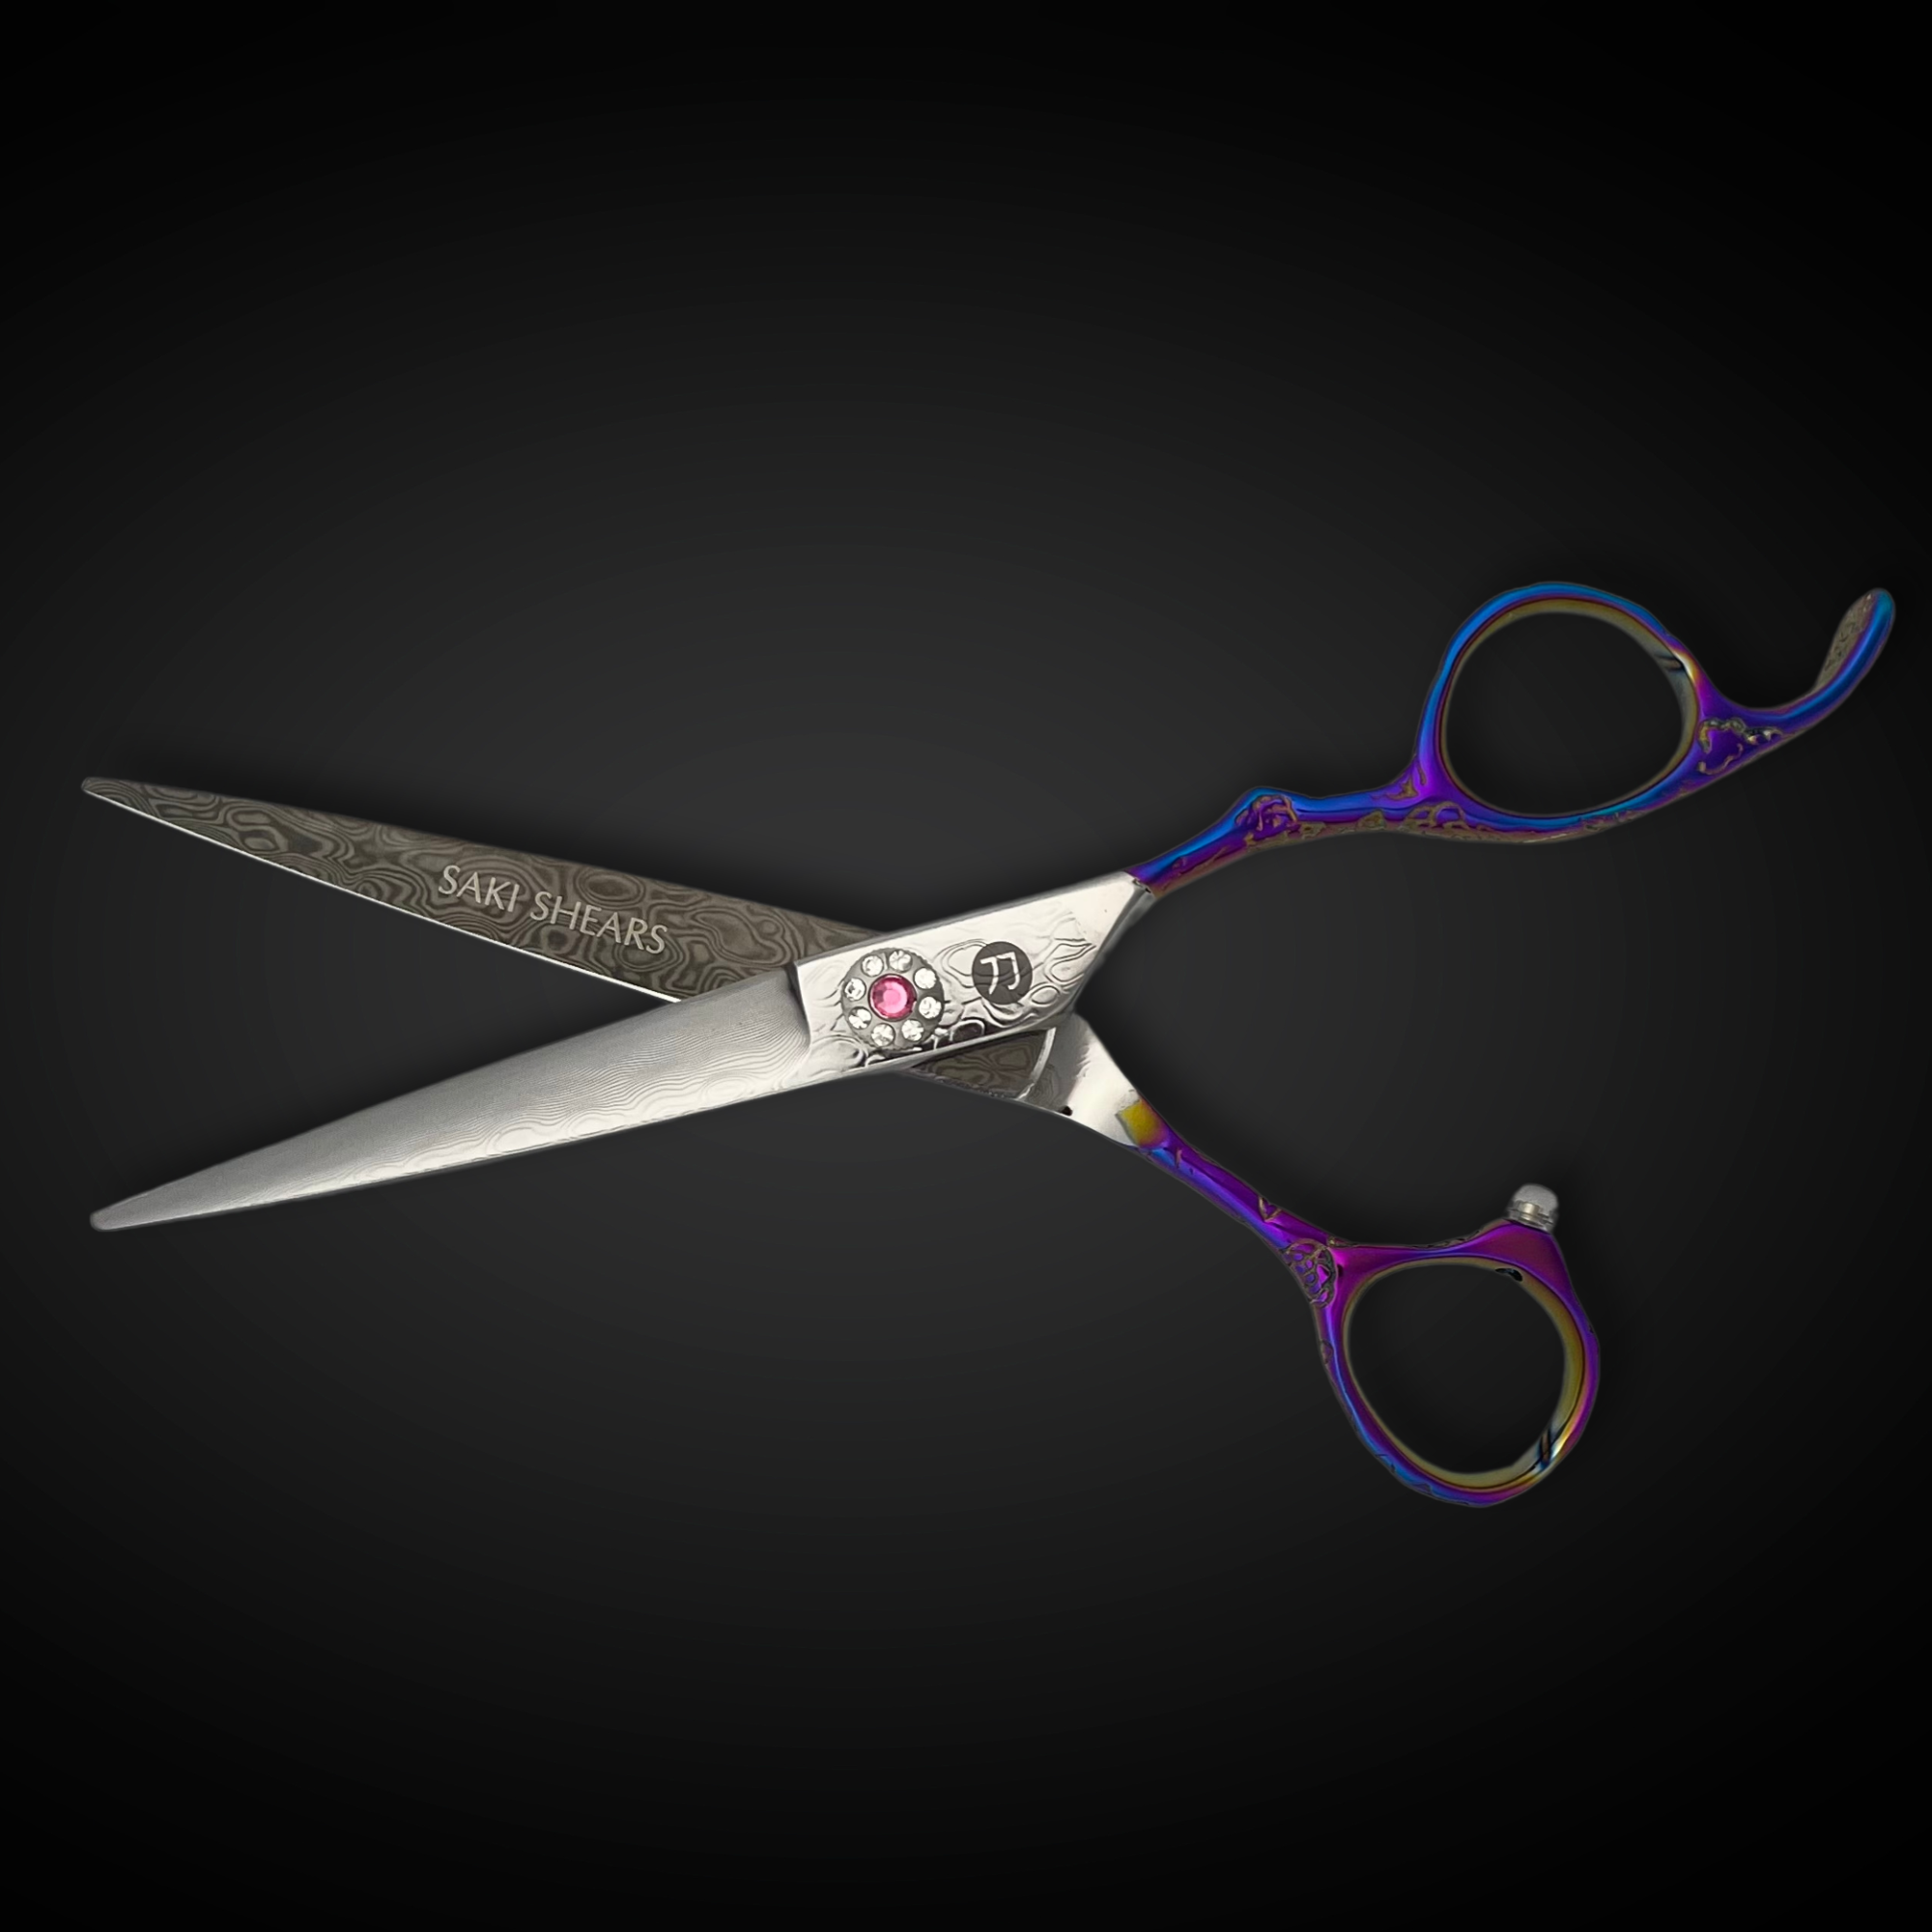
Precision at the layer lines matters more than in a blended cut, since the shag depends on visible separation. A sharp, well-maintained shear makes the difference between clean disconnection and ragged, uneven ends. See our hair cutting shears for options suited to precise layer work.
The Mullet: Contrast Between Front and Back
The mullet is defined by short, tapered sides and front paired with a longer, less-structured back. The technique challenge is managing the transition zone so the contrast reads as intentional rather than like two separate haircuts.
- Cut the front and sides short with a clean taper or fade, using clippers for the sideburn and nape area.
- Leave length through the crown and back, cutting it with vertical sections to preserve length while still shaping it.
- Blend the transition zone at the occipital bone with point cutting so the shift from short to long doesn't create a hard line unless the client wants a sharper contrast.
- Confirm with the client up front how dramatic they want the length contrast, since this is the detail most likely to cause dissatisfaction if assumptions are made.
A quality clipper with reliable taper control is essential for the front and side work. Review our electric clippers and trimmers for taper and fade precision.
Feathered Layers: Directional Blow-Dry Dependent Cutting
Feathered layers rely on long, graduated layers cut to swing and curve away from the face when blow-dried with a round brush. Unlike the shag, feathering is built for a smooth, blended finish rather than choppy texture.
- Cut layers using a vertical or diagonal-forward section, keeping the layer lines long and gradual rather than short and stacked.
- Cut with the head slightly tipped forward so the layers fall correctly and feather outward once dry.
- Avoid heavy point cutting here; feathered layers depend on a clean, solid edge that a round brush can shape, not on pre-textured ends.
- Explain to the client that the style requires a round brush blowout to achieve the signature outward flip. Without that step at home, the cut will read as a simple long layer.
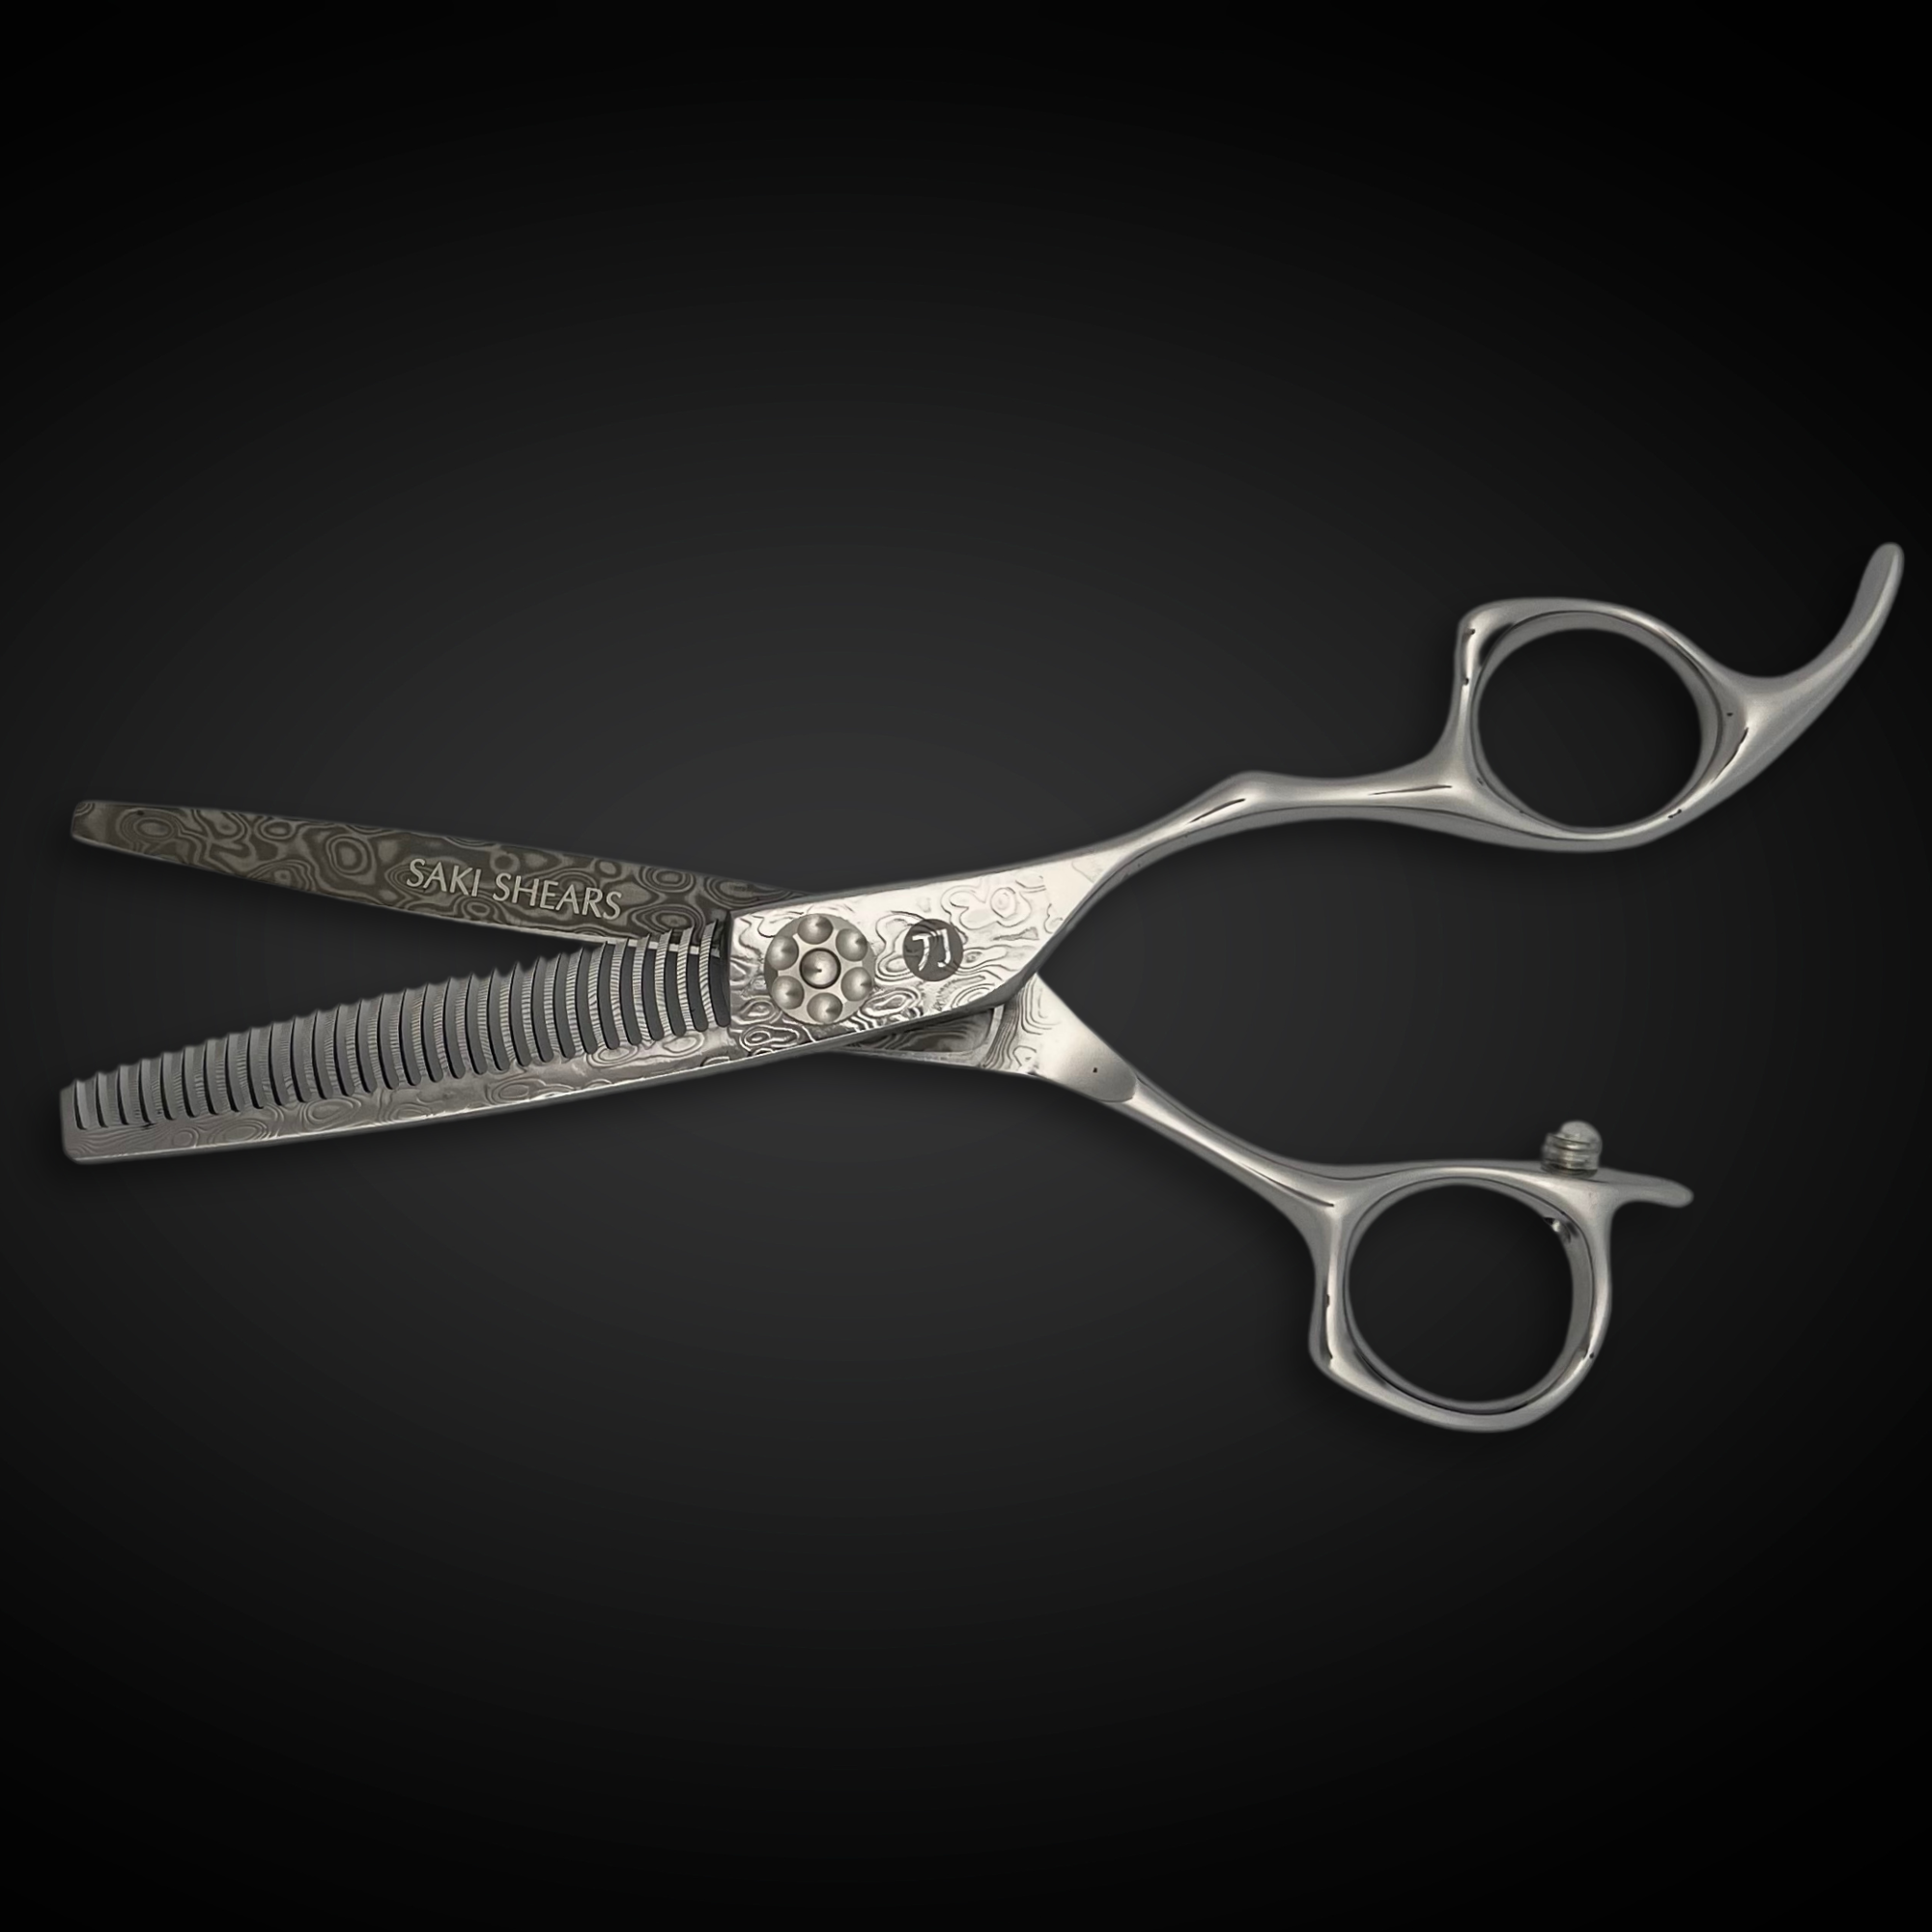
Because feathered layers depend on long, even layer lines, shear balance and control matter more than blade texture. Damascus-steel shears offer the edge retention needed for repeated long, clean strokes across a full head of hair. See our Damascus hair shears.
Managing Thickness and Texture Across All Three Styles
All three archetypes depend on removing bulk without losing shape, which makes shear selection and thinning technique central to the result. Over-thinning near the scalp creates flyaways and a thin, wispy look at the root; under-thinning leaves the style heavy and resistant to movement.
- Thin at the mid-shaft to ends, never directly at the scalp, to preserve root support while still removing weight.
- On coarse or thick hair, a wider-tooth thinning shear removes more bulk per pass and reduces the number of passes needed, which limits the risk of over-thinning.
- On fine hair, use a finer-tooth thinning shear and fewer passes to avoid stripping the hair of the density these styles rely on for volume.
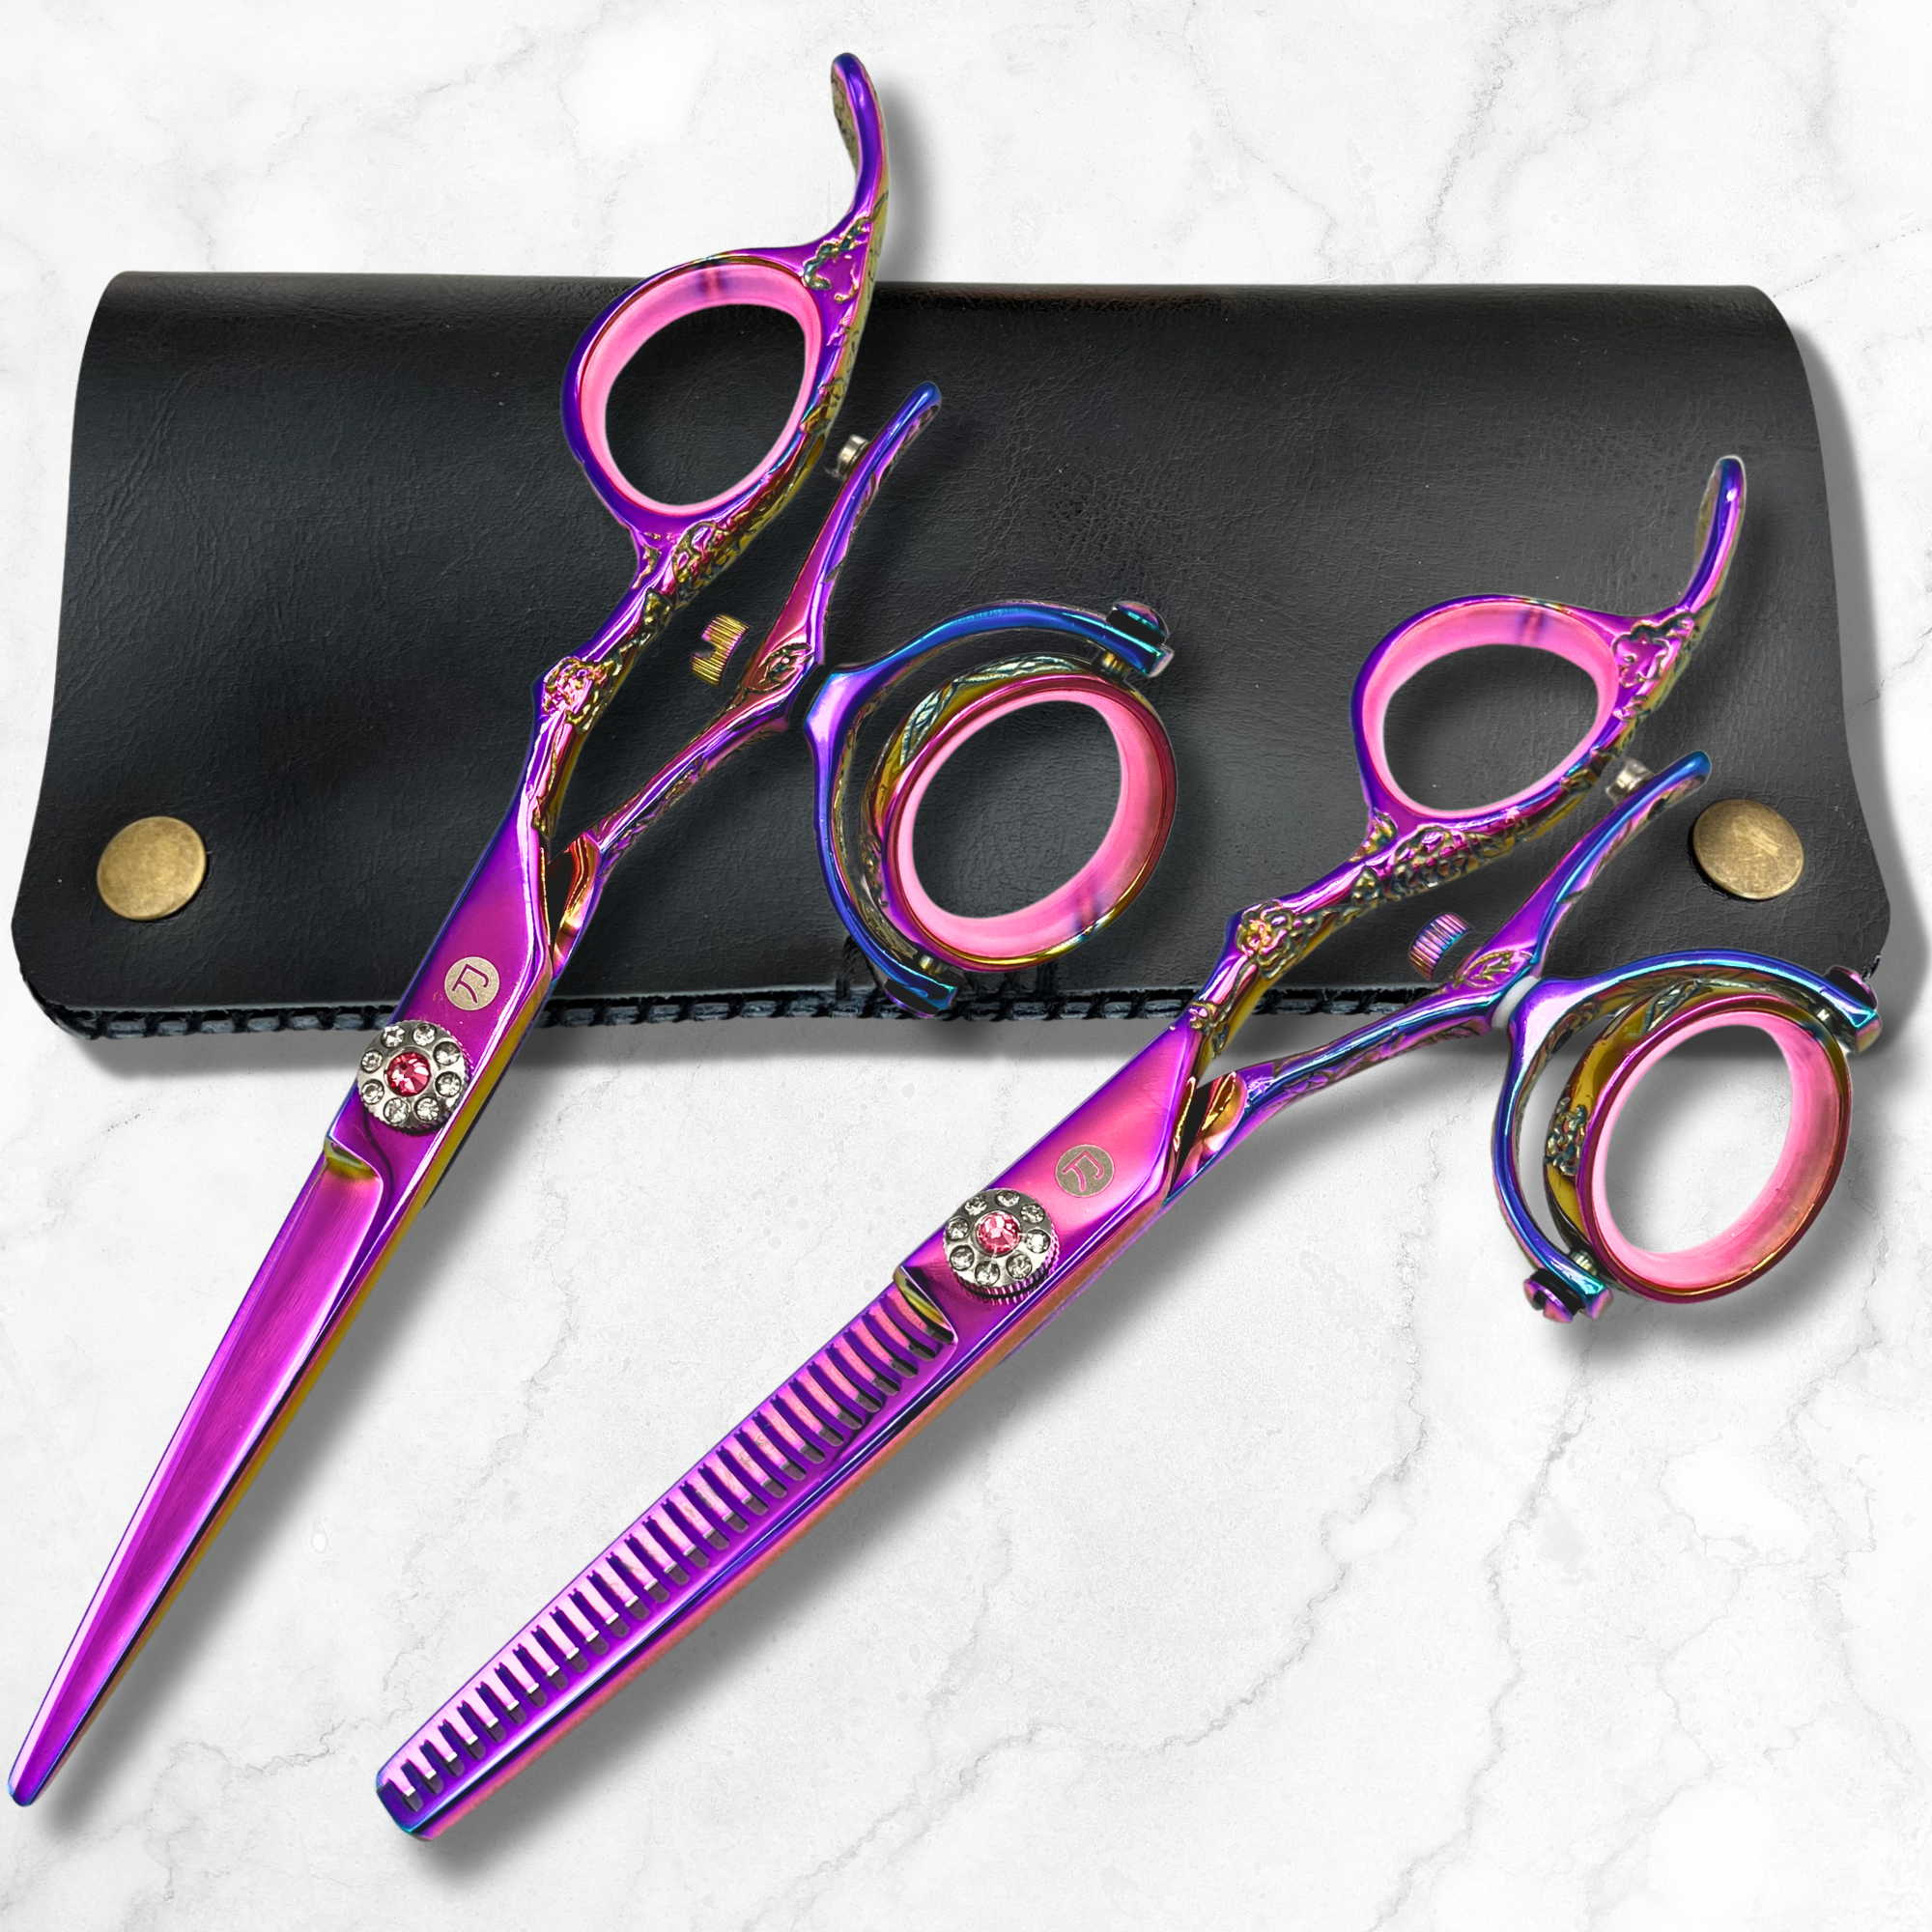
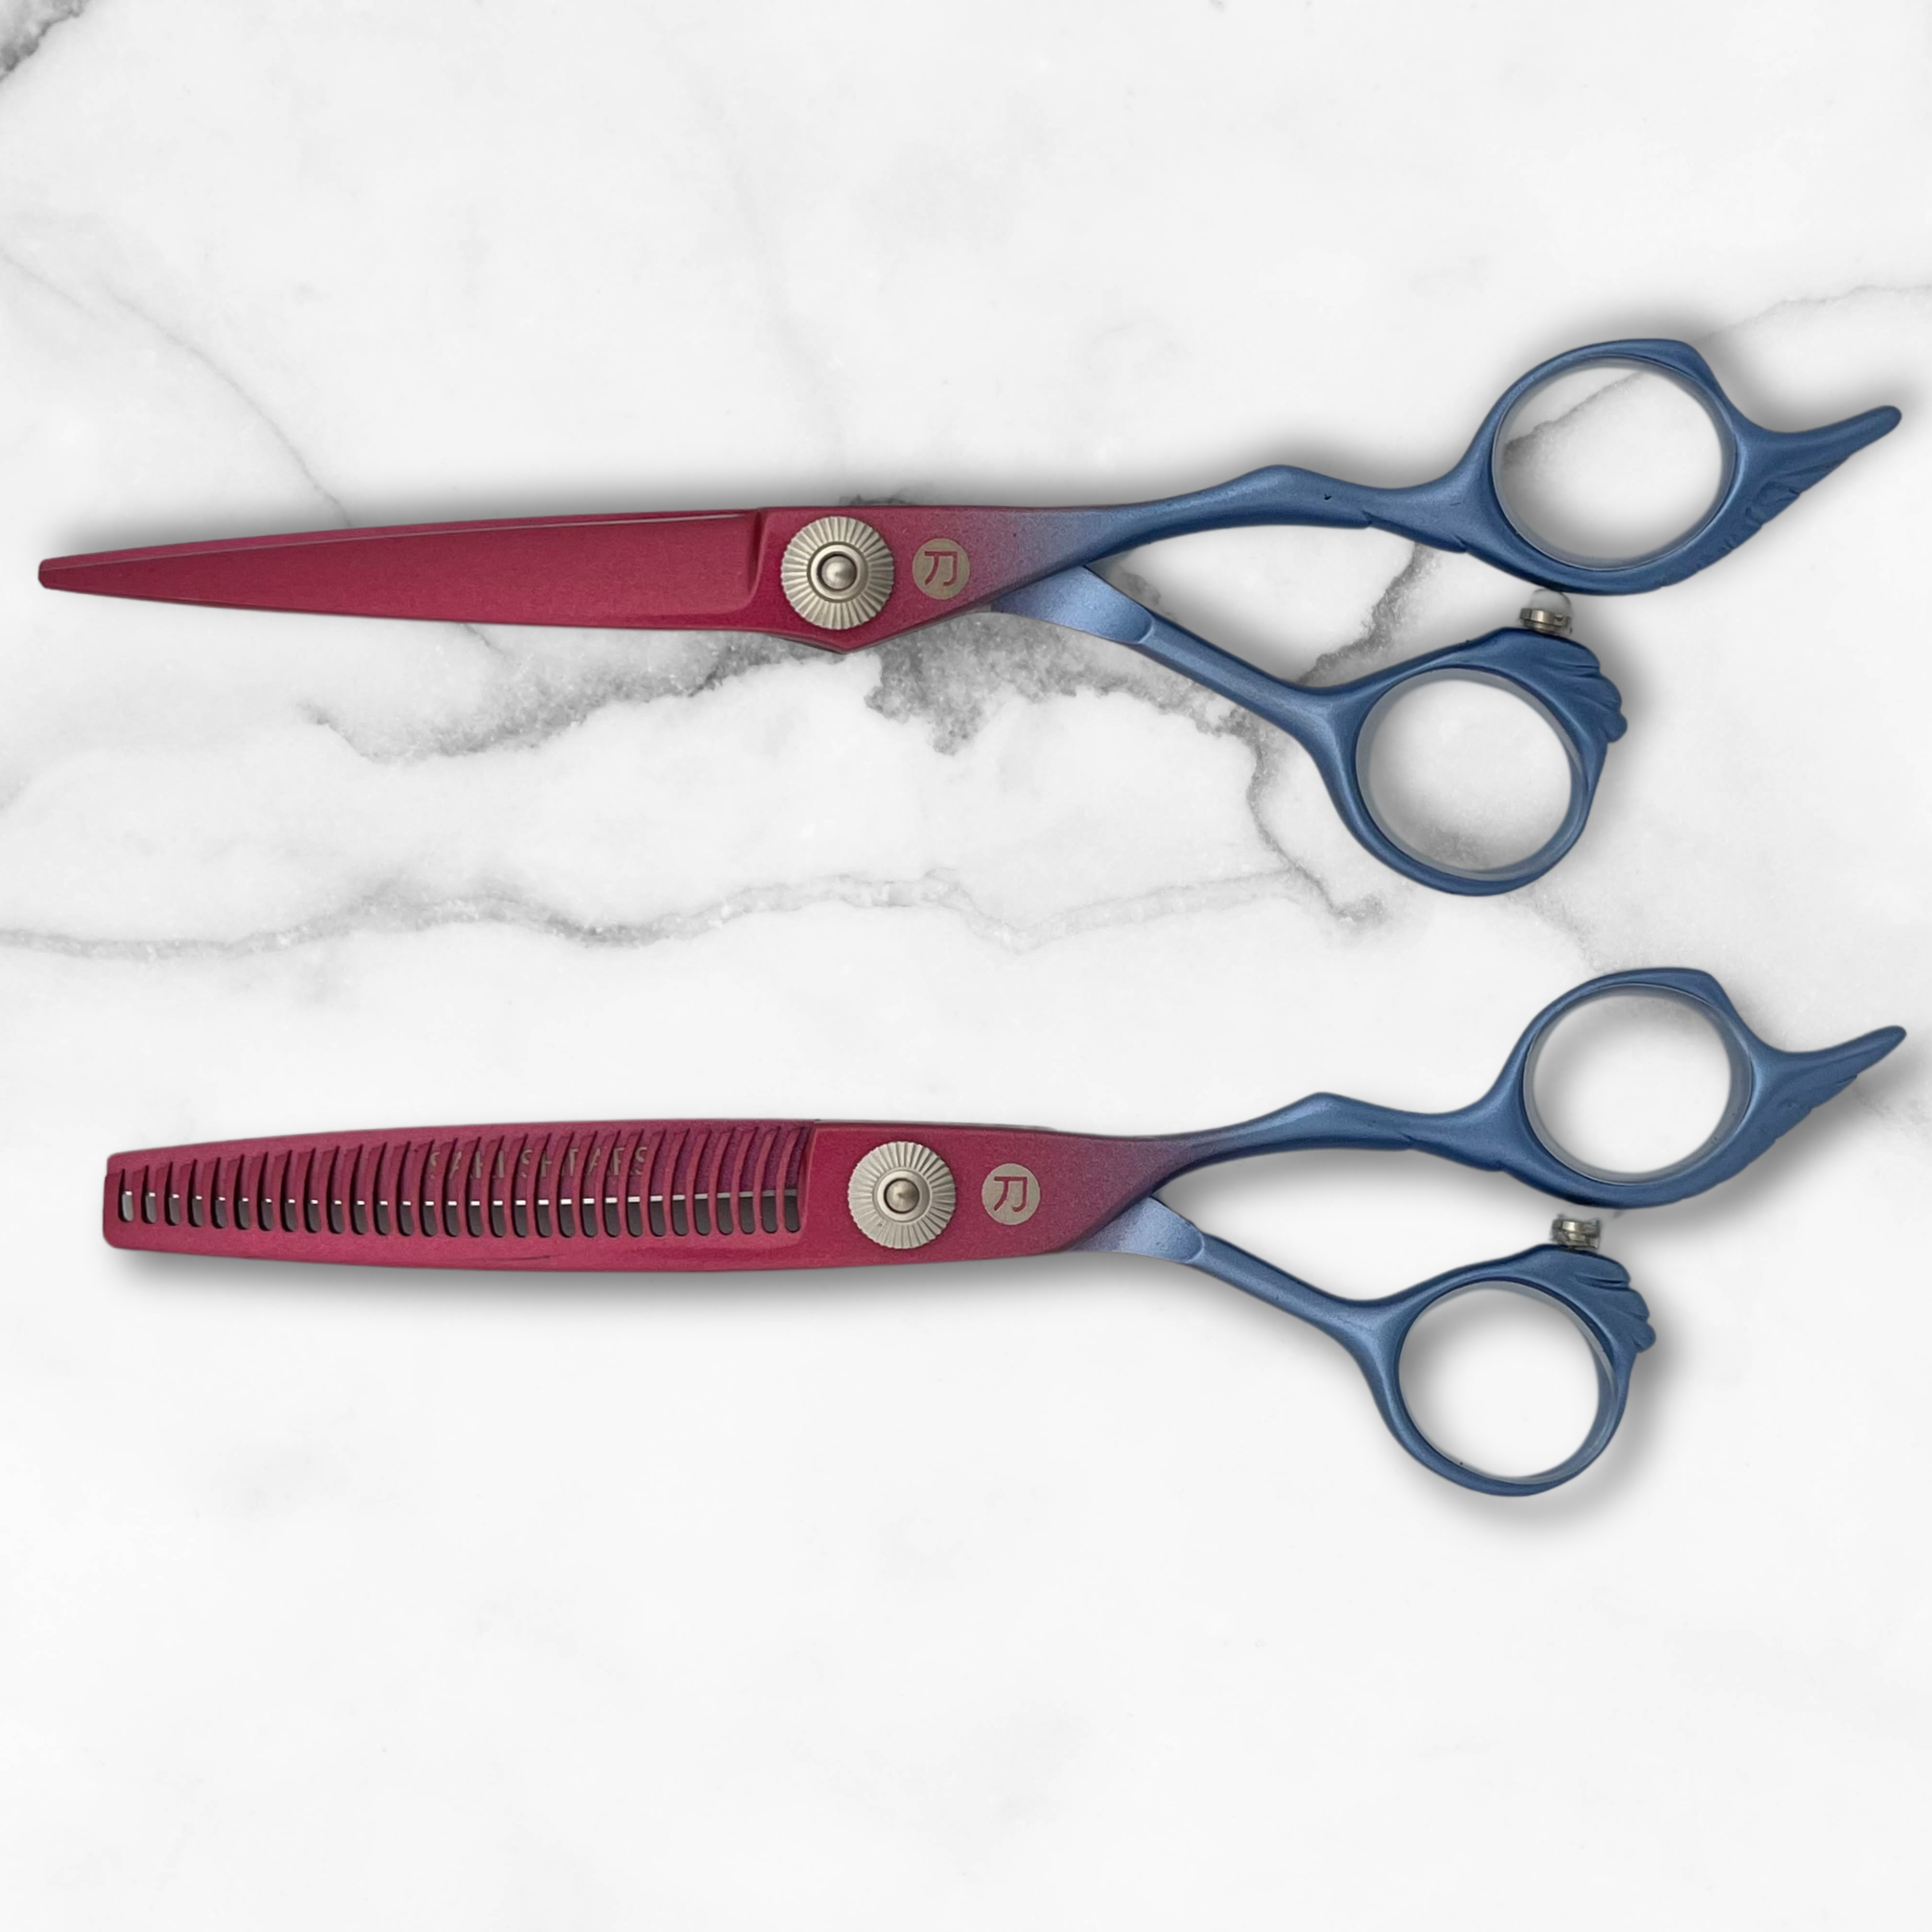
A dedicated thinning shear kept separate from your primary cutting shear helps maintain a cleaner edge on both tools over time. Browse our thinning shears and scissors or full shear sets for a matched pairing.
Consultation Notes
These styles read as retro-inspired references from the rock era of the 1970s and 80s, but most clients want a modernized, wearable version rather than a literal recreation. Use the consultation to establish maintenance expectations, since heavy layering and length contrast both require more frequent trims to hold their shape as the hair grows out. Setting that expectation up front avoids callbacks and keeps the style looking intentional between appointments.

Written by Charles Harris