Cutting a Neat Curly Quiff: Step-by-Step Instructions
Curly hair behaves differently under the shears than straight hair, and a quiff cut on curly texture needs to account for shrinkage, curl pattern, and how the hair will fall once it's dry and styled. This guide walks through cutting a neat curly quiff from consultation through final blend.
Before You Cut: Assess the Curl
Always cut curly hair dry, or at minimum check the dry result before committing to a final length — wet curls stretch and will spring back shorter once dry, sometimes by 30 to 50 percent depending on curl pattern. Identify the curl type (loose wave through tight coil) and note whether it's uniform across the head or varies by section, which is common. Ask the client how they typically style and dry the quiff, since diffused or air-dried results differ from blow-dried, stretched styles.
- Section the hair. Part from the natural crown whorl outward, dividing the head into a top section (the quiff itself) and the sides/back. Use clips to keep the top section fully out of the way while you work on the sides.
- Cut the sides and back first. Work the sides down with clippers or shears using your standard fade or taper approach, blending up toward the top section's perimeter. Keep this shorter than the top so the quiff has room to stand up and forward.
- Define the top section's perimeter. Comb the top section up and establish where it meets the faded sides — this line determines how much length transitions into the quiff shape.
- Cut the top in small subsections. Take thin, horizontal subsections starting at the front hairline and working back. On curly hair, cut each subsection at its natural fall — pull curls up only enough to see the ends clearly, not stretched flat, or you will cut it too short once it springs back.
- Use point cutting, not blunt lines. Point cut into the ends of each subsection rather than cutting straight across. Curly hair reveals every blunt line once it dries and clumps, so a soft, textured edge blends more naturally and avoids a helmet-like silhouette.
- Check length retention as you go. After every two or three subsections, stop and check how the cut curls are settling. If shrinkage is more aggressive than expected, adjust your remaining subsections to leave slightly more length rather than continuing on the original plan.
- Build the front-to-back gradient. The quiff should carry its longest length at the front hairline, gradually shortening toward the crown so the style has forward momentum when styled. Check this gradient dry, from multiple angles, before finalizing.
- Blend the top into the sides. Use shears or a trimmer over comb to soften the line where the top section meets the faded sides, working in small strokes so the transition reads as one continuous shape rather than a visible step.
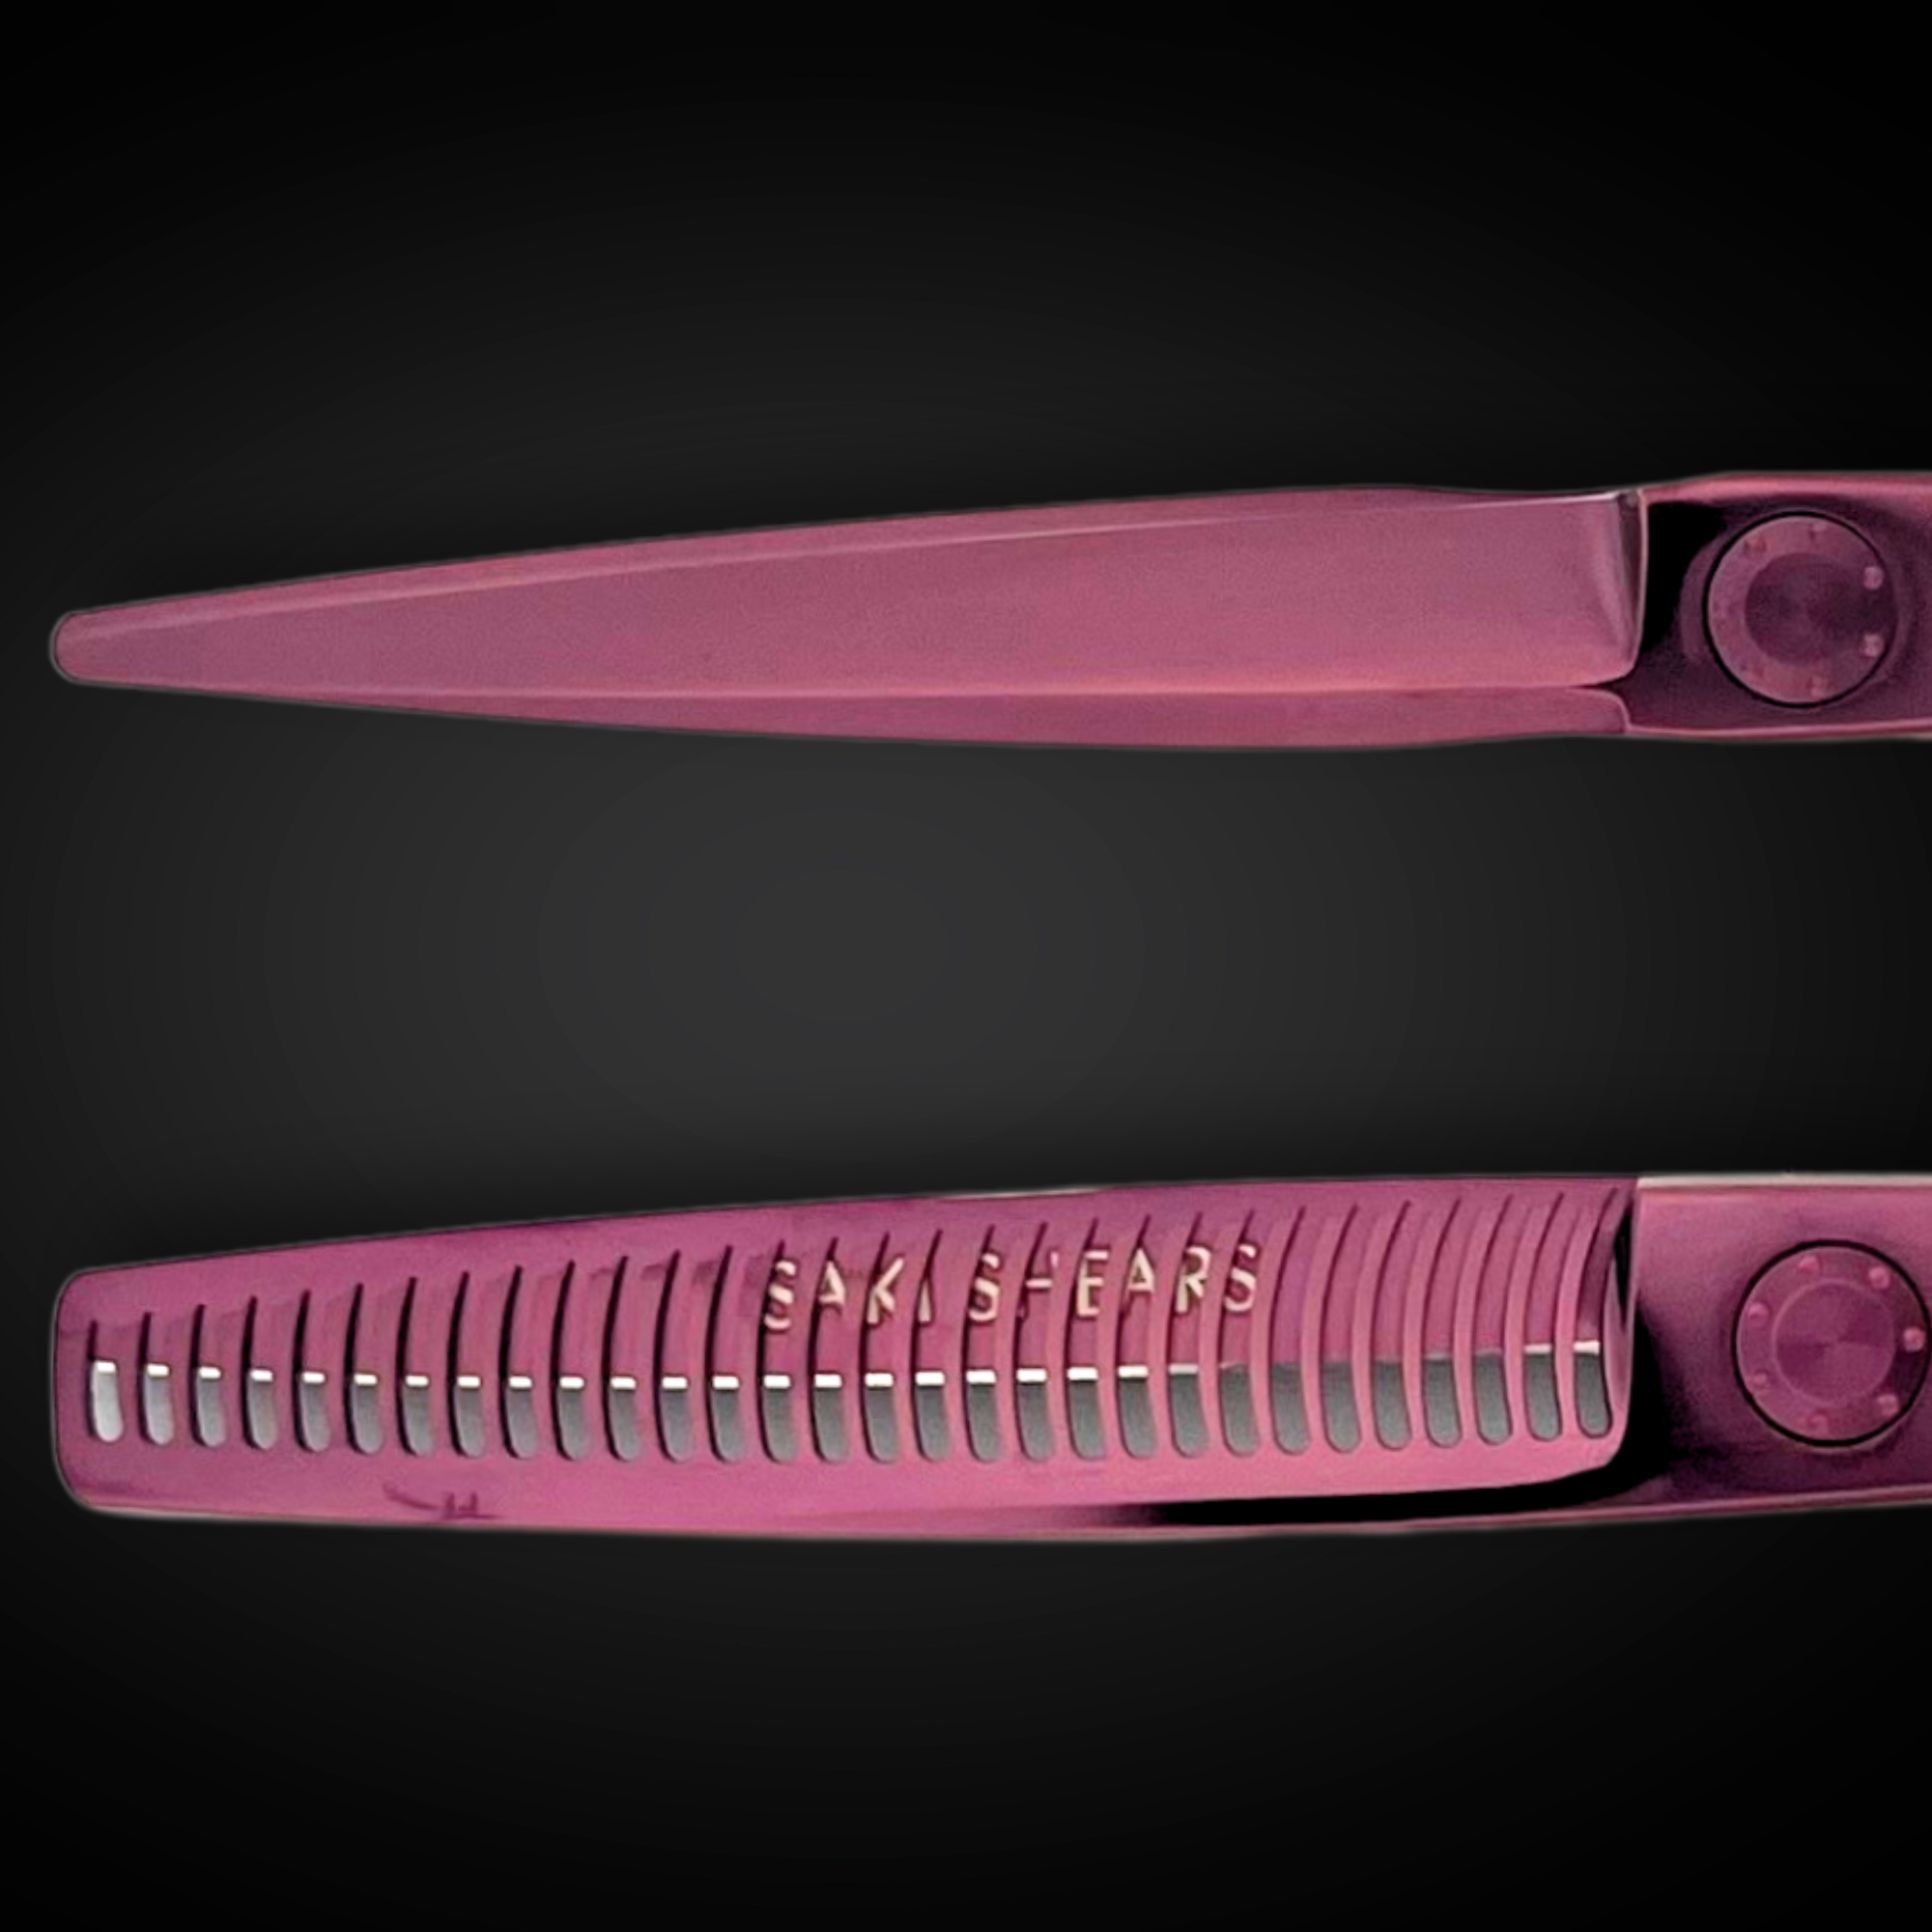
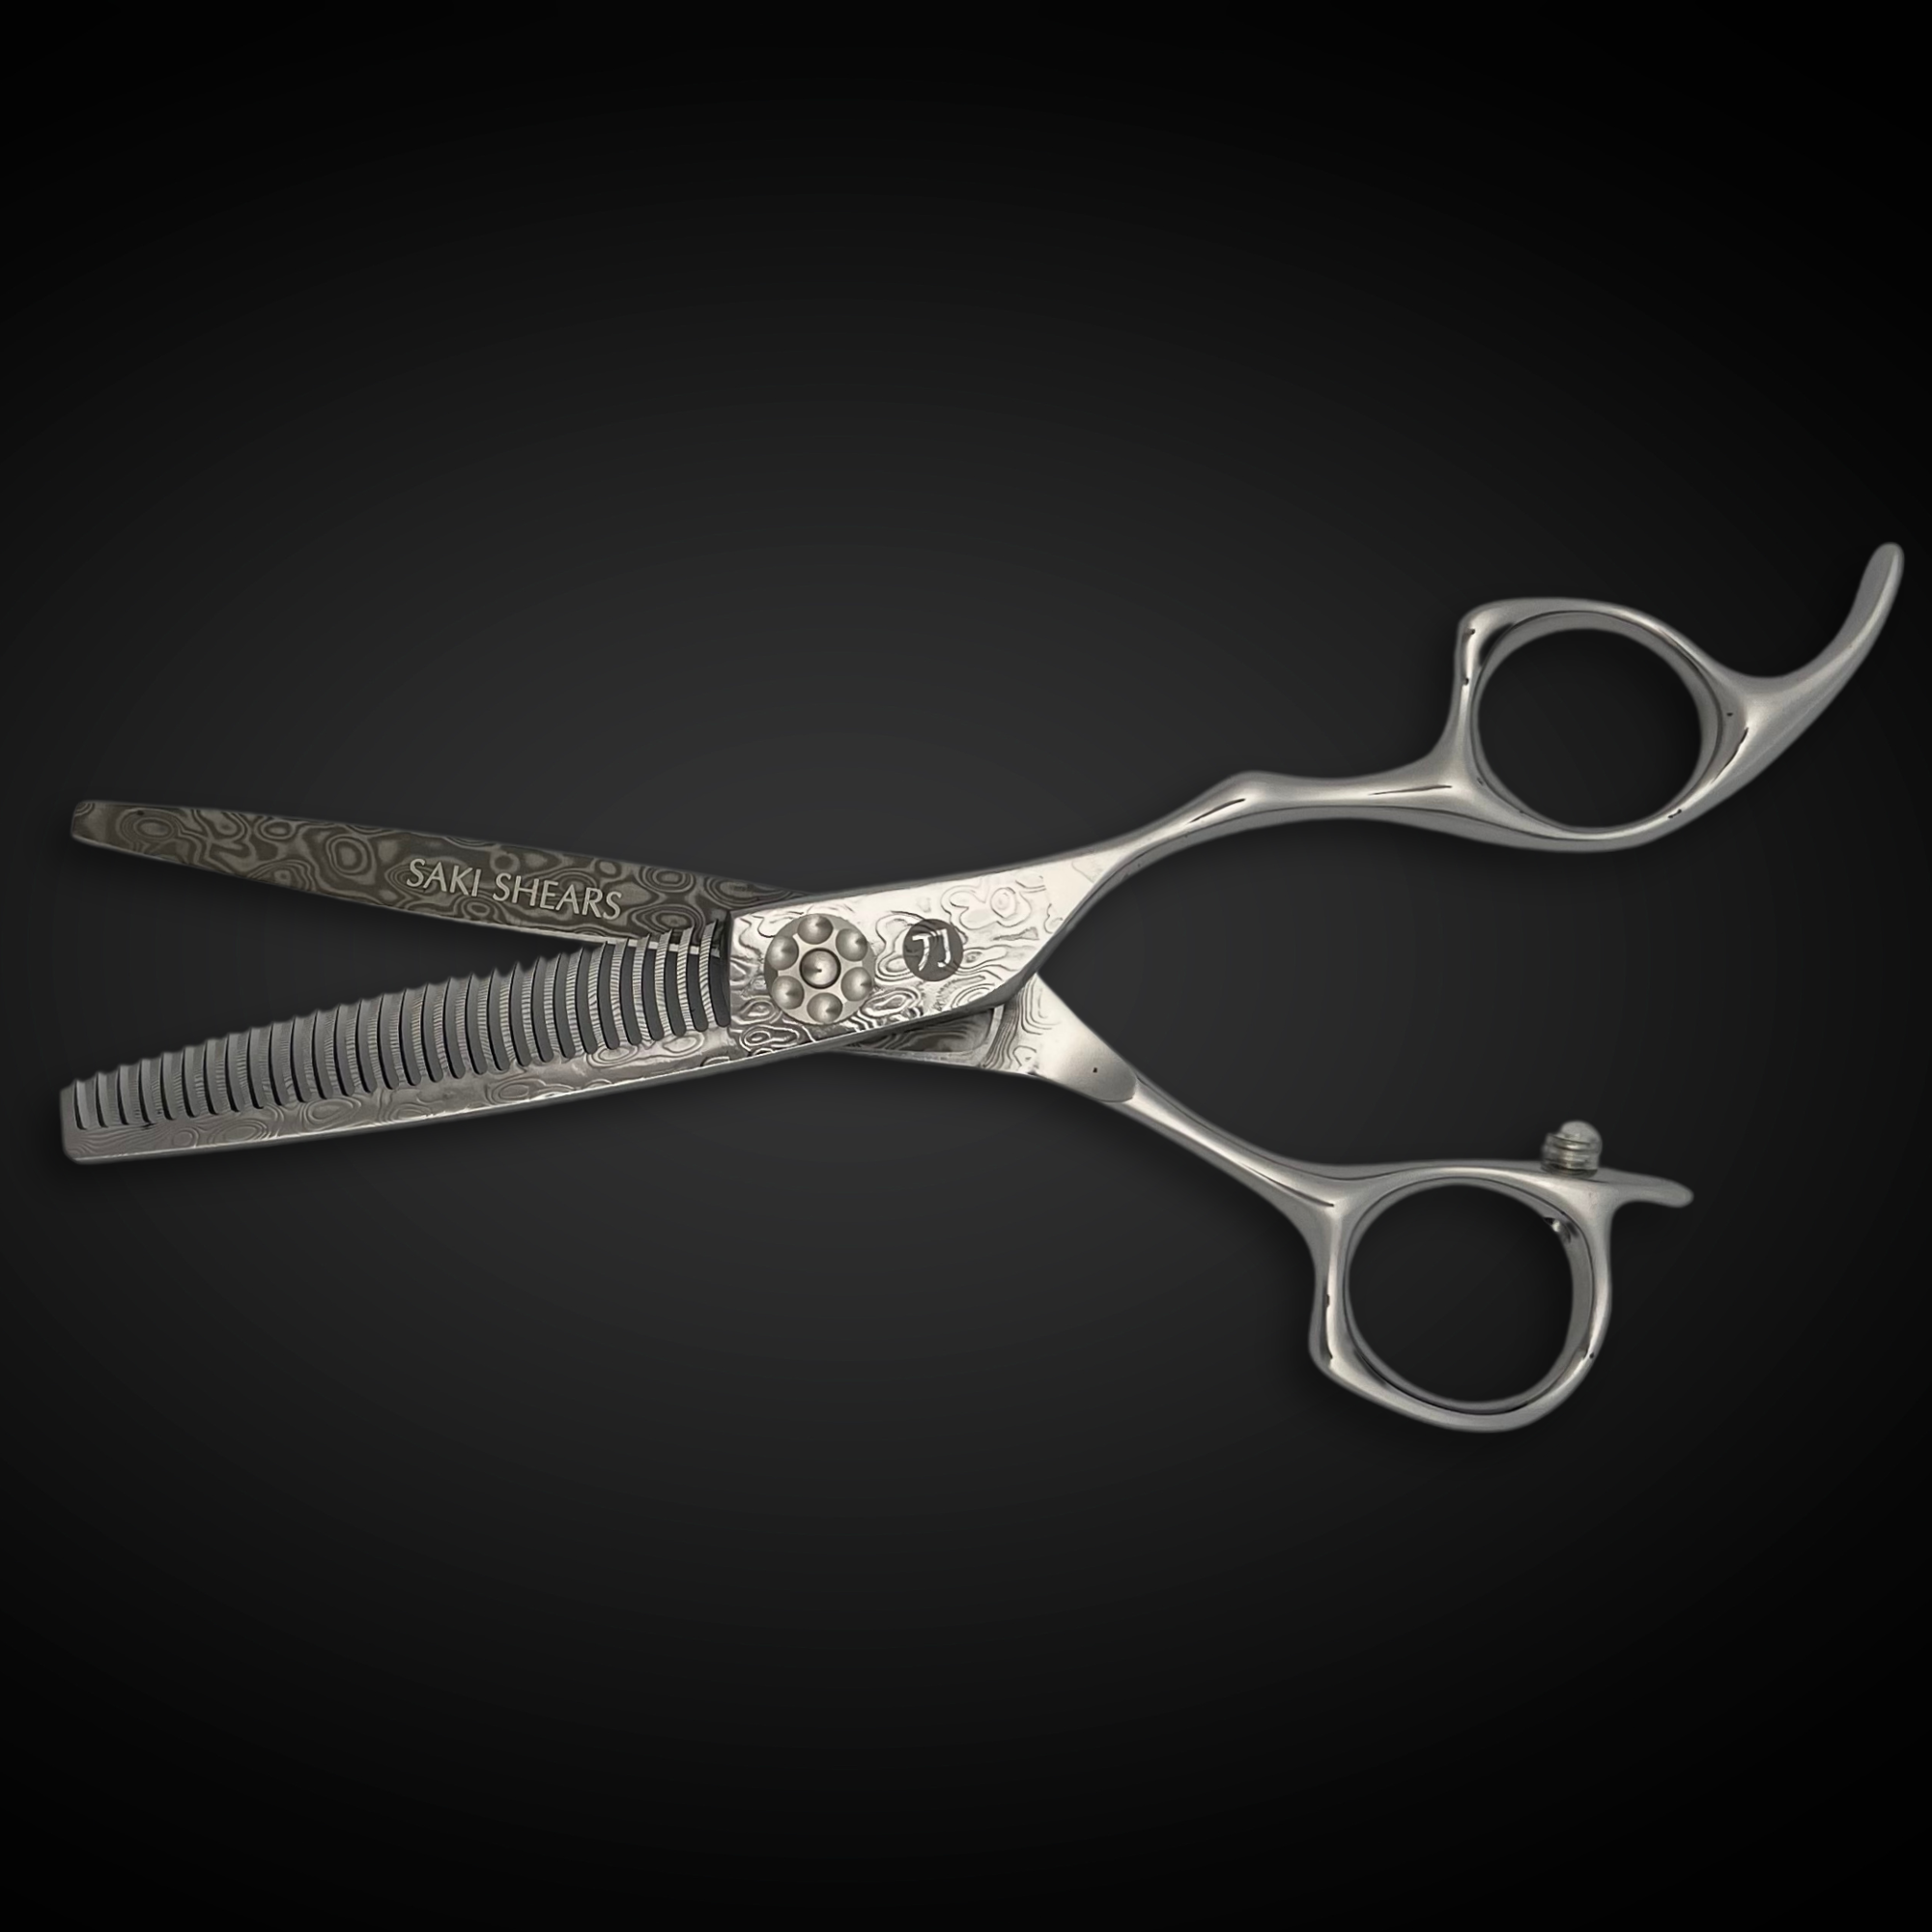
- Texturize to reduce bulk. If the client's hair is dense, use thinning shears sparingly through the mid-lengths of the top section to remove weight without shortening the overall shape — this helps the quiff hold its lift without becoming heavy or triangular.
- Dry and style before final evaluation. Curly cuts should always be evaluated after the hair has dried and been styled the way the client normally wears it. Make any final point-cutting adjustments at this stage, since this is when true shrinkage and curl clumping are visible.
Working With Curl Pattern and Shrinkage
The tighter the curl, the more conservative you should be with each pass — it's far easier to remove additional length after checking the dry result than to correct an overcut. When curl pattern is inconsistent across the head, which is common at the nape and temples, treat those areas as their own micro-sections rather than forcing them into the same subsection plan as the rest of the top.
Blending the Sides
A clean quiff depends on the sides supporting the shape rather than competing with it. Keep the blend gradual: an abrupt line between a short faded side and a fuller curly top will draw the eye and make the cut look unfinished, even if the top itself is well shaped. Checking the blend with the client's head in a neutral, upright position — not tilted — will give the most accurate read on how the transition will look day to day.
Tools for the Job
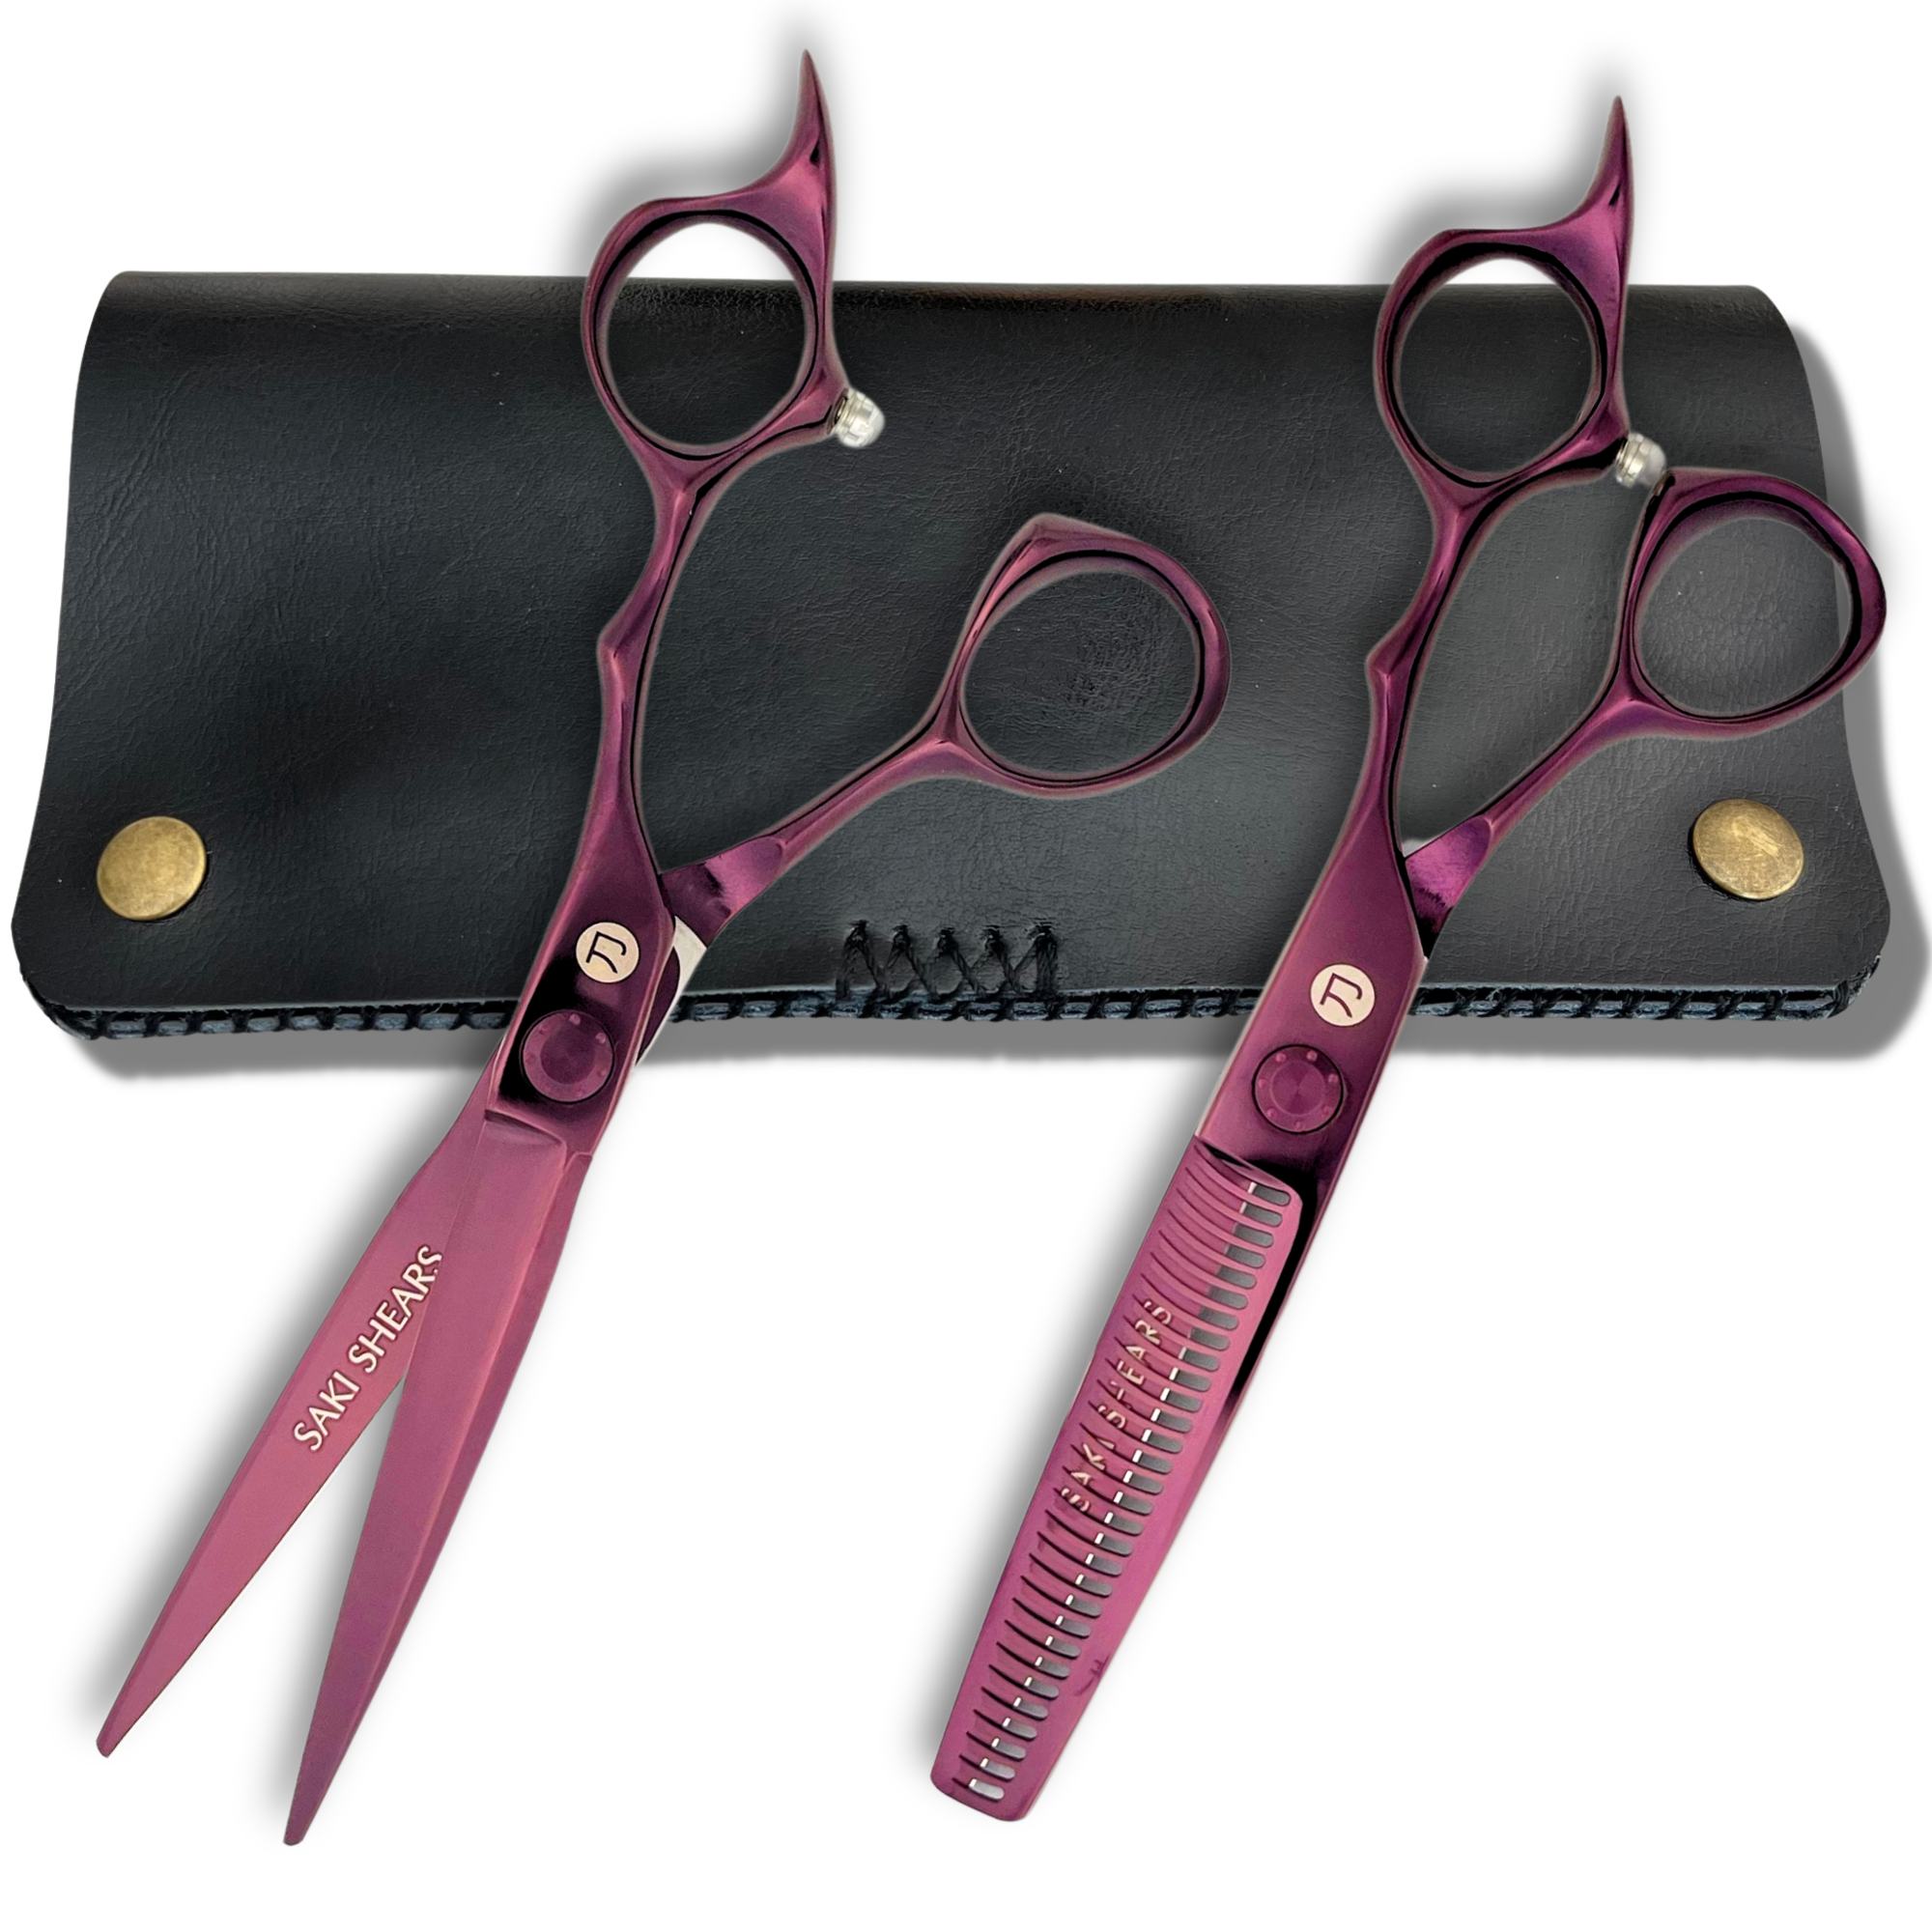
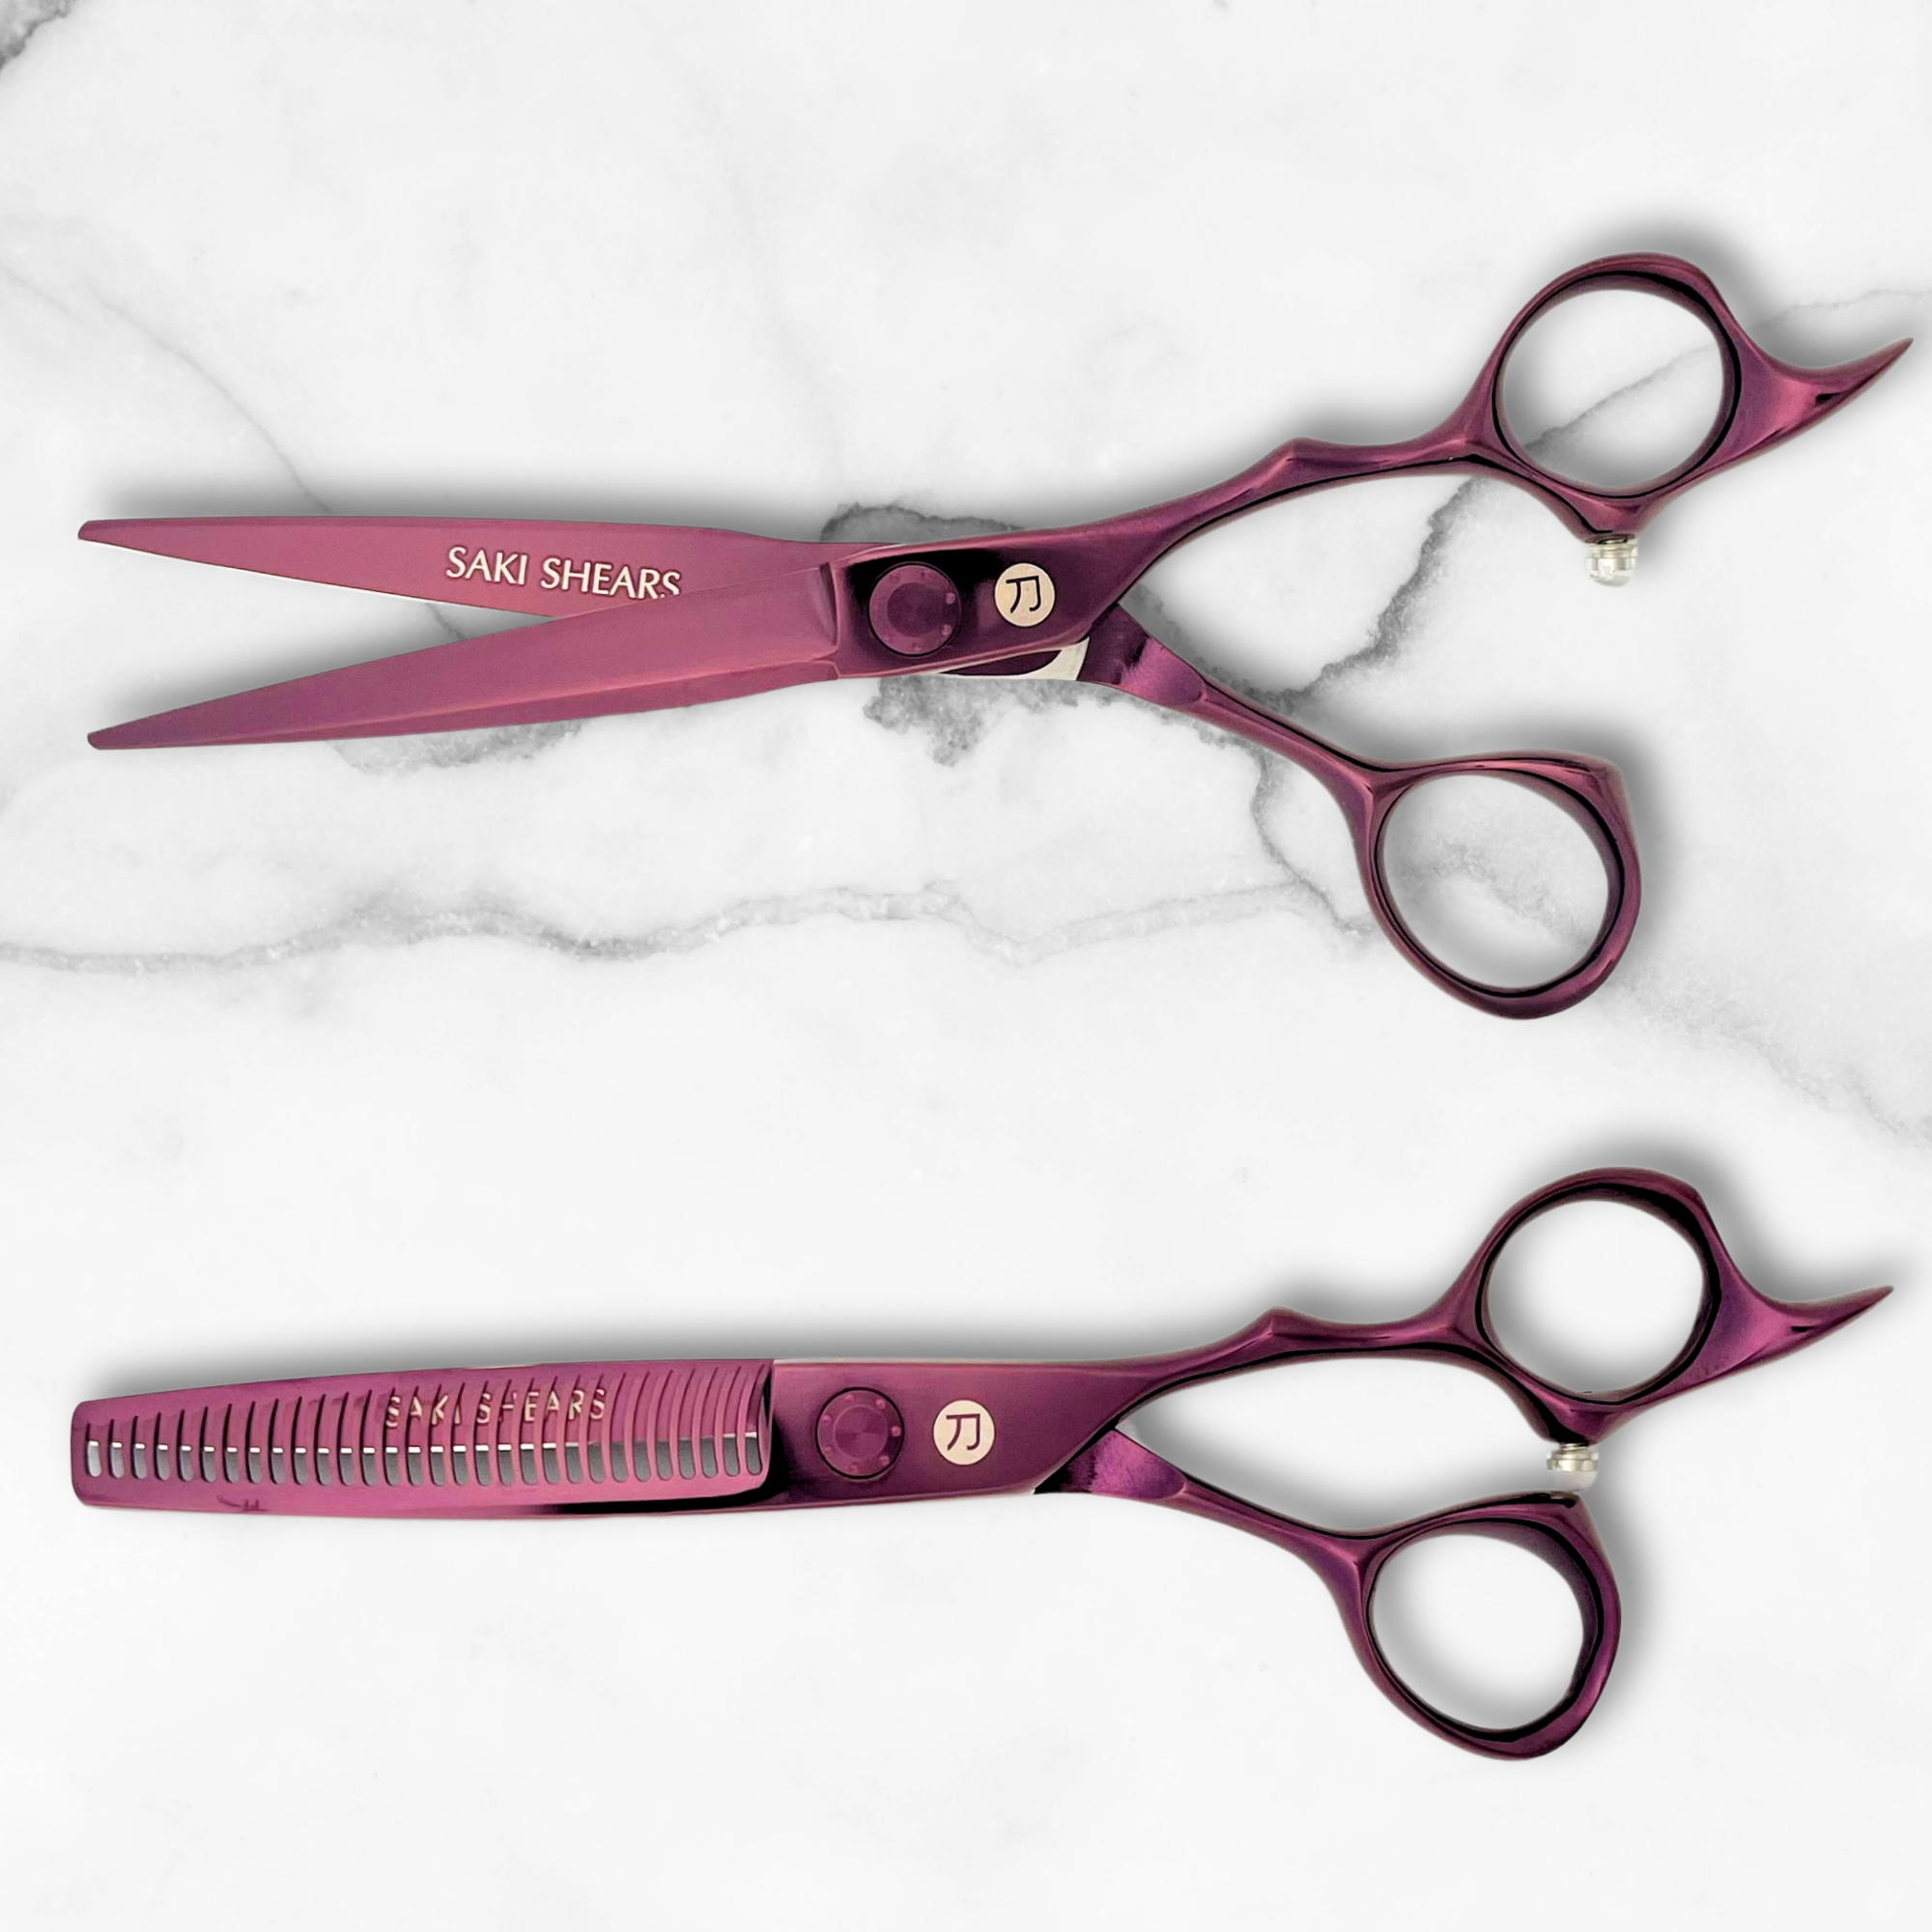
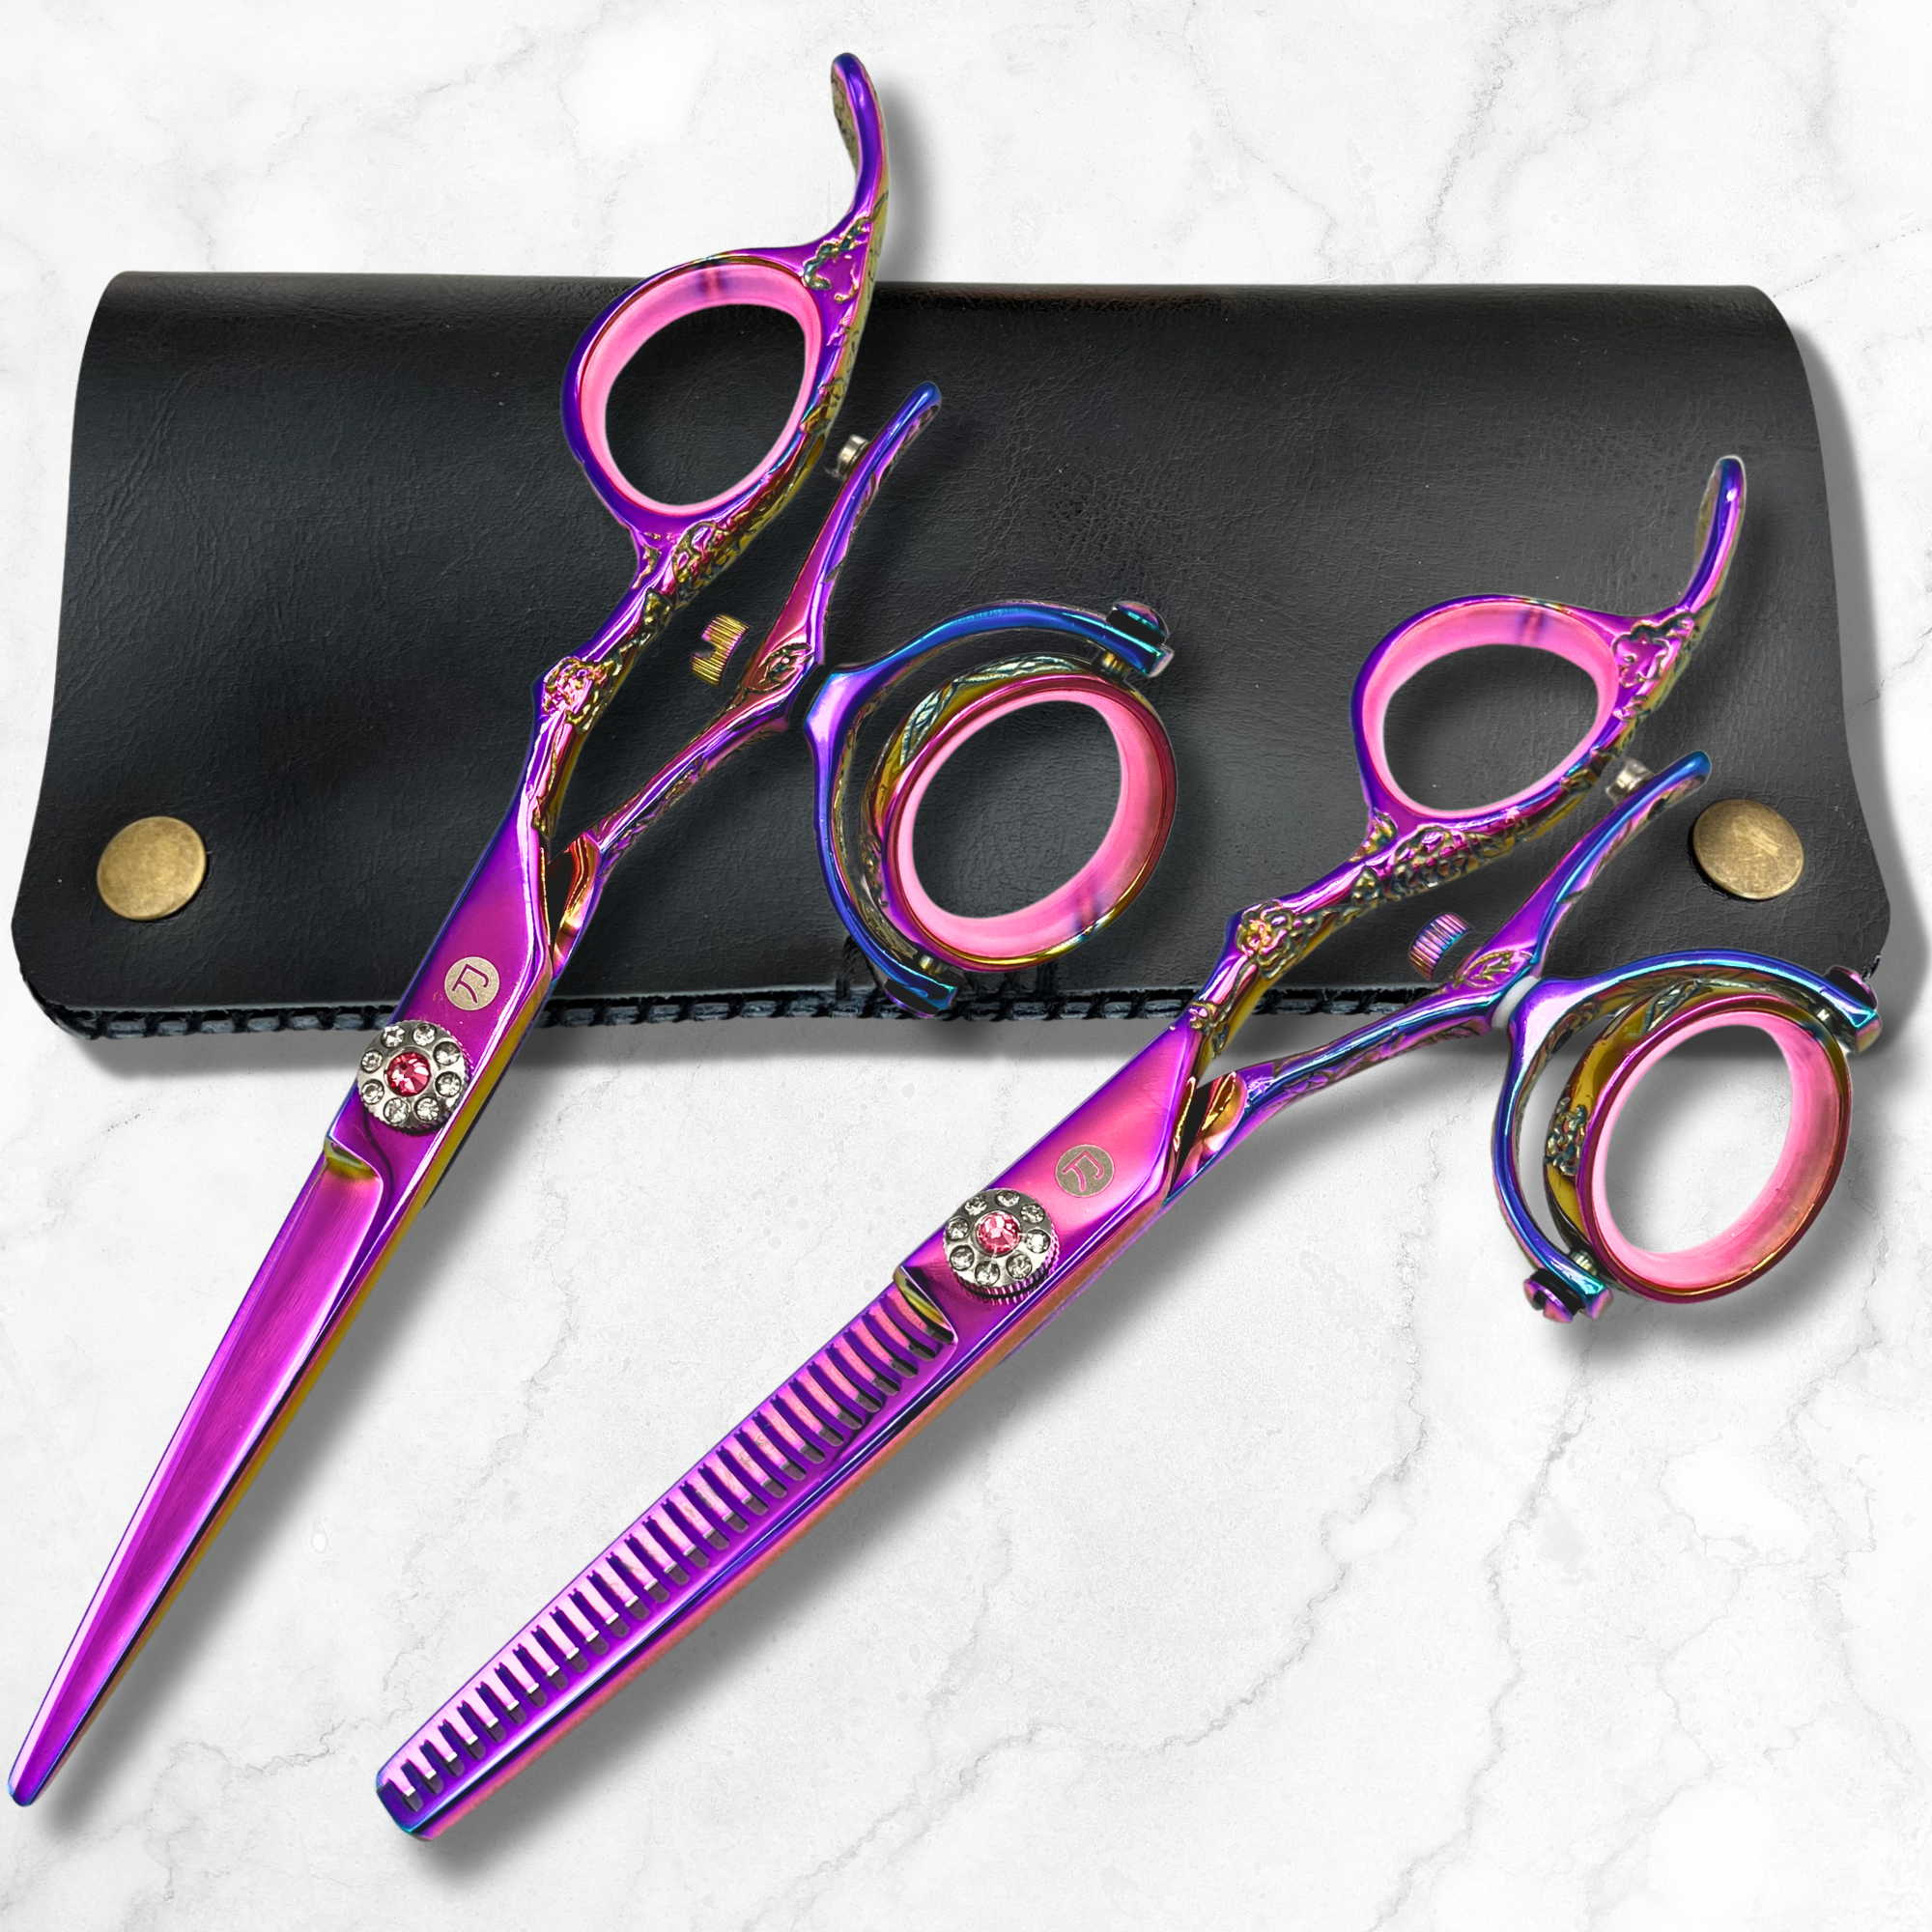
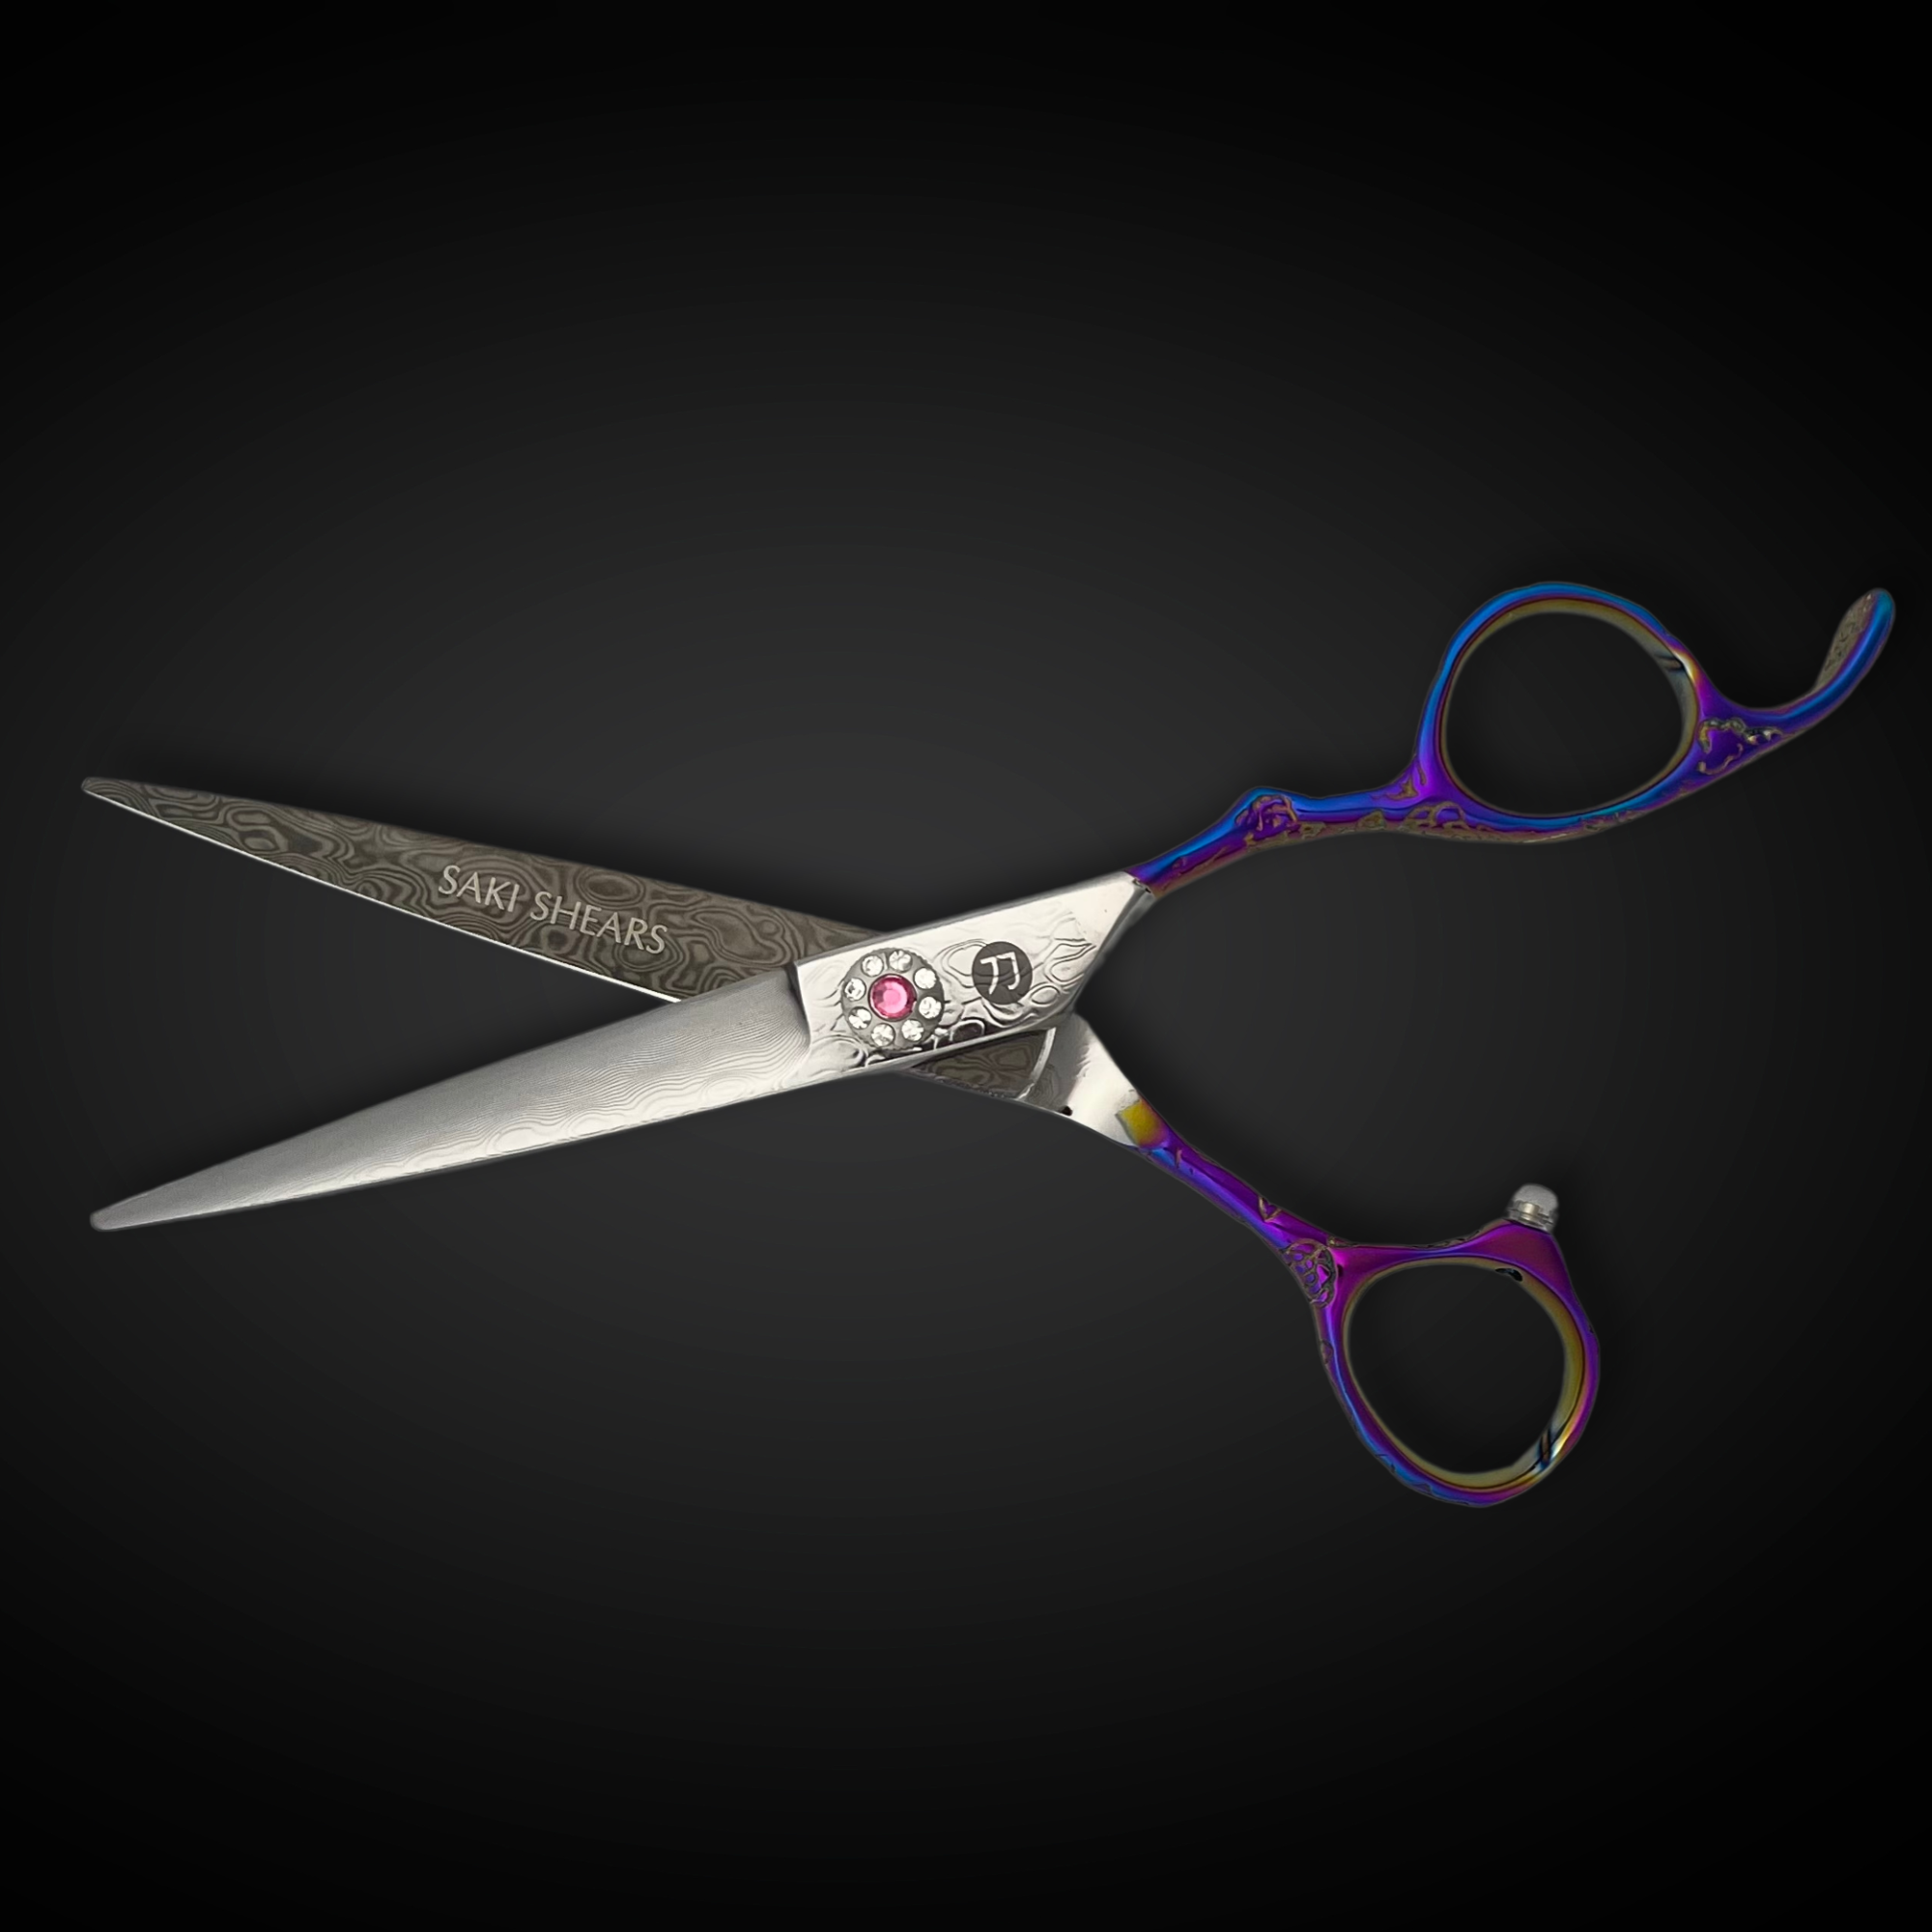
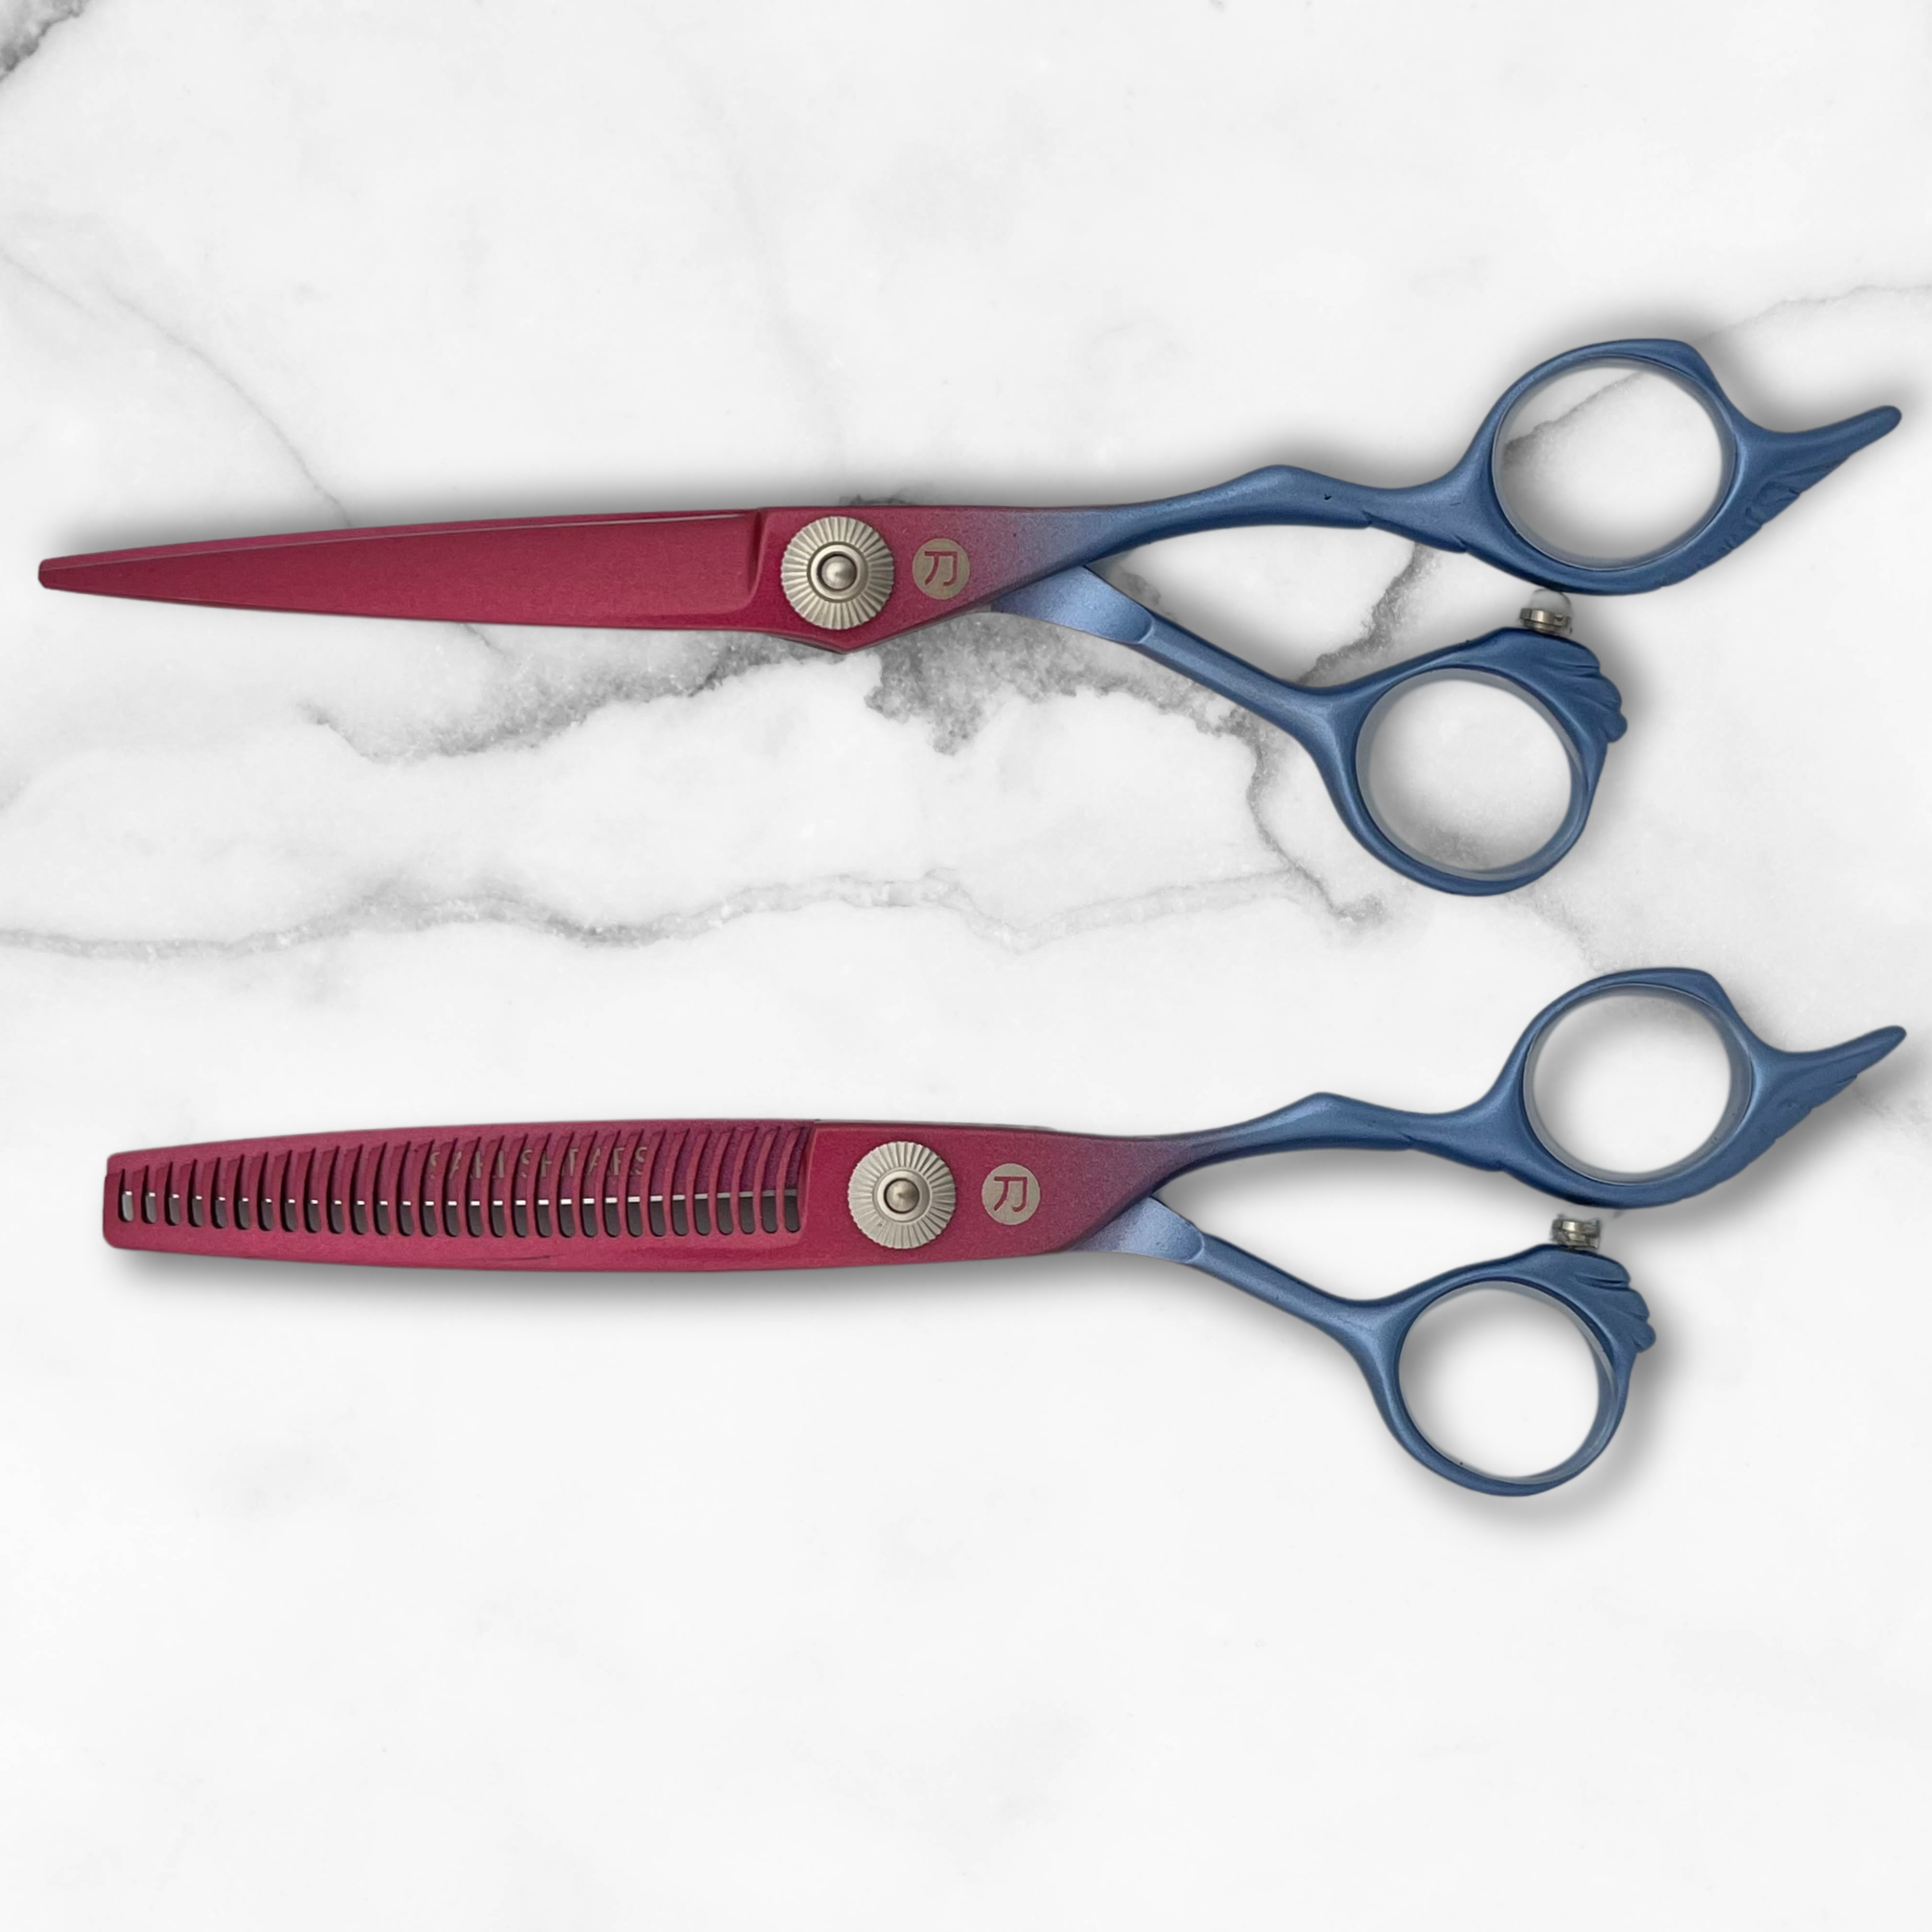
Precision on curly hair comes down to control at the point of cut, so shears with a comfortable, well-balanced pivot make a real difference across a full head of subsectioned point cutting. A dedicated pair from the hair cutting shears collection holds an edge through the repeated small strokes this technique requires, and a thinning shears is worth keeping on hand for de-bulking dense curl without cutting length.
Final Check
Before the client leaves the chair, have them run their fingers through the quiff and style it as they normally would at home. This is the most reliable way to confirm the cut will hold up outside the controlled conditions of the chair, and it gives you one more chance to point cut any stray length that shows up once the curl has fully settled.

Written by Charles Harris