How to Inspect Hair Shears for Damage
Inspecting your hair shears regularly is crucial to maintain their performance and extend their lifespan. Damaged shears can lead to uneven cuts, strain on your hands, and higher repair costs. Here's a quick guide to ensure your shears stay in top condition:
- Clean: Remove debris and dry thoroughly to prevent rust.
- Lubricate: Apply oil to the pivot and blades after use.
- Check for Issues: Look for dull blades, misalignment, or improper tension.
- Test Sharpness: Cut a piece of tissue to ensure clean cuts.
- Adjust Tension: Use a tension key to fix loose or tight blades.
For serious problems like misalignment or broken parts, consult a professional. Regular maintenance keeps your shears sharp, smooth, and ready for precise cuts.
Scissor Maintenance - How to Clean, Oil and Tension Barber & Hairdressing Shears
Getting Ready to Inspect Your Shears
Taking a few simple steps before inspecting your shears can help you spot any issues more effectively.
Clean the Shears
Start by cleaning your shears with a soft cloth and a mild cleaning solution. Pay extra attention to the blades and the pivot area. Once cleaned, dry them thoroughly to avoid rust [3].
Add Lubricating Oil
A little lubrication goes a long way in keeping your shears working smoothly. Apply 1-2 drops of shear oil to the pivot point after each use. Once a week, lightly coat the blades, and once a month, oil the tension screw [3][4]. Open and close the shears a few times to evenly distribute the oil, then wipe away any excess.
Gather Your Tools
Having the right tools on hand makes the inspection process easier and more effective. Here’s what you’ll need:
- Tension adjustment key: To check and adjust blade tension
- Magnifying glass: To find small nicks or damage
- Microfiber cloth: For cleaning and wiping during the inspection
- Shear oil: For lubrication and upkeep
Keep everything organized in a maintenance kit. Once your shears are cleaned, oiled, and your tools are ready, you’re all set to inspect them closely for any potential problems.
sbb-itb-3cc0078
How to Inspect Hair Shears Step by Step
With the tools you gathered earlier, follow these steps to carefully inspect your hair shears.
Look for Visible Damage
In good lighting, examine your shears closely. Use a magnifying glass to spot any nicks, chips, or scratches, especially along the blade edges and the pivot area.
Test Blade Sharpness
Take a piece of tissue paper or dampened paper and cut through it. A smooth, clean cut from the heel to the tip means the blades are sharp. If the paper snags or tears, the blades may be dull or damaged.
Check Blade Alignment
Hold the shears up to a light source and slowly close the blades. They should meet evenly along their entire length without gaps or overlapping. Misalignment could mean the blades need professional adjustment.
Assess the Tension
Hold your shears vertically by one handle and let the other handle drop. If the blade stays open or closes slightly, the tension is correct. If it falls shut, tighten it. If it doesn't move, loosen it. Use a tension adjustment key for precise changes.
| Tension Level | Blade Movement | What It Means |
|---|---|---|
| Correct | Stays open or closes slightly | Ready for use |
| Too Loose | Falls completely shut | Needs tightening |
| Too Tight | Doesn't move at all | Needs loosening |
For best results, schedule professional maintenance every 6-12 months [4][3]. After identifying any problems, you can move on to fixing them to bring your shears back to top condition.
Fixing Problems Found During Inspection
Once you've spotted issues during your inspection, follow these steps to get your shears back in top shape.
Sharpen or Replace the Blades
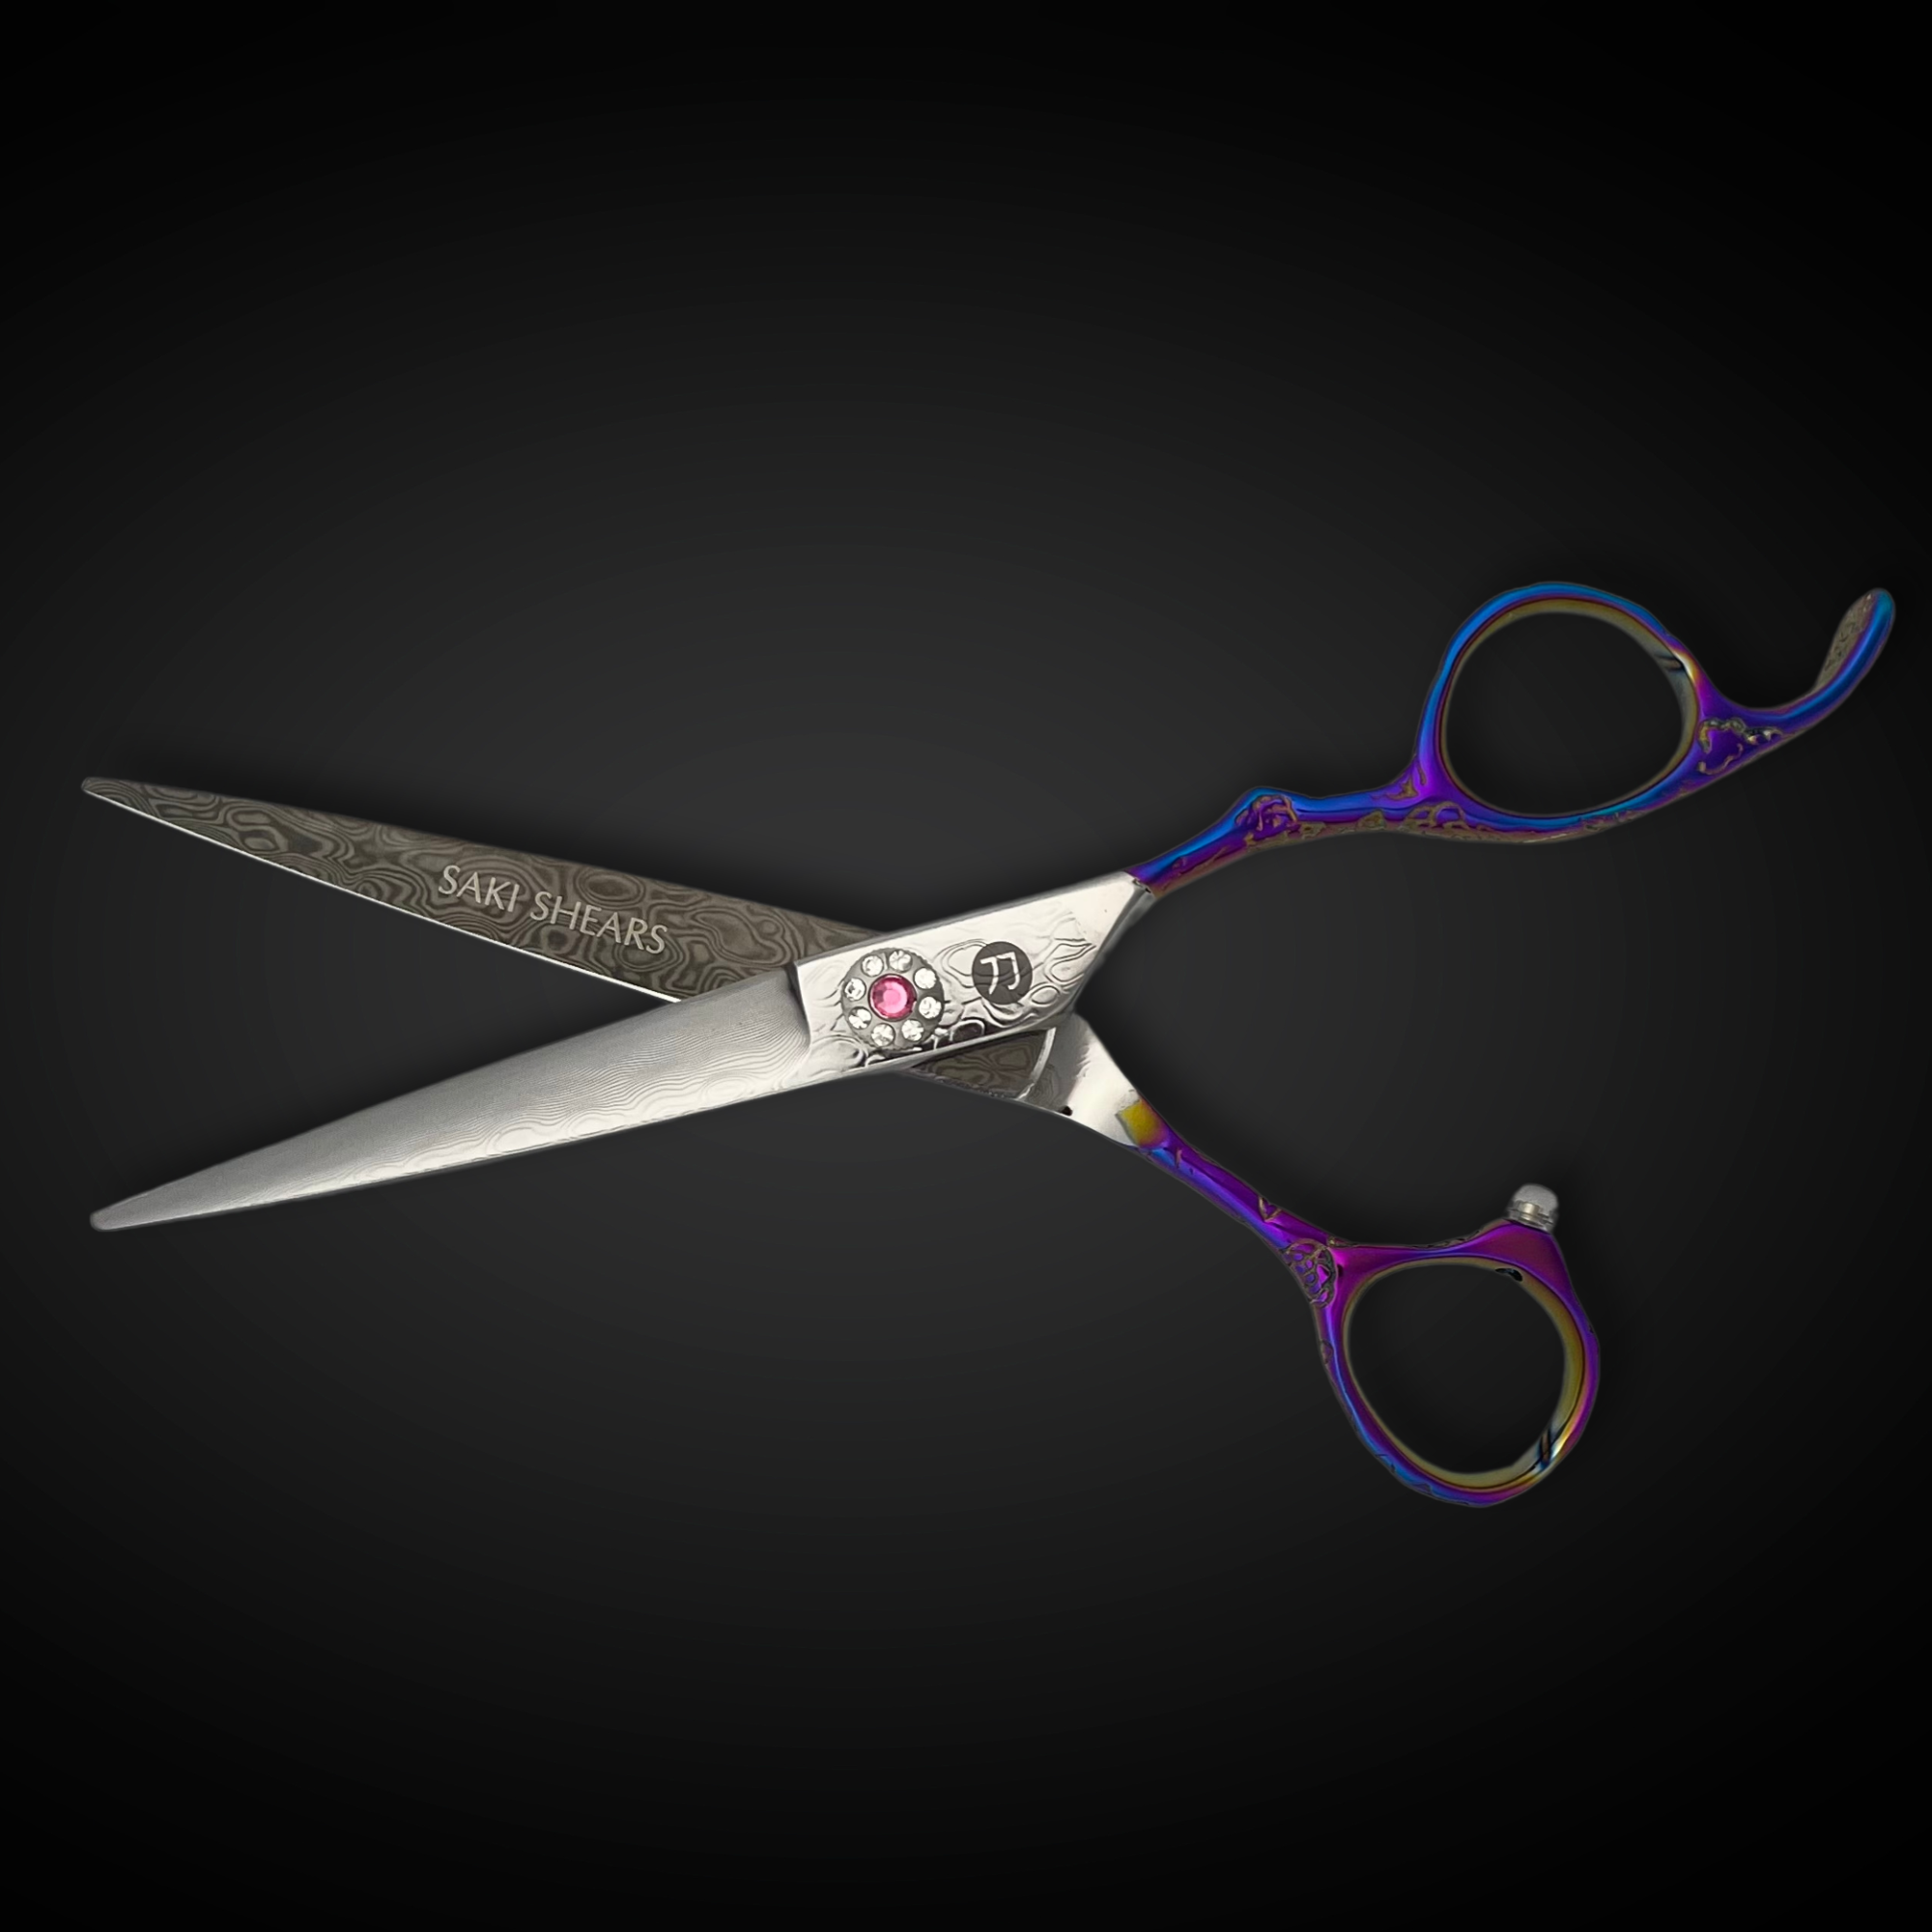
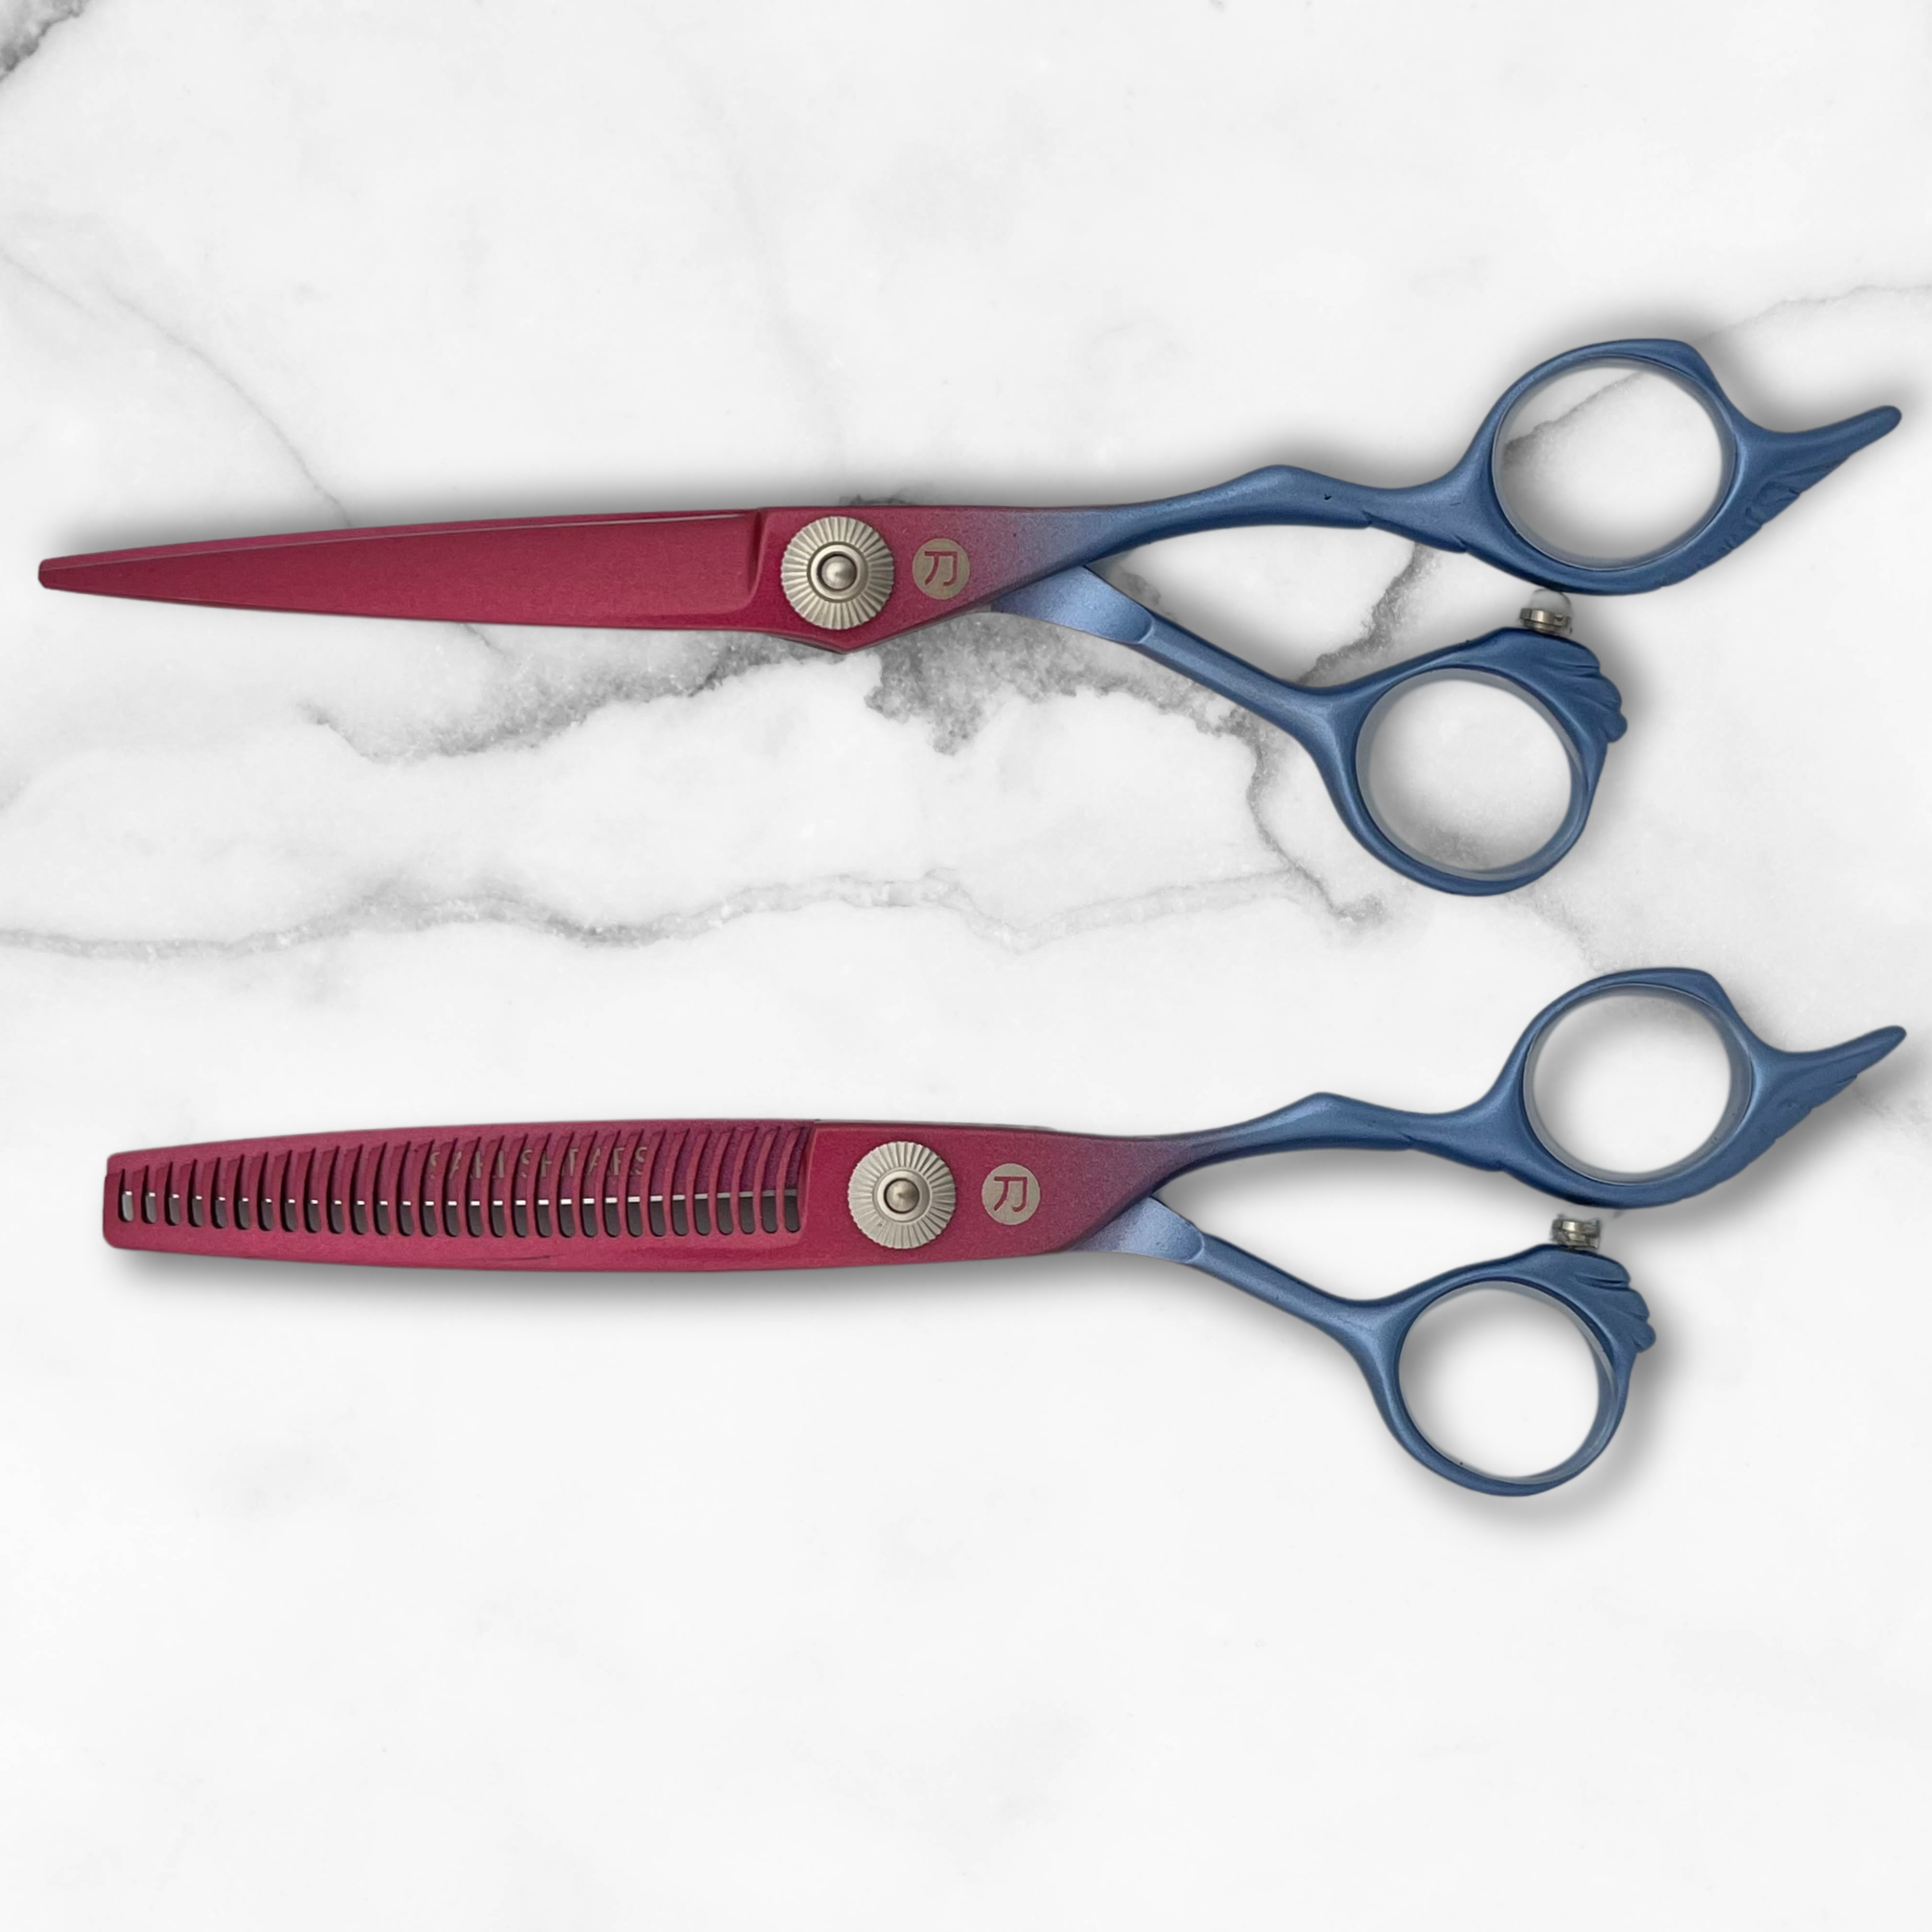
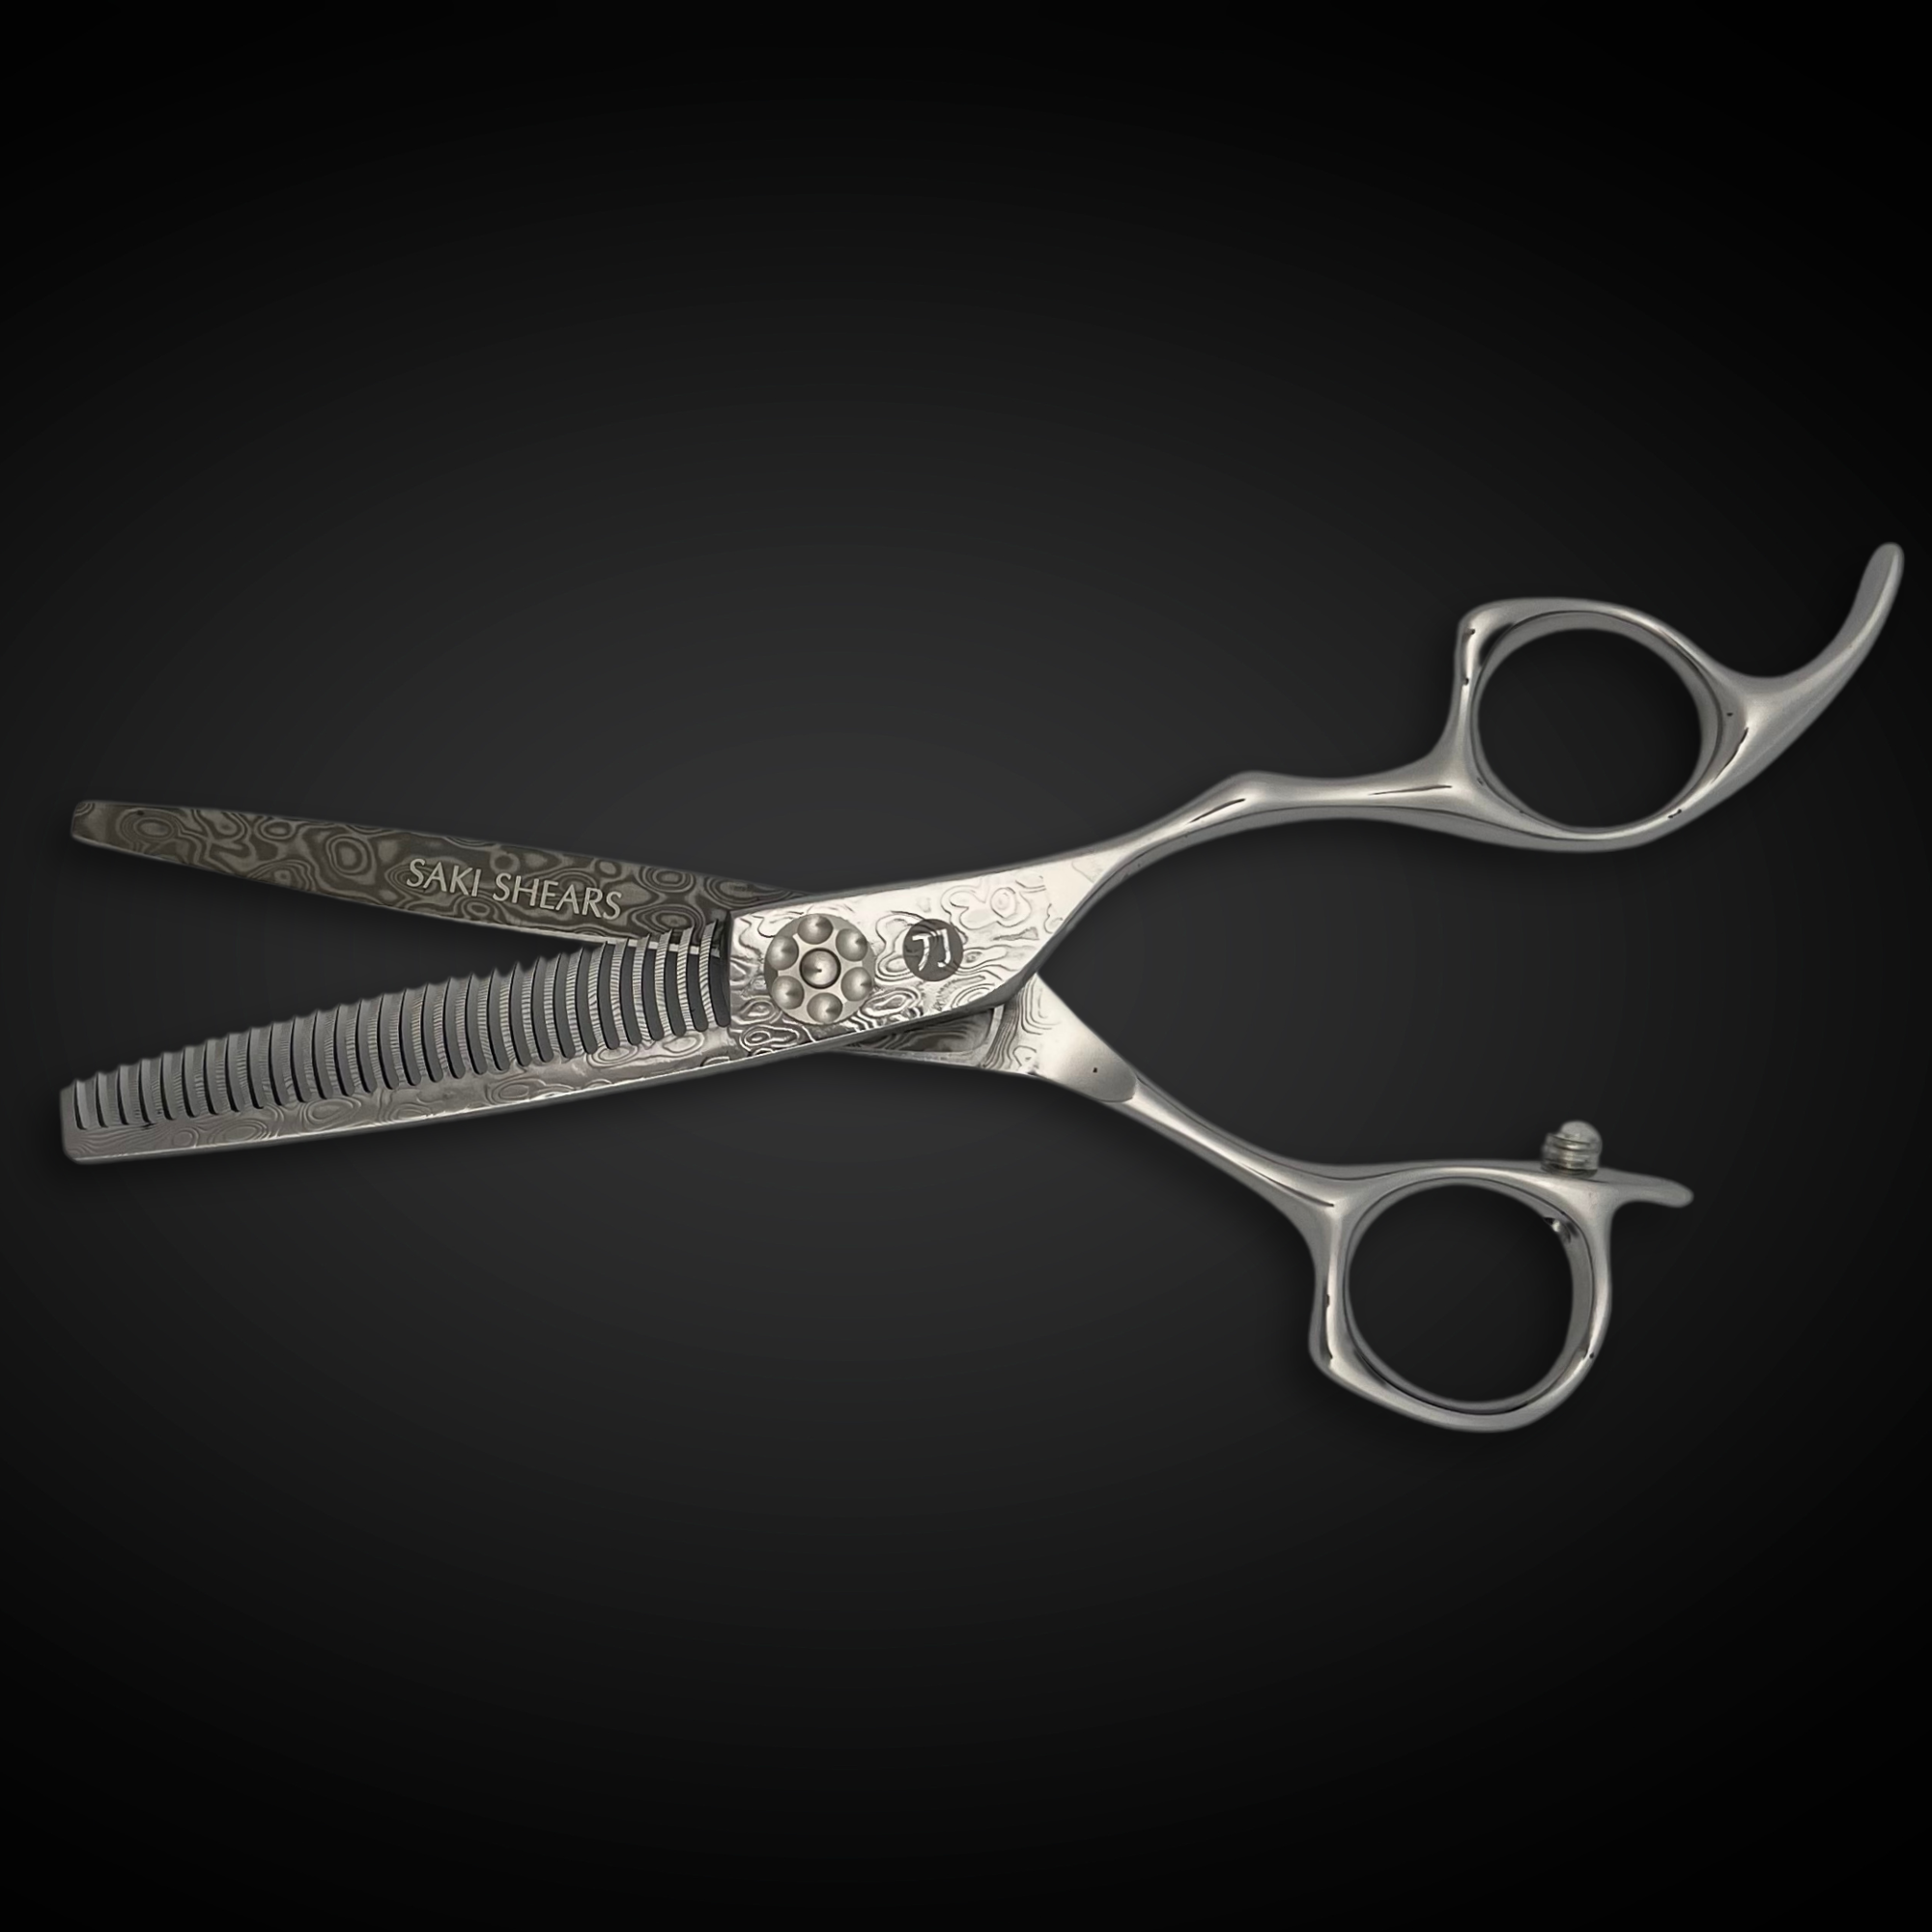
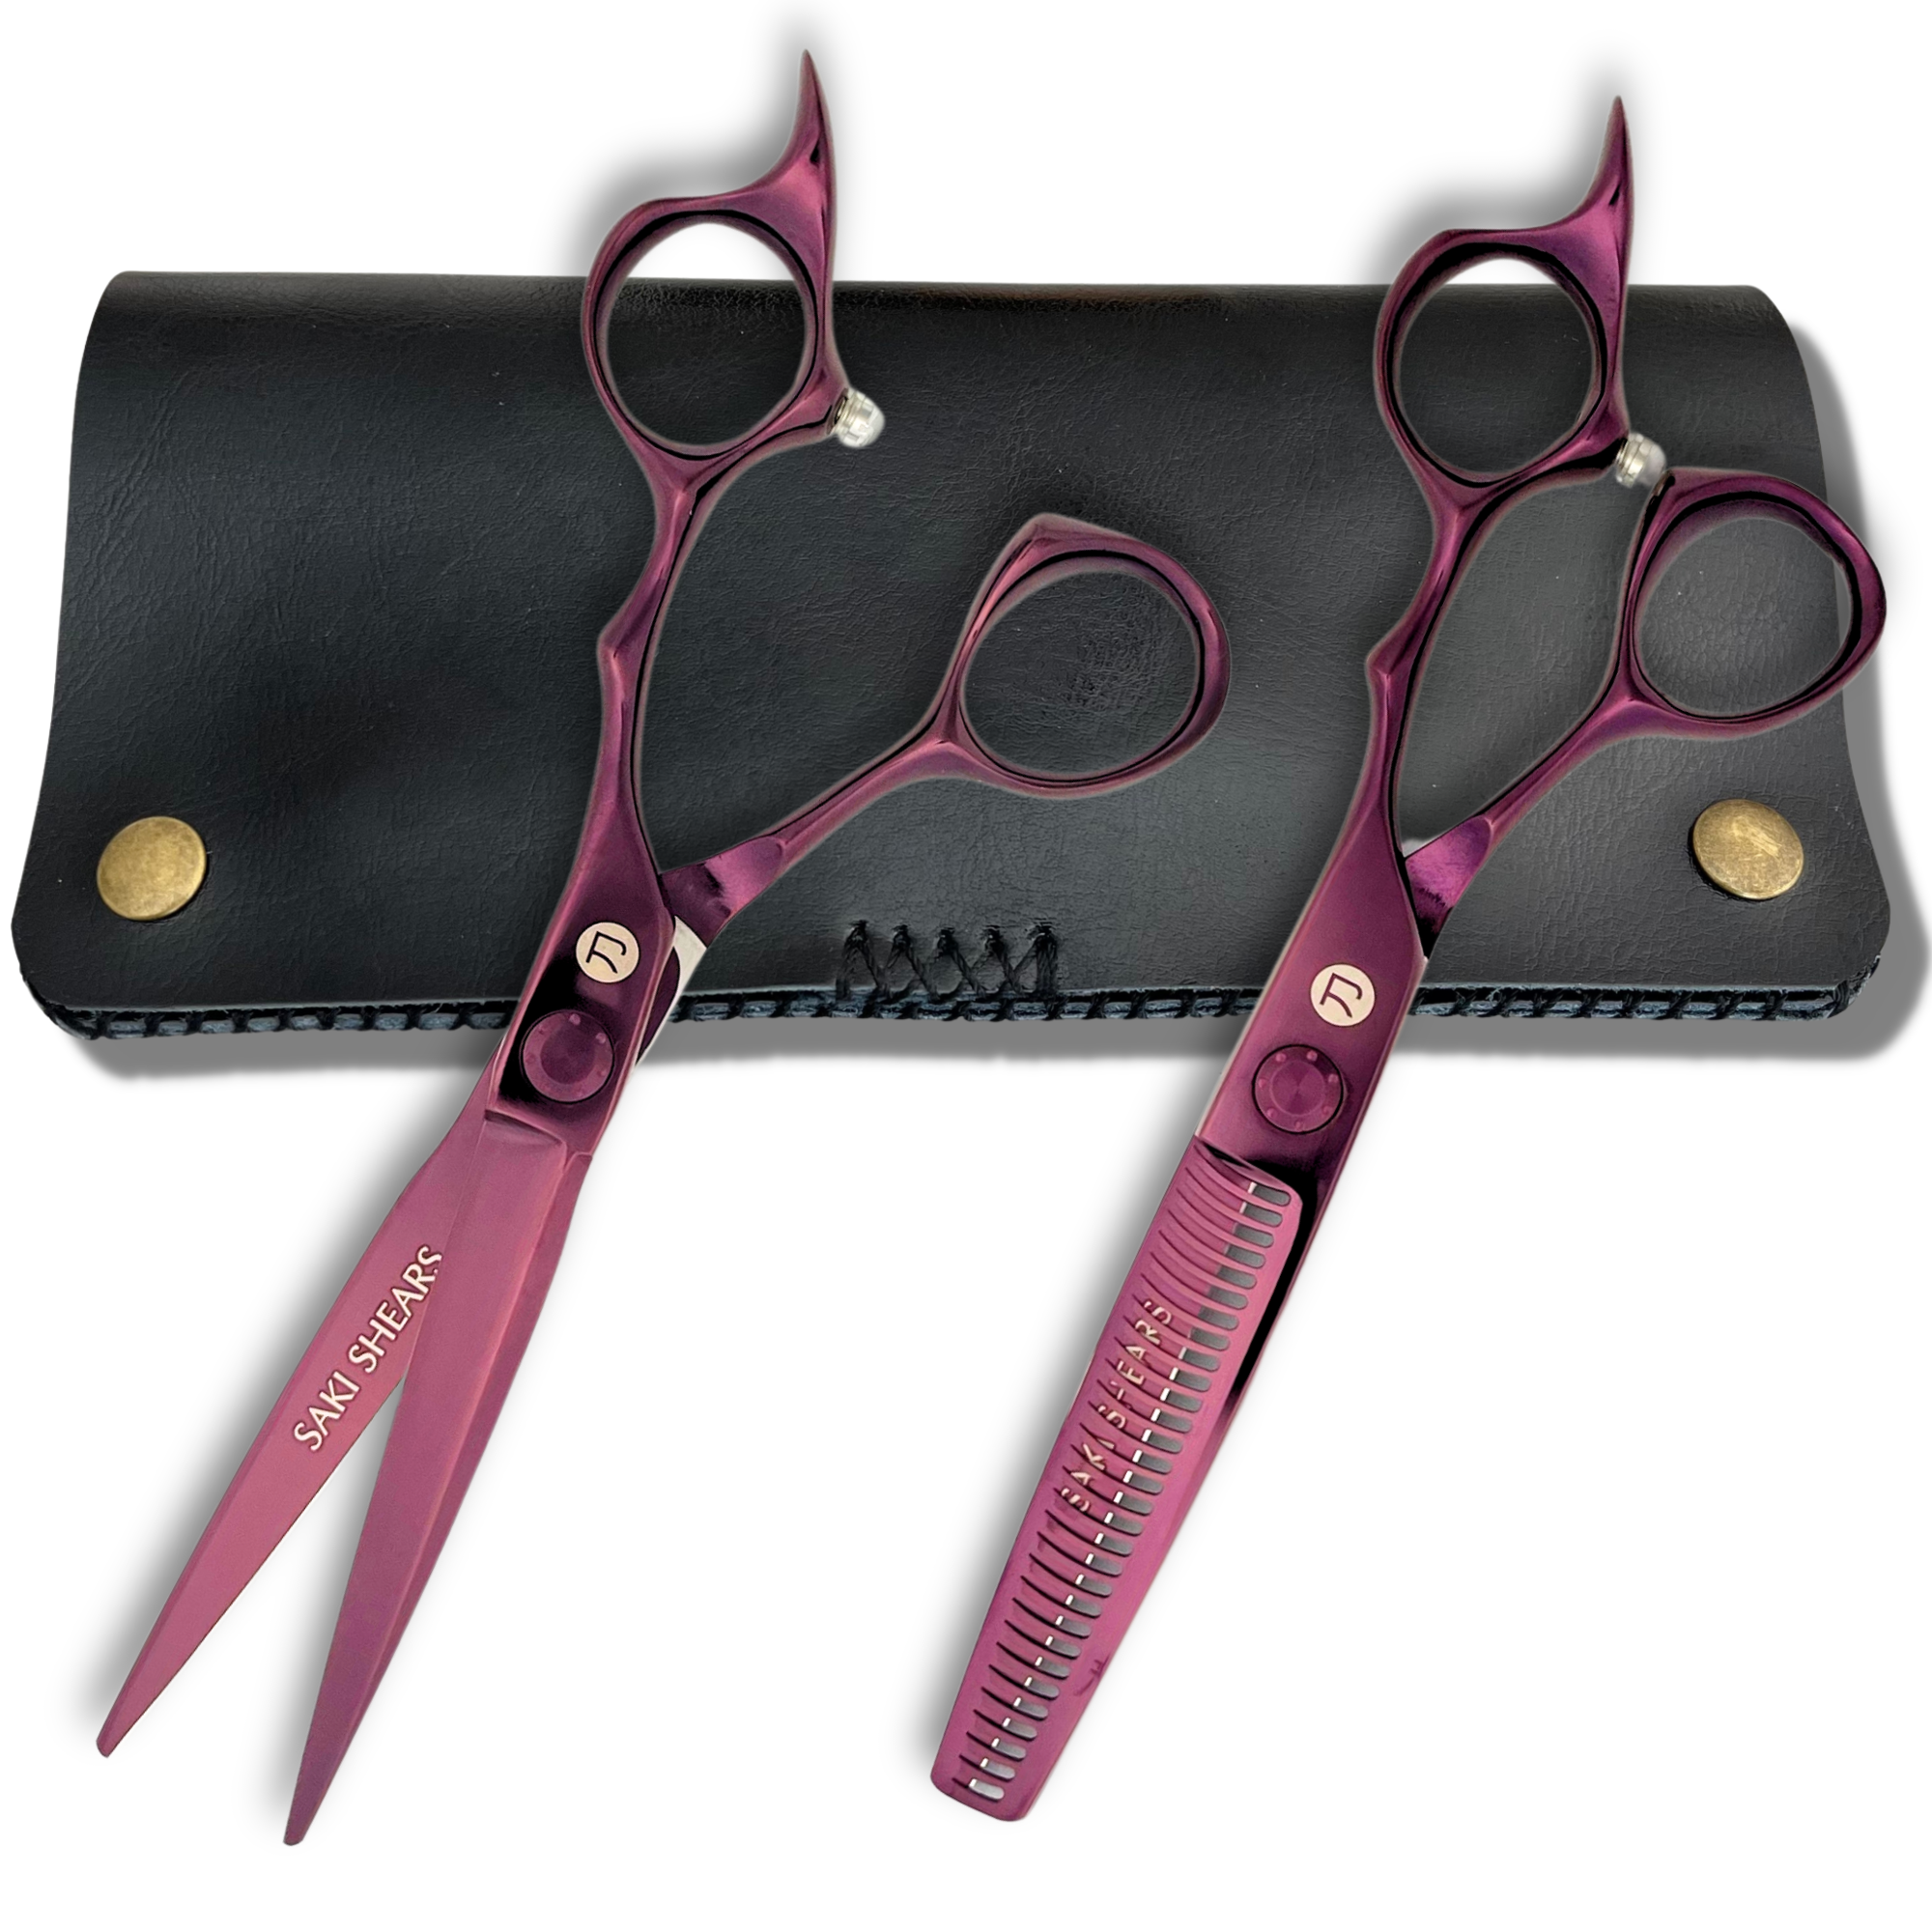
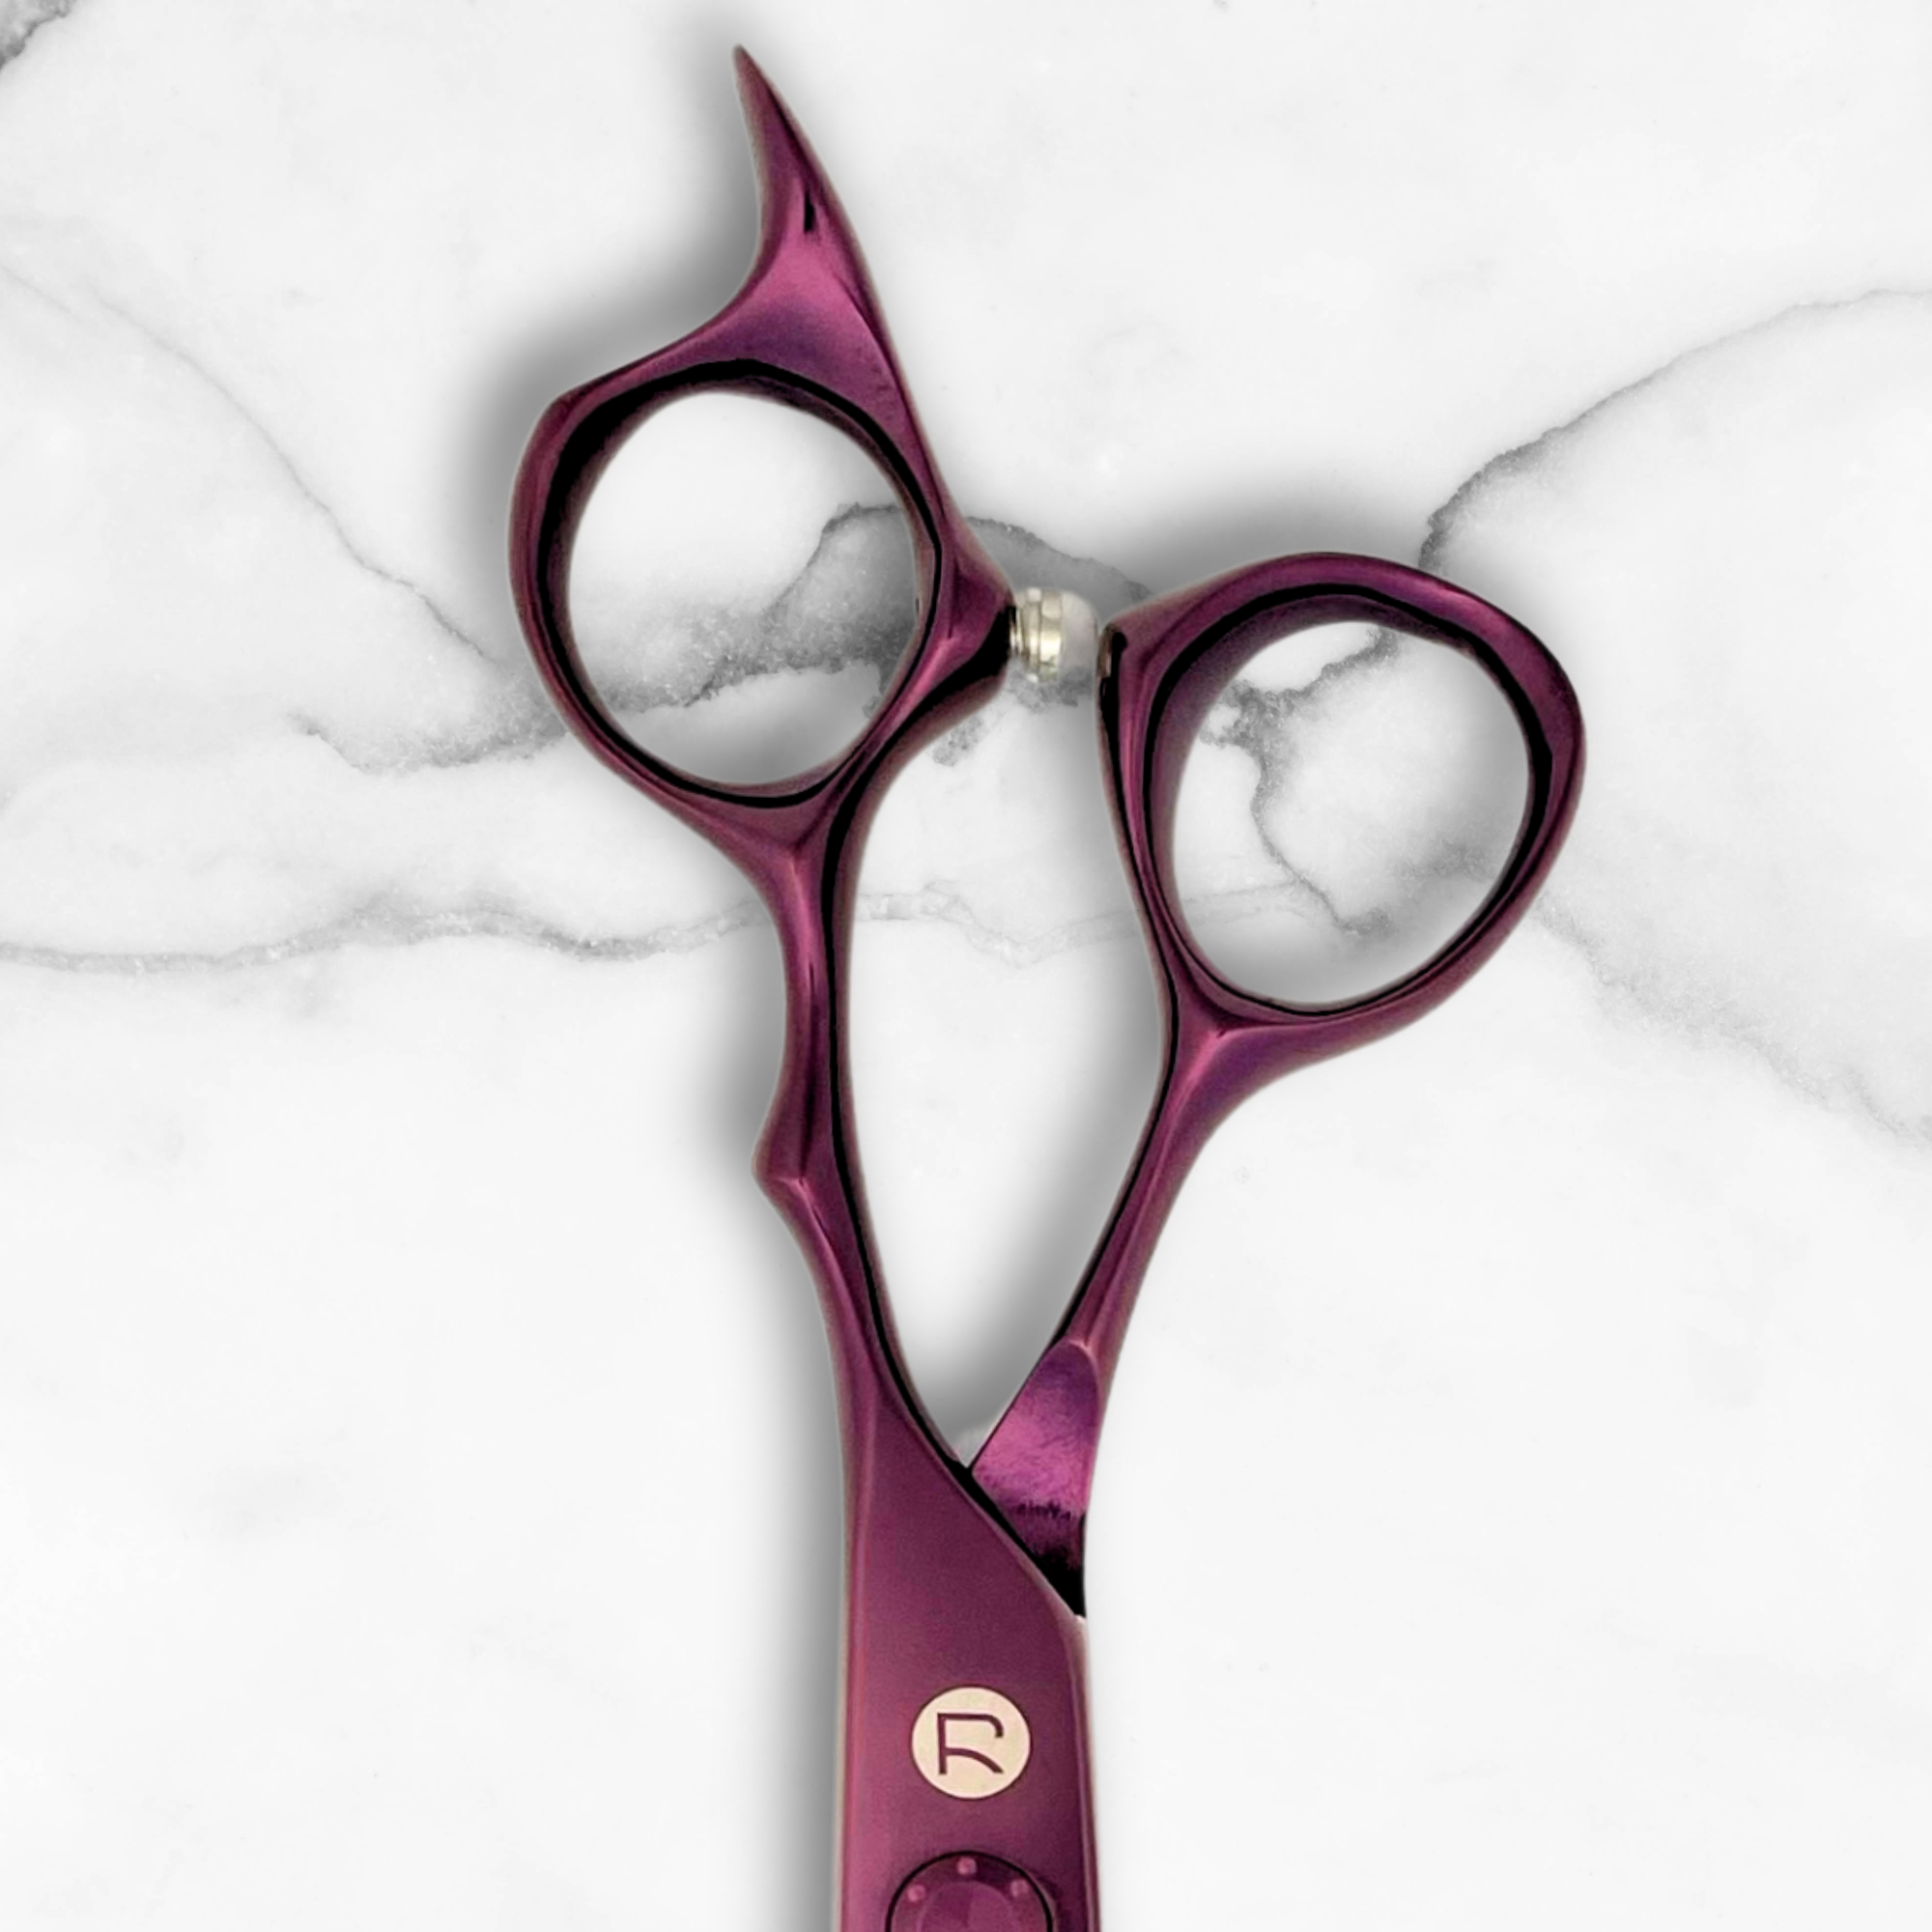
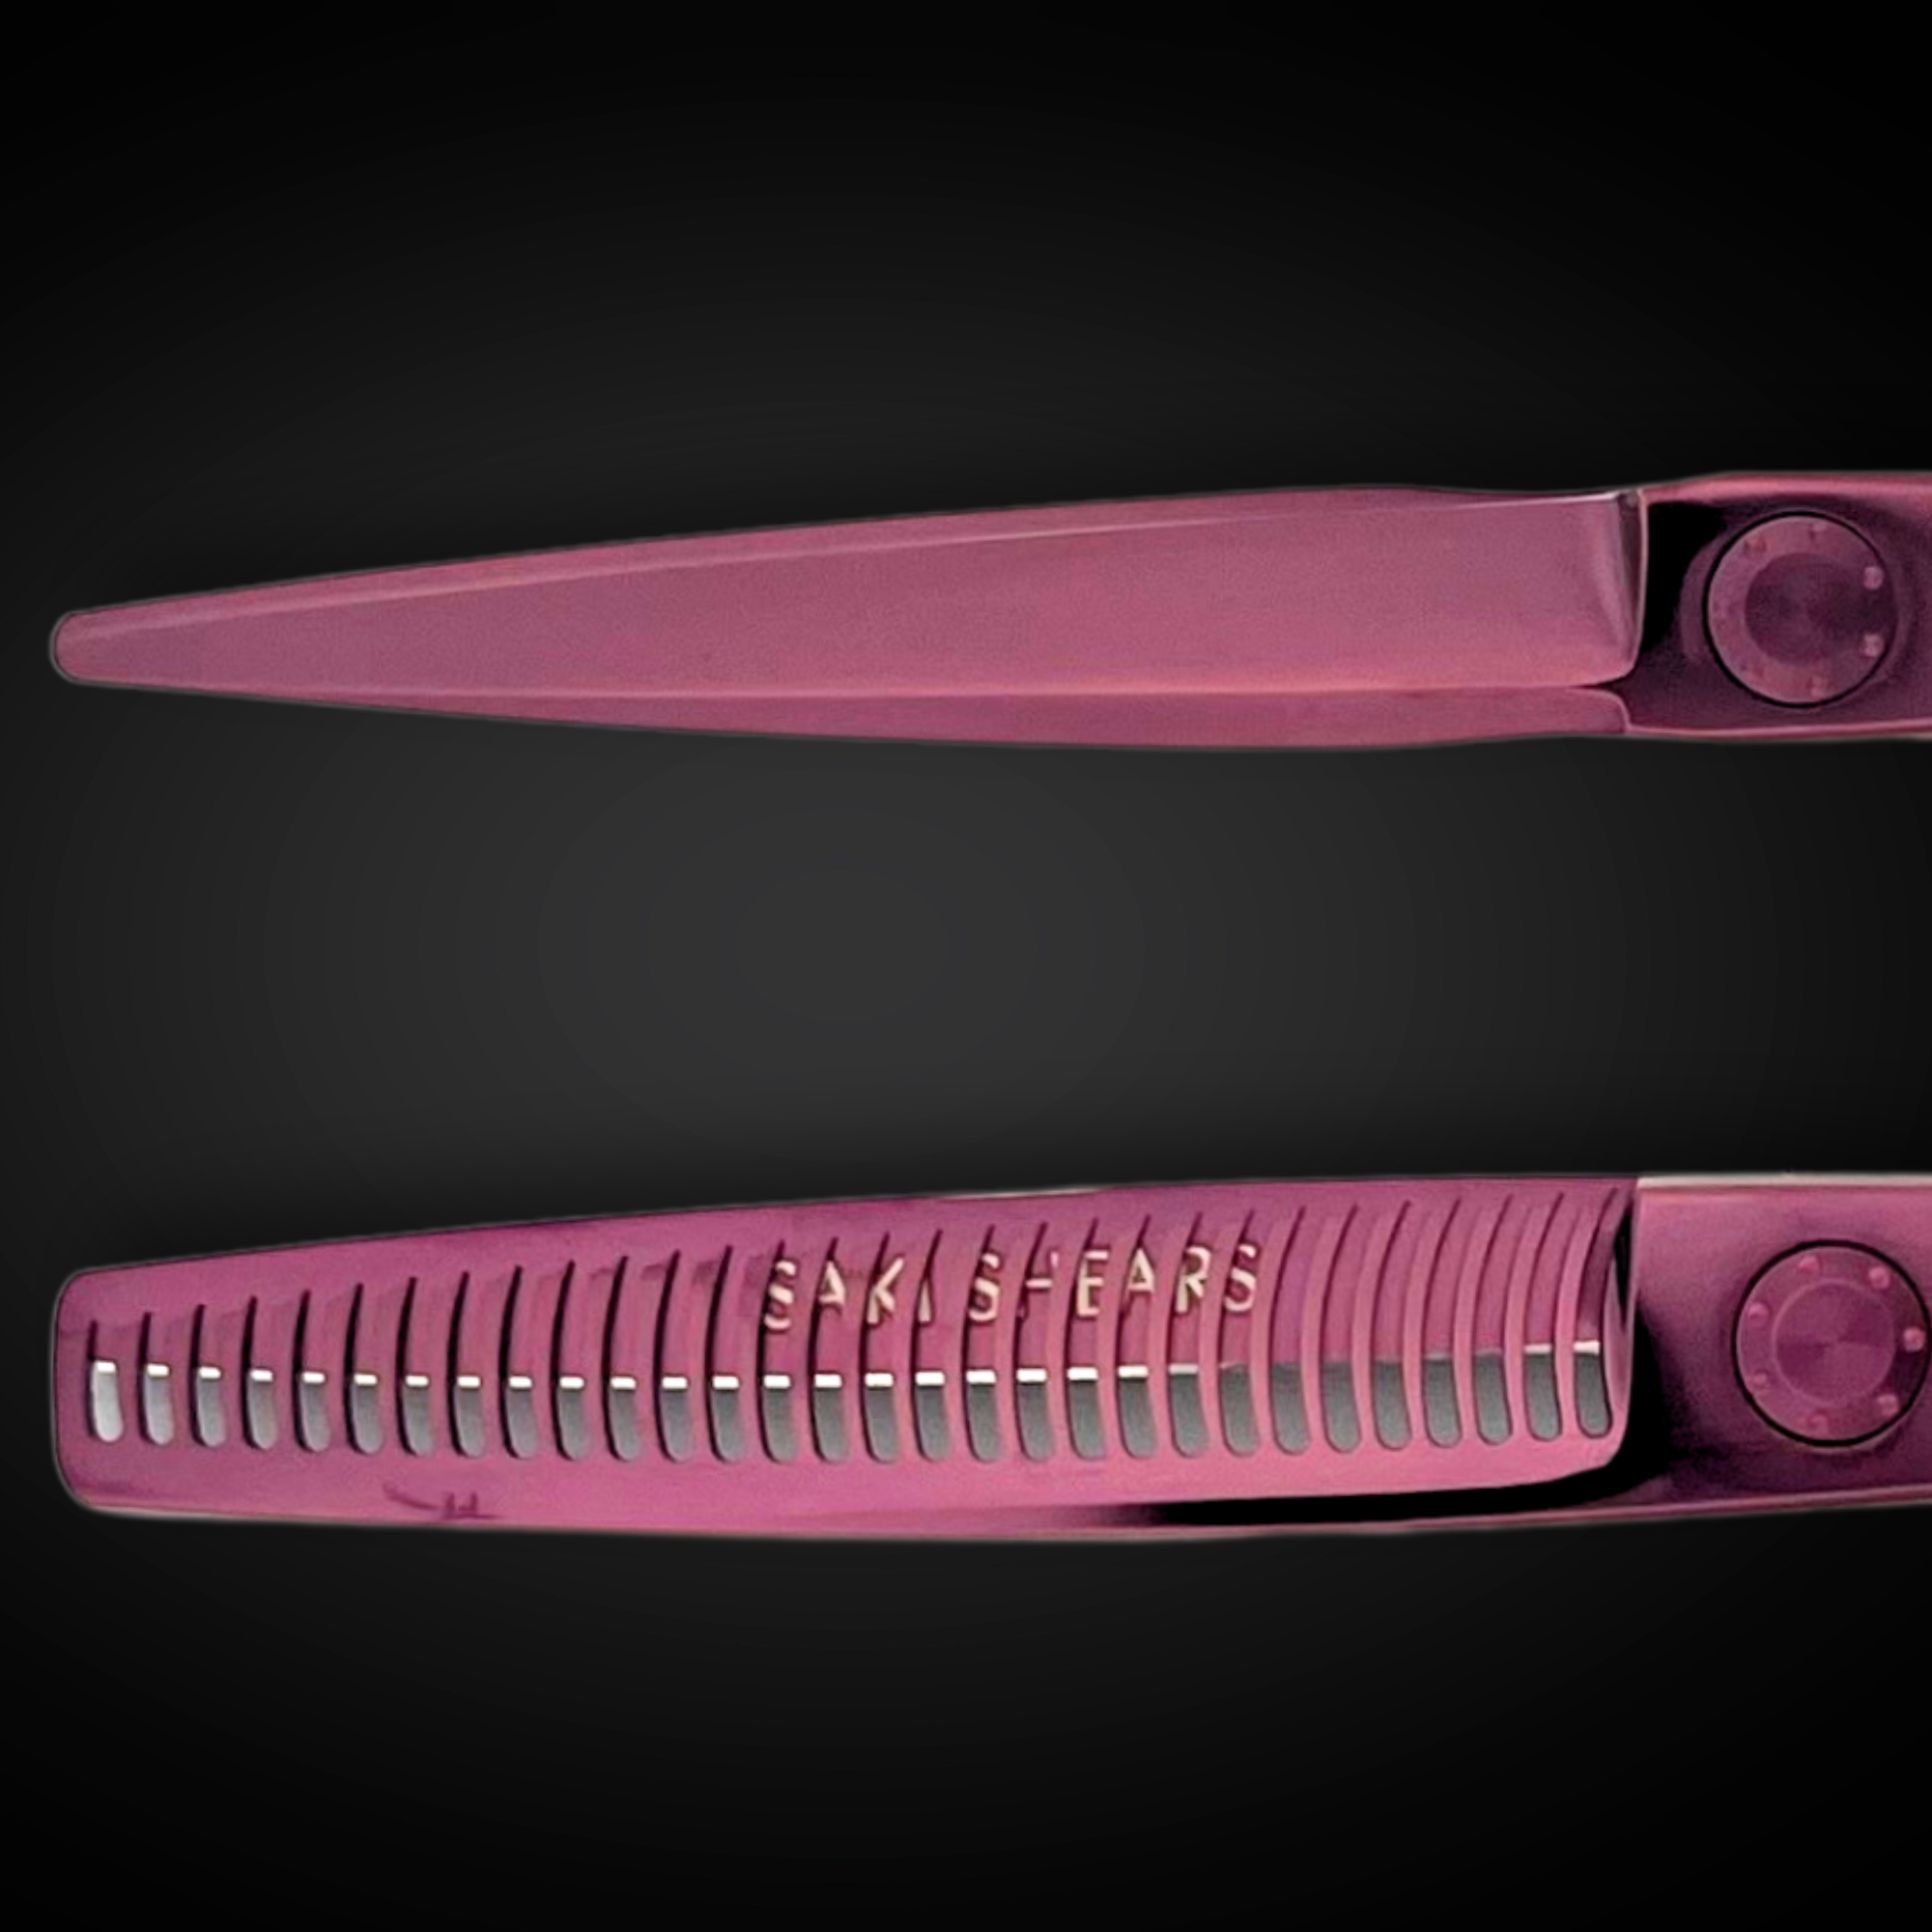
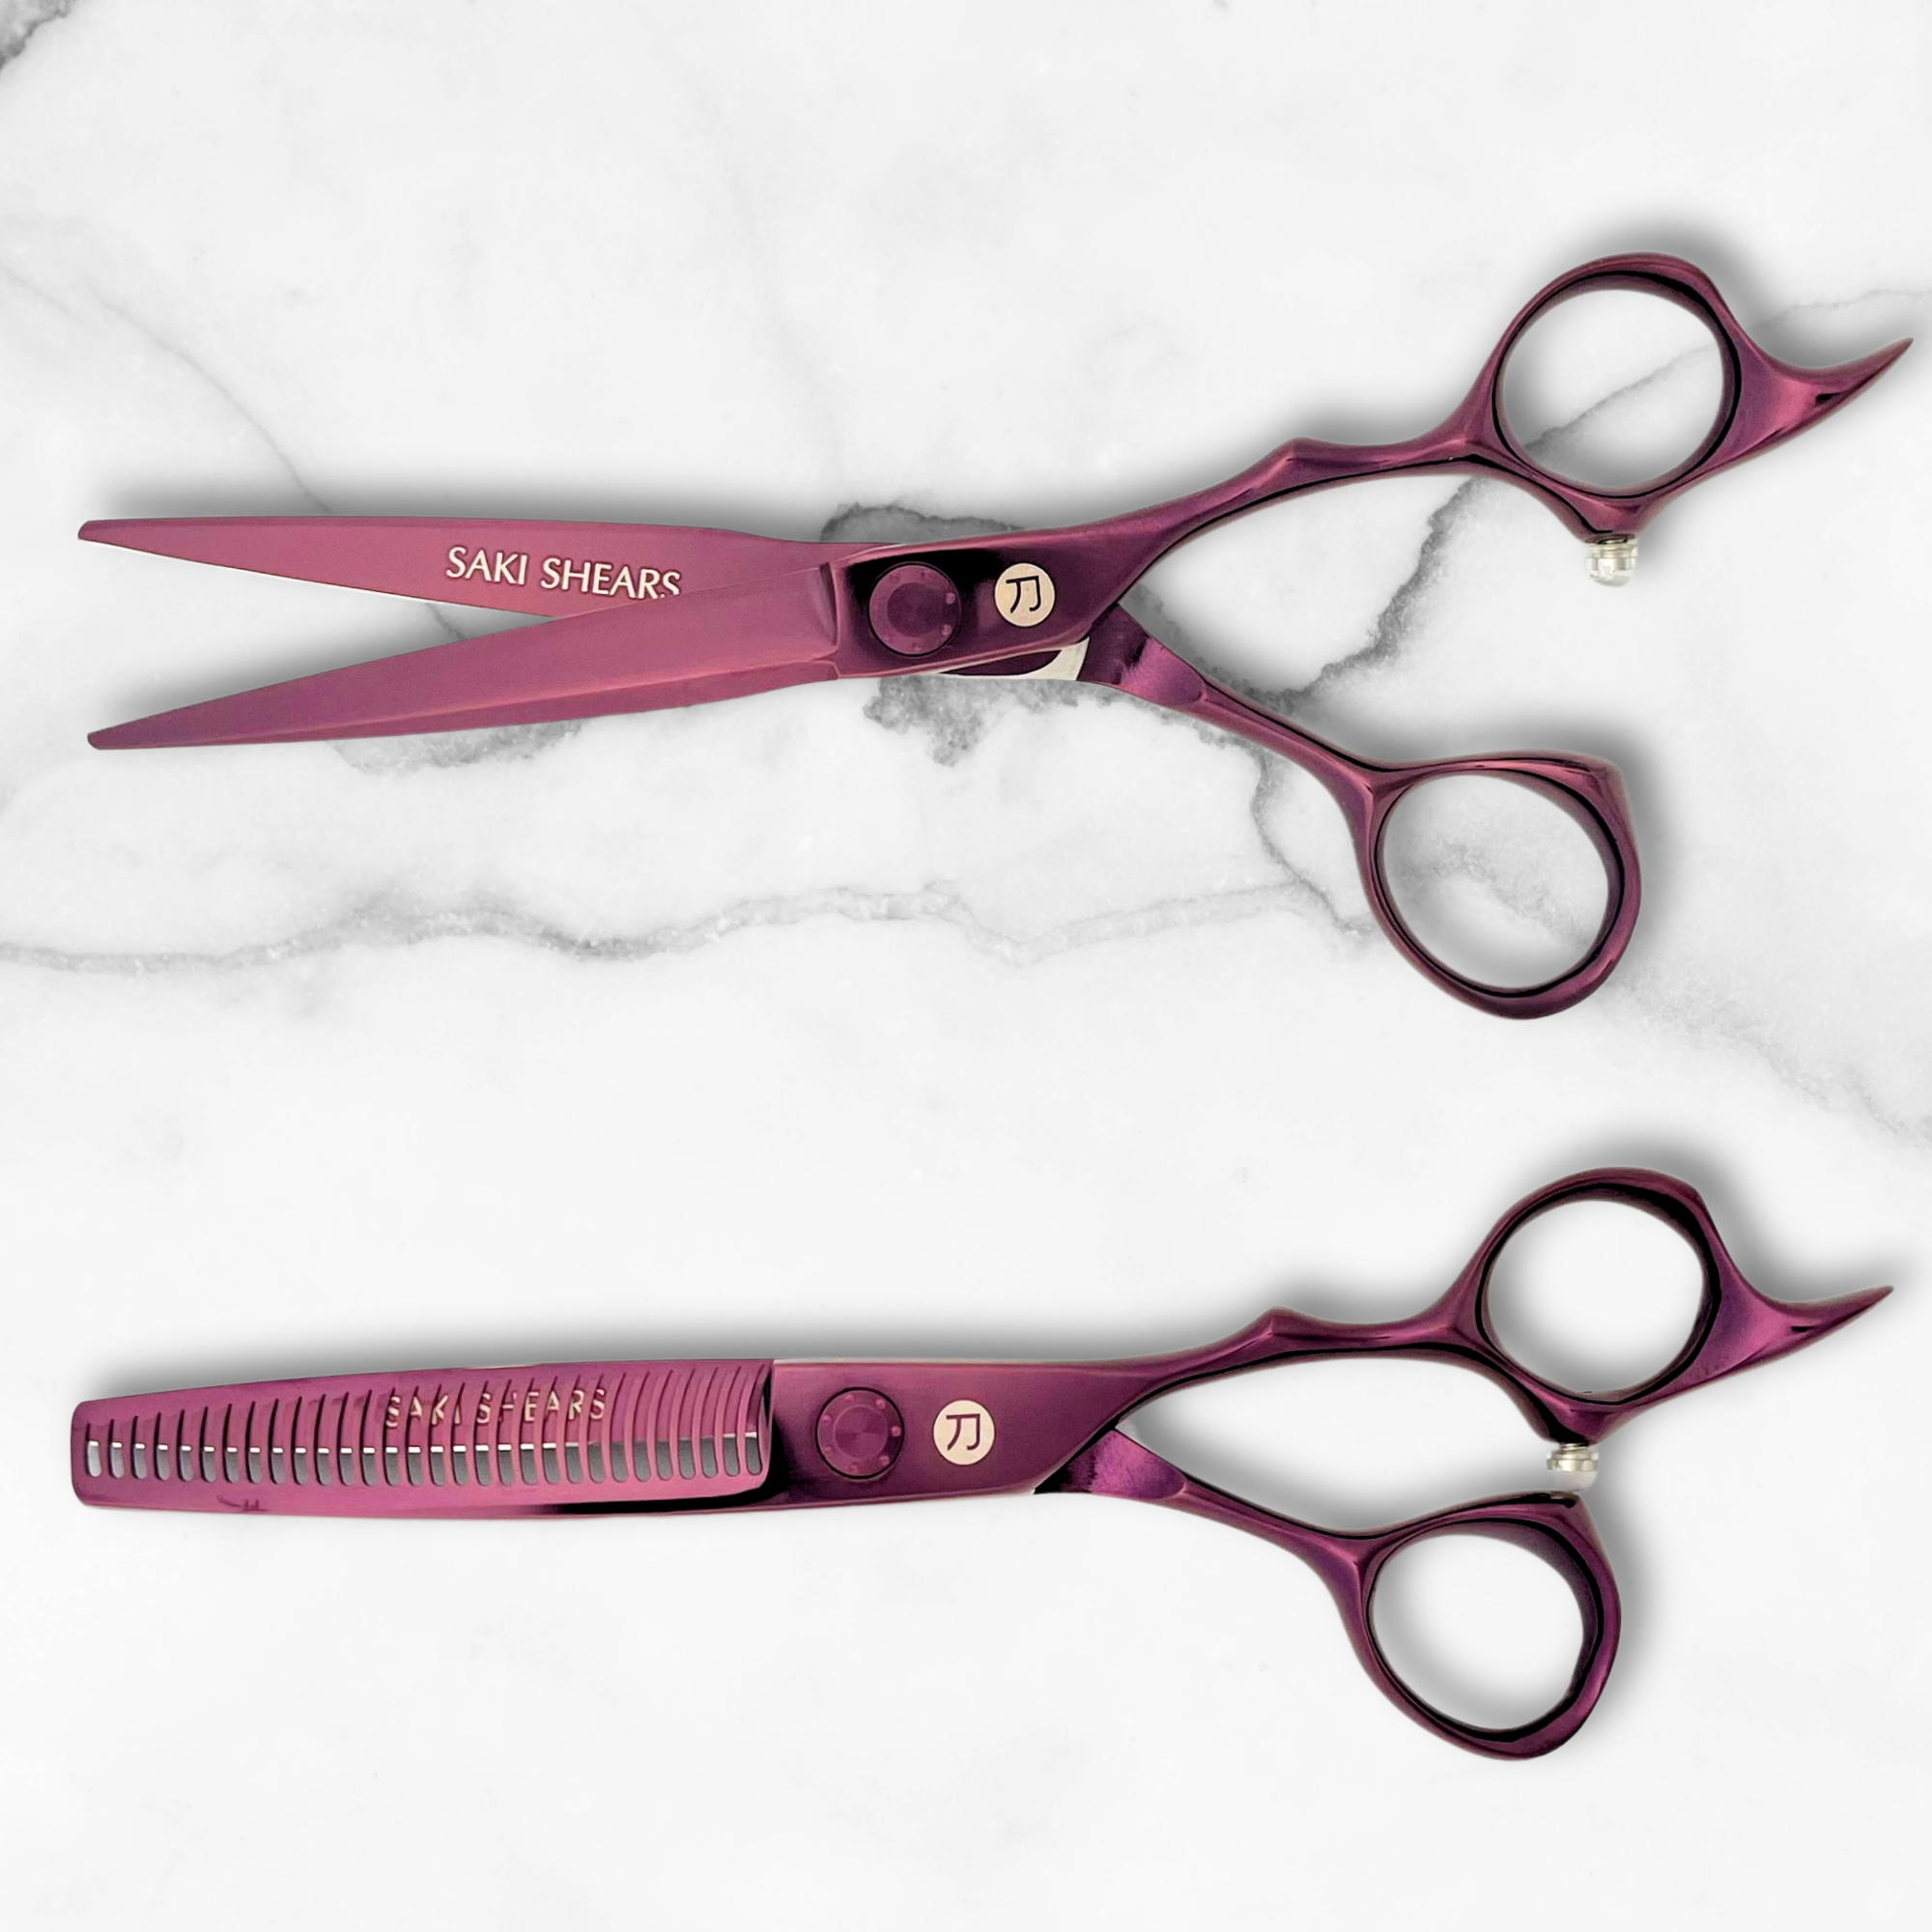
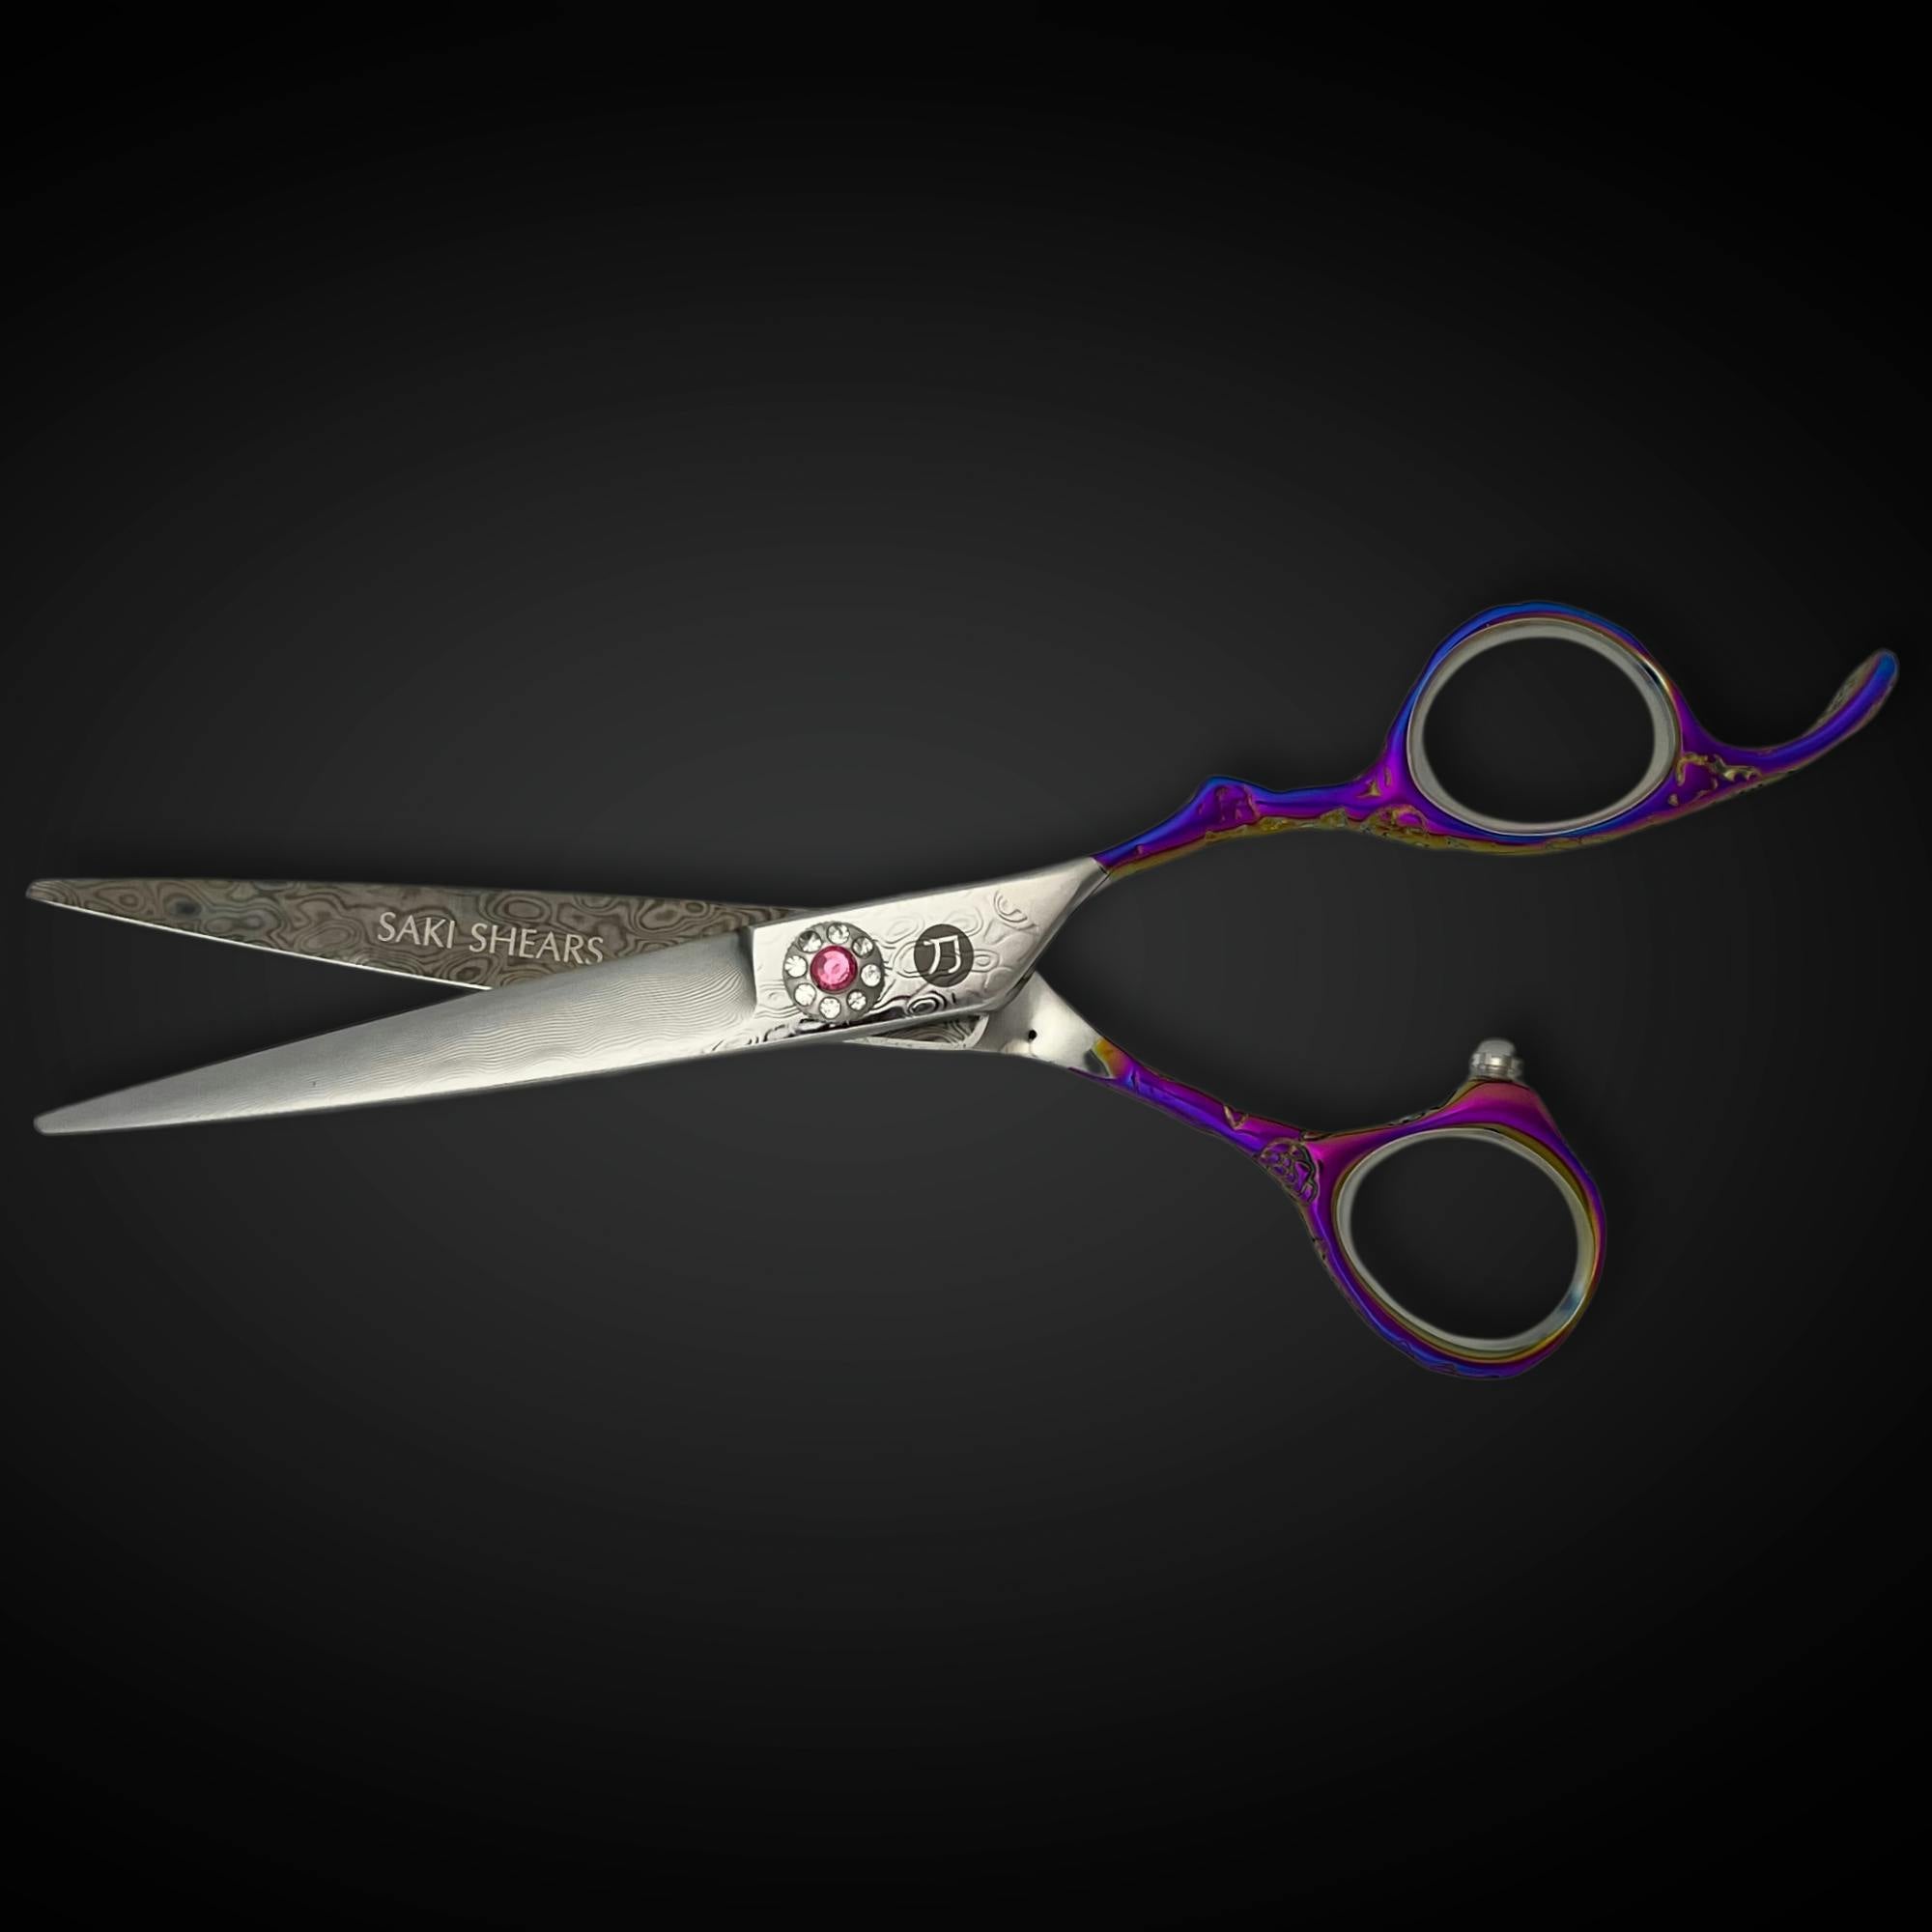
If the blades are dull or damaged, decide whether sharpening or replacing them makes more sense. The choice often depends on the extent of the damage and the overall condition of the shears. For instance, high-end shears made from premium Japanese steel can often be professionally sharpened to restore their edge. However, if the damage is extensive, replacing the blades might be the better option. Shears with lifetime warranties, like those from Saki Shears, can make replacements more affordable when repairs aren't practical.
Adjust the Tension
Proper tension is key for smooth operation. Use the adjustment screw to fine-tune the tension so the blade stays open but moves fluidly when the handle is released. If adjusting the tension or maintaining the blades doesn’t fix the issue, it might be time to consult a professional.
Get Professional Repairs
For more serious problems, like broken parts or misaligned blades, professional repairs are your best bet.
"Proper tension ensures that your shears glide smoothly through hair, allowing you to work efficiently and deliver precise results." [5]
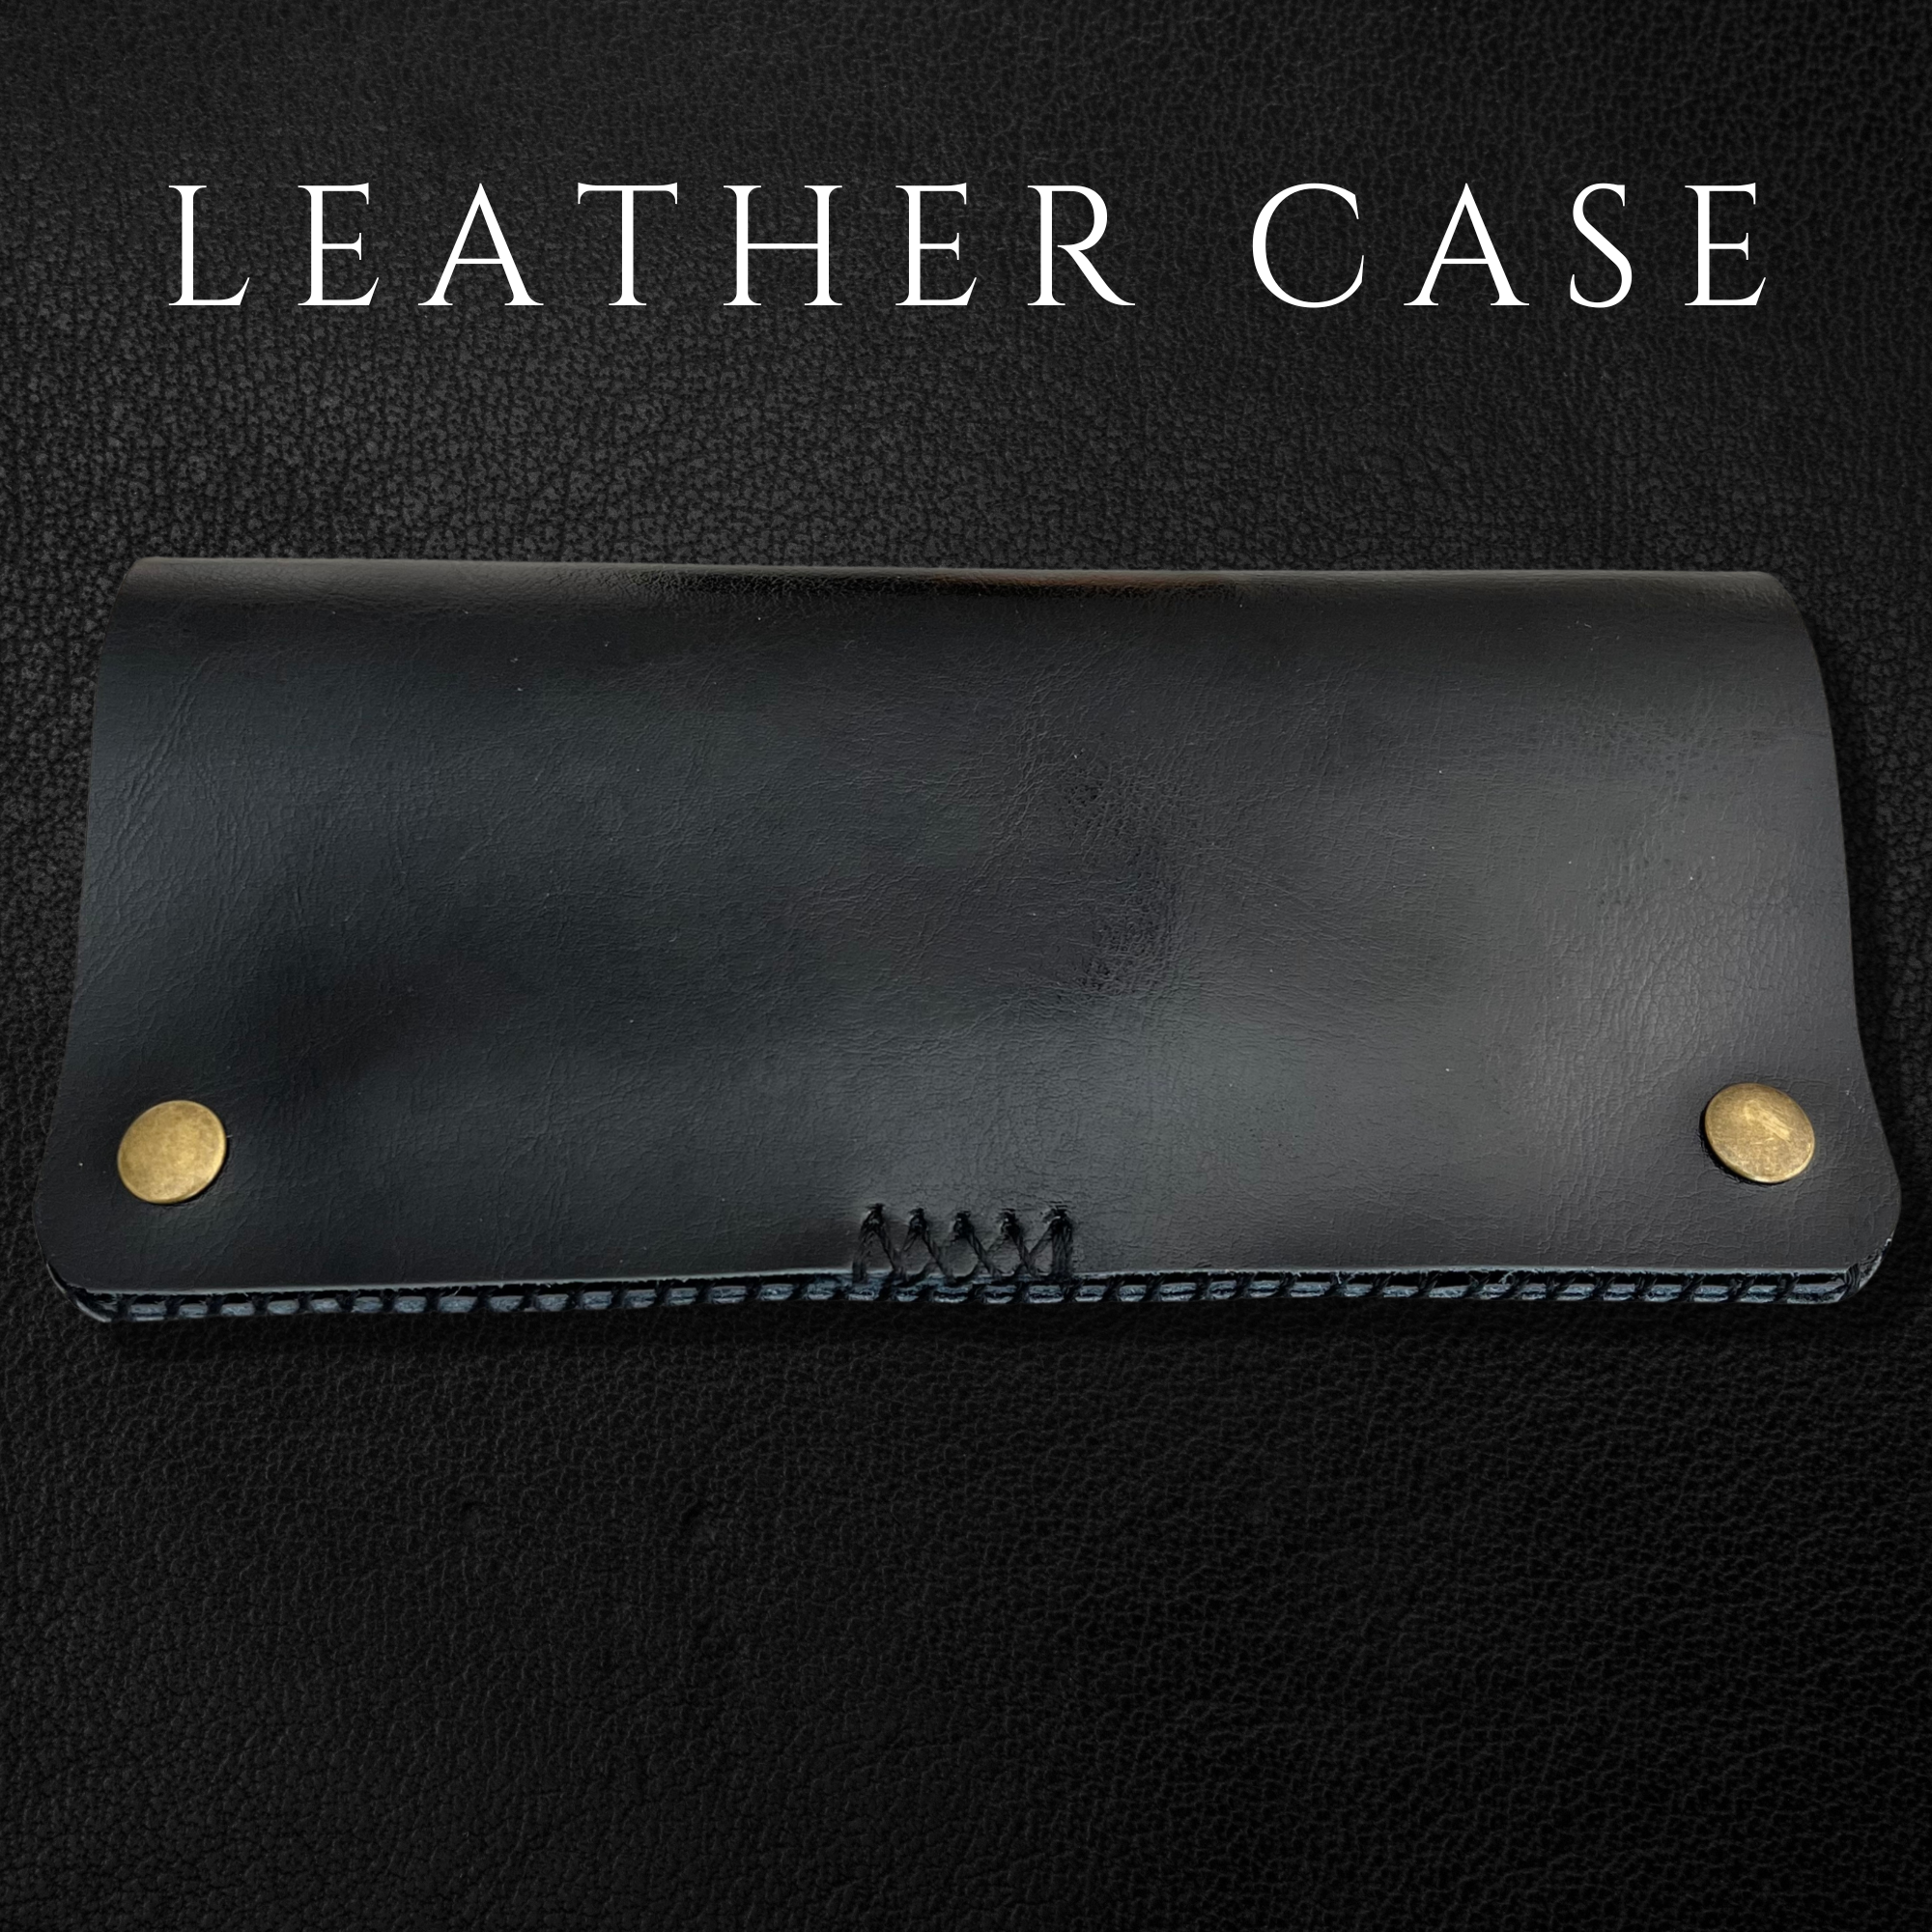
To avoid future problems, store your shears in a case that absorbs moisture and make regular cleaning and lubrication part of your routine [1][2]. These simple habits can go a long way in reducing the need for repairs and keeping your shears performing consistently.
Conclusion: Keeping Your Hair Shears in Top Condition
Key Takeaways
Taking care of your hair shears is essential to keep them working smoothly and lasting longer. Regularly inspecting your shears helps catch small issues early, while routine cleaning, lubrication, and tension adjustments ensure they stay in great shape. For more complex problems, professional servicing is a must. And remember, the tools you choose play a big role in their longevity - quality matters.
Tools and Brands to Consider
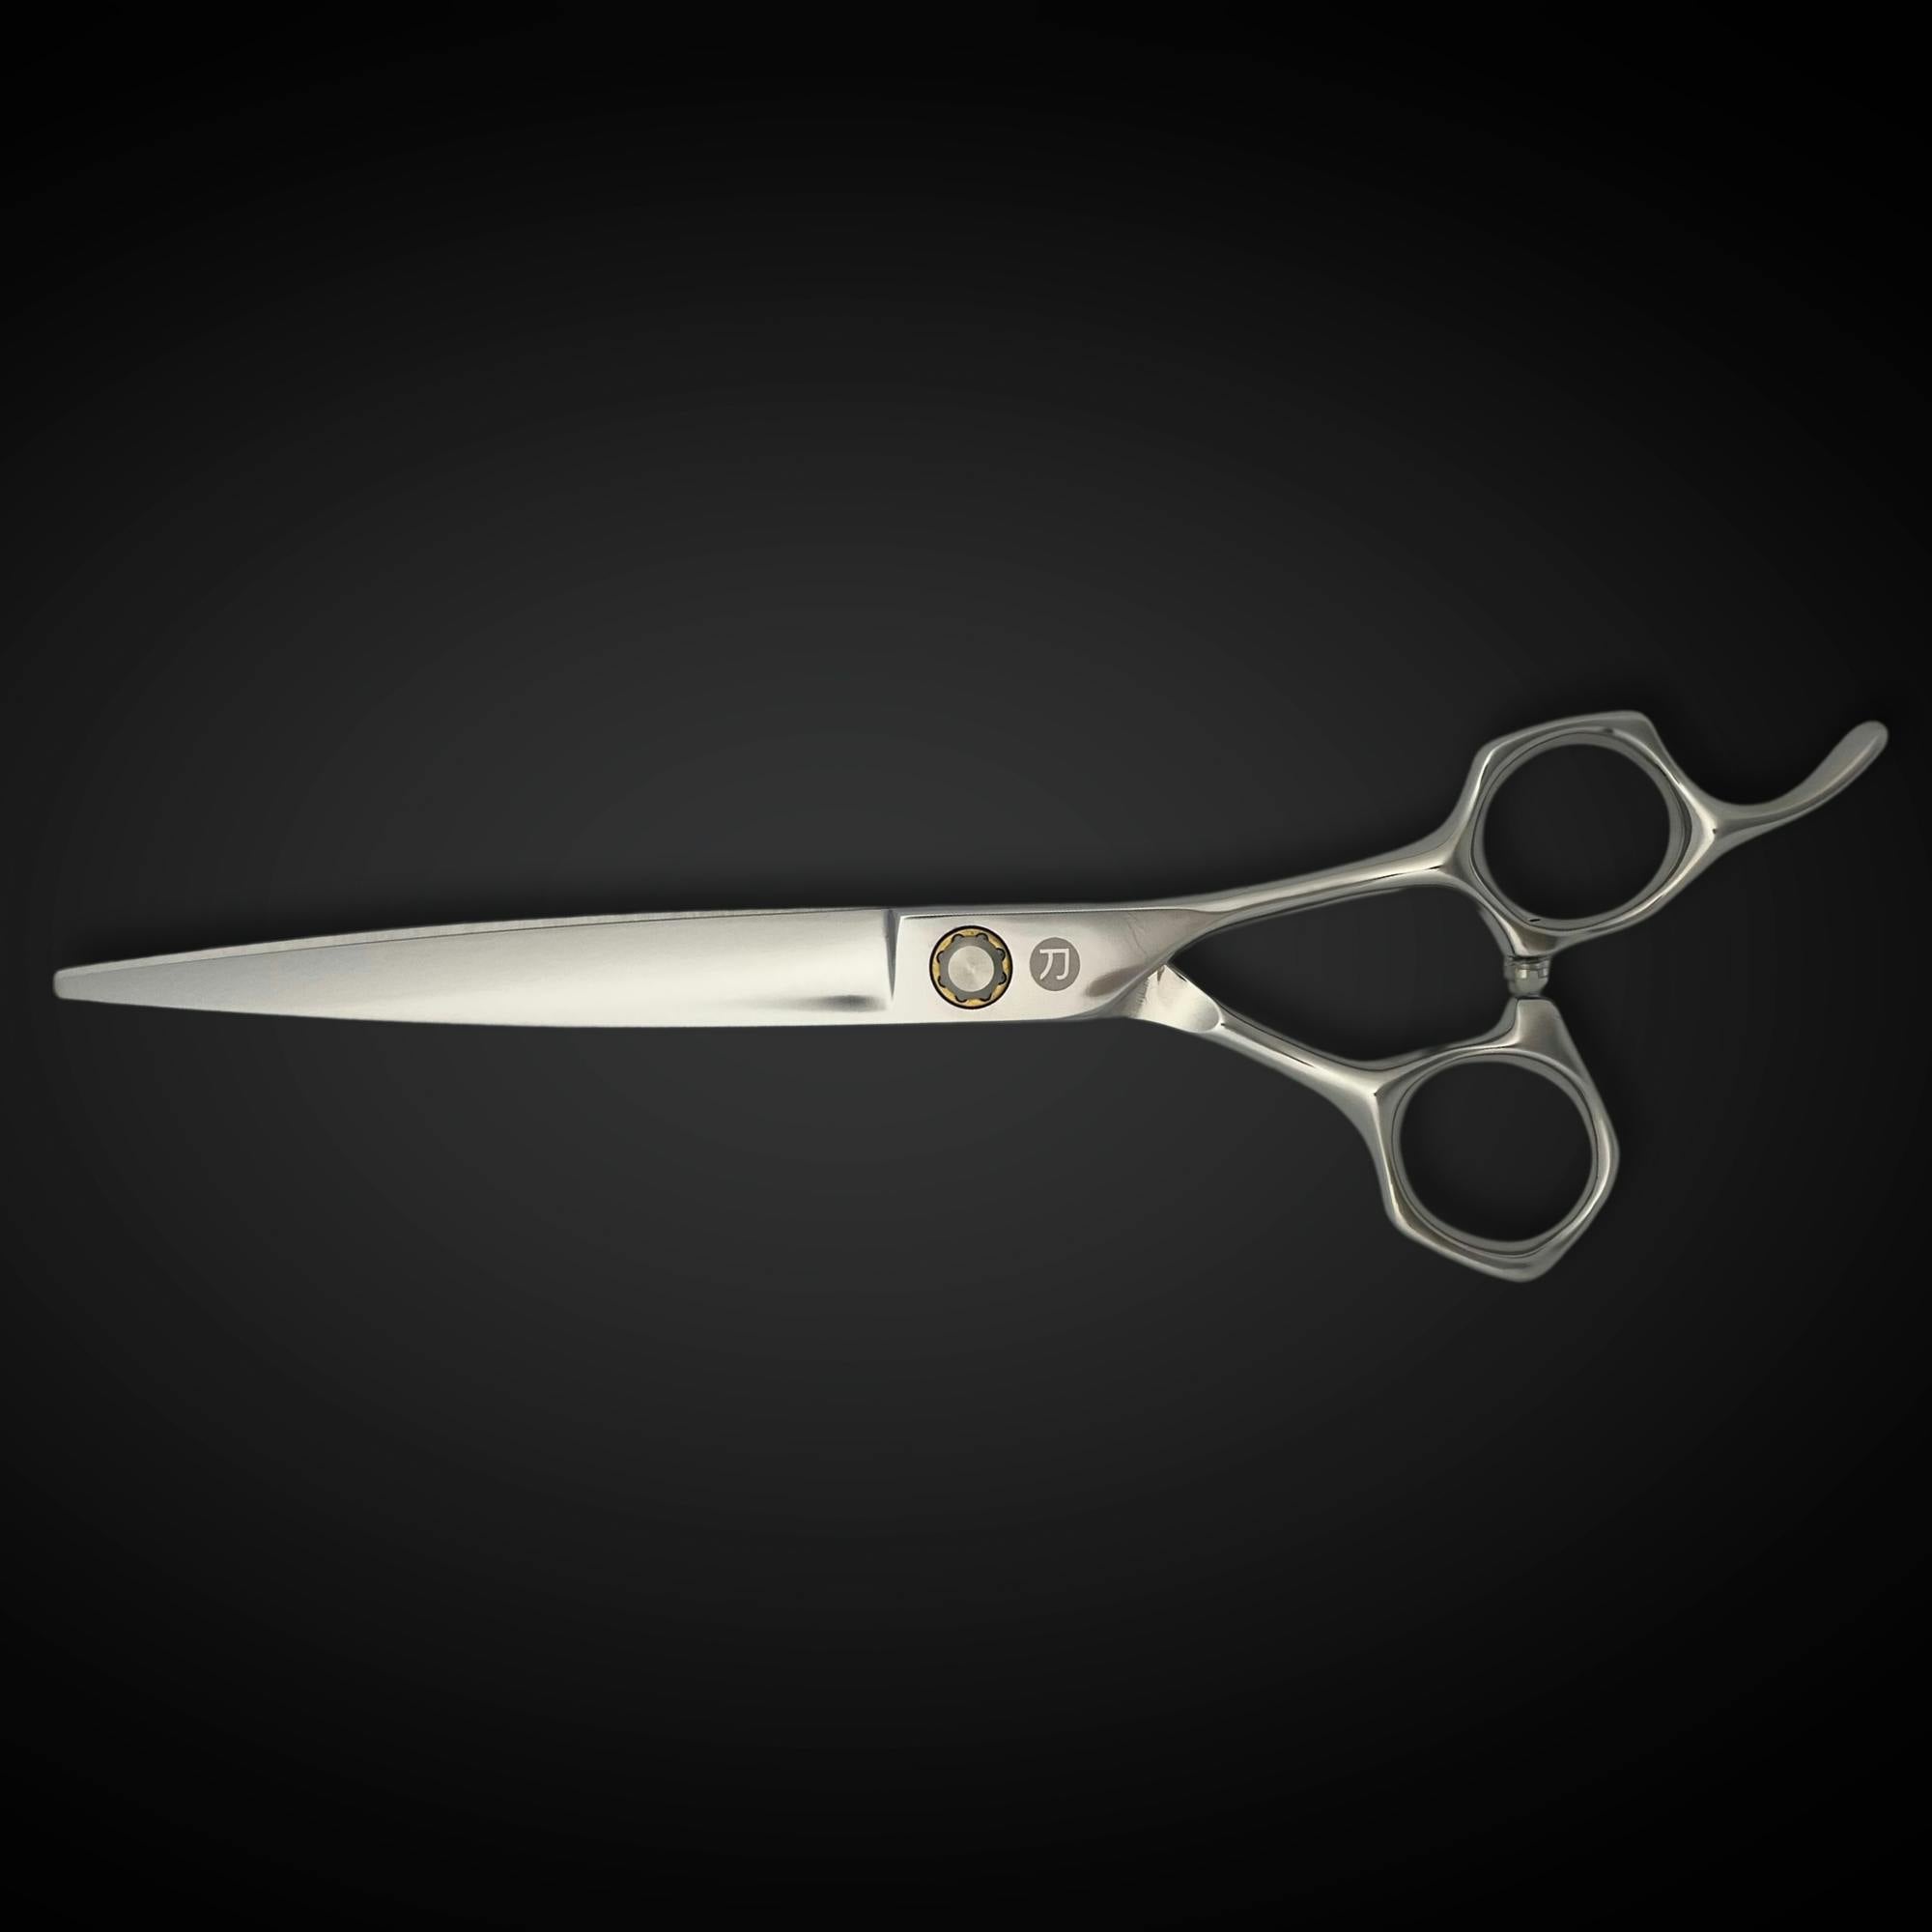
Using high-quality shears not only improves performance but also ensures they stand the test of time. For example, Saki Shears provides professional-grade options made with premium Japanese steel. Their shears include adjustable tension systems and ergonomic designs to minimize hand strain. Plus, their lifetime warranty adds extra peace of mind for hairstylists.
Here are some must-have maintenance items:
| Maintenance Item | Purpose | How Often to Use |
|---|---|---|
| Lubricating Oil | Keeps blades rust-free and smooth | After each use |
| Cleaning Cloth | Clears away hair and debris | Daily |
| Tension Adjustment Tool | Ensures proper blade alignment | Weekly or as needed |

