How to Cut and Layer Your Own Long Hair
Cutting and layering your own long hair saves time, money, and gives you full control over your style. Here’s how you can do it at home:
- Tools You Need: Hair-cutting scissors, sectioning clips, a three-way mirror, a fine-tooth comb, a spray bottle, and a microfiber towel.
- Preparation: Wash and dry your hair completely. Divide it into sections: center part, side sections, nape, and crown.
-
Techniques to Try:
- Ponytail Method: Ideal for beginners, creates even layers.
- Butterfly Cut: Adds face-framing layers for movement.
- Point Cutting: Blends layers for a natural finish.
- Tips for Success: Use sharp scissors, cut in small sections, and check your progress with mirrors to avoid mistakes.
Start simple, practice regularly, and refine your skills for a salon-like finish at home.
How to Cut Long Layers: Ponytail Method Tutorial
Tools Needed for Cutting and Layering Hair
To achieve professional results at home, having the right tools is essential.
Professional Hair-Cutting Scissors
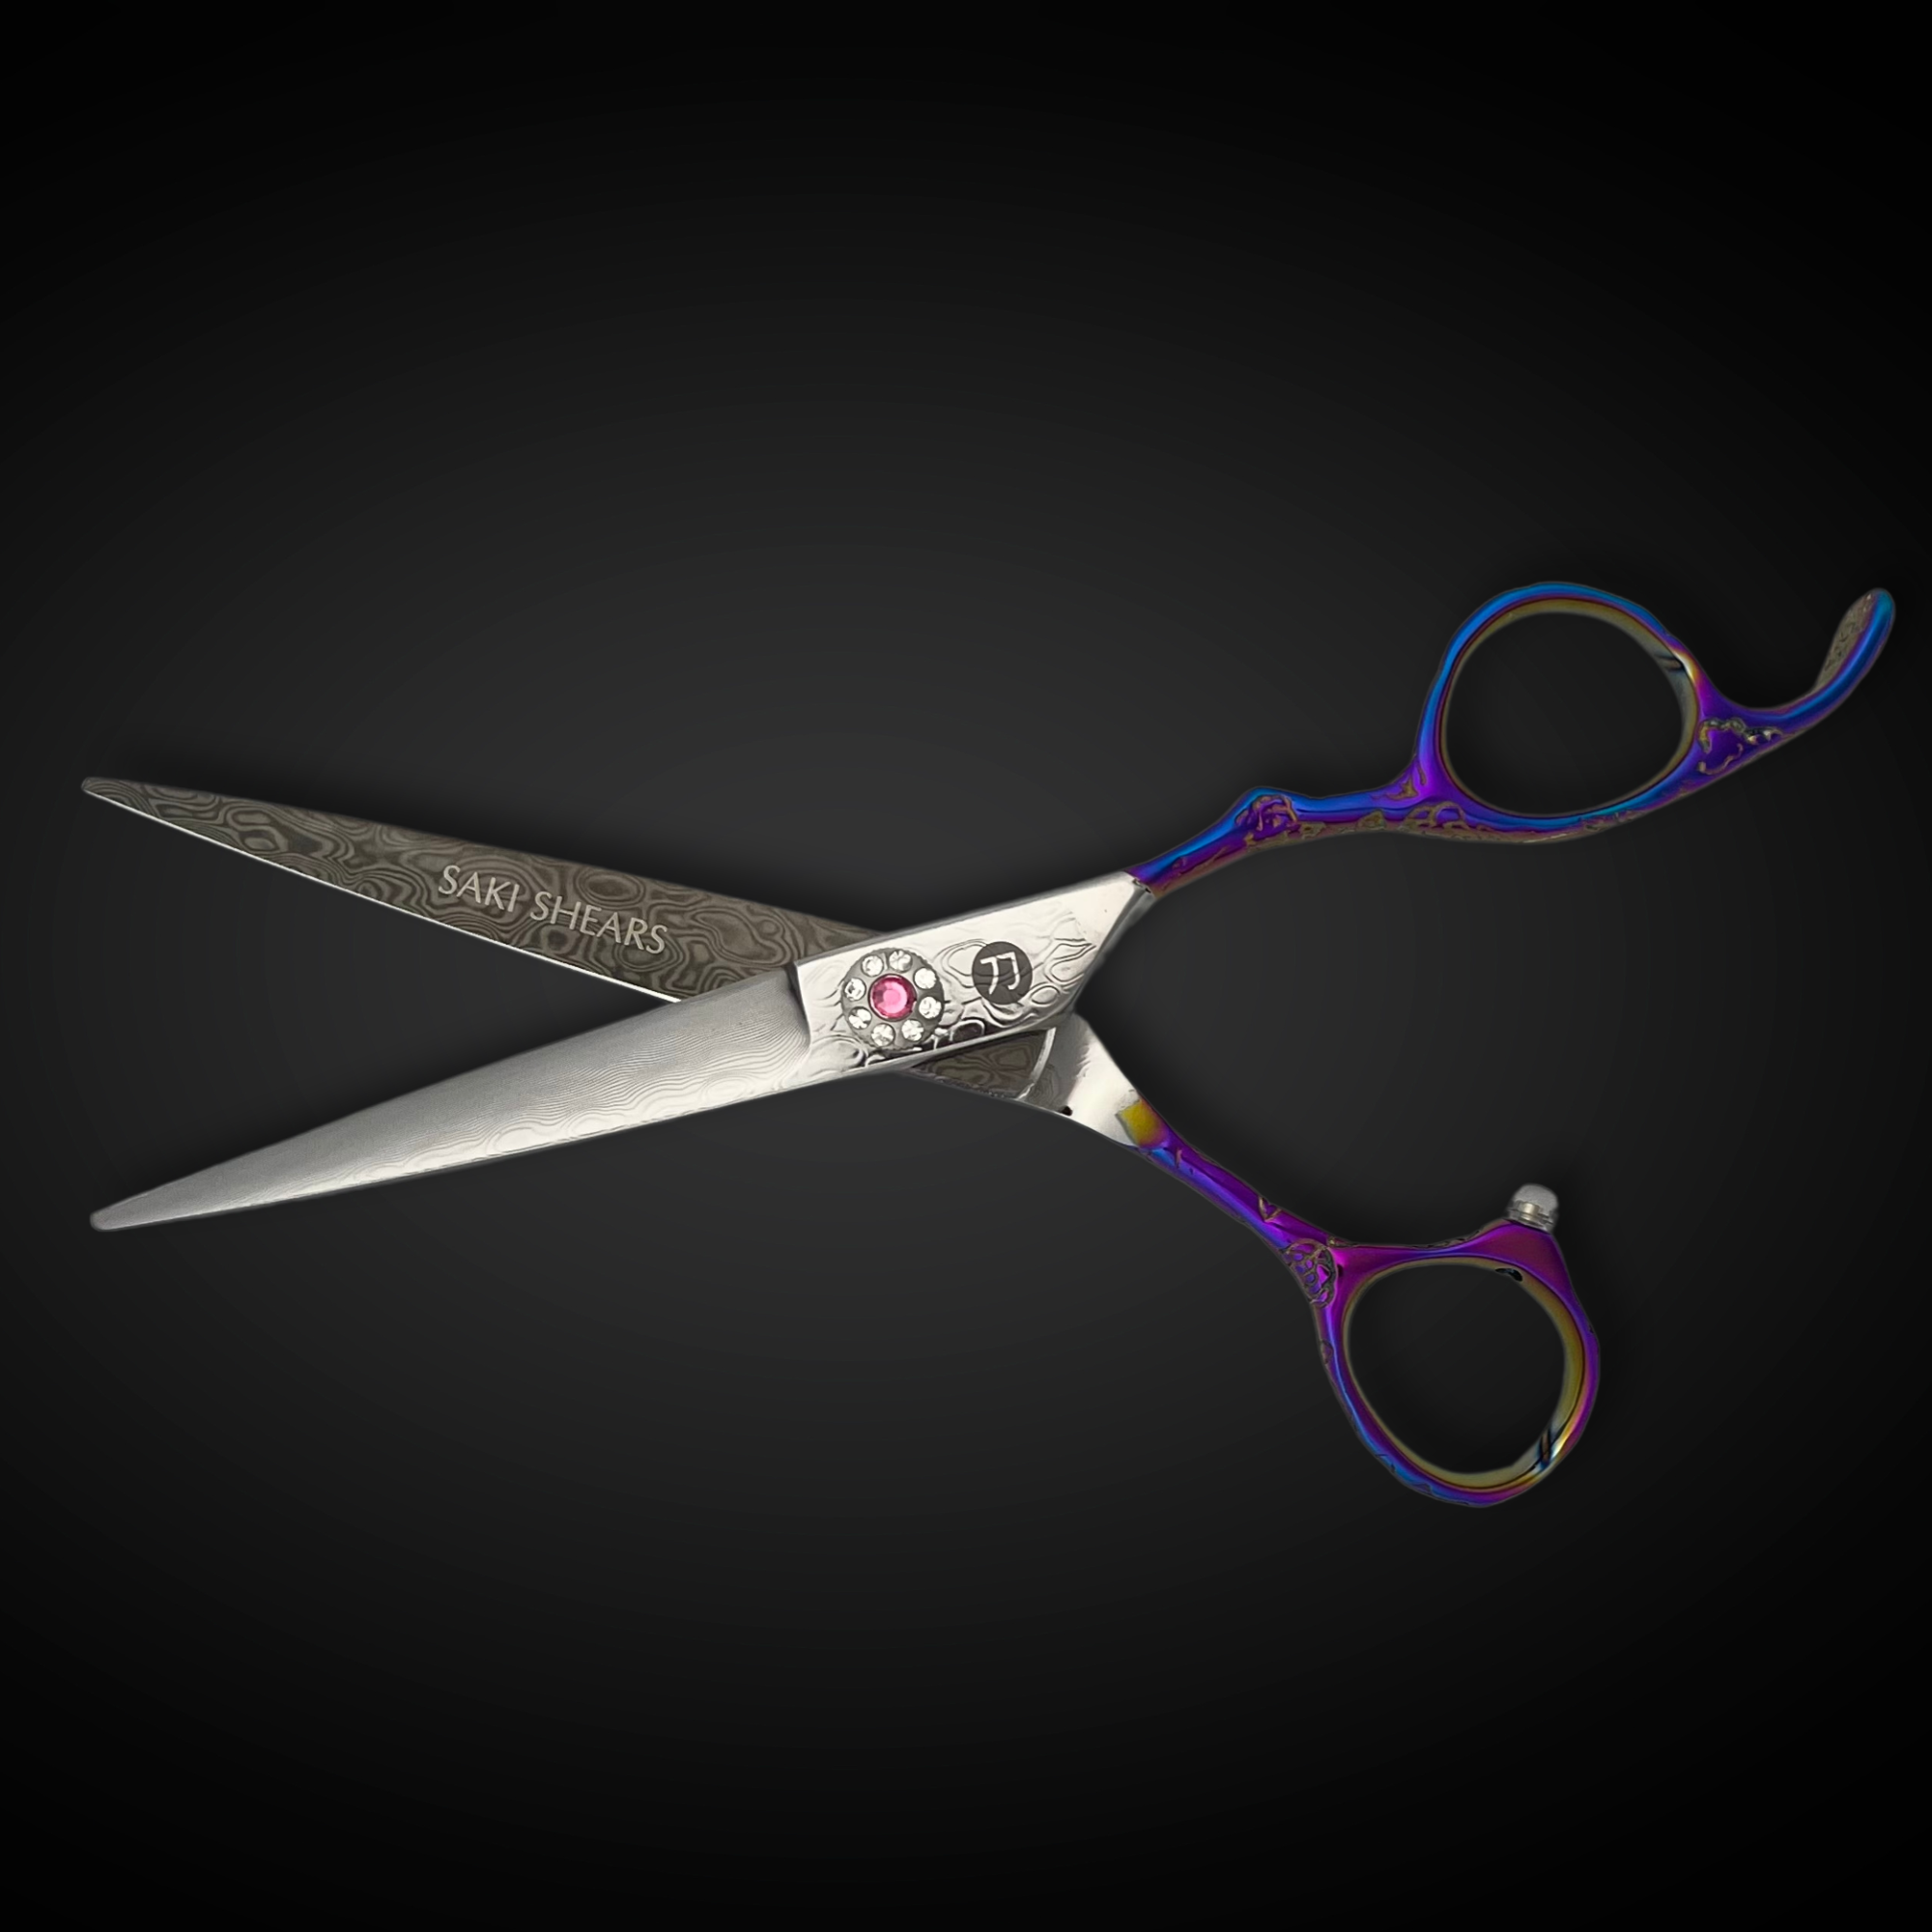
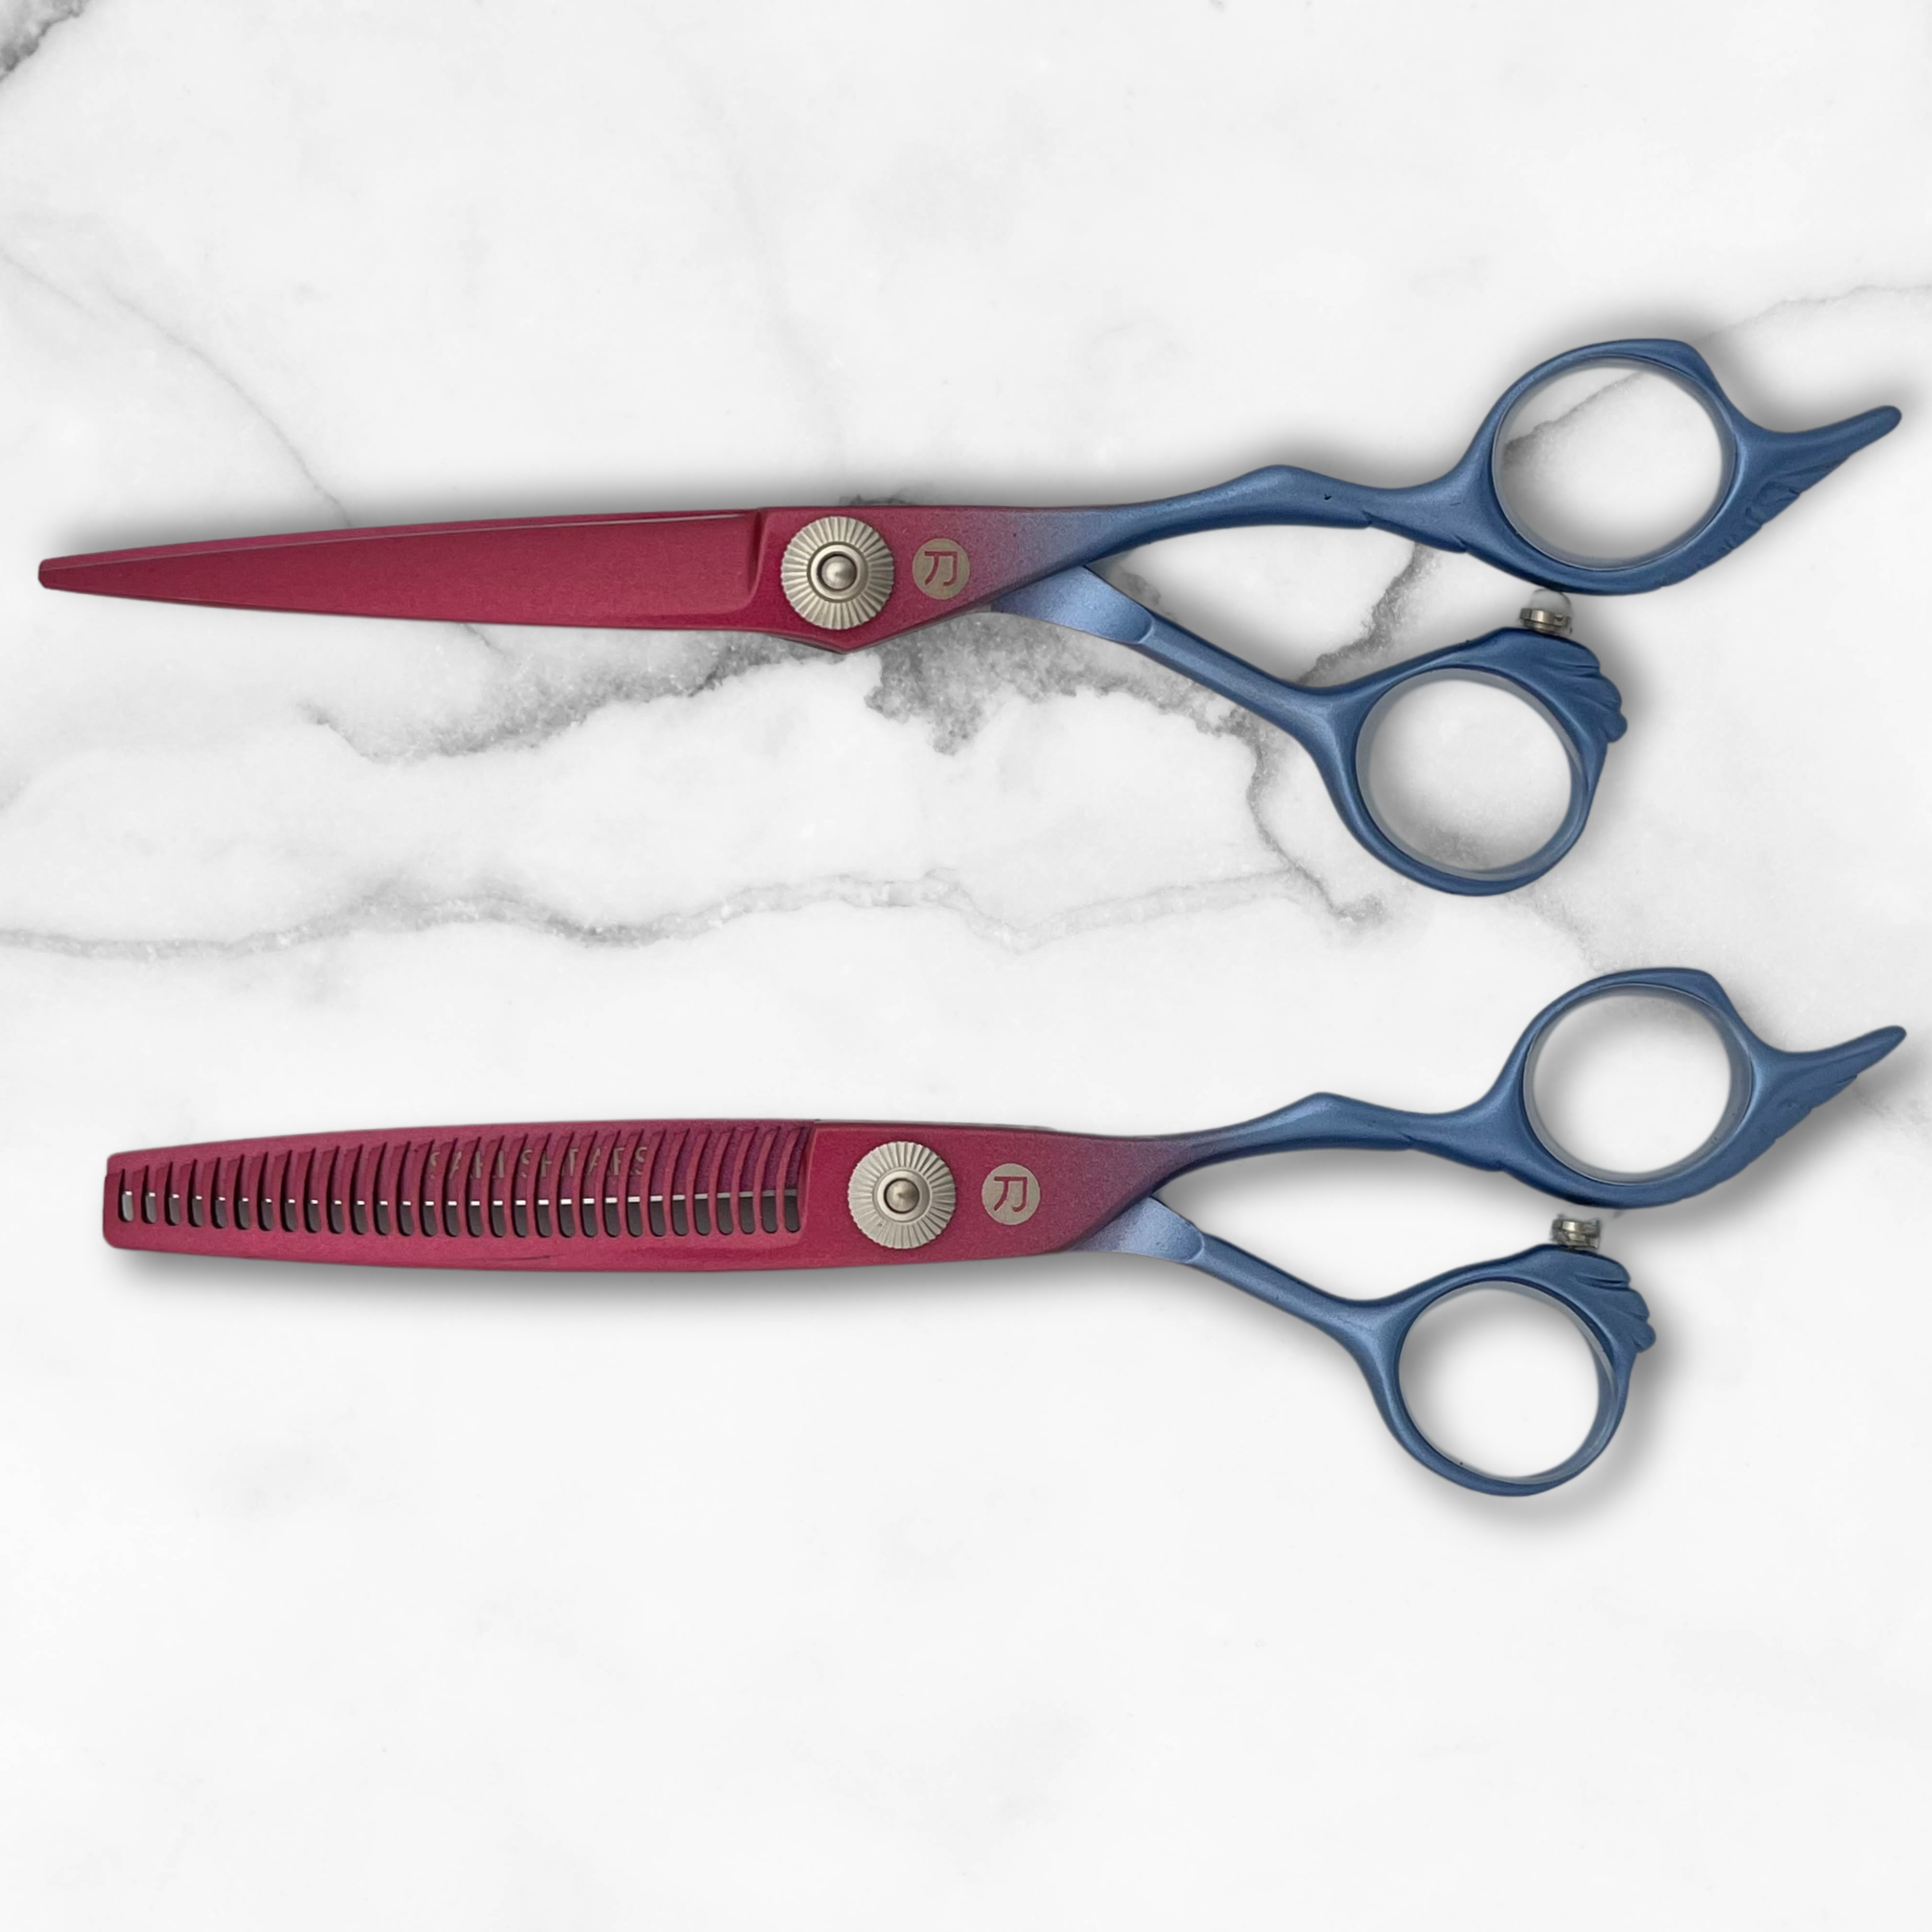
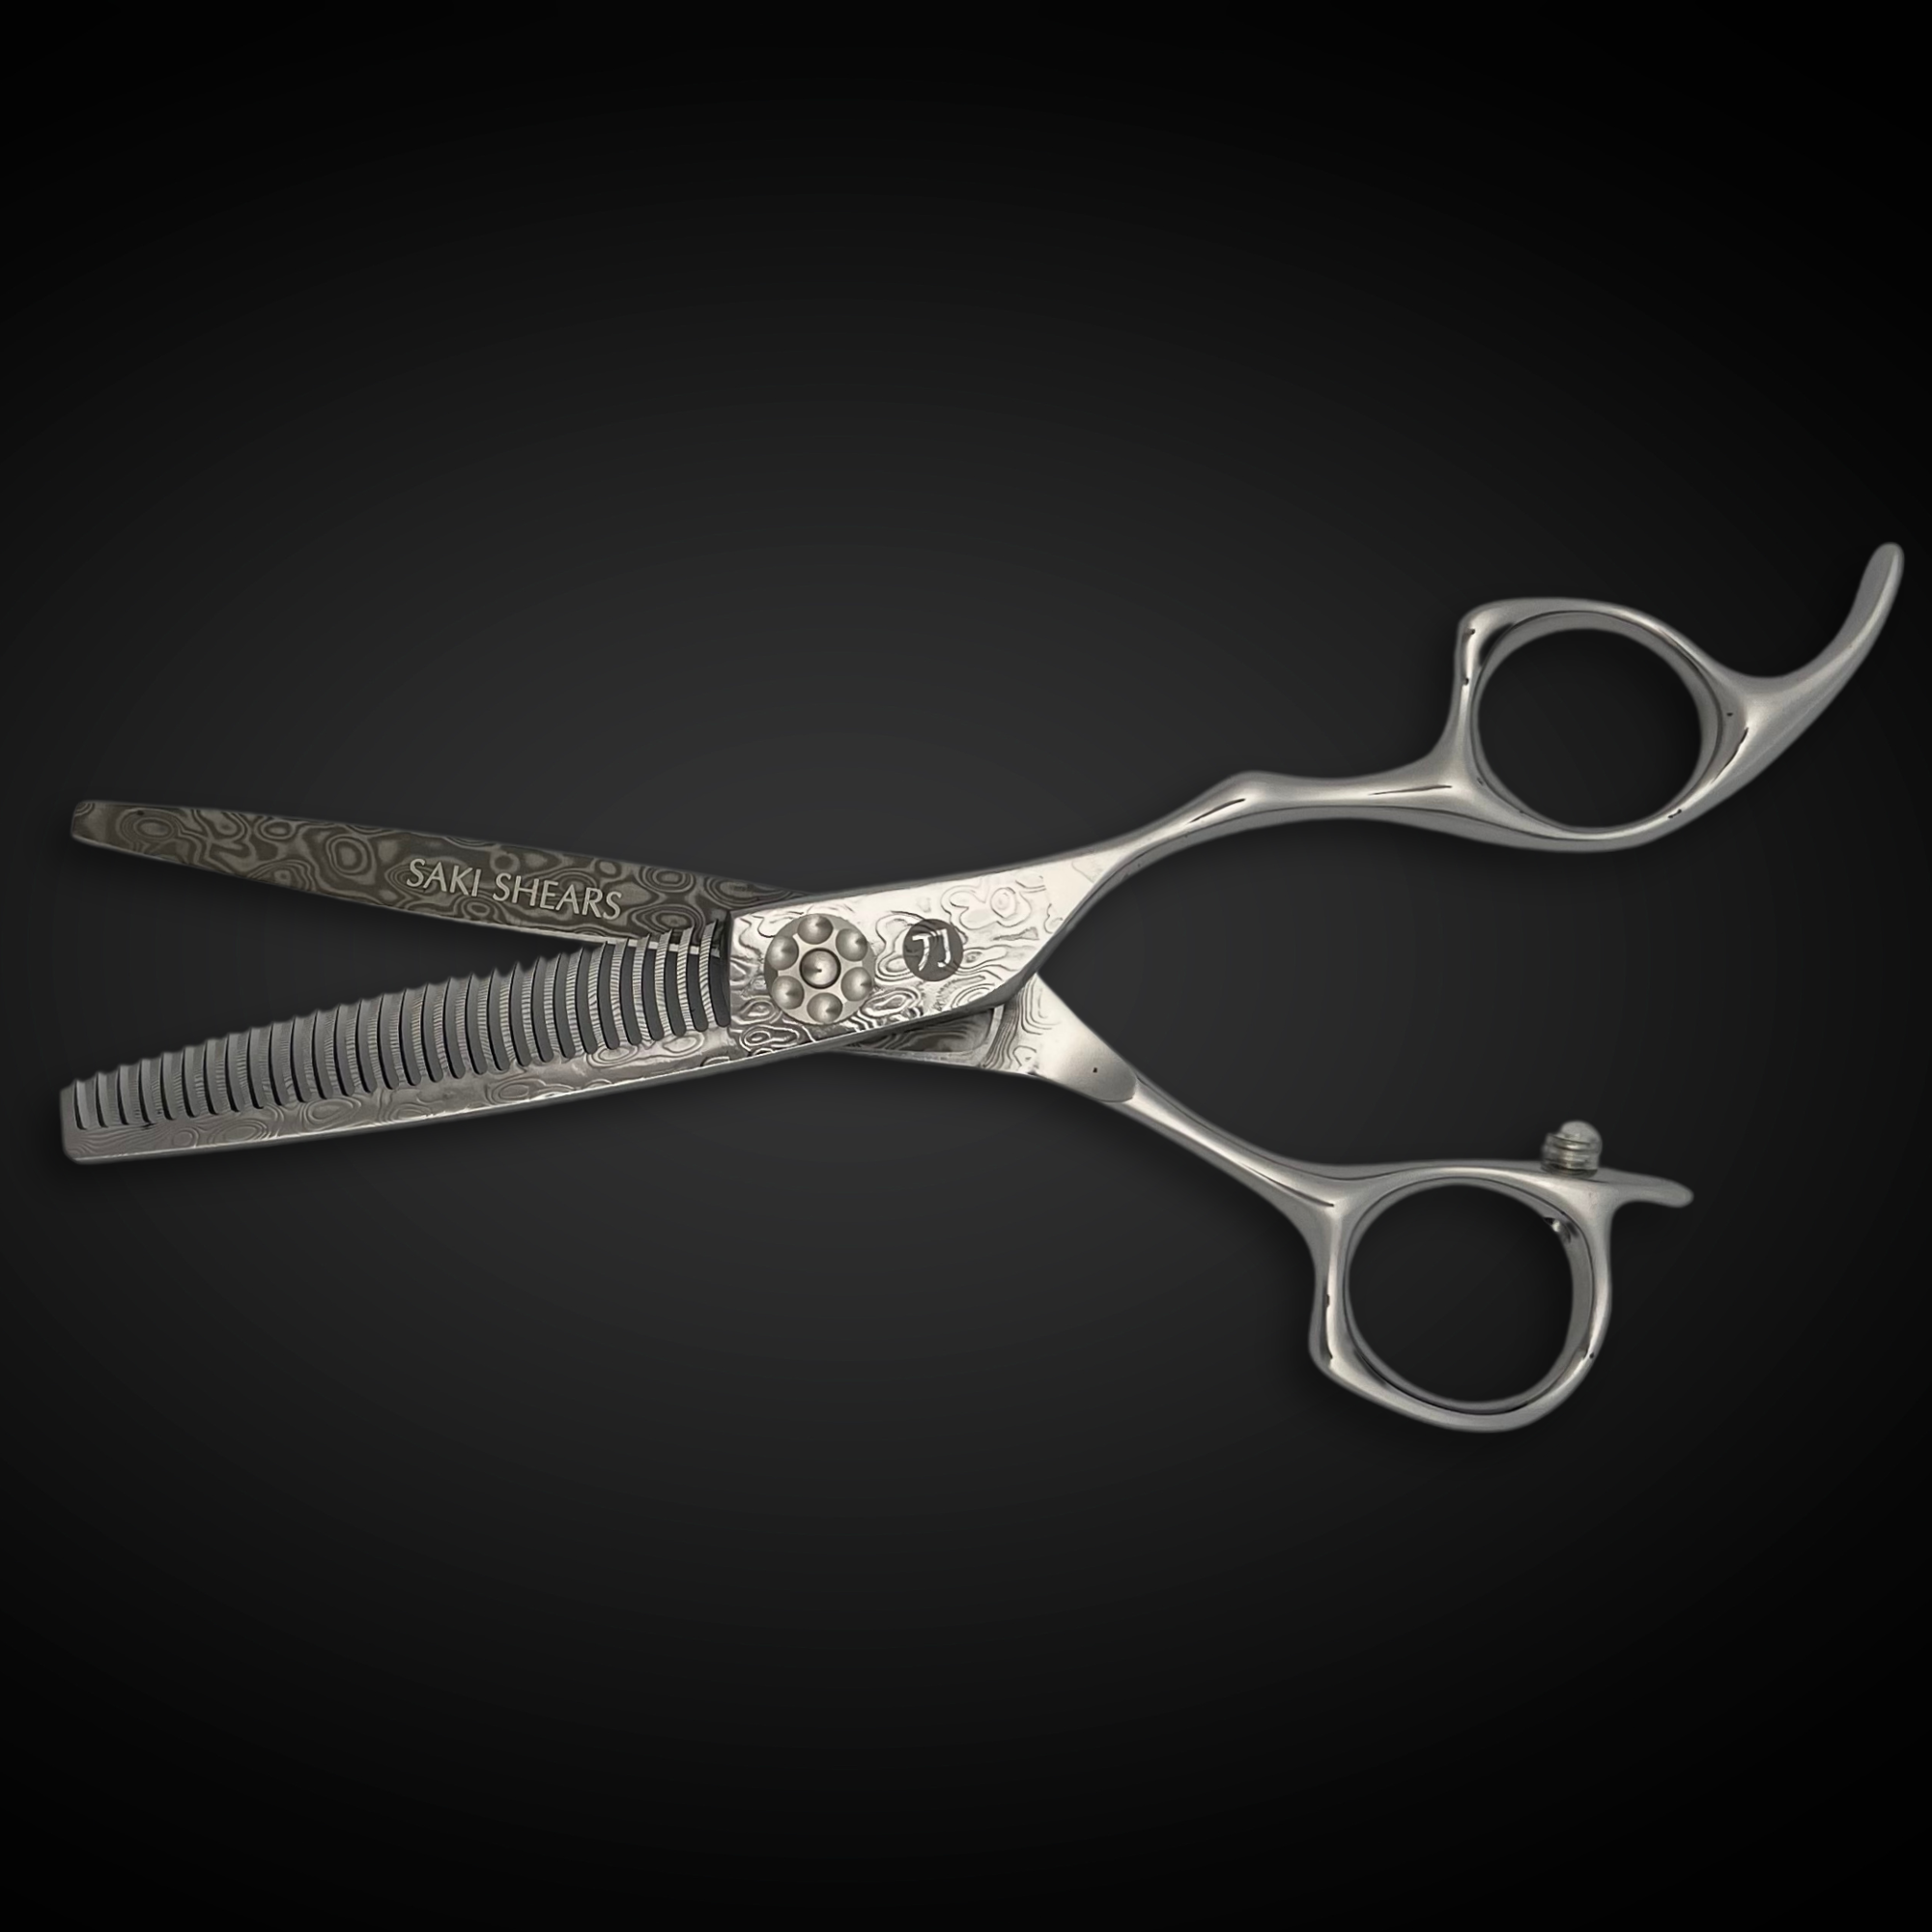
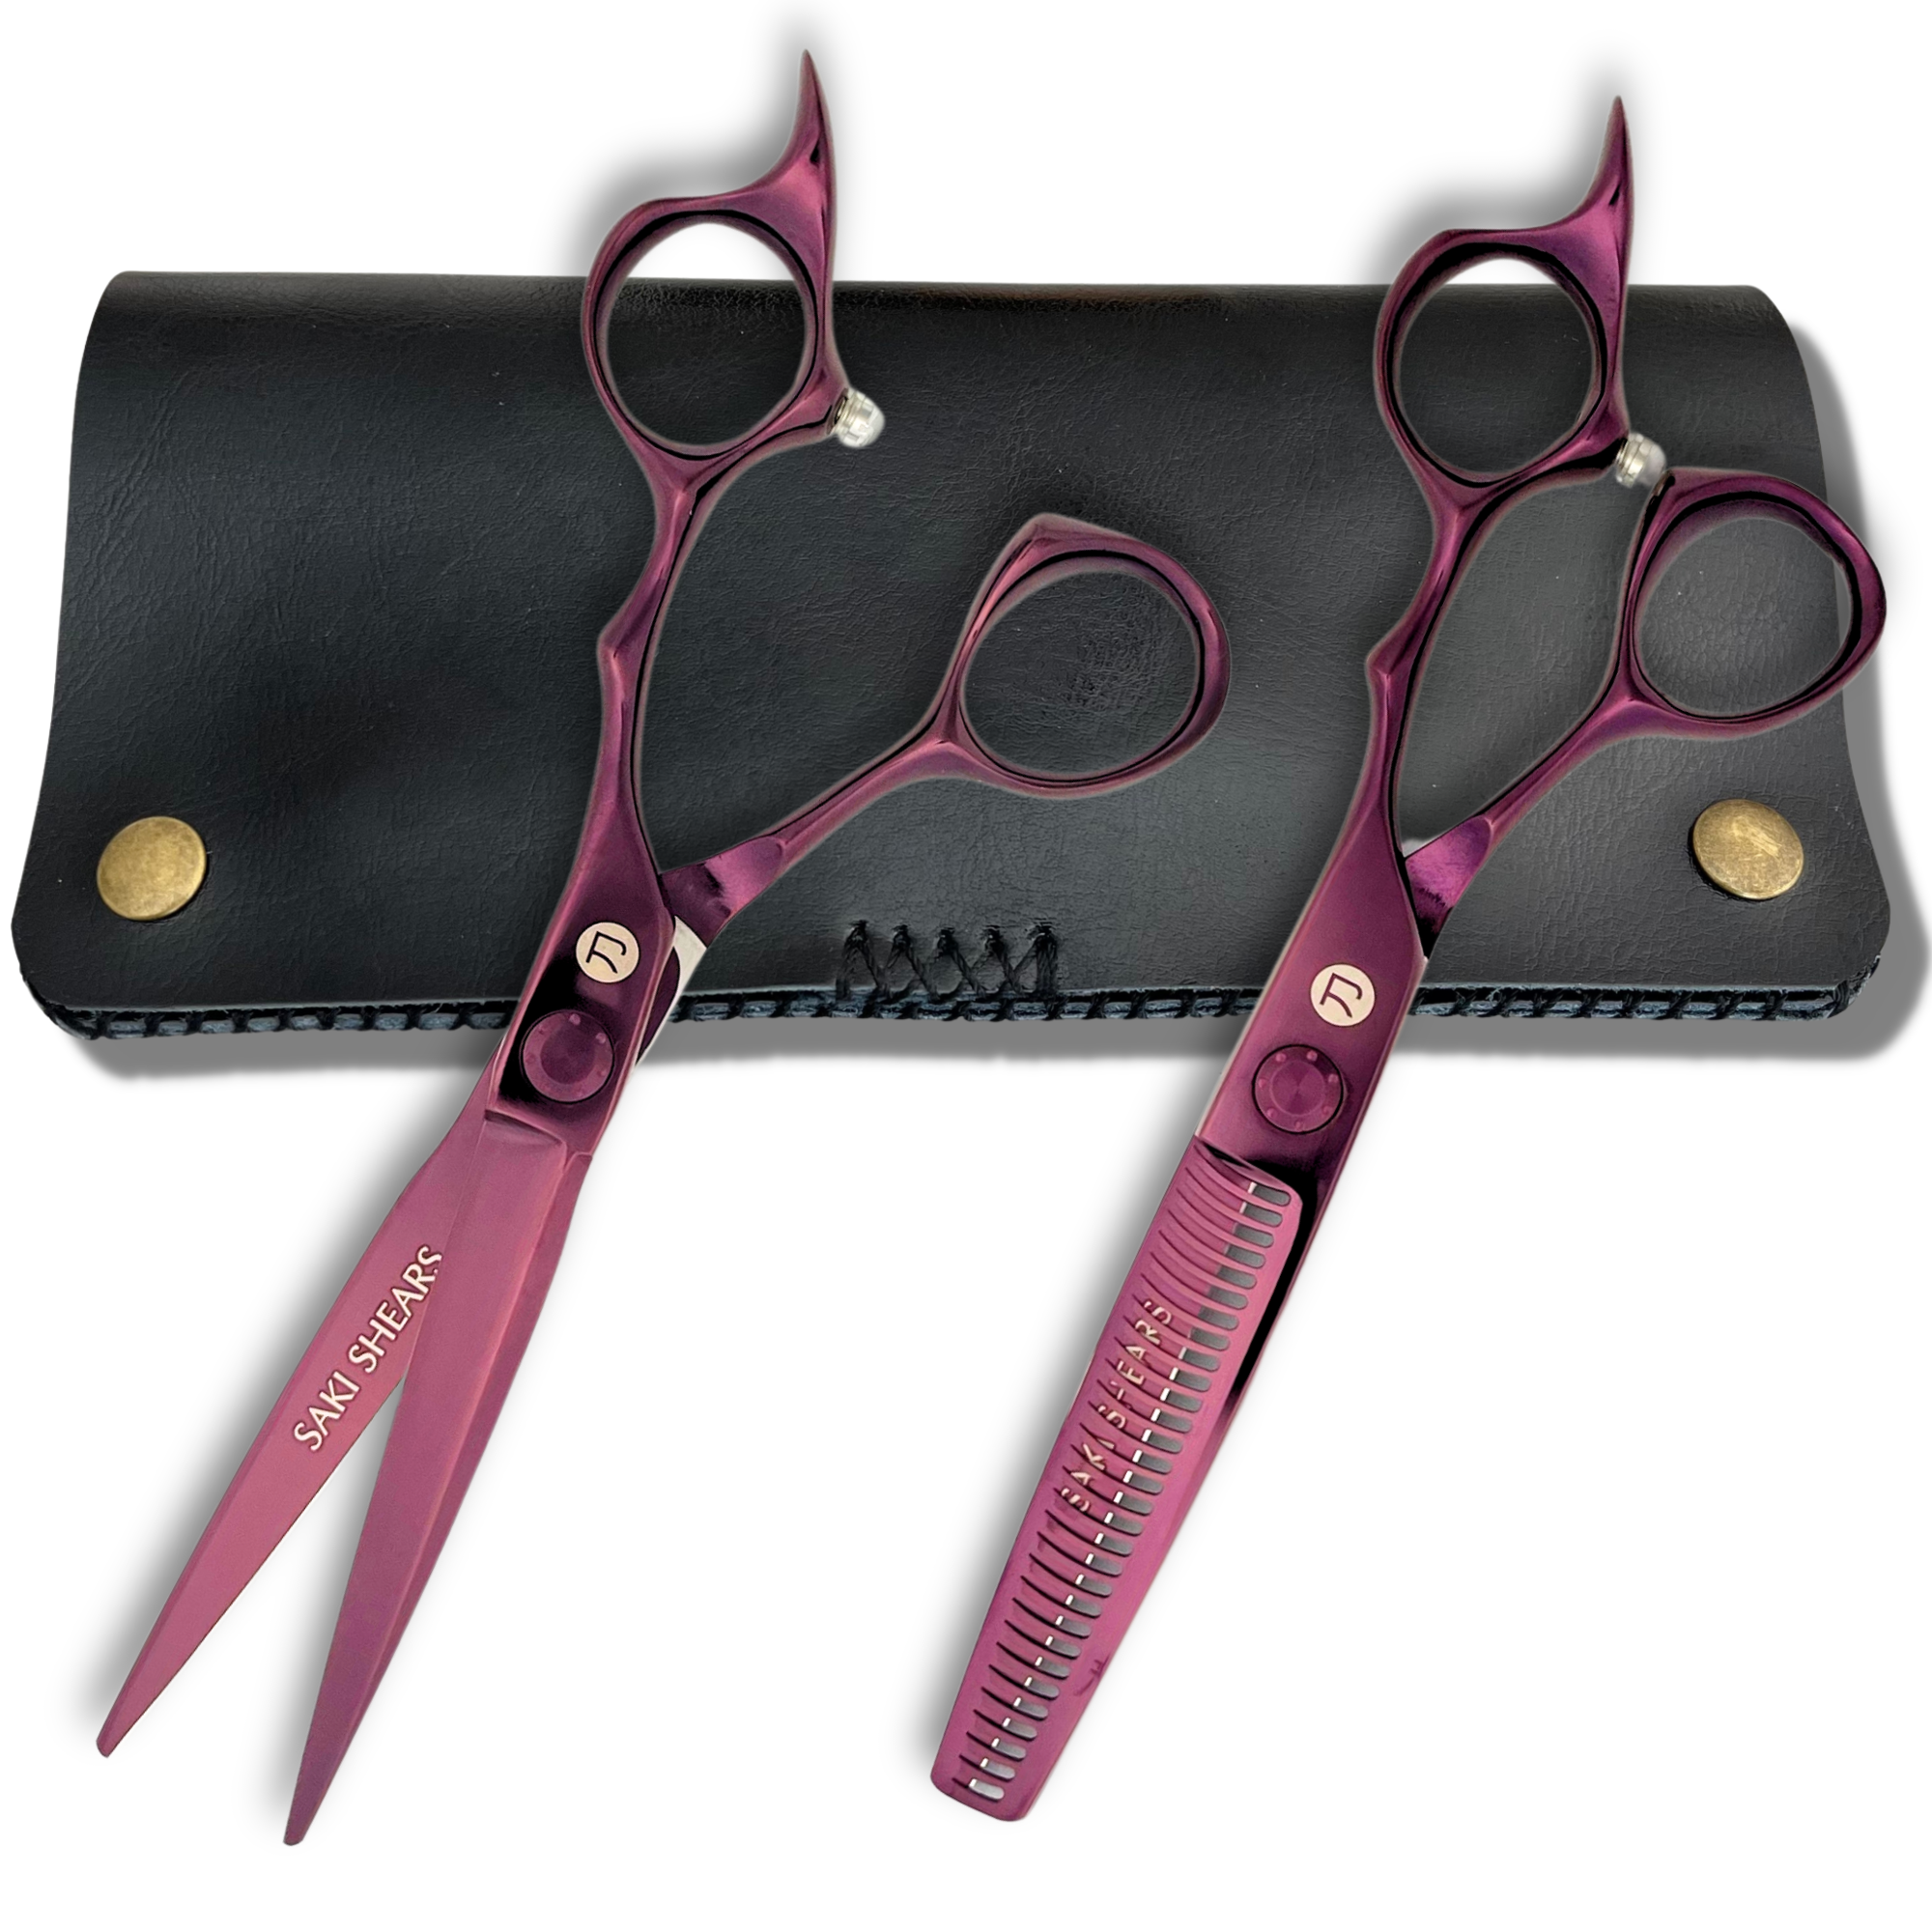
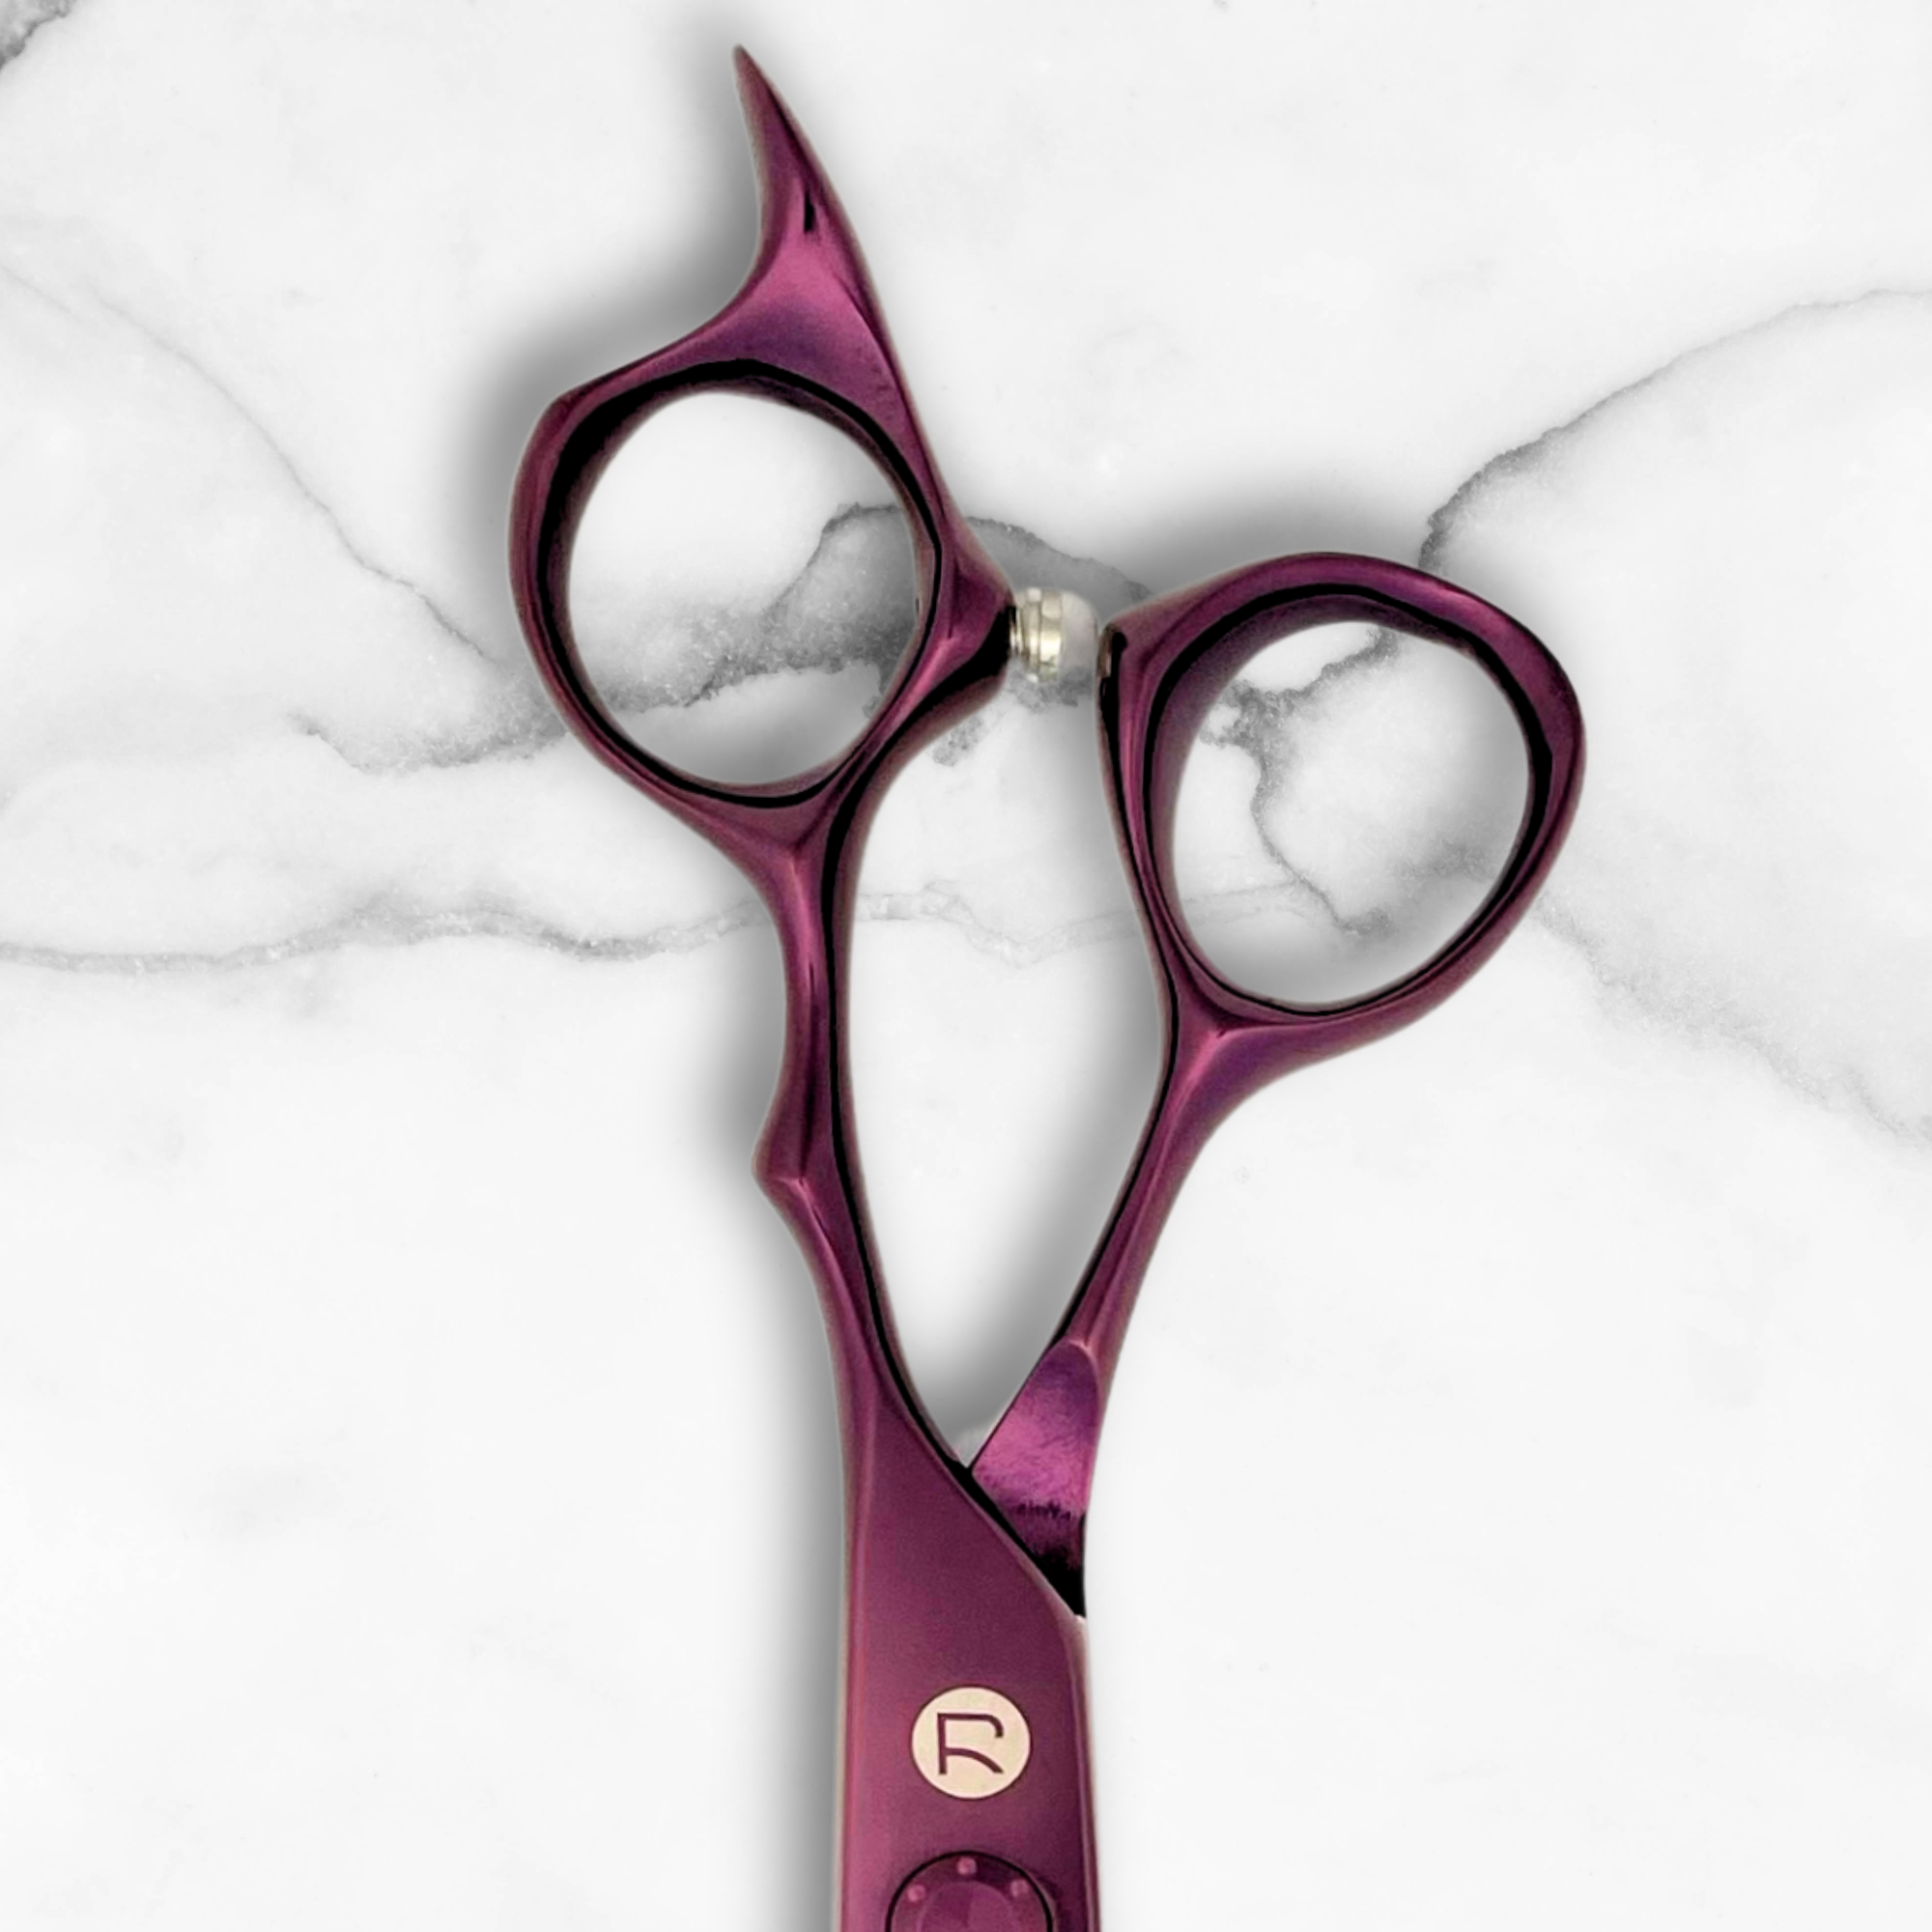
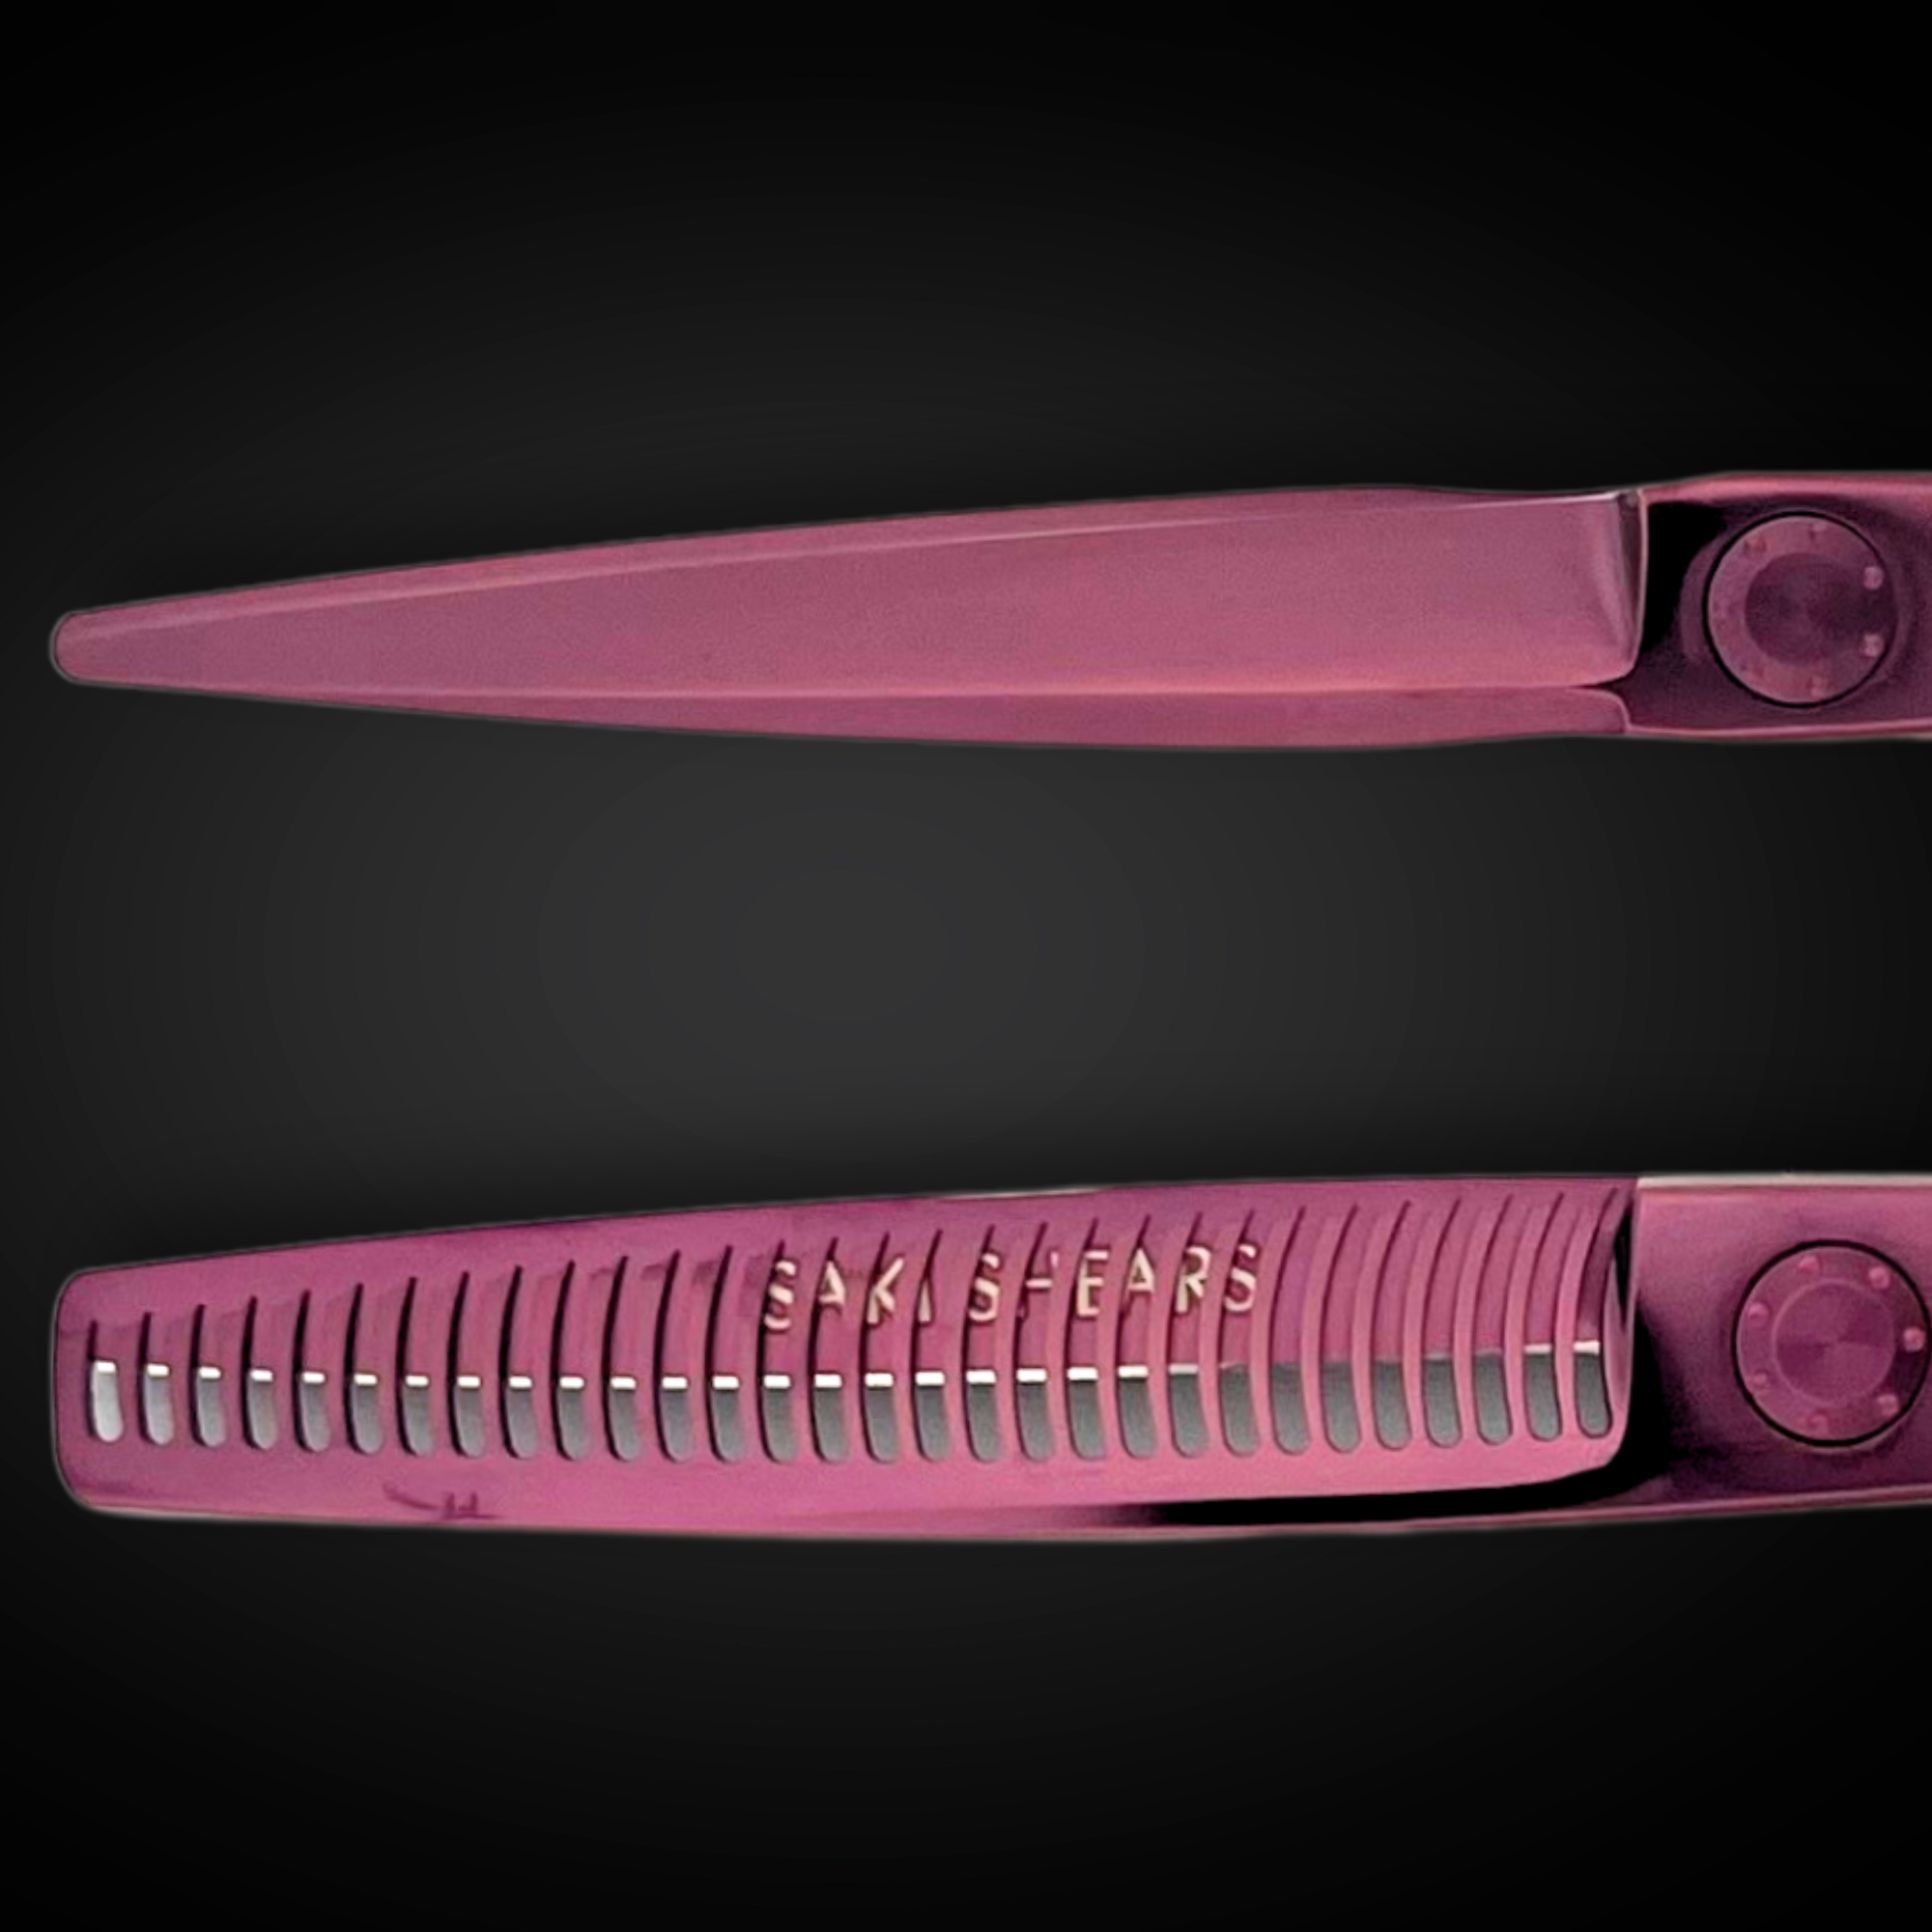
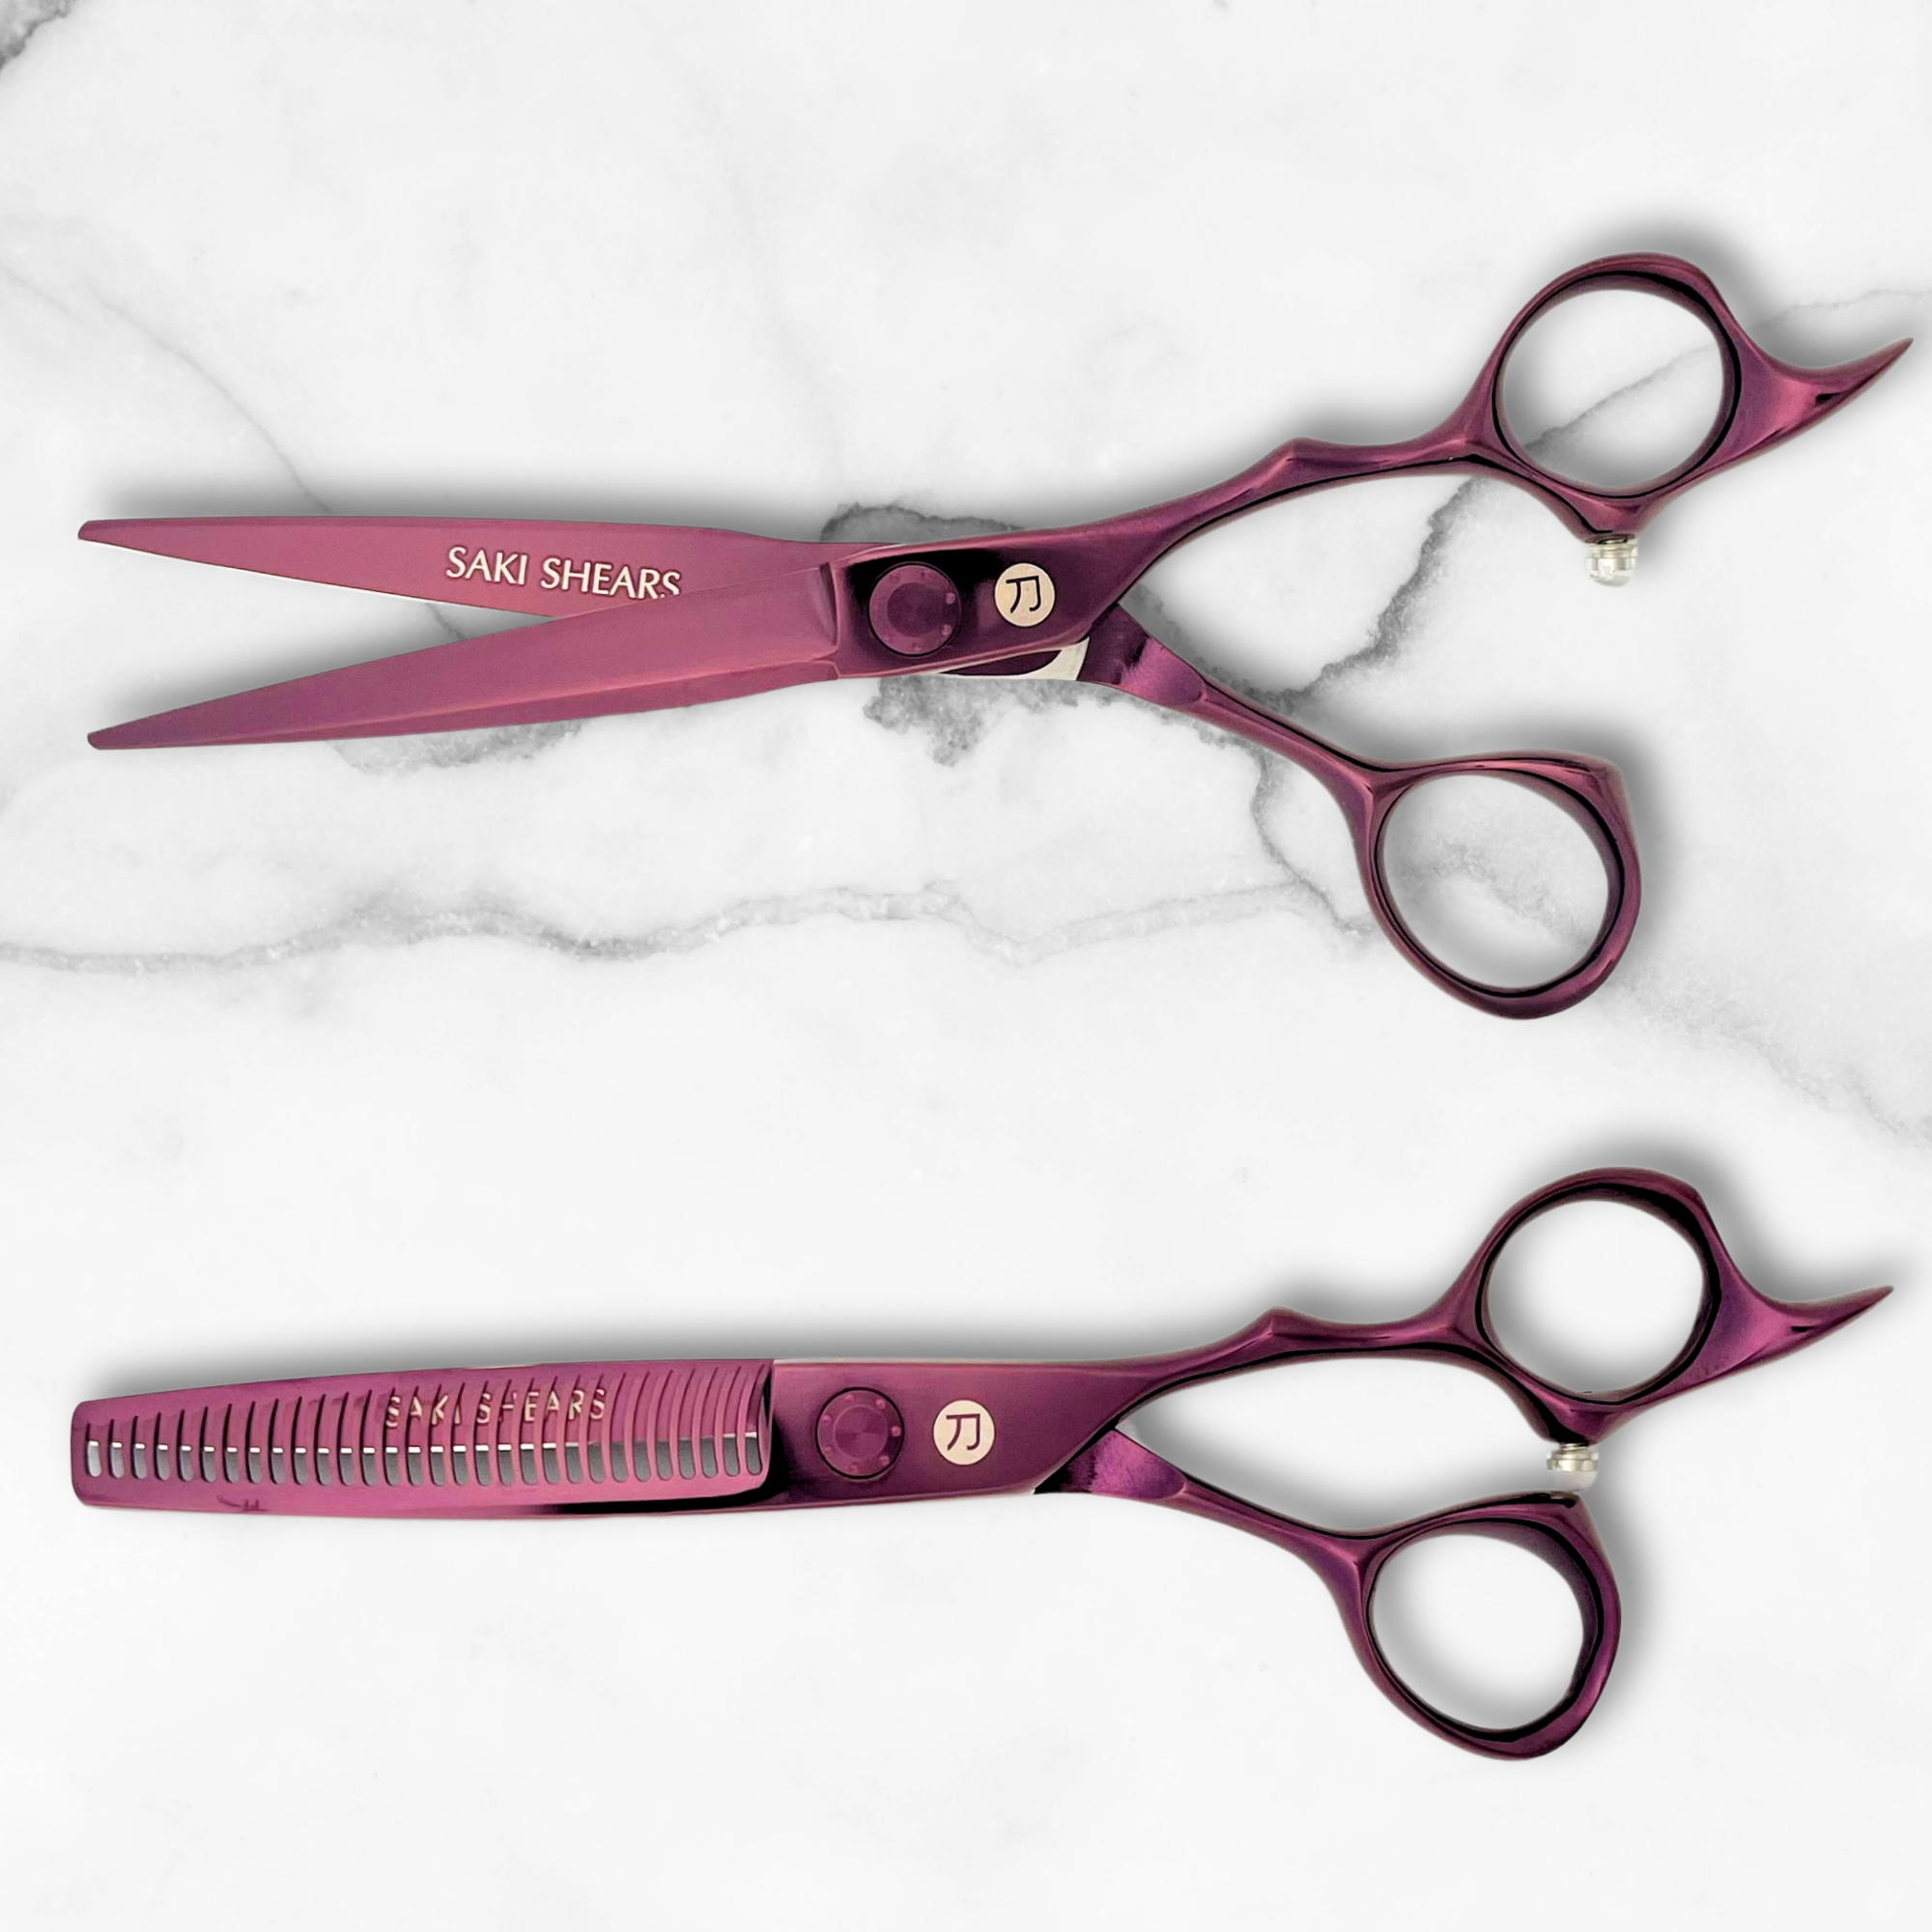
High-quality scissors, such as Saki Shears' Japanese steel models, provide accurate cuts, minimize split ends, and stay sharp longer [4].
Sectioning Clips and Mirrors
A three-way mirror is crucial for checking the back and sides of your head during the process [1].
For sectioning, opt for sturdy, professional-grade hair clips. These help divide your hair into workable sections and keep them securely in place while cutting.
Additional Tools You’ll Need
Here’s a quick rundown of other must-have tools for a DIY haircut:
| Tool | Purpose | Key Features |
|---|---|---|
| Fine-tooth Comb | Sectioning and detangling | Evenly spaced teeth for clean parting |
| Spray Bottle | Dampening hair | Fine mist option for even coverage |
| Microfiber Towel | Protecting clothing | Absorbs water efficiently |
| Tension Clips | Holding hair sections | Strong grip for thicker hair |
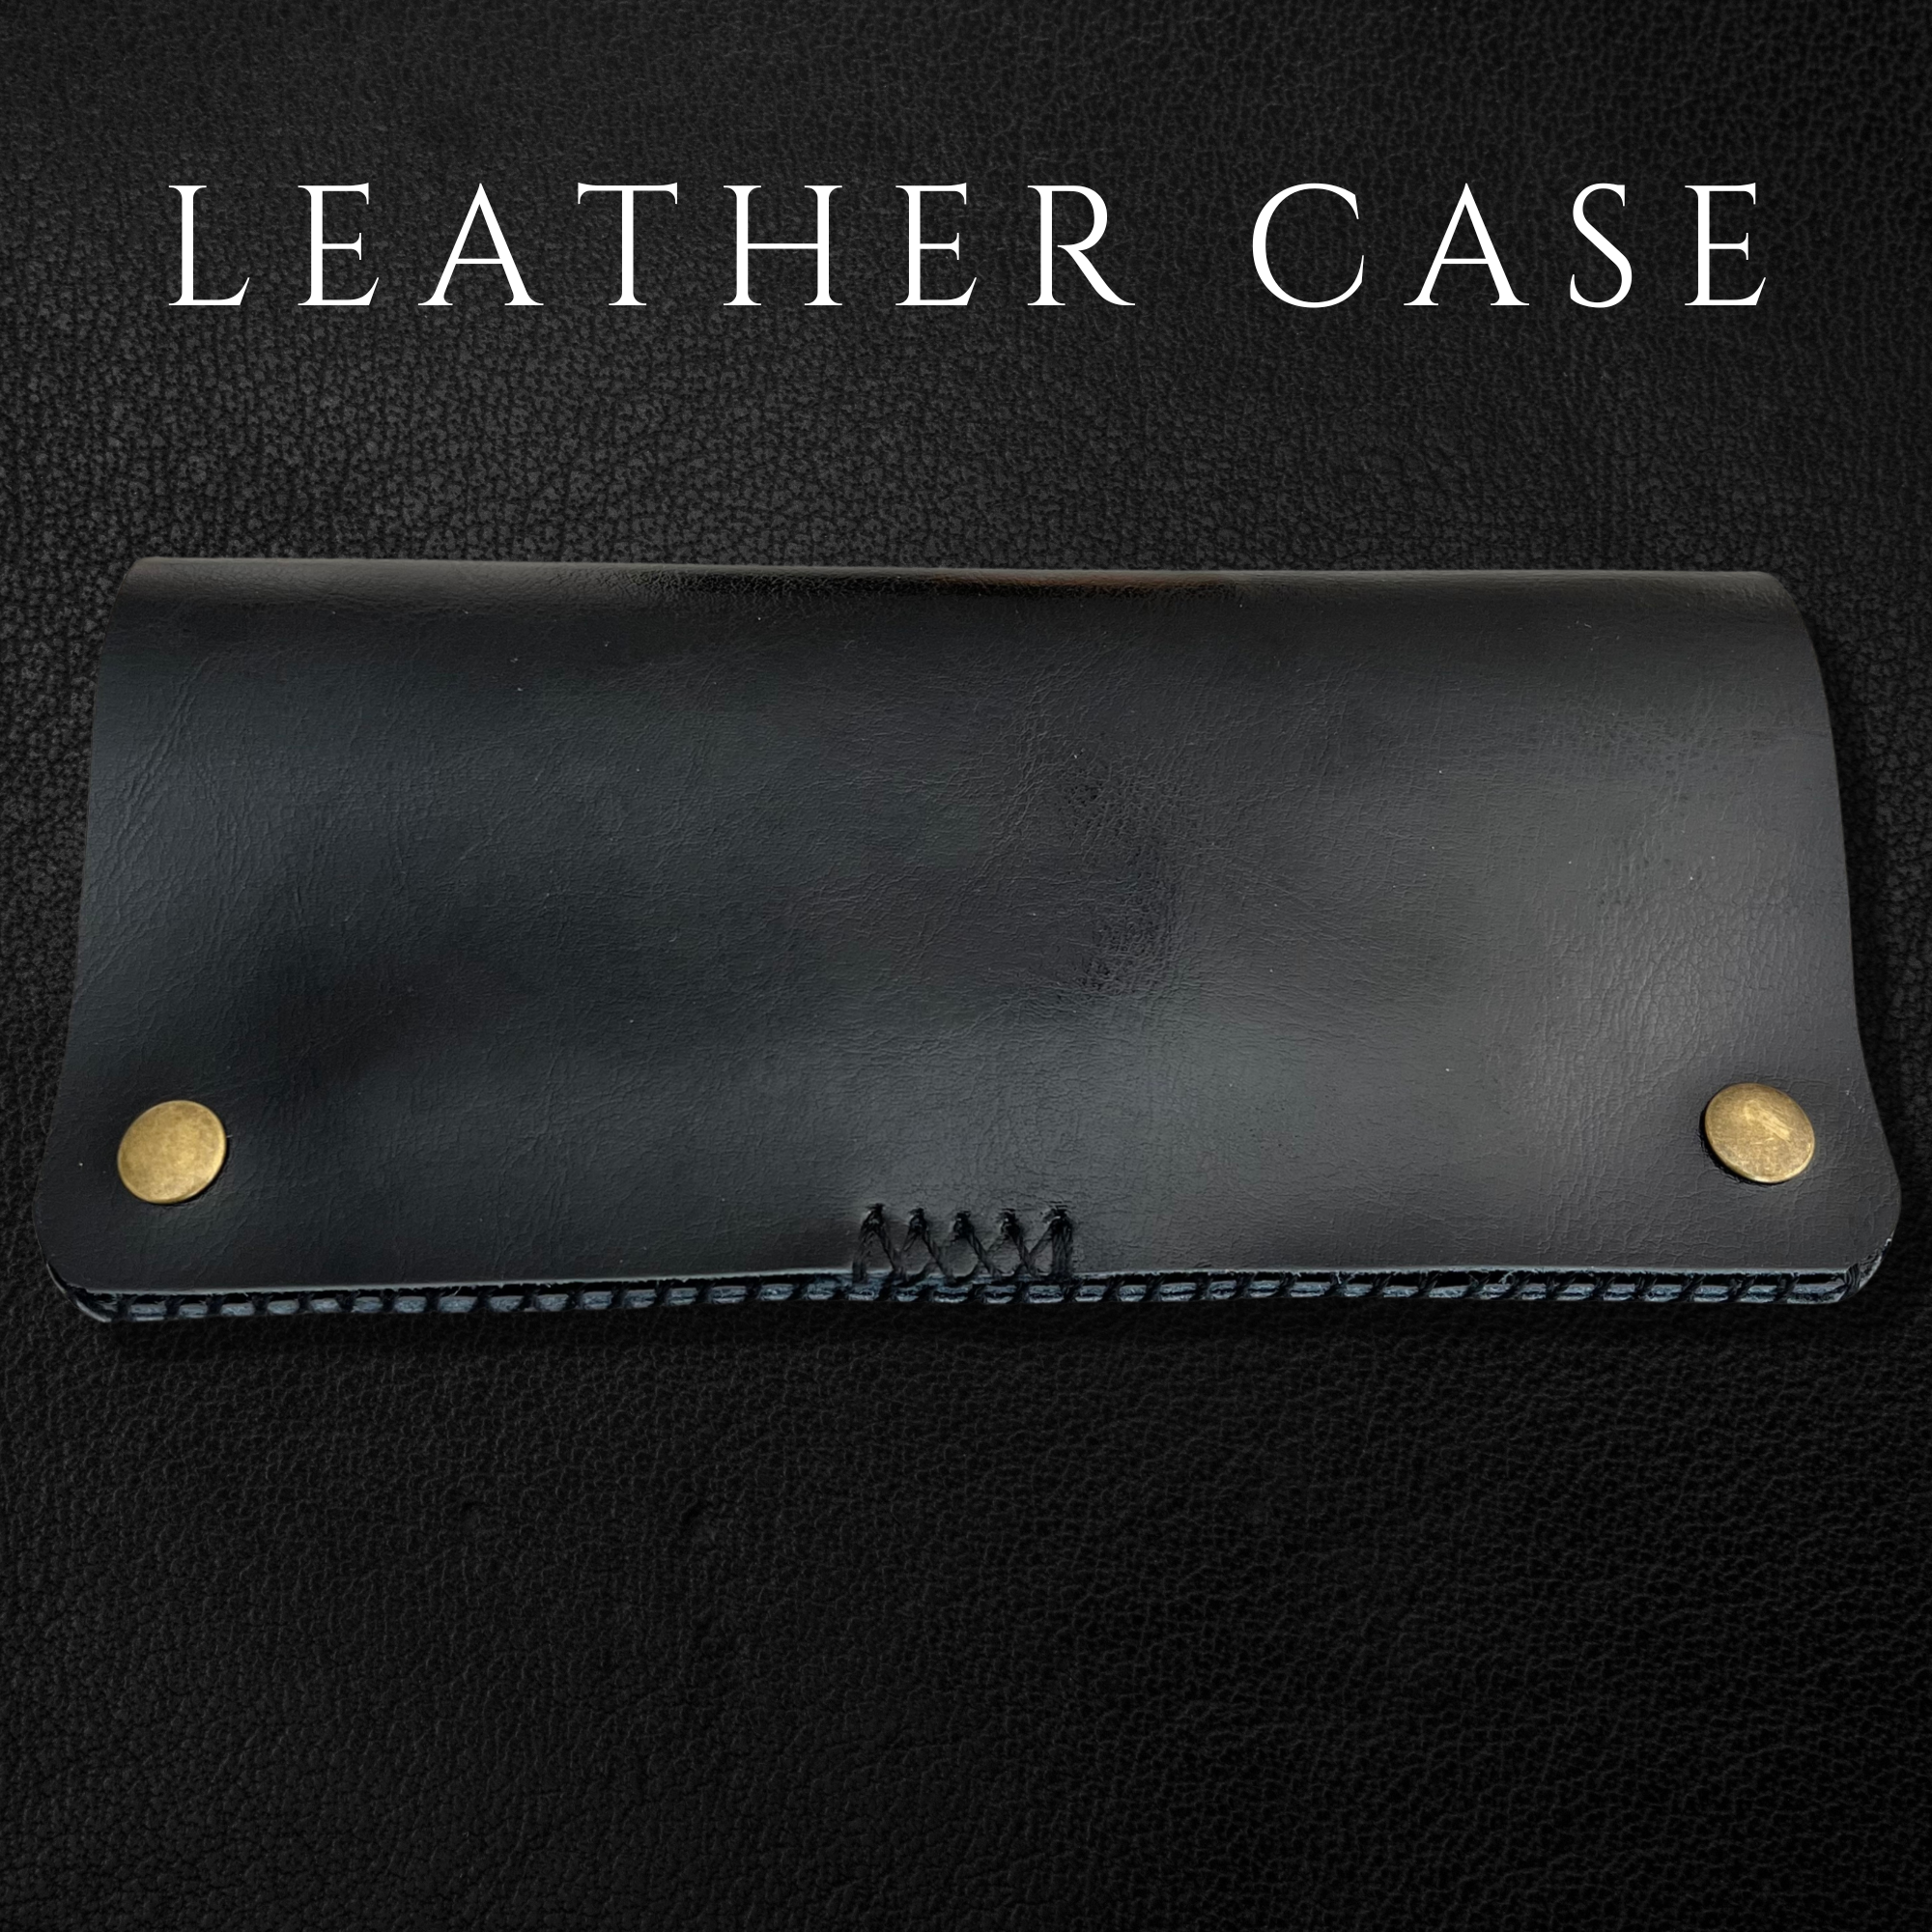
Be sure to clean your scissors after every use and store them in a protective case to maintain their sharpness [4]. Investing in quality tools, especially scissors, gives you better precision and long-term reliability.
Once your tools are ready, the next step is preparing your hair for a neat and polished cut.
Preparing Your Hair for Cutting
Getting your hair ready is a crucial step for achieving a balanced, polished haircut.
Clean and Dry Your Hair
Begin by washing your hair with a gentle shampoo and conditioner. Skip any styling products - clean hair makes it easier to see its natural texture and ensures accurate cutting without any product residue getting in the way.
Once washed, make sure your hair is completely dry. Cutting wet hair can lead to trimming off more length than you intended.
Section Your Hair
Dividing your hair into sections helps you achieve a balanced and precise cut. Here's a simple way to do it:
- Center part: Split your hair from the crown to the nape of your neck for symmetry.
- Side sections: Separate hair from your temples to your ears to control length.
- Nape section: Gather the hair below your ears to establish the baseline.
- Crown section: Section off the crown area for layering and volume.
If your hair is thick, create smaller subsections within these main parts to keep control during the process. Use sectioning clips to hold everything in place and prevent stray hairs. A three-way mirror can be helpful to check your progress as you work.
Once your hair is clean, dry, and neatly sectioned, you're ready to start cutting with precision and confidence.
sbb-itb-337cfe6
Cutting and Layering Techniques
Once your hair is clean, dry, and neatly sectioned, you can try one of these three methods to create layers at home. Each technique suits different skill levels and styles, so pick the one that works best for you.
Ponytail Cutting Method
This method is great for beginners aiming for even layers. Gather all your hair into a high ponytail at the crown of your head. Hold the ponytail straight up and decide how much length you want to remove. Cutting 1-2 inches straight across or at a slight angle will give you layered results when you let the ponytail down.
Butterfly Cut Technique
The butterfly cut adds face-framing layers that suit most hair textures. Adjust the angle of your layers slightly based on your hair type to create movement and balance.
To achieve this look, section the front parts of your hair at an angle starting from your temples. Trim these sections shorter than the back to create a wing-like effect that frames your face beautifully.
Point Cutting for Blending Layers
Point cutting helps soften sharp lines and gives layers a more natural, blended appearance. Hold your scissors vertically and make small cuts into the ends of your hair at a 45-degree angle.
Key tips for success:
- Use small, precise cuts rather than removing large chunks.
- Blend layers smoothly to avoid any bulky sections.
- Elevate and angle your hair as you cut to maintain balance [3].
With these techniques, you’ll be on your way to achieving a polished, salon-quality look at home.
Tips for a Professional Finish
Getting salon-level results at home takes precision and the right approach. Here’s how to make your DIY haircut look polished and well-executed.
Maintaining Balance and Avoiding Common Mistakes
To keep your haircut balanced, use multiple mirrors to check your progress from all angles. Place a large mirror in front of you and a handheld one behind to see the back clearly. Keep your head steady and make small, careful adjustments as you go.
Avoid these frequent mistakes:
- Cutting off too much length at once
- Using scissors that aren’t sharp
- Skipping proper sectioning of your hair
- Cutting wet hair when dry-cutting is better for your style
Using sharp scissors and dividing your hair into sections will help you stay precise and in control throughout the process.
Taking Your Time and Focusing on Details
Patience is essential for a successful DIY haircut. Whether you’re trying the ponytail method or using point cutting, these tips will help you get even, polished results:
- Work with small sections of hair
- Comb your hair straight before each cut
- Cut at a 135-degree angle for straight hair to add natural movement [2]
- Check your progress often
- Make gradual, minor adjustments rather than big, bold changes
For fine hair, stylists suggest slightly lifting the hair while cutting to maintain balance and avoid losing too much weight [2]. Building skill takes practice, so start with modest trims and gradually refine your technique as you gain confidence.
Conclusion: Mastering DIY Haircuts at Home
Cutting and layering your own hair can be done successfully with the right tools, techniques, and a little practice. Using high-quality, professional tools helps ensure clean cuts and minimizes the risk of damaging your hair. Set up a well-lit area with multiple mirrors to see all angles, and take care of your tools by cleaning and storing them properly to keep them in top condition.
Start with simple methods like the ponytail technique and gradually try more advanced layering as your confidence grows. The techniques mentioned earlier can help you refine your skills and create a polished look. Each haircut is an opportunity to improve, so begin with small adjustments and work your way up to more intricate styles.
Consistency is key. Adjust the techniques to suit your hair type for the best results [2]. With the right tools and regular practice, you can achieve results that look like they came from a salon, all while saving both time and money.
Tips for Success:
- Begin with basic techniques before moving to advanced styles.
- Use a well-lit space with mirrors to ensure visibility.
- Make small, gradual adjustments to avoid mistakes.
- Observe how your hair reacts to different cutting methods.
- Keep your tools clean and maintained for better performance.
Improving your haircutting skills takes time, but every successful cut brings you closer to achieving the professional look you want - all without leaving your home.

