Tips for Cutting Hair on Clients with Cowlicks
Cowlicks can make haircuts tricky, but with the right approach, you can work with them instead of against them. Here's a quick summary of essential tips:
- Understand Growth Patterns: Locate the cowlick's center and observe its natural direction (clockwise or counterclockwise).
- Avoid Cutting Too Short: Leave enough length around the cowlick to weigh it down and reduce its prominence.
- Use Minimal Tension: Cutting with less tension helps maintain control and prevents uneven results.
- Blend Carefully: Use thinning or texturizing shears to reduce weight and blend cowlicks seamlessly into the surrounding hair.
- Style with Heat: Use a blow dryer or flat iron with a heat protectant to redirect cowlicks and set the style.
Quick Tools & Products
- Cutting Tools: Thinning shears, texturizing shears, and quality cutting shears.
- Styling Products: Root lifters, styling creams, and finishing sprays.
- Heat Tools: Blow dryers with concentrator nozzles and flat irons.
For best results, plan your cut around the cowlick's natural flow, discuss styling goals with your client, and use the right tools and techniques to achieve a polished look.
What Makes a Cowlick
Definition and Types
A cowlick is a section of hair that grows in a different direction than the rest, often forming a spiral. Nearly everyone has at least one cowlick, though their placement and pattern can vary greatly.
They are most commonly found in these areas:
- Crown of the head
- Front hairline
- Nape of the neck
Interestingly, your dominant hand might influence your cowlick's pattern. Right-handed people are more likely to have clockwise spirals, while left-handed individuals often show counterclockwise ones. Knowing these patterns helps stylists anticipate and address challenges during a haircut.
Growth Pattern Effects
Cowlicks can make cutting and styling hair trickier. Their unique growth patterns lead to some common challenges for stylists, such as:
- Styling Resistance: Hair may push back against heat tools and styling products.
- Style Disruptions: They can create unexpected volume, flat spots, or make styles like bangs and middle parts harder to achieve.
The challenges become even more noticeable when cutting dry hair. A cut that seems even initially can appear uneven once the hair settles, especially if a cowlick is located at the nape.
Understanding these factors ensures stylists can adjust their techniques for better results.
Understanding Cowlicks and How To Cut Them
Pre-Cut Planning
Understanding how cowlicks affect hair movement is just the start. Careful planning before cutting is key to achieving a great result.
Reading Hair Growth
Take time to analyze how the hair naturally grows and flows. This helps you avoid styling issues down the line. Pay close attention to these factors:
- Growth Direction: Does the cowlick spiral clockwise or counterclockwise?
- Center Point: Locate where the spiral begins.
- Natural Flow: Notice how the hair falls around the cowlick.
A handheld mirror can be helpful for spotting cowlicks on the back of the head.
"My philosophy is that when a haircut is done in harmony with what nature has given us, it always leads to the best look." - Soren, Senior Barber at Fellow Barber
Once you’ve mapped out the hair’s natural movement, share your findings with the client to ensure you're on the same page.
Client Discussion Points
A detailed consultation is your chance to set clear expectations and create a tailored cutting plan. Cover these key topics during your discussion:
| Discussion Topic | Key Questions | Why It Matters |
|---|---|---|
| Styling Goals | How much time can you dedicate to daily styling? | Helps determine the best cut lengths and layering options. |
| Current Challenges | What issues do you face with your cowlick? | Highlights problem areas that need extra attention. |
| Maintenance Preferences | How often are you willing to get trims? | Guides cutting techniques and style suggestions based on maintenance habits. |
Cowlicks often need specific length adjustments. For shorter hairstyles, make sure there’s enough length left around the cowlick to keep it manageable. Use a mirror to show the client how their cowlick behaves, and recommend styles that work with their natural hair flow.
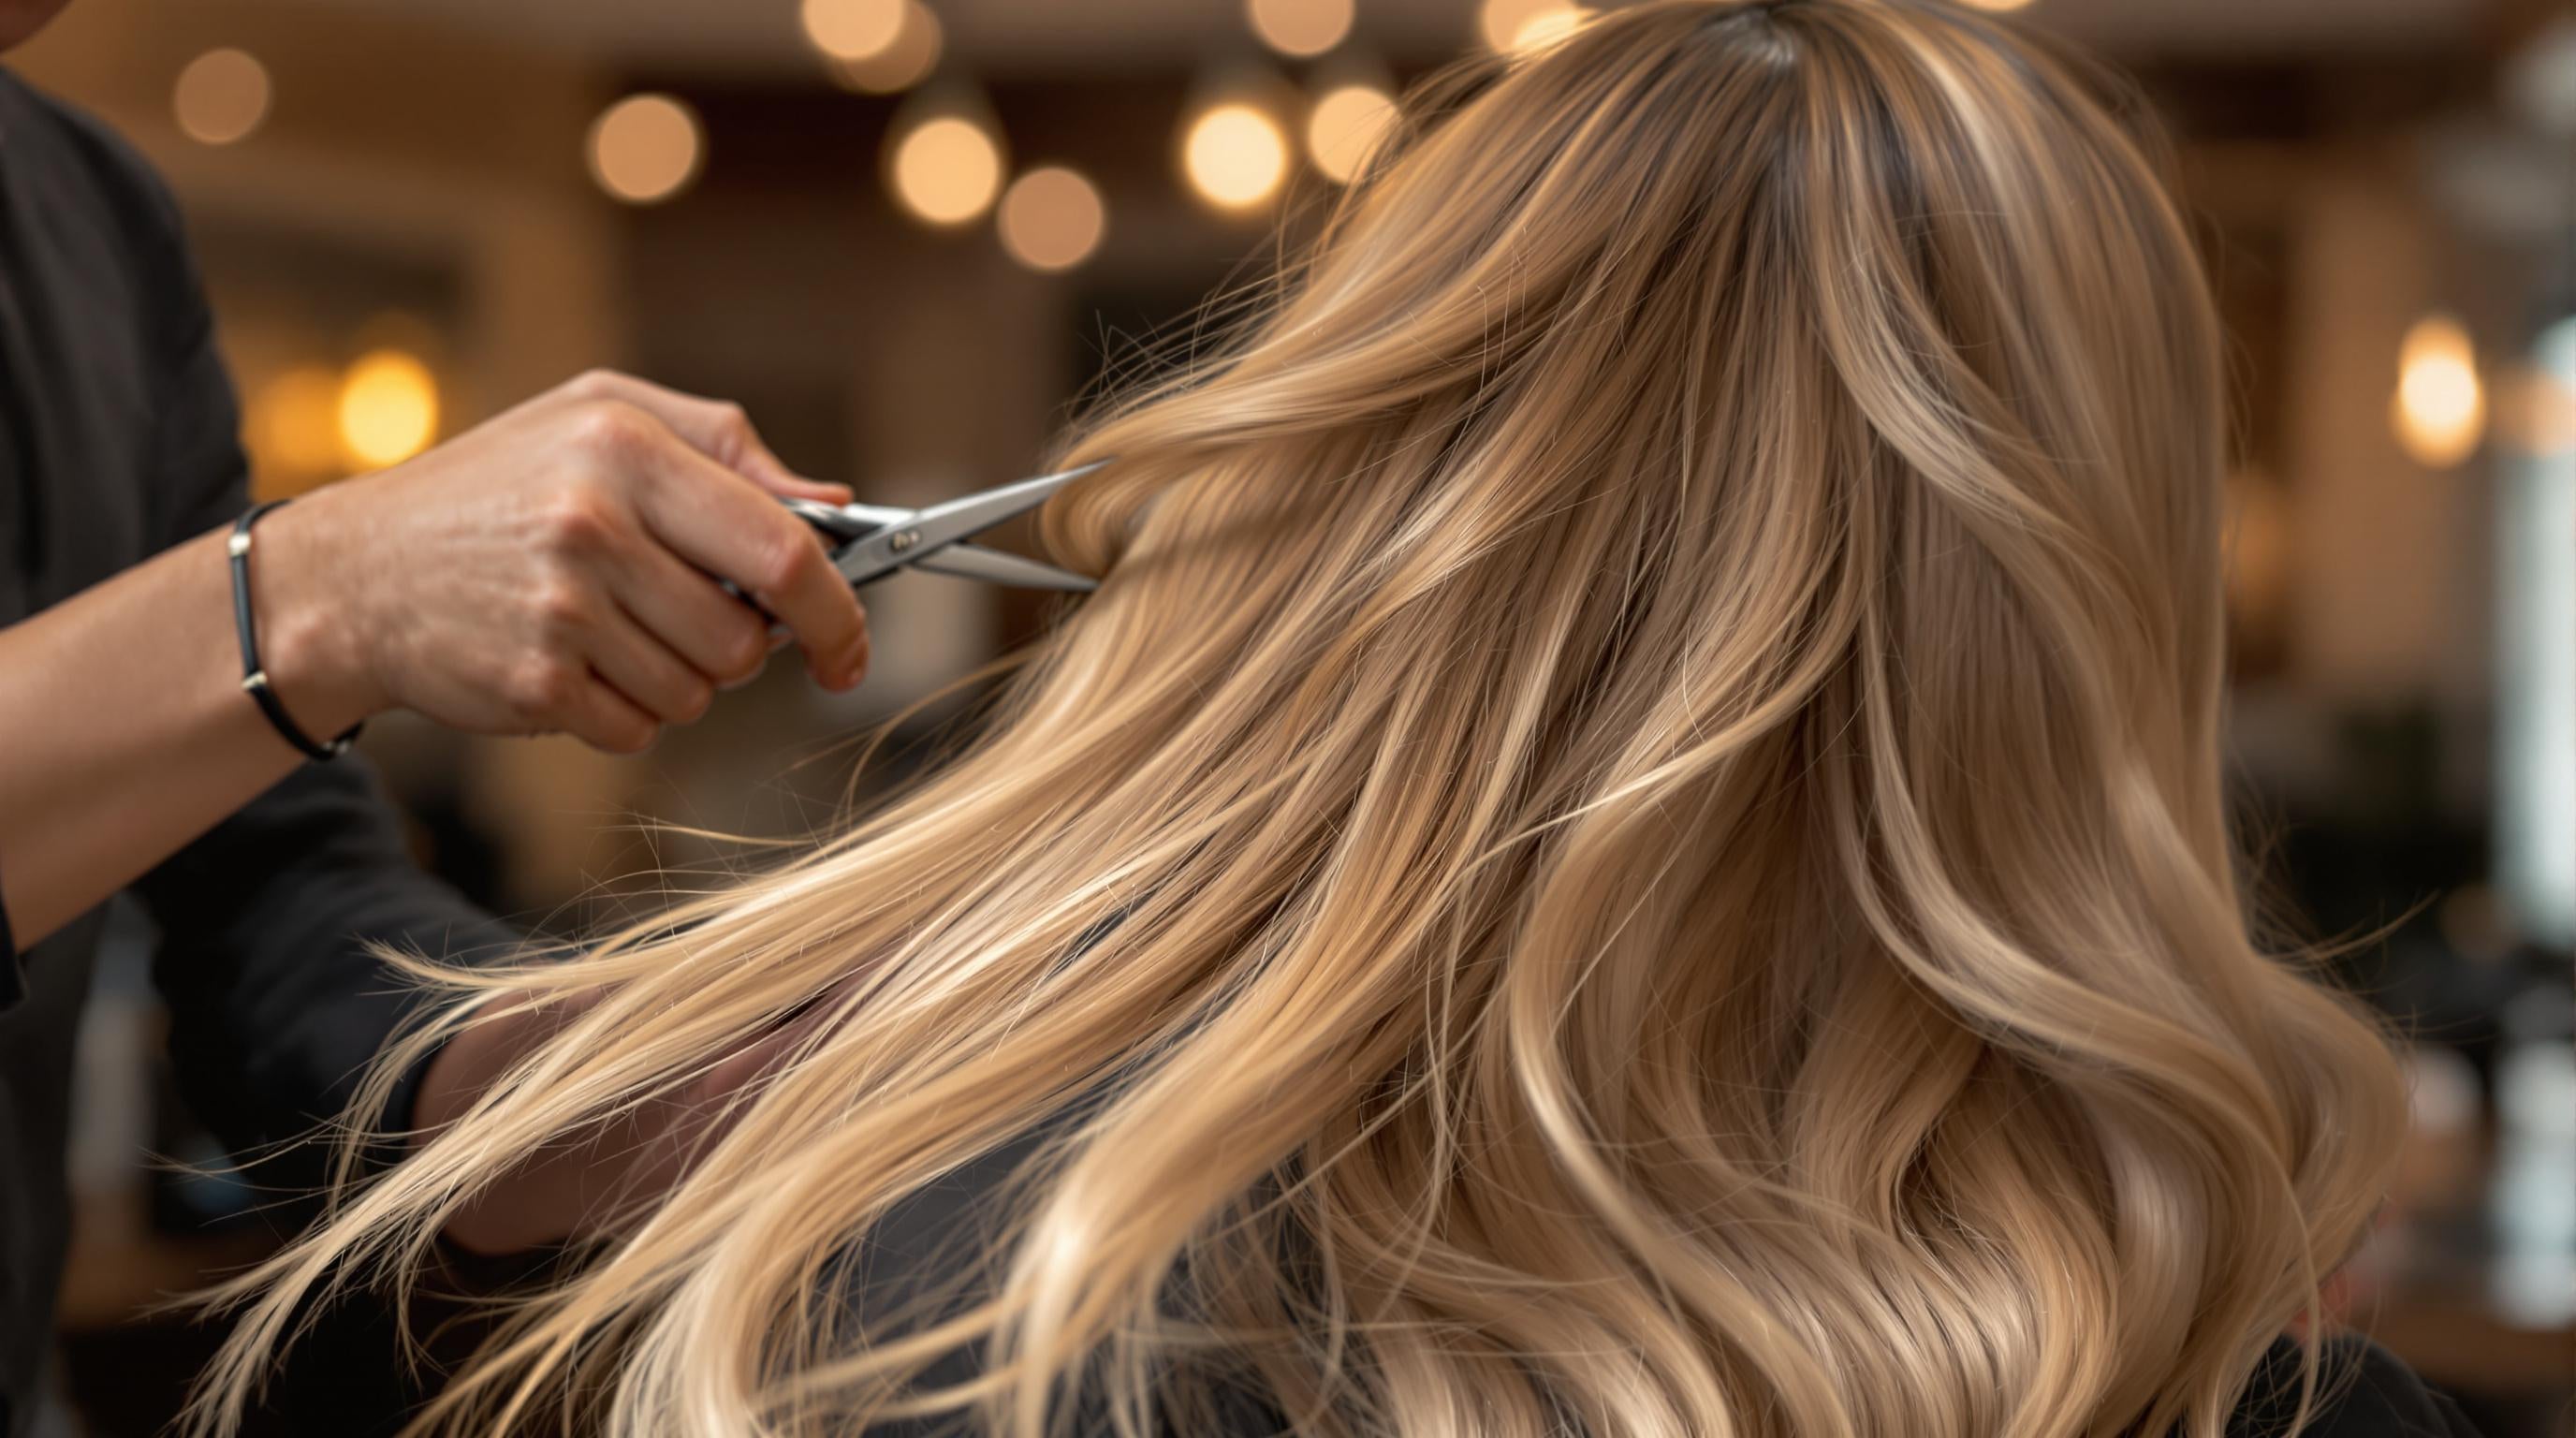
Cutting Methods
Once you've completed your pre-cut planning, it's time to apply techniques that work with your client's natural hair patterns, especially when dealing with cowlicks.
Following Growth Direction
First, locate the center of the cowlick and observe how the hair naturally swirls around it. This will guide your cutting approach.
Here are some basic guidelines:
- Part hair to the left for clockwise cowlicks.
- Part hair to the right for counterclockwise cowlicks.
- If the hair stands straight up, comb it in the opposite direction to help it lay flat.
Weight Reduction
Controlling weight near cowlicks is key to achieving a balanced look. Use thinning shears to remove bulk without sacrificing style. Focus on the mid-shaft and work toward the ends to refine the cut. Avoid cutting too close to the scalp, as shorter hairs can make the cowlick more pronounced. This approach ensures the cut complements the hair's natural movement.
Blending Techniques
Blending cowlicks into the surrounding hair requires precision. Techniques like point-cutting and slide-cutting allow for a customized look while maintaining natural flow.
For effective blending:
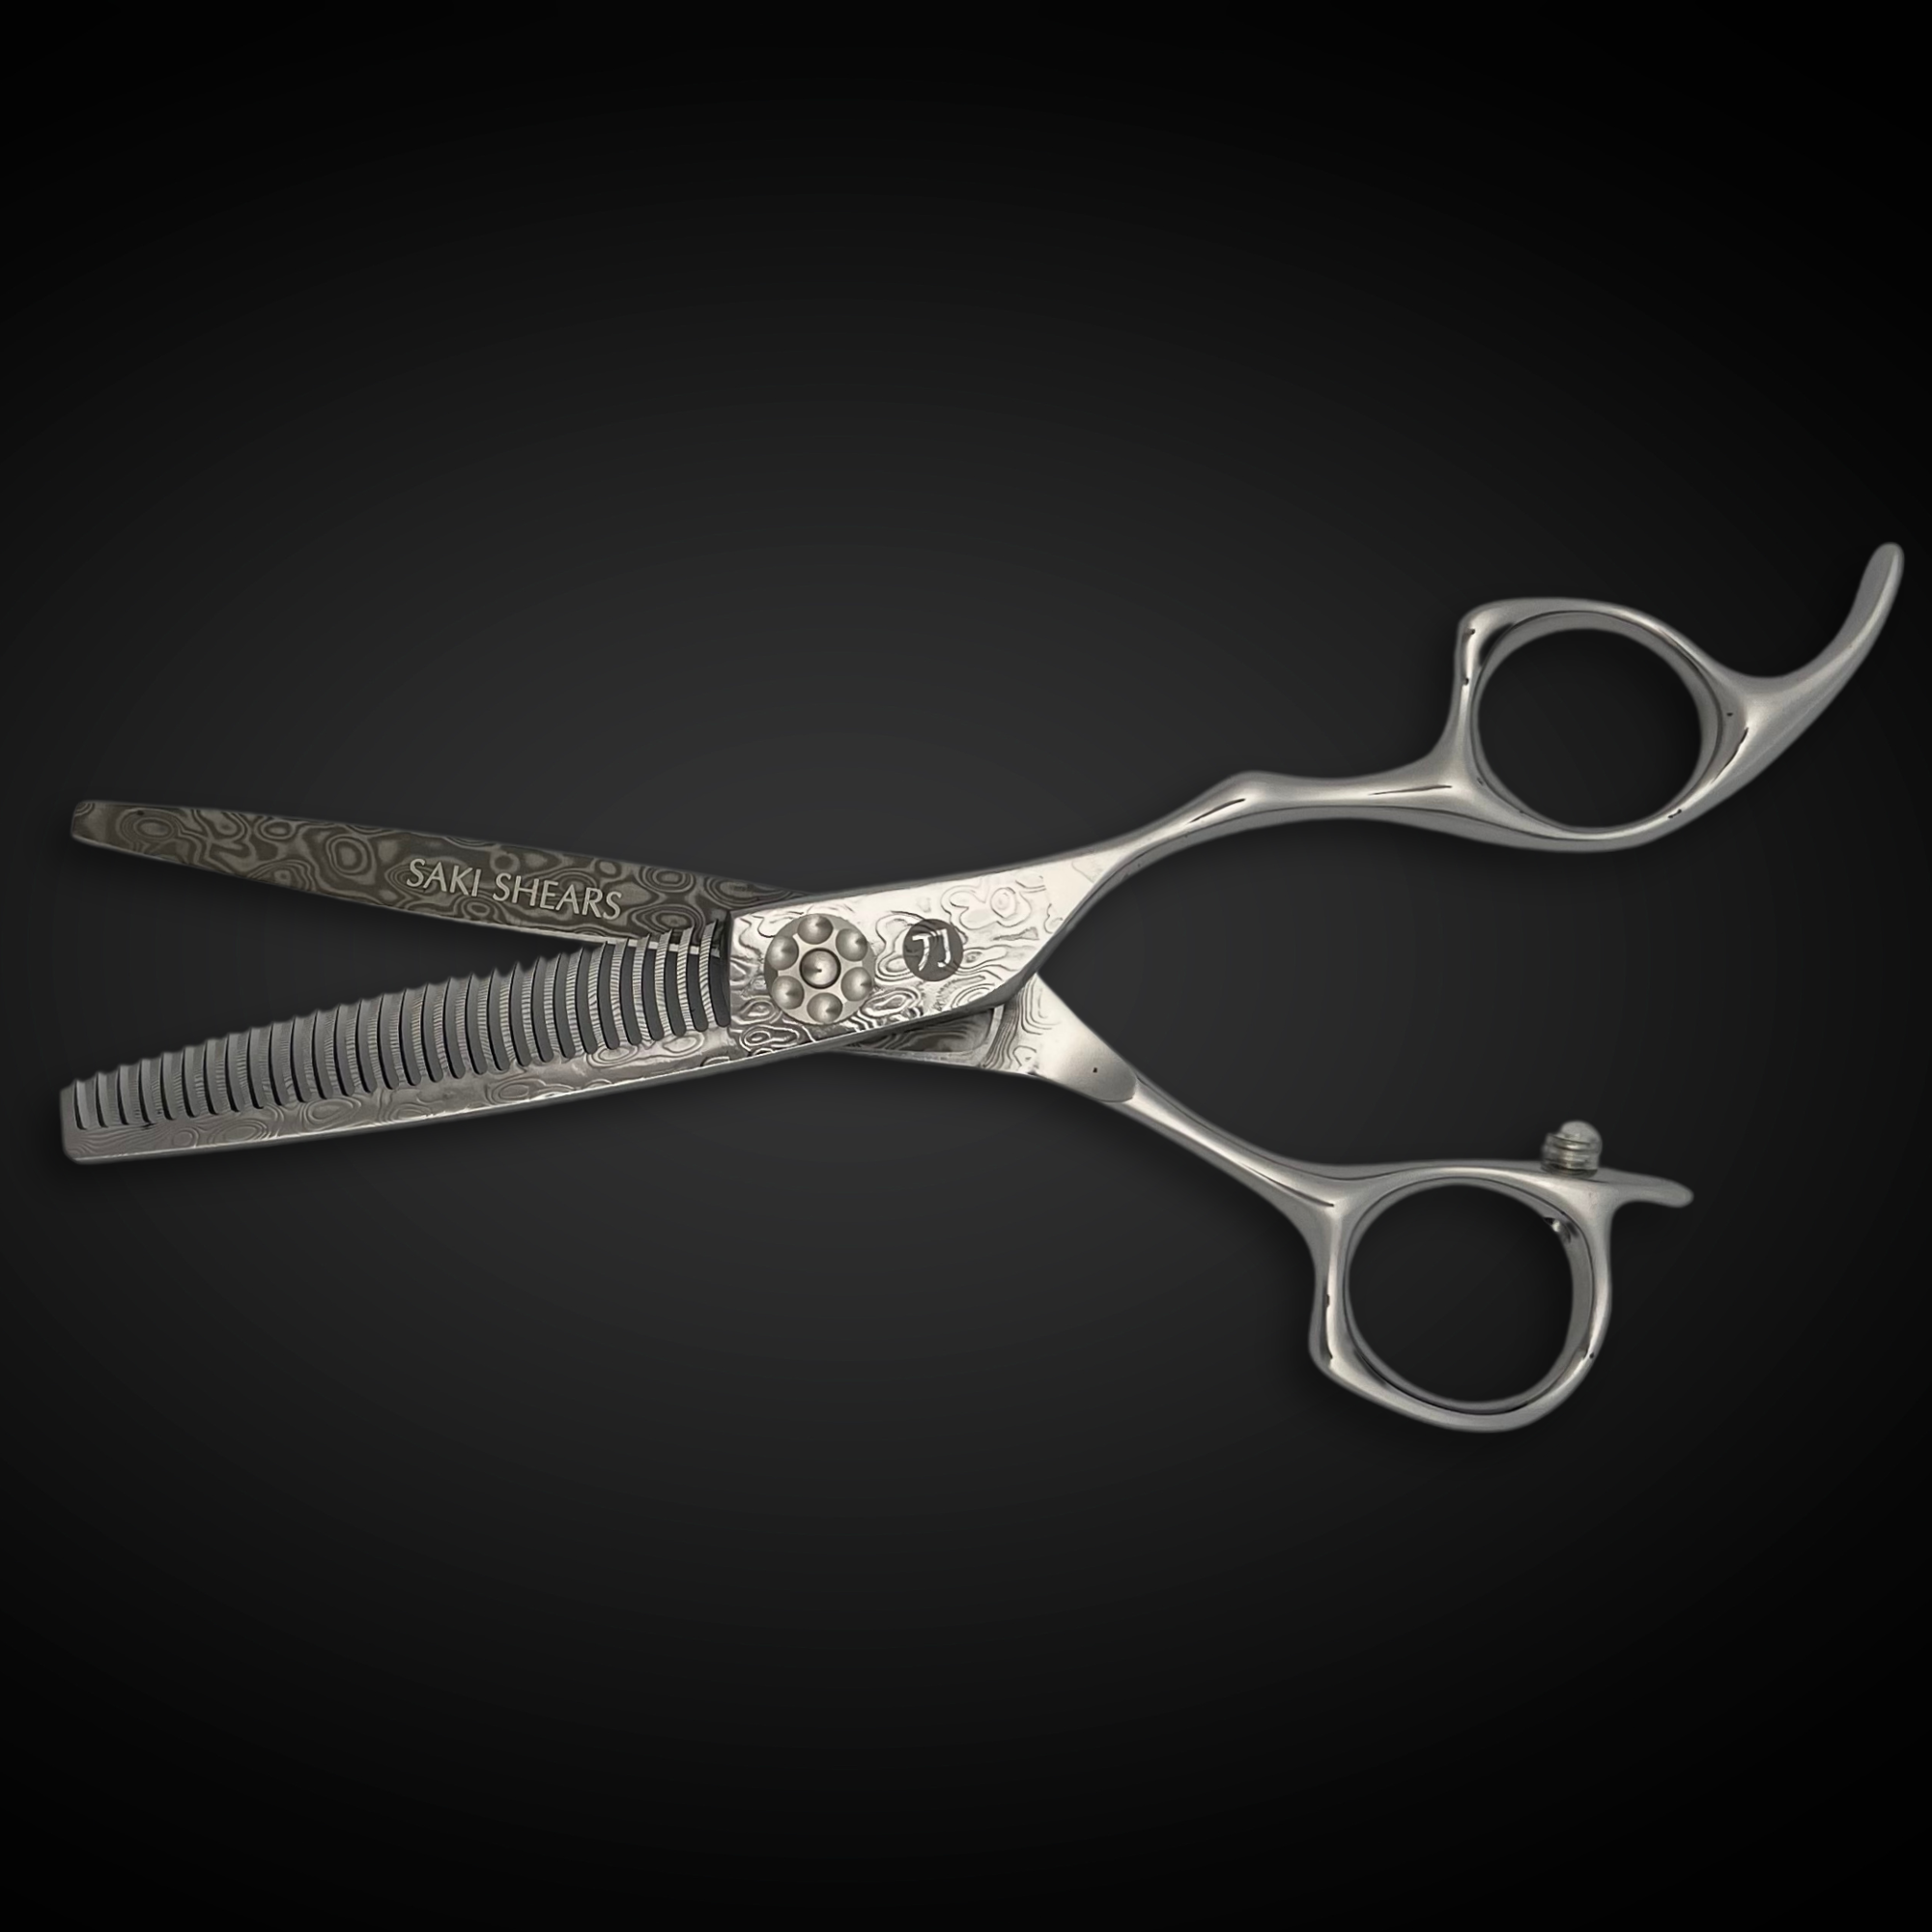
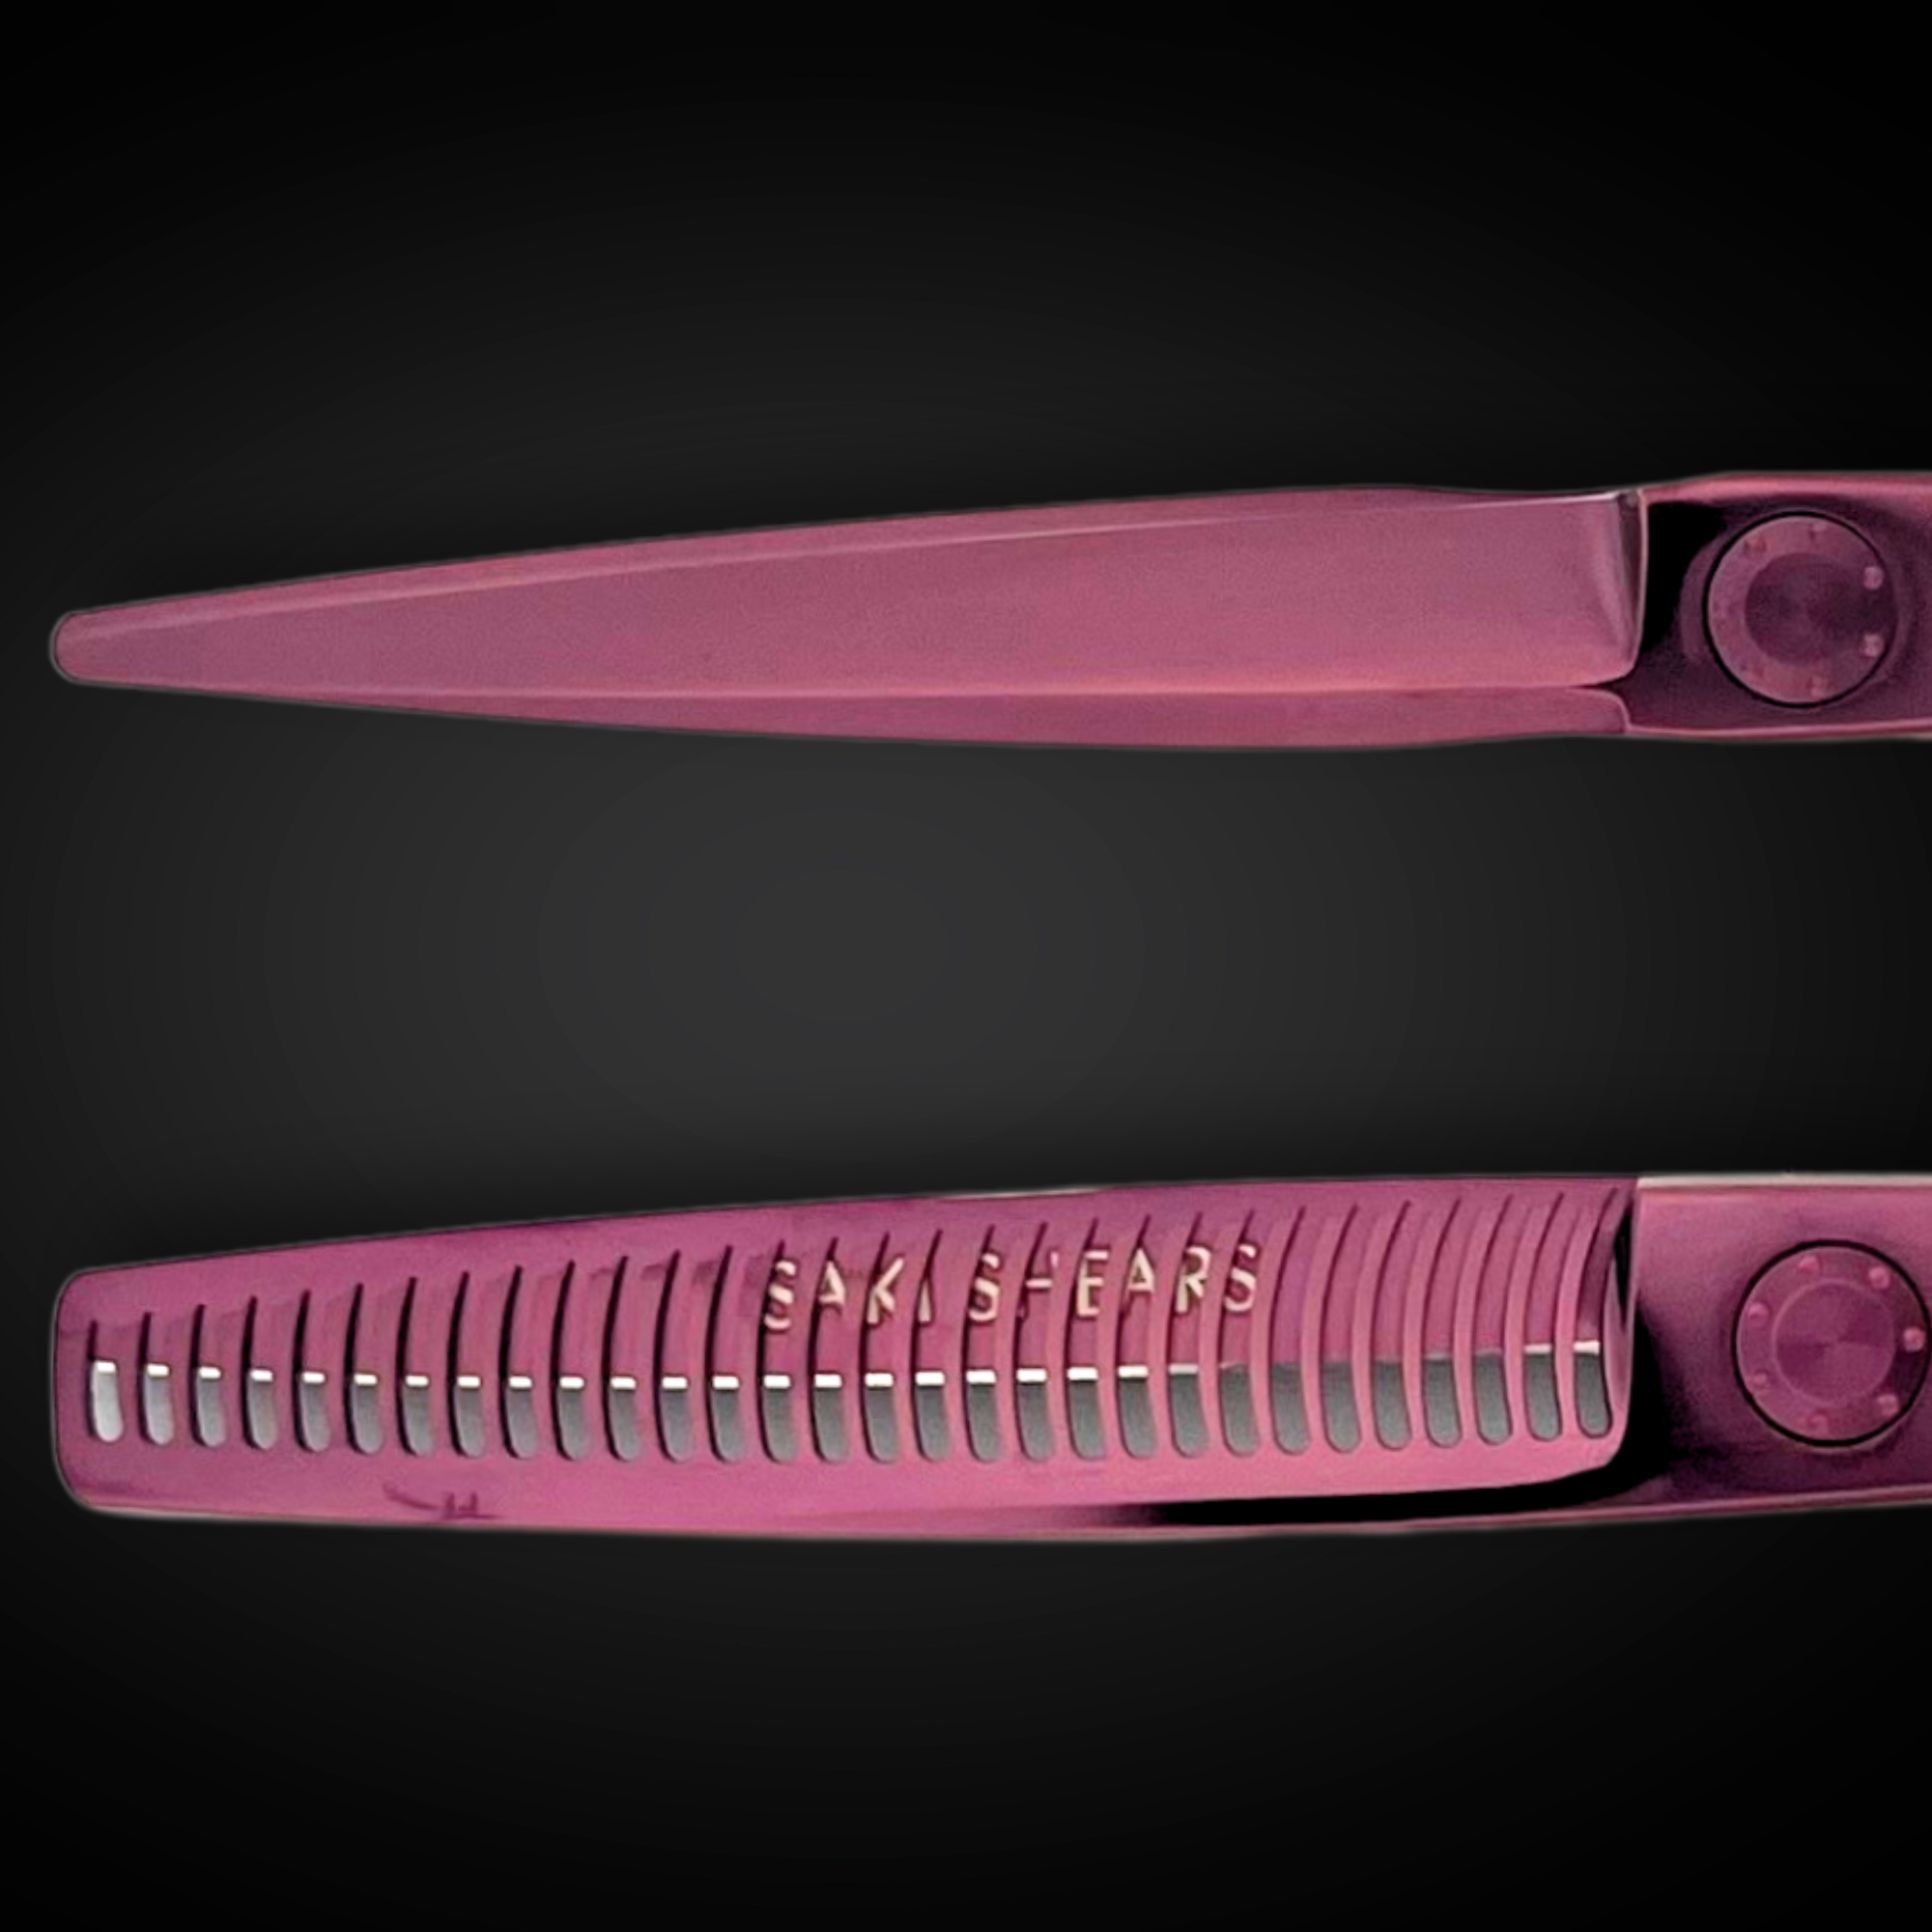
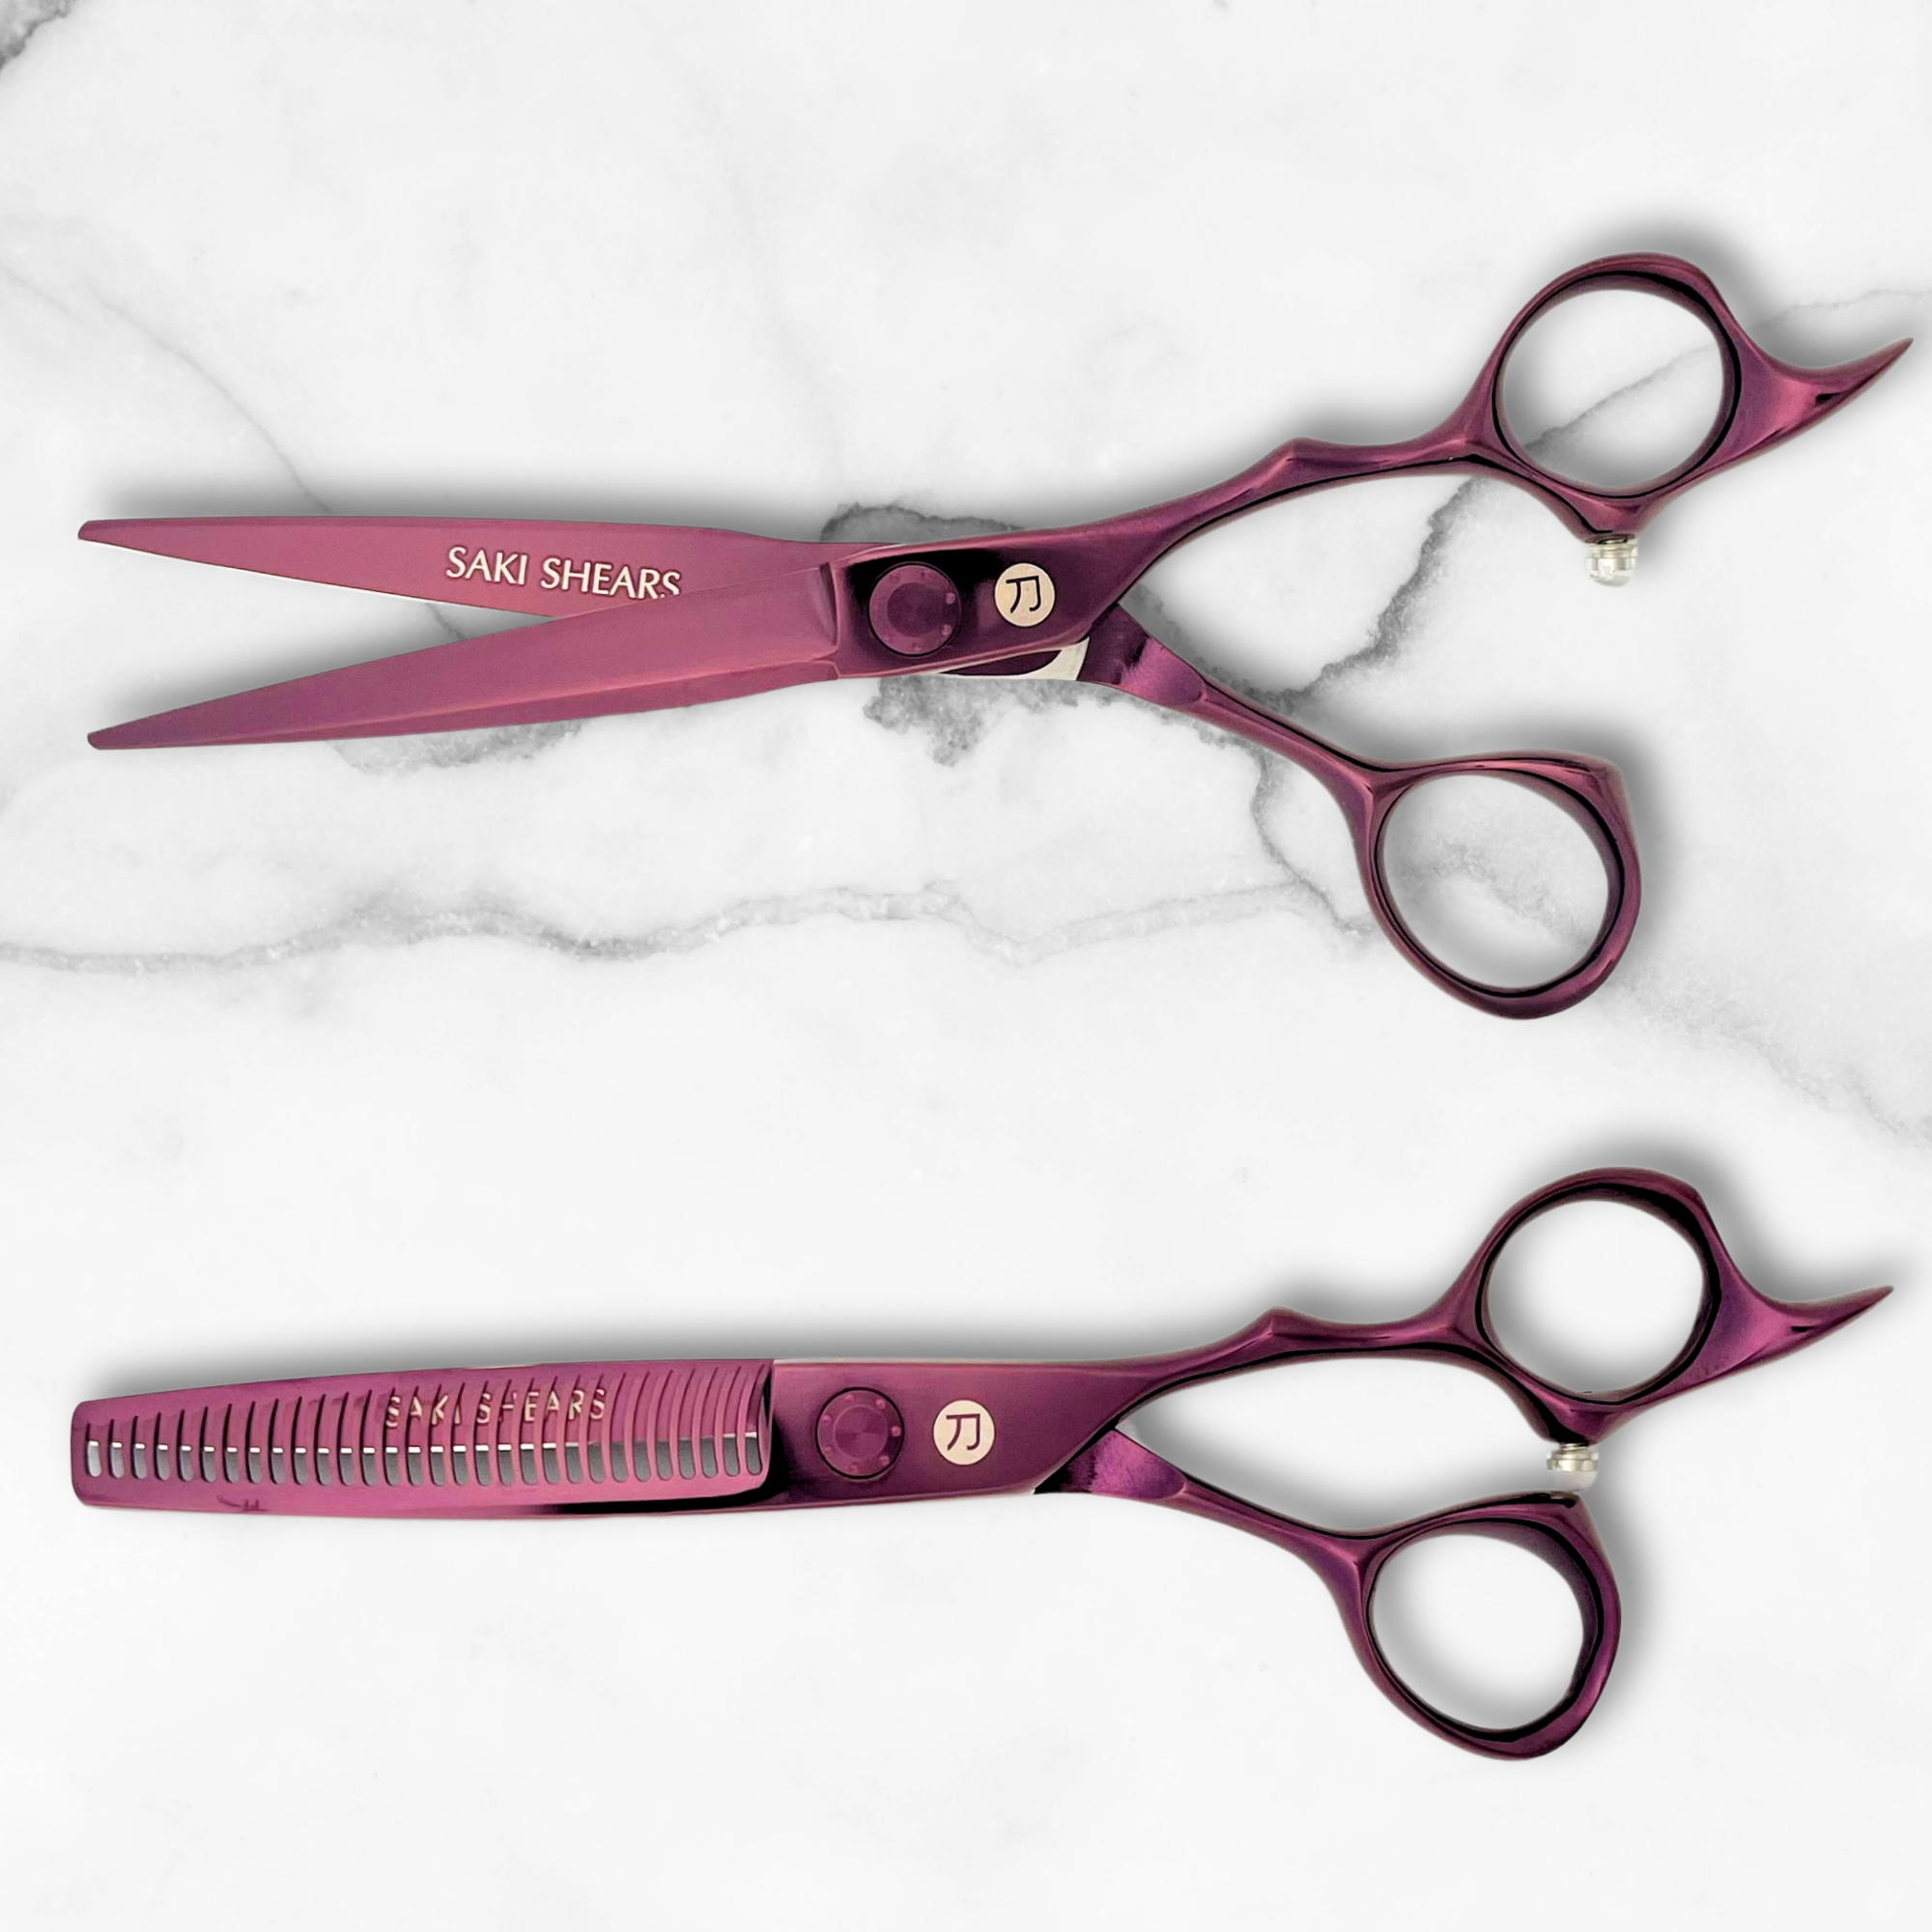
- Opt for texturizing shears with finer teeth.
- Angle your cutting tools to follow the hair's natural growth.
- Pay extra attention to areas like the neckline for a polished finish.
"Hair-thinning shears can be a really great tool when you are looking to remove internal weight in certain areas within your hair. They can create a very soft look." - Xander Fuentes, Los Angeles-based stylist
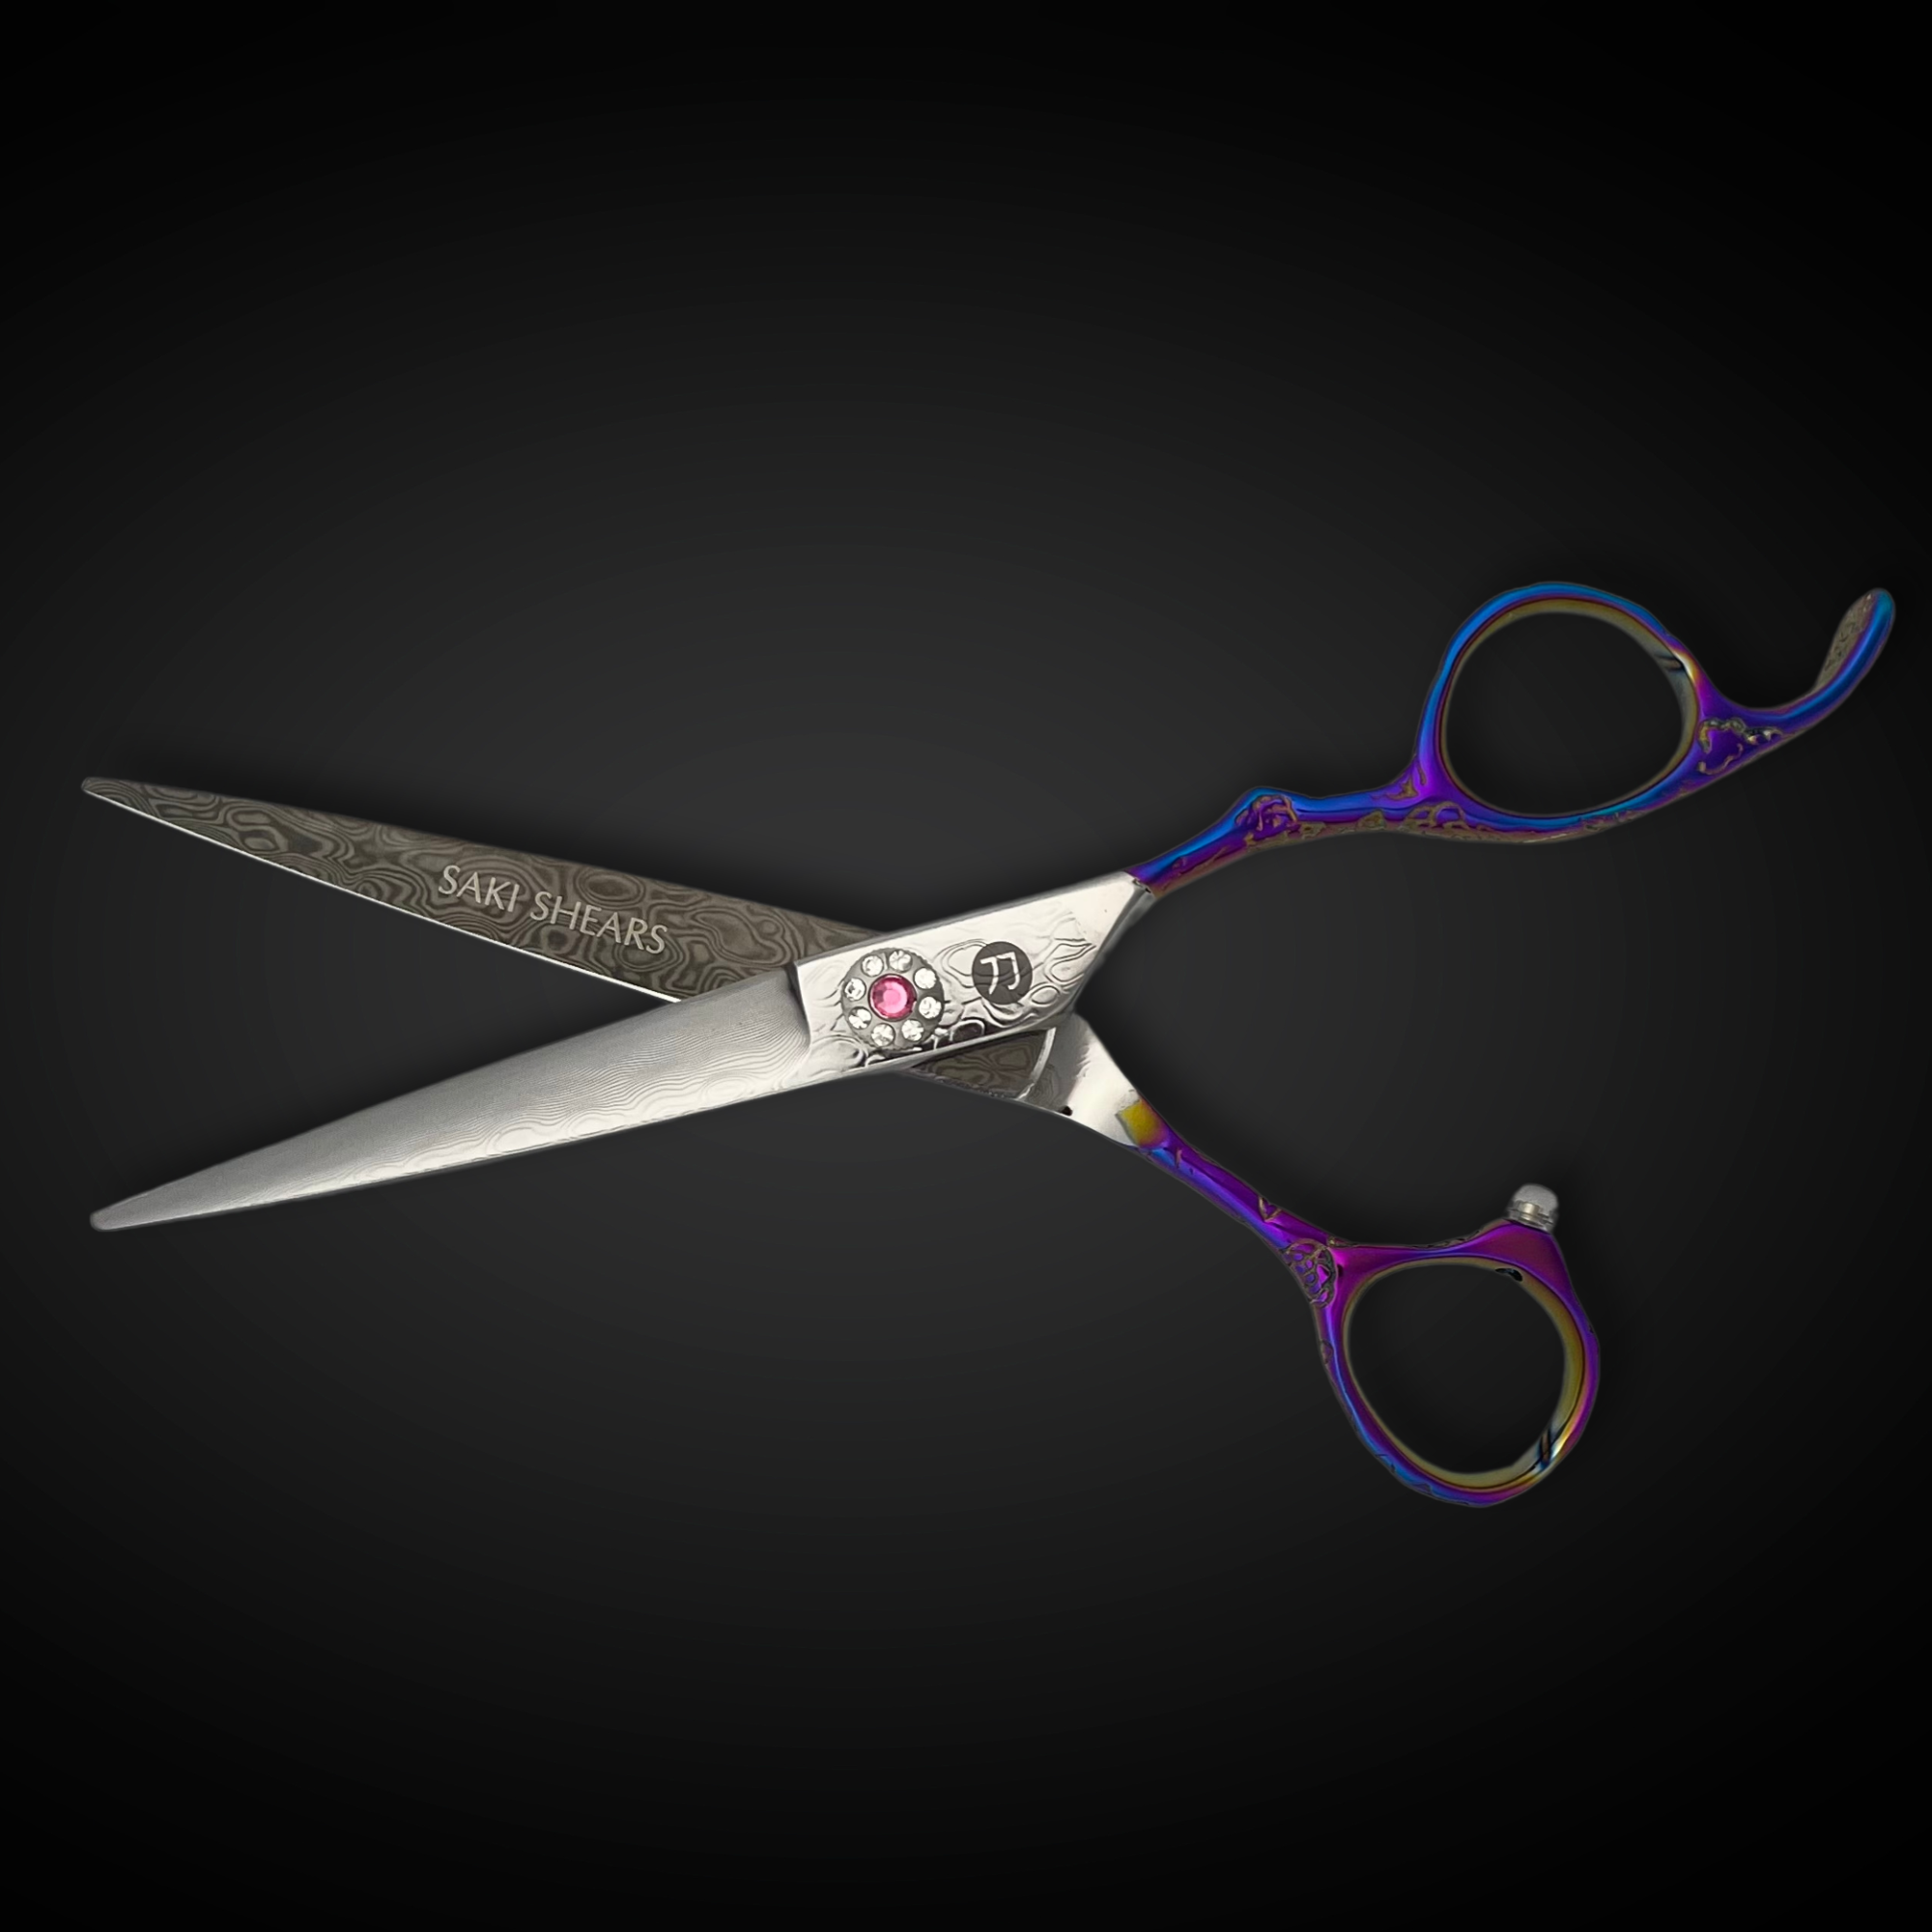
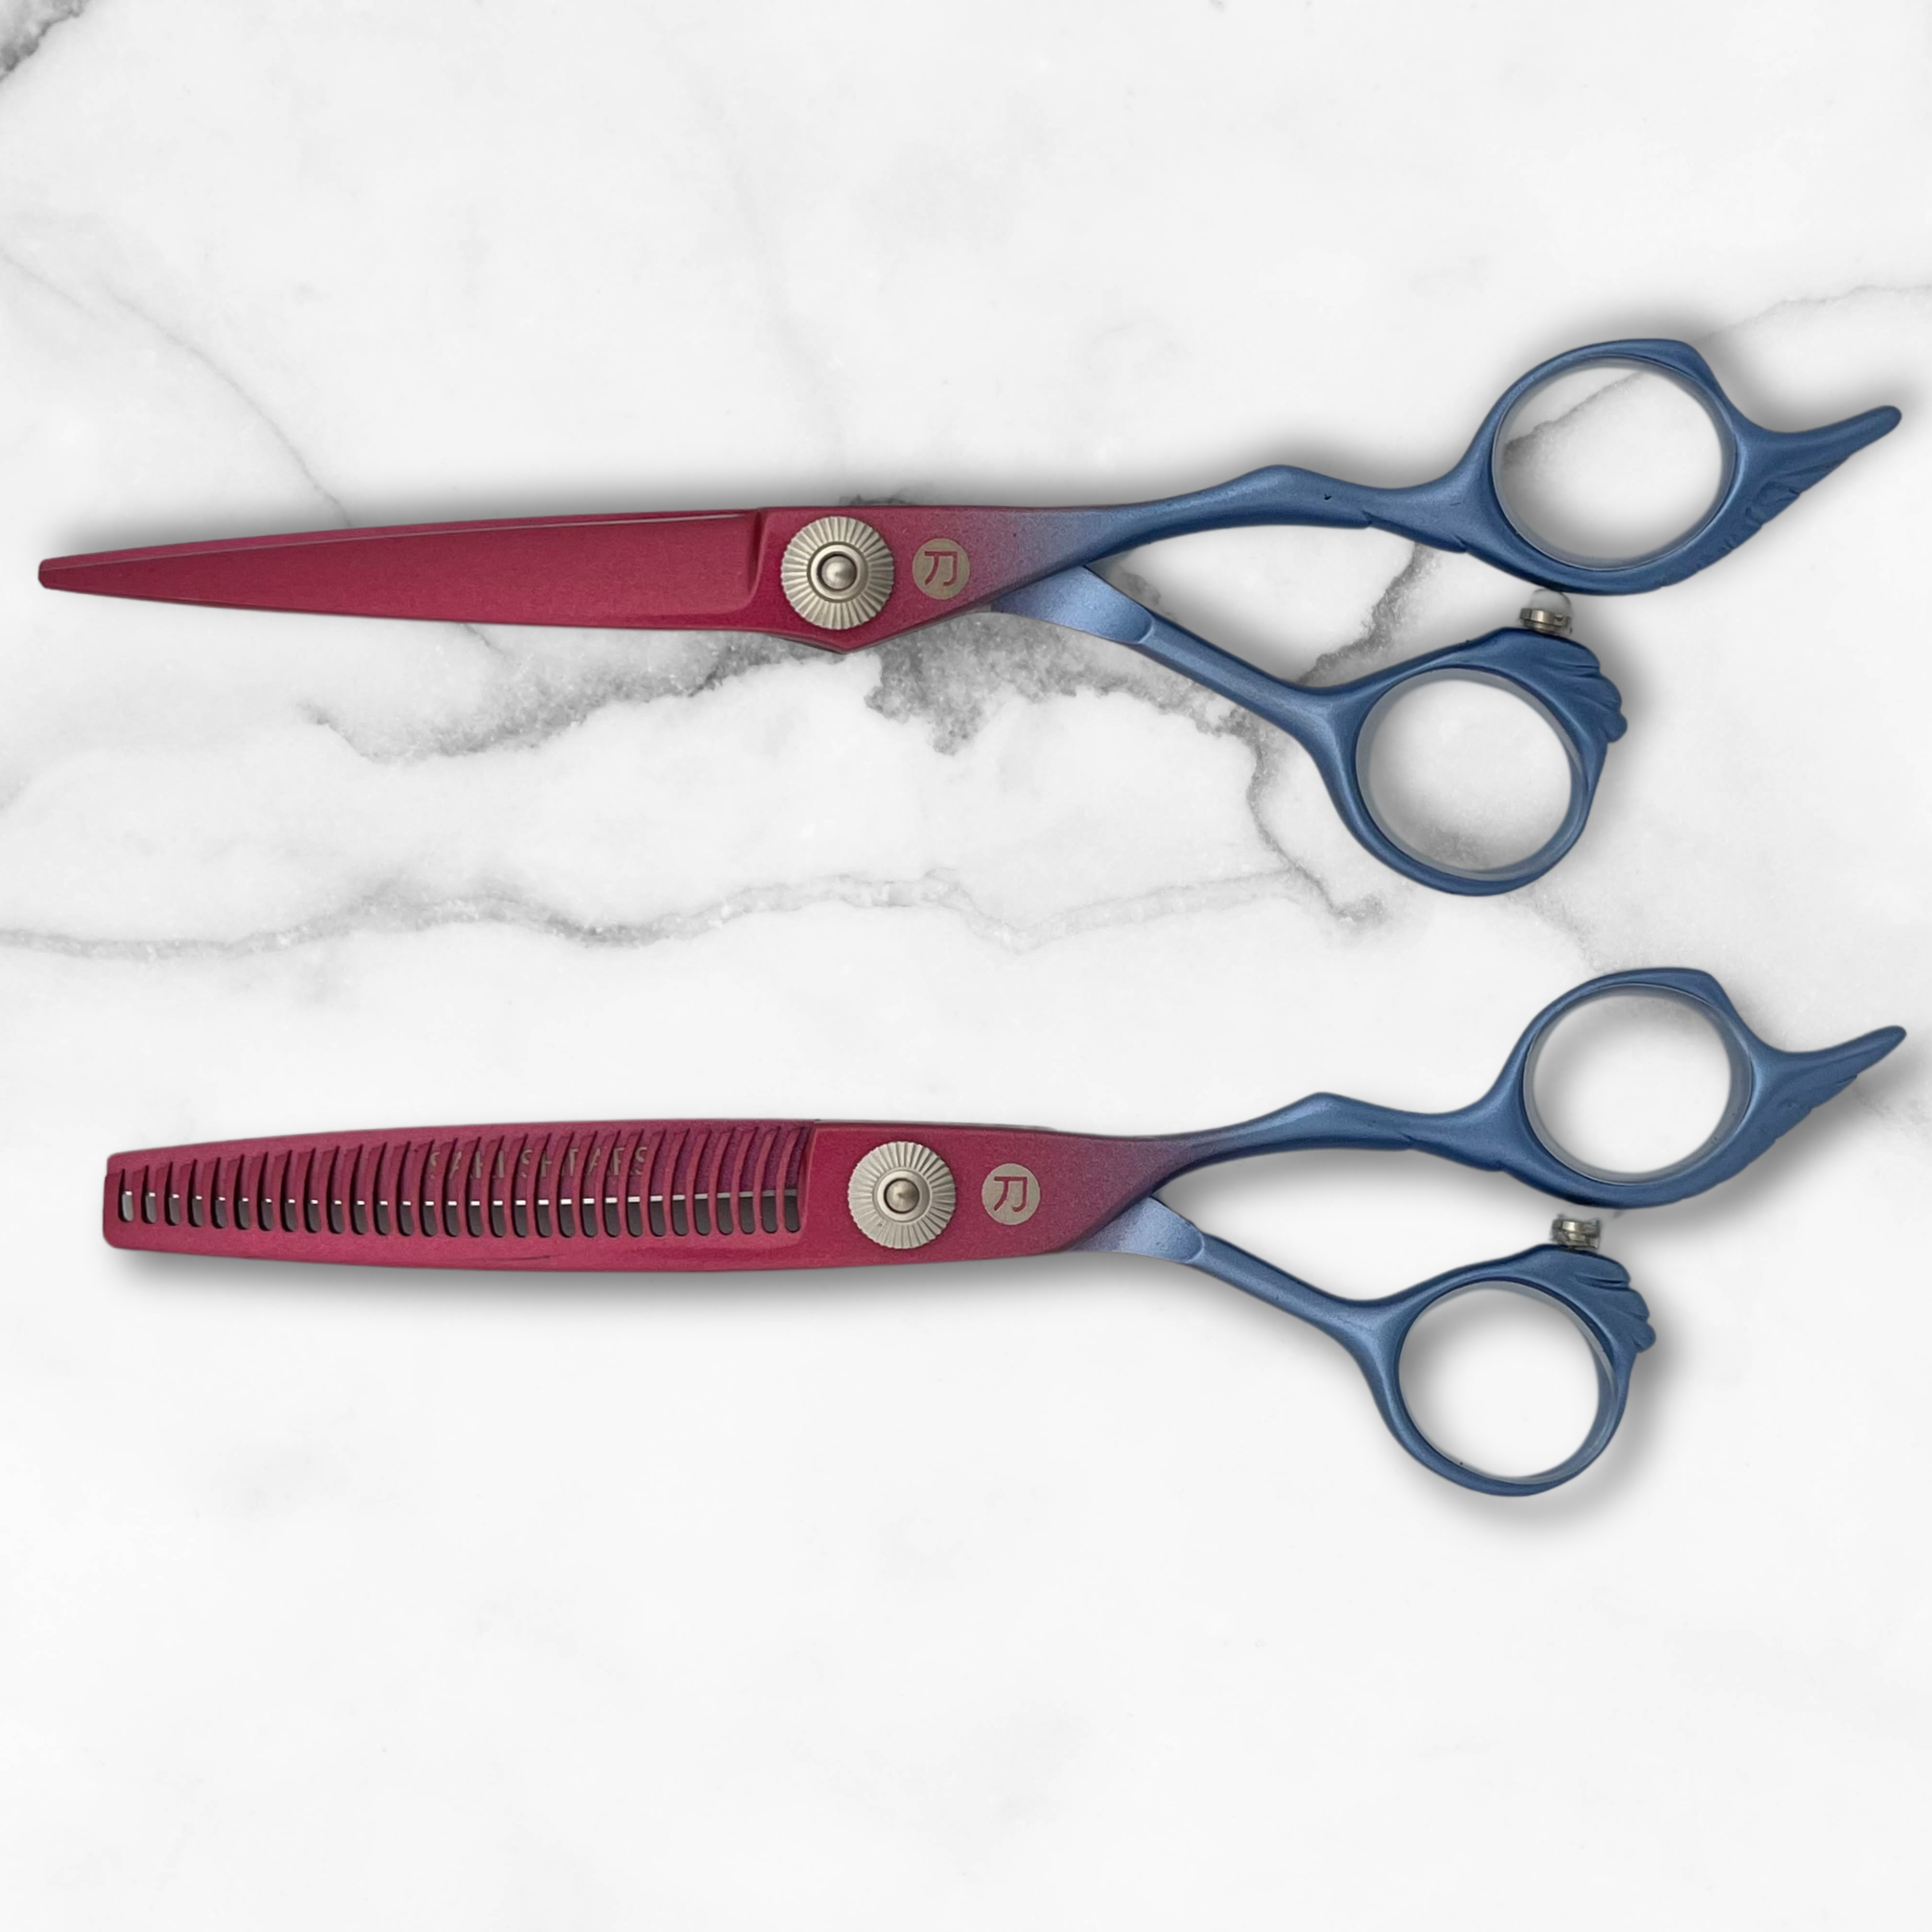
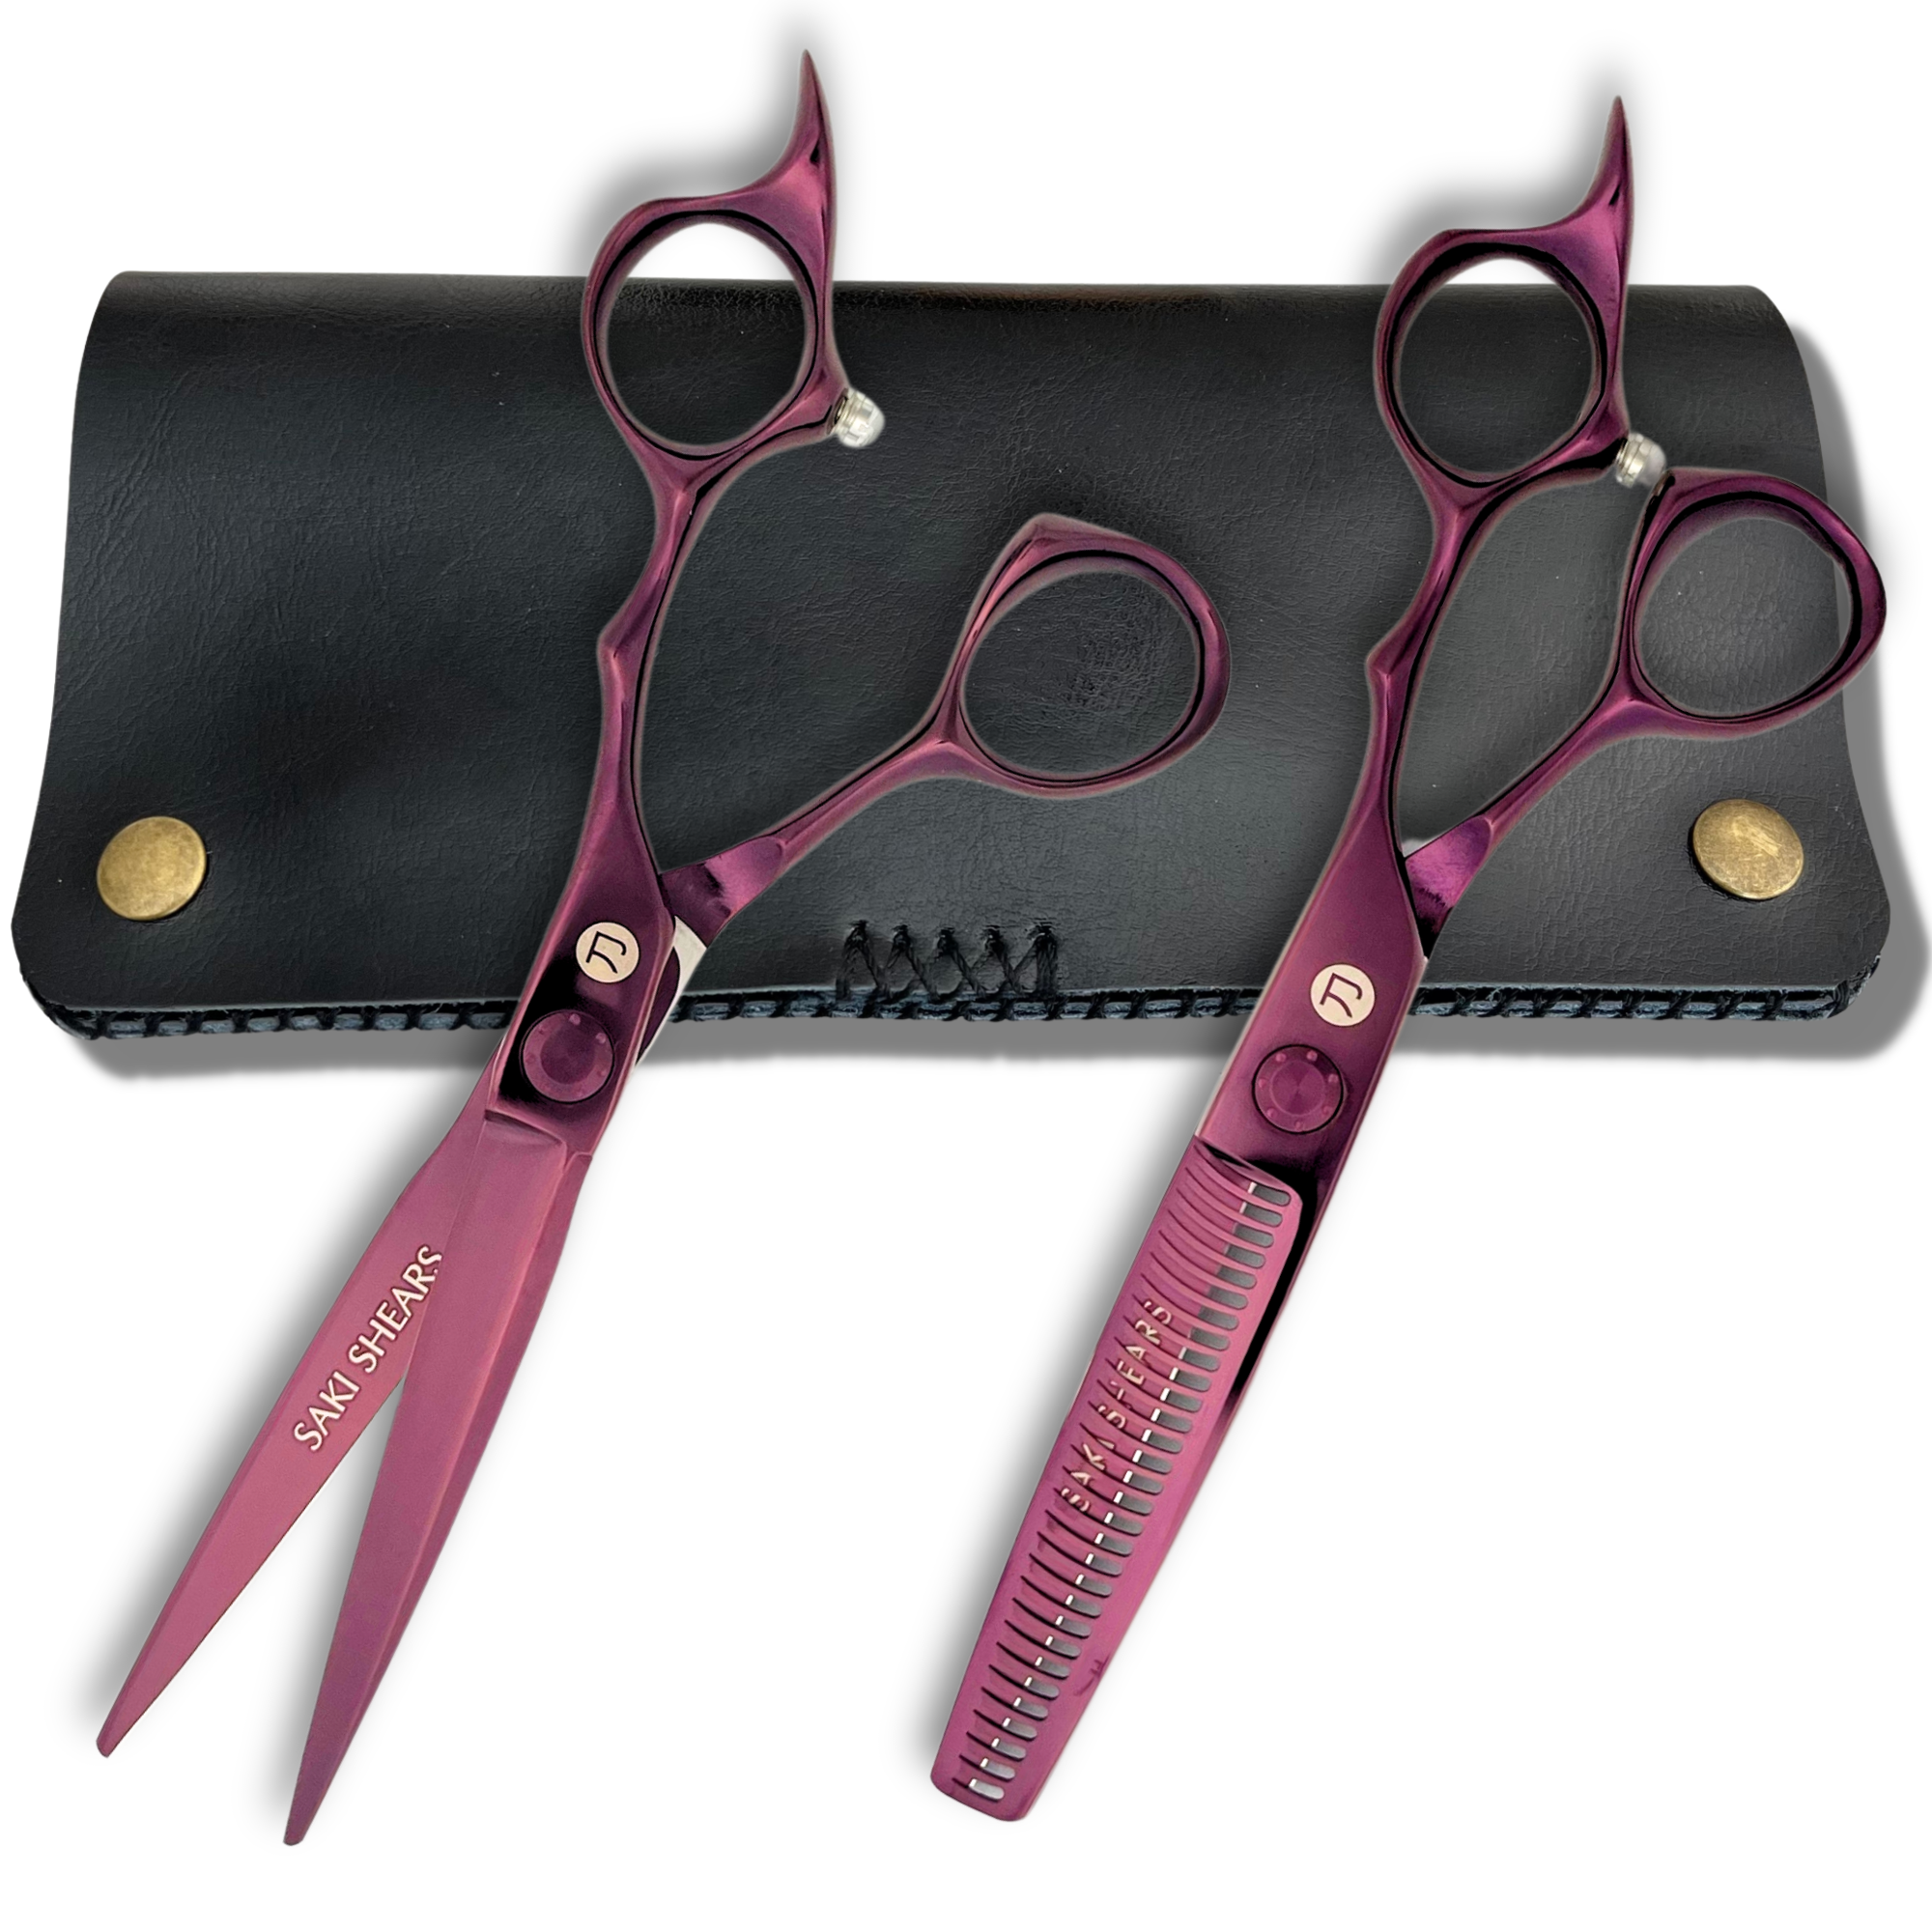
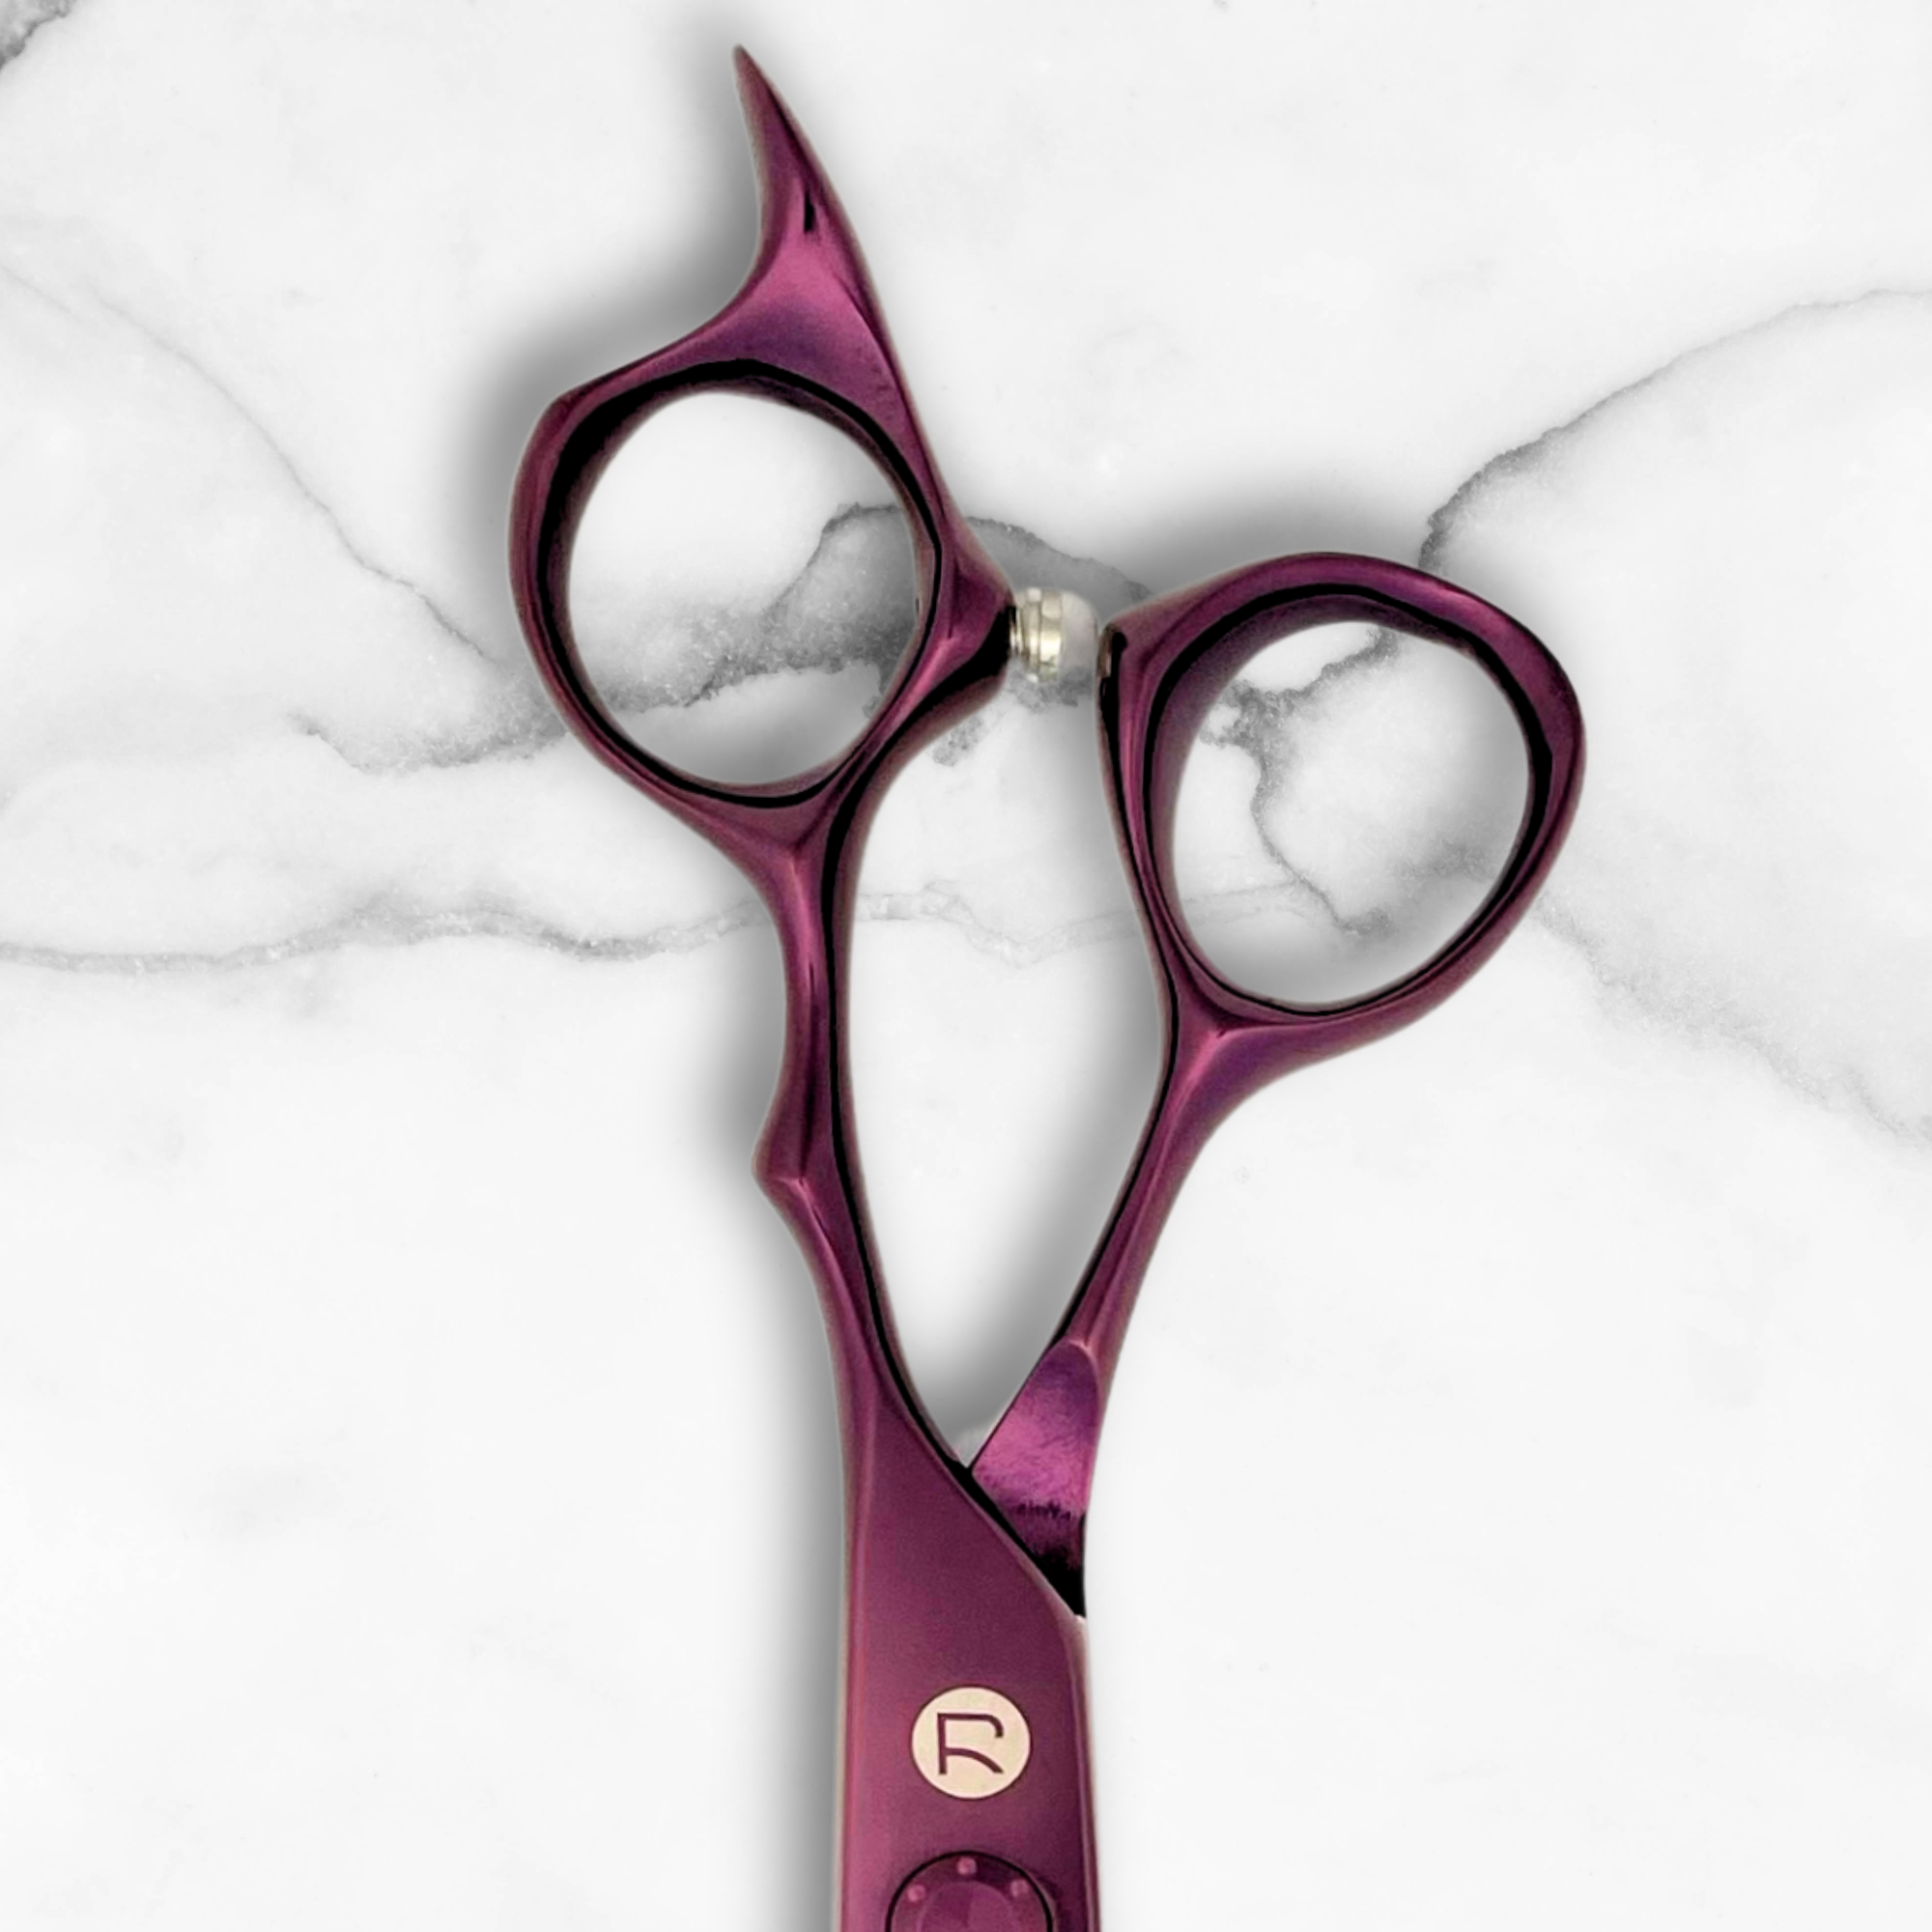
Using professional tools, like Saki Shears' texturizing models, can make a big difference. Their precision-engineered teeth offer better control for weight removal and smooth blending.
Tools and Products
Managing cowlicks during haircuts and styling becomes much easier with the right tools and products.
Cutting Tools
Specialized tools can make a big difference when dealing with cowlicks:
| Tool Type | Features | Primary Use |
|---|---|---|
| Cutting Shears | Japanese steel (440C/VG-10) | Main cutting and shaping |
| Thinning Shears | 30–40 teeth | Reducing bulk |
| Texturizing Shears | Fine-tooth design | Blending and detailing |
Brands like Saki Shears offer professional-grade options made with premium Japanese steel and ergonomic designs, ensuring precision and comfort.
Once the haircut is complete, choosing the right products is key to keeping cowlicks under control.
Styling Products
Styling products can help tame cowlicks and guide hair into the desired direction. Consider using:
- Root lifters to add volume and control at the base.
- Styling creams for flexibility and hold.
- Finishing sprays to lock the style in place.
Apply these to damp hair, starting with a small amount to avoid buildup, which can make cowlicks more noticeable. For extra control, heat styling can be a game-changer.
Heat Tools
Heat tools are great for managing stubborn cowlicks. Here's how to use them effectively:
- Blow Dryer: Attach a concentrated nozzle and set it to medium-high heat (around 350°F). Direct the airflow against the natural growth pattern for better control.
- Flat Iron: Use to smooth and redirect cowlicks. Always apply a heat protectant beforehand to avoid damage and keep hair healthy.
With the right combination of tools, products, and techniques, managing cowlicks becomes a much smoother process.
Client Care Guide
Once you've mastered in-salon techniques, it's time to bring that care into your daily routine. Tackling cowlicks at home requires consistent effort and the right approach.
Blow Dry Steps
Blow-drying plays a key role in controlling cowlicks. Celebrity hairstylist Laura Polko shares this tip:
"You really want [to dry your hair] directly straight forward. A lot of people go side to side [to try to get rid of the cowlick], but you really need to go straight down as if you had bangs."
Here’s how to do it:
- Preparation: Start with damp hair and apply a thermal protectant spray. Use a blow dryer set to medium heat with a concentrator nozzle attached.
- Drying Technique: Use a comb close to the scalp and dry your hair in an 'X' motion to counteract the cowlick.
- Finishing Touch: Clip the warm hair to help set the style.
Product Use Tips
The right products and application techniques can make a noticeable difference in managing cowlicks. Here are some tailored recommendations:
| Hair Type | Recommended Products | Application Method |
|---|---|---|
| Fine Hair | Mousse-based root lifters, flexible hold sprays | Apply lightly at the roots |
| Medium Hair | Smoothing sprays, heat protectants | Focus on the cowlick area |
| Thick Hair | Strong-hold pomades, styling cremes | Distribute evenly from roots to ends |
Hairstylist Ashley Rourk suggests:
"Using a concentrator on your blowdryer and medium heat while pushing the hair in the opposite direction of the cowlick is the best way to neutralize it."
To enhance your styling routine:
- Use a root lifter on damp hair.
- Apply heat protectant before using any hot tools.
- Finish with a light-hold hairspray.
- Keep dry shampoo on hand for quick touch-ups between washes.
Trim Schedule
Regular trims are essential for keeping cowlicks in check. Aim for a haircut every 6–8 weeks to maintain balanced layers. If you have bangs with cowlicks, consider trimming them more frequently - every 4–6 weeks - to keep them manageable and styled. Your stylist can help you figure out the best schedule based on your hair's growth and texture.
Summary
Take control of cowlicks by combining specific cutting techniques with targeted styling approaches. Drawing from Ashley Rourk's expertise, here are some key tips:
- Use minimal tension when cutting around cowlicks.
- Cut hair when it's almost dry to improve control.
- Leave hair slightly longer to add weight, helping to calm the cowlick.
- Use heat on wet, protected hair to adjust growth direction effectively.
Once you've mastered these techniques, the right tools can make all the difference. Consider these professional recommendations:
- KAMISORI INC. Diamond Thinning Shears (rated 4.82/5) for smooth texturizing.
- Root tamer irons for precise control close to the scalp.
- No-crease clips and duckbill clips to hold redirected strands securely.
For a foundational approach, Robert Watkins, Owner and Founder of The Mailroom Barber Co, offers this advice:
"The secret to controlling these monsters is actually to go with their natural flow. Find the direction your crown or cowlick wants to lay and comb it in that direction."
