Tips for Cutting Hair Extensions Without Damage
Cutting hair extensions without causing damage requires the right tools, preparation, and techniques. Here’s a quick guide to get started:
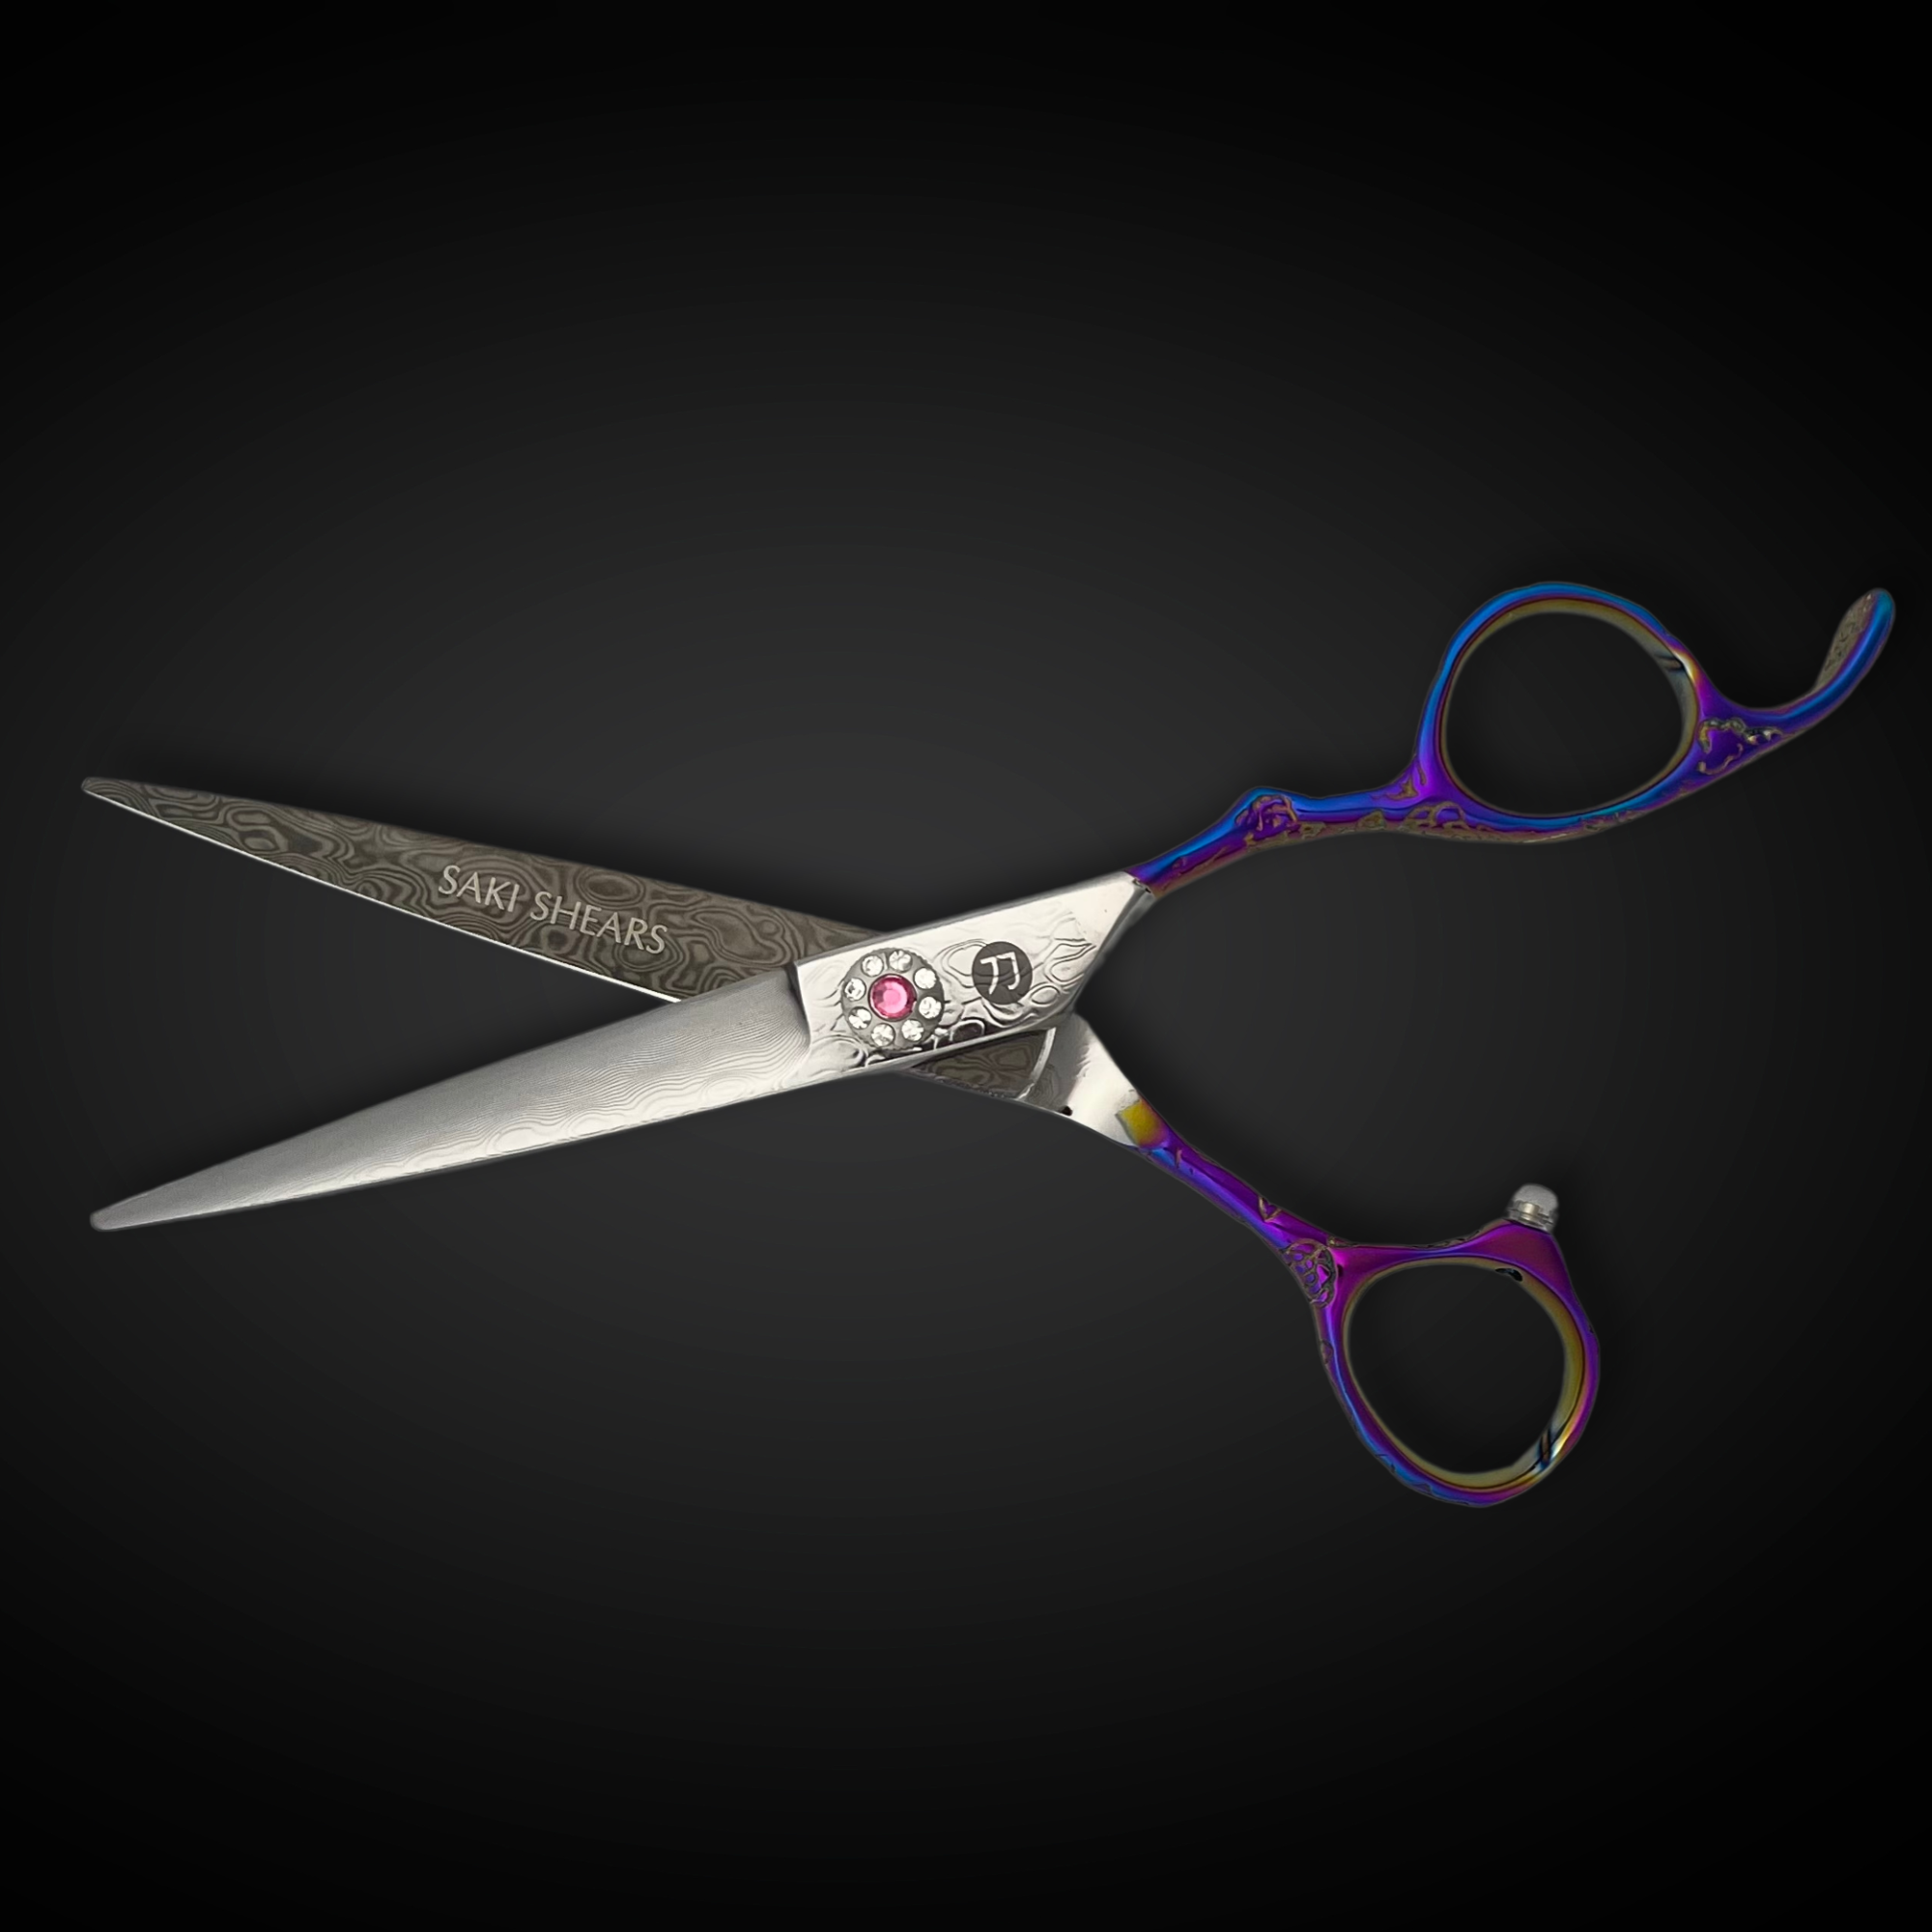
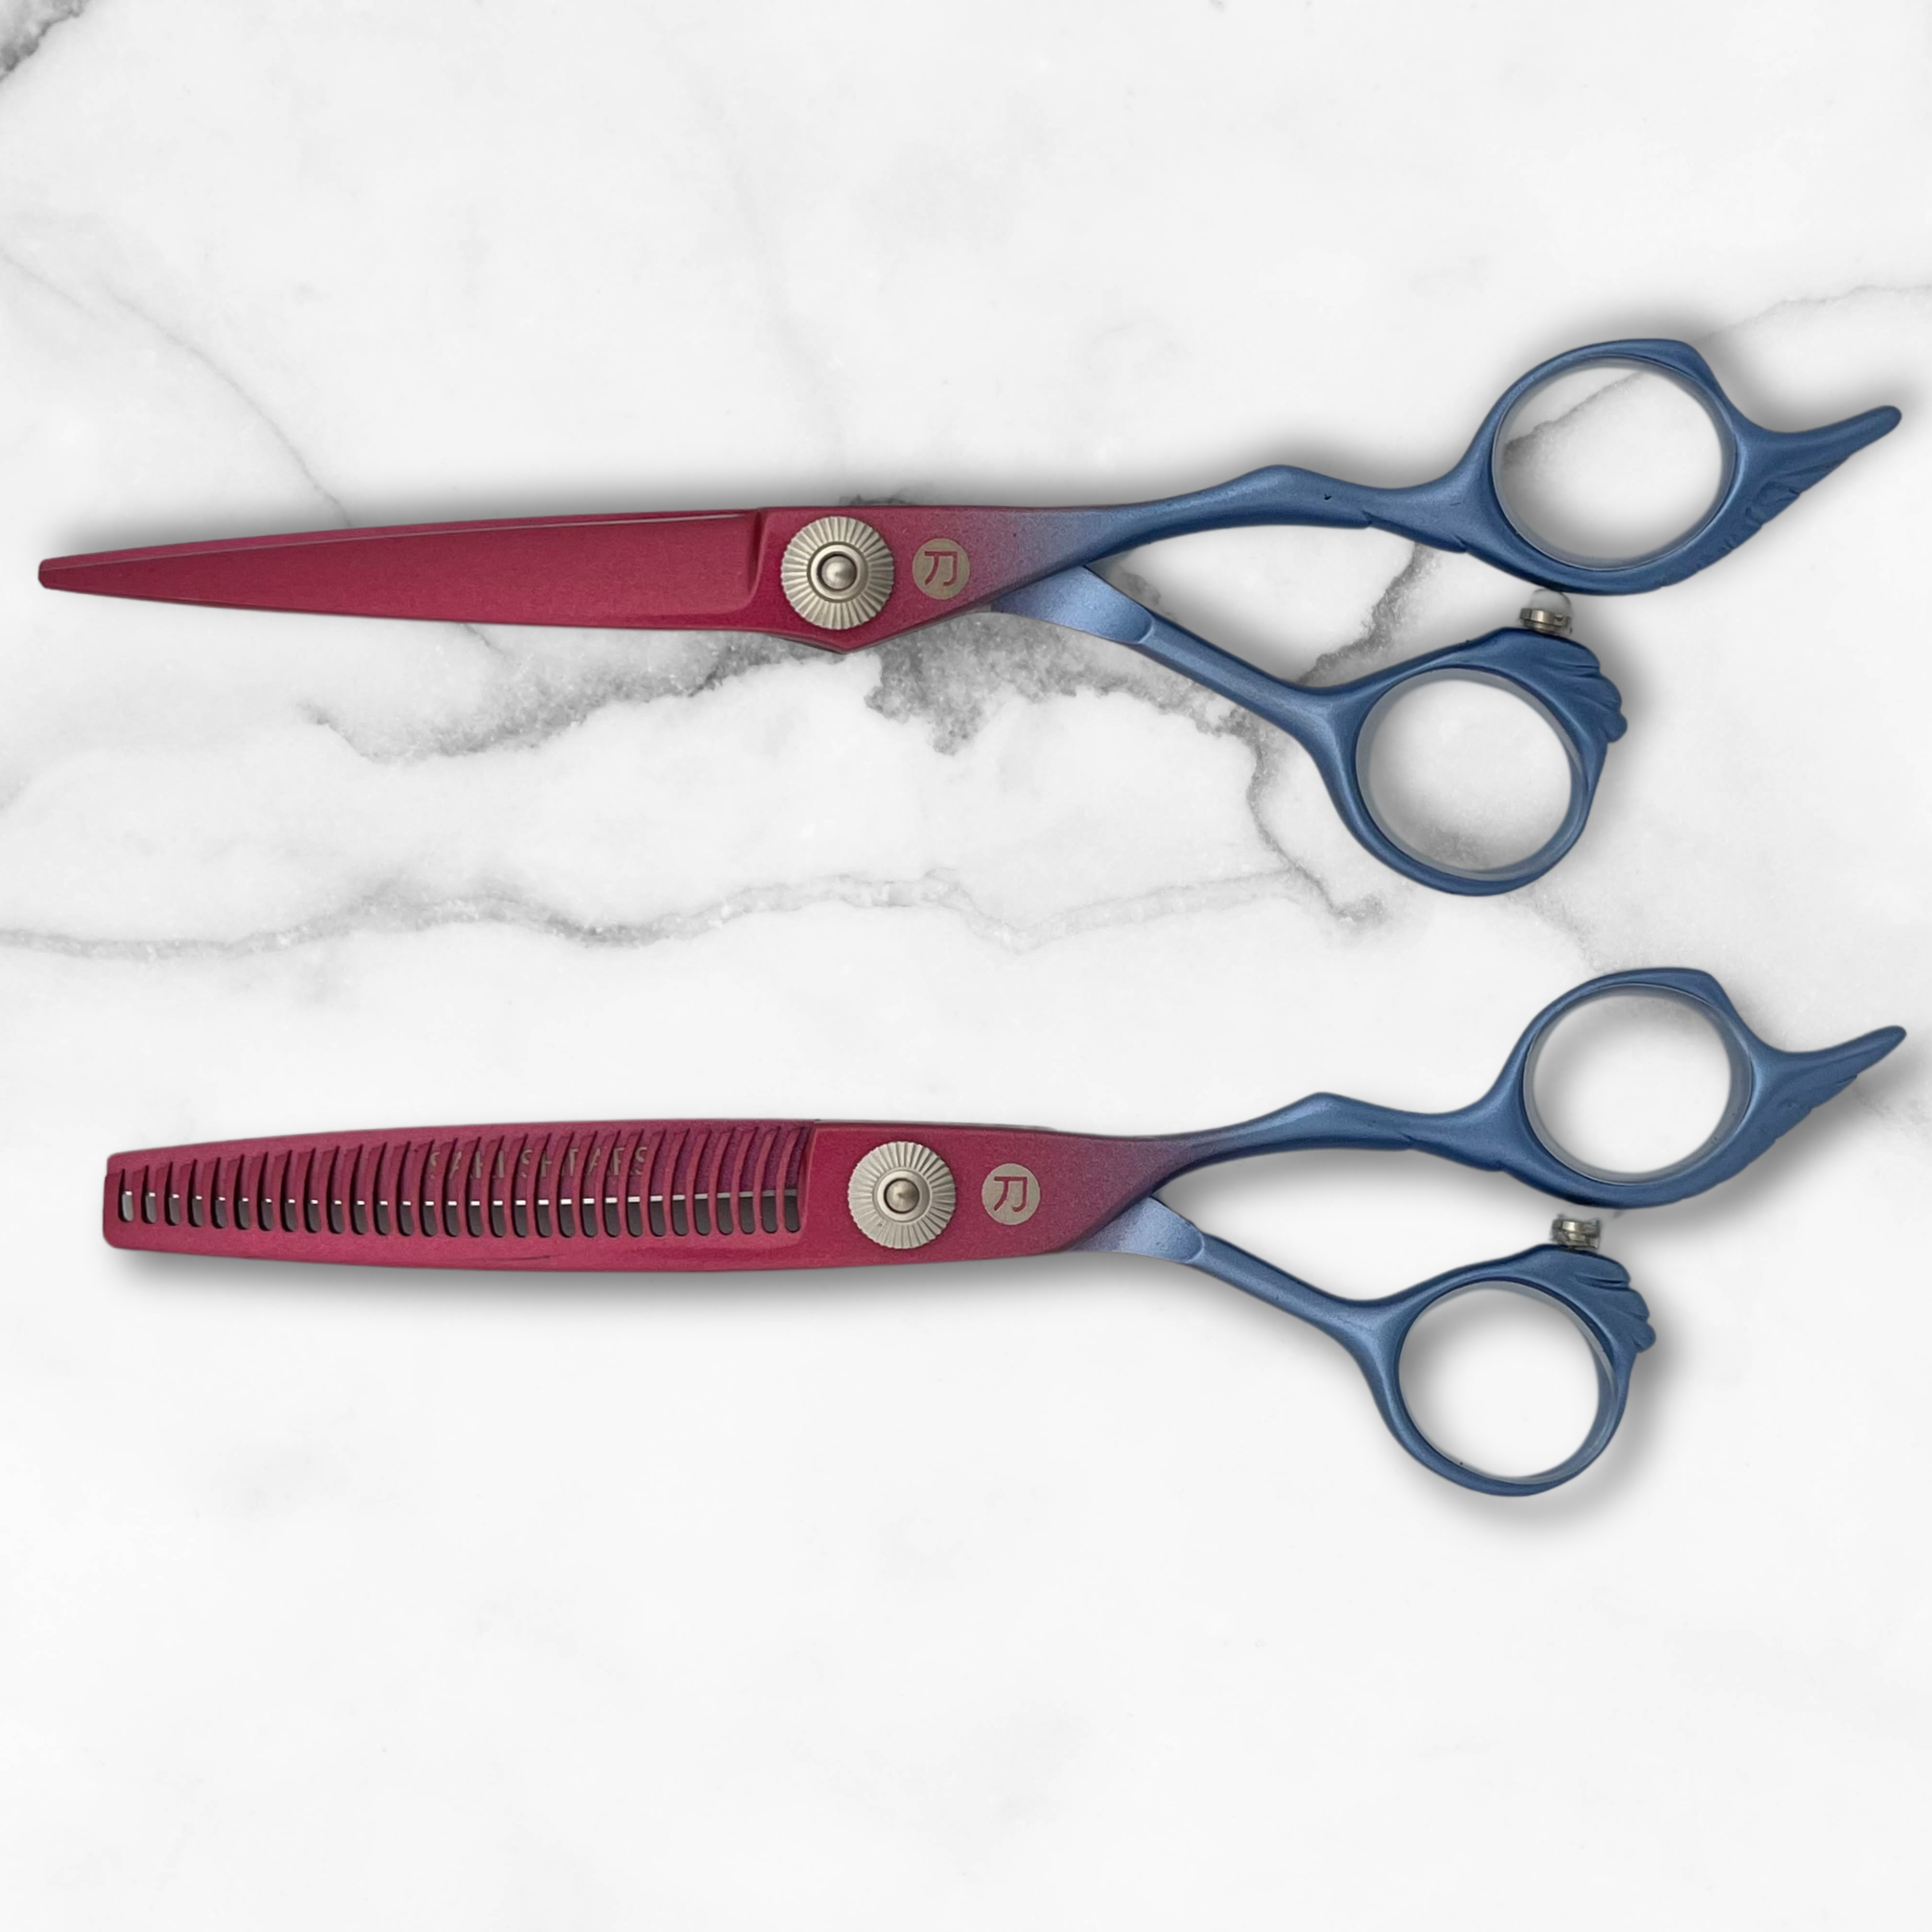
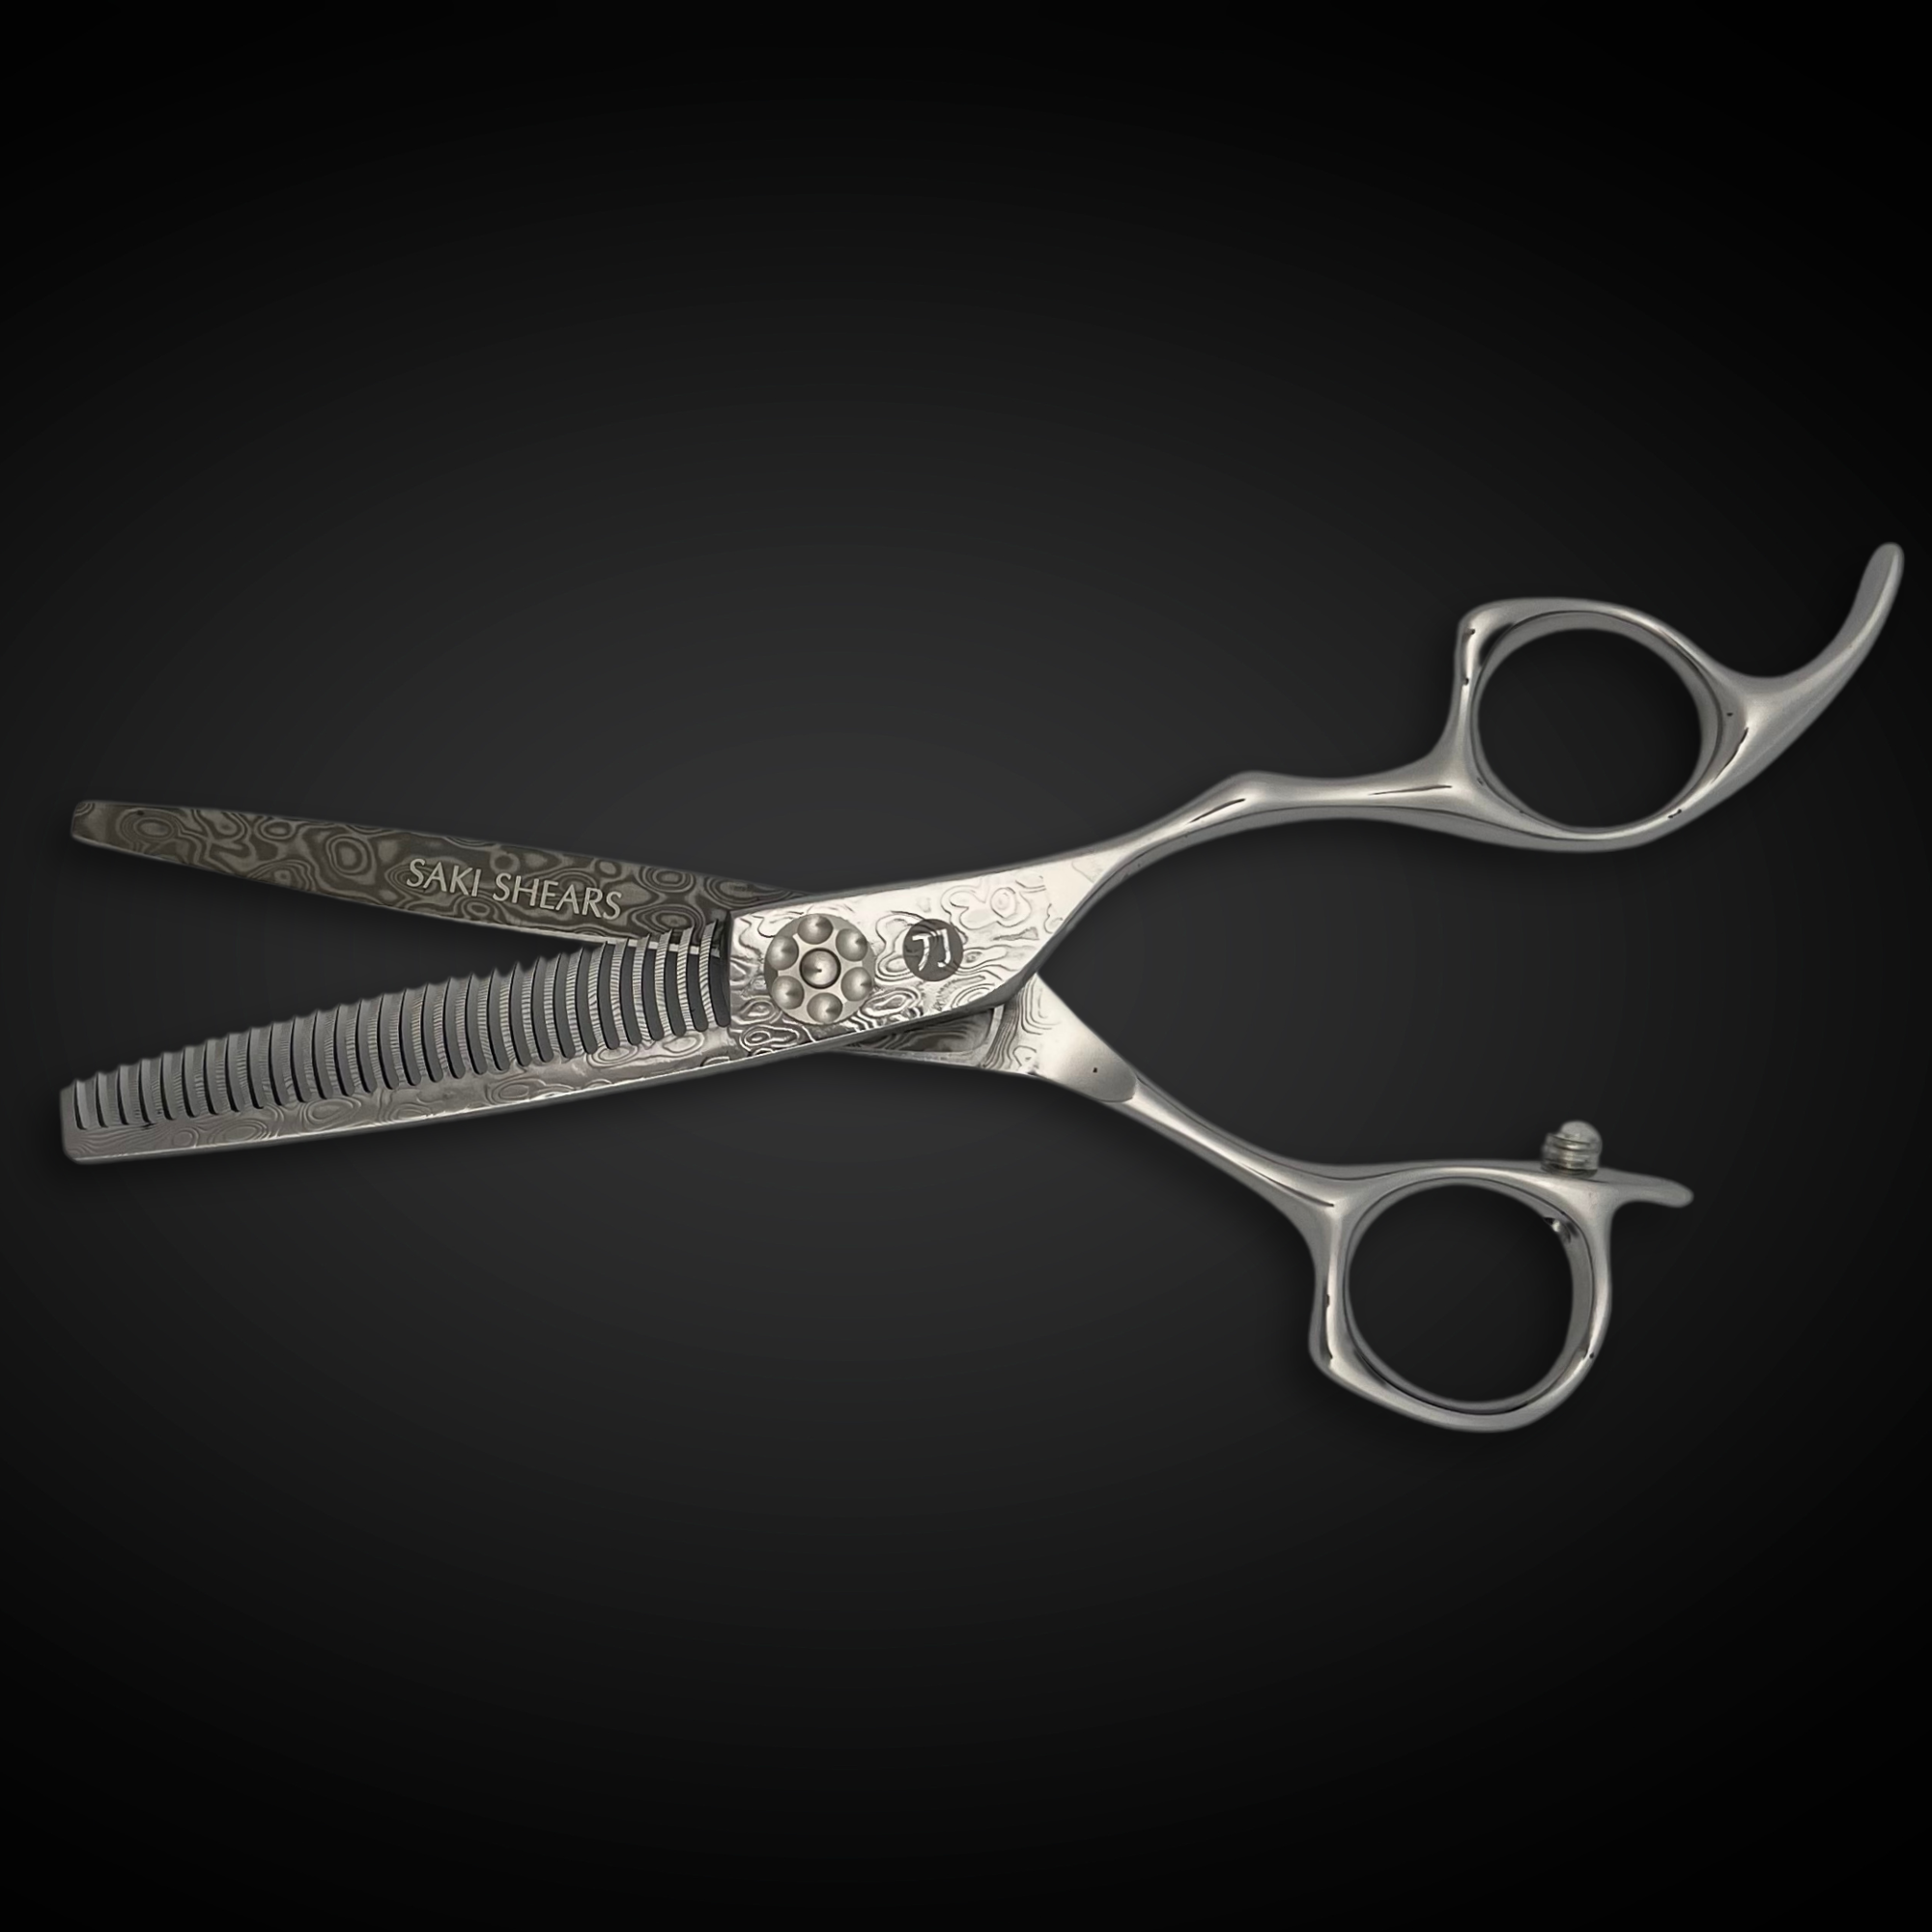
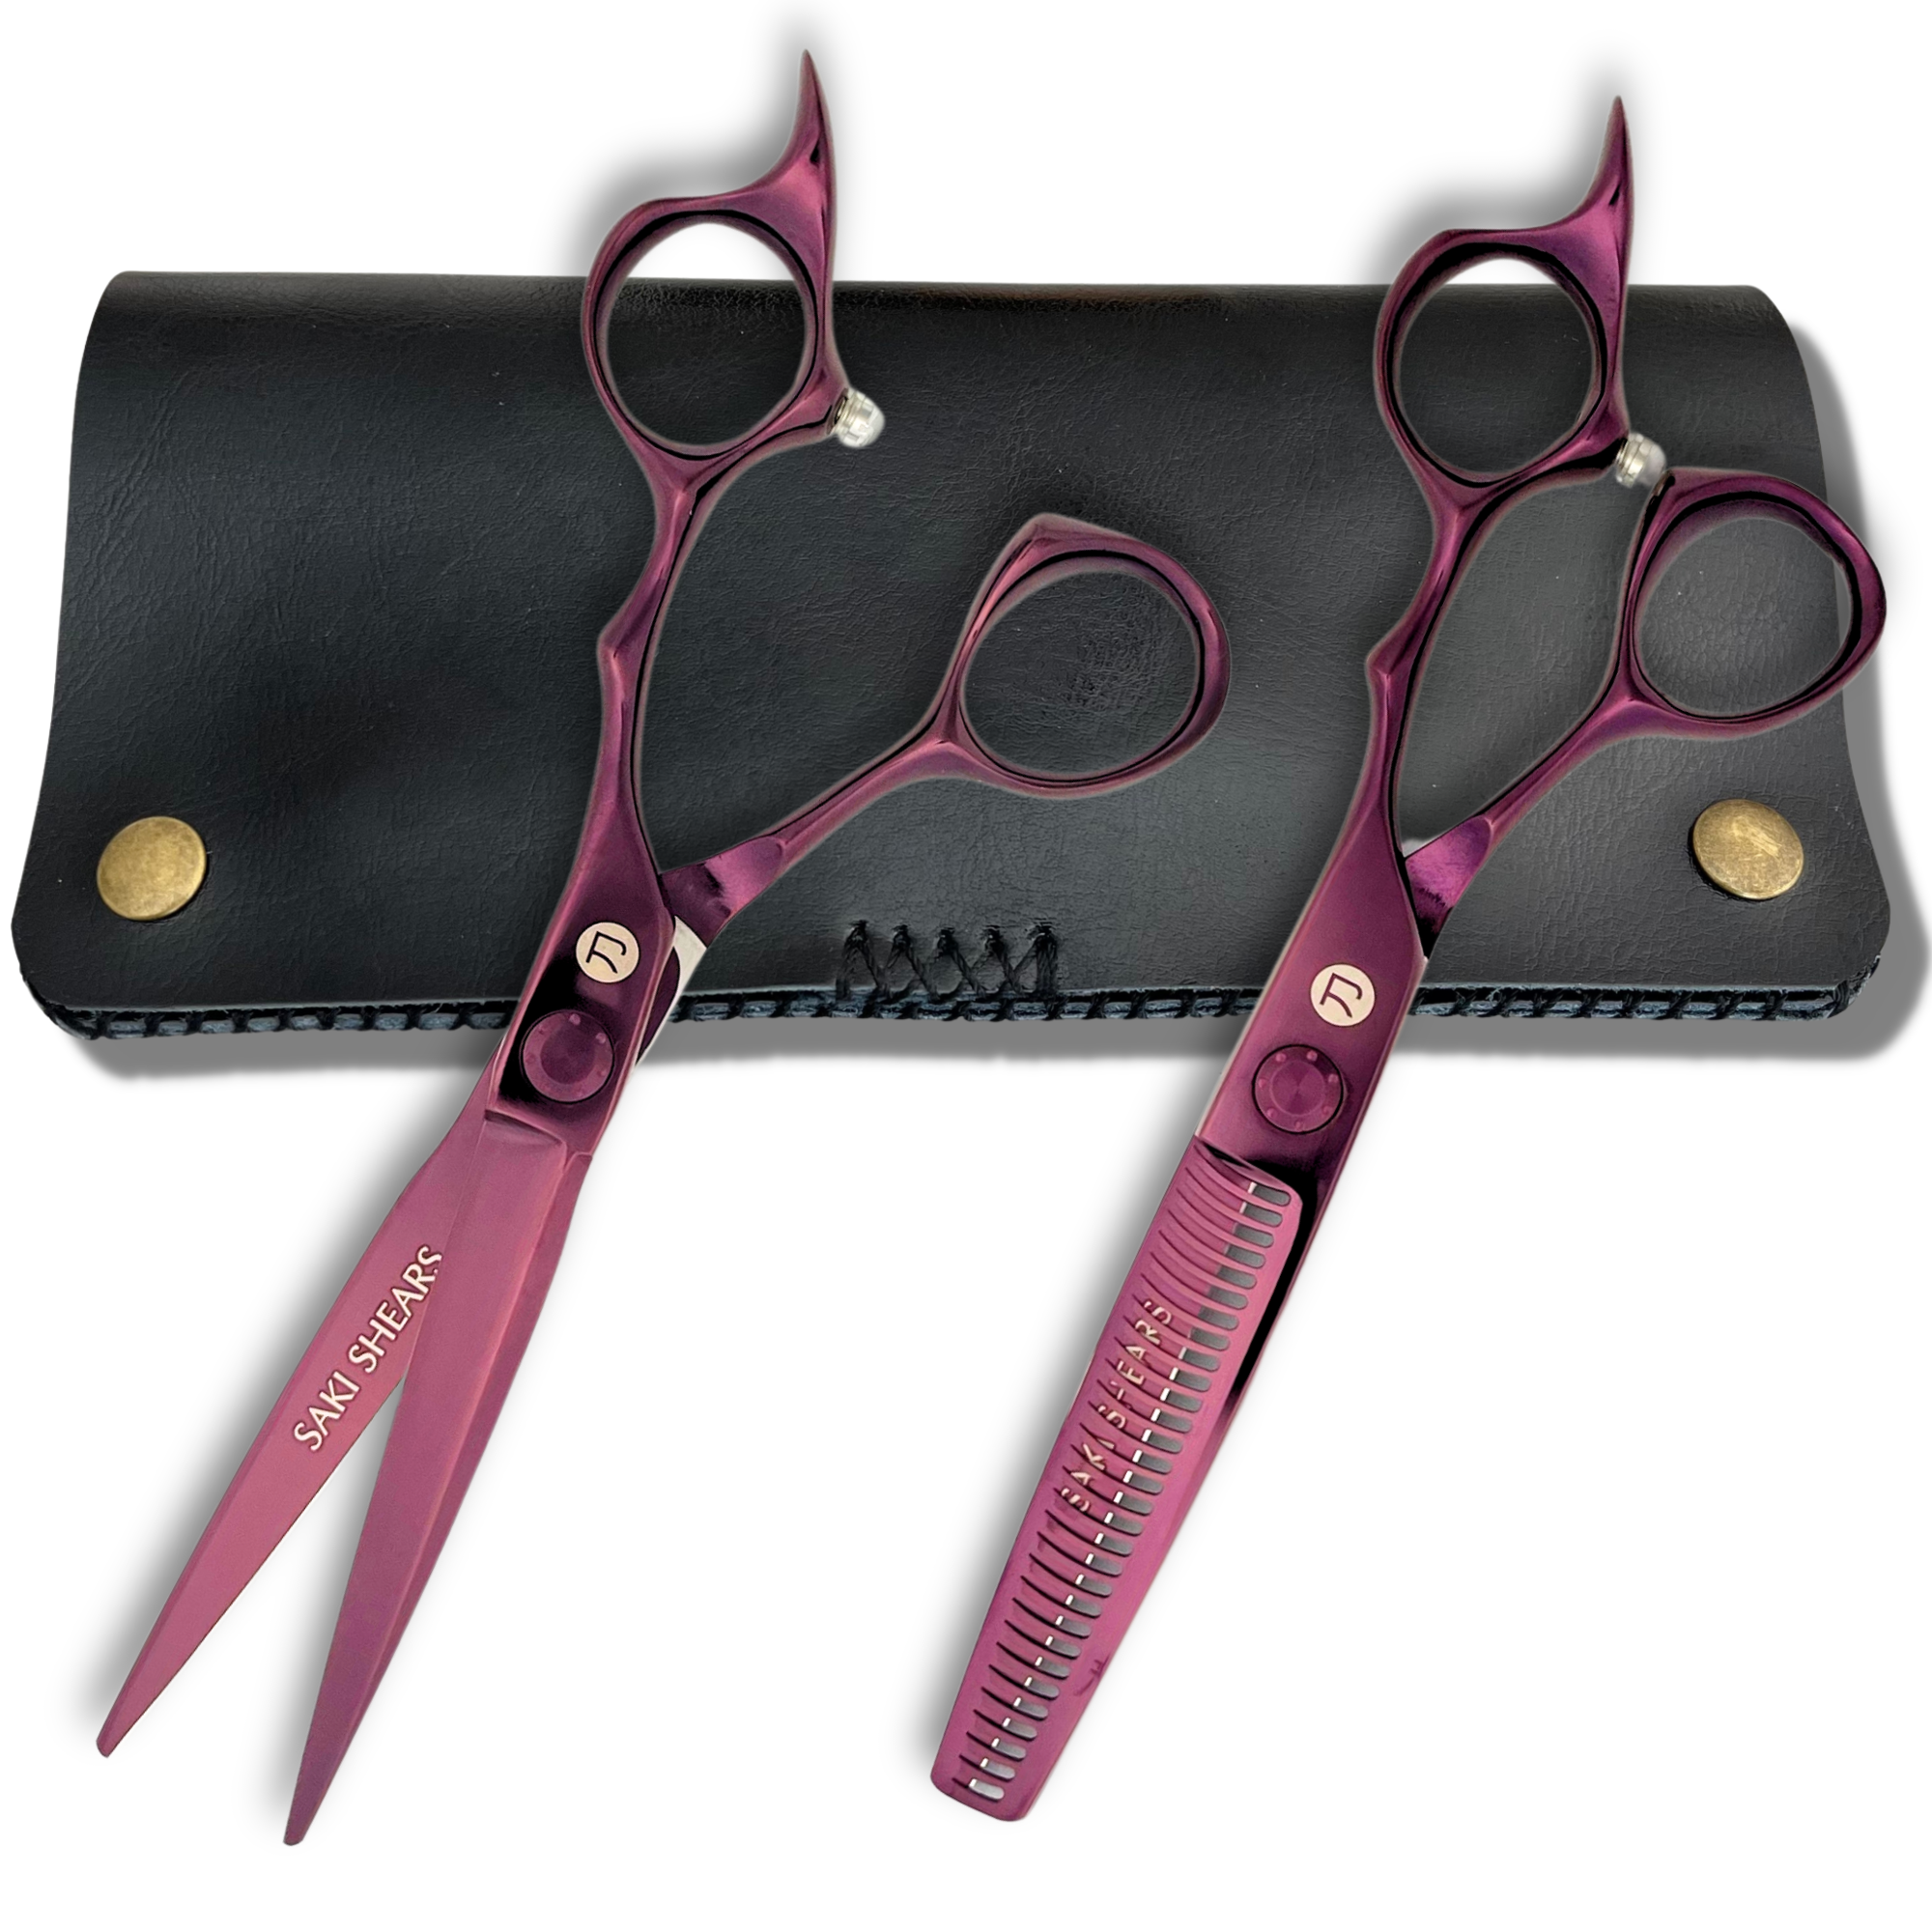
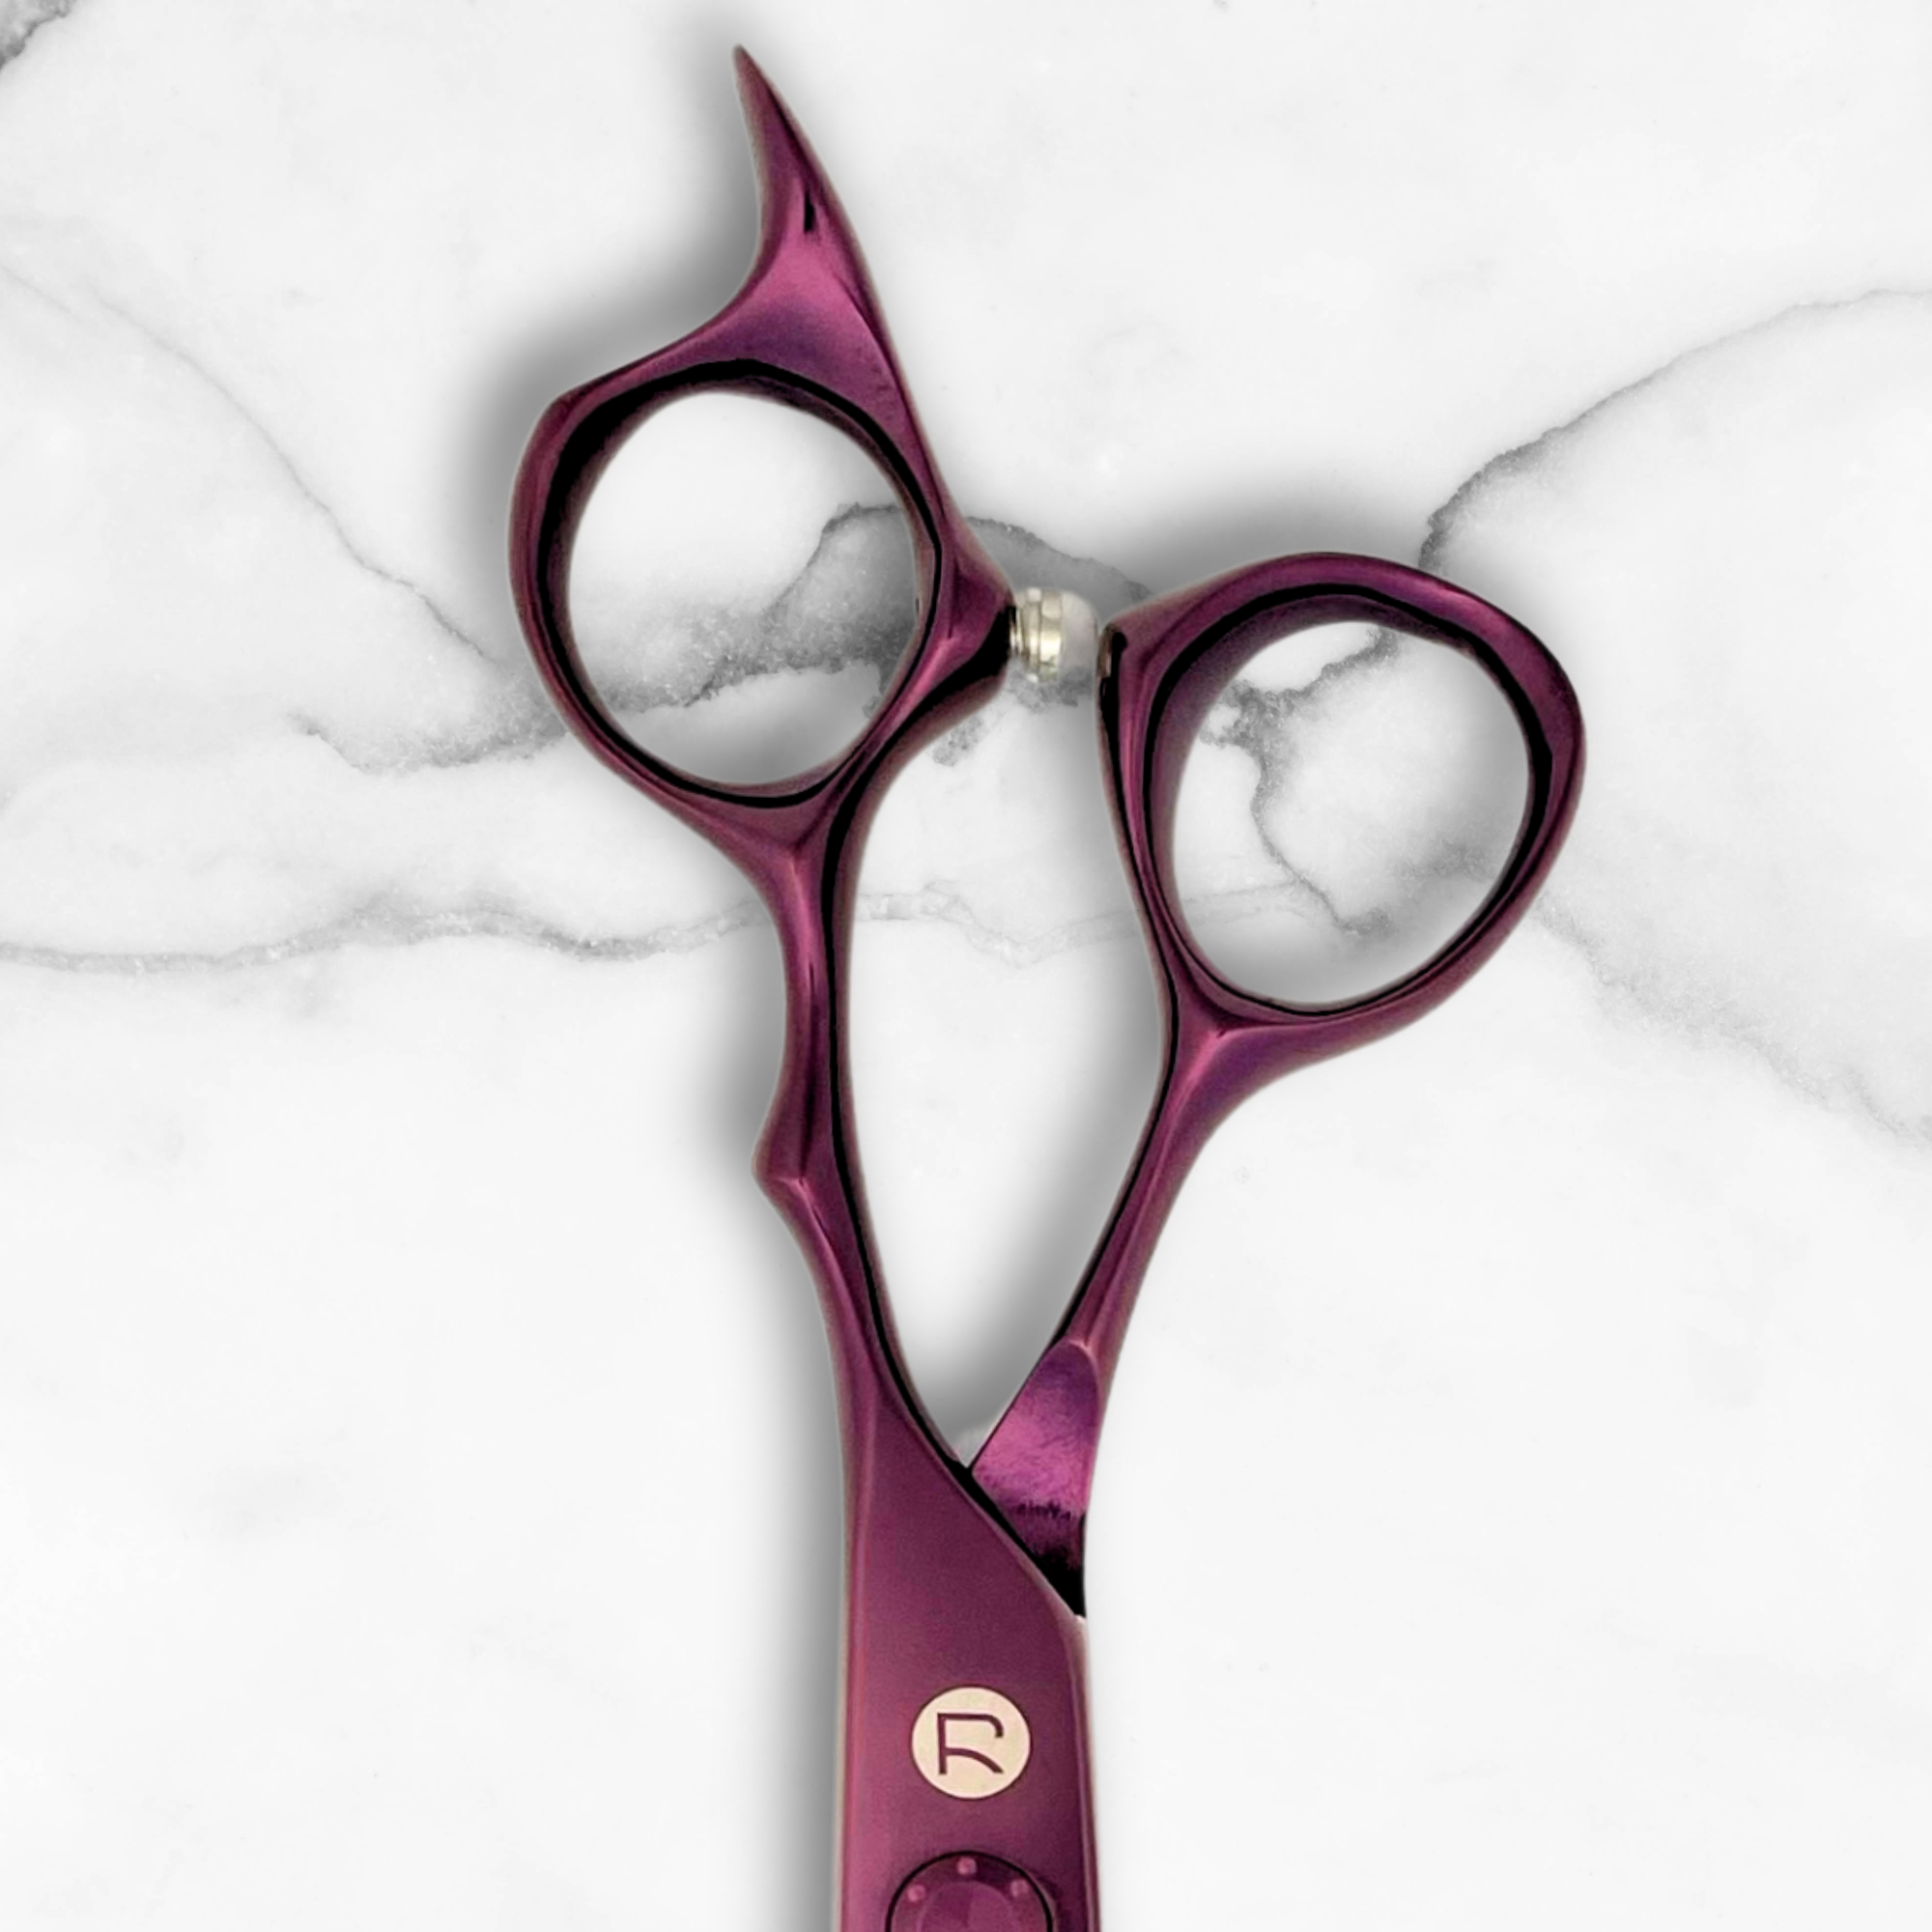
- Use Professional Shears: High-quality Japanese steel shears, like Saki Shears, ensure clean cuts and protect extension bonds.
- Prepare Extensions Properly: Wash, condition, and detangle extensions before cutting to avoid uneven results.
- Master Cutting Techniques: Use methods like point cutting for texture, straight cutting for sharp lines, and slide cutting for blending.
- Protect Bonds: Avoid cutting too close to attachment points and use protective shields when necessary.
- Blend Extensions Seamlessly: Add layers and face-framing cuts to align extensions with natural hair texture.
Quick Tip: Invest in sulfate-free products and maintain your extensions with daily brushing, weekly conditioning, and proper storage to extend their lifespan.
Read on for detailed steps, tools, and care tips to keep your extensions looking flawless.
How to Cut Hair Extensions
Selecting Professional Cutting Tools
Using the right tools is essential for maintaining the quality and lifespan of hair extensions. A good pair of shears can mean the difference between a flawless blend and visible damage.
Hair Extension Cutting Shears
When working with extensions, your shears need to deliver precise cuts without compromising the extension bonds. They should glide smoothly through the hair, avoiding any pulling or snagging that could weaken attachment points.
Standard hair-cutting shears often fall short for this task. Shears designed specifically for extensions come with features like:
- Ultra-sharp blades to prevent fraying
- Precise blade alignment for clean, accurate cuts
- Balanced weight distribution for better control
- Ergonomic handles to reduce hand fatigue during long sessions
Key Features to Look For
The quality of your cutting tools directly affects your results. Here are some must-have features and how they benefit both you and the extensions:
| Feature | Benefit | Impact on Extensions |
|---|---|---|
| Japanese Steel (440C/VG-10) | Long-lasting sharpness | Reduces splitting and fraying |
| Adjustable Tension | Customizable cutting control | Ensures precise angles |
| Ergonomic Design | Reduces hand strain | Improves cutting accuracy |
| Sharp Convex Edge | Smooth, clean cuts | Protects extension bonds |
For example, Saki Shears offers tools that meet all these criteria, making them a favorite among professionals.
Saki Shears Product Guide

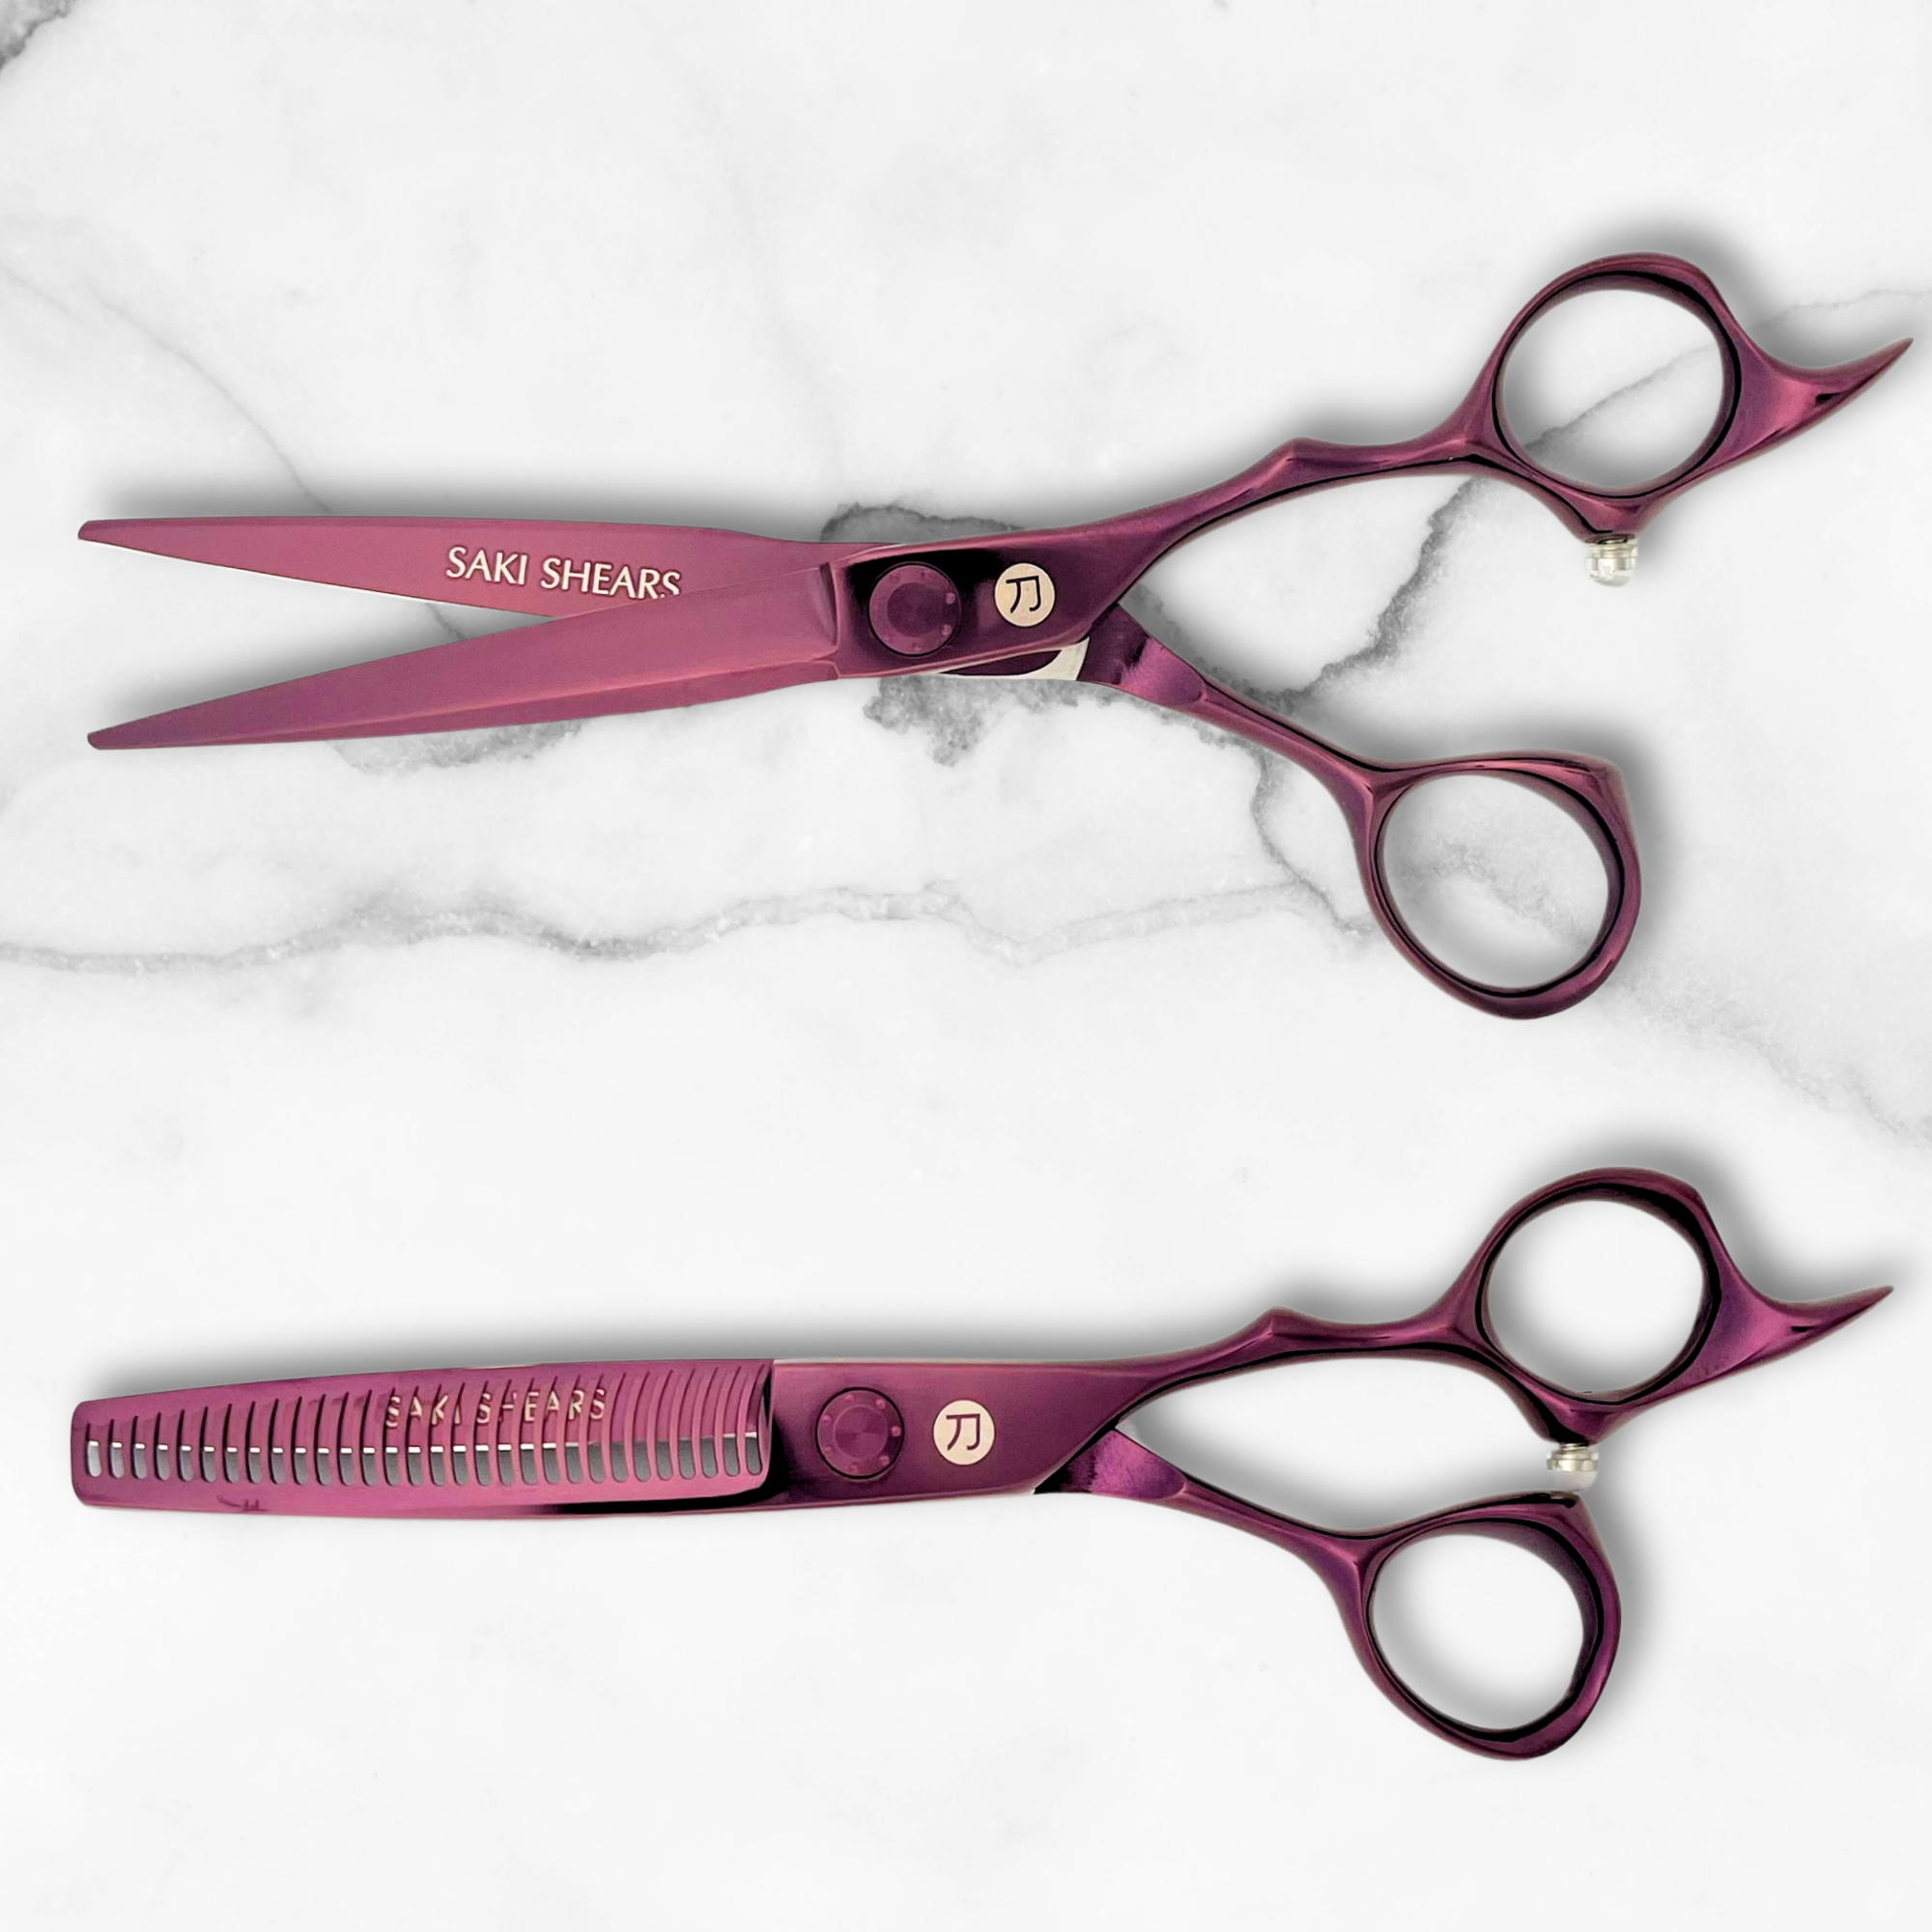
Saki Shears stands out with a range of expertly crafted options, all designed to meet the needs of extension specialists. Their shears are made from high-quality Japanese steel and feature ergonomic designs for comfort and precision.
"I bought the Saki Precision Haircutting Shears and I am absolutely in love with these shears... I was absolutely blown away by how effortlessly these shears cut any type of hair and how straight and smoothly these shears cut." - Vader, Reviewer
Their lineup includes:
- Basic Professional Series: Starting at $124.99, perfect for newer stylists
- Mid-Range Premium Series: From $185.00, featuring adjustable tension systems
- High-End Damascus Series: Starting at $285.00, offering unmatched durability and precision
Each pair of Saki shears comes with a lifetime warranty and is made with Japanese steel to ensure consistent performance. Their attention to detail and precision engineering are evident in every model.
"These cut through hair so easily and quietly. There is almost no resistance when using them. It is stunning. I think these are truly amazing." - tonio d, Reviewer
For professionals working with extensions, investing in high-quality shears is a smart choice. While the upfront cost may seem high, the durability and performance of well-made tools more than make up for it. Properly maintained shears retain their edge longer, reducing the risk of damaging expensive extension installations.
Pre-Cutting Hair Extension Care
Getting your extensions ready before cutting is crucial for achieving professional results. Follow these steps to ensure a smooth and precise cut.
Cleaning and Drying Steps
Start by using a moisturizing shampoo and a deep conditioner to prepare the extensions.
Here’s what to do:
- Apply conditioner and leave it on for about 3 minutes.
- Use a wide-tooth shower comb to spread the conditioner evenly.
- Rinse thoroughly with lukewarm water.
- Gently pat the extensions dry with a microfiber towel.
Removing Tangles
Detangling is essential for smooth, manageable extensions. The table below outlines the best tools and techniques:
| Tool | Purpose | Technique |
|---|---|---|
| Fingers | Separating large knots | Gently work through big tangles. |
| Wide-tooth Comb | Handling major tangles | Start at the ends and move upward. |
| Extension Brush | Daily upkeep | Use light strokes with gentle tension. |
For best results, apply a detangler above the attachment points. Then, section the hair using clips and detangle from the ends upward.
Dividing Hair for Cutting
Once the extensions are clean and tangle-free, sectioning the hair properly ensures an even, natural cut. Use a pintail comb to create neat partings for systematic cutting.
Tips for sectioning:
- Divide the hair into a top section and two side sections.
- Secure each section with extension-friendly clips.
- Make sure the client’s head is straight and level.
- Keep sections neat and precise for better accuracy.
Avoid using too many styling products, as they can dry out natural oils and lead to tangling. A weekly application of leave-in conditioner can help prevent tangles and make preparation much easier.
Safe Cutting Methods
Using the right cutting techniques ensures extensions maintain their integrity while delivering natural-looking results.
Point vs. Straight Cutting
Each method serves a specific purpose and creates distinct styles. Here's how they differ:
| Cutting Method | Best Used For | Technique | Results |
|---|---|---|---|
| Point Cutting | Adding texture and layers | Cut at angles into the hair | Soft, blended finish |
| Straight Cutting | Defining length and lines | Cut straight across | Clean, sharp edges |
For point cutting, hold your shears at a steady angle and cut upward into the hair. This technique removes bulk without reducing length, making it ideal for long bobs or textured looks.
Straight cutting requires precise horizontal lines to create a uniform length. This approach establishes a clean baseline, which can later be softened with point cutting for a more blended appearance. Once the foundation is set, you can refine the style further with slide cuts.
Blending with Slide Cuts
"By opening and closing the shear, we help seal down that cuticle a little bit more so that if she chooses to not do anything to her extensions that day, they're still going to look good when she's just a wash and wear kind of girl."
To perform slide cuts, hold the shears at a 90° angle and use small, diagonal strokes. Work through thin sections of hair for precise face-framing. This technique helps create a natural flow and blends extensions seamlessly with the client's hair.
Protecting Extension Bonds
When cutting near attachment points, use protective shields to isolate the bonds and prevent damage. Precision is key to maintaining the extensions' durability. For keratin fusion bonds, adjust the technique based on the client's natural hair texture. For those with fine hair, consider cutting the bonds into thirds vertically to minimize bulk.
Different types of extensions require tailored care. Vision Hair Extensions suggests using heat-resistant, reusable protective shields when working close to attachment points to ensure both safety and longevity.
Matching Natural Hair
Blend extensions effortlessly by aligning textures and using precise cutting techniques.
Adding Layers
Customize layering based on the client's hair texture for the best results.
| Hair Type | Technique | Goal |
|---|---|---|
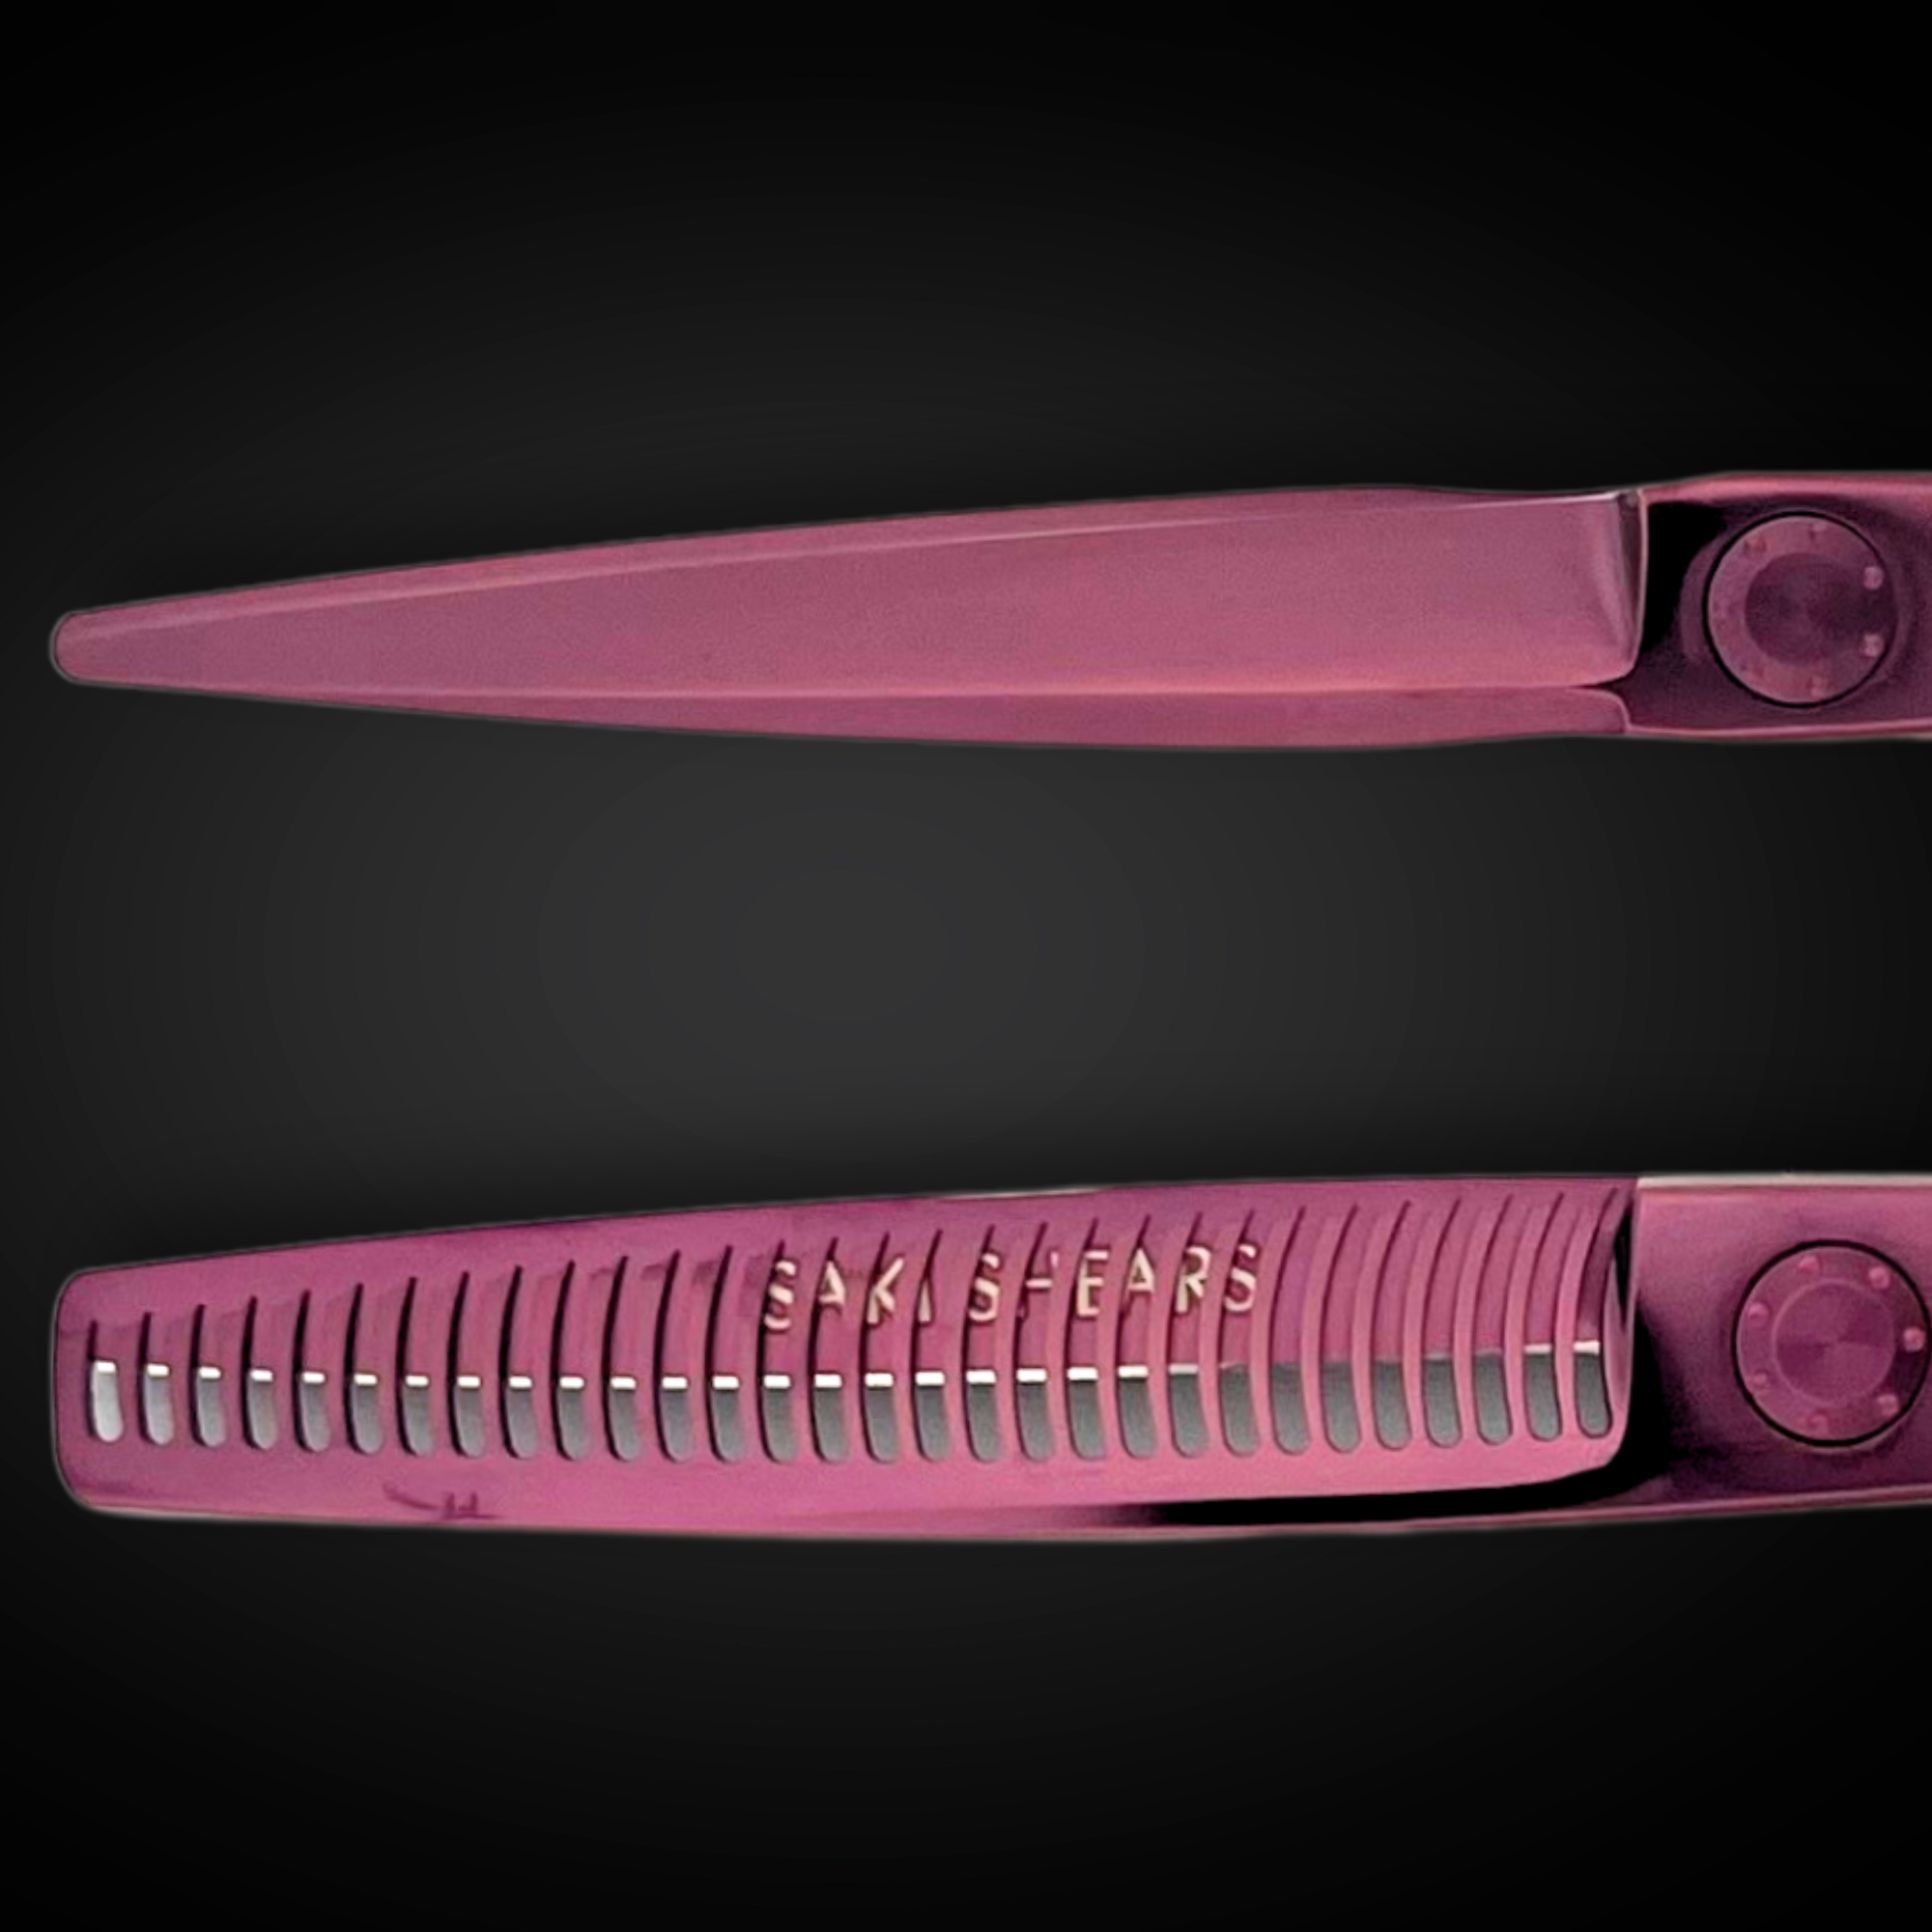
| Thick | Use thinning shears to reduce bulk | Minimize weight and add movement |
| Fine | Apply precise layering methods | Maintain density while boosting volume |
To blend layers effectively, section the hair horizontally starting at the nape and work upward. Once the layers are in place, focus on shaping around the face to create a balanced and cohesive look.
Framing the Face
Face-framing layers can accentuate features and add dimension. Hair Stylist Ashley Rubell highlights how these layers bring out facial features. Keep the shortest layers around the nose or cheekbone area for a flattering effect. Use slide cutting to ensure a smooth transition between layers.
Natural-Looking Blends
After layering and framing, refine the style to replicate the look of natural hair. Use these steps to achieve a polished blend:
-
Initial Texturizing
Align extension texture with the client's hair using thinning or texturizing techniques. -
Refinement
Use point cutting along each section to create soft, feathered ends. -
Final Touches
Comb through the hair to remove any uneven areas or disconnections.
Care and Upkeep
Once you've achieved a seamless cut and blend, taking care of your extensions is key to keeping them looking their best.
Hair Care Products
Choose sulfate- and alcohol-free products specifically made for extensions.
| Product Type | Recommended Option | Price | Purpose |
|---|---|---|---|
| Shampoo | Exsalonce Restore | $8.00 | Gentle, sulfate-free cleansing |
| Conditioner | Exsalonce Restore | $10.00 | Deep hydration |
| Leave-in Treatment | Exsalonce 3-in-1 Mist | $14.00 | Detangling and protection |
| Full Care Kit | Exsalonce Maintenance Kit | $150.00 | Comprehensive aftercare system |
To get the best results, use products that balance protein and moisture. Bailey from Daily With Bailey suggests Unite's Blonda line for color-treated extensions and Monat styling products for everyday use.
Daily Care Tips
- Brush carefully: Start from the ends and work your way up using a wide-tooth comb or extension brush. Hold the hair near the attachment points to avoid stressing the bonds.
- Apply argan oil: Use a small amount on the ends (steer clear of the roots) to keep the hair nourished.
- Secure before bed: Tie extensions in a loose braid or ponytail to reduce friction and tangling overnight.
If you lead an active lifestyle, secure your hair in a loose ponytail during workouts to prevent matting. These small, daily steps go hand-in-hand with the weekly maintenance routine below.
Maintenance Schedule
Stick to this simple routine to keep your extensions in top shape:
| Timeframe | Maintenance Task | Purpose |
|---|---|---|
| Daily | Gentle brushing (2x) | Prevent tangling |
| Weekly | Deep conditioning | Retain moisture |
"Professional hair cutting shears are an extension of the stylist's hand. Like any precision tool, they require regular care to maintain their sharpness, precision, and longevity."
– Reliable Beauty Supply
For clip-in extensions, always remove them before bed and store them in their original packaging to preserve their shape and prevent damage.
Conclusion
Cutting and maintaining hair extensions requires the right tools and techniques. High-quality Japanese steel shears, like the Saki Katana Japanese Hair Cutting Shears (priced around $185), are perfect for achieving clean, precise cuts that protect both the extensions and natural hair.
Preparation is key. Since extensions can’t repair split or damaged ends like natural hair, using techniques such as point cutting and slide cutting is essential. These methods help create a natural blend while keeping extension bonds intact.
Don’t forget to care for both your tools and extensions. Keep your shears clean and stored in a dry place, and use gentle, sulfate-free products on extensions to maintain their look and longevity. For those seeking top-tier performance and durability, consider investing in tools like the Saki Kanzen Damascus shears ($355).
