How to Transition from Safety Razors to Straight Razors: A Comprehensive Guide
Switching from safety razors to straight razors can elevate your shaving experience, offering precision, control, and long-term savings. However, it requires practice, patience, and proper maintenance. Here’s what you need to know:
- Benefits: Straight razors reduce waste, save money over time, and provide a closer shave.
- Challenges: Steeper learning curve, regular stropping, and occasional honing are required.
- Getting Started: Choose a 5/8 or 6/8 inch blade (ideal for beginners) and invest in essential tools like a leather strop and honing stones.
- Technique: Use a 30-degree blade angle, shave with the grain, and stretch your skin for a smoother glide.
- Maintenance: Clean, dry, and strop the blade daily; hone it every 12-18 months.
| Feature | Safety Razor | Straight Razor |
|---|---|---|
| Blade Protection | Guarded blade | Fully exposed blade |
| Learning Curve | Moderate (1-2 weeks) | Steep (weeks to months) |
| Maintenance | Replaceable blades | Stropping & honing needed |
| Control | Limited by guard | Full manual control |
Switching isn’t just about the tool - it’s about embracing a skill that transforms shaving into a rewarding ritual.
How to Shave with a Straight Razor
Safety Razors vs. Straight Razors
These two shaving tools differ greatly in both design and how they’re used.
Design and Usage Differences
The biggest difference lies in the blade. Safety razors have a protective guard that reduces blade exposure, making them easier to use, especially for beginners. In contrast, straight razors feature a fully exposed blade, requiring more skill and precision to handle effectively.
| Feature | Safety Razor | Straight Razor |
|---|---|---|
| Blade Protection | Protective guard | Fully exposed blade |
| Learning Curve | Moderate (1-2 weeks) | Steep (weeks to months) |
| Maintenance | Replaceable blades | Regular stropping and honing |
| Control | Limited by guard design | Full manual control |
Straight razors also come in various widths, with a 5/8-inch blade width being a great choice for beginners due to its balanced feel and ease of use.
Common Switching Difficulties
Switching to a straight razor takes time and patience. Many users face challenges in the early stages, such as:
- Blade Control: Without a protective guard, holding the blade at the correct 30-degree angle is crucial to prevent cuts or irritation.
- Maintenance: Straight razors need regular care, including stropping before each use and occasional honing to keep the blade sharp.
- Time Commitment: Shaves can initially take 20-30 minutes but usually become quicker (10-15 minutes) with practice.
Starting with reliable tools and practicing consistently can make the transition smoother. Understanding these differences will help you decide if a straight razor suits your needs and prepare for the learning curve ahead.
Picking Your First Straight Razor
Choosing the right straight razor can make your transition from safety razors much smoother. Your selection will directly affect how quickly you pick up the technique and the quality of your shaves.
Blade Types and Styles
The width and grind of the blade play a big role in how the razor feels and performs. If you're just starting out, a blade width of 5/8 inch or 6/8 inch offers a good balance of control and effectiveness.
Here’s a quick breakdown of common grind types:
| Grind Type | What to Expect |
|---|---|
| Half Hollow | Easier to control, good for learning |
| Full Hollow | Lightweight but more aggressive |
| Quarter Hollow | Heavier, offering stable control |
For beginners, a round-point blade is a safer option. If you're up for a challenge, square or oblique points can provide more precision but demand greater skill.
"A good quality straight razor isn't cheap and the delicate blade is easily damaged." - Sharpening Supplies [2]
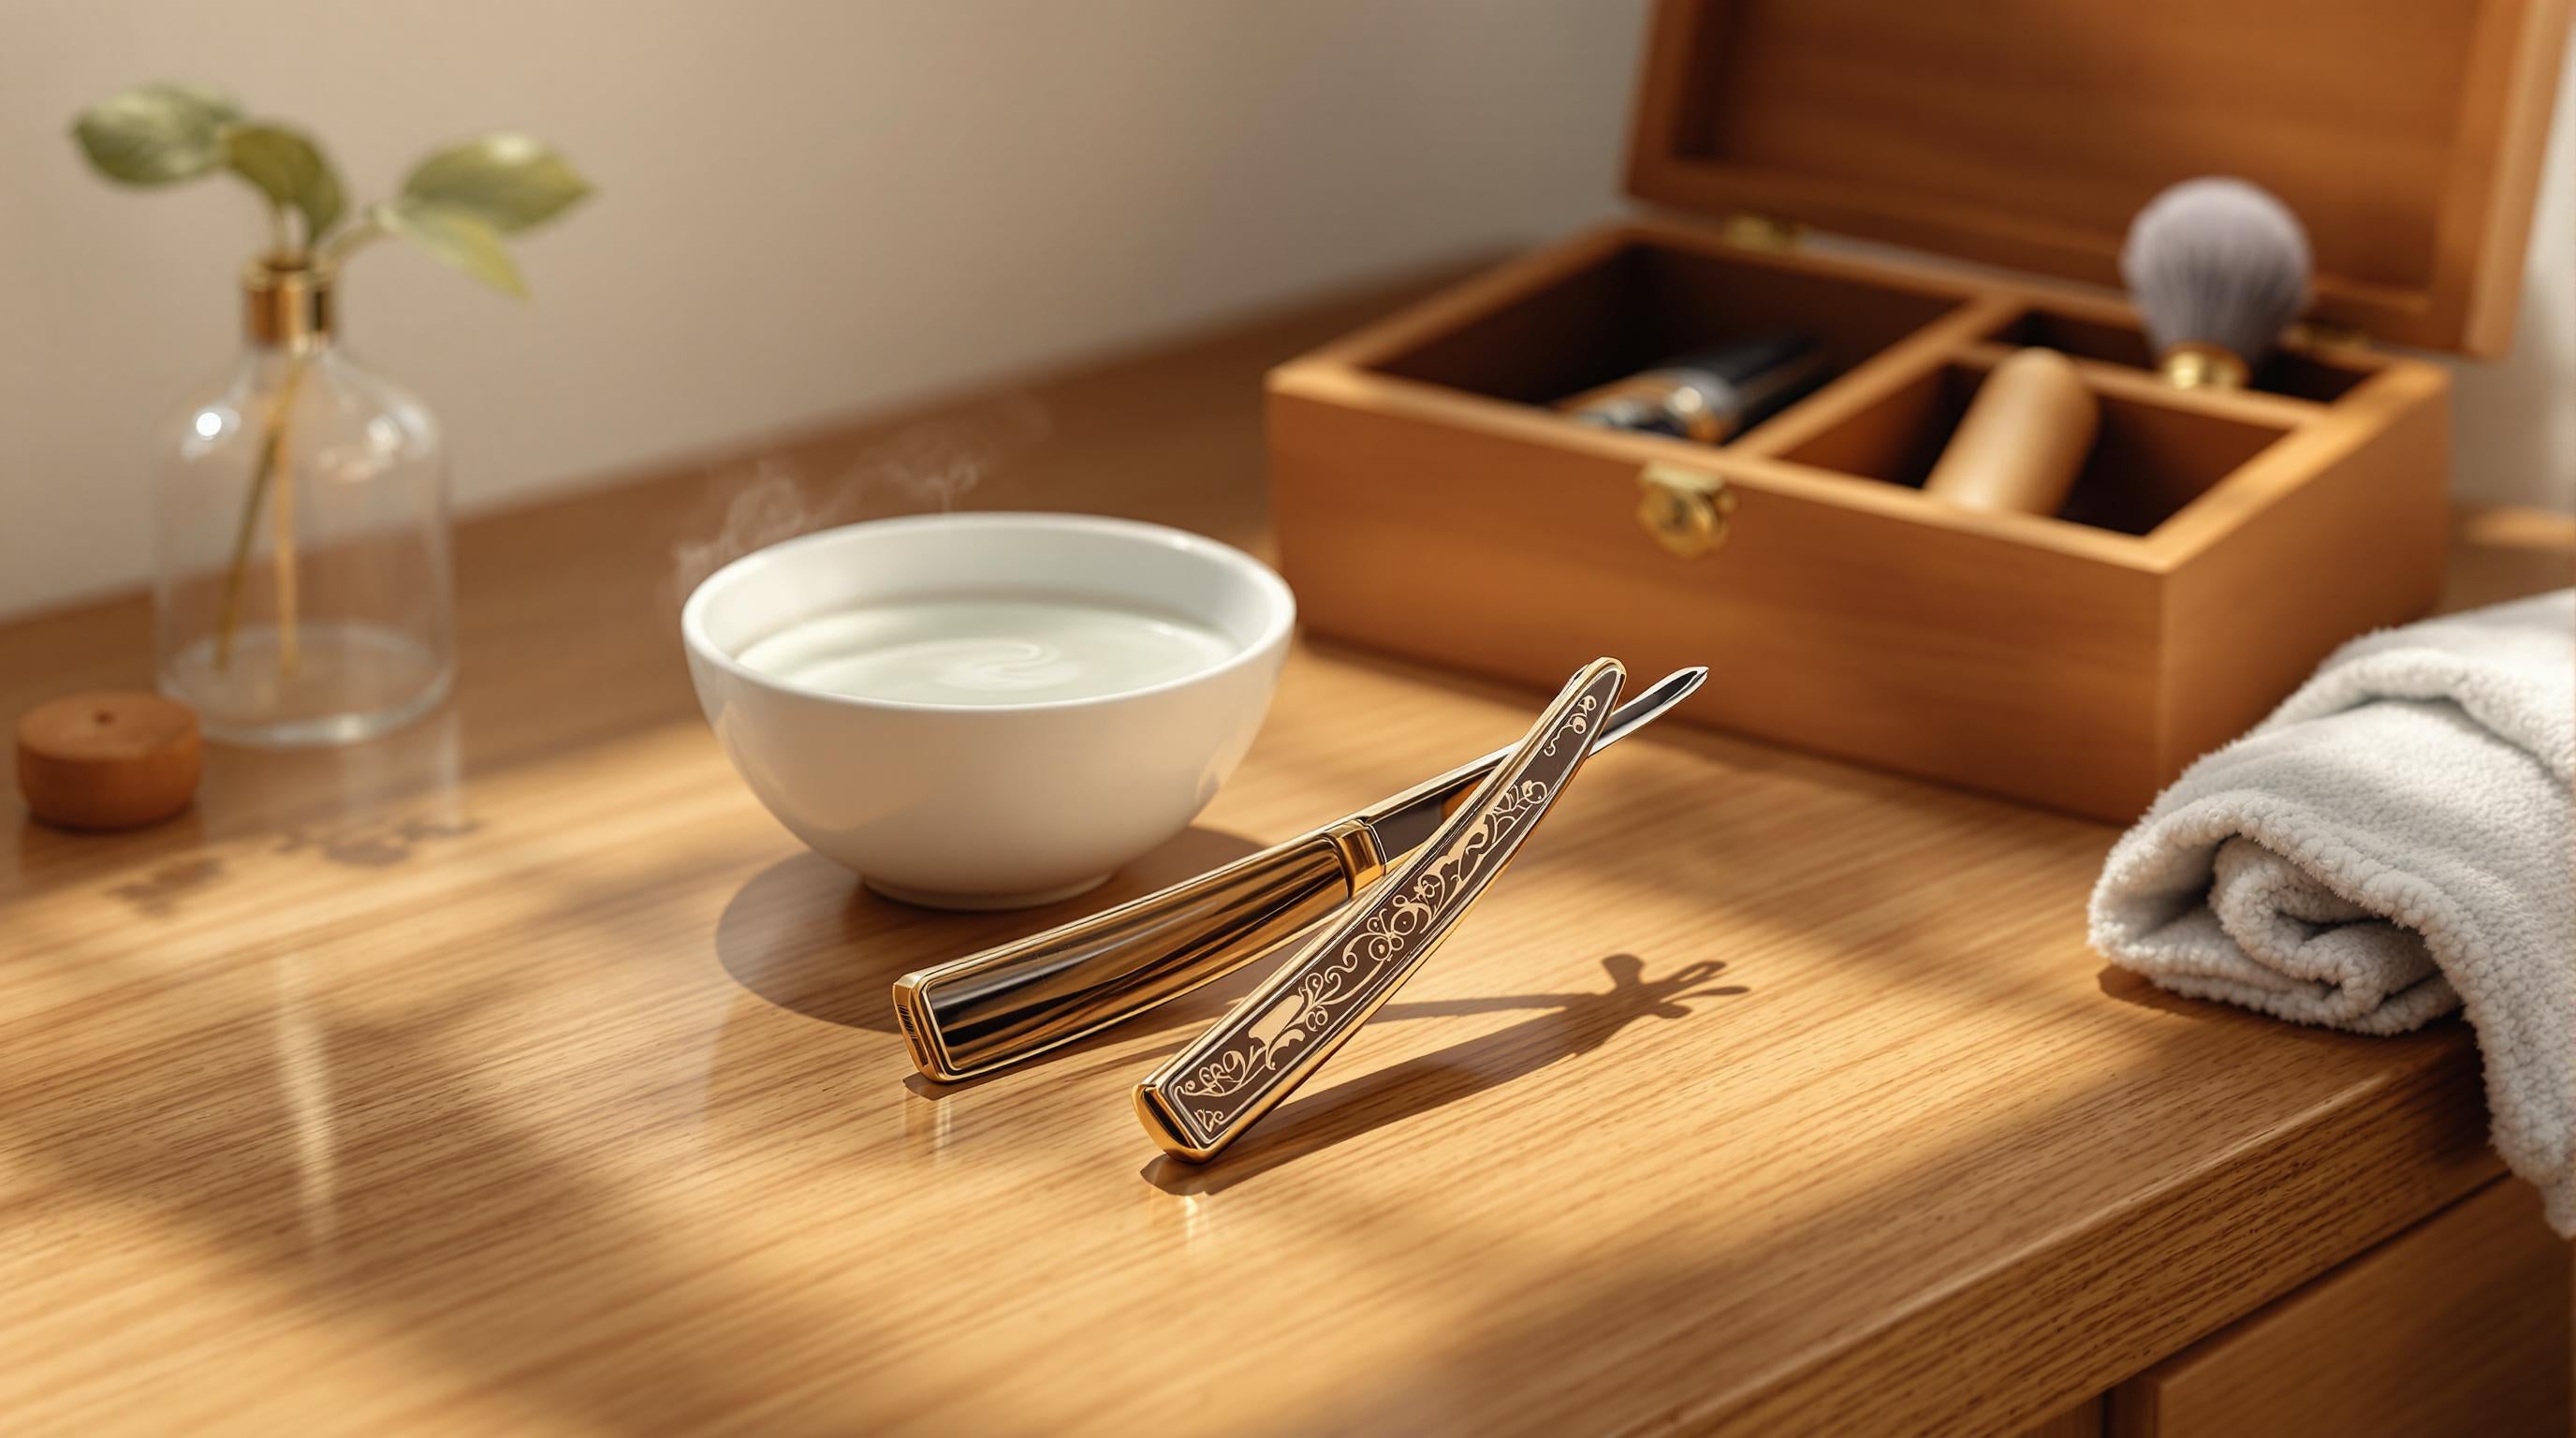
Basic Equipment Needs
To keep your razor in top shape, you'll need a few tools:
- Leather strop: Aligns the blade before each shave.
- Sharpening stones: For occasional maintenance.
- Razor stand: Protects the blade and keeps it stored safely.
Stick to razors from well-known manufacturers to ensure durability and value [1]. While the upfront cost might seem high, a well-made straight razor can last a lifetime with proper care.
Once you’ve got the right razor and tools, it’s time to focus on learning the technique.
Basic Straight Razor Shaving Steps
Straight razor shaving can feel intimidating at first, but with the right technique and safety measures, it becomes a skill you can master. Here’s a breakdown of the key steps to make the shift from safety razors smoother.
Getting the Technique Right
Grip and angle are what set straight razors apart from safety razors. For the proper grip, place your thumb on the tang (the flat section near the pivot) and rest your index and middle fingers on the opposite side. This setup gives you control while allowing wrist flexibility.
When it comes to the angle:
- Keep the blade as flat as possible against your skin.
- Aim for about a 30-degree angle between the blade and your skin.
- Always align the blade with the direction of hair growth.
With these basics in mind, you can follow these steps to build your shaving routine:
| Phase | Description |
|---|---|
| Preparation | Use hot water to rinse your face and apply a quality lather to soften hair and lubricate skin. |
| First Pass | Shave lightly with the grain to remove most of the hair. |
| Skin Control | Use your free hand to stretch the skin for a smoother glide. |
| Maintenance | Rinse the blade often to prevent buildup. |
Begin with the sides of your face, as the skin there is flatter and easier to work with. Let the razor’s weight do most of the work - apply only light pressure. It typically takes 4-6 weeks of regular practice to feel confident with this technique [1].
Avoiding Common Mistakes
Here are two pitfalls to steer clear of:
- Skipping Preparation: Failing to prep your skin can lead to irritation. Always use warm water and high-quality shaving products to protect your skin.
- Rushing the Process: Use slow, controlled strokes, especially around tricky areas like your jawline and neck. Quick or jerky movements can cause cuts.
Once you’ve nailed the shaving technique, the next step is learning how to care for your razor to keep it in top condition.
Razor Maintenance and Care
Taking care of your straight razor is just as important as mastering the technique. Unlike disposable blades, a well-maintained straight razor can last a lifetime - or even be passed down through generations.
Daily Care and Stropping
Keeping your razor in top shape starts with daily attention and proper stropping. After every shave, rinse the blade thoroughly with warm water to remove any leftover lather or debris. Then, gently pat it dry with a soft, lint-free cloth, being careful not to touch the cutting edge.
Stropping is a must before each shave to keep the blade aligned. Here's how to do it:
| Step | Action | Key Details |
|---|---|---|
| 1. Mount | Secure the strop above waist height and keep it tight | Consistency is key |
| 2. Position | Lay the razor flat against the strop | Maintain a 30-degree angle |
| 3. Stroke | Pull the razor across the leather | Always lead with the spine |
| 4. Repeat | Do 25 strokes on the prep side | Follow with 50 strokes on the finishing side |
"By stropping the edge of the razor along leather repeatedly, you can re-align the edge to the nearly perfect state it should have been in before the shave." - Nathan Gareau, Author at Kent of Inglewood [4]
Blade Sharpening Guide
Even with regular stropping, your razor will eventually need sharpening. Most blades require professional honing every 12-18 months, depending on how often they're used. Watch out for these signs that it’s time for sharpening:
- Hair tugging during shaves
- Reduced cutting ability
- Discomfort even after stropping
For home sharpening, honing stones are your go-to tools. Use a progression of grits for the best results:
| Grit Level | Purpose | When to Use |
|---|---|---|
| 3,000 | Initial refinement | Every 12-18 months |
| 8,000 | Fine finishing | After using 3,000 grit |
| 12,000 | Final polishing | As needed for smoothness |
Storage and Protection Tips
Proper storage is essential to prevent damage. Keep your razor in a dry, well-ventilated area, away from moisture and temperature extremes. To protect the blade, apply a thin layer of acid-free oil, such as camellia or USP mineral oil.
"Preventing rust is far easier than fixing it once it occurs." [4]
For long-term storage:
- Clean and dry the razor thoroughly, including the area between the scales.
- Apply a protective oil like Ballistol or a specialized razor oil.
- Store the razor in a dedicated case or pouch.
With consistent care, your straight razor will deliver excellent shaves and stand the test of time.
Conclusion
Switching from safety razors to straight razors offers a closer shave and a deeper connection to the art of wet shaving.
Brands like Dovo and Thiers Issard provide dependable options for beginners, especially with 5/8 or 6/8 inch blades. These sizes strike a good balance between ease of use and control, making the learning process smoother while elevating the shaving experience.
Developing skill with a straight razor usually takes 12-18 months of consistent practice.
"A dull straight razor can cause skin irritation, slow down the shaving process, and may result in nicks and cuts." - Sharpening Supplies, How to Hone a Straight Razor [2]
Proper maintenance is key. Using a high-quality strop and honing stones (#4000 and #8000 grit) helps keep the blade sharp and effective over time [3].
This shift isn’t just about changing tools - it’s about embracing a classic grooming ritual. Straight razor shaving transforms from a routine chore into a satisfying and rewarding tradition.
FAQs
How to properly maintain a straight razor?
Taking care of your straight razor is key to keeping it sharp and long-lasting. After every shave, rinse the blade thoroughly and dry it well - especially around the pivot and edge - to avoid rust.
Here’s a quick guide for upkeep:
Daily Care:
- Rinse and dry the razor after each use.
- Strop the blade before every shave.
- Store it in a dry place to prevent moisture damage.
Regular Maintenance:
- Hone the blade every 12-18 months, or sooner if stropping stops improving its sharpness.
- If the blade becomes very dull, professional honing might be necessary.
When to Hone Your Razor:
- Shaving feels more difficult than usual.
- Skin irritation becomes frequent.
- You notice more nicks or cuts while shaving.
- Stropping no longer restores the blade’s edge.
Brands like Dovo and Thiers Issard are popular for their durable 5/8 inch blades, which hold their edge well with proper care - great for beginners [1].
Using a high-quality leather strop regularly and scheduling occasional professional honing will ensure your razor stays sharp and dependable for years [3]. Follow these tips, and your straight razor will remain a trusted grooming tool.
