How to Cut a Shag Hair Cut
The shag haircut is a layered style that adds texture and movement to hair of all types. Here's a quick guide to cutting and maintaining this versatile look:
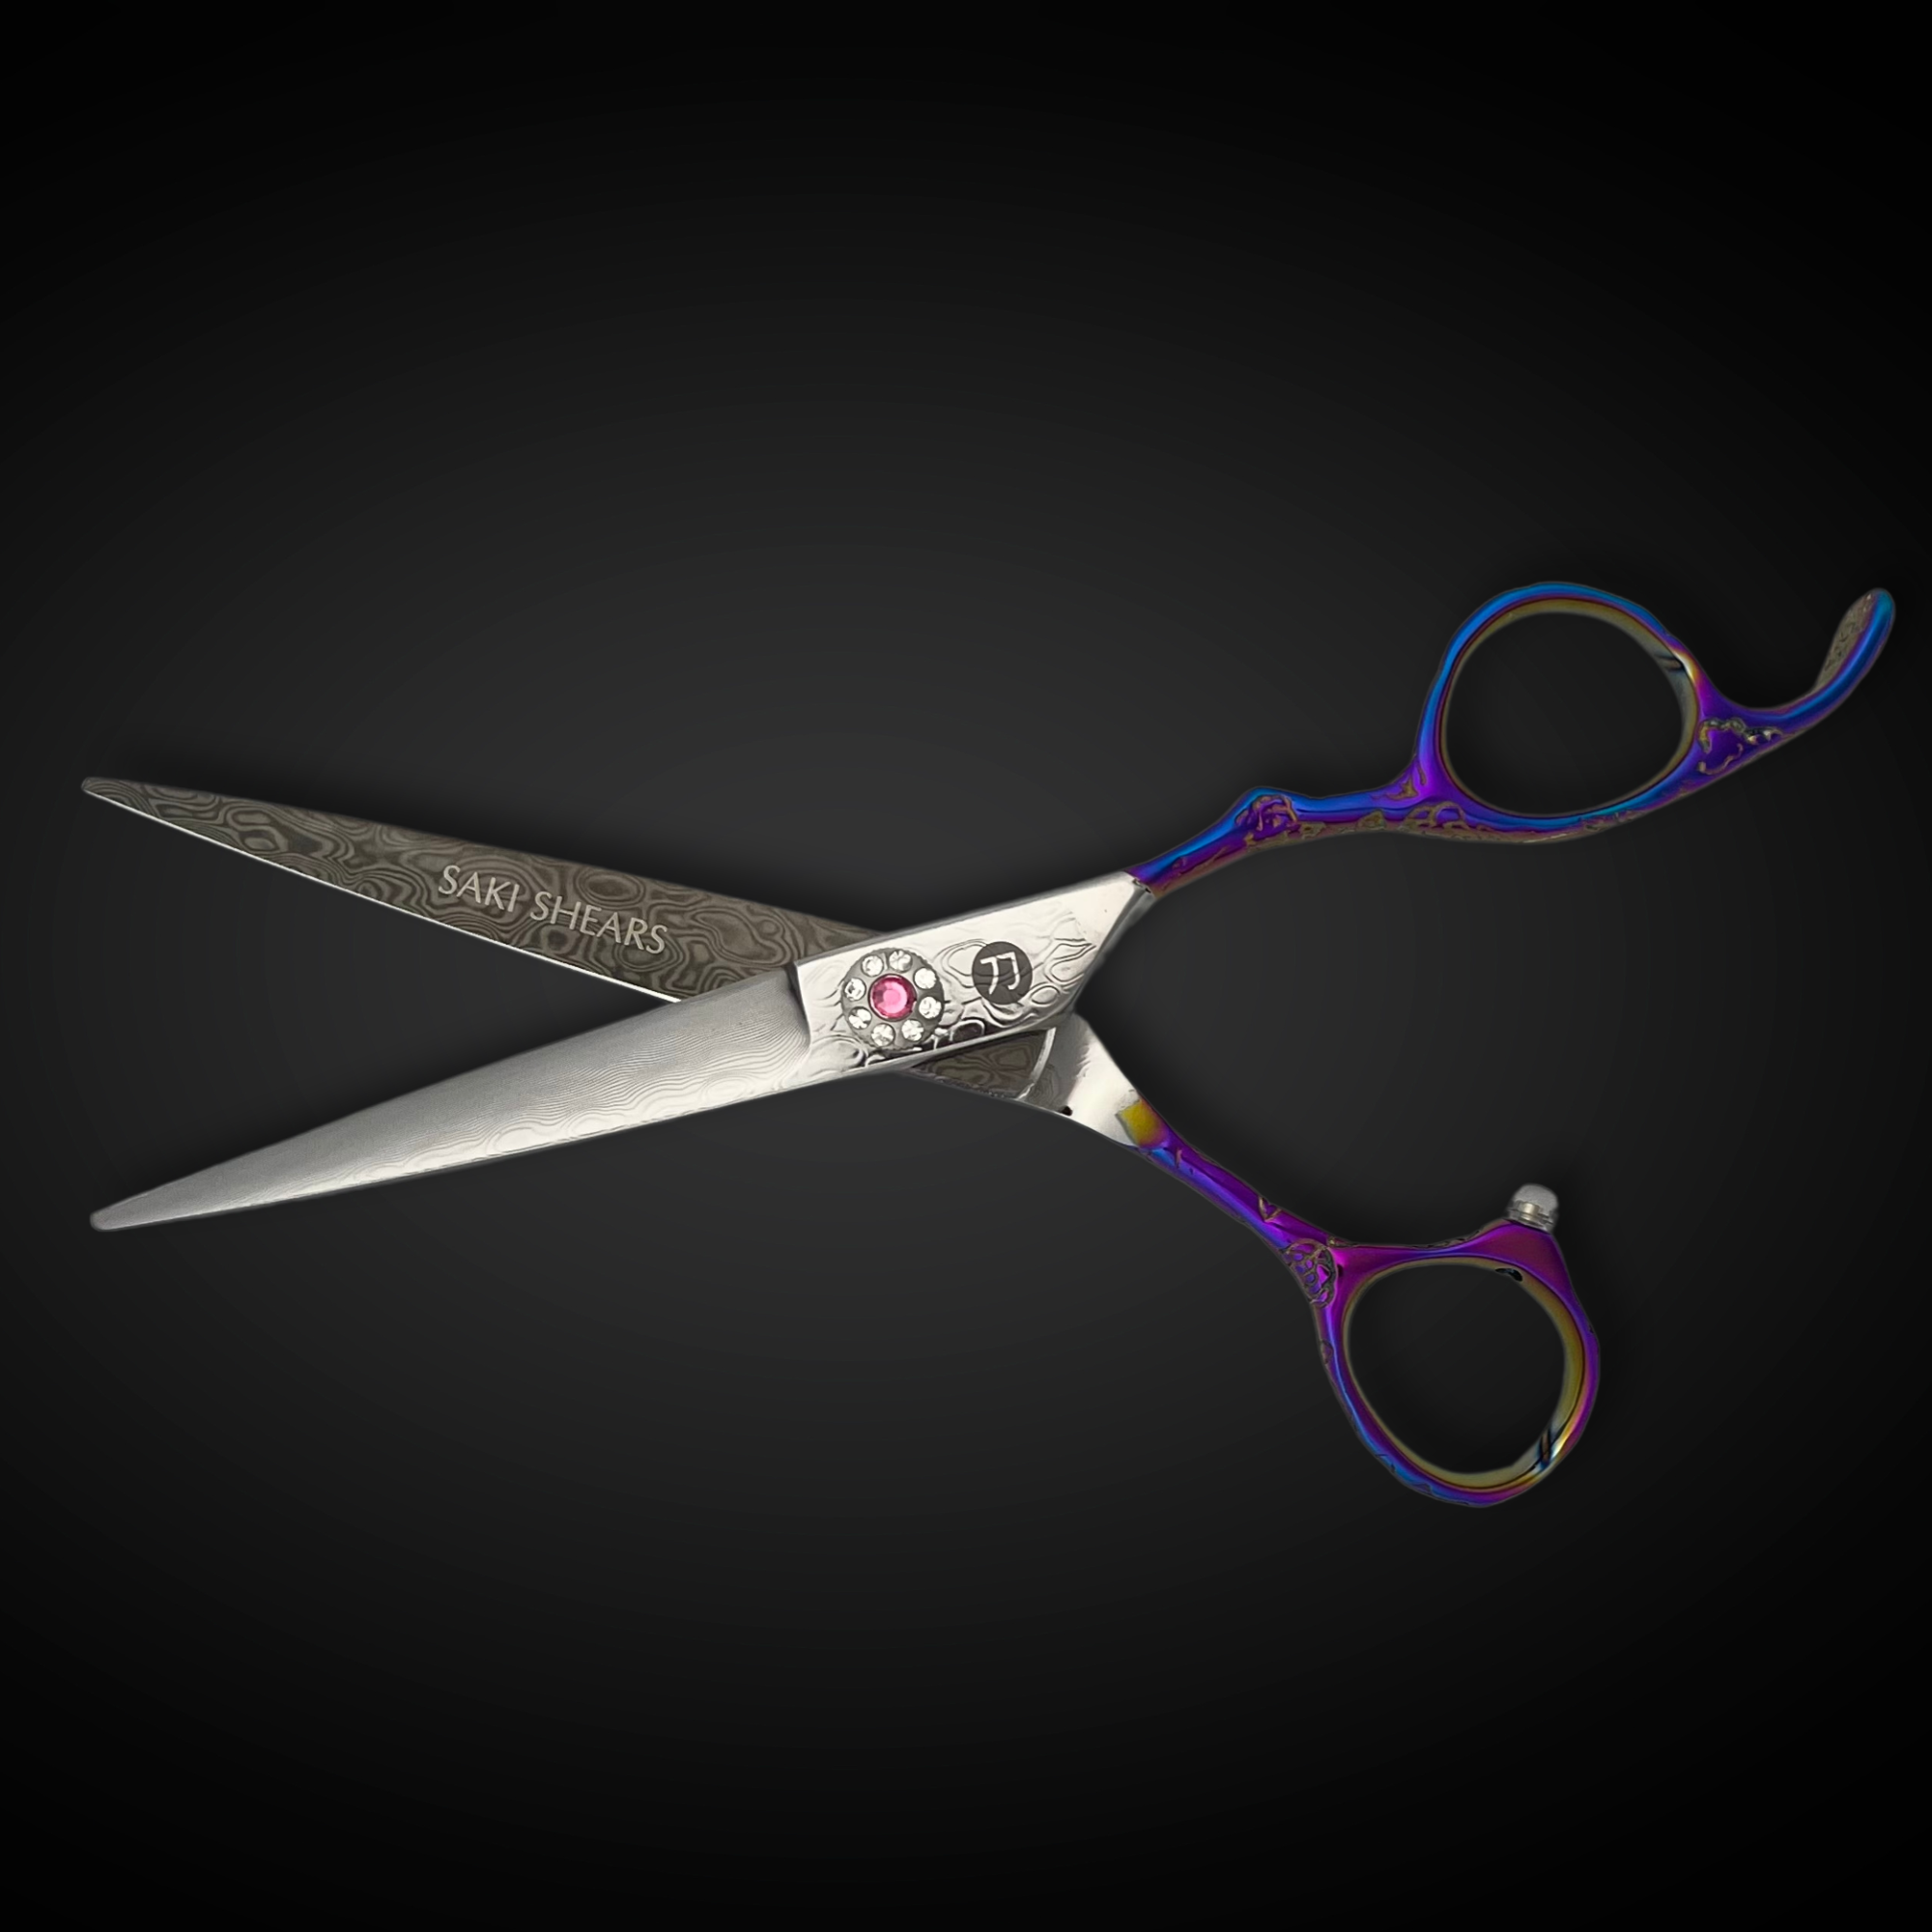
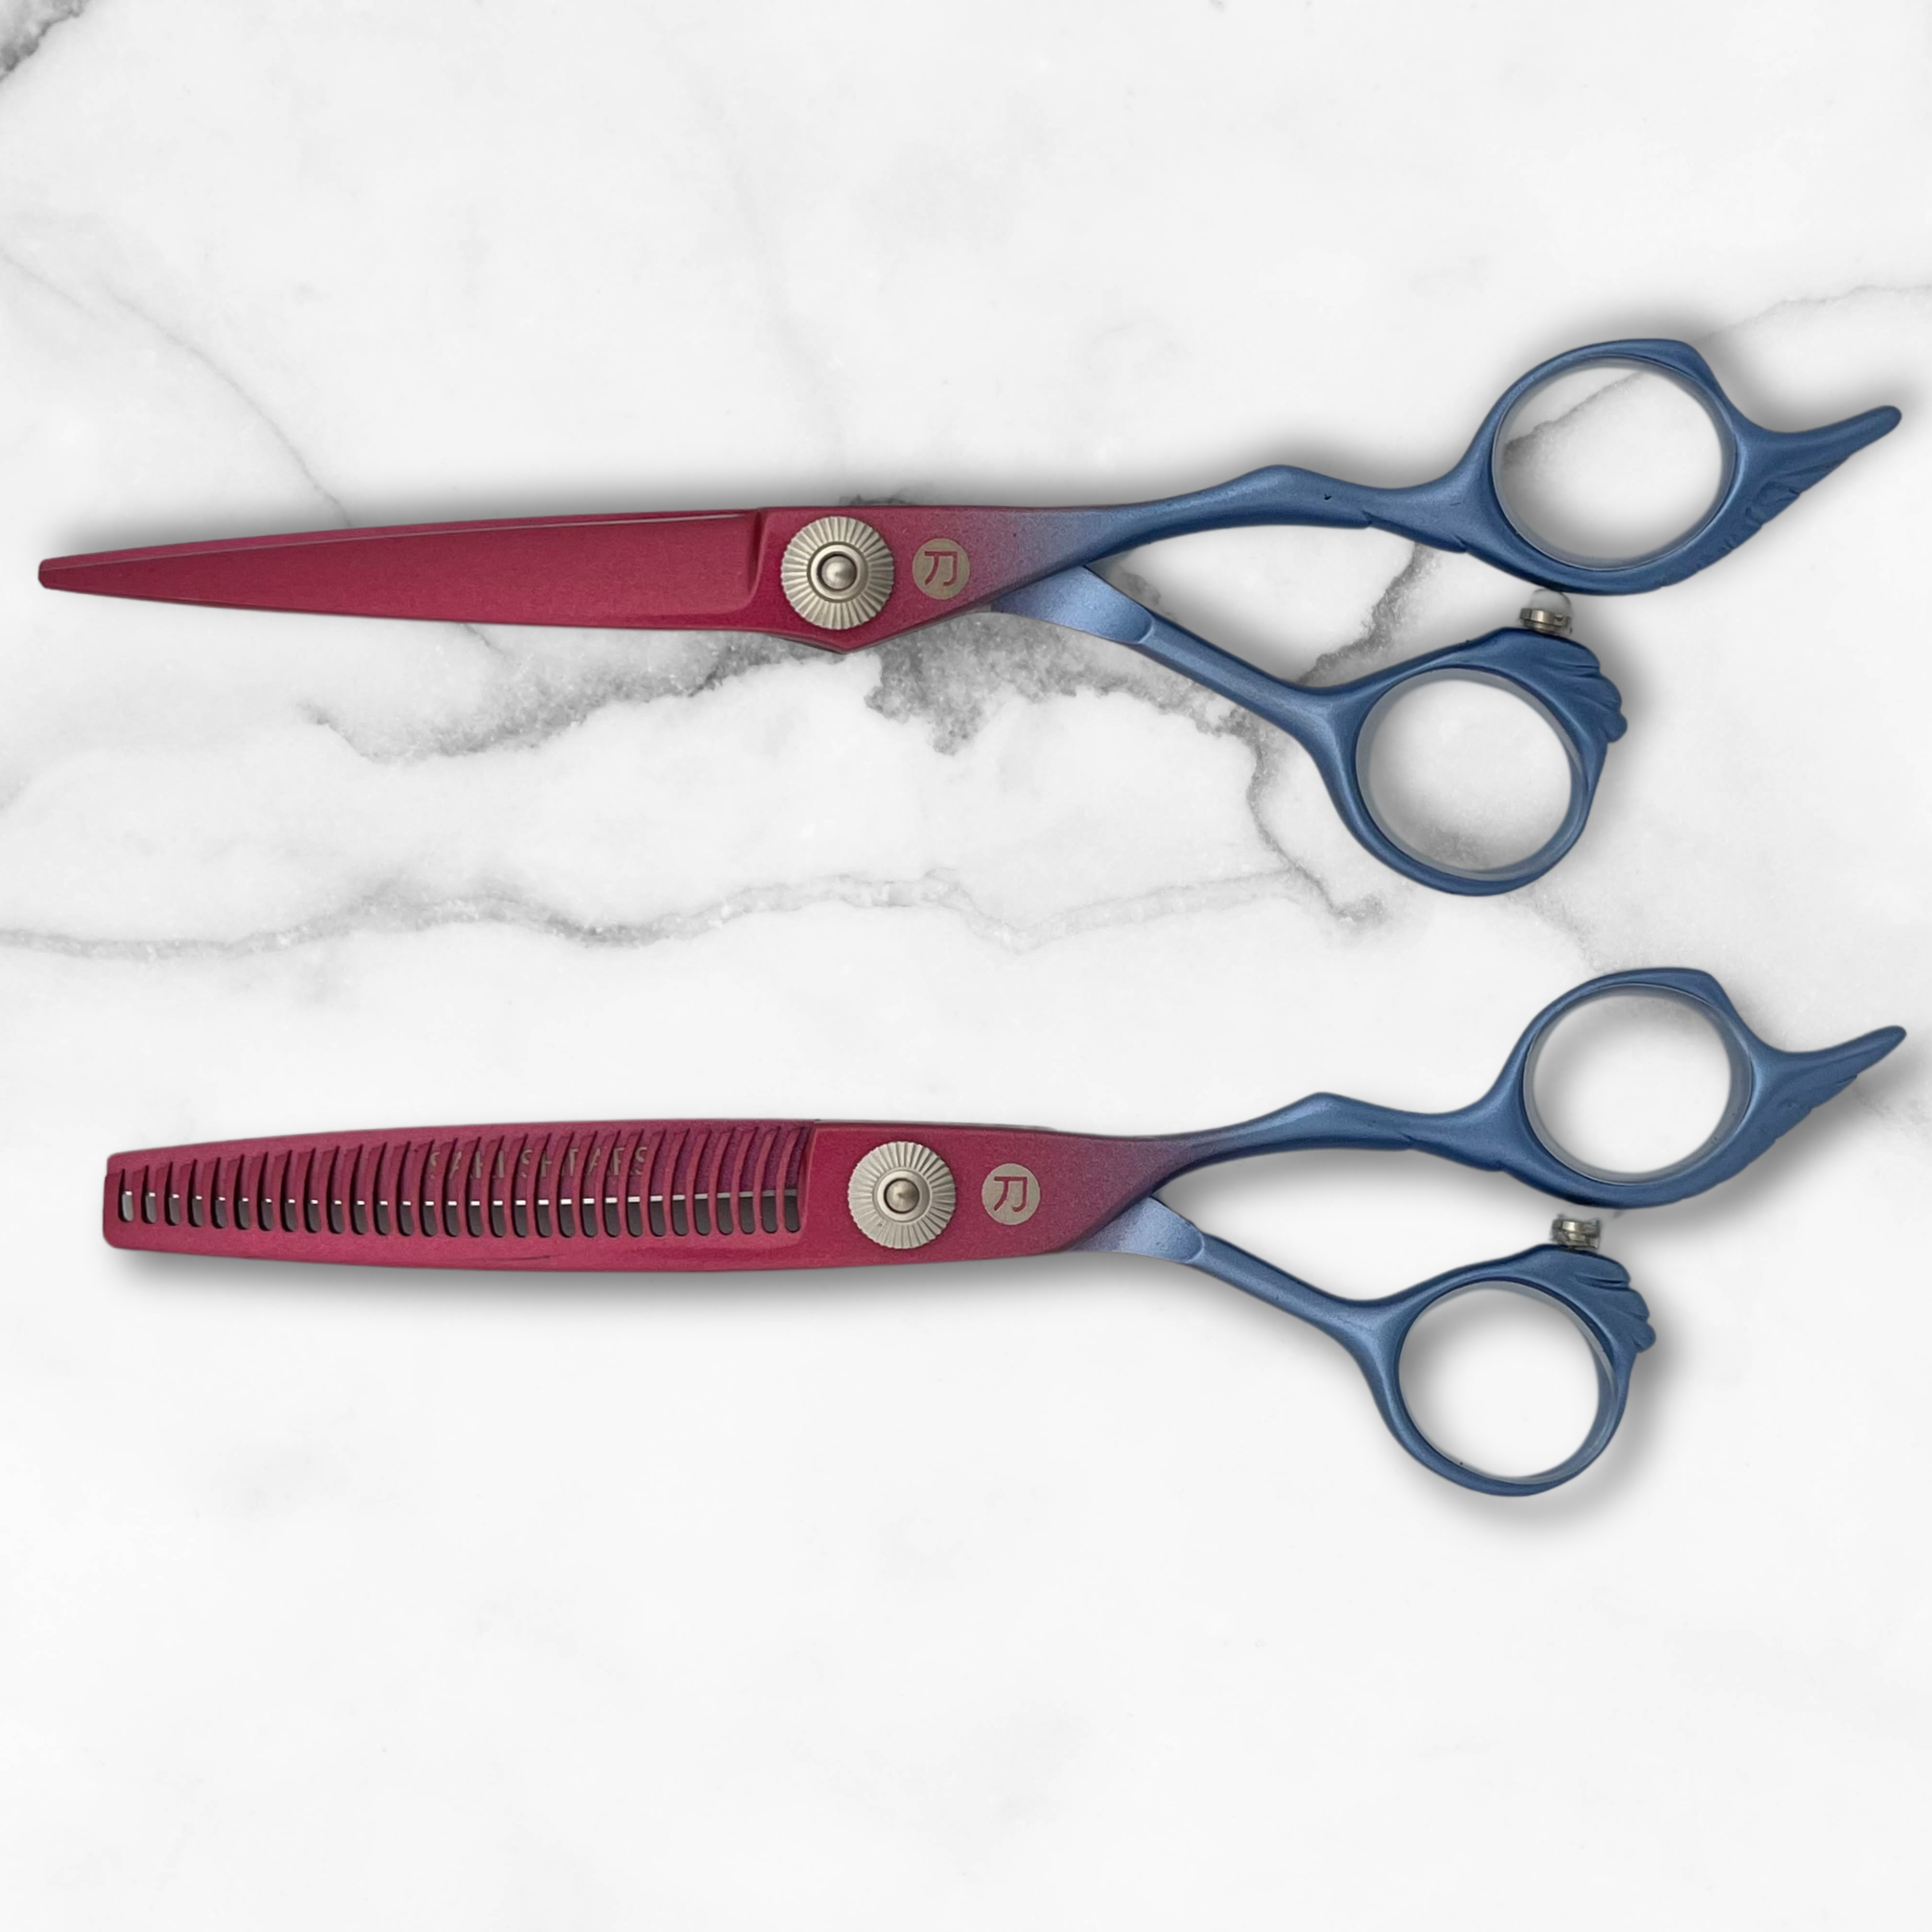
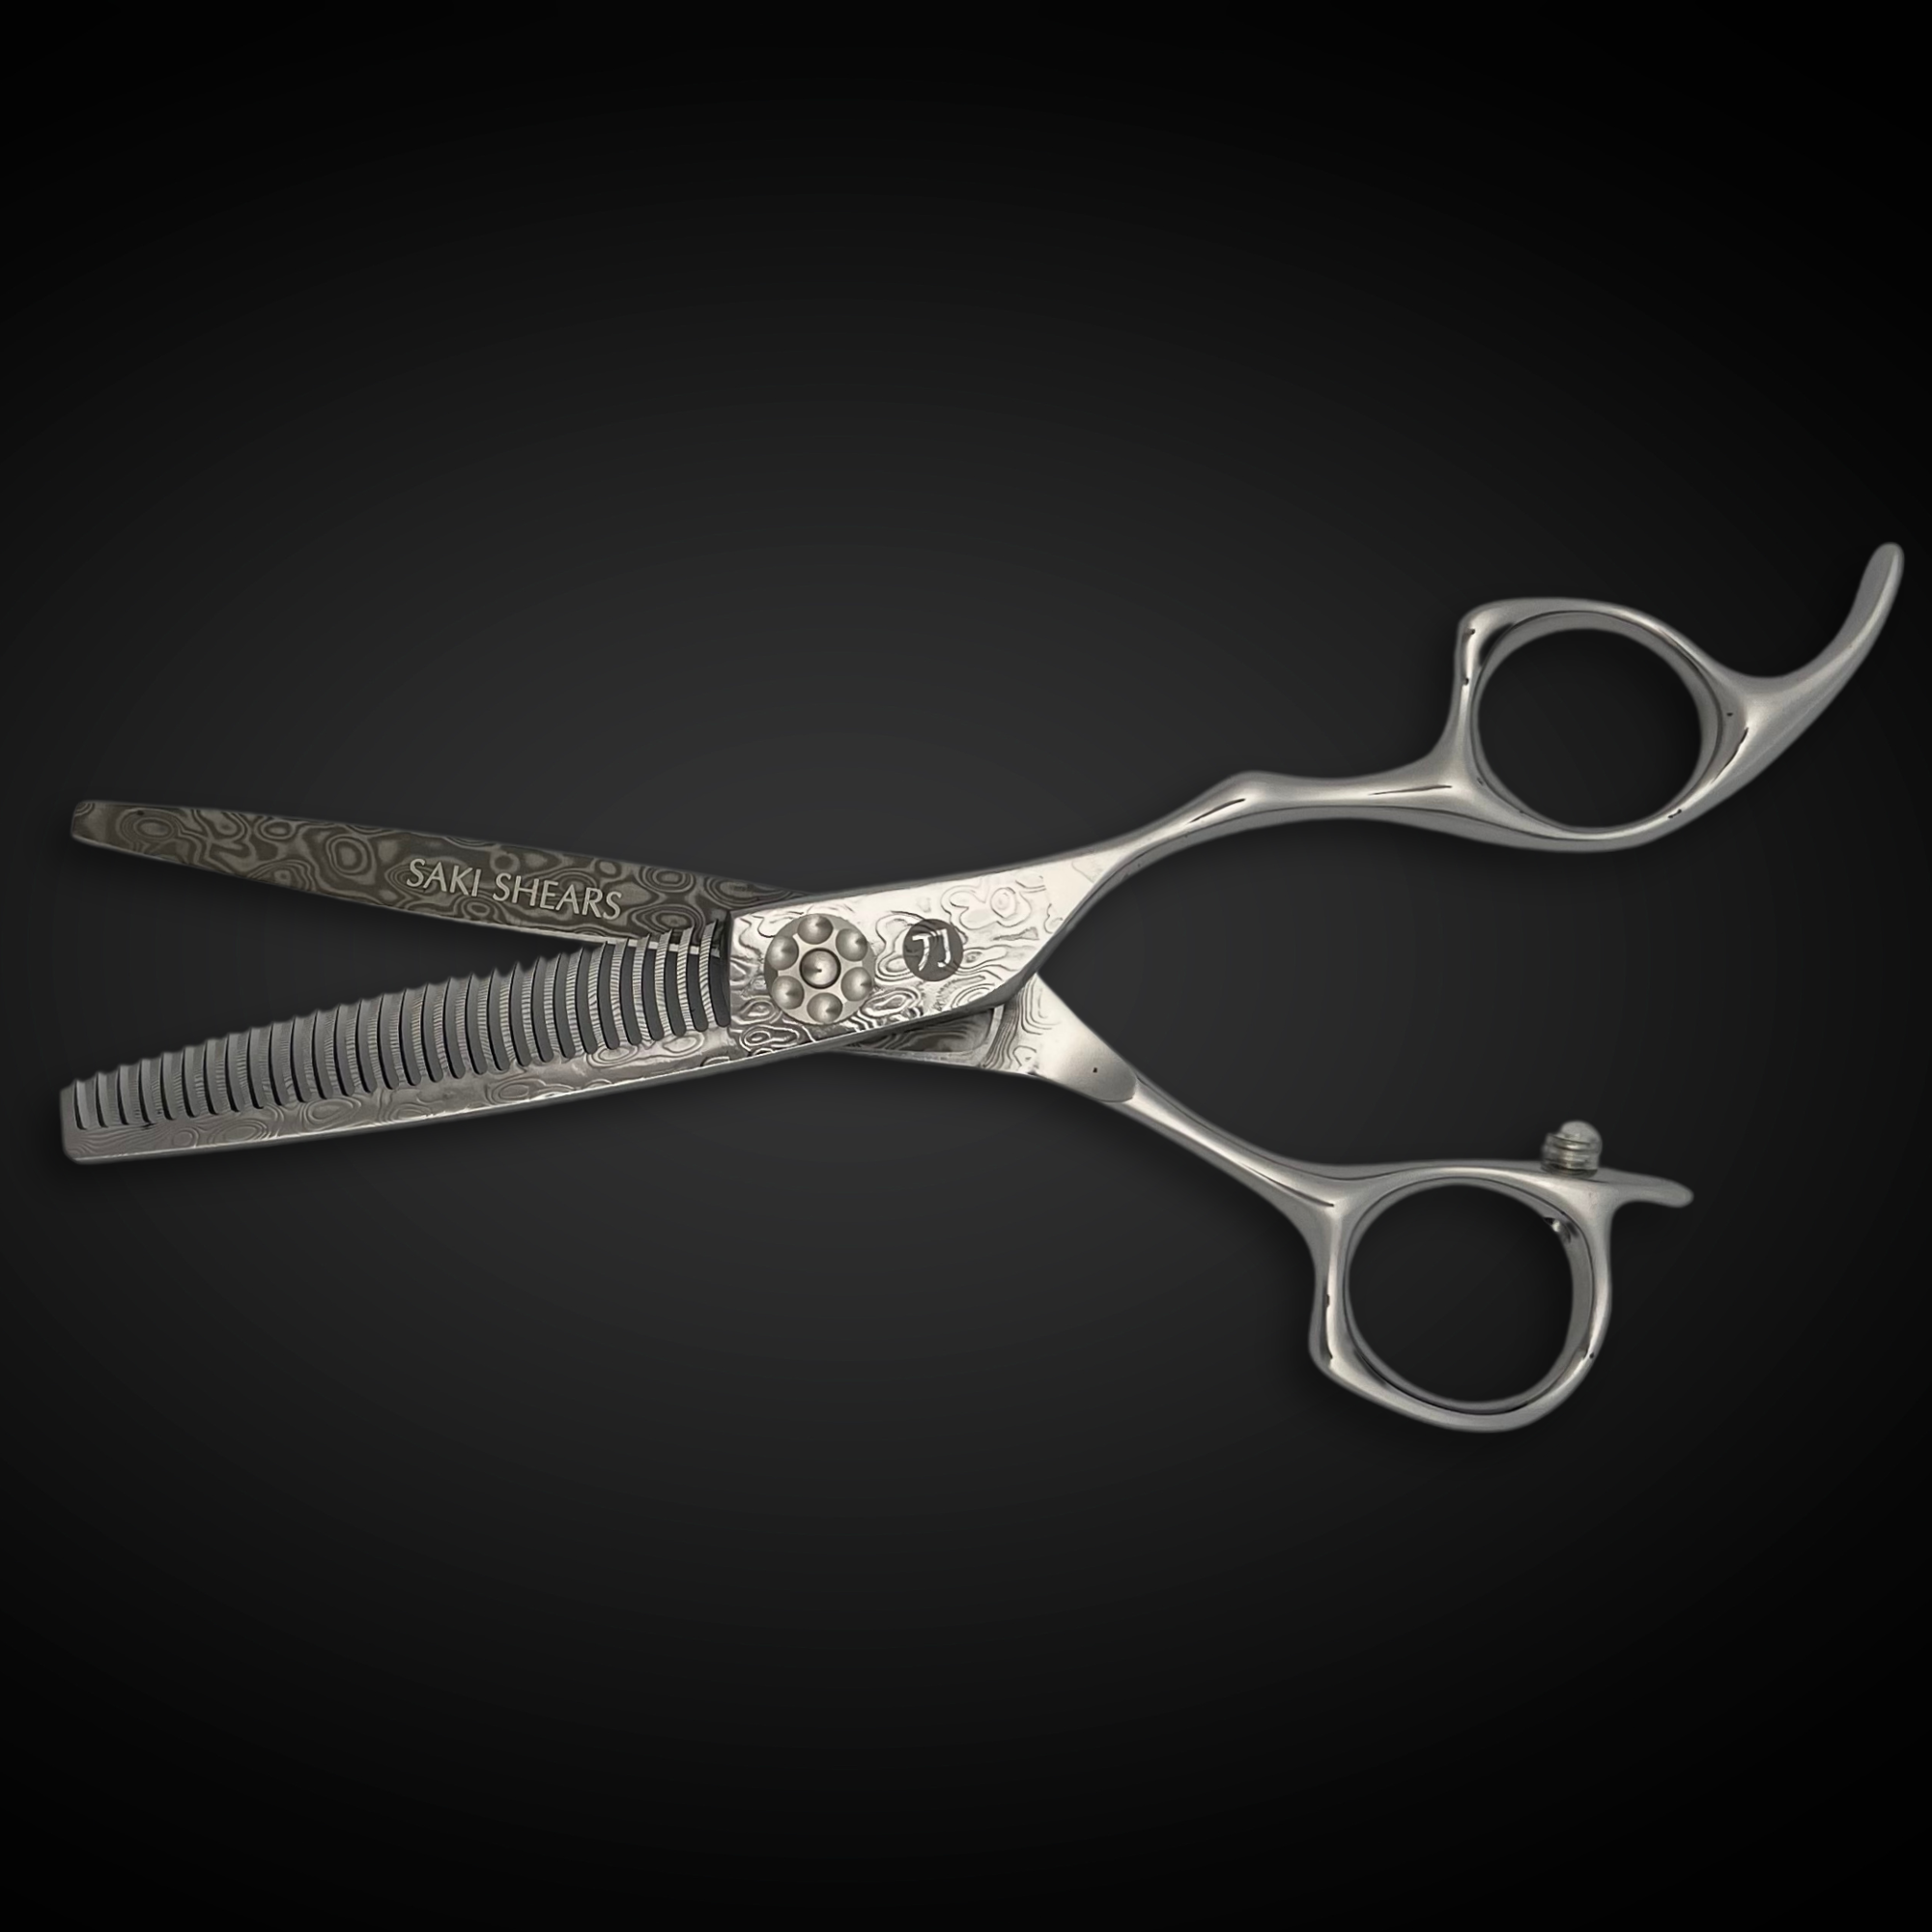
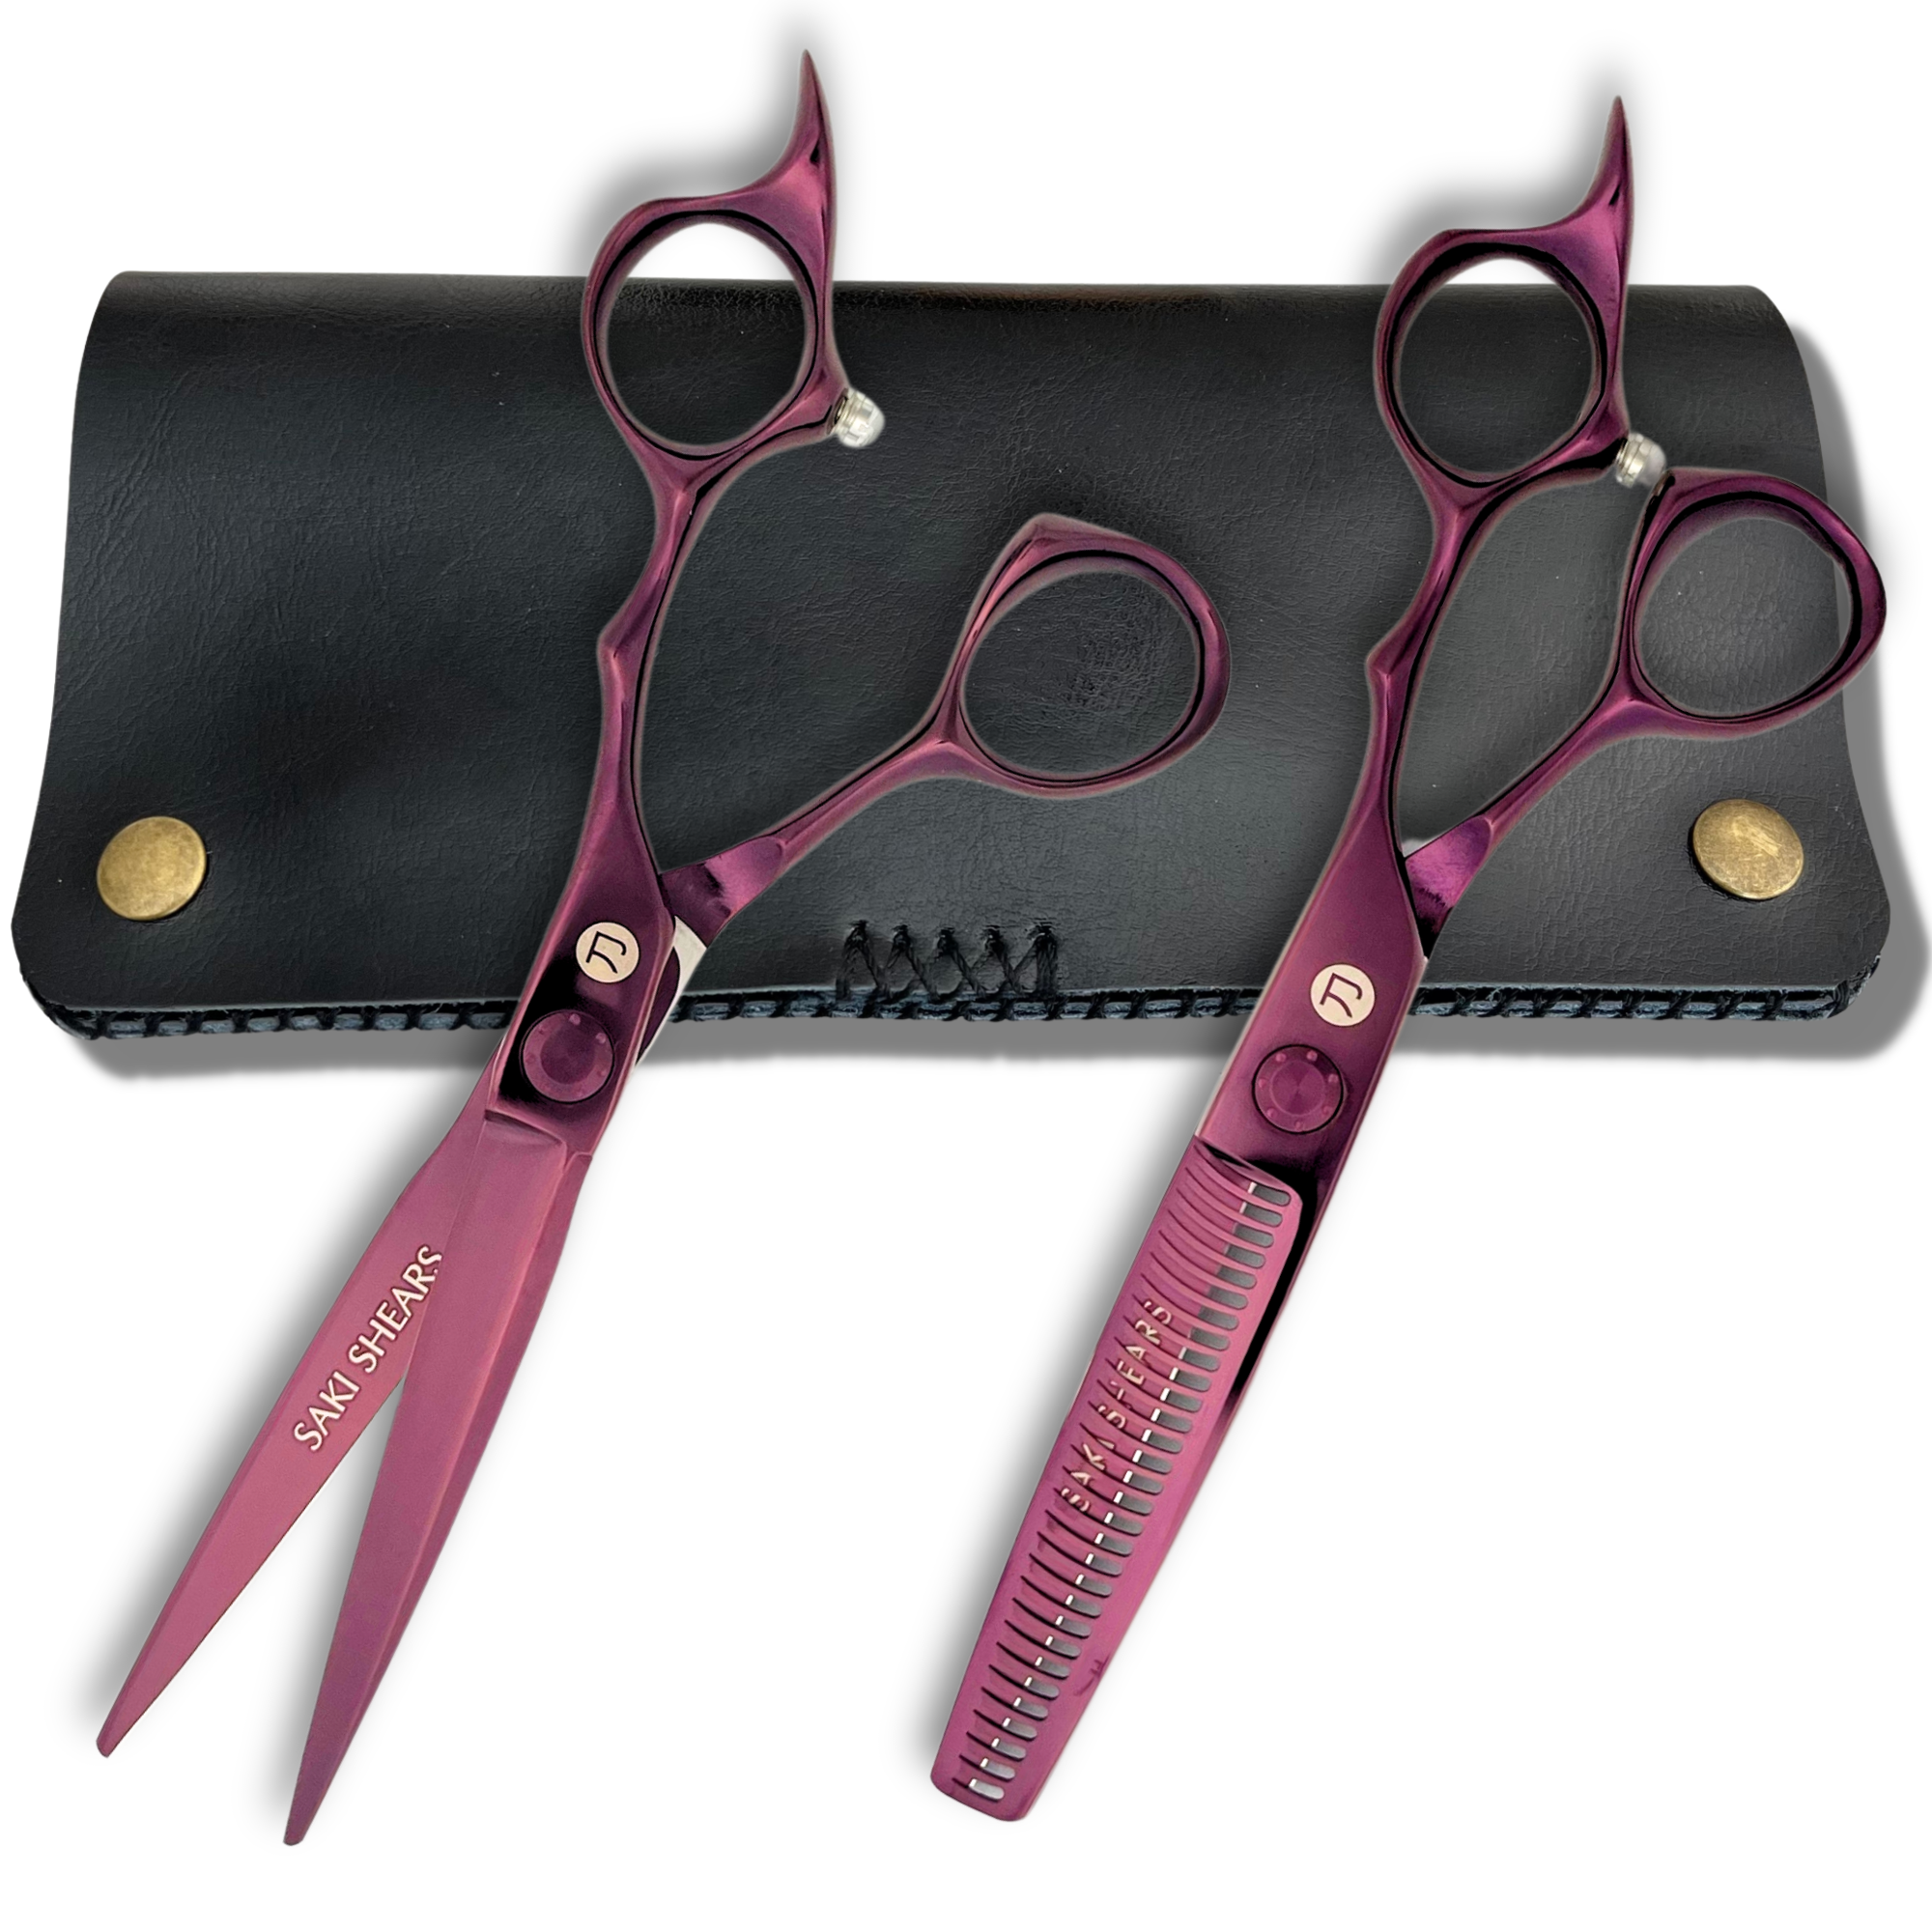
- What You'll Need: Professional shears, texturizing scissors, sectioning clips, fine-tooth comb, and a wide-tooth comb.
-
Steps to Cut:
- Start with damp, sectioned hair (crown, sides, back, nape).
- Cut top layers at a 90° angle using point-cutting for texture.
- Blend middle and bottom layers with texturizing scissors for smooth transitions.
- Shape bangs (classic or curtain) to frame the face.
- Styling Tips: Blow-dry for volume, add waves with a curling wand, and use texturizing spray for definition.
- Maintenance: Trim every 4-10 weeks depending on hair length to keep the style fresh.
This haircut is stylish, low-maintenance, and adaptable to different face shapes and hair types. Keep reading for a detailed step-by-step guide.
Tools and Preparation for Cutting
Tools for Precision Cutting
To nail the perfect shag haircut, you’ll need the right professional tools for control and accuracy. Here’s a quick rundown:
| Tool Type | Purpose |
|---|---|
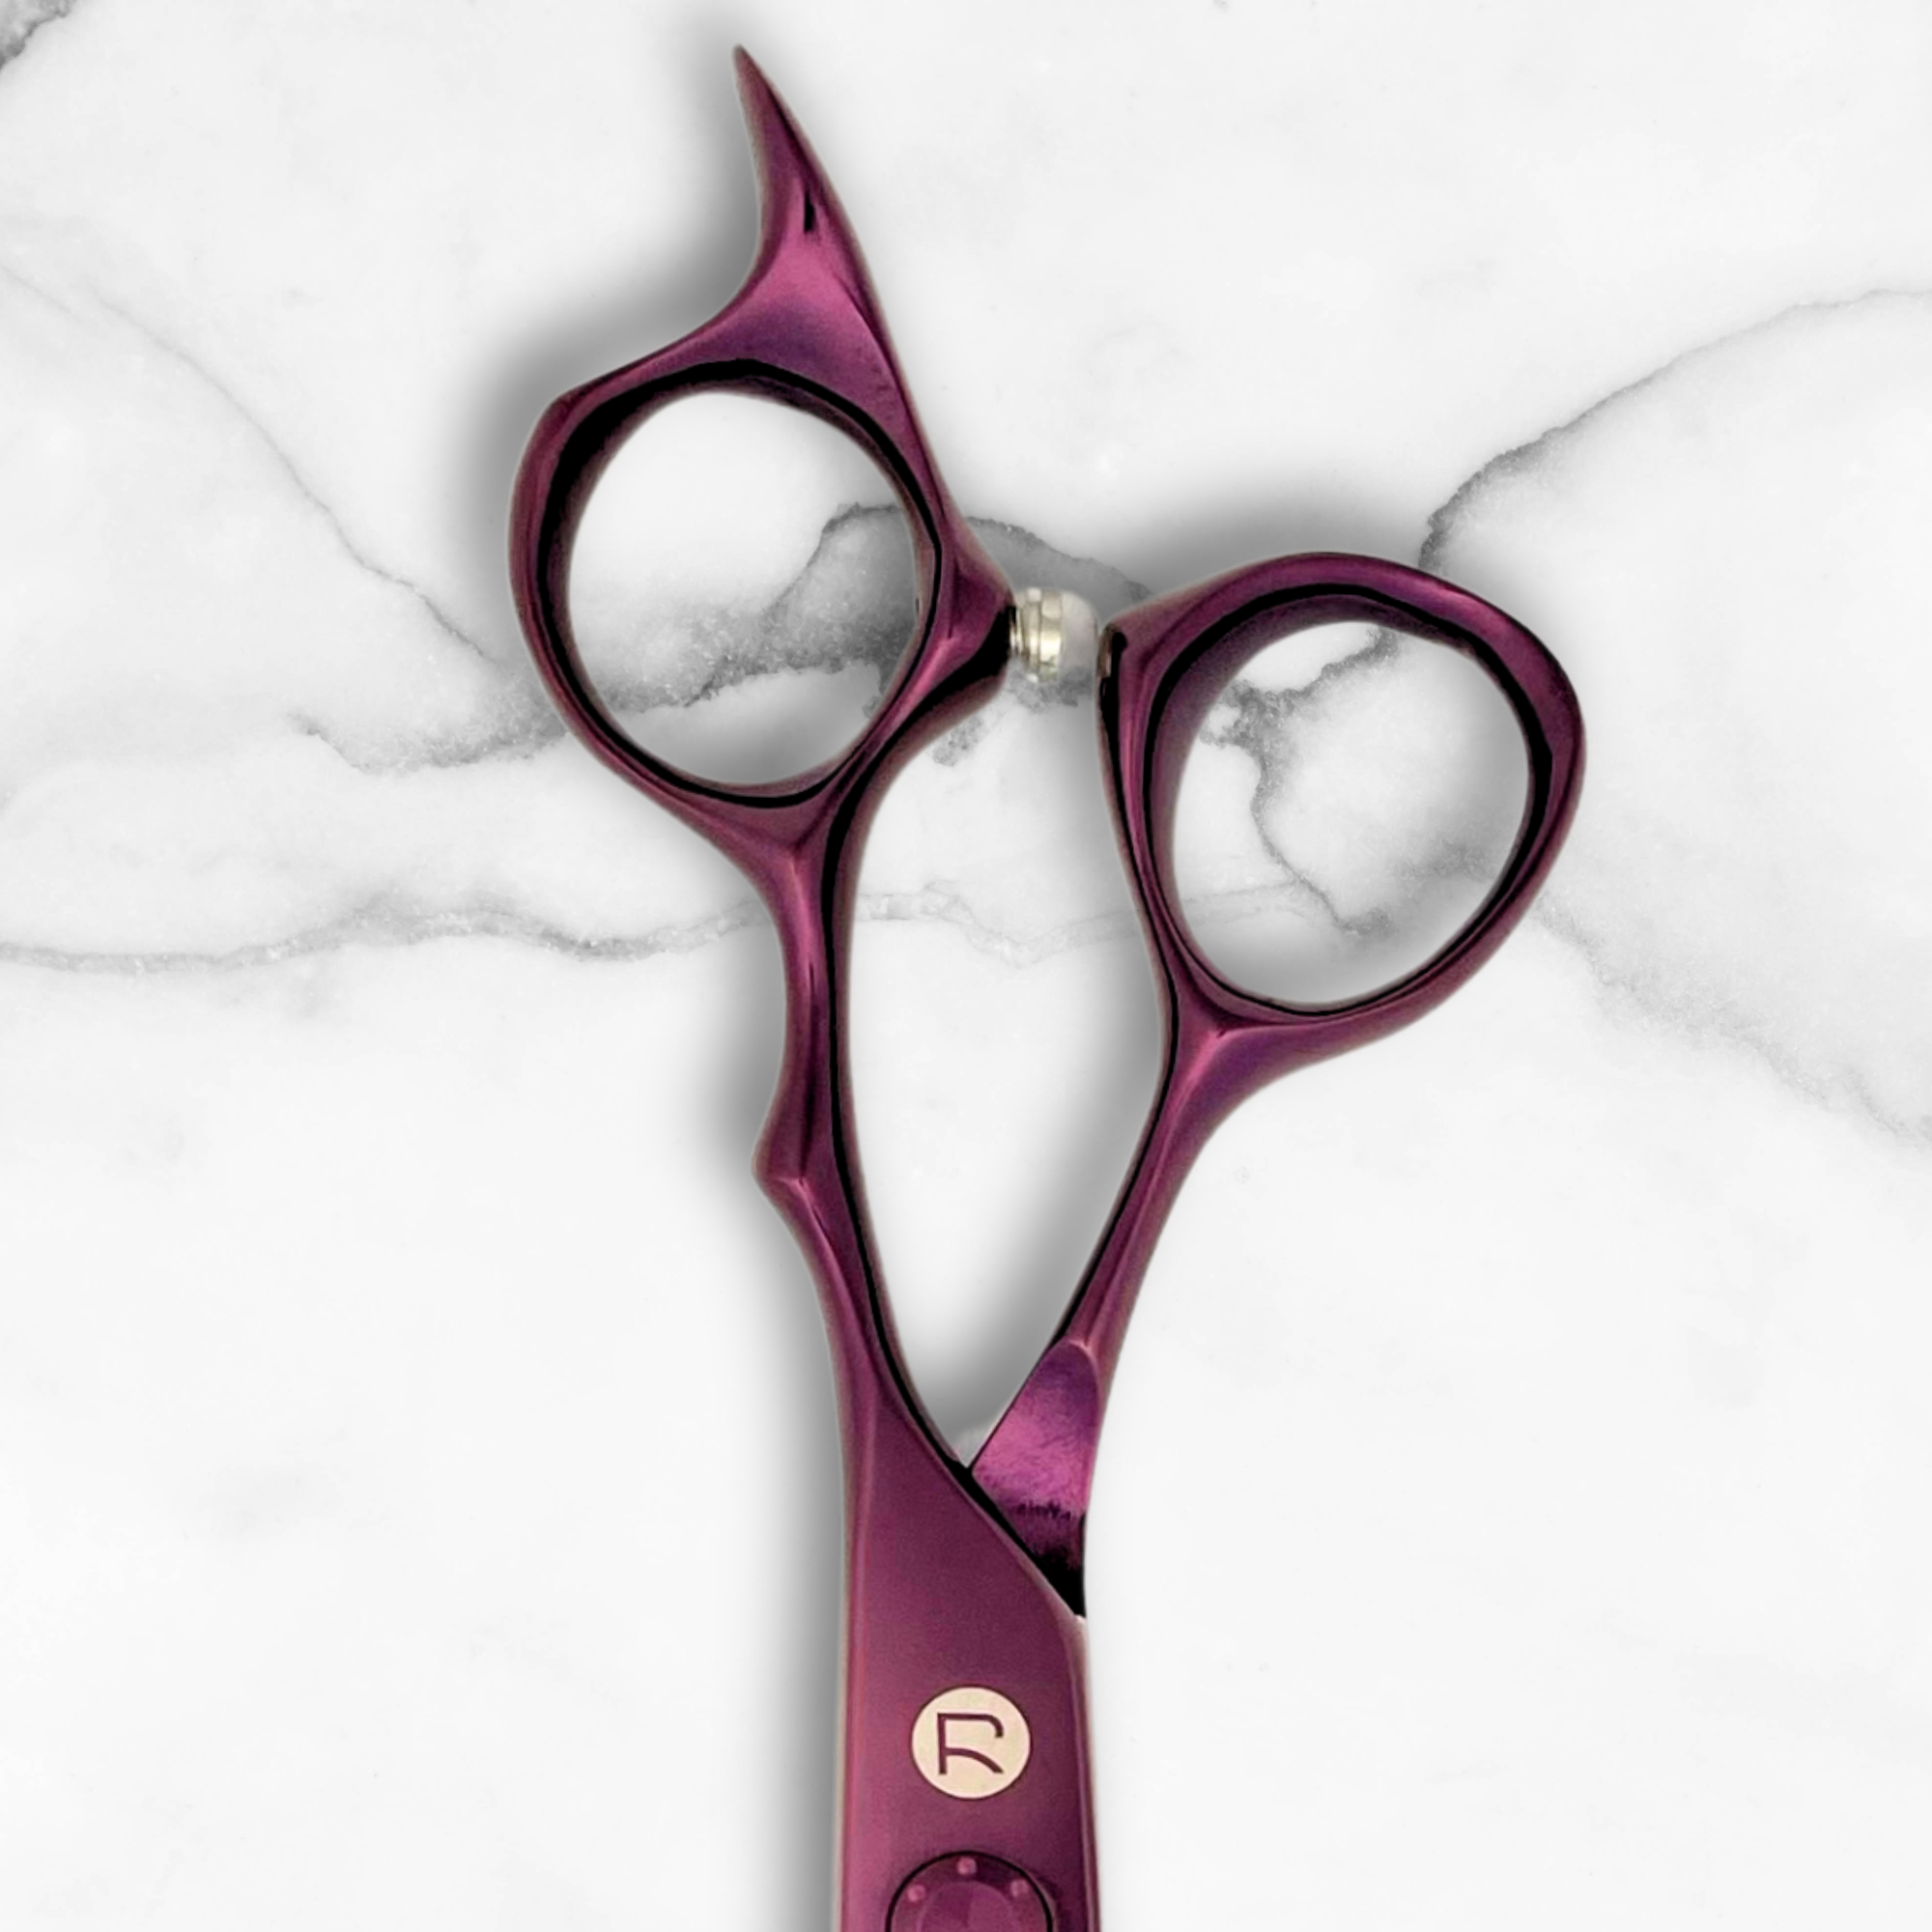
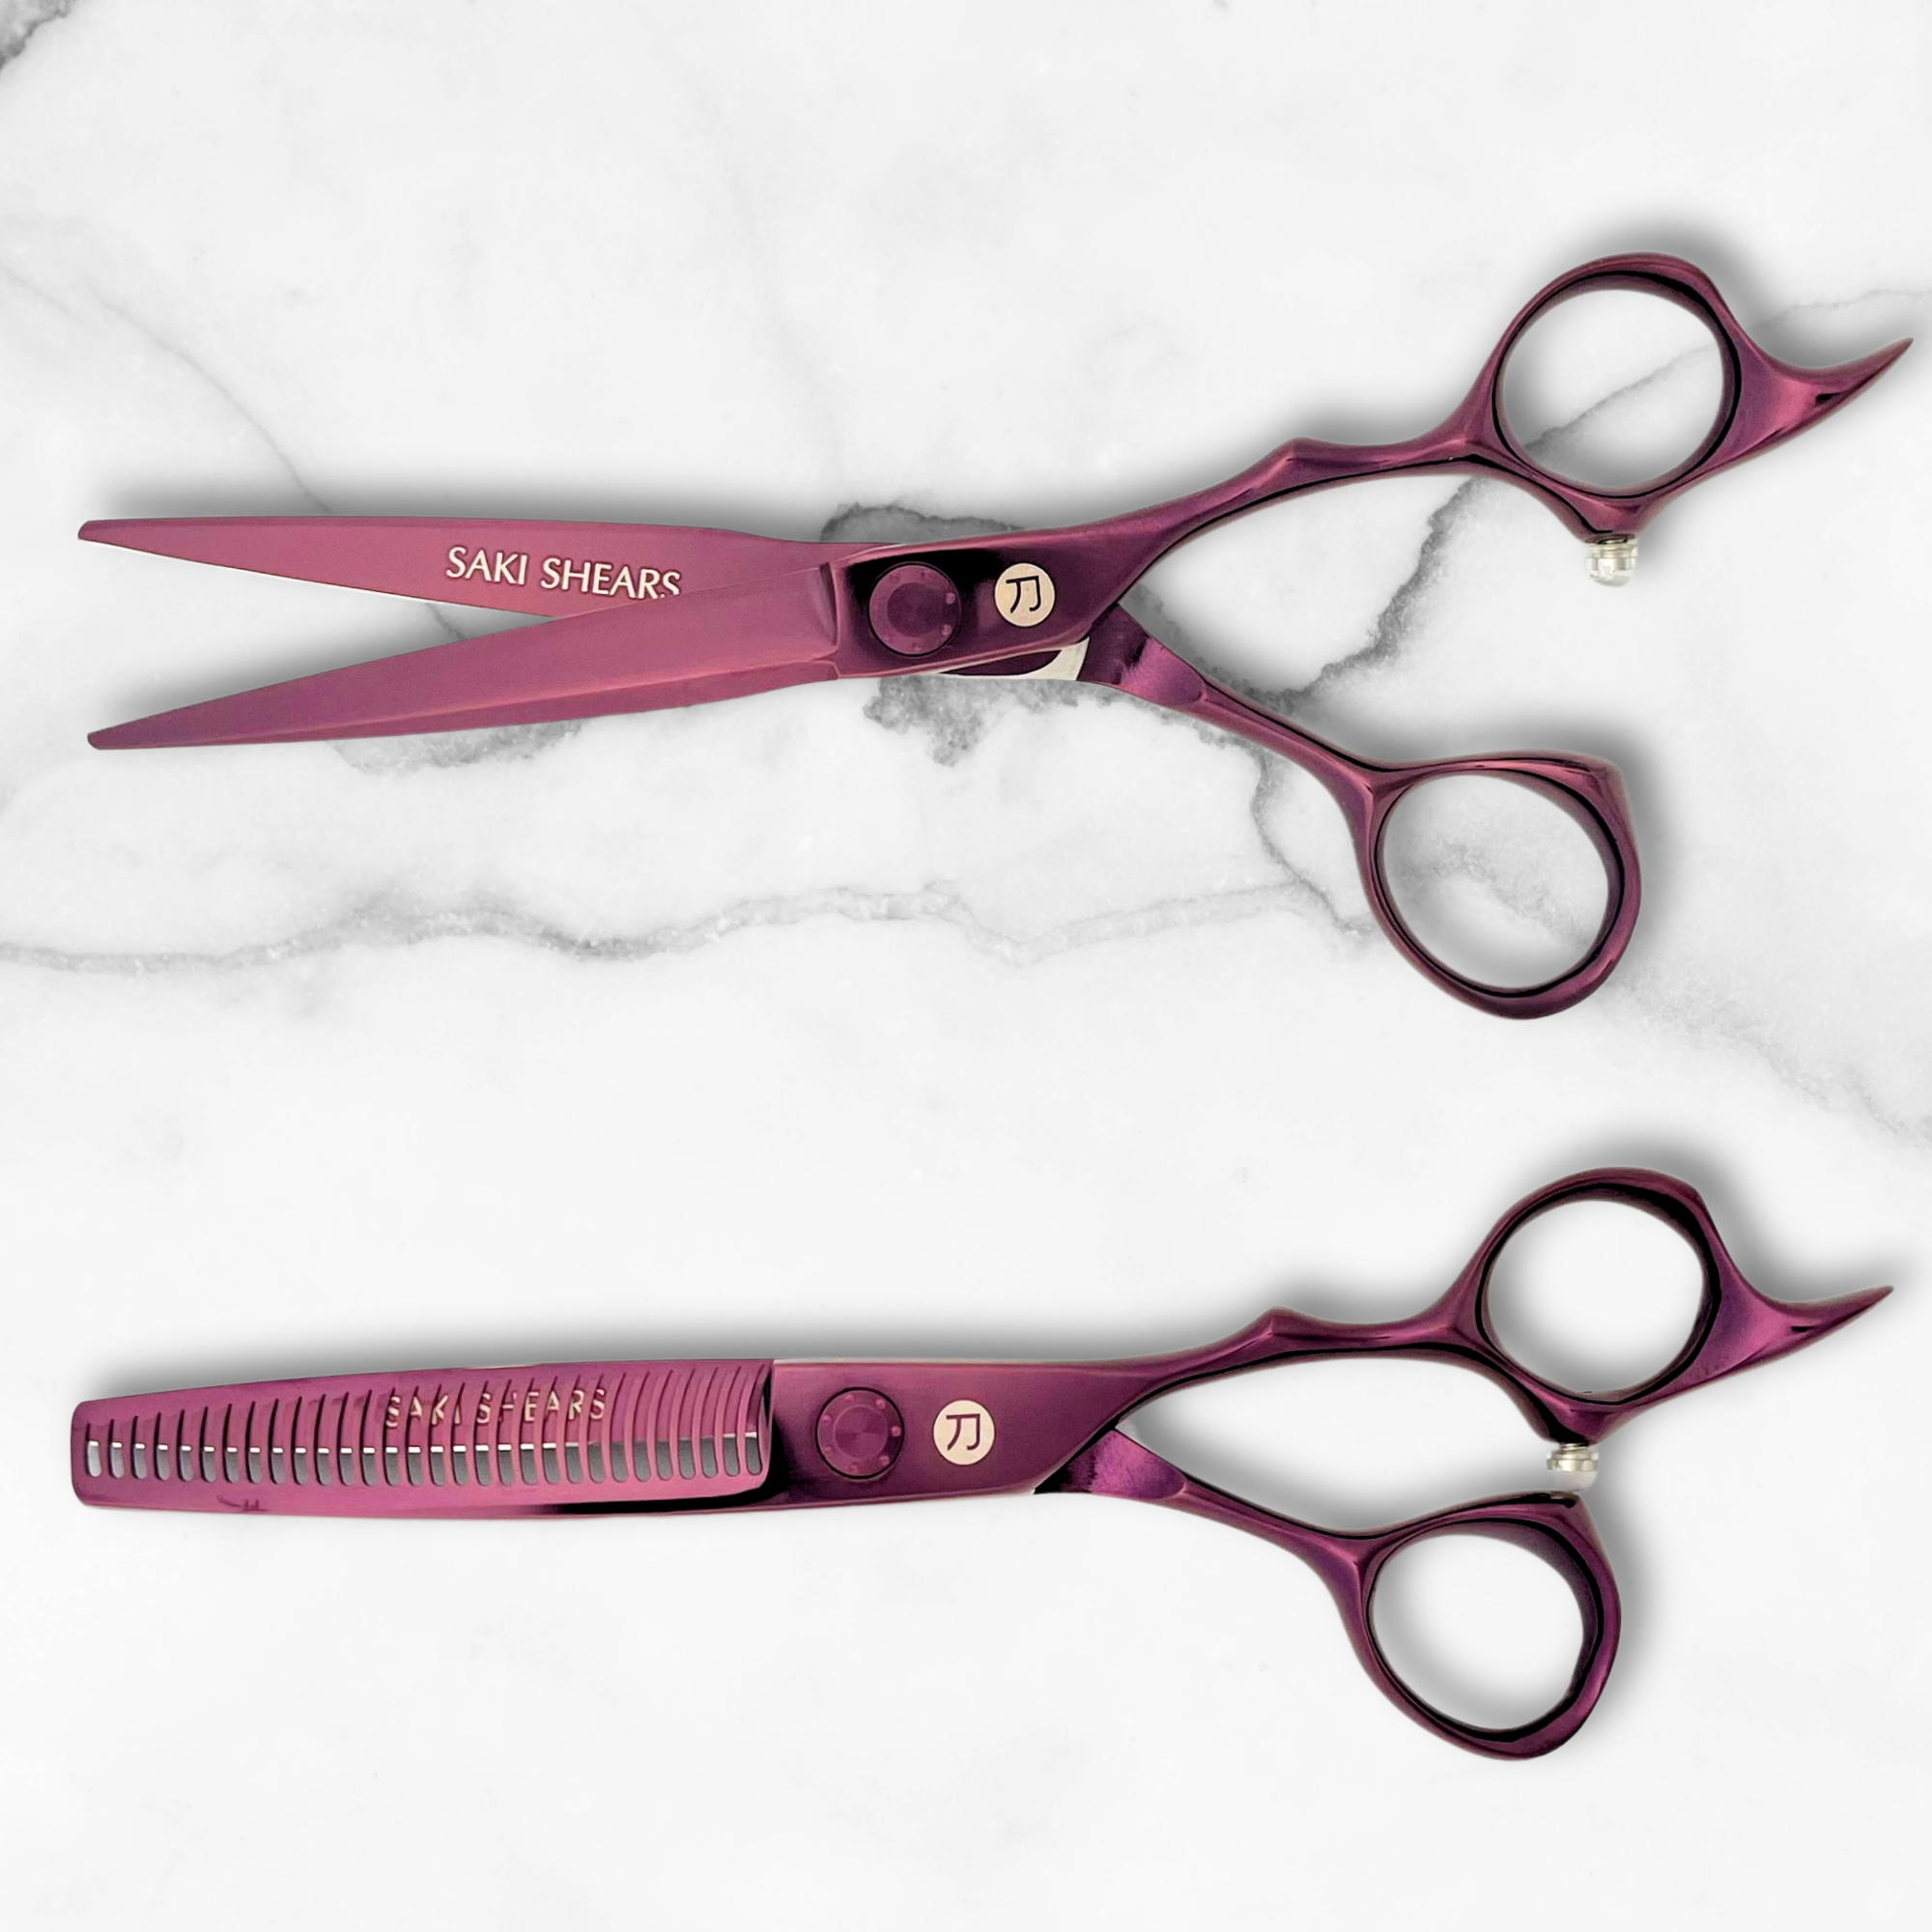
| Professional Shears | Primary cutting tool made with Japanese steel and ergonomic design |
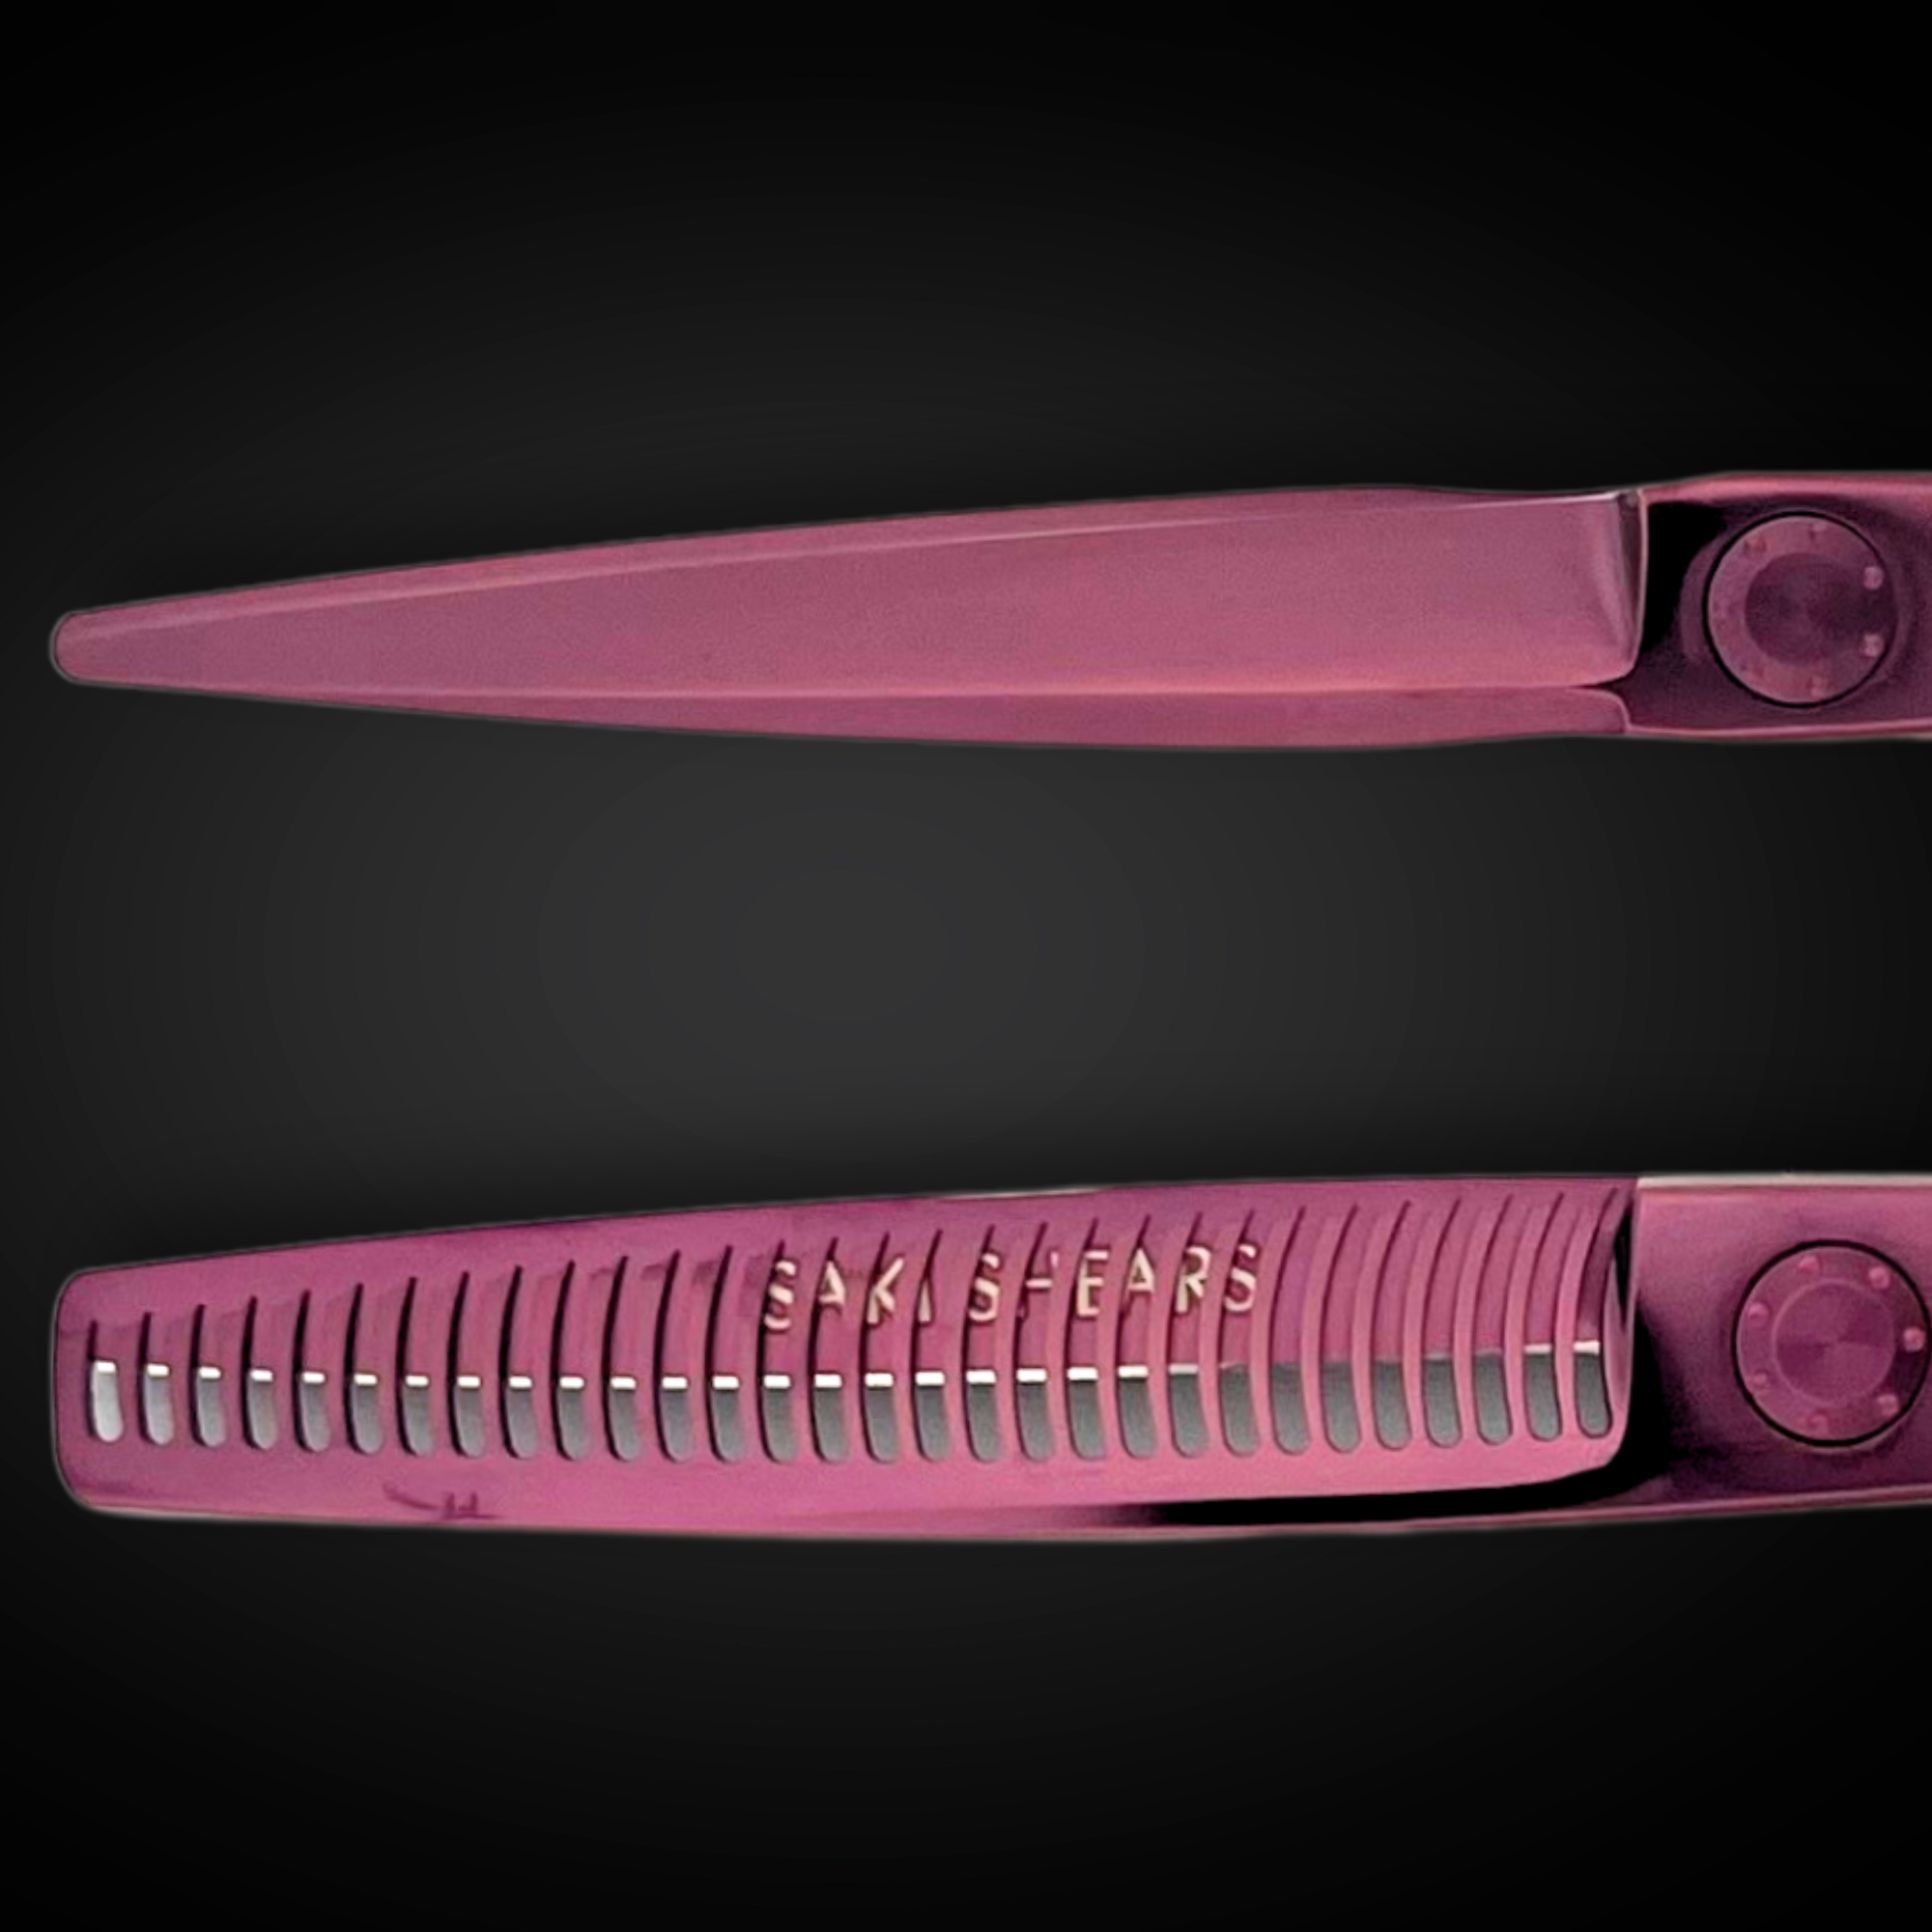
| Texturizing Scissors | Adds layers and texture to the style |
| Sectioning Clips | Keeps hair sections secure while cutting |
| Fine-tooth Comb | Ideal for precise cuts and detailing |
| Wide-tooth Comb | Perfect for detangling before cutting |
Professional shears made from Japanese steel are a must, offering both precision and comfort thanks to their ergonomic handles and adjustable tension systems. Each tool is essential for crafting the shag haircut’s signature layered style.
Preparing Hair for Cutting
Begin with hair that’s slightly damp - this gives you better control and makes layering more precise. Damp hair also reduces the likelihood of uneven cuts [2].
Next, divide the hair into four main sections for easier handling:
- Crown
- Sides
- Back
- Nape
Secure each section with clips to keep everything organized. This methodical approach not only simplifies the process but also ensures consistent, clean layers throughout the haircut [2][5]. With your tools in hand and the hair prepped, you’re ready to start shaping the shag haircut.
Steps to Cut a Shag Haircut
Cutting the Top Layers
The top layers are the foundation of a shag haircut, giving it its signature volume and texture. Start by taking vertical sections (about 1-2 inches wide) from the crown. Hold each section at a 90-degree angle to the scalp and use point-cutting at a 45-degree angle to add texture. Maintain consistent tension and angles as you work from the crown toward the front.
| Layer Section | Cutting Angle | Technique |
|---|---|---|
| Crown | 90° vertical | Point-cutting at 45° |
| Front Crown | 85-90° vertical | Point-cutting with slight graduation |
| Side Crown | 75-85° vertical | Point-cutting with added texture |
Shaping Middle and Bottom Layers
For the middle and bottom layers, texturizing scissors can help create smooth transitions. Hold the middle layers at a 45-degree angle to add movement, while bottom layers should be held at a lower angle (around 15 degrees) for soft, feathered ends. This approach gives the haircut its relaxed, lived-in feel.
Cutting Bangs
Bangs are crucial for framing the face in a shag haircut. Begin by creating a triangular section at the front hairline, about 1-2 inches deep. For classic shag bangs, hold the section at a 45-degree angle and point-cut the ends for texture. If you're going for curtain bangs, cut wider sections at a steep angle to blend them into the face-framing layers. Always leave the bangs slightly longer than desired since textured bangs tend to look shorter once dry.
Throughout the process, take time to check for balance and flow. The goal is to create layers that move naturally while keeping enough texture for that tousled, effortless vibe.
Once the layers are done, styling will bring out the shag's signature movement and texture.
Styling the Shag Haircut
Blow-Drying for Volume
Start by applying a volumizing product to the roots. Blow-dry your hair upside down on medium heat to lift the roots. Then, switch to a round brush and a concentrator nozzle to shape the hair.
| Hair Section | Technique | Tool |
|---|---|---|
| Roots | Blow-dry upside down | Diffuser attachment |
| Mid-lengths | Lift and direct | Round brush |
| Ends | Smooth and point | Concentrator nozzle |
Once you're done, finish with a blast of cool air to set the style and lock in the volume.
Creating Waves and Texture
Take small sections of hair and loosely wrap them around a curling wand. Alternate the direction of the curls for a natural, effortless look. Keep the ends straight for a modern touch. After curling, scrunch a texturizing spray into the ends to add definition and enhance texture.
Finishing and Holding the Style
Tame any frizz with a small amount of styling cream. For hold, mist a lightweight hairspray from about 12 inches away to keep the style flexible. Use your fingers to shake out the layers for a refreshed, lived-in vibe.
To keep the shag looking its best, apply dry shampoo at the roots to revive volume and absorb oil. A little maintenance goes a long way in keeping this style vibrant between salon visits.
sbb-itb-3cc0078
How to Cut a Modern Shag
Maintaining a Shag Haircut
Keeping a shag haircut looking its best means focusing on regular care to maintain its layers and texture.
Trimming and Upkeep
To retain the shag's layered style, schedule trims every 4-10 weeks based on your hair length. This helps maintain the shape and keeps split ends at bay [1].
| Hair Length | Trimming Schedule | Key Focus Areas |
|---|---|---|
| Short Shag | 4-6 weeks | Defining layers, maintaining bangs |
| Medium/Long Shag | 6-10 weeks | Blending layers, refreshing texture |
Between salon visits, you can do minor touch-ups using high-quality tools. Regular upkeep ensures the haircut stays in shape and avoids the need for drastic fixes later.
Avoiding Common Mistakes
While trims are important, avoiding errors during maintenance is just as crucial. For example, always work on damp - not soaking wet - hair to avoid cutting too much, as hair shrinks when it dries [2]. Also, check the layers from all angles to ensure they're evenly balanced and the weight is distributed properly [2].
Here are some tips for successful maintenance:
- Use professional tools and section hair for precise trims.
- Frequently check layer balance to keep the haircut even.
- Adjust texturizing techniques based on your hair type.
Different hair textures require slightly different approaches. Straight hair often benefits from razor cutting to create movement, while fine hair needs careful handling to maintain its volume [2][4].
Conclusion: Mastering the Shag Haircut
Creating a flawless shag haircut requires precision, skill, and the right tools. Professional-grade shears, such as those made from Japanese steel, are key for achieving clean, textured layers without causing damage. Techniques like point-cutting and understanding how to distribute layers are essential for shaping the movement and structure that define this timeless style.
The shag haircut works beautifully with natural texture and offers a low-maintenance option for clients. Success lies in tailoring the cut to fit each individual’s features while preserving the style’s signature texture and flow [1][3].
Using professional tools is crucial for delivering consistent and polished results. When paired with proper cutting techniques, these tools help stylists create shag cuts that strike the perfect balance between texture and movement [2][4].
To keep the shag looking fresh as it grows, recommend regular trims. This ensures the style retains its effortless texture and remains easy to manage [2][3]. With practice and the right equipment, mastering the shag haircut can enhance your skills and meet the expectations of modern clients.

