5 Steps To Sanitize Hair Cutting Tools
Sanitizing hair cutting tools is essential for preventing infections, ensuring client safety, and maintaining professional standards. Here’s a quick summary of how to clean and disinfect your tools effectively:
-
Step 1: Prepare Tools
Remove hair and debris using a cloth or brush, then wash with warm, soapy water. -
Step 2: Disinfect with Solution
Use a disinfectant like Barbicide. Submerge tools for 10 minutes, rinse, and dry thoroughly. -
Step 3: Disinfect Non-Submersible Tools
For electronic tools, use disinfectant sprays or wipes, ensuring full coverage. -
Step 4: Dry and Store Properly
Air dry tools, wipe with a lint-free cloth, and store in a clean, dry place. -
Step 5: Maintain a Cleaning Schedule
Clean tools after each client, perform daily deep cleans, and inspect weekly for damage.
Regular cleaning not only protects clients but also extends the lifespan of your tools. Follow these steps to ensure hygiene and professionalism in your salon or barbershop.
Learn the Cleaning & Disinfecting Process
Step 1: Preparing Tools for Disinfection
Getting tools ready for disinfection is crucial. Removing debris like hair and residue ensures disinfectants can do their job without interference.
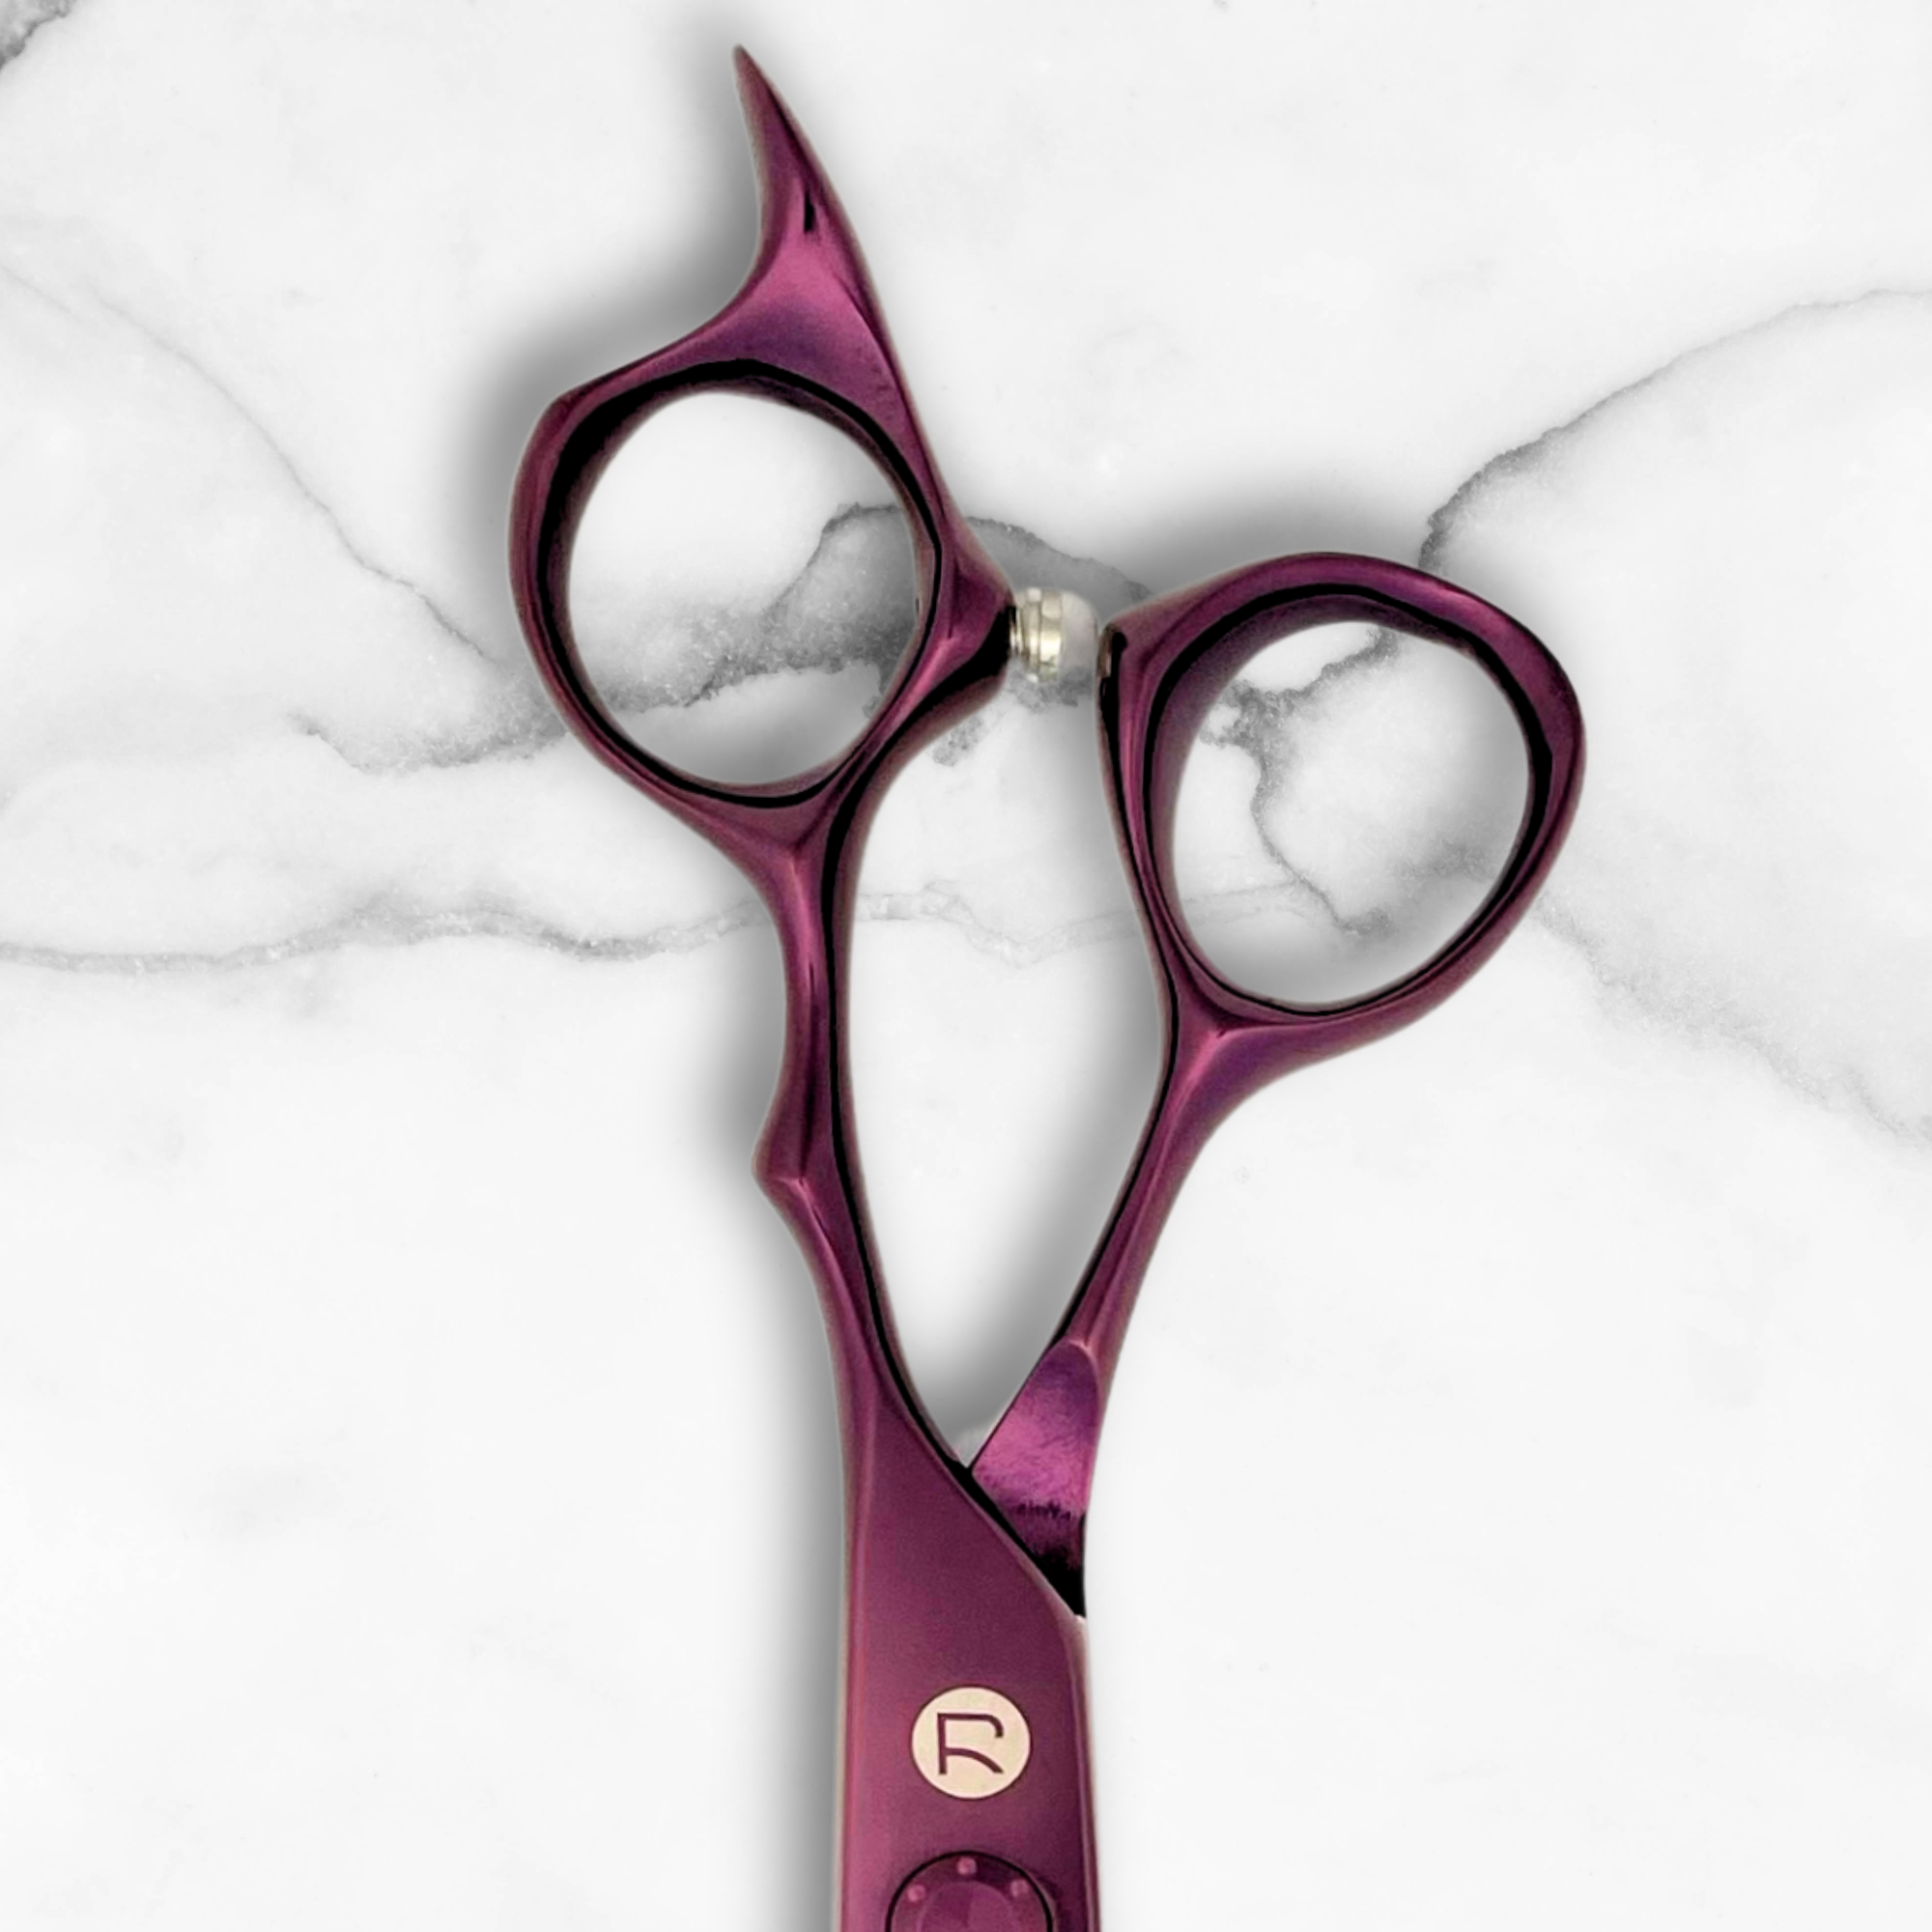
Start by cleaning tools thoroughly. Use a microfiber cloth or a small cleaning brush to focus on areas like pivot points, blade edges, and crevices. For clippers, make sure to clean between the blades and around the housing.
| Tool Type | Cleaning Method | Key Areas |
|---|---|---|
| Scissors/Shears | Microfiber cloth | Pivot points, blades |
| Clippers | Small brush | Between blades, housing |
| Combs/Brushes | Soft towel | Teeth, bristles |
| Razors | Microfiber cloth | Blade edges, handle |
Next, wash the tools with lukewarm water and a mild, chemical-free soap. Pay extra attention to joints and crevices where bacteria tend to hide. Rinse them thoroughly to ensure no soap residue is left behind [1]. Using high-quality tools can help them withstand regular cleaning and maintain their performance over time [2]. Once cleaned and free of debris, the tools are ready for disinfection.
Step 2: Disinfecting Tools with a Solution
After cleaning your tools, the next step is disinfection to remove harmful pathogens. Barbicide is a trusted solution in the industry, known for its ability to eliminate bacteria, viruses, and fungi when used properly.
Using Barbicide the Right Way
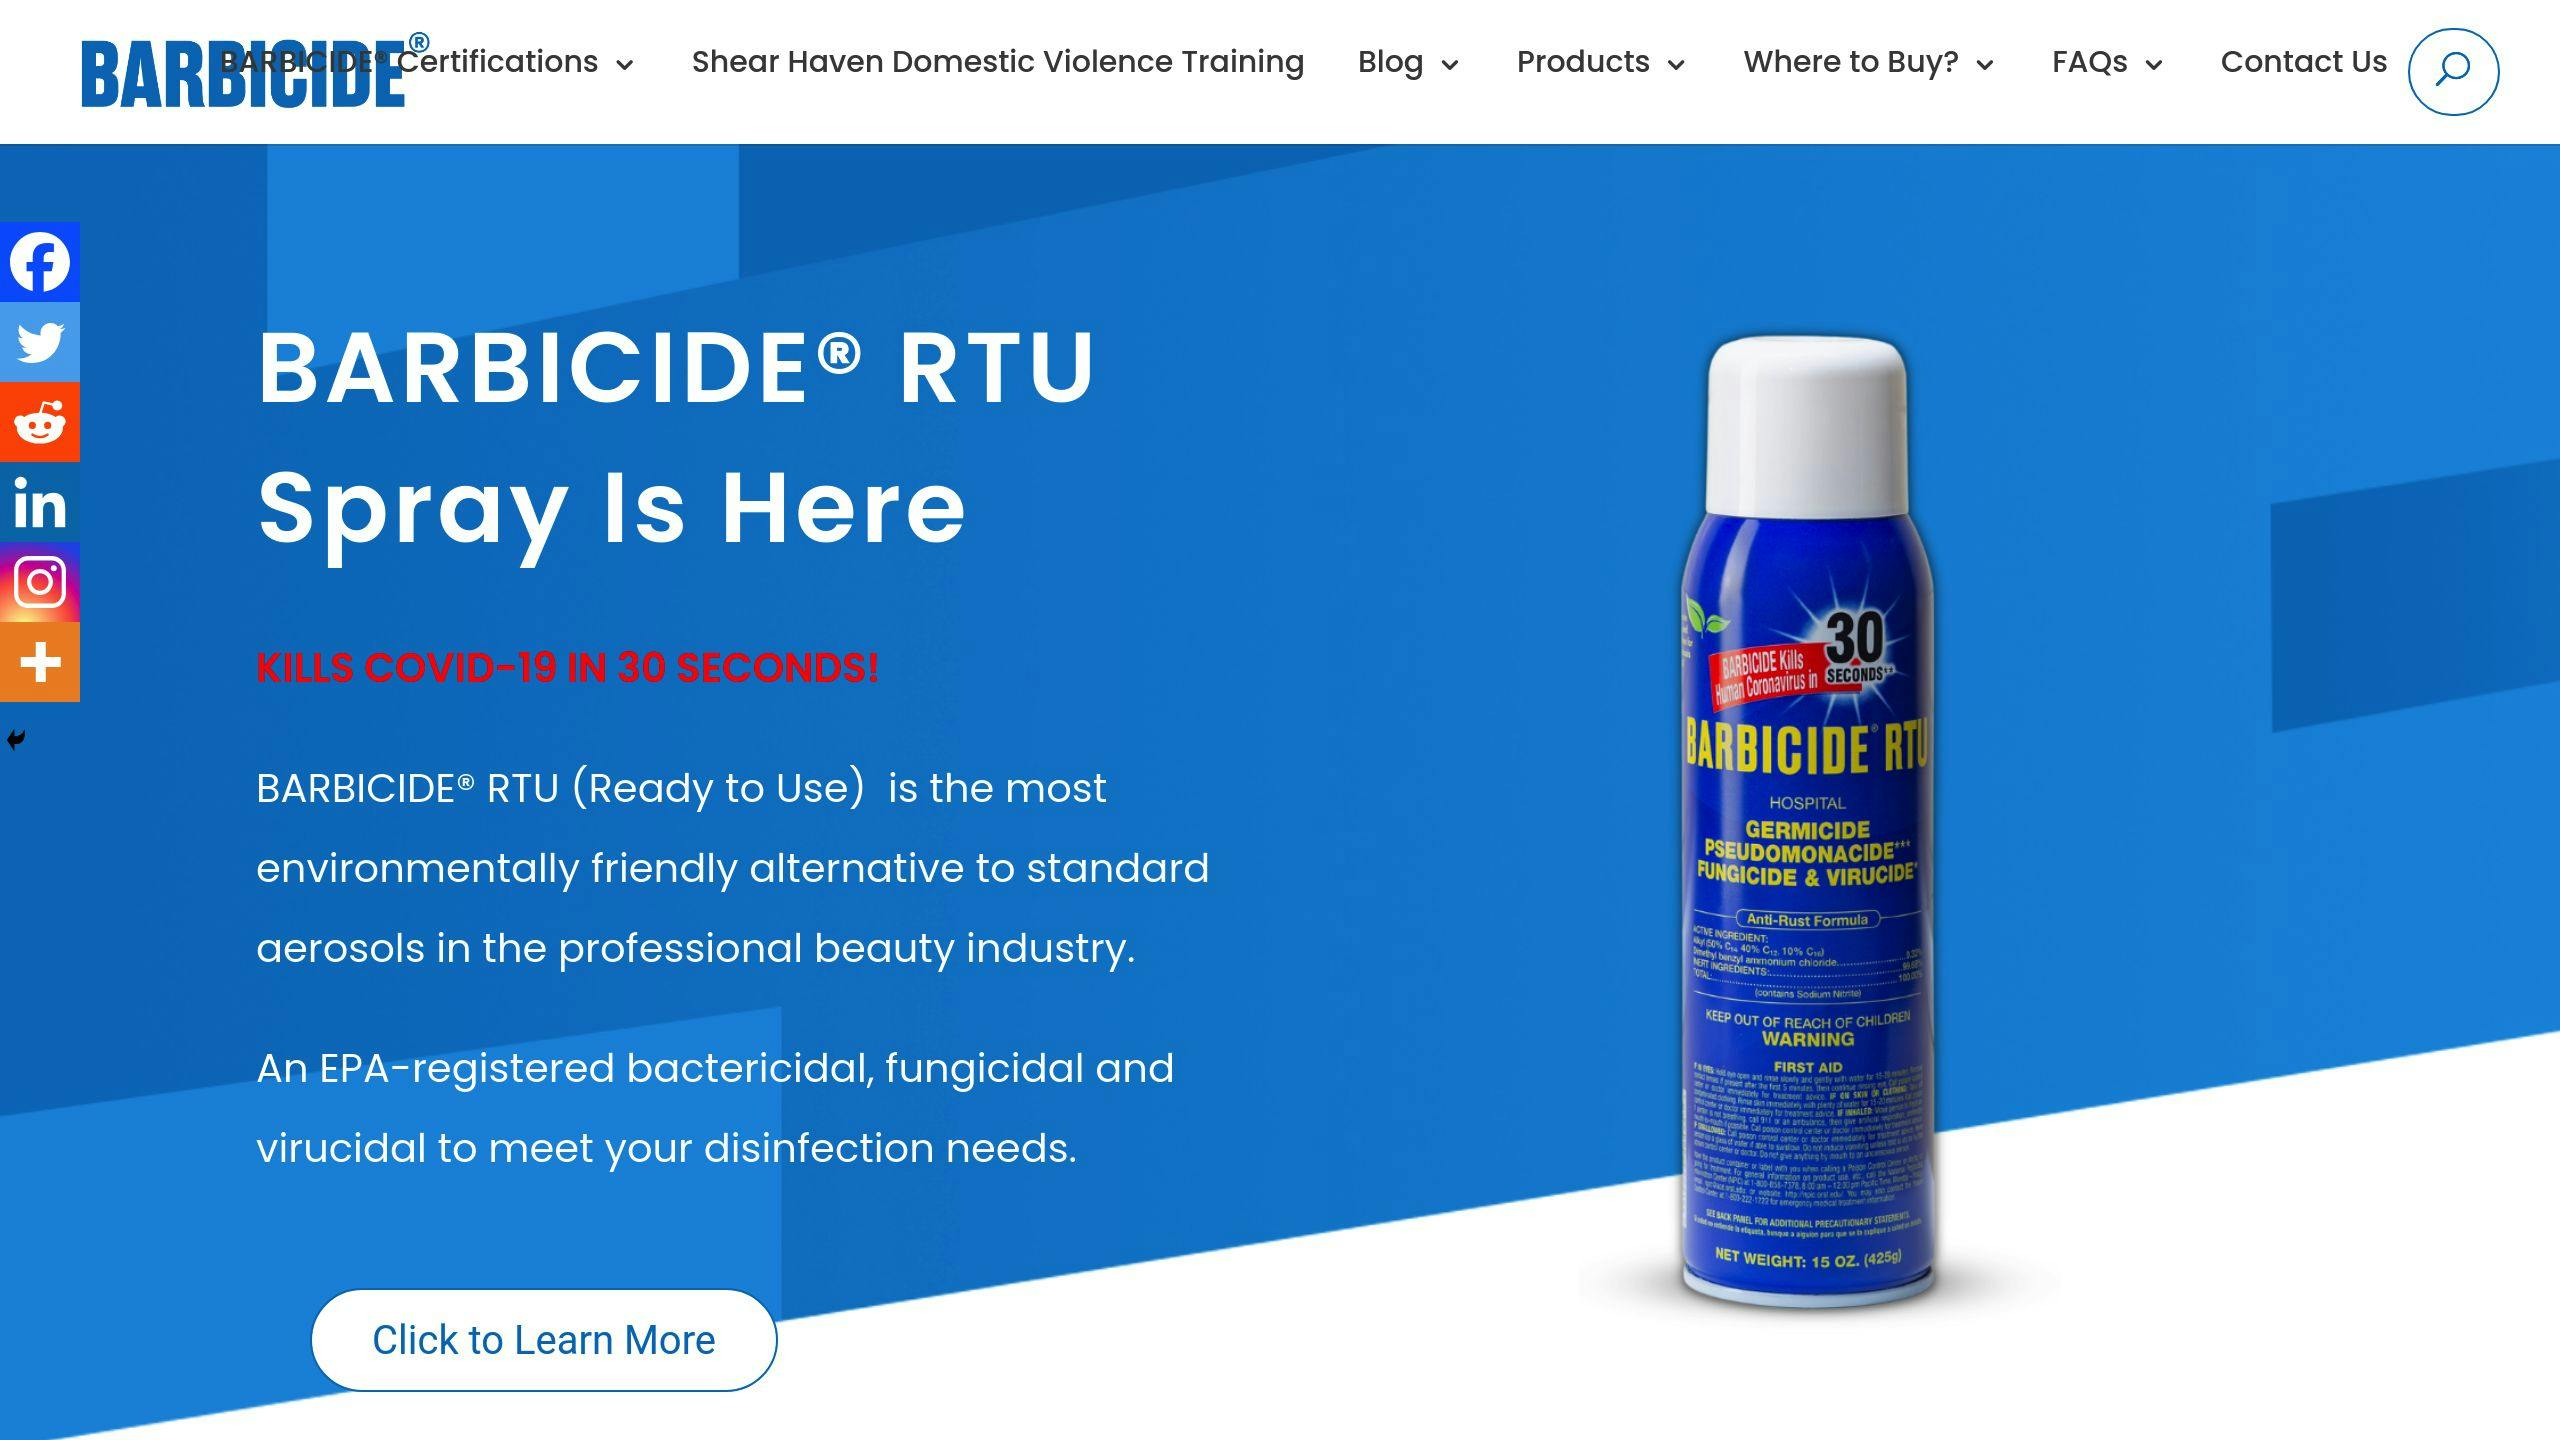
To prepare the solution, mix one part Barbicide concentrate with 32 parts water (or follow the label's instructions). Replace the solution every 24 hours to keep it effective. Here’s how to use it step by step:
| Step | Action | Duration |
|---|---|---|
| Immersion | Submerge tools completely | 10 minutes |
| Rinsing | Rinse tools with clean water | Thoroughly |
| Drying | Dry tools with a clean towel | As needed |
For electronic tools that can’t be submerged, use a disinfectant spray. Let the spray sit for 10 minutes before wiping it off.
Ensuring Complete Coverage
To disinfect effectively, make sure every part of the tool is treated. Pay close attention to:
- Pivot points on scissors or shears
- Crevices and joints where bacteria might hide
- Handles, grips, and blade surfaces
Always follow the manufacturer’s recommendations for concentration and temperature to ensure proper sanitization [1].
Finally, check your local regulations to ensure your disinfection practices meet any specific requirements. For tools that can’t be immersed, explore alternative hygiene methods to maintain cleanliness.
Step 3: Other Ways to Disinfect Tools
Not all tools can be soaked in liquid solutions - think electronic clippers or similar devices. Here’s how to disinfect these items effectively without causing damage.
Using Disinfectant Sprays
Disinfectant sprays work well for tools that can't be submerged. Hold the blades facing downward, spray them generously, and let the solution sit for 10 minutes before wiping them clean. This method protects delicate internal parts while ensuring proper disinfection [3].
| Action | Duration | Important Notes |
|---|---|---|
| Spray application | 10 minutes | Keep blades pointed down |
| Final wipe | As needed | Use a clean, dry cloth |
Cleaning with Disinfectant Wipes
Disinfectant wipes are a quick option for sanitizing tools between clients. Wipe all surfaces thoroughly, ensuring at least 2 minutes of contact time to kill germs effectively [1].
When using sprays or wipes, pay close attention to:
- Joints and seams
- Handle surfaces
- Tool edges
Keep in mind that not all tools are suited for these methods. Always refer to the manufacturer's instructions and local regulations to ensure your cleaning practices are compliant [1].
After disinfection, make sure tools are completely dry and stored properly to maintain their cleanliness and functionality.
sbb-itb-3cc0078
Step 4: Drying and Storing Tools Properly
Once you've disinfected your hair-cutting tools, it's important to dry and store them correctly. This not only keeps them in good condition but also ensures they stay safe and hygienic for use.
Drying Tools to Avoid Rust
Moisture is the enemy here - it can lead to rust and corrosion, which can ruin your tools and compromise safety. After disinfecting, let the tools air dry for about 2-3 minutes. Then, take a lint-free microfiber cloth and carefully wipe them down in one direction. Pay extra attention to areas like joints, hinges, and serrated edges, as these spots often trap moisture. Use bright lighting to double-check that everything is completely dry.
Storing Tools the Right Way
Proper storage is just as essential as cleaning. It keeps your tools sanitized and ready for the next use while preventing damage or contamination.
After drying, apply a few drops of oil to the hinges to keep them working smoothly. Then, store the tools in a secure place. Here are some tips for effective storage:
- Keep tools in a cool, dry area, away from sunlight and dust. Closed containers can offer extra protection.
- Use separate compartments or sheaths for each tool to prevent them from touching.
- Consider using a color-coding system to easily distinguish between clean and used tools, ensuring you always follow hygiene protocols.
Step 5: Keeping a Regular Cleaning Schedule
Maintaining a Cleaning Routine and Inspecting Tools
Sticking to a cleaning schedule helps keep your tools in top shape and ensures a hygienic environment. After each client, do a quick clean-up: remove hair and residue, then disinfect properly. For disinfection methods, check out Step 2, which covers the use of solutions like Barbicide.
At the end of the day, set aside about 30 minutes for a deep cleaning session. This should include detailed disinfection and basic tool maintenance. Once a week, dedicate roughly an hour to inspect tools for wear and tear.
Using a cleaning log can help you stay on track and meet health regulations. A color-coding system can also simplify things - try using blue containers for sanitized tools and red for those waiting to be cleaned.
During your daily cleaning, check tools for common issues like:
- Rust spots: These can harbor bacteria and reduce performance.
- Loose screws or hinges: These can impact cutting precision.
- Blade alignment: Misaligned blades can affect accuracy.
- Surface damage: Scratches or dents can trap bacteria.
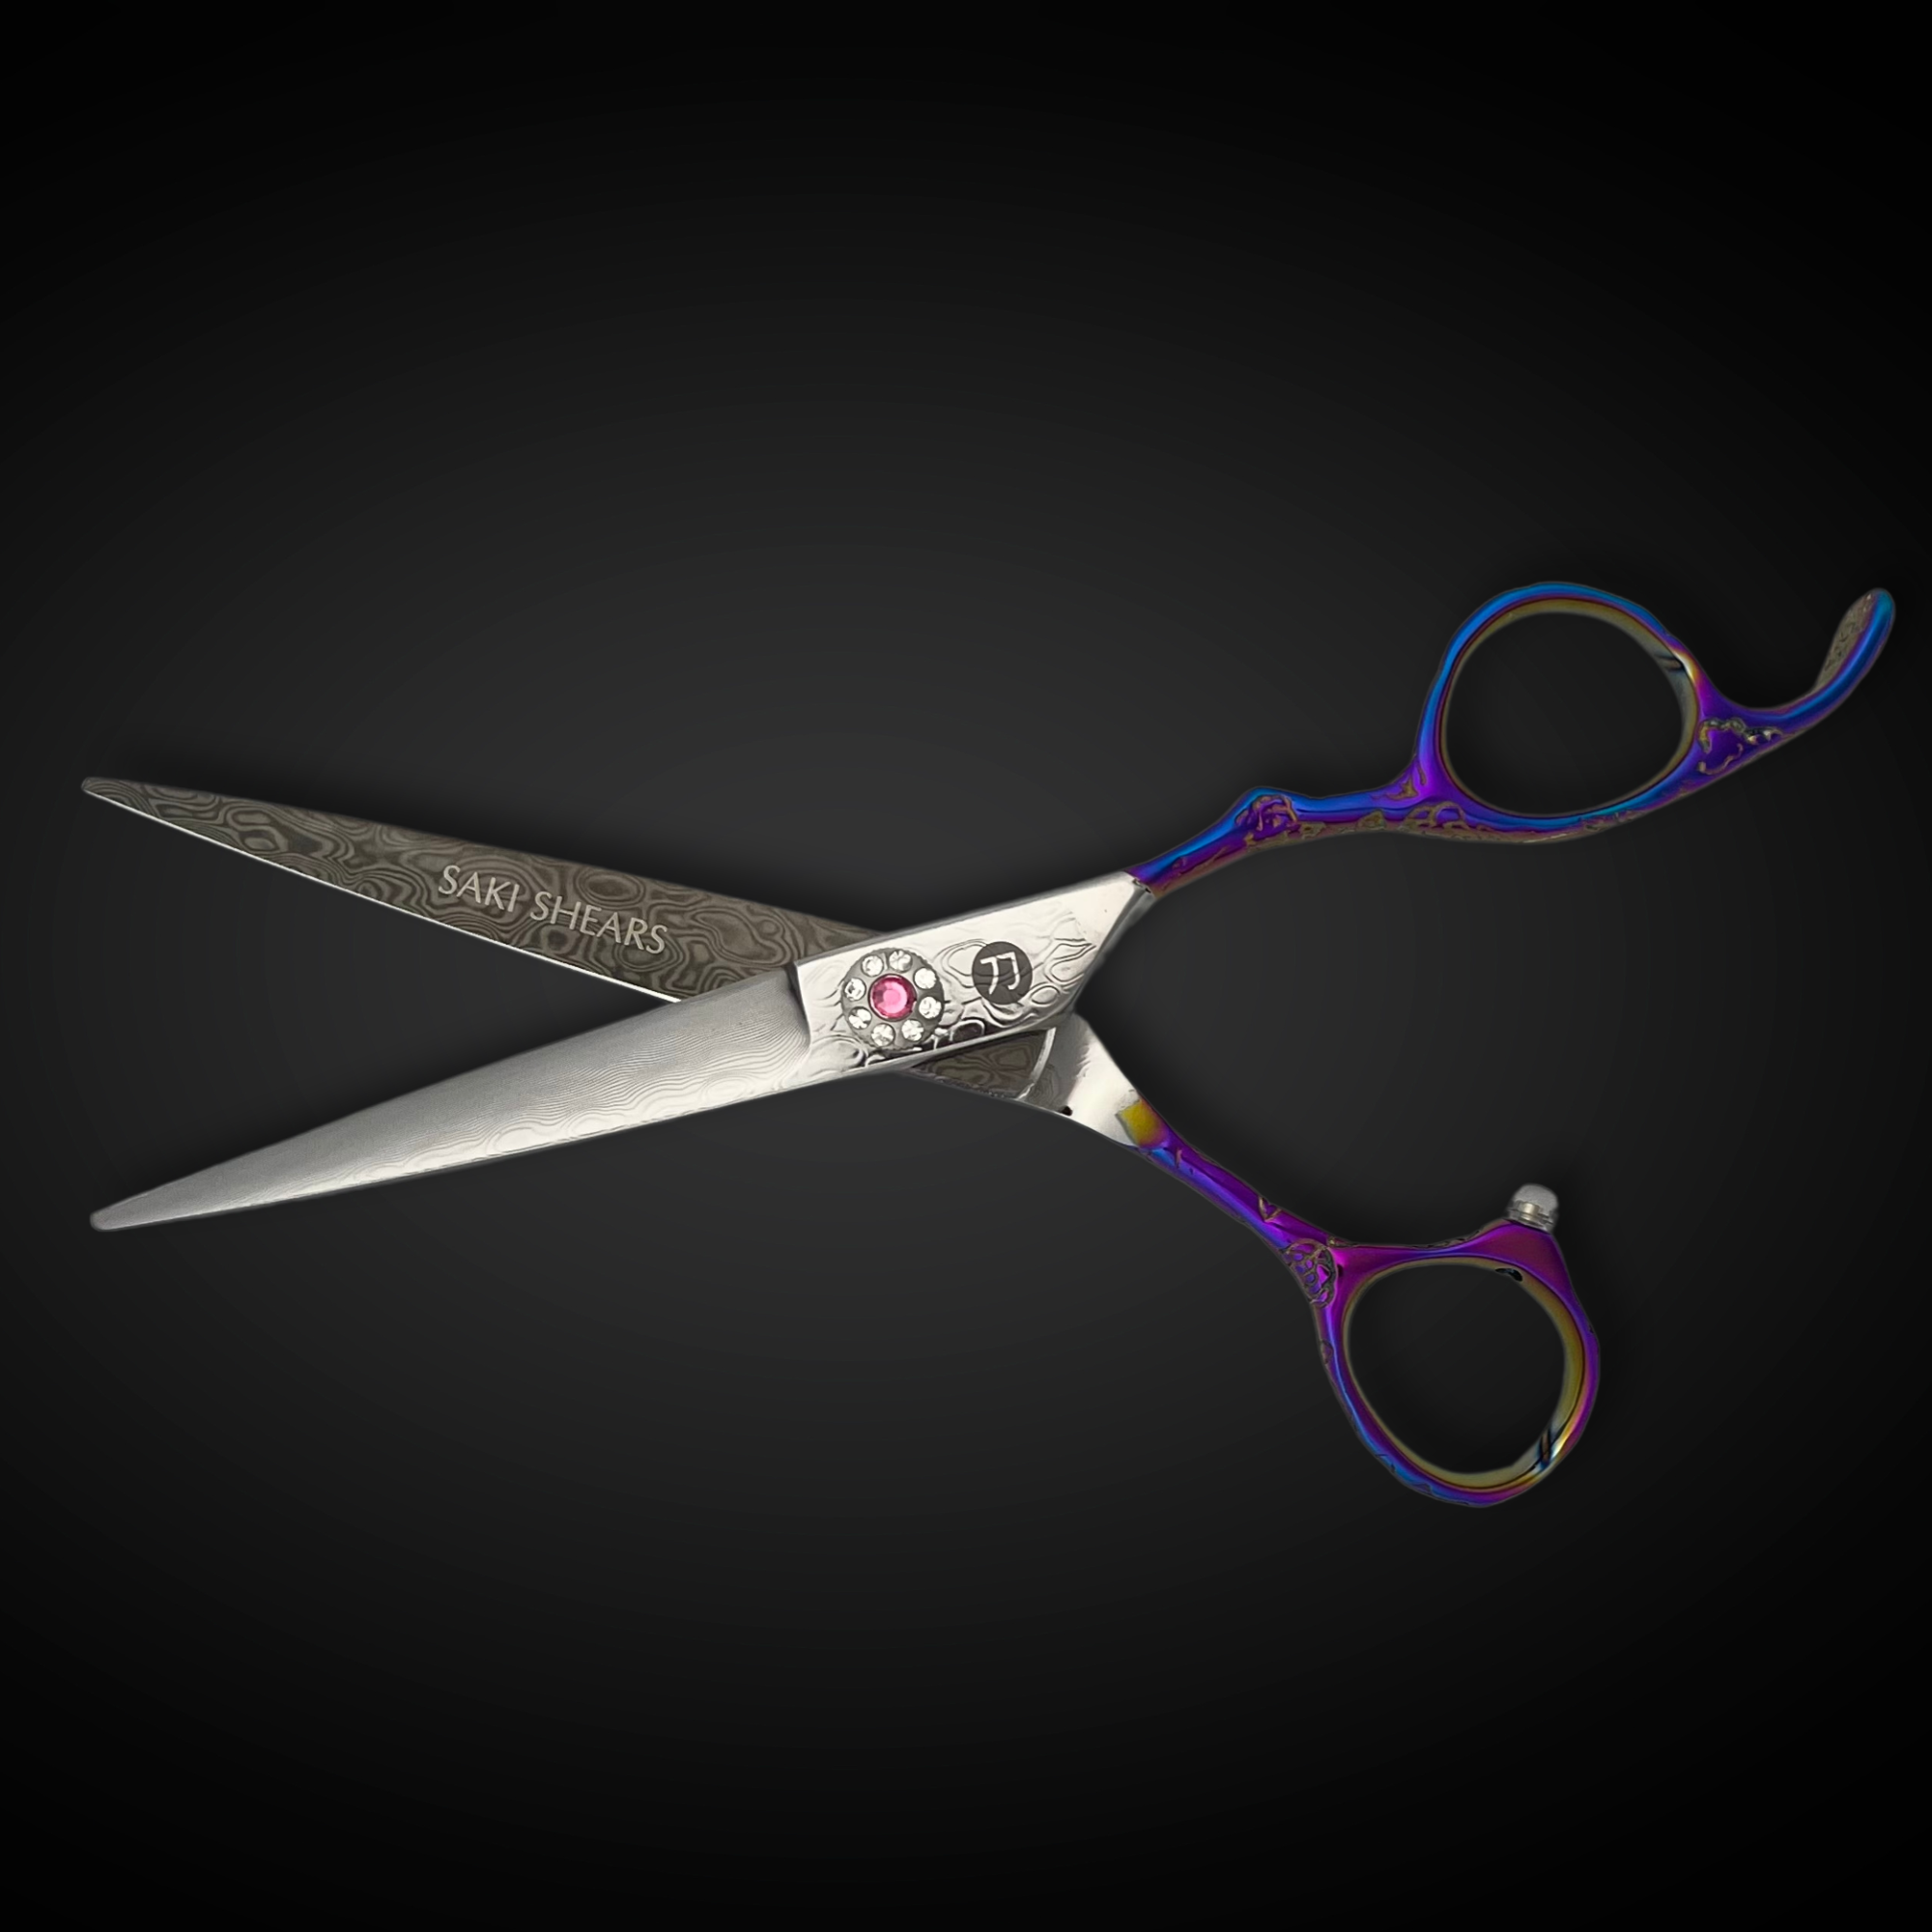
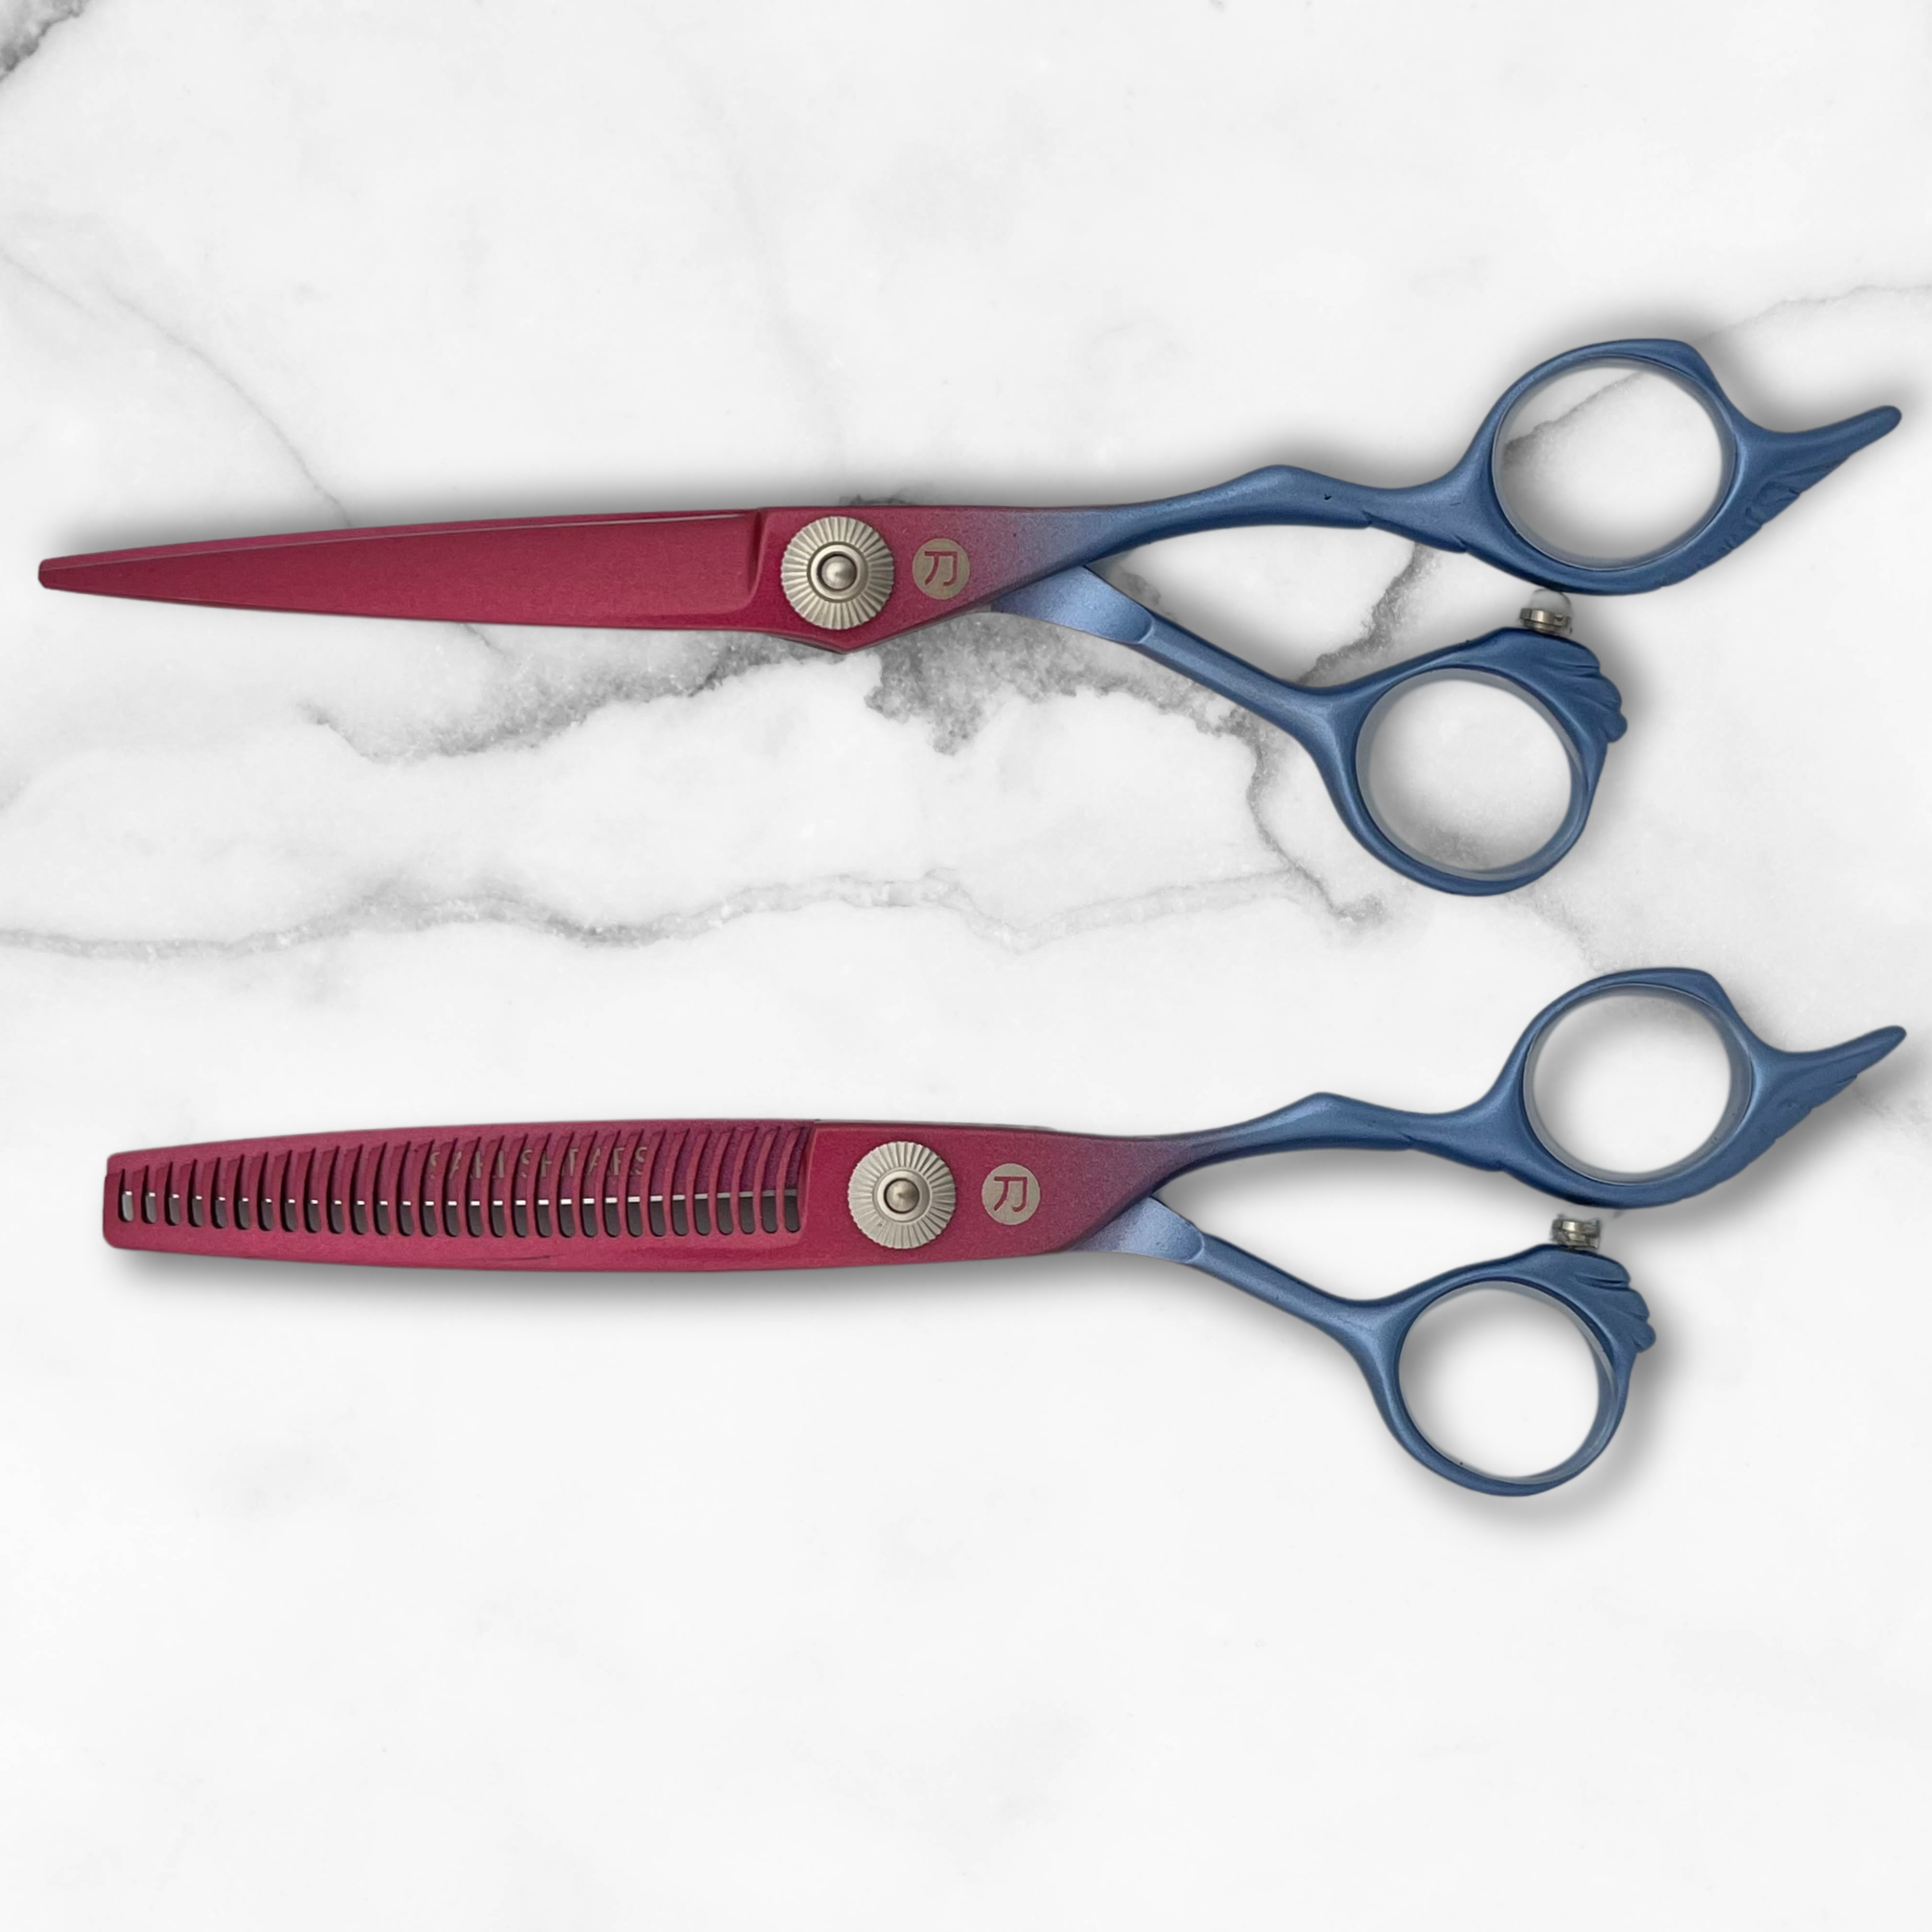
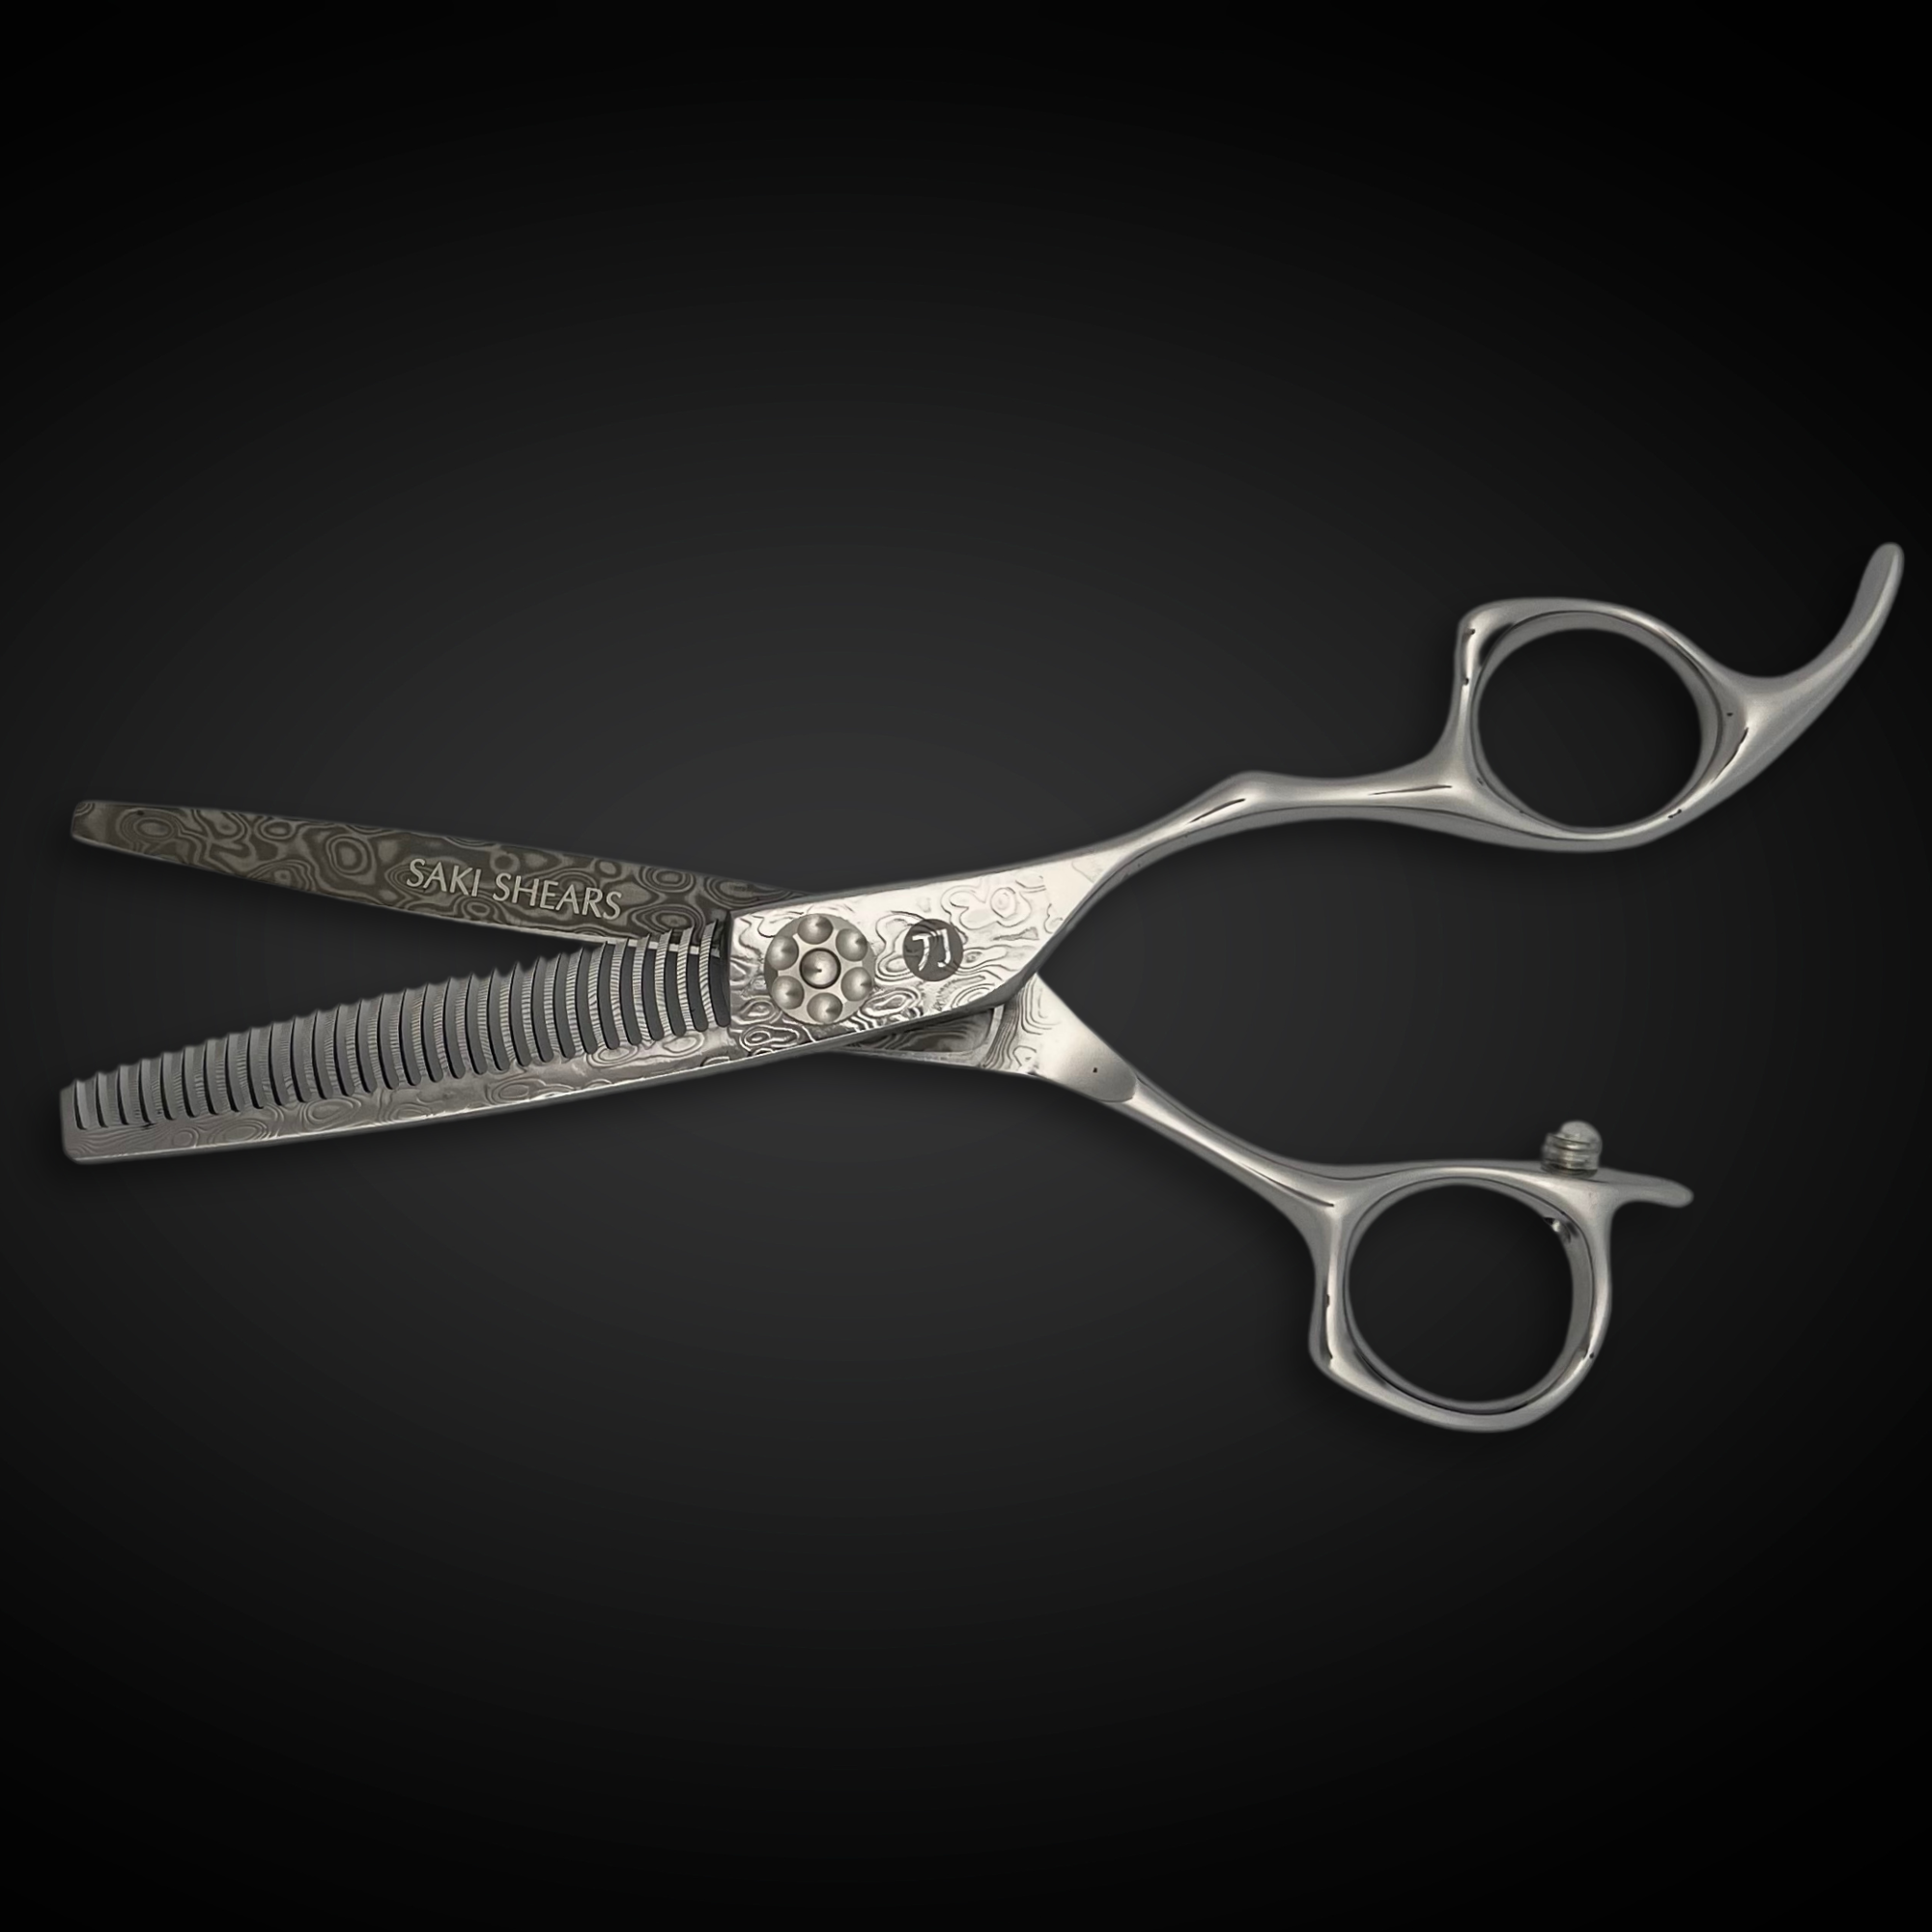
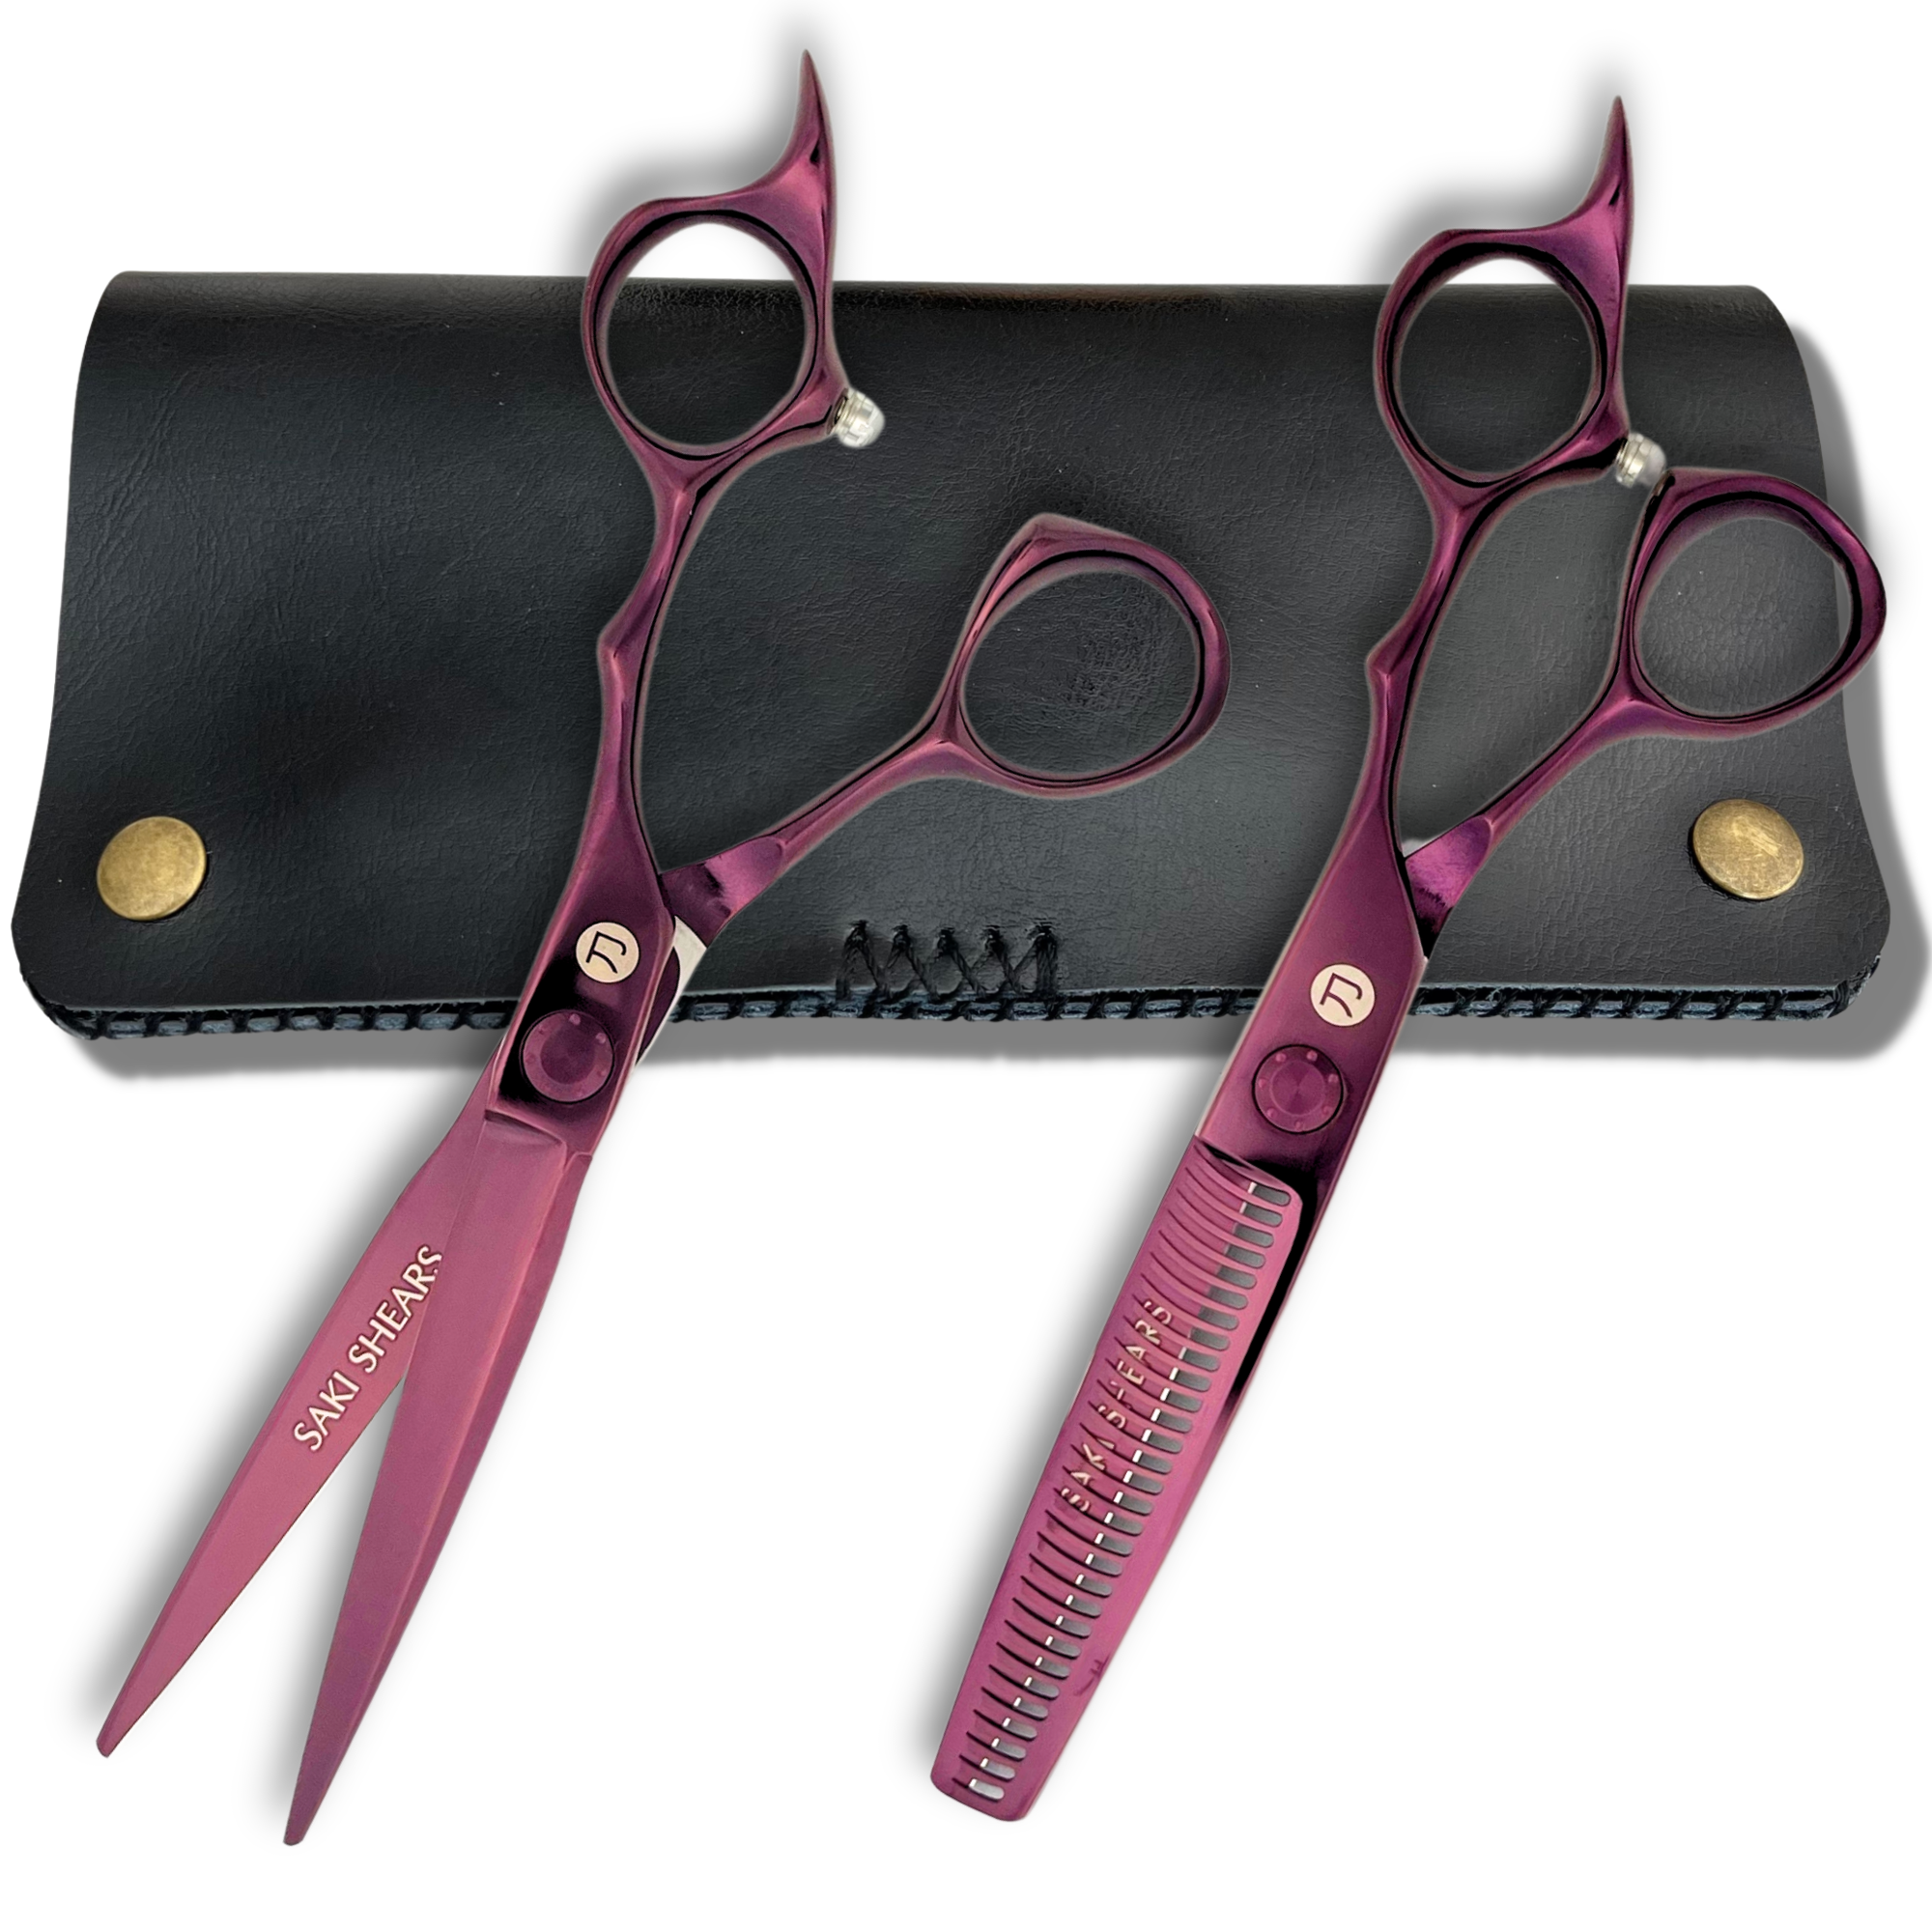
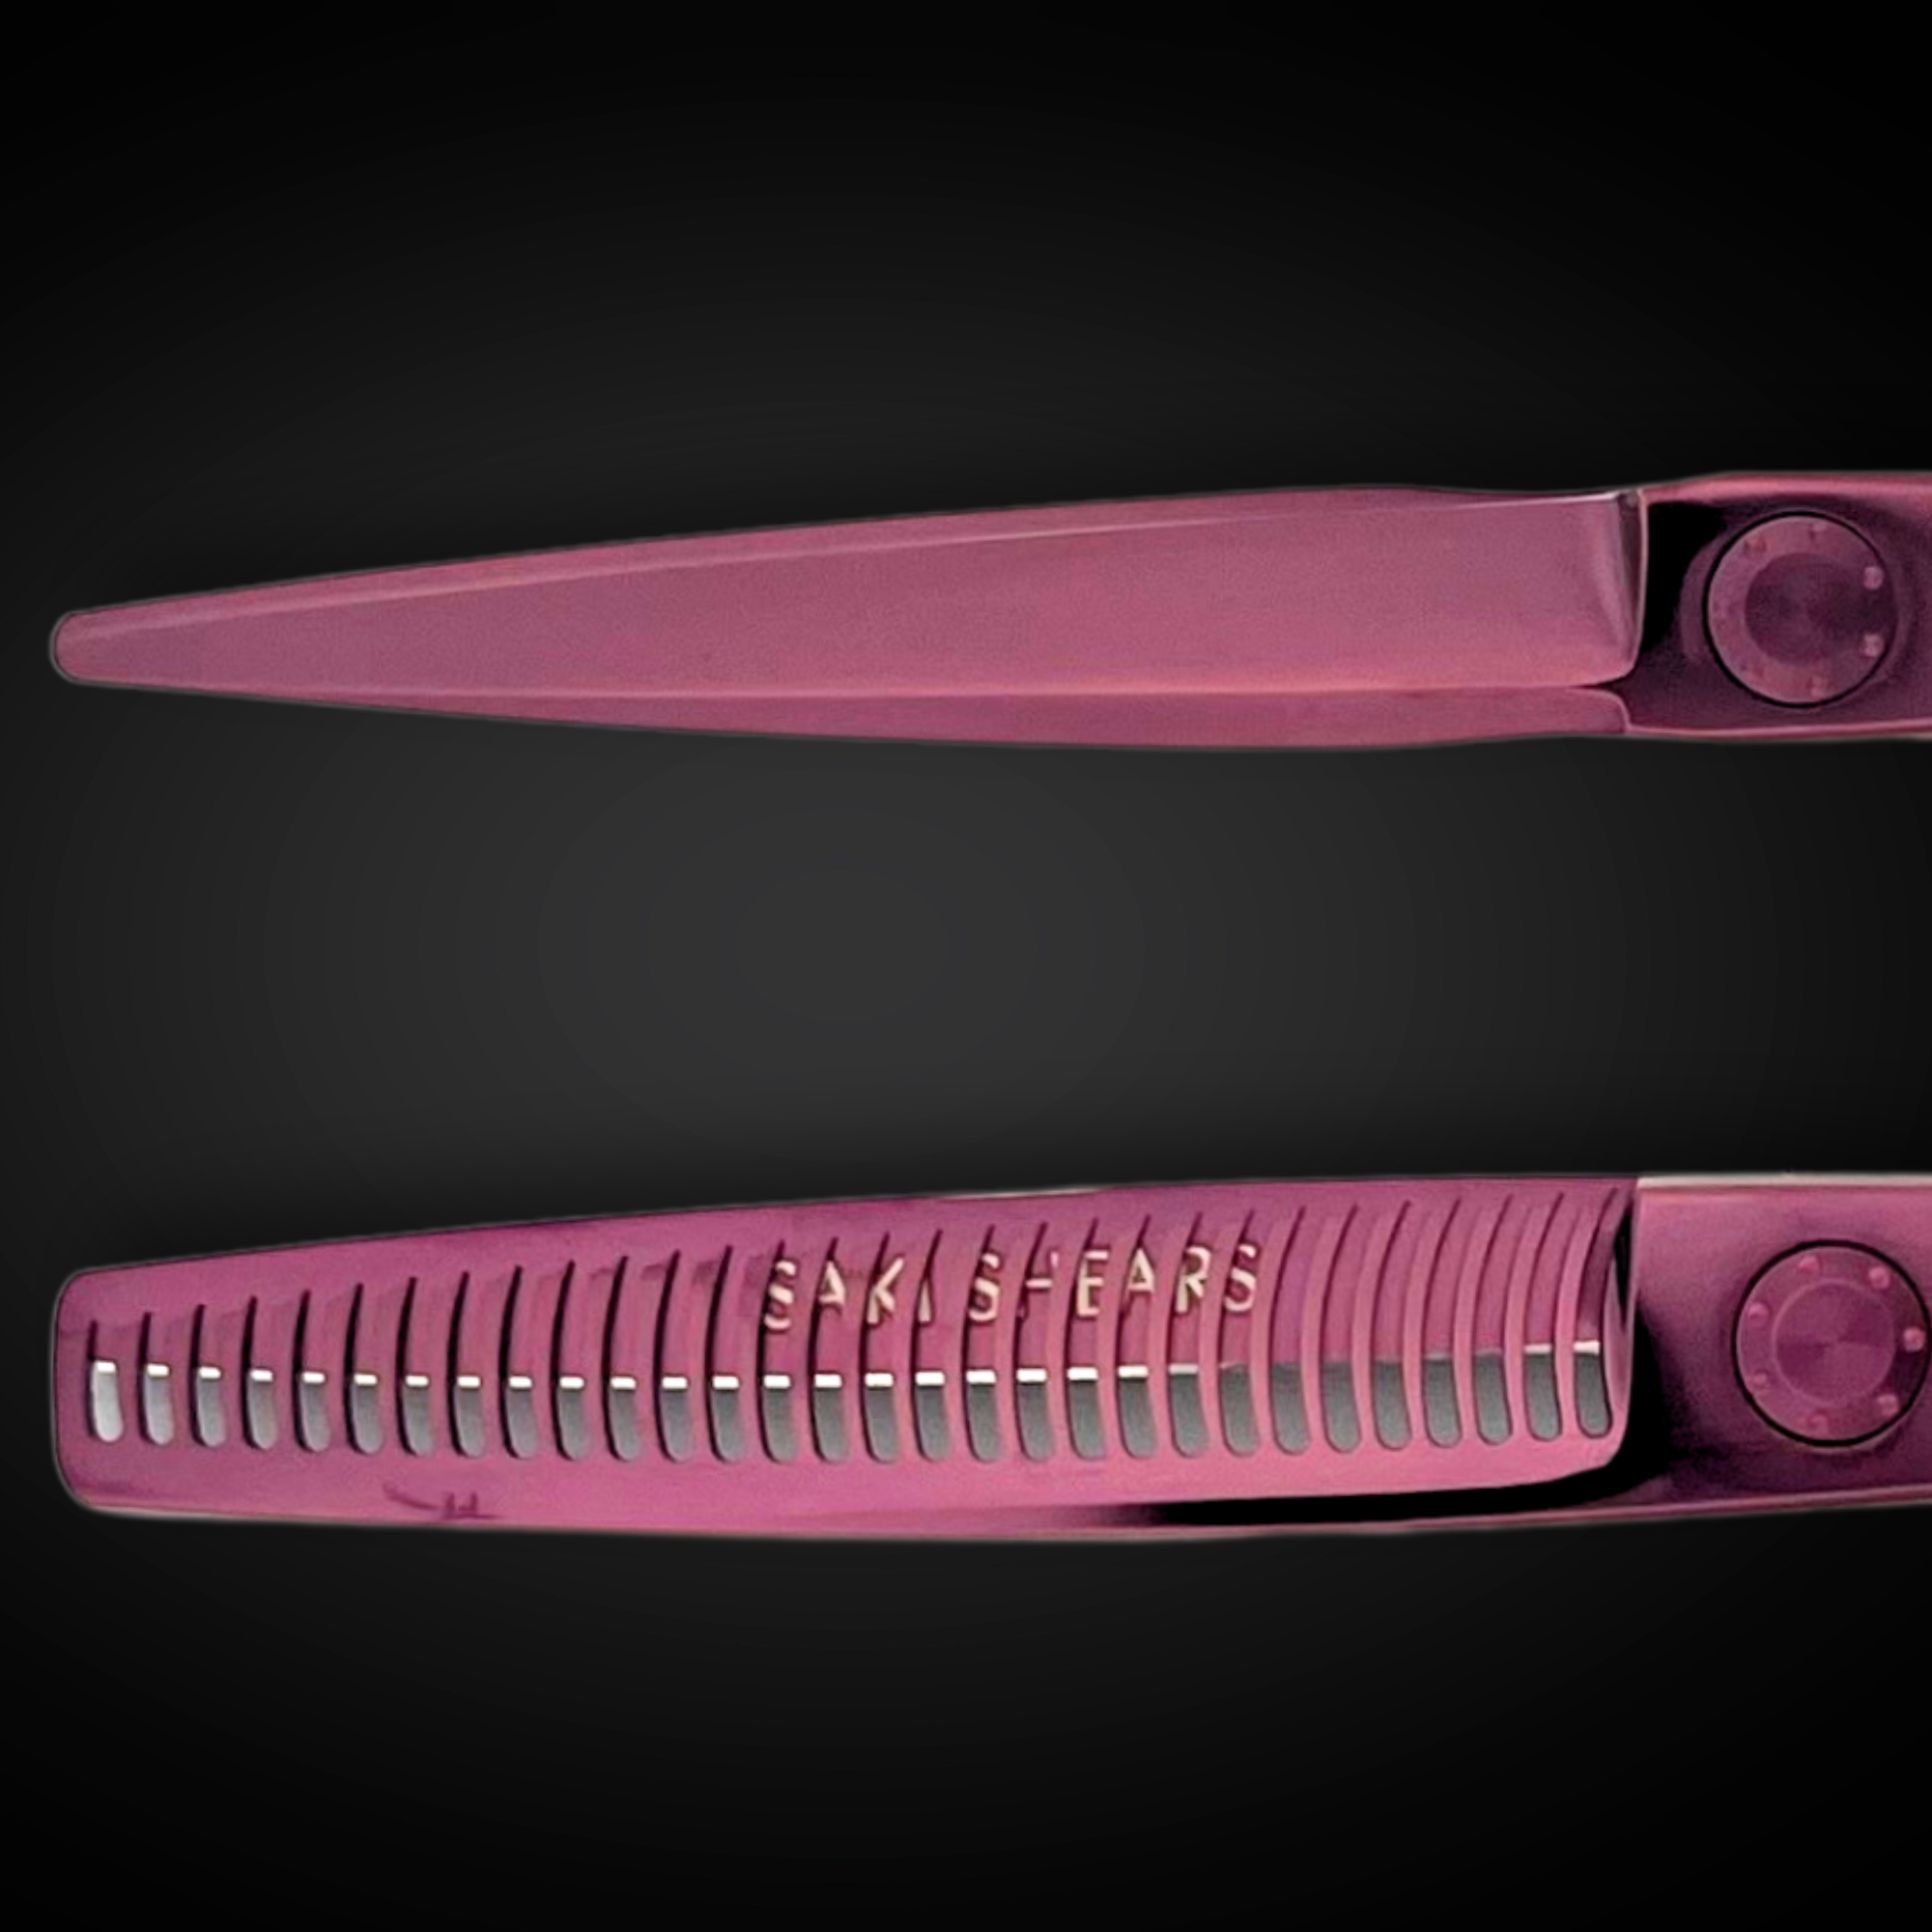
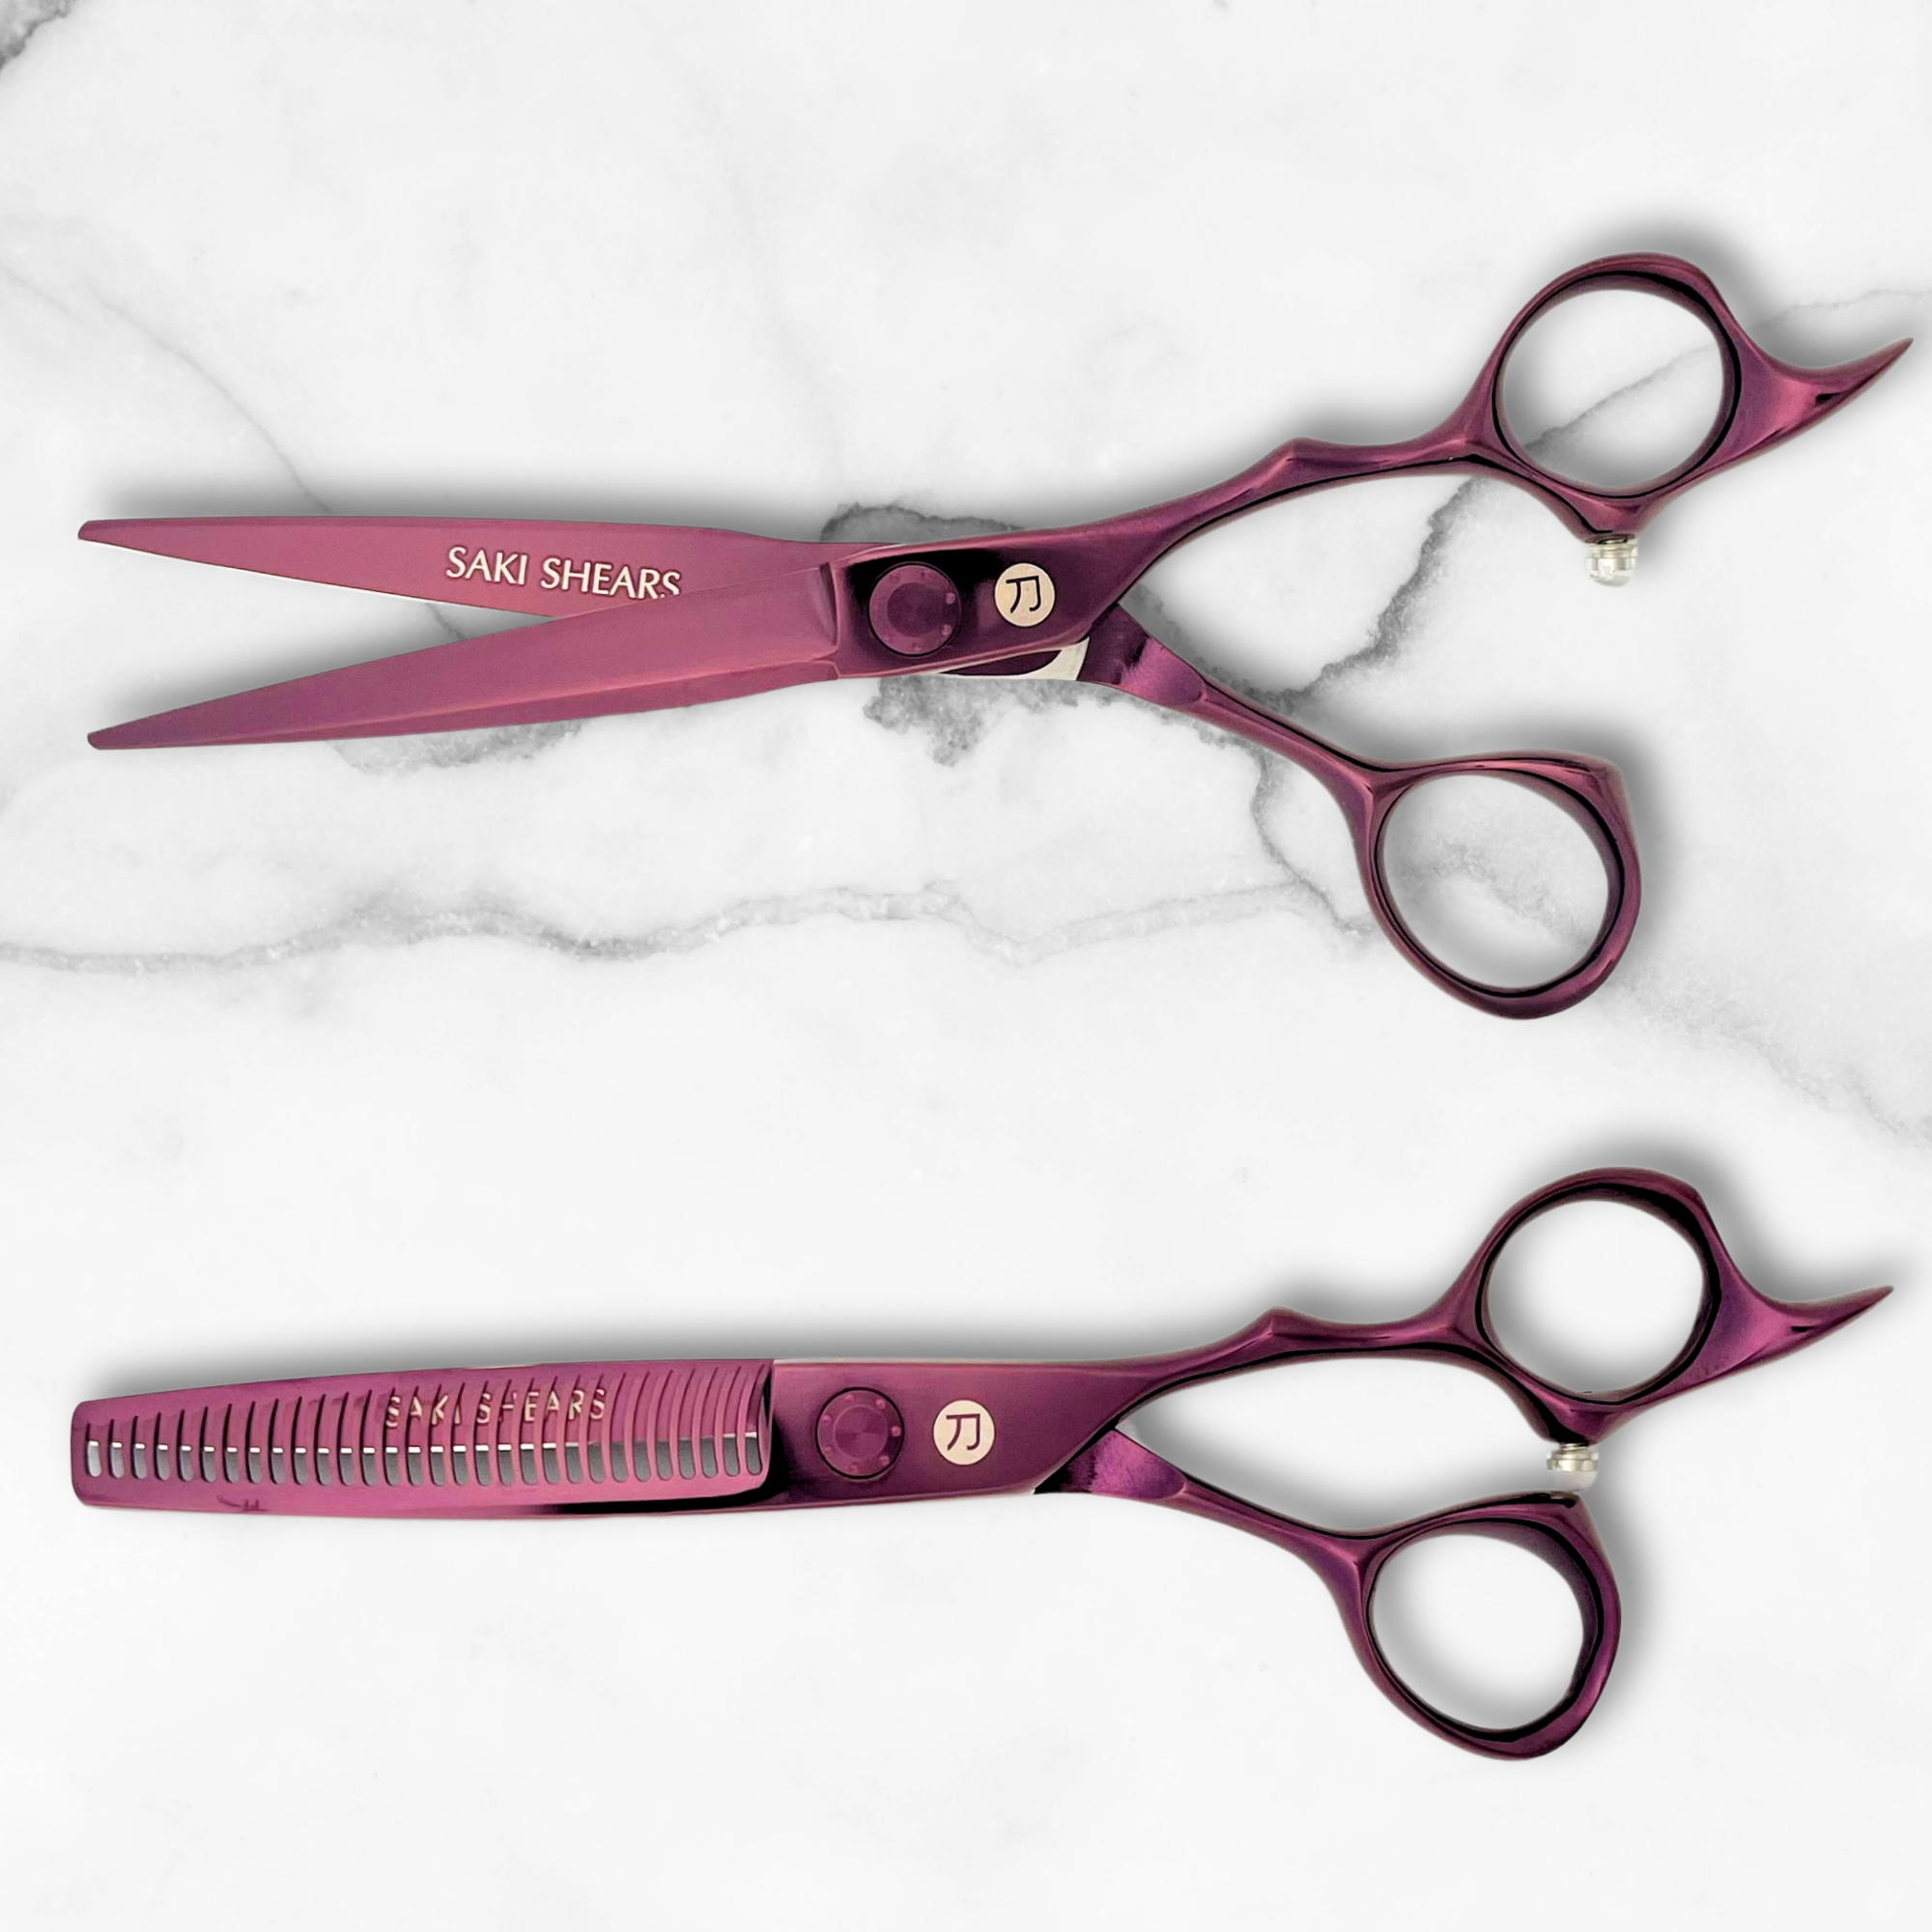
Investing in durable tools, such as those from Saki Shears, pays off in the long run thanks to their reliability and low maintenance needs [2]. If you spot any problems during inspections, address them immediately. Replace damaged tools as soon as possible to maintain safety and hygiene.
Proper upkeep not only ensures client safety but also reflects positively on your salon or barbershop. Keep your cleaning supplies organized and easily accessible to make your routine more efficient.
Conclusion: Clean Tools for Safe and Professional Service
Why Cleaning Tools Is Important
Keeping tools clean is crucial for protecting clients, ensuring business success, and maintaining professional standards. Properly sanitized tools help prevent infections, safeguard clients, and keep equipment functioning at its best. Regular care is necessary to ensure tools perform efficiently, offering precise results for every client.
In addition to daily cleaning routines, staying informed about updated health and safety guidelines is key to maintaining professionalism and compliance.
Keeping Up with Hygiene Standards
Salon hygiene practices are constantly updated, so it’s important to stay informed about the latest recommendations. Organizations like the Centers for Disease Control and Prevention (CDC) and the Occupational Safety and Health Administration (OSHA) frequently revise their guidance for salon and barbershop safety.
Here’s a quick guide to maintaining tool hygiene:
| Time Period | Action | Purpose |
|---|---|---|
| After Each Client | Clean with soap and Barbicide | Immediate sanitization |
| Daily | Deep clean and inspect tools | Ensure thorough disinfection |
| Every 24 Hours | Replace Barbicide solution | Keep disinfectant effective |
| Weekly | Perform maintenance checks | Avoid wear and damage |
| Quarterly | Review CDC/OSHA guidelines | Stay updated on safety standards |
Consistently following these steps, from proper use of disinfectants like Barbicide to ensuring tools are fully dried, not only protects clients but also reinforces your business’s reputation for safety and care.
FAQs
Here are answers to some common questions about keeping tools clean and hygienic in professional environments.
How do hairdressers clean their scissors?
Hairdressers follow a simple routine to clean scissors. First, they remove any hair or debris with a soft brush or cloth. Next, they wash the scissors with warm, soapy water and then sterilize the blades using rubbing alcohol. To ensure safety and hygiene, scissors should be cleaned after every client using an appropriate disinfectant. Many professional scissors also include care instructions to help maintain their sharpness and cleanliness.
What do salons use to disinfect tools?
Salons often rely on Barbicide, a trusted EPA-registered disinfectant, to sanitize tools effectively [1]. When used properly, it eliminates harmful pathogens. The process involves diluting the solution as directed, fully immersing tools for 10 minutes, and replacing the solution every 24 hours.
Key practices for Barbicide use:
- Replace the solution daily to ensure effectiveness.
- Immerse tools completely for at least 10 minutes.
- Rinse and dry tools thoroughly after disinfection.
For tools that can't be submerged, disinfectant sprays or wipes are a reliable alternative, as described in Step 3.

