Slide Cutting Technique: How the Right Shears Transform Your Cuts
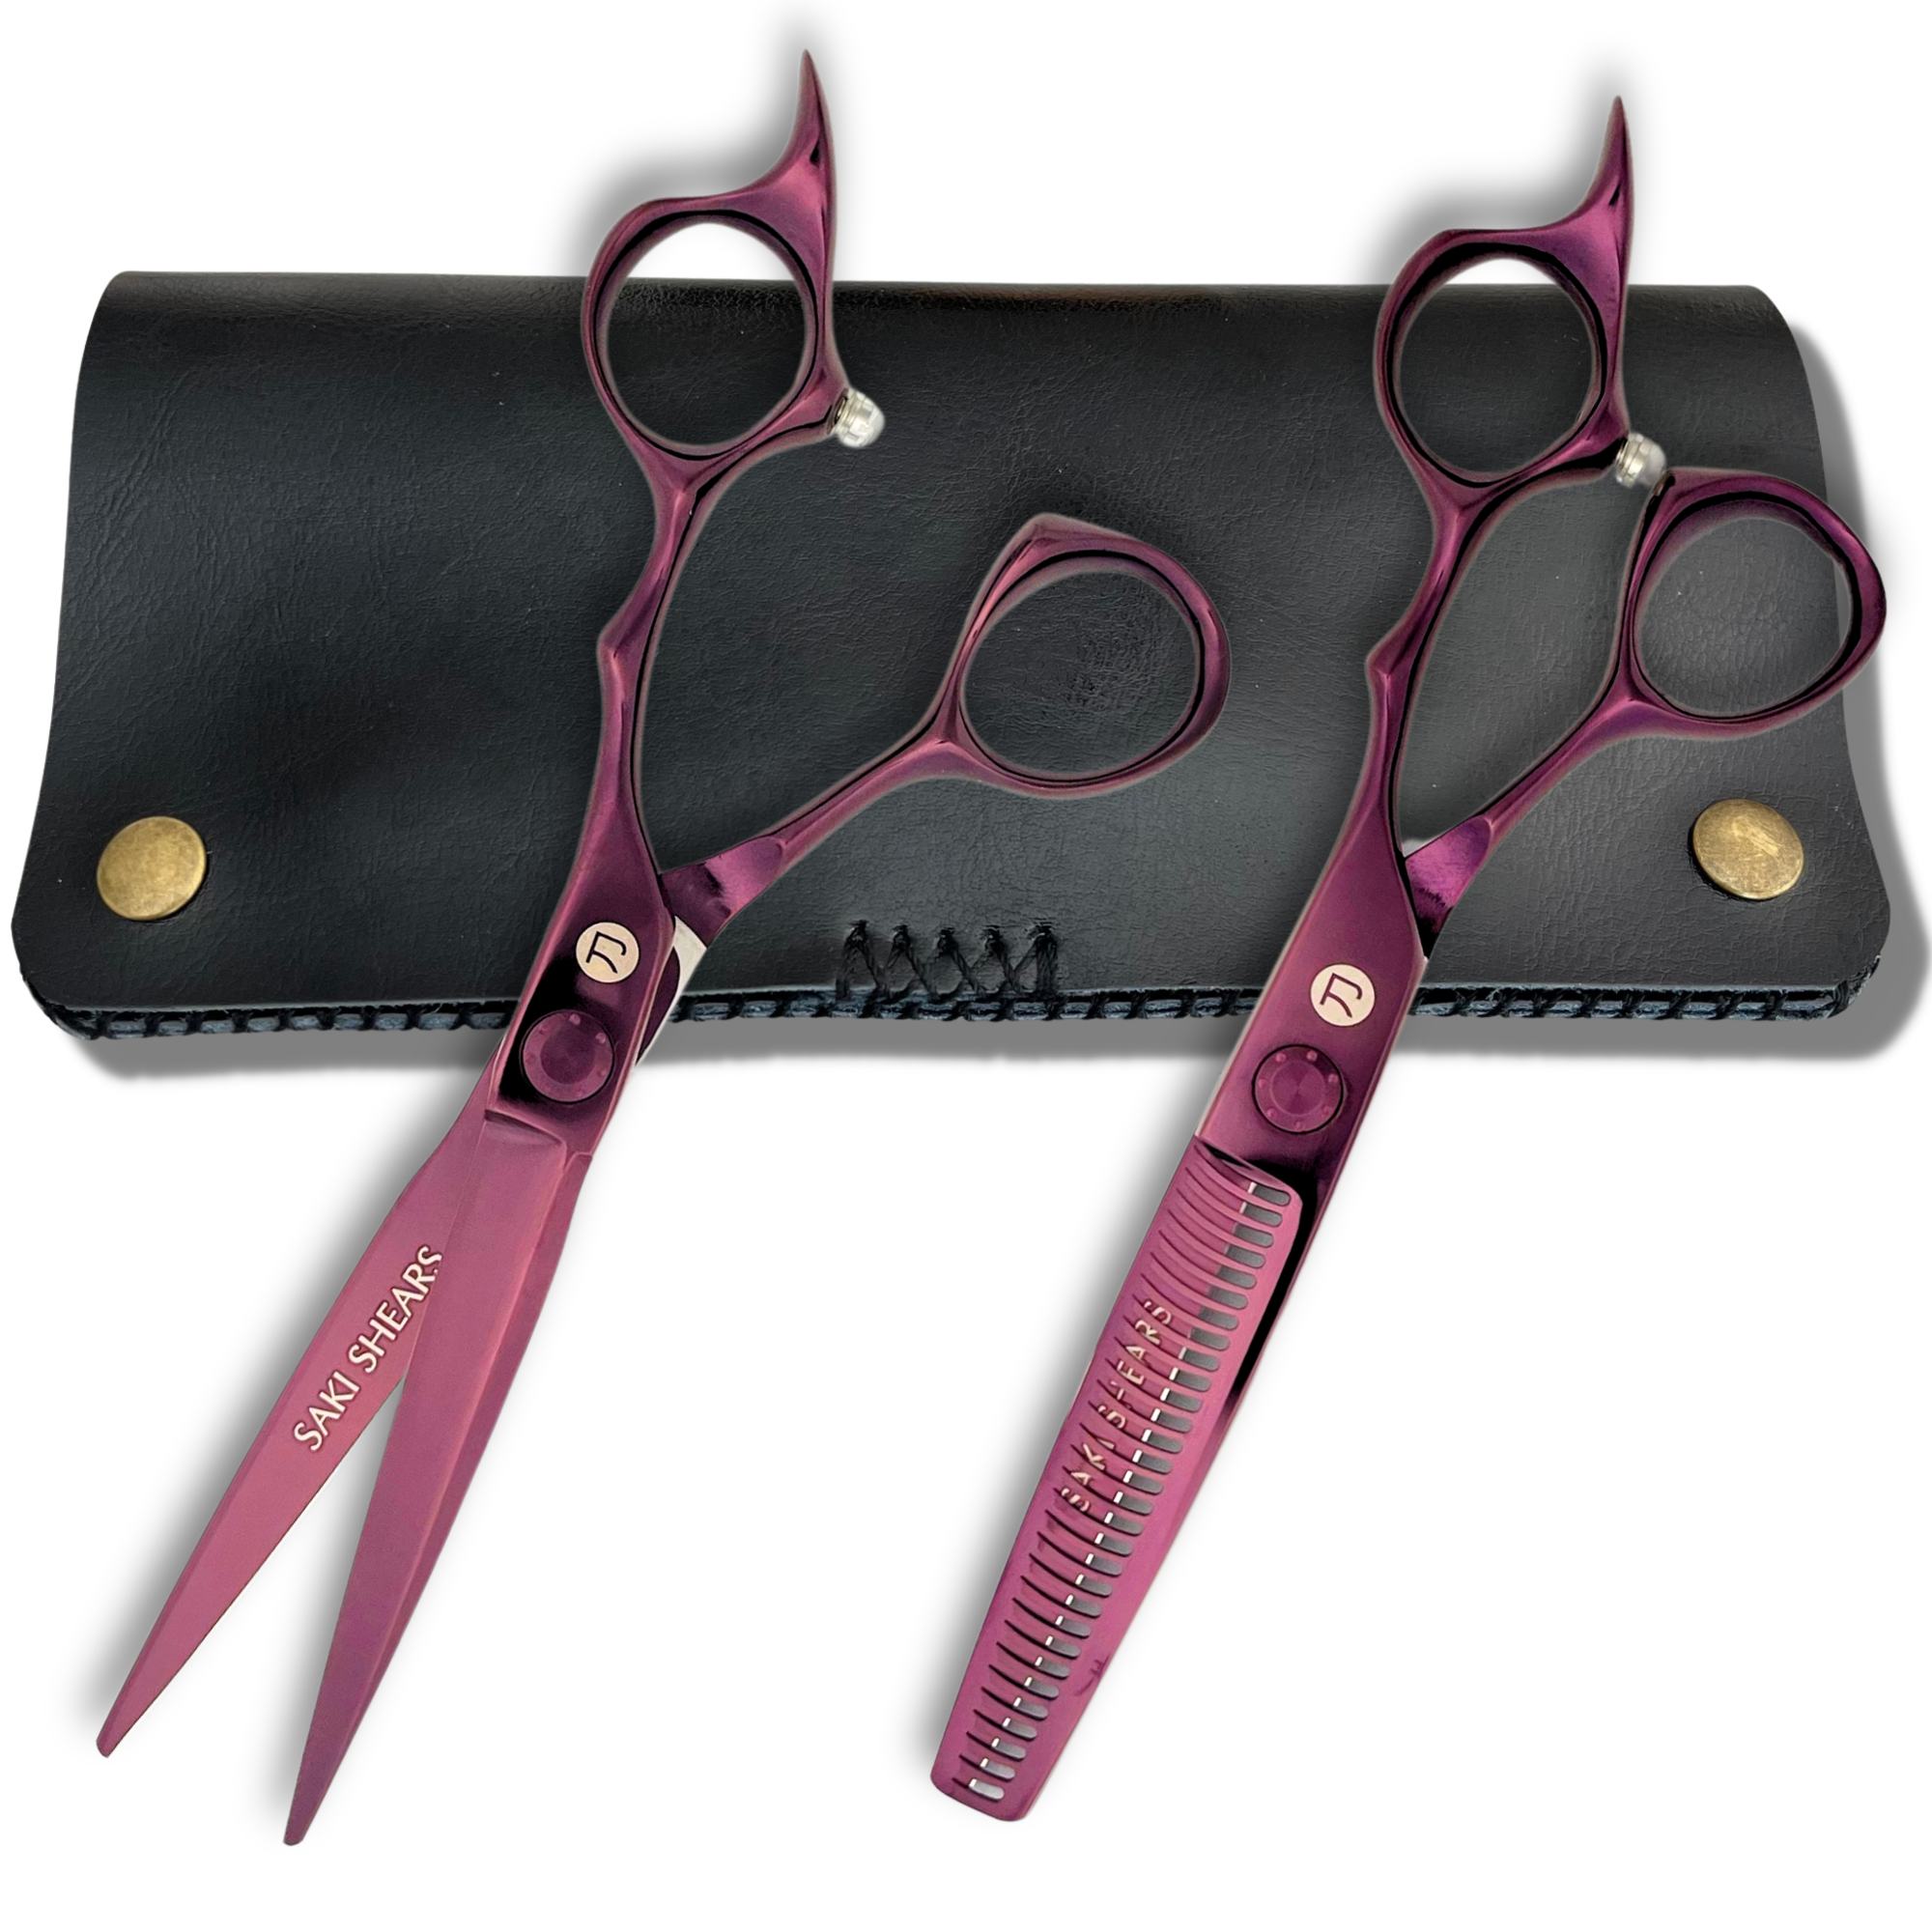
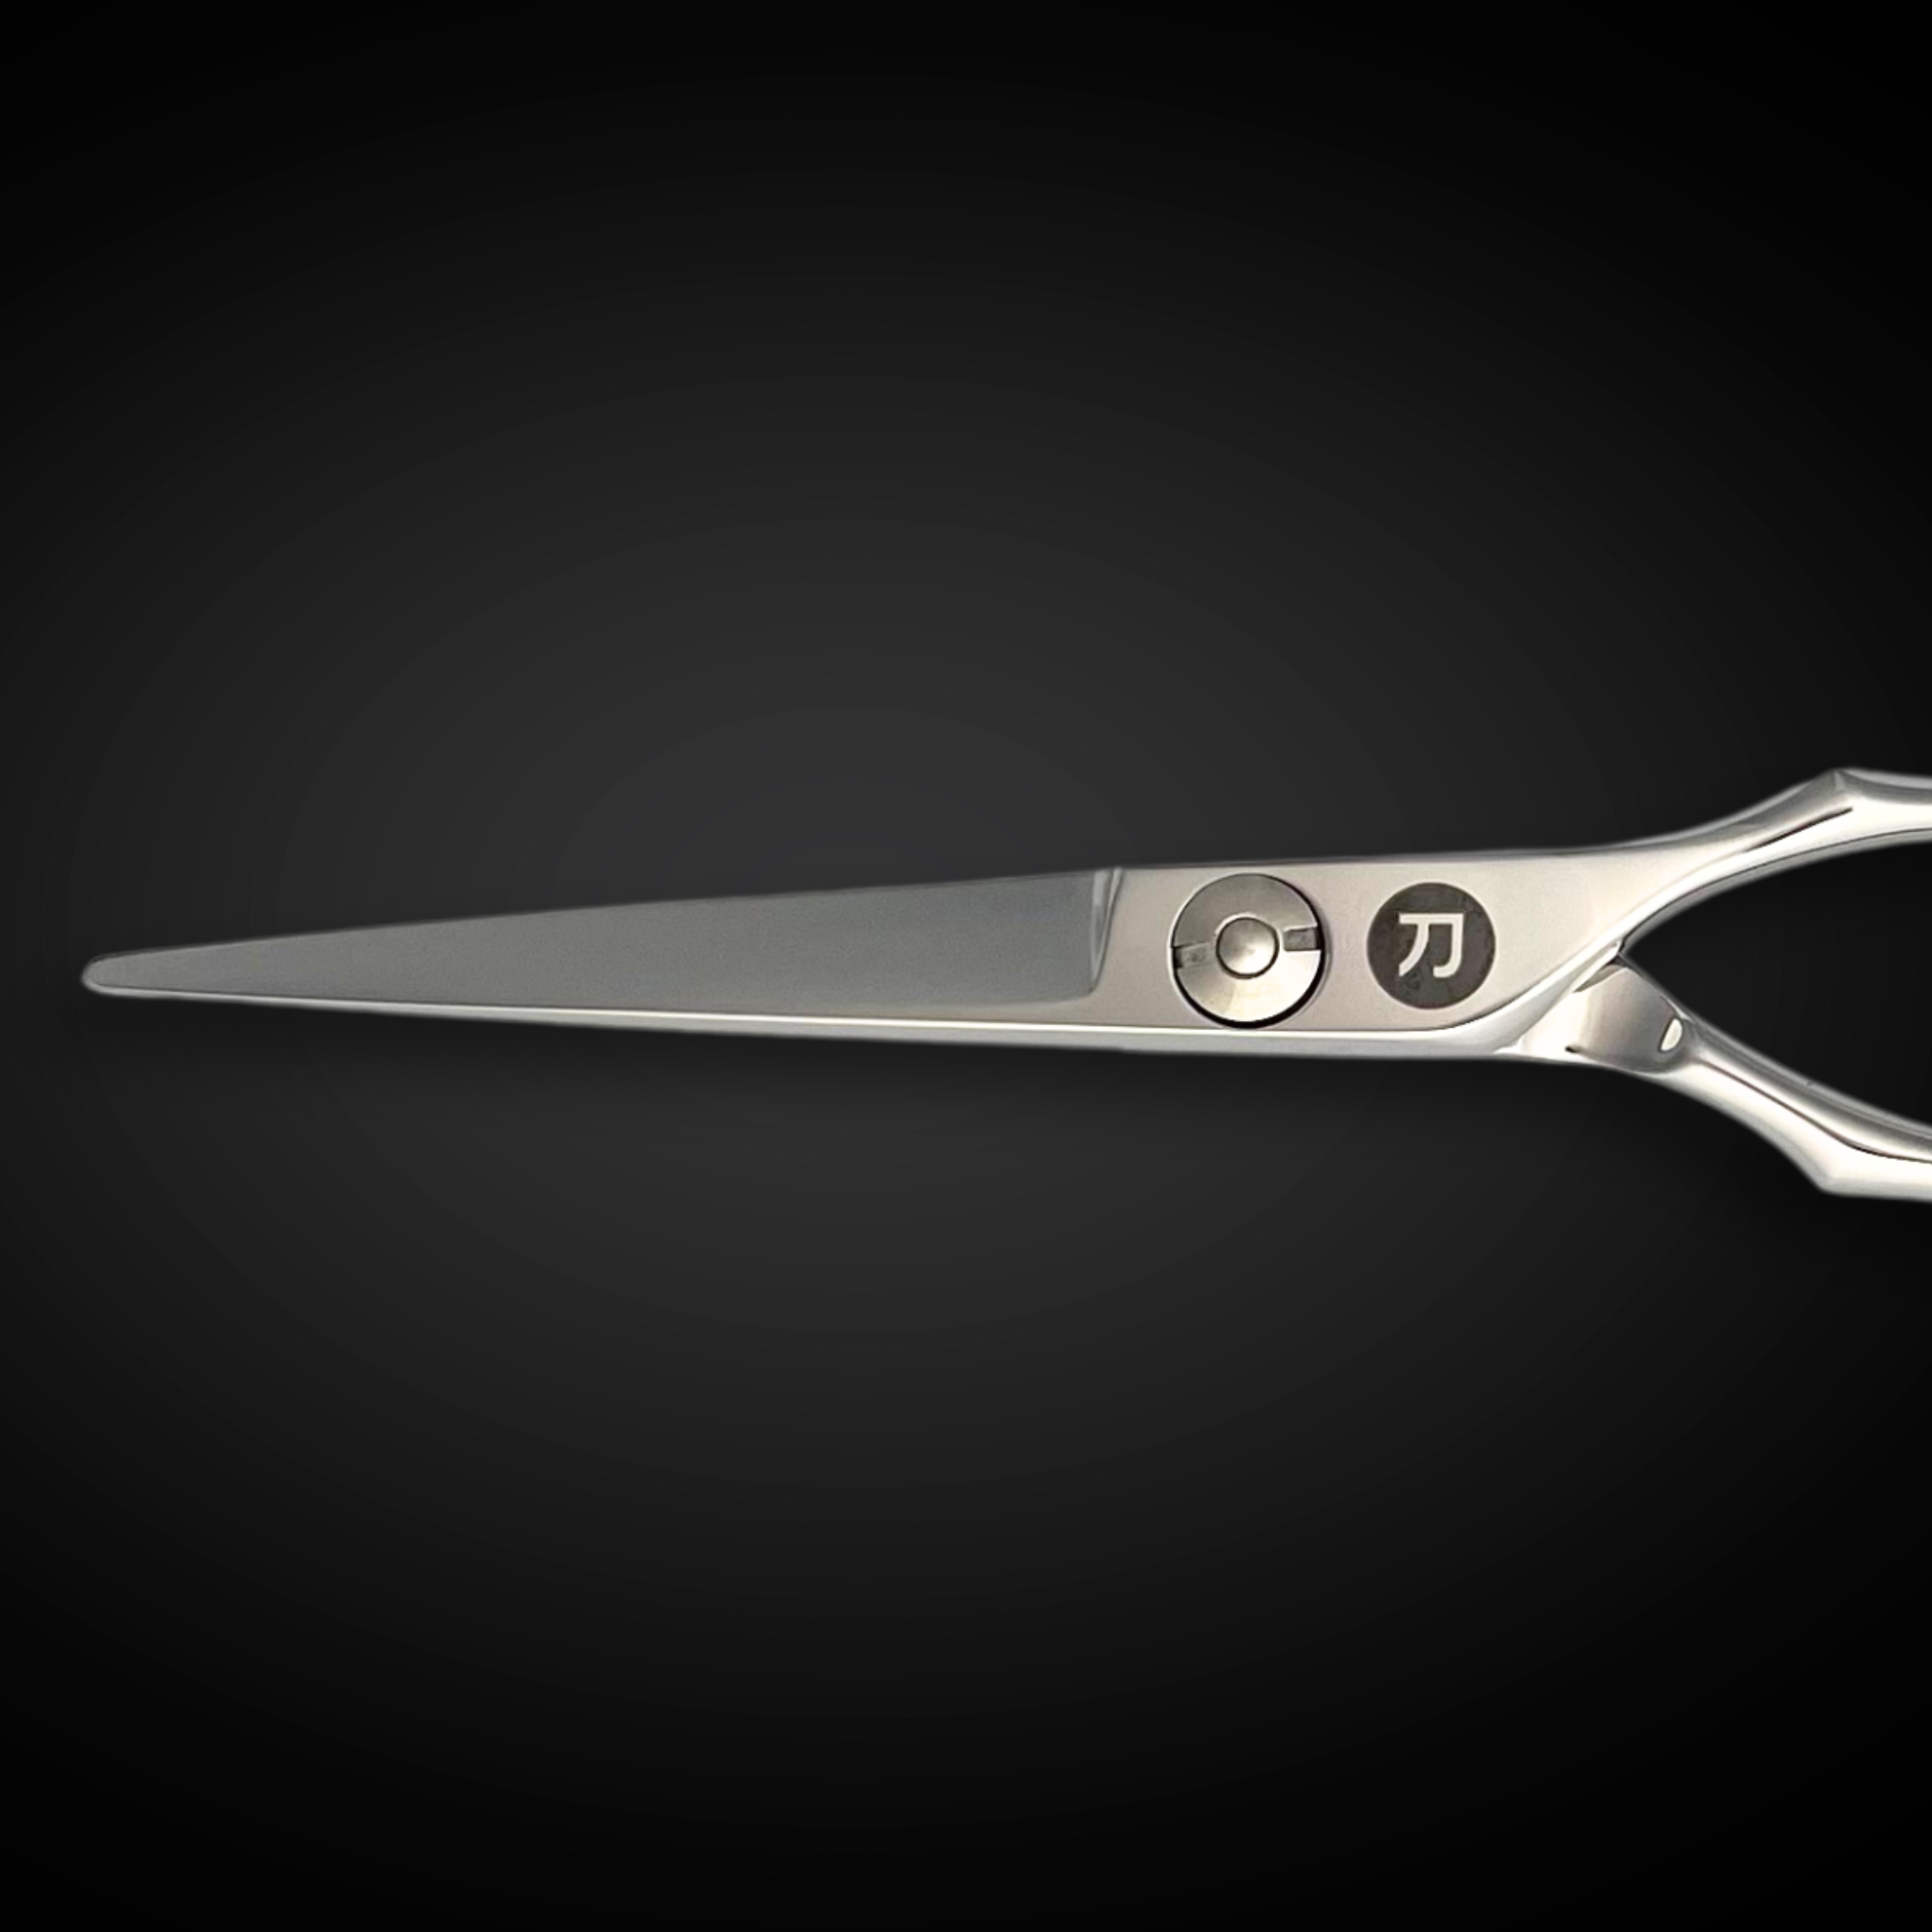
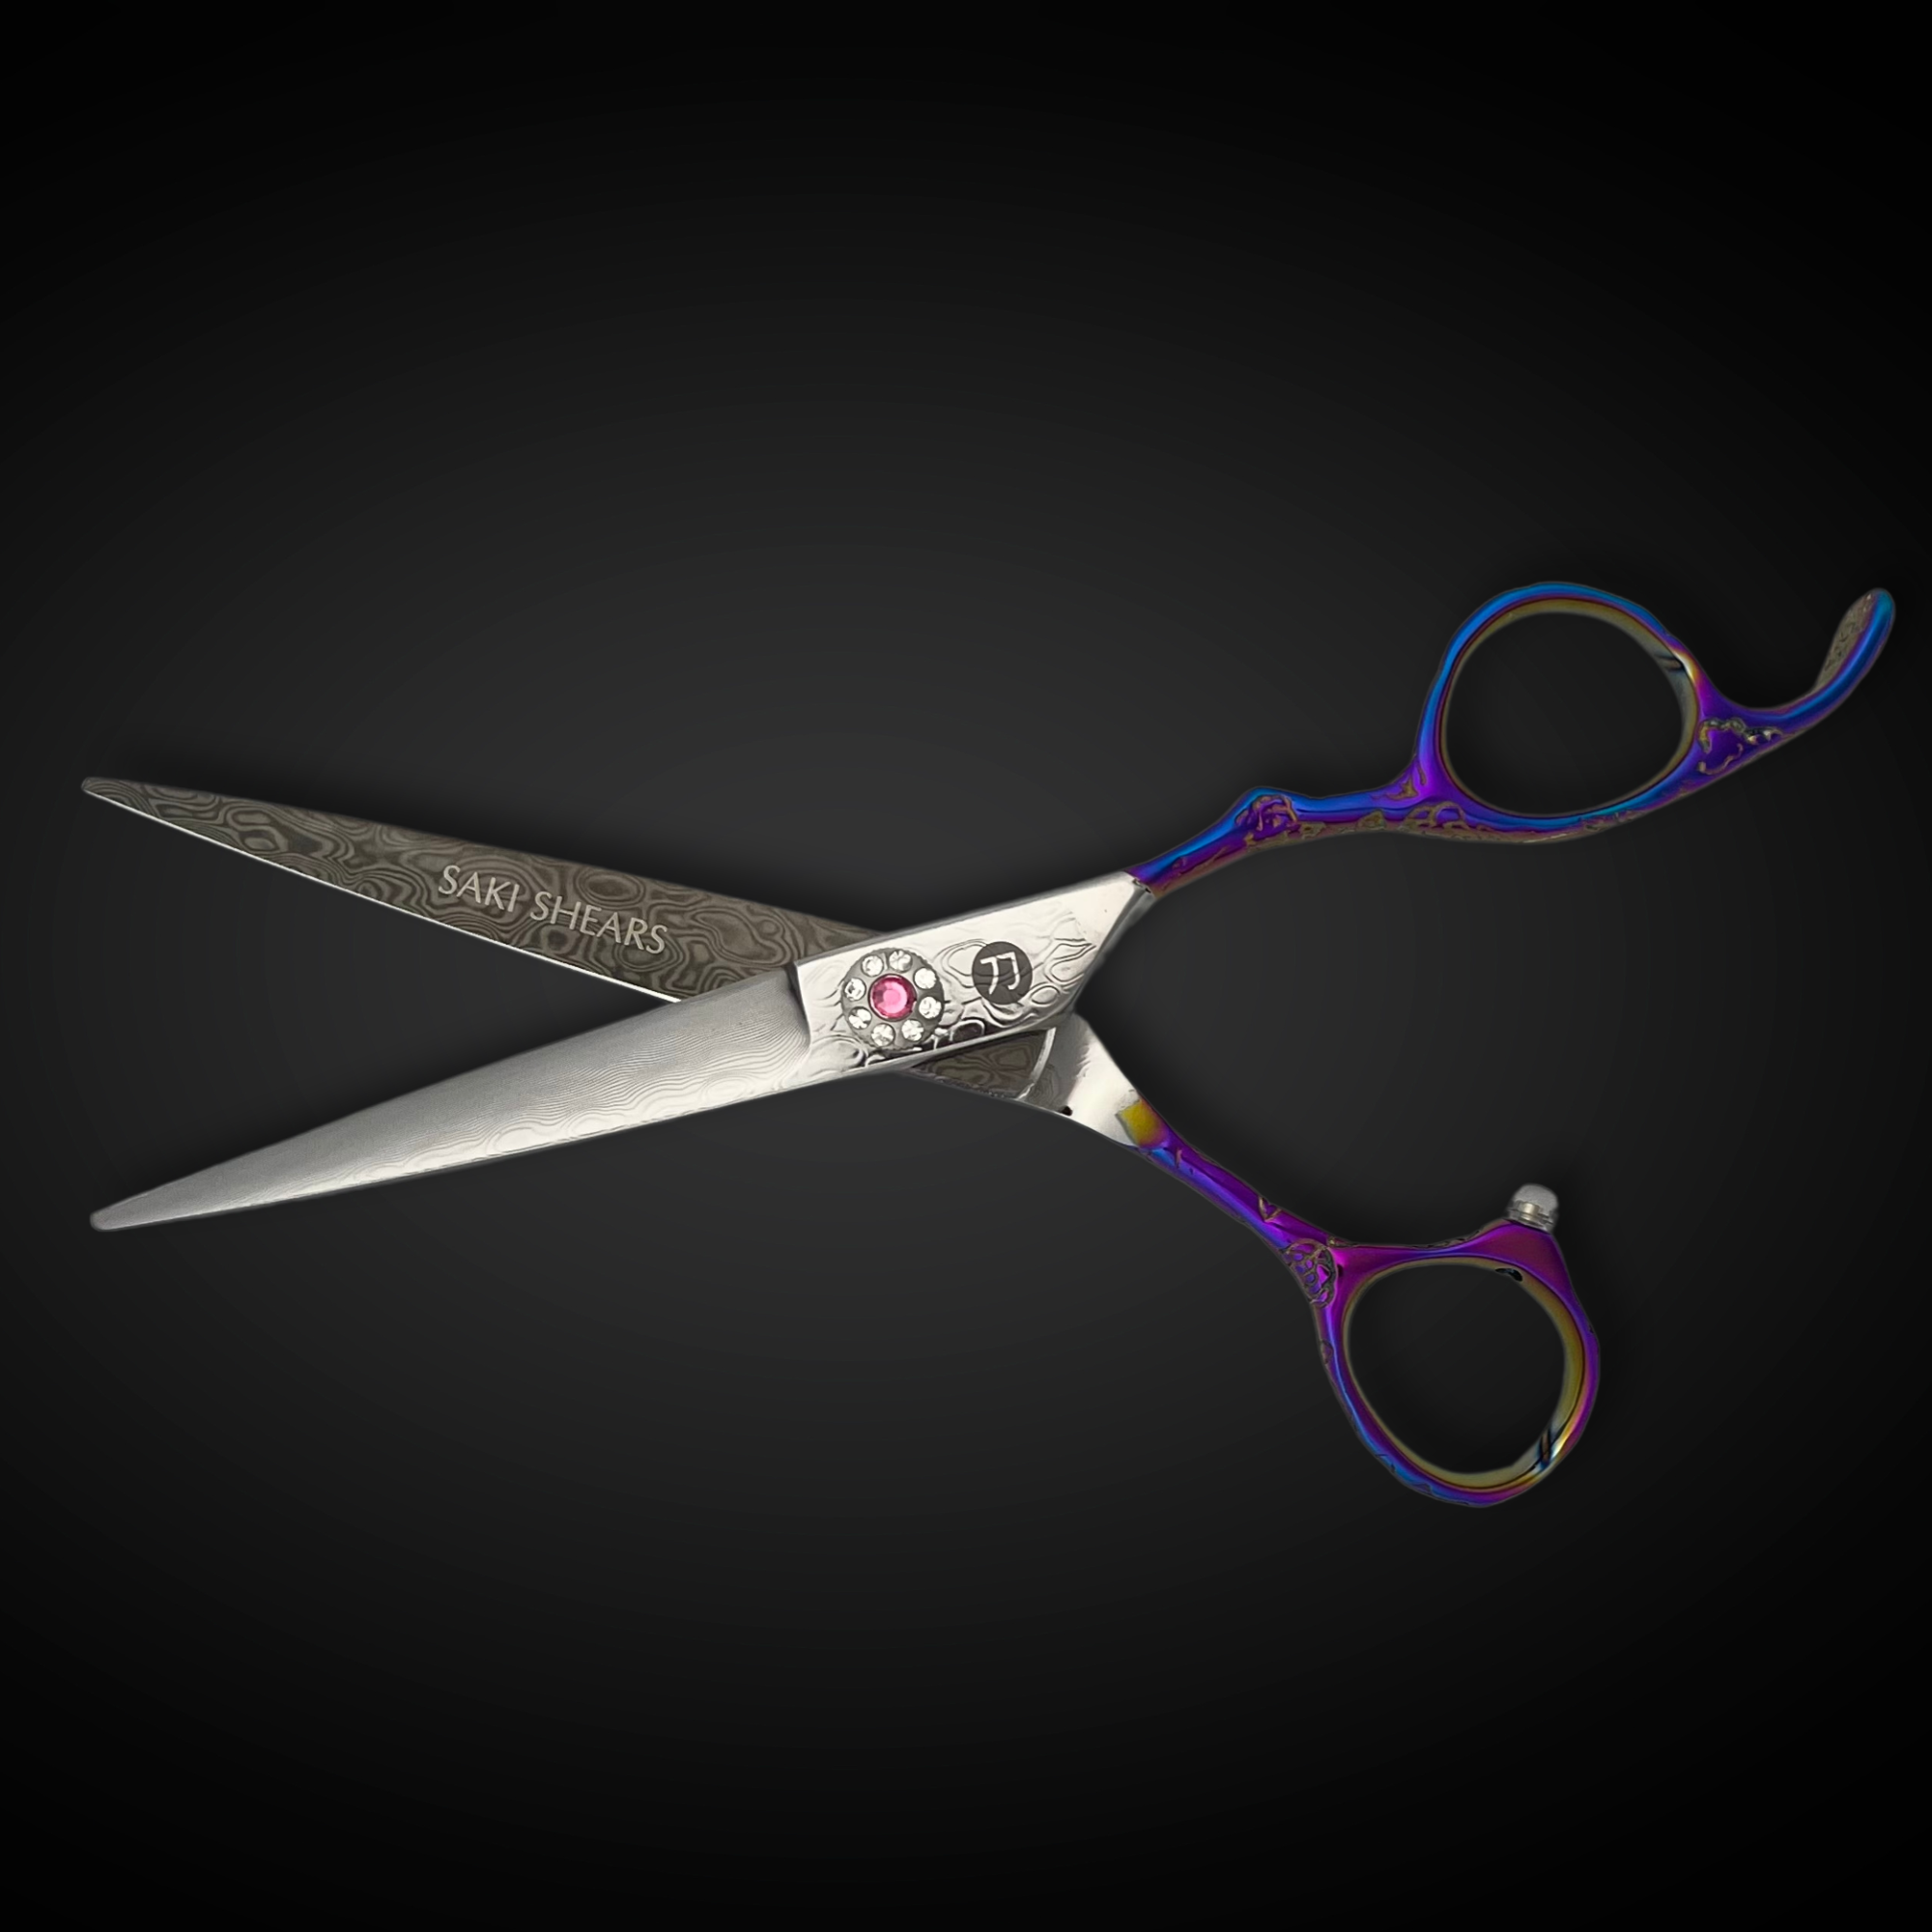
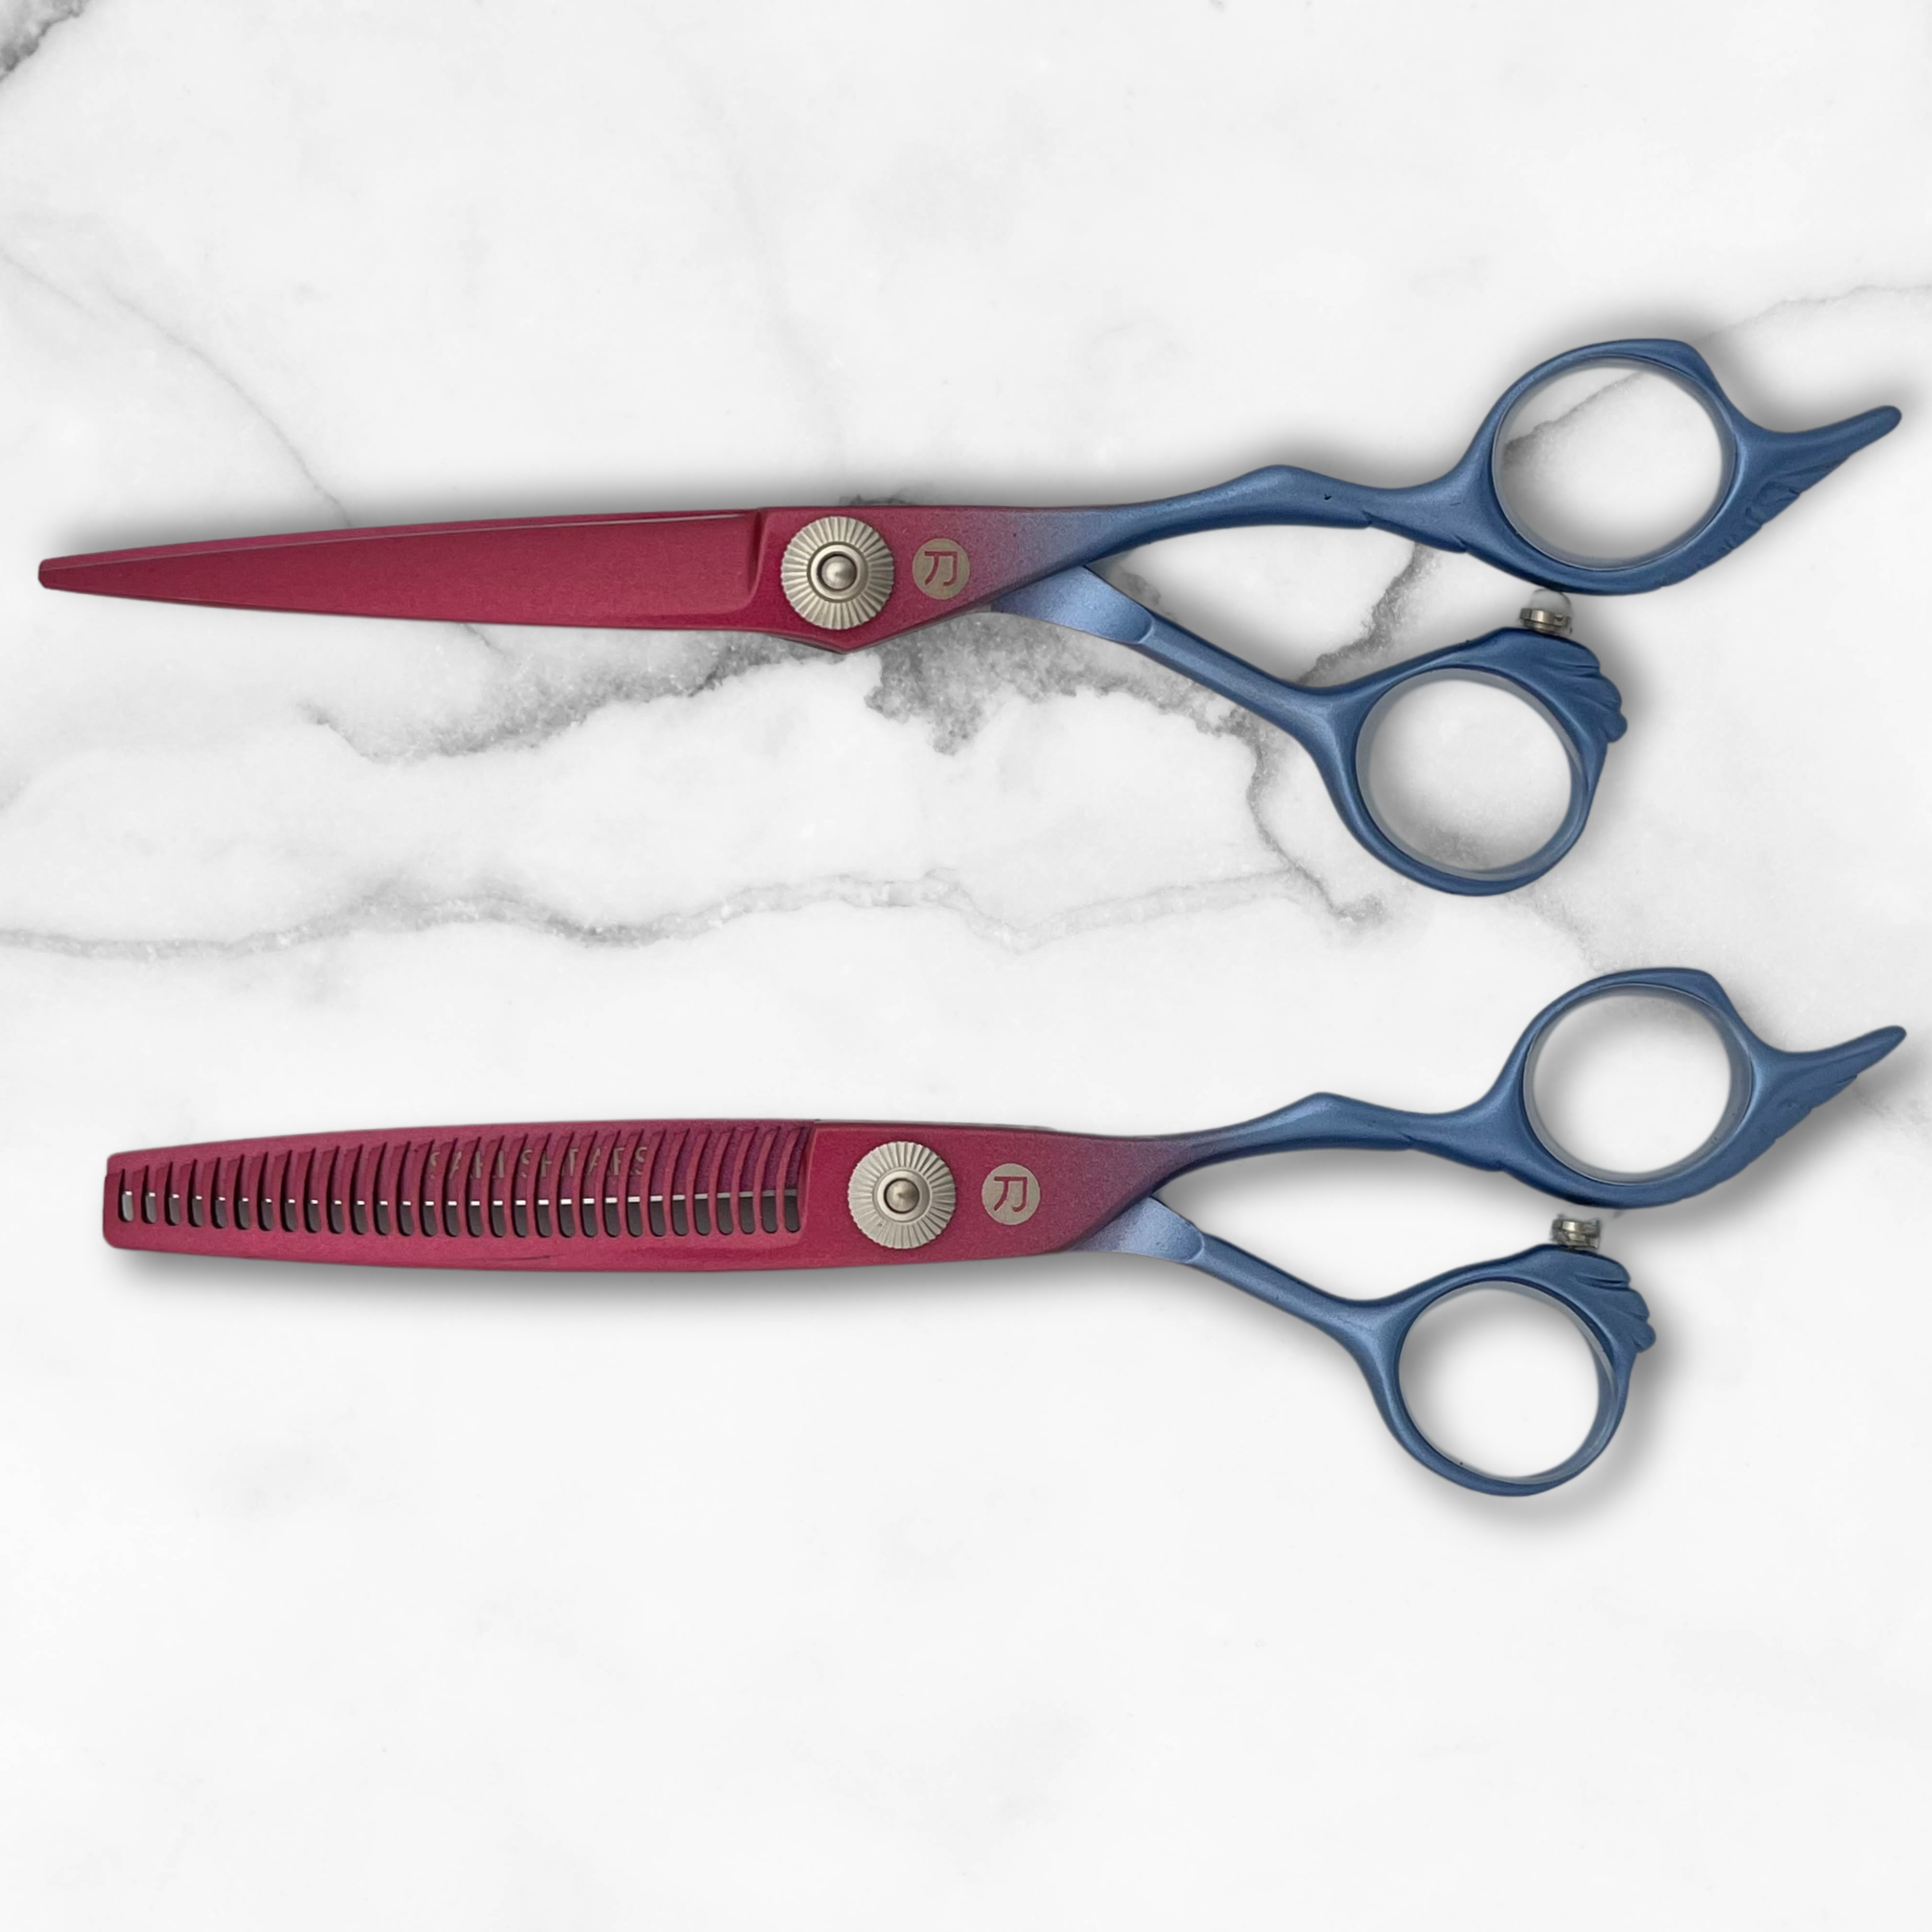
Slide cutting is one of those techniques that separates stylists who can do a good cut from those who can make hair move. When done correctly, it removes weight and adds length-through-texture simultaneously — something you simply cannot achieve with blunt cuts alone. But the technique is also unforgiving: the wrong shear will drag, fold, or push hair rather than glide through it, and the difference shows immediately in the finished cut. If you want reliable results with slide cutting, the Saki Kotaro hair shears are specifically engineered for exactly this work — their convex edge and offset handle were designed with slide and wet cutting in mind.
This guide covers the mechanics of slide cutting, the specific shear characteristics that make the technique work, and how to apply it across different hair types. Whether you're adding it to your skill set for the first time or troubleshooting why your current shears aren't cooperating, this is the technical breakdown that bridges the gap.
What Is Slide Cutting, Exactly?
Slide cutting — sometimes called slither cutting — involves drawing the open shear blade along a section of hair while simultaneously closing it. The motion is fluid and continuous: you're not snipping or chopping. Instead, the blade travels from mid-shaft toward the ends (or occasionally the reverse), removing weight selectively while preserving length and creating internal movement.
The result depends on the angle of the shear, the degree of tension on the hair, and how quickly you close relative to how far you travel. A slow close over a long slide = maximum length preservation, soft texture. A faster close with a shorter travel = more weight removal, sharper definition. Most stylists develop an intuitive feel for this, but it starts with understanding the underlying mechanics.
Slide cutting is categorized as a slicing technique, distinct from:
- Point cutting, which works at the ends only
- Blunt cutting, which removes length uniformly across a section
- Notch/chip cutting, which creates deliberate texture breaks
Where slide cutting excels is in creating gradation — the kind of lived-in, natural movement that clients love and that doesn't scream "haircut."

When Slide Cutting Belongs in Your Haircut
Slide cutting is most useful in three scenarios:
Weight removal without line loss. On medium-to-thick hair where you want to reduce bulk but maintain the shape of the cut — a long bob, a layered lob, a lived-in shag — slide cutting handles this more precisely than thinning shears. You control exactly where weight comes out. (When the job does call for a thinning shear, placement decides the outcome — our guide to thinning hair without losing volume covers the zone rules.)
Seamless blending. When transitioning between layers, slide cutting softens the join points that blunt cutting leaves. This is particularly valuable on fine hair where harsh lines read as choppy rather than structured.
Creating movement in otherwise flat hair. Slide cutting introduces internal texture that allows hair to fall with natural, organic movement. On straight fine hair that sits flat against the head, strategic slide cutting under the surface layer can give the impression of volume without chemical assistance.
Slide cutting is not the right tool for precision perimeter work, very short hair, or curly hair that needs to maintain its curl pattern through uniform cut points. Knowing when to reach for it — and when to leave it in the technique drawer — is as important as the technique itself.
What Your Shears Need to Slide Cut Well
This is where most stylists encounter problems. Slide cutting is extremely sensitive to blade geometry and edge quality. The wrong shear makes the technique frustrating or impossible. Here's what matters:
Convex Edge, Full Stop
A convex edge is ground from both sides of the blade to create a curved, razor-sharp edge — like a Japanese kitchen knife. When you draw this edge along a hair section, it slices cleanly without resistance. A beveled or semi-convex edge, by contrast, catches and pushes. On a slide cut, that catching motion drags the hair rather than gliding through it, creating friction, compression, and ultimately an uneven result.
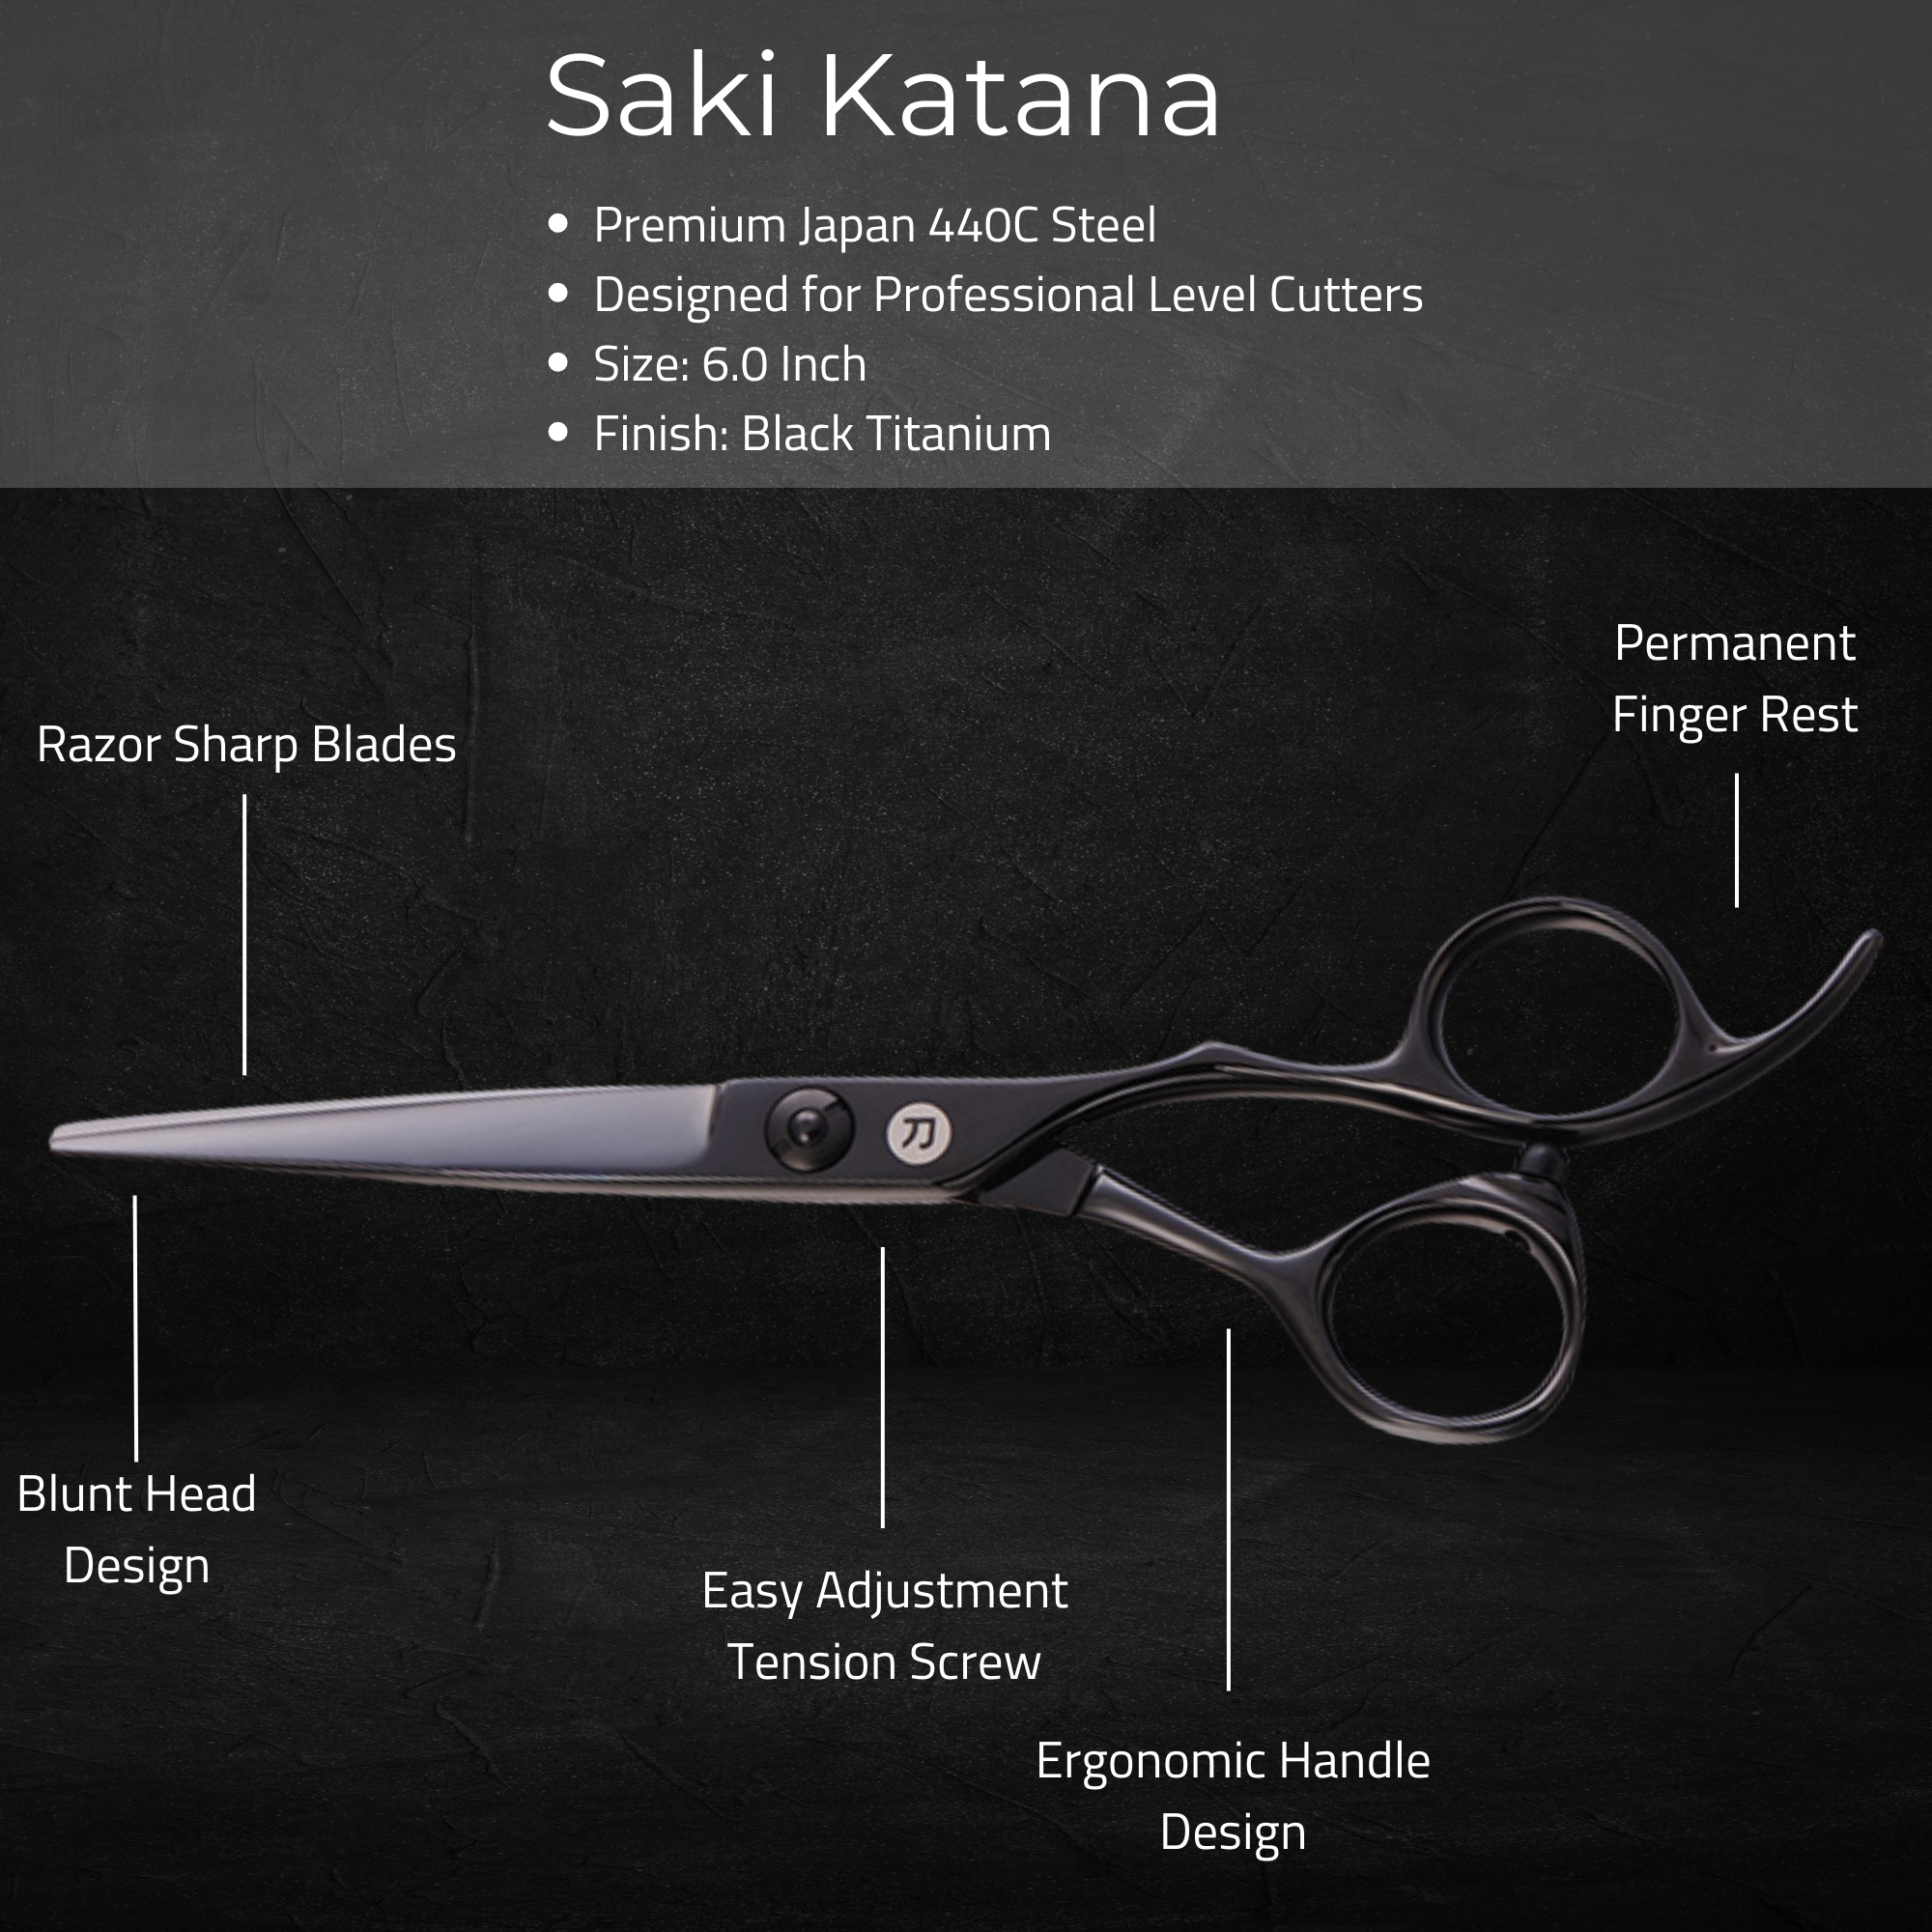
Both the Saki Kotaro cutting shears and the Saki Katana feature hollow-ground, triple-honed convex edges that are purpose-built for this kind of work. The Katana's 440C steel, hardened to 59–61 HRC, holds its edge long enough to keep slide cuts clean across a full day of clients.
Blade Length and Geometry
Longer blades (6–7 inch) give you more travel per stroke, which means fewer passes to complete the same slide. For experienced hands, this means faster work and more natural gradation because you're not starting and stopping as often. Shorter blades (5.5 inch) offer more control and are better for detail work or areas where space is limited.
Most stylists who do heavy slide cutting work gravitate toward a 6-inch blade. The Kotaro is available in both 5.5 and 6 inch, so if you're building toward slide cutting as a core technique, the 6-inch variant is worth the consideration.
Handle Ergonomics for Sustained Slicing Work
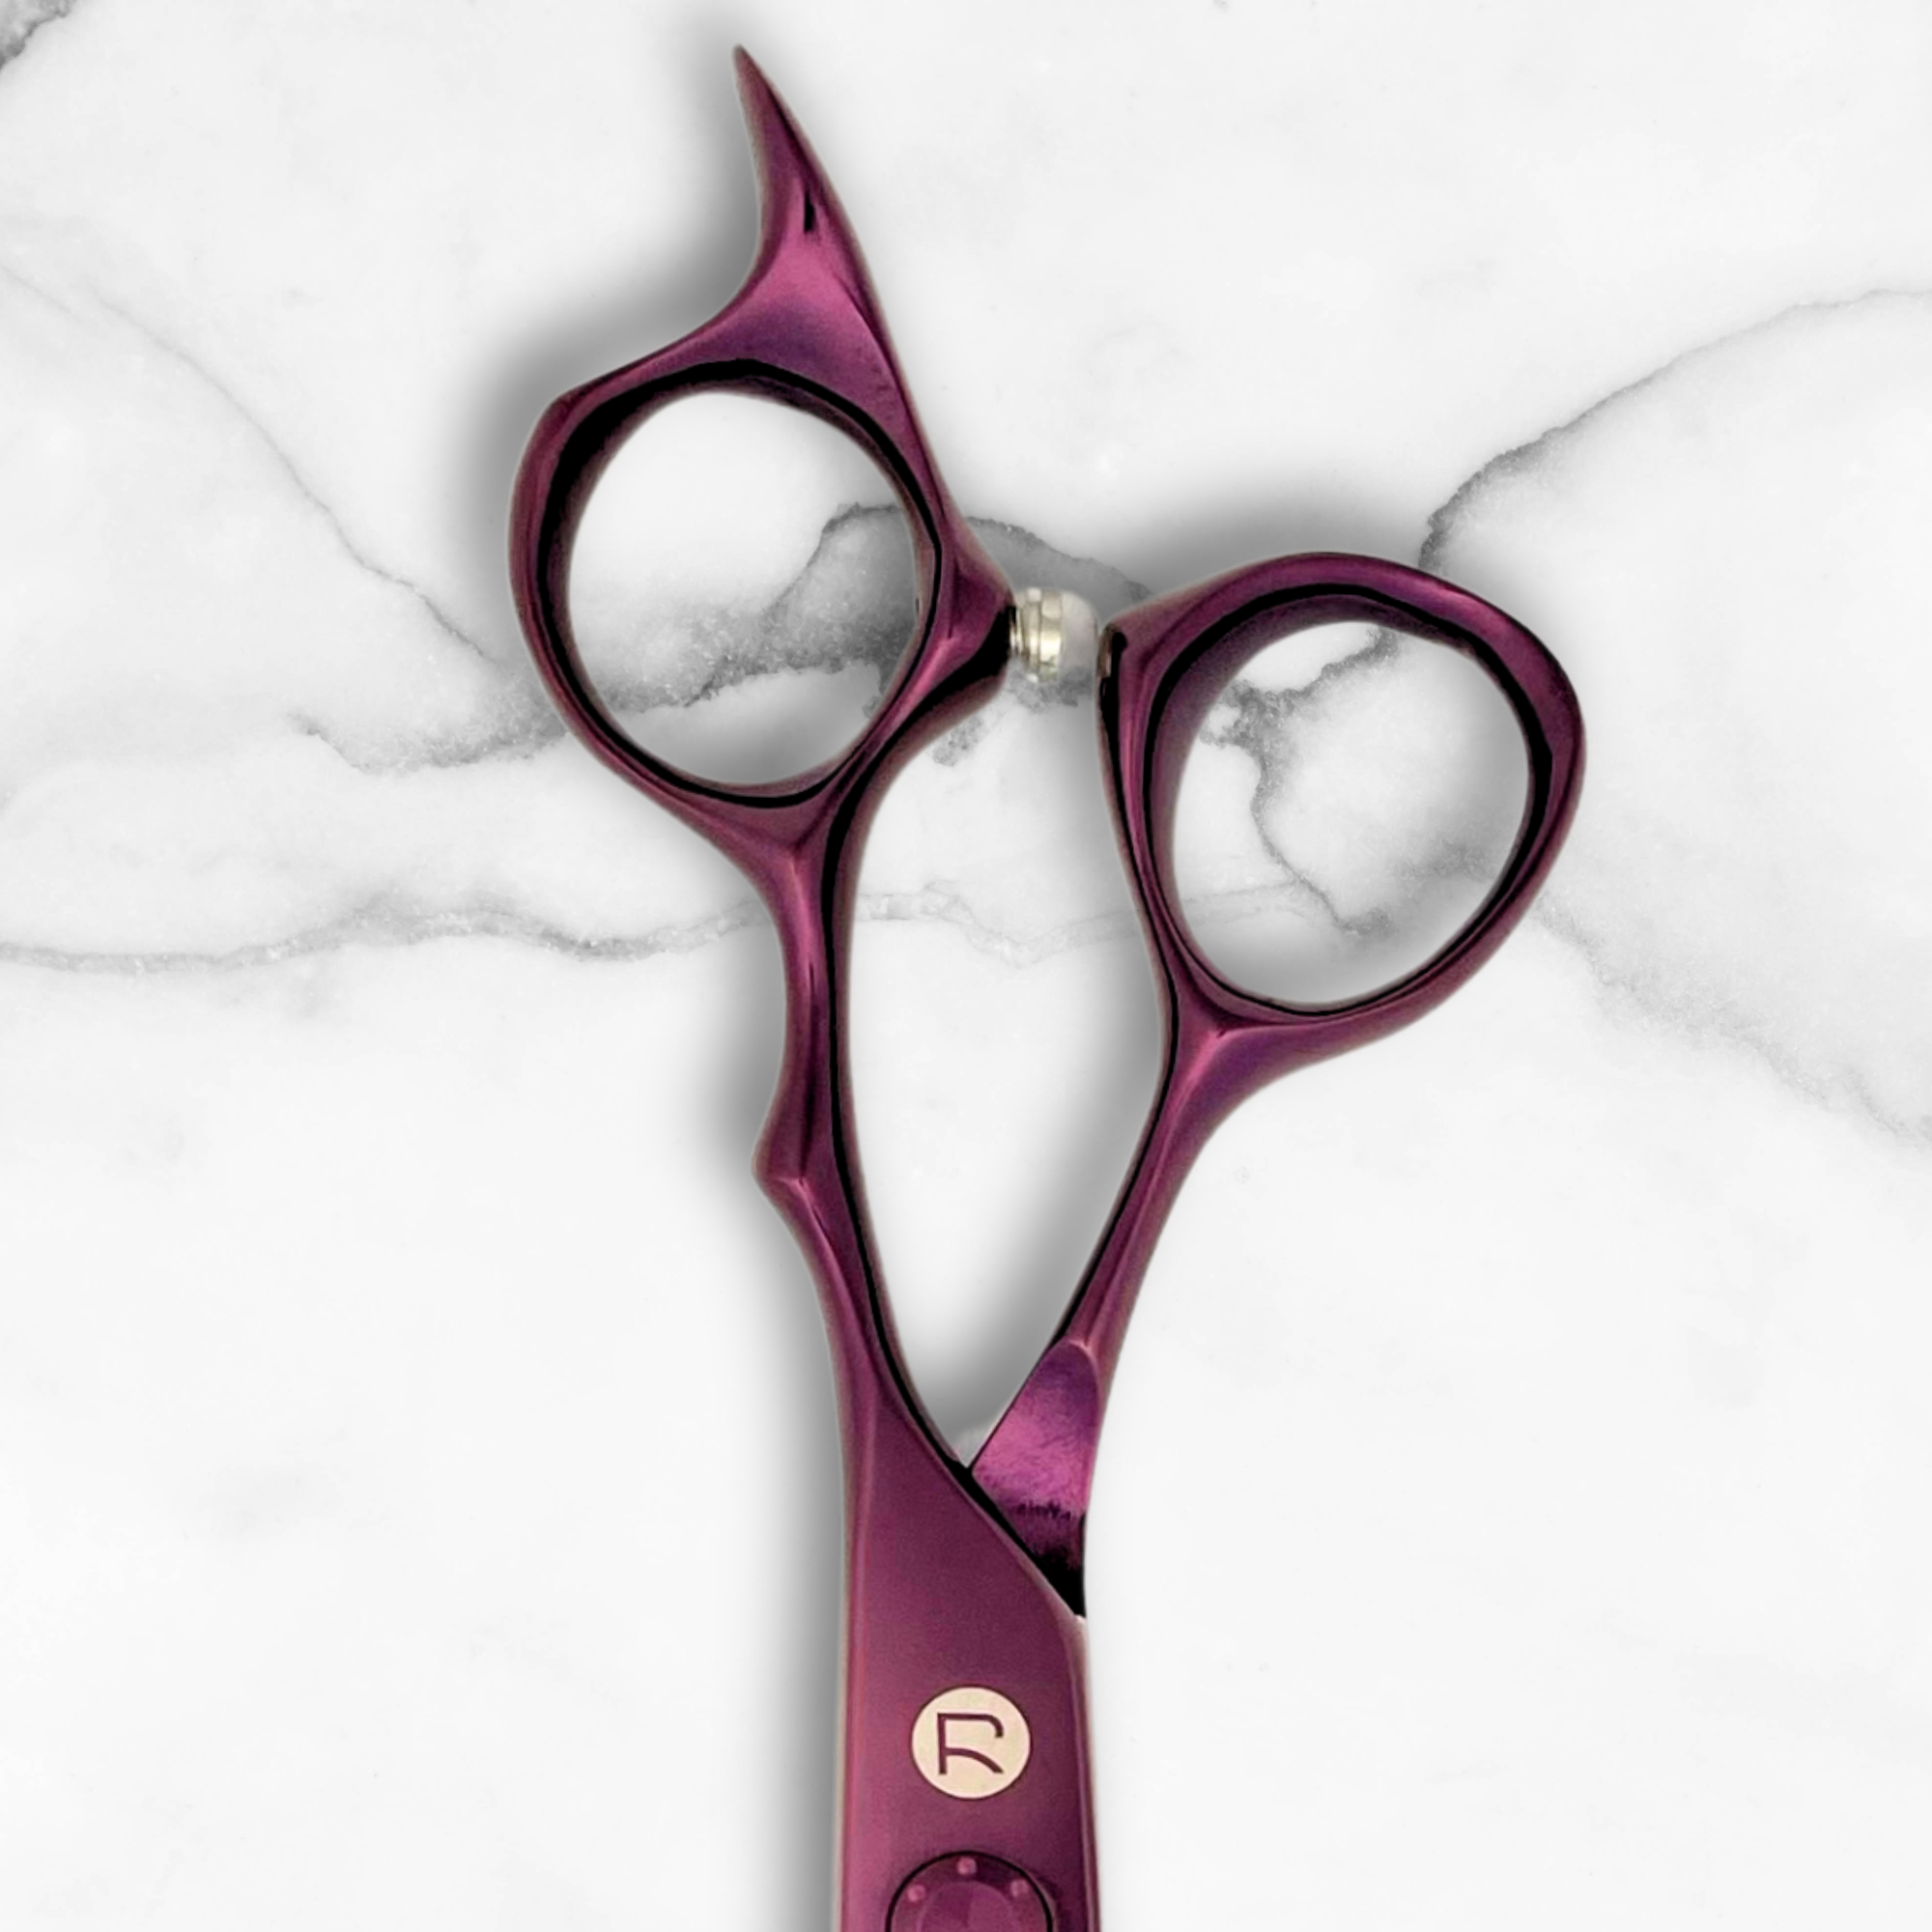
Slide cutting demands that your wrist and elbow stay in a relaxed, neutral position across each pass. An upright symmetric handle forces your elbow up and out, which becomes fatiguing within 30–45 minutes of sustained slide work. An offset handle drops your elbow down and in, which is the anatomically correct position for this motion.
The Kotaro's offset handle with removable finger rest was explicitly designed for slide and wet cutting. If you're doing any volume of texture and movement work, this handle design is not a luxury — it's a functional requirement for doing the job without accumulating repetitive strain.
For stylists who've already developed hand and wrist issues, the Saki Sakura swivel shears offer a 360° rotating thumb that allows you to angle the shear through a slide pass without any compensatory twisting at the wrist. The swivel trades some of the tactile feedback you get from a fixed-handle shear, but for stylists managing carpal tunnel or thumb tendinitis, it's a clinically meaningful difference.
The Slide Cutting Technique: Step by Step
Here's the core motion broken down into replicable steps. This is written for a stylist who understands basic sectioning — the slide technique itself is the focus.
1. Section and Tension
Take a panel no wider than 1–1.5 inches. Tension matters here: too loose and the hair will buckle when the blade contacts it; too tight and you lose the natural fall you're trying to read. You want firm control without stretching the section.
2. Position the Shear
Open the shear to about 30–45 degrees and position the blade on the hair at roughly a 15–30 degree angle to the section. The flatter the shear to the hair, the softer and more diffuse the result. A more acute angle (shear more perpendicular to the section) removes more weight more dramatically.
3. The Glide
Begin gliding the shear toward the ends — smoothly, without stopping. As you glide, close the shear gradually. The key phrase: draw and close simultaneously. If you close first and then glide, you're chopping. If you glide without closing, you're not removing anything.
The rhythm you're looking for is continuous and even. Think of it like drawing a bow across a cello string — the motion doesn't start and stop.
4. Multiple Passes
Rarely is one pass sufficient. On most sections, you'll make 2–3 passes at slightly different starting points or angles to build the texture evenly through the section. Check the fall of the hair after each pass before deciding if another is needed.
5. Control Points
The moment you stop gliding but the shear is still open against the hair, you create a cut point. Control where these happen — they create your longest visible line. On a free-form texture cut, this doesn't matter much. On a structured slide to blend layers, you want these landing in intentional places.
Common Slide Cutting Errors
Starting too close to the scalp. Slide cuts that begin within 2–3 inches of the root create visible gaps and unevenness when dry. Start mid-shaft and work toward the ends until your technique is consistent.
Uneven tension across the section. If you're holding some hair tighter than others within the panel, the blade will remove weight inconsistently. The result shows as patchy texture rather than gradation.
Stopping and restarting mid-glide. Every time you stop the glide and start again, you create a cut point. A section with three restart points will look choppy rather than textured.
Using the wrong edge. If your shear has a beveled edge rather than a convex edge, the blade will catch and push the hair before cutting it. This compression is what causes that folded, uneven look that makes slide cutting look sloppy. This is a shear problem, not a technique problem — no amount of practice fixes a shear with the wrong edge geometry.
Neglecting tension adjustment. As you work through a haircut, the tension on your shear changes as the blade dulls very slightly from earlier passes. Proper tension adjustment on your shears matters — a blade that's slightly too loose will fold rather than slice, particularly on fine hair.
Slide Cutting Across Hair Types
The same technique requires meaningful adjustments across hair types. Here's how to adapt:
Fine Hair
Slide cutting on fine hair requires a light touch. The hair has little inherent structure, so over-slide-cutting creates wispiness rather than texture. Use a flatter shear angle, shorter glide length, and fewer passes. Fine hair also shows compression marks more readily, so a razor-sharp convex edge is non-negotiable here.
Medium Hair
This is the sweet spot for slide cutting. Medium hair has enough structure to handle multiple passes and respond well to weight removal. You have more latitude with angle and pressure. Most of the technique descriptions above apply directly.
Thick or Coarse Hair
Thick hair requires more blade contact and more deliberate closing motion to actually remove weight. A single light pass barely registers. You'll need to increase the shear angle slightly and use firmer, more intentional closing during the glide. The Kotaro set is a solid choice for thick-hair clients because the 440C steel holds its edge well under heavier work, and the offset handle manages the increased resistance without putting that force into your wrist.
Wavy or Curly Hair
Slide cutting on wavy or curly hair requires careful consideration of curl pattern. When the hair is wet and stretched, a slide cut that removes weight mid-shaft can cause the curl to spring up unpredictably when dry. Many experienced stylists limit slide cutting on curly hair to the perimeter and ends only, using it to soften the line rather than remove bulk internally. Dry cutting on curly hair, using slide techniques conservatively, is increasingly common among stylists who specialize in texture.
Shear Maintenance for Slide-Cutting Shears
Because slide cutting involves extended blade-to-hair contact compared to blunt cutting, edge wear accumulates faster. A few habits protect your investment:
Oil regularly. One drop of shear oil on the pivot after every 2–3 clients keeps the blade gliding smoothly. A dry pivot introduces resistance that you feel as drag during your slide pass.
Tension check before each client. Your shear tension affects how the blade closes during the glide. Too loose and the blade folds the hair; too tight and the motion becomes jerky. The correct tension: hold the shear horizontal by one ring, open to 90 degrees, release — it should fall to approximately 45 degrees and stop. More than that: tighten. Less: loosen.
Know when to schedule a sharpen. On a convex edge, dullness shows up first as slight drag — the shear still cuts but you feel resistance at the contact point that wasn't there before. That's your signal to get it sharpened. A true convex edge should require sharpening no more than once or twice a year with proper care. For more on recognizing the signs, see our guide on selecting the right Japanese steel shears for long-term edge retention.
Pairing Slide Cutting with the Right Tools
Slide cutting works best as part of a complete technique vocabulary, not in isolation. Stylists who get the most out of it typically combine it with:
- A solid blunt-cutting shear for perimeter work and structural lines
- Thinning shears for bulk removal in specific areas where slide cutting alone doesn't reach (e.g., very thick mid-shaft on coarse hair)
- A slide-optimized shear like the Kotaro for the texture and movement work
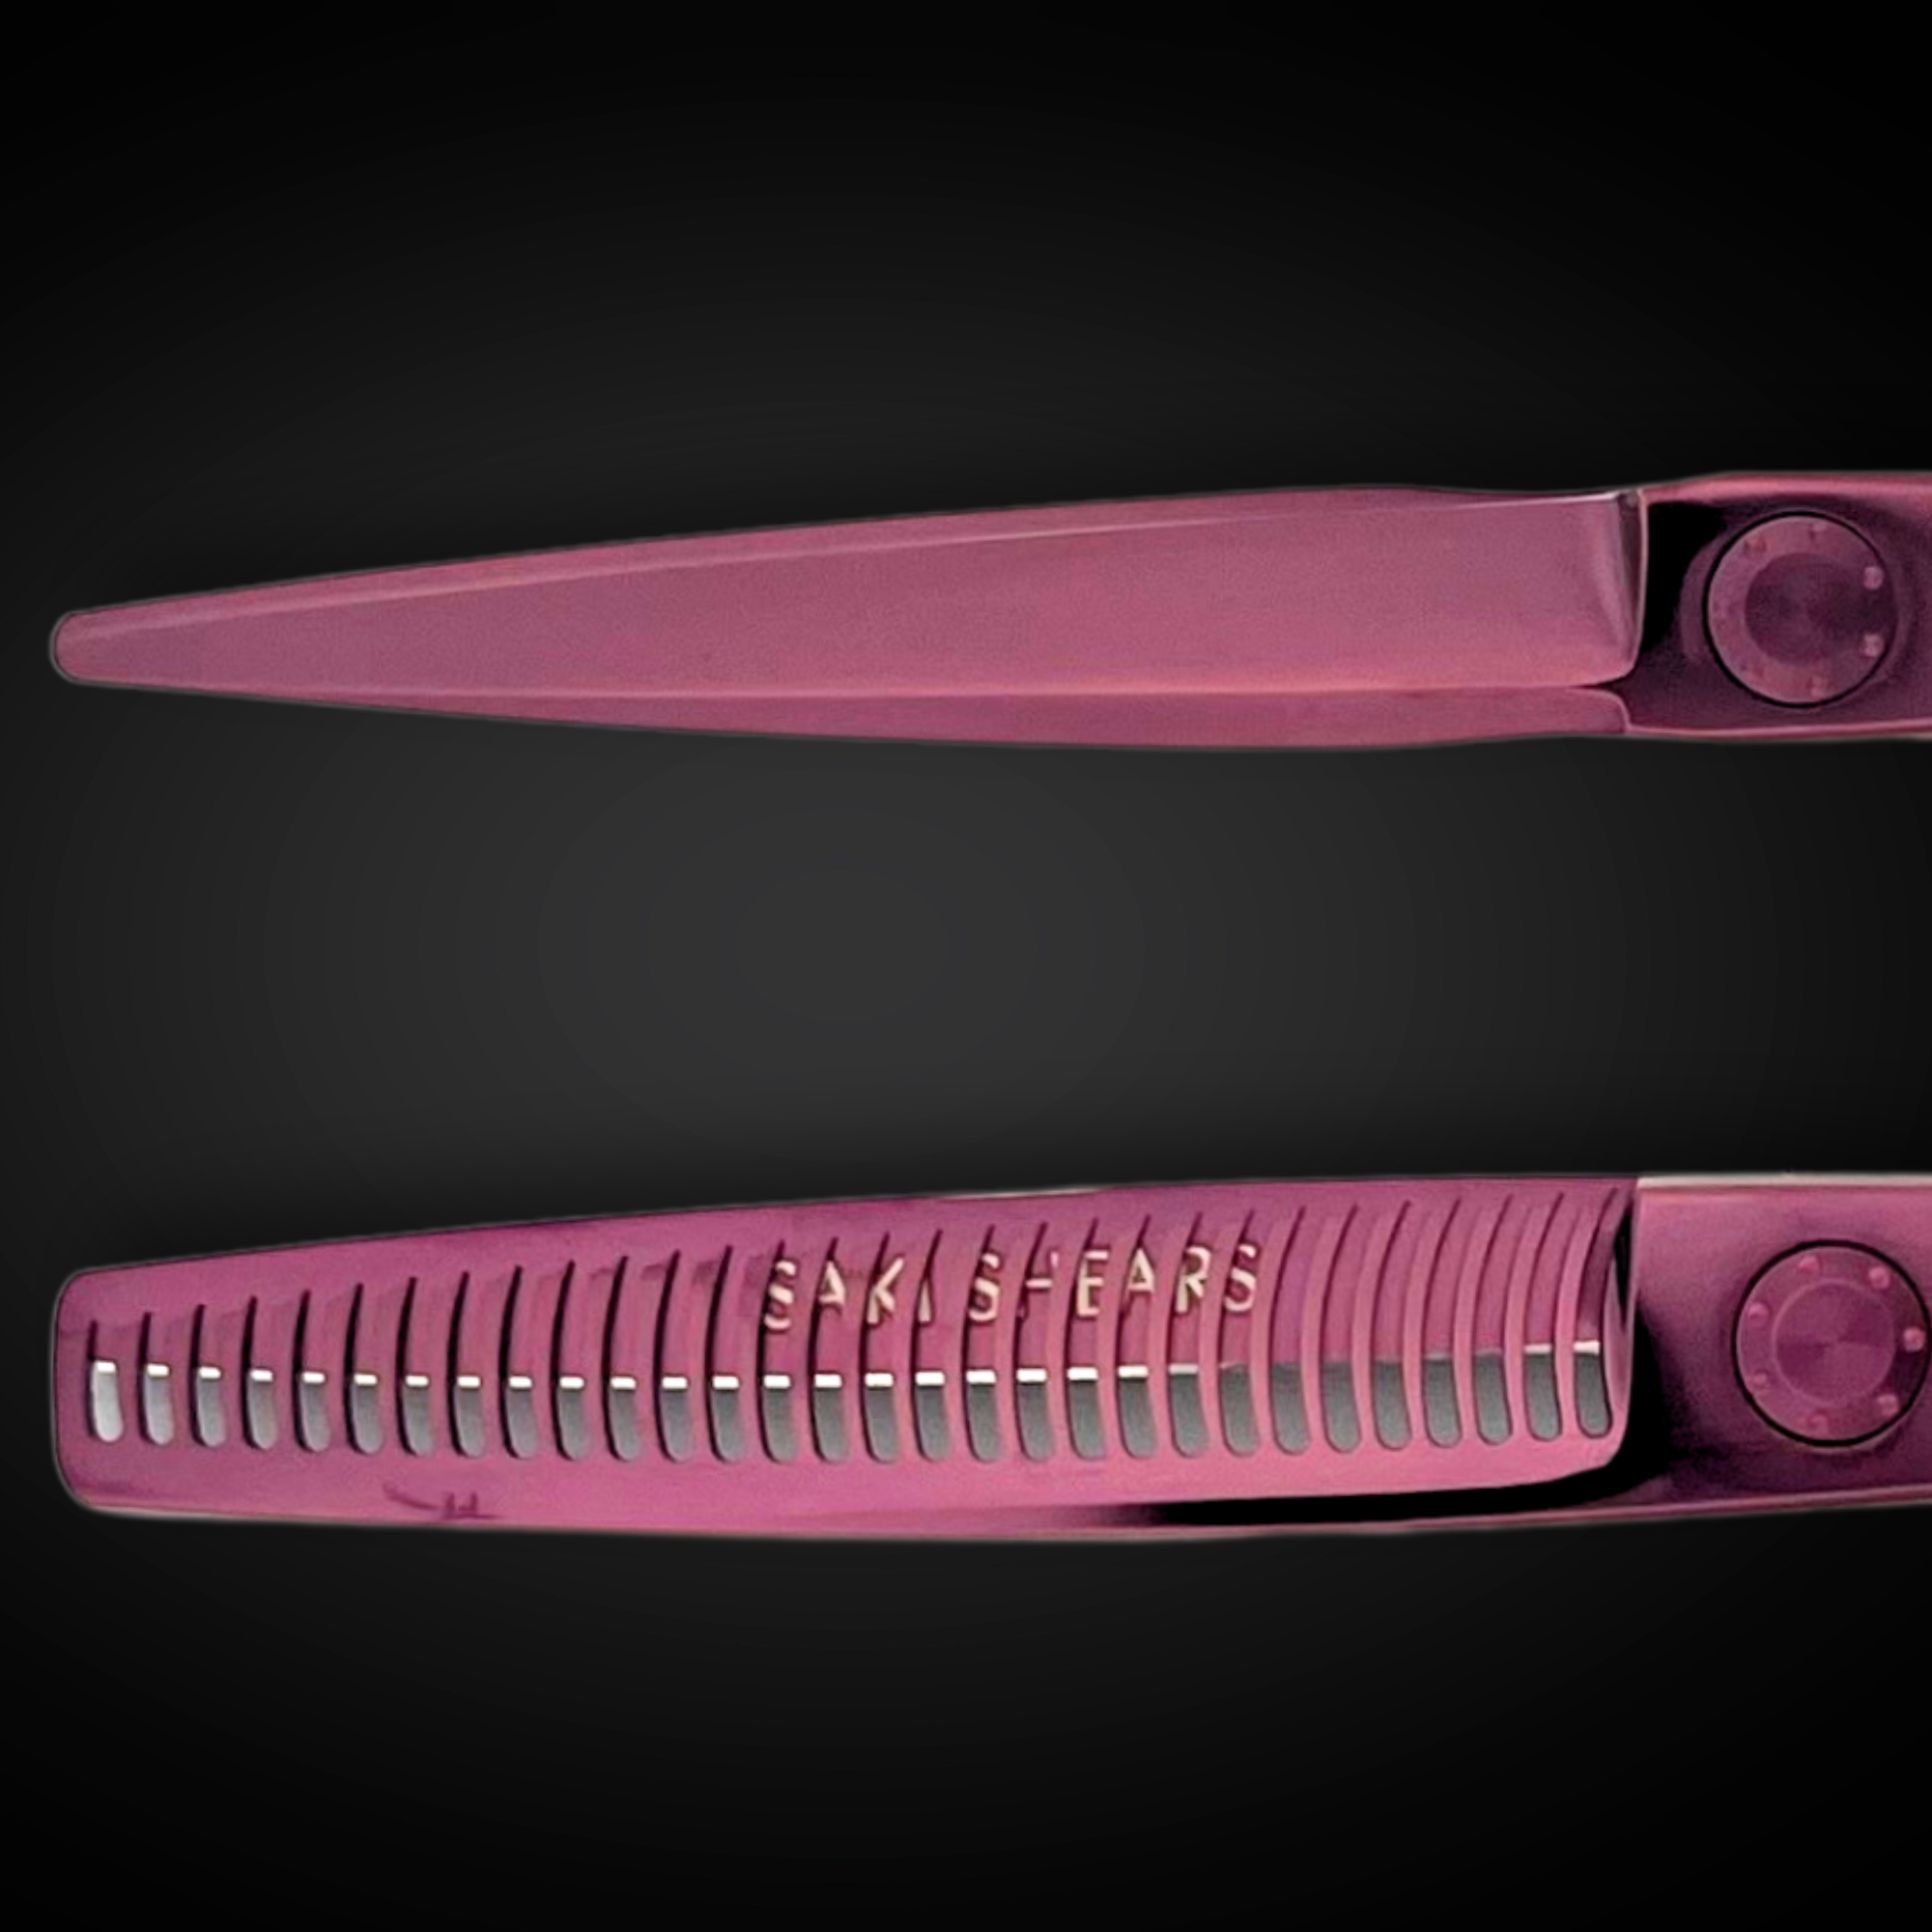
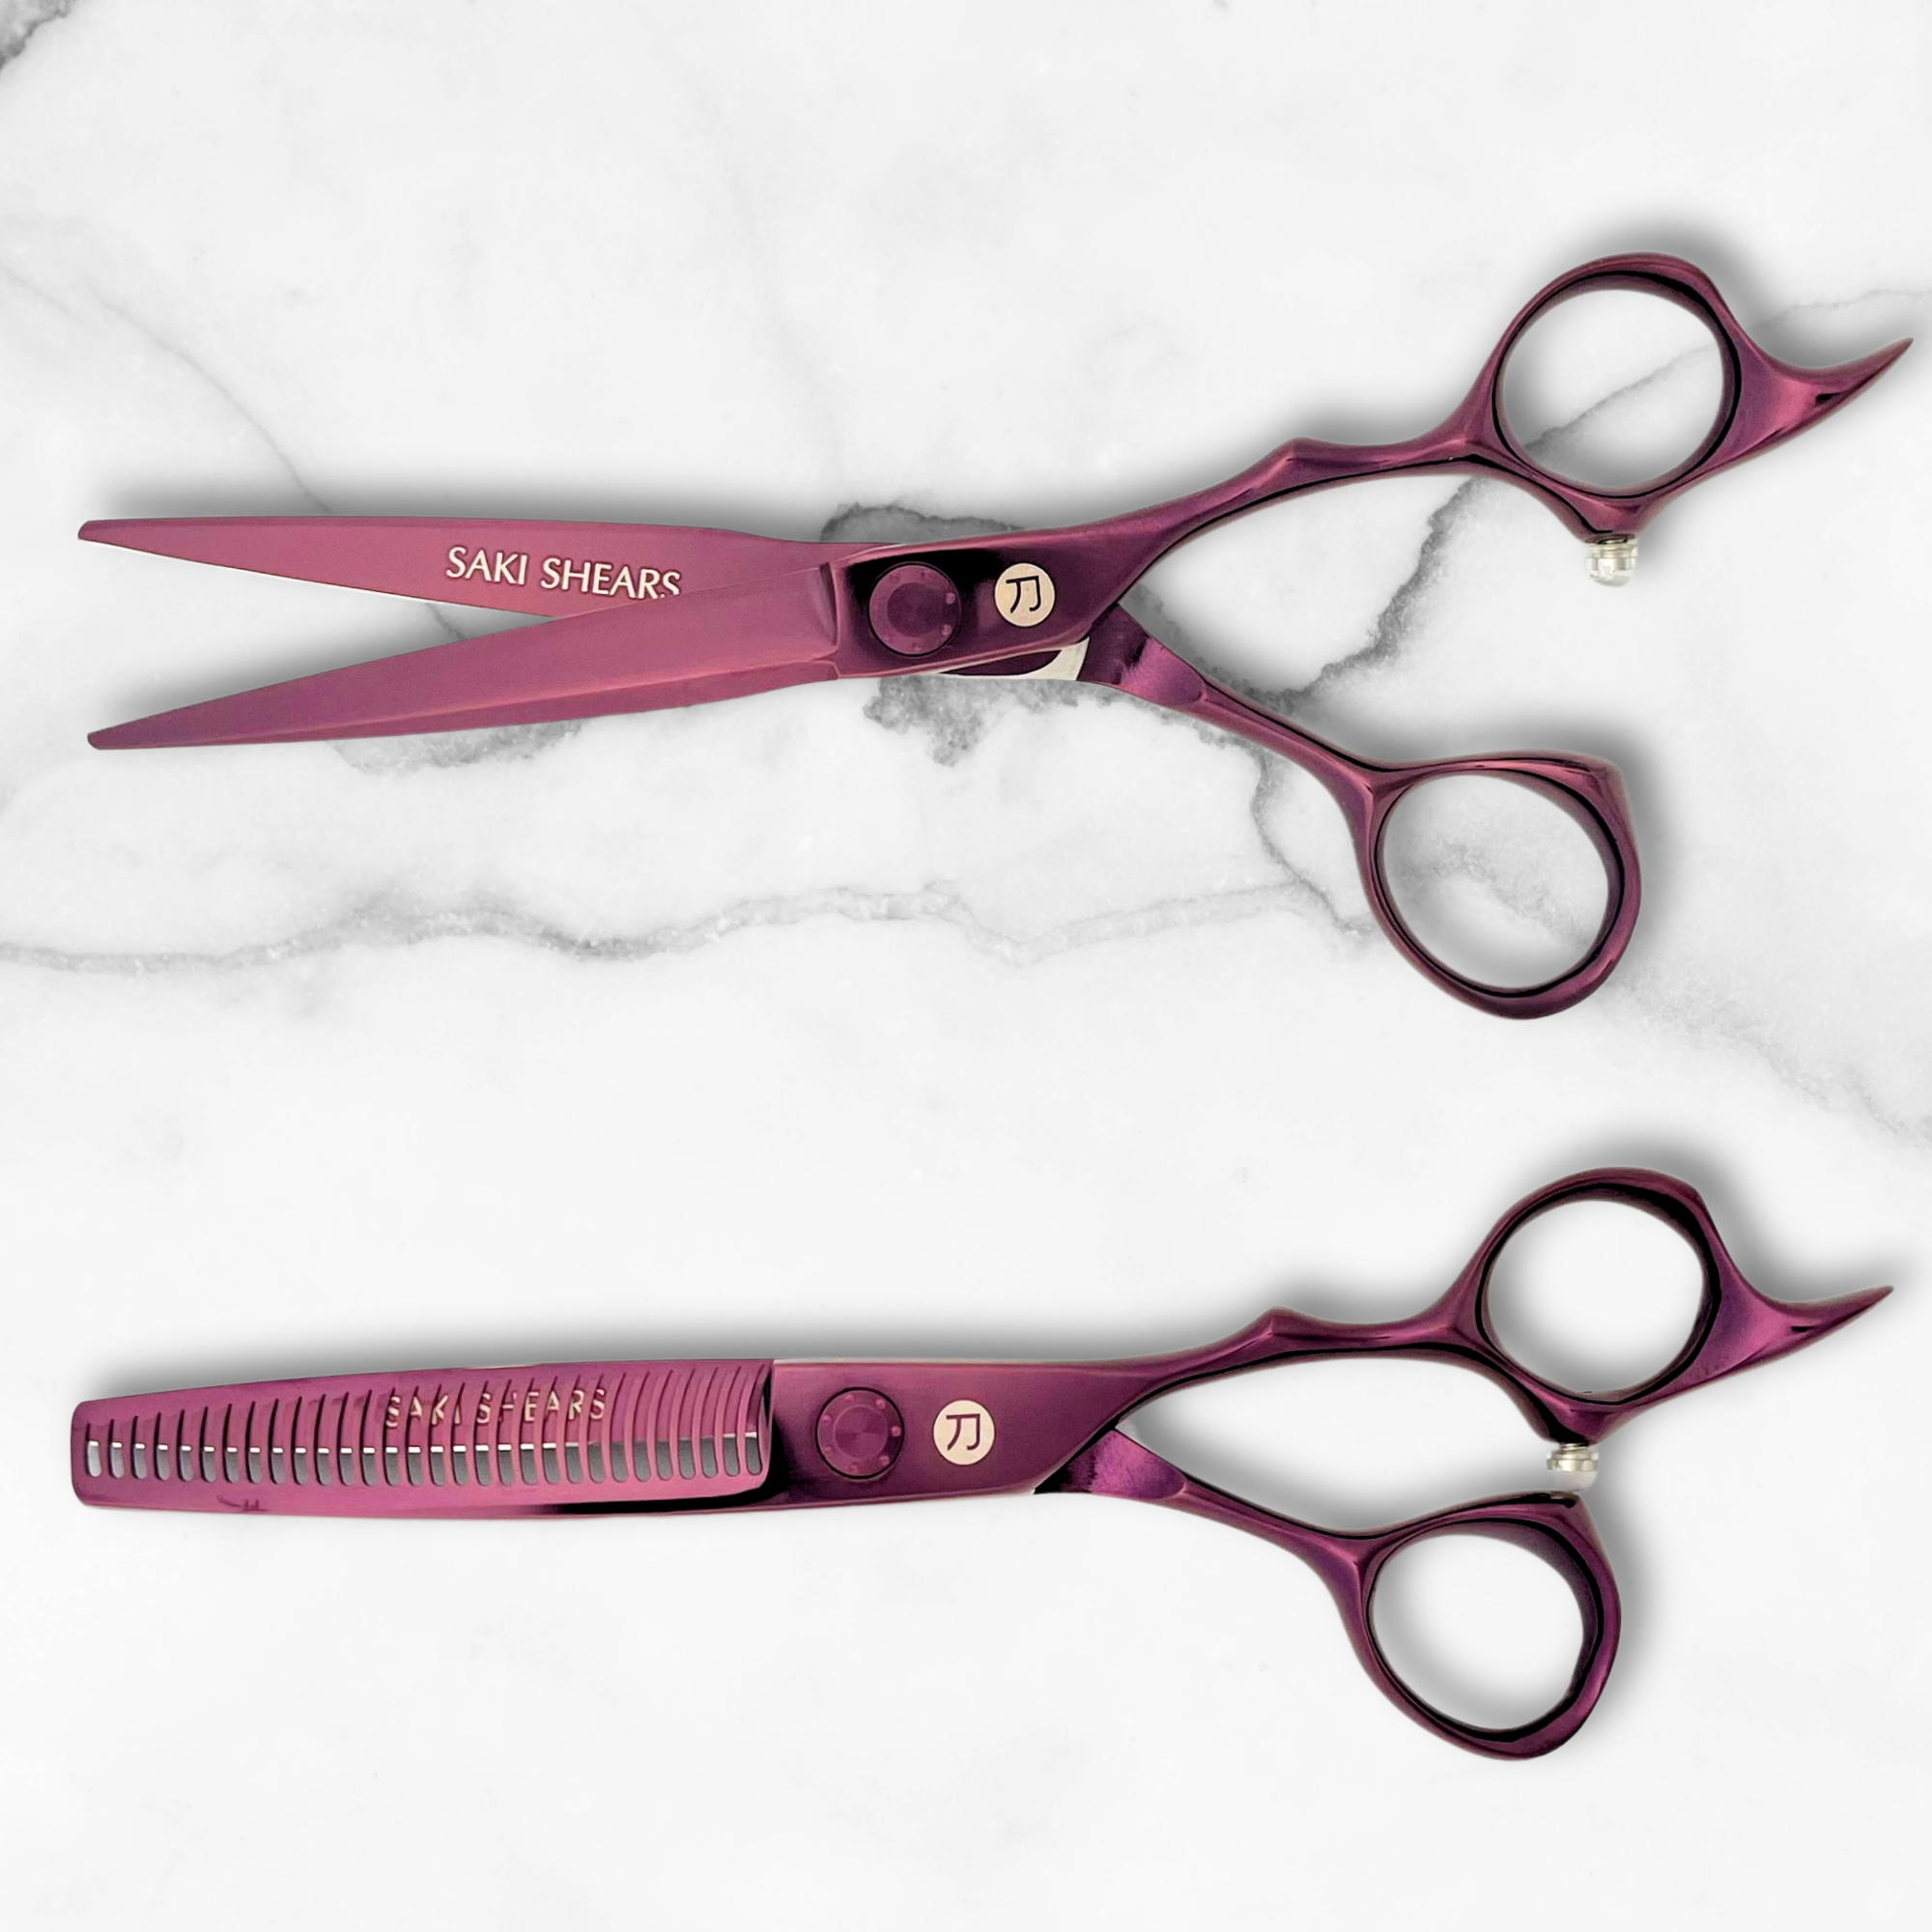
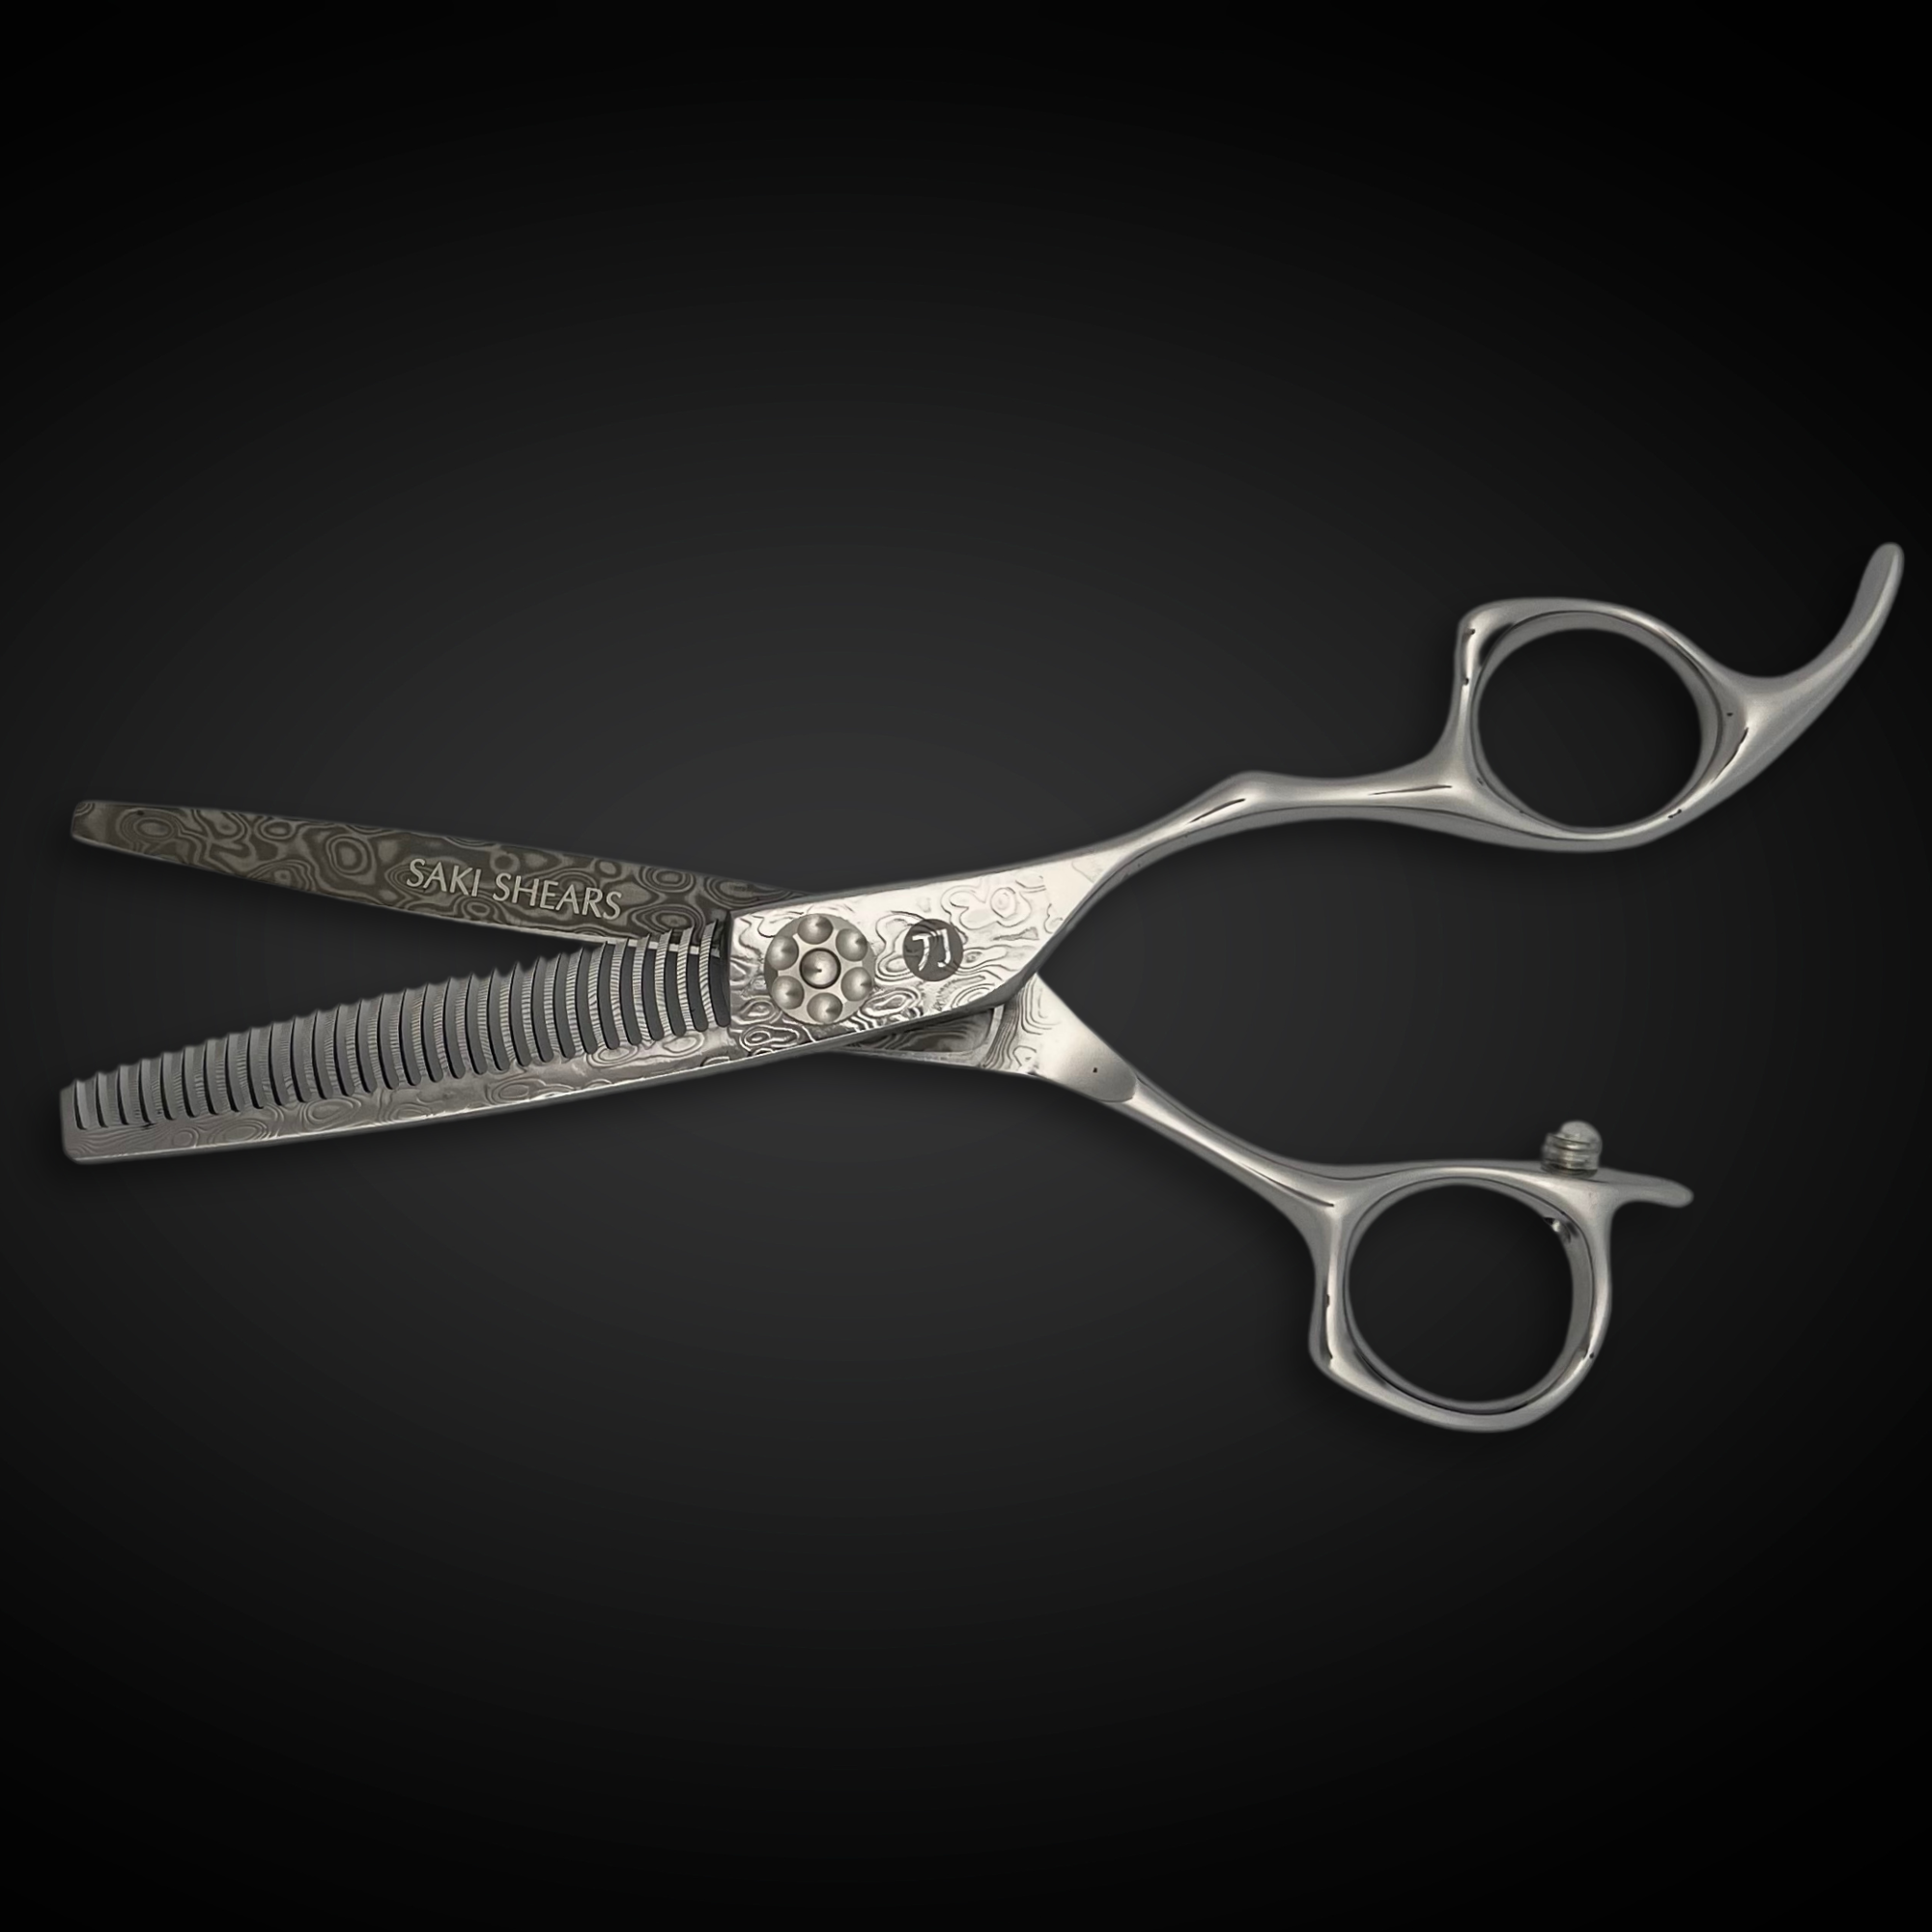
Having distinct tools for distinct purposes — rather than trying to make one shear do everything — is what allows a high volume of clients without constant re-adjustment. The Kotaro set with thinning shear included gives you both the slide-optimized cutting shear and a 27- or 30-tooth thinning shear for the same handle geometry, so you're switching between tools that feel identical in the hand.
According to the Professional Beauty Association, repetitive strain injuries are among the most common occupational health challenges for salon professionals. Handle ergonomics and technique efficiency — both of which slide cutting, done correctly, support — are two of the biggest controllable factors.
The Pivot Point educational system, which underpins cosmetology training at many accredited schools, categorizes slide cutting as an advanced technique requiring both proper tool selection and practiced motor control. The implication: this is a technique where the right shear matters as much as the right motion, and developing both simultaneously produces results faster than working on one in isolation.
If you're exploring different steel types and what they offer for specific cutting applications, the 440C in the Kotaro line is well-suited to the kind of sustained blade-to-hair contact slide cutting demands. The steel's hardness rating of 60–61 HRC is high enough to maintain the edge through extended use without becoming brittle.
Frequently Asked Questions
What type of shears are best for slide cutting?
Slide cutting requires a shear with a true convex edge — ground from both sides of the blade to produce a curved, razor-sharp cutting surface. This edge geometry allows the blade to glide through hair without dragging or compressing it. Beveled or semi-convex edges create friction during the slide motion, which results in uneven texture and folded hair sections. Beyond the edge, an offset handle is strongly recommended for slide cutting, as the technique requires sustained wrist and elbow positioning that upright handles make fatiguing. The Saki Kotaro cutting shears are specifically designed for slide and wet cutting with a convex edge, 440C Japanese steel, and an ergonomic offset handle.
Can you slide cut on dry hair?
Yes, slide cutting works on both wet and dry hair, but the results differ. On wet hair, you have more control over tension and the blade moves more smoothly through the section — ideal for precision texture work and blending. On dry hair, you can see the natural fall and movement in real time, which is valuable for making final adjustments and assessing how the haircut will look when the client leaves. Many stylists who specialize in curly or wavy hair prefer dry slide cutting because it lets them work with the curl pattern rather than against it. That said, the technique requires a sharper edge when done dry, since there's no lubrication from moisture to assist the blade.
How is slide cutting different from point cutting?
Point cutting and slide cutting are both texture techniques, but they work on different areas of the hair and produce different results. Point cutting is applied at the ends of the hair section — the shear enters perpendicular or at an angle into the tips, creating visible texture and softening blunt lines. It doesn't remove weight from mid-shaft. Slide cutting, by contrast, works along the entire length of the section from mid-shaft to ends, removing weight progressively through a continuous gliding motion. The result of slide cutting is internal movement and gradation rather than textured ends. In practice, most stylists use both in the same haircut: slide cutting for weight removal and internal movement, point cutting to refine the perimeter and soften the finished edge.
Conclusion
Slide cutting is a high-return technique for stylists who work regularly with clients requesting natural movement, lived-in texture, or weight reduction without dramatic length changes. The mechanics are learnable, but the results are directly tied to what's in your hand. A shear with the wrong edge or handle design doesn't just make the technique harder — it makes consistent results essentially unachievable.
The Saki Kotaro cutting shears are built specifically for this application: a hollow-ground convex edge in 440C Japanese steel with an offset handle designed to support the sustained motion slide cutting demands. If this technique is part of your regular work, your tools should match.