How to Cut a Pixie: Step-by-Step Stylist Tutorial
The pixie cut is an iconic hairstyle that exudes confidence, versatility, and a touch of edginess. Yet, for many hairstylists - especially those early in their careers - creating a flawless pixie can feel intimidating. Its short length leaves no room for error, placing every layer, angle, and texture on full display. But with the right approach, tools, and mindset, even the most intricate pixie cut becomes manageable.
This article breaks down the process into digestible steps, empowering hairstylists and barbers to confidently execute this sophisticated style. Whether you're perfecting your craft or looking to refine your technique, you'll find actionable strategies here to elevate your pixie-cut game.
Why the Pixie Cut Challenges Stylists
Short haircuts reveal everything. Unlike longer styles where minor mistakes can be hidden, pixies are all about precision. Every line, angle, and texture must be carefully considered. This haircut demands a plan, a methodical approach, and a solid foundation of skill.
As the stylist in the featured video shares, starting her career without a plan led to frustration. Instead of "cutting until it looked right", the better approach involves structured techniques that provide control and consistency.
Essential Tools and Preparation
Before diving into the haircut itself, take stock of your tools and ensure they’re in top shape.
Must-Have Tools for Pixie Perfection
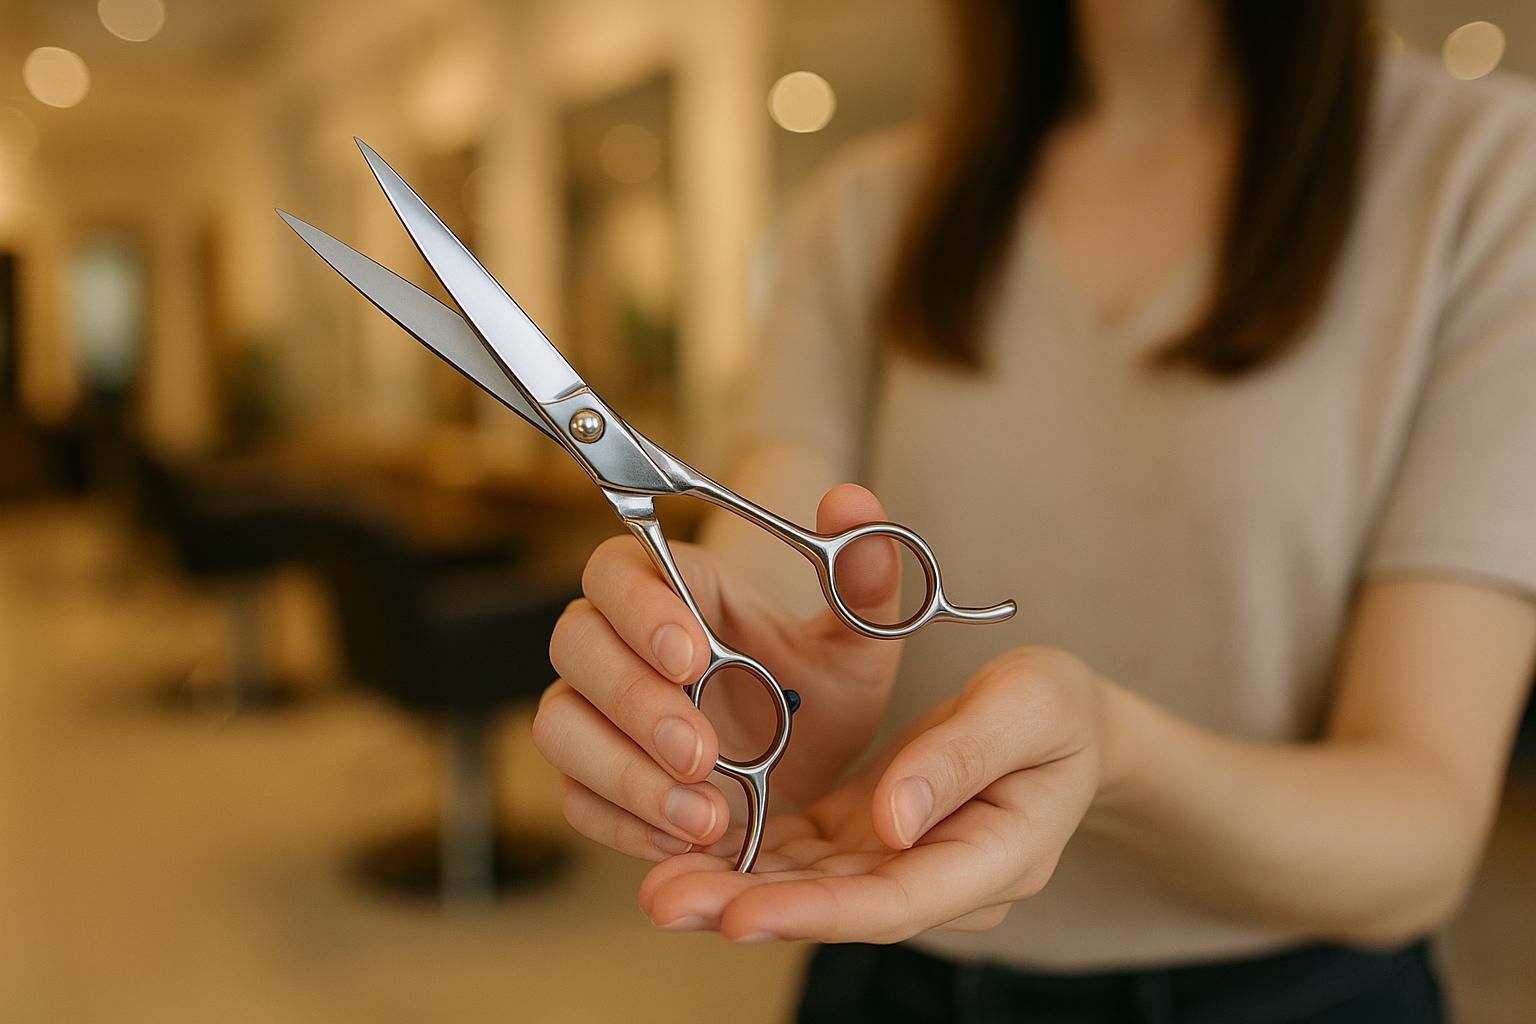
- Shears in the correct size: Smaller shears (5.5 inches or less) are ideal for pixie cuts. Their compact size allows for precision, especially around delicate areas like the ears and neckline.
- Sharp, well-maintained scissors: Dull scissors can push the hair instead of cutting cleanly, causing uneven layers and unnecessary strain on your hands. Regularly clean, oil, and sharpen your shears to maintain peak performance.
- Sectioning clips: These keep partings clean and manageable while you work.
- A fine-tooth comb: Perfect for creating tension and ensuring clean lines.
- Gel or water spray: For dampening hair and achieving better control during cutting. Doll heads, for instance, often have coarse hair that responds better to product.
Pro Tips for Preparation
- Begin with clean, damp hair. Dampness helps you achieve precise partings and control tension throughout the haircut.
- Understand the client’s hair texture and growth patterns. Cowlicks, whirls, and thick or fine strands can influence how the cut behaves once dry.
- Use a mannequin for practice. While mannequin hair isn’t ideal for mastering texture, it’s a great way to refine cutting techniques before working on live clients.
Step-by-Step Guide to Cutting a Pixie
1. Begin with the Back
The back of the head provides the foundation for the pixie cut. Starting here allows you to establish balance and flow before progressing to the sides and front.
- Sectioning: Divide the hair into partings, focusing on the back half of the head. Use a soft diagonal or horizontal section from the occipital bone to behind the ear.
- Cutting the First Layer: Hold the hair at a 45-degree angle, resting your fingers against the client’s neck for stability. Cut palm-to-palm for control, ensuring clean, even lines.
- Layering: Proceed with round layers, pulling each section at a 90-degree angle from where it naturally falls. Use the "pie" or "wagon wheel" method to radiate sections outward from the crown, ensuring smooth transitions.
- Check Your Work: After each section, comb through the layers and examine for balance. Adjust any uneven lengths as needed.
2. Address the Sides
The sides often pose the biggest challenge for stylists, but a systematic approach can simplify the process.
- Diagonal Sections for Softness: For a soft, natural flow, create diagonal partings from the parietal ridge to the sideburns. Hold the hair out at a 45-degree angle to maintain soft, feminine lines.
- Overdirect for Length: If the client desires longer bangs or face-framing pieces, overdirect the hair slightly toward the back of the ear before cutting. This creates a beautiful forward motion that can be styled in multiple ways.
- Alternative Quick Method: For beginners or when time is limited, gather all the side hair and pull it straight up at a 90-degree angle. Cut across in one motion, then refine as needed.
3. Shape the Front
The front of a pixie is where creativity and personalization come into play. Whether the client wants baby bangs, asymmetry, or softness, clear communication and precise execution are key.
- Connect the Dots: Start by connecting the front to the layers from the back and sides. Use your guide from the crown and work forward, shifting sections slightly forward to create a natural progression.
- Framing the Face: Determine the client’s desired length and angle for bangs. For a side-swept look, angle your fingers at 45 degrees from the nose and point-cut for softness.
- Refine Around the Ears: Use the ear as a guide to carve out the desired shape. For a polished look, keep the area soft and avoid harsh lines.
Personalization and Finishing
Once the haircut is complete, it’s time to refine and personalize the final look. Blow-dry the hair, directing it into the style the client prefers. Once the hair is dry, inspect the cut for areas that may need additional texture or balance.
Key Finishing Techniques:
- Point-Cutting: Use this technique to soften bulky areas and enhance movement.
- Texturizing: Employ texturizing shears or a razor to add dimension, especially at the crown or fringe.
- Check for Balance: Comb through the layers and ensure both sides are symmetrical. If needed, adjust by trimming small amounts at a time.
Key Considerations for Pixie Consultations
The pixie cut is not a one-size-fits-all style. During consultations, ask detailed questions to ensure the haircut aligns with the client’s preferences and lifestyle. Use visuals to clarify your understanding.
Questions to ask:
- How short should the neckline and sides be?
- Do they want their ears fully exposed or partially covered?
- Should the bangs be long, short, or disconnected?
- How much texture or volume do they desire at the crown?
Key Takeaways
- Precision is king: The shorter the haircut, the more visible every line and layer becomes.
- Smaller shears are non-negotiable: Use tools that provide control in tight areas like the ears and neckline.
- Keep your shears sharp: Dull blades lead to uneven cuts and wrist strain.
- Master sectioning: Clean, balanced partings set the foundation for a flawless cut.
- Overdirect strategically: Use overdirection to conserve length or create softness.
- Work with the hair’s natural growth patterns: Avoid adding tension near whirls or cowlicks to prevent unintended splits.
- Personalization matters: Use point-cutting, texturizing, and finishing techniques to tailor the haircut to the client’s preferences.
- Practice makes perfect: Pixie cuts challenge your precision and creativity, making them an excellent way to refine your skills.
Conclusion
The pixie cut is a testament to a hairstylist’s precision, artistry, and technical expertise. While challenging, this haircut offers endless opportunities for personalization and creativity. By mastering foundational techniques and embracing continuous practice, you’ll not only build confidence but also establish yourself as a go-to stylist for short, chic hairstyles. Embrace the challenge, and let your craftsmanship shine.
Source: "How to Cut a Pixie | Step-by-Step Tutorial for New Stylists" - All About Hair with Danise, YouTube, Aug 22, 2025 - https://www.youtube.com/watch?v=mw8G8t30R7Q
Use: Embedded for reference. Brief quotes used for commentary/review.