The Gradient Fade: A Barber's Guide to Blending Men's Cuts
A gradient fade is the technical throughline connecting most contemporary men's cuts on the floor today: the crew cut, the skin and taper fades, the textured crop, and the slick back all read as current because of how smoothly the length transitions from skin to length, not because of any single silhouette. This guide focuses on the mechanics of that transition — sectioning, tool choice, and blending sequence — rather than a style-by-style survey.
What Makes a Fade Read as Clean
A fade succeeds or fails at the transition zone, the one to two inches where clipper-shortened hair meets the longer top. A clean gradient has no visible line of demarcation, no ridges from guard-length jumps, and no reverse gradient on the arc behind the ear. Consistency across guest hair textures depends less on the guard sequence chosen than on overlap and pressure control during the blend.
Sectioning and the Guide Line
Start every fade off a stable guide line, established at the temple and around the occipital bone before any blending begins. On a skin or bald fade, this guide sits at zero; on a low or mid fade, back it up to the point where the skull curvature naturally changes. Setting the guide first prevents the fade from drifting higher on one side than the other, a common asymmetry issue when the guide and the blend are attempted in the same pass.
Guard Sequencing and Overlap
Work from the shortest guard up, overlapping each pass by roughly a third of the clipper blade's width into the previous section. Skipping more than one guard length between passes — a 1 straight to a 4, for example — is the most common cause of visible banding. On coarser or curlier textures, add an intermediate half-guard pass or open the clipper's taper lever incrementally rather than swapping the whole guard, since abrupt length changes show more readily on textured hair.
Clipper-Over-Comb and Freehand Blending
Once guard work has built the rough gradient, clipper-over-comb work removes the remaining transition lines. Hold the comb at a shallow angle against the scalp and let the clipper ride the comb's teeth upward, lifting the comb slightly with each pass to soften the line further up the head. Freehand blending — clippers with no guard or comb, used in short arcing strokes — is for final polish only; used too early it removes too much bulk and flattens the gradient instead of smoothing it.
Applying the Technique Across Cut Types
The blending mechanics above hold constant across cuts; what changes is where the fade starts and how much length it hands off to on top.
- Crew cut: a shorter fade window, typically starting an inch to an inch and a half above the ear, handing off to a top length short enough to stand with minimal product. Keep the transition tight, since there is little length on top to camouflage an uneven blend.
- Skin and taper fades: the widest transition zone of the group. Take extra time on the arc behind the ear and at the nape, where scalp curvature changes fastest and banding is most visible.
- Textured crop: the fade sits lower and tighter to the sides, since the point-cut, textured top does most of the visual work. Blending too high competes with the top texture instead of framing it.
- Slick back: often paired with a low or disconnected fade, but where a fade is used, keep the gradient close to the perimeter so the length needed for the swept-back finish stays undisturbed higher up.
Tool Selection
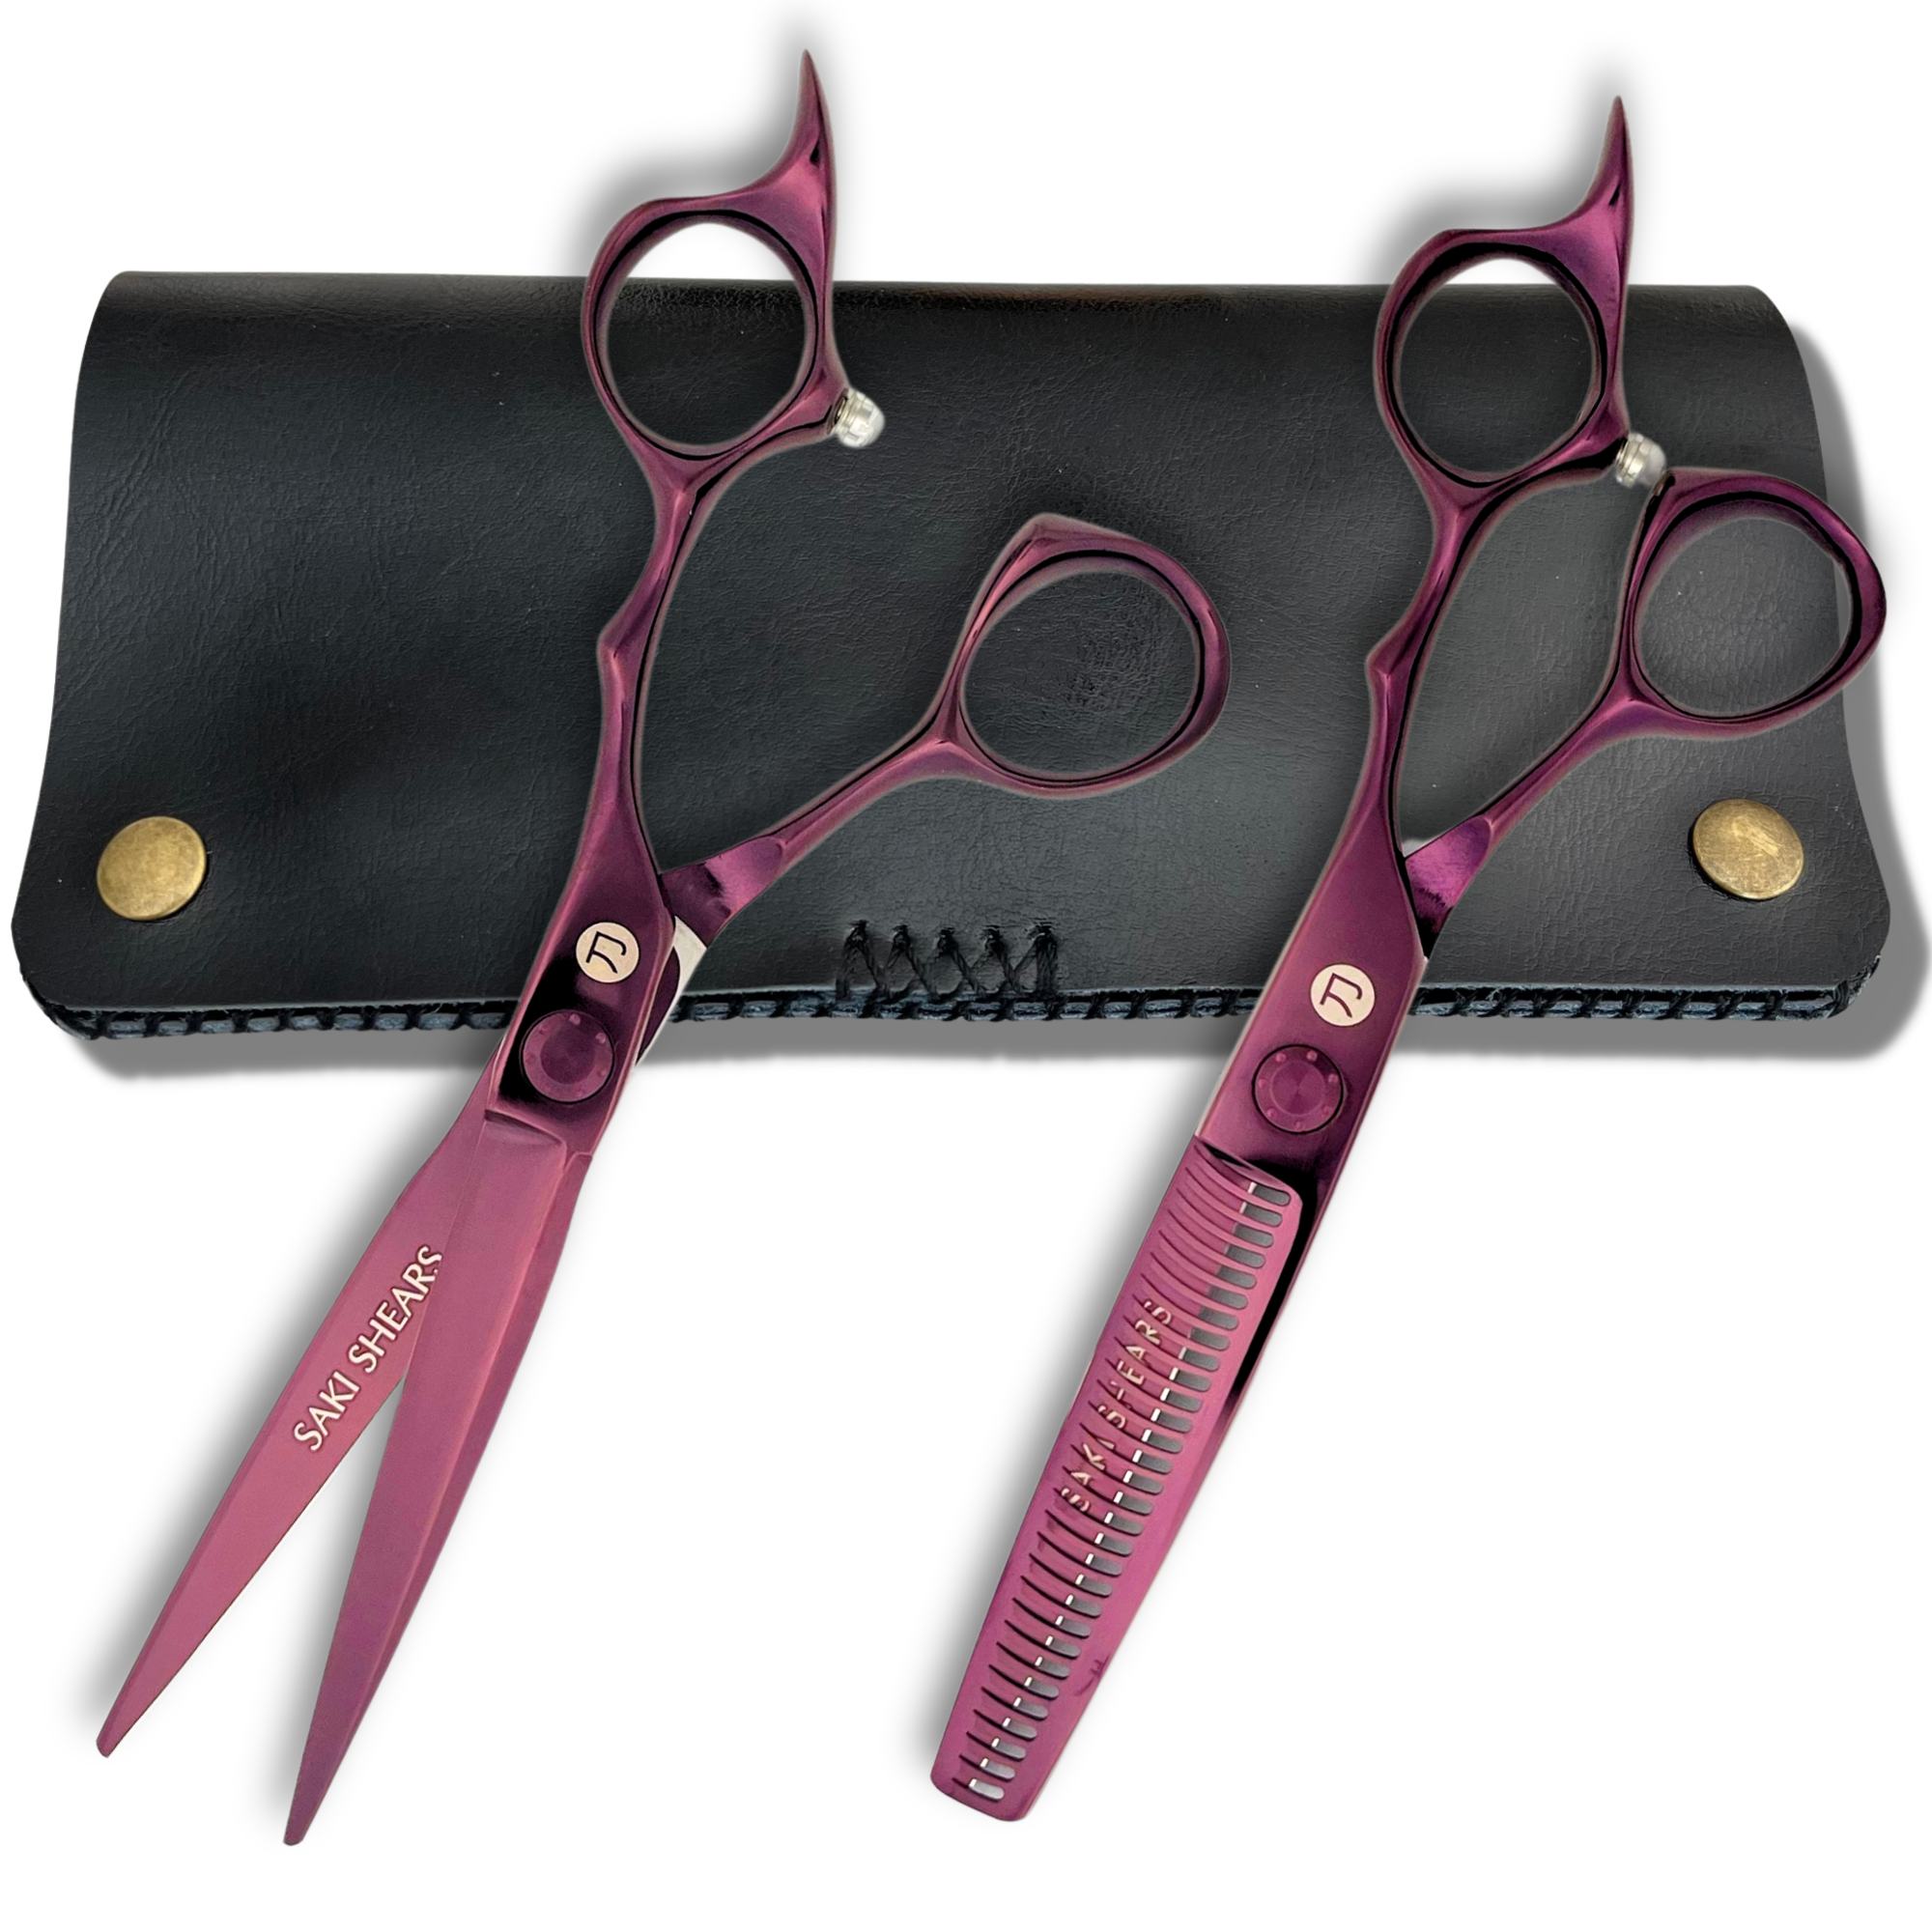
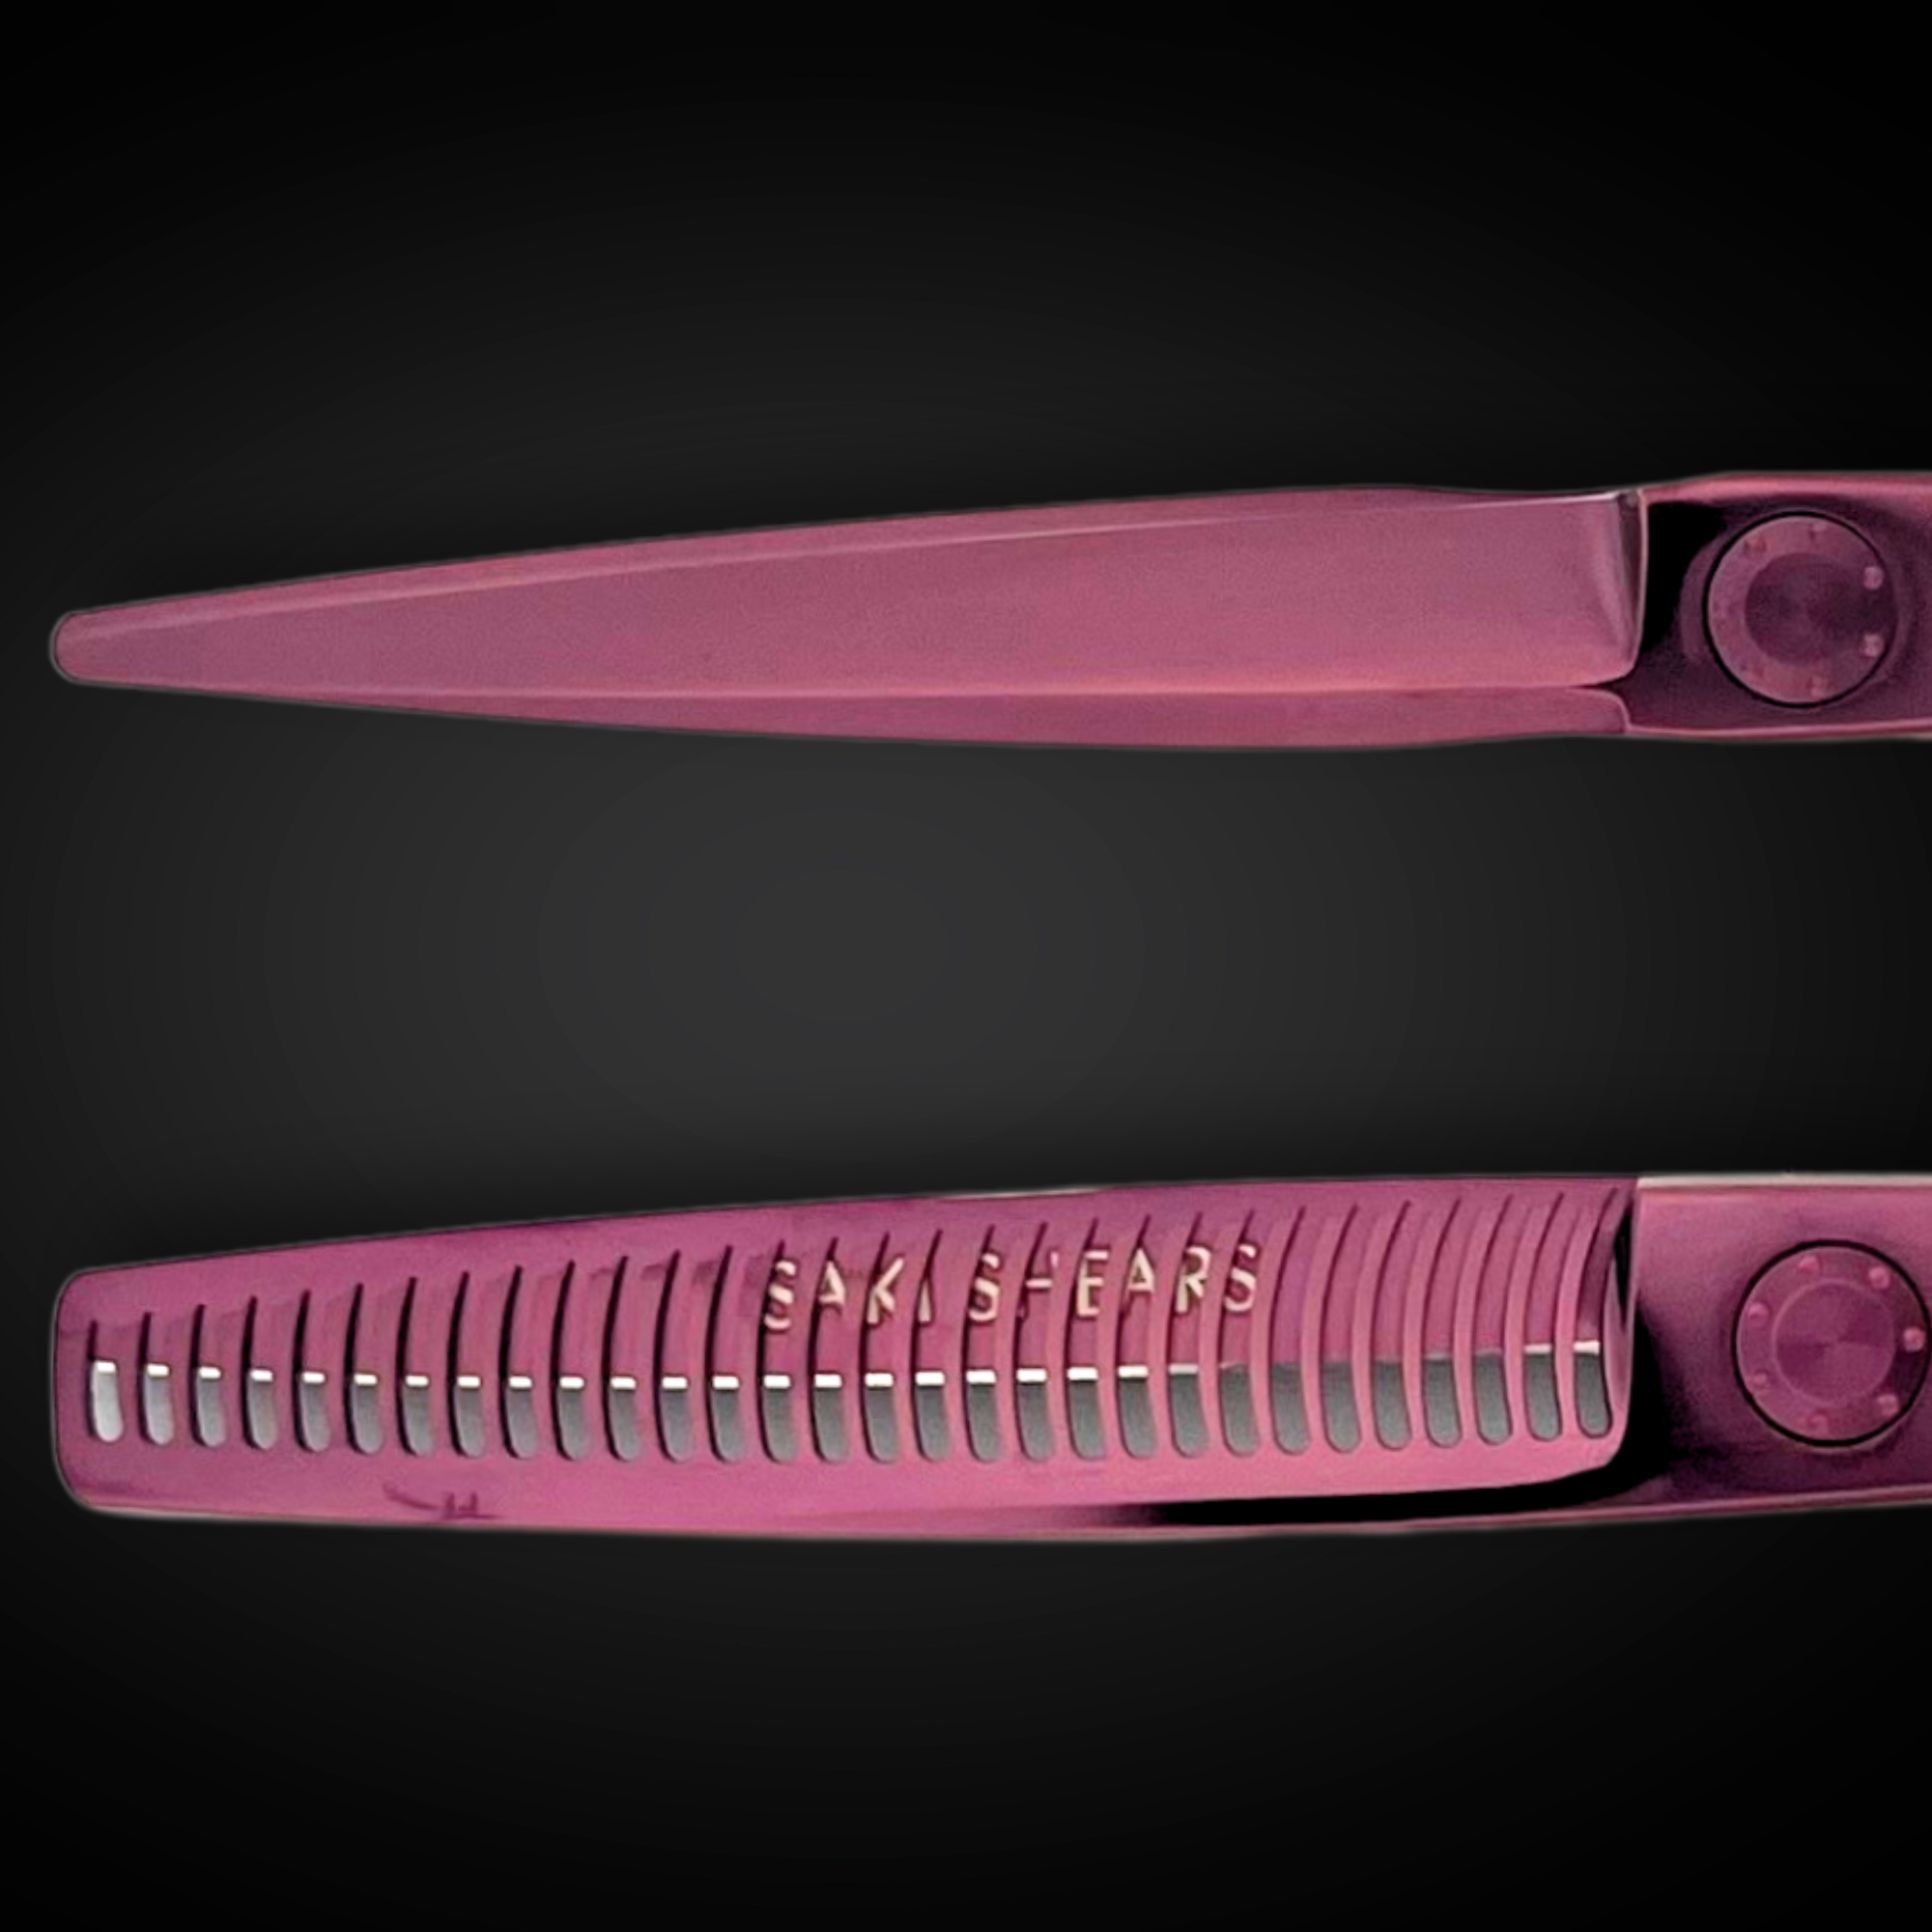
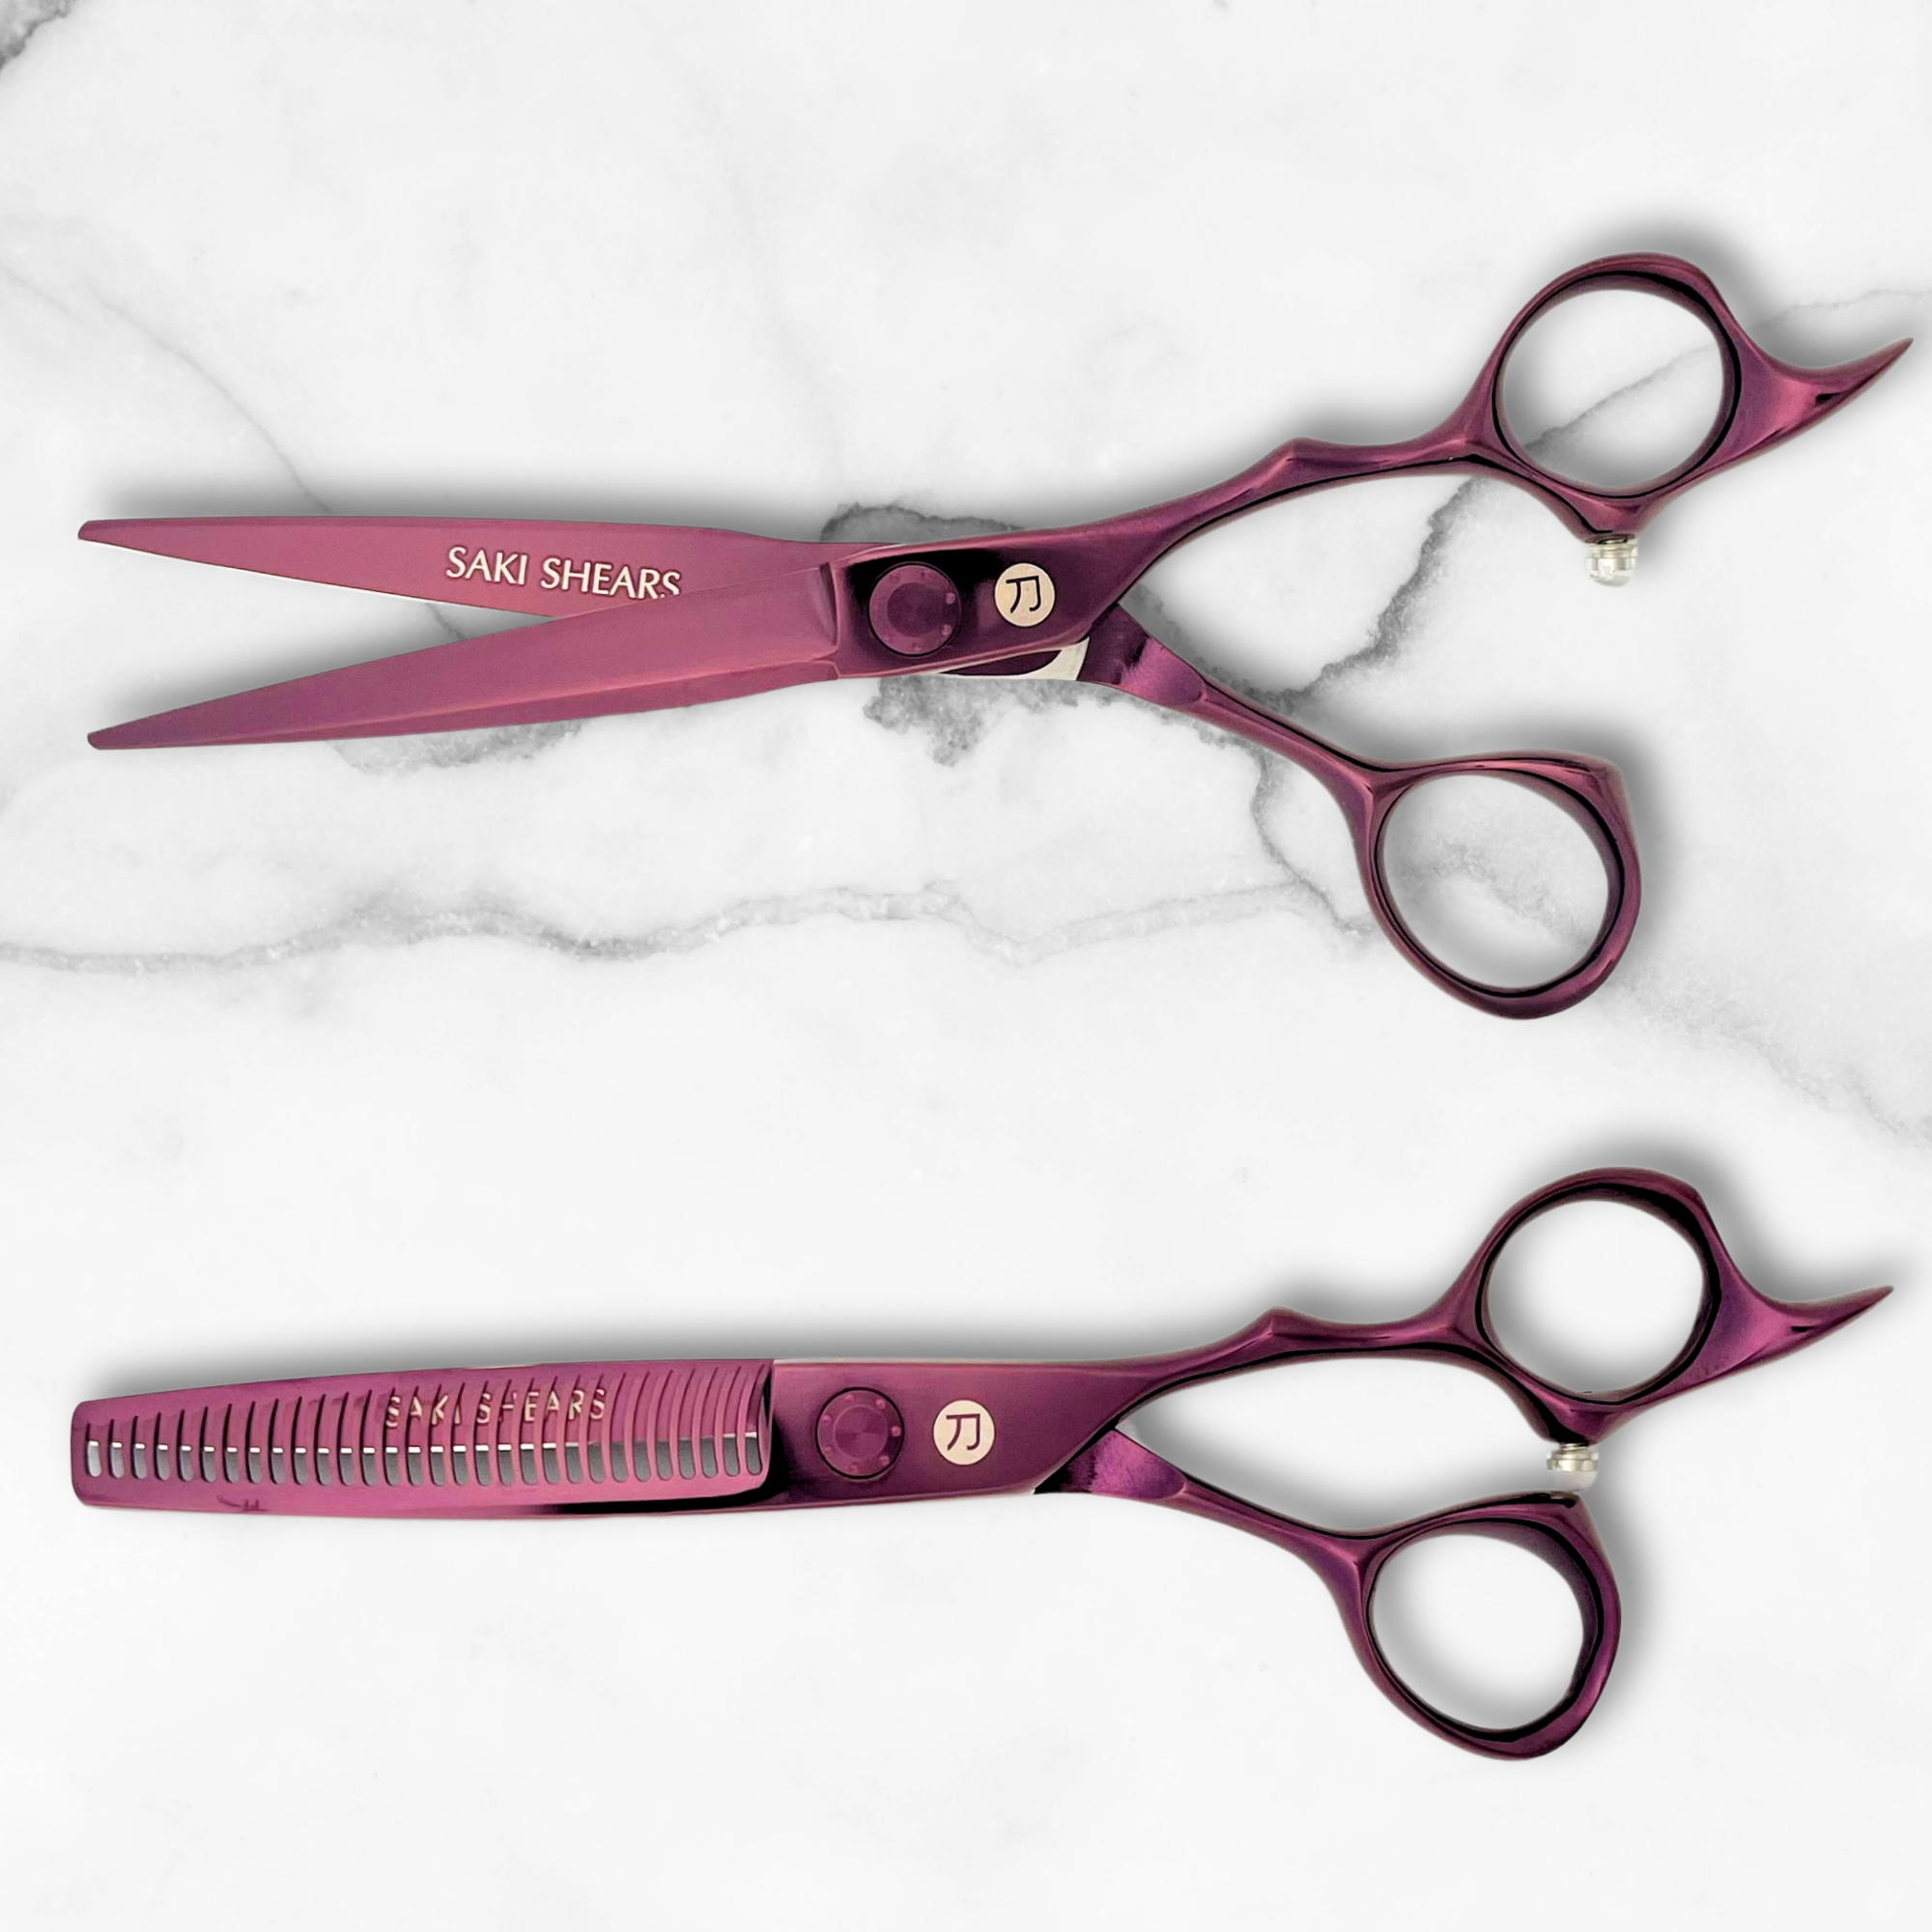
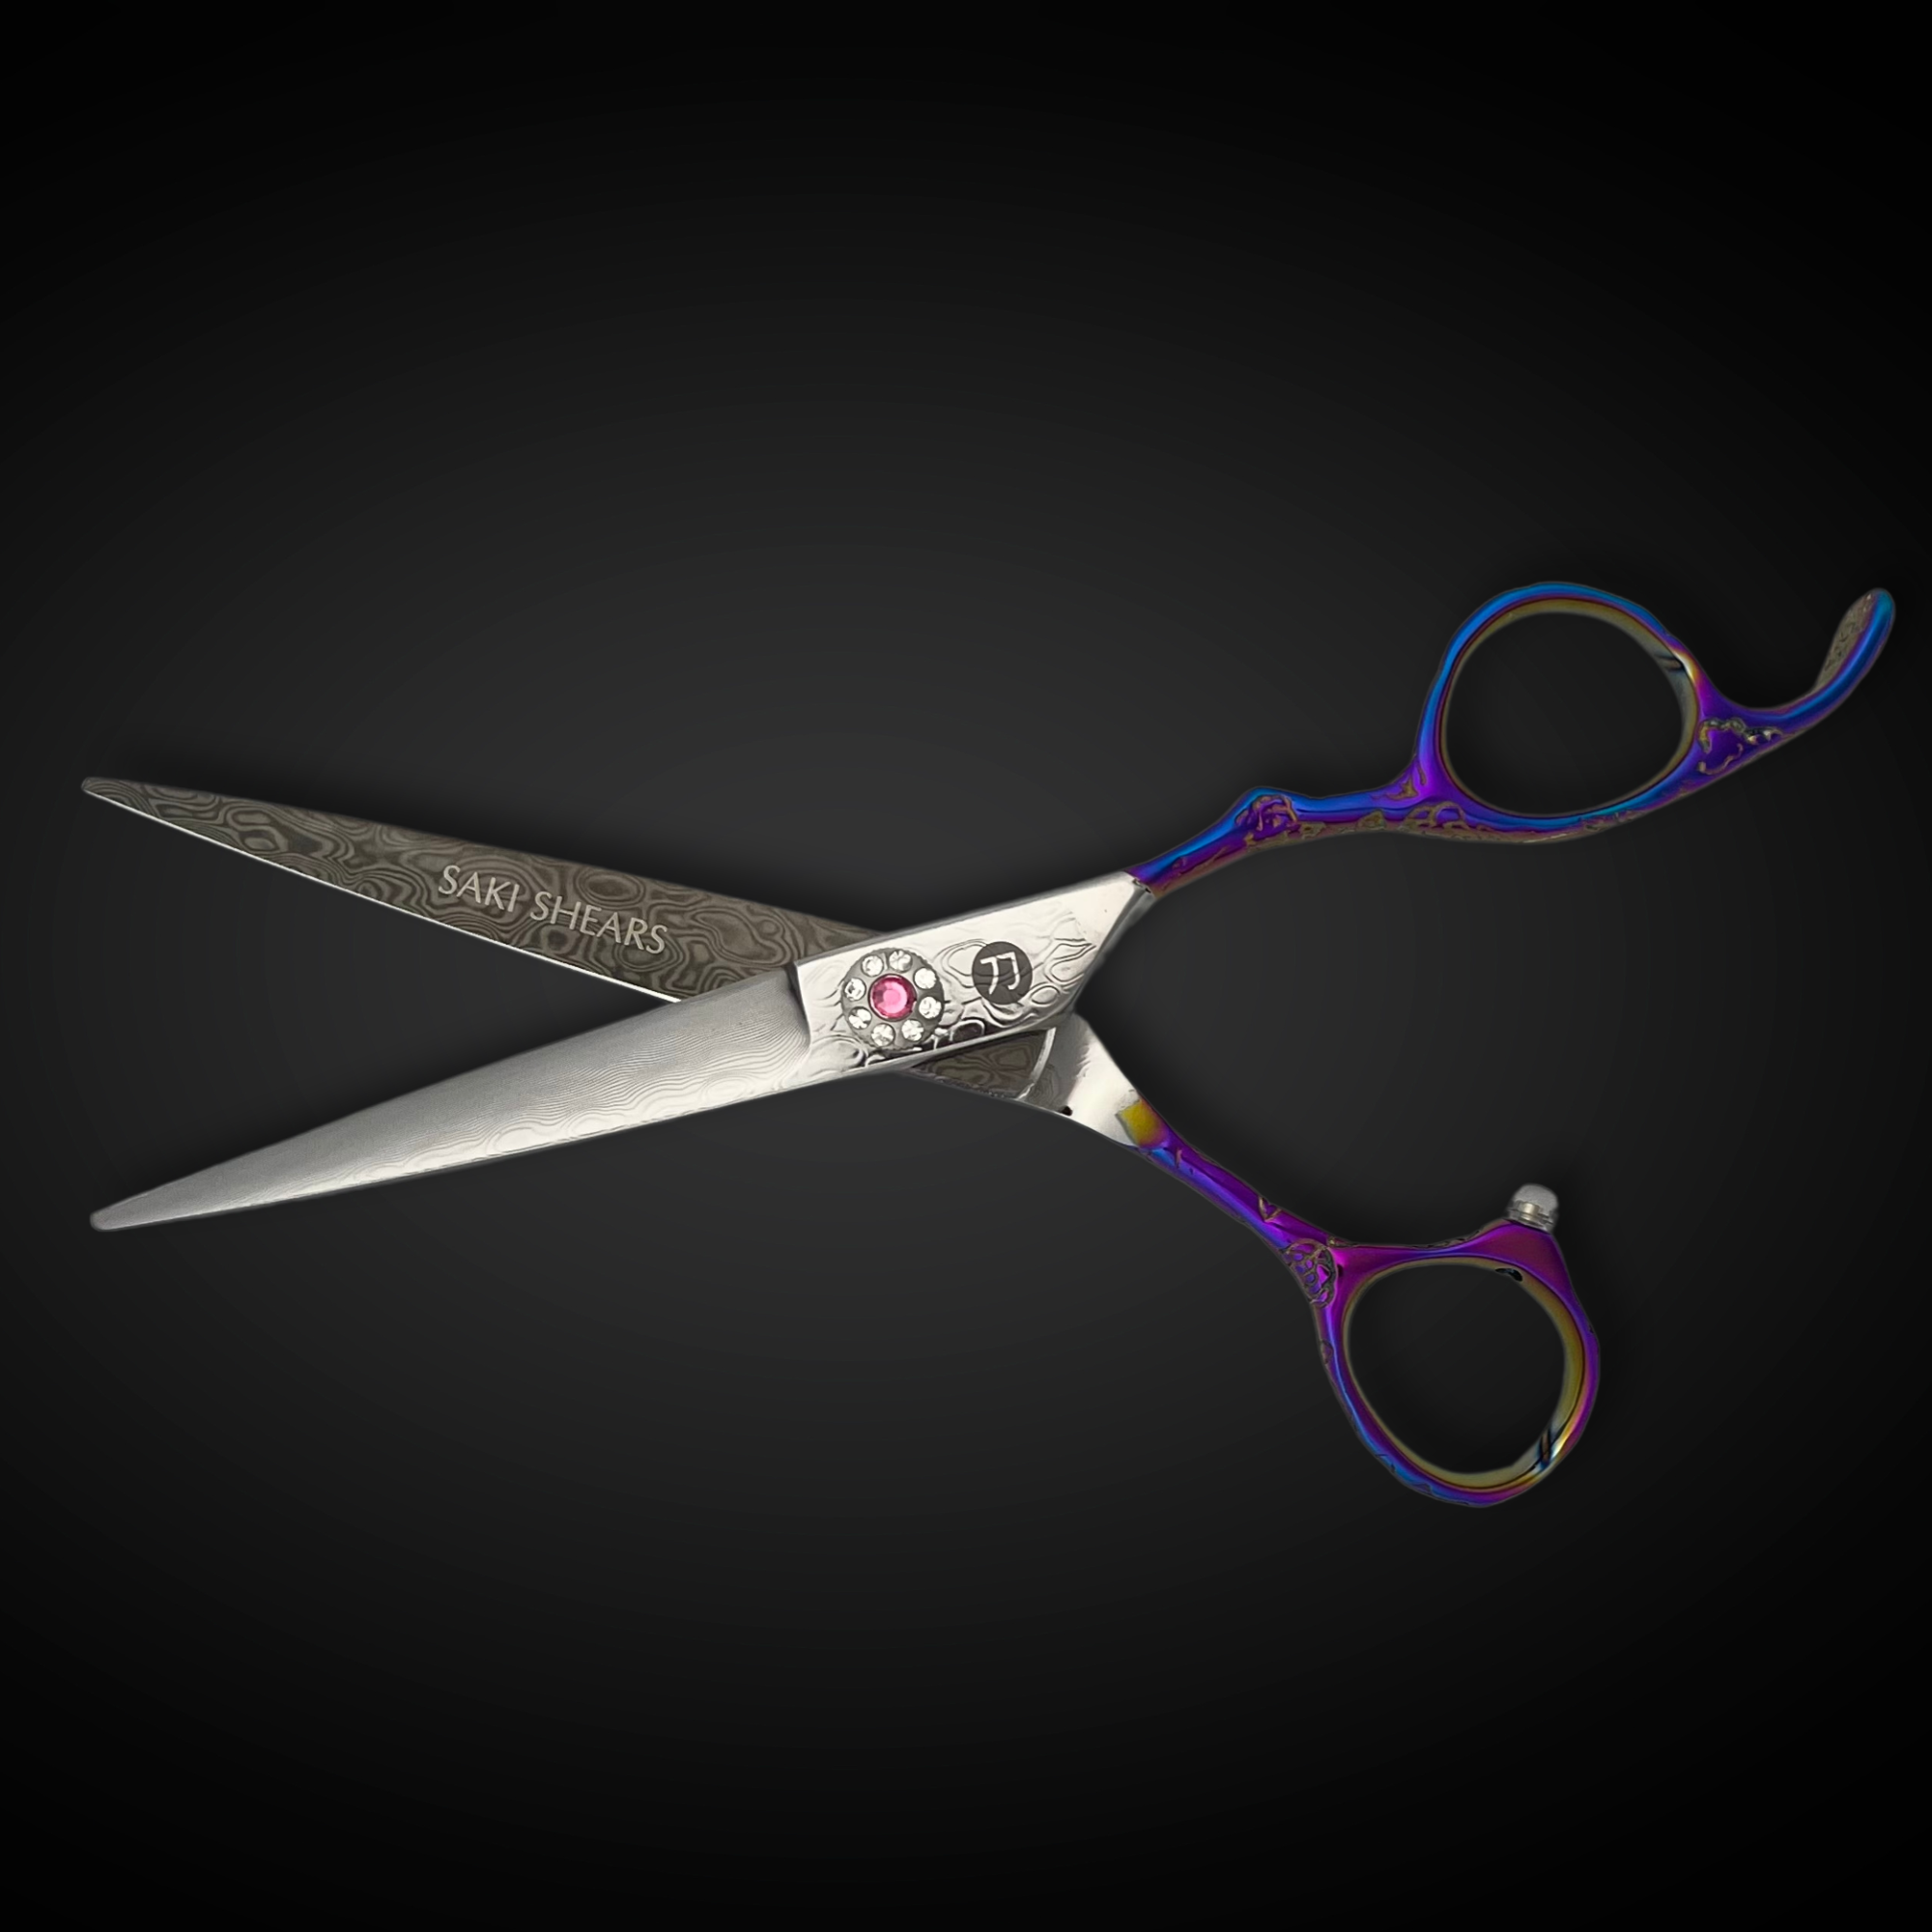
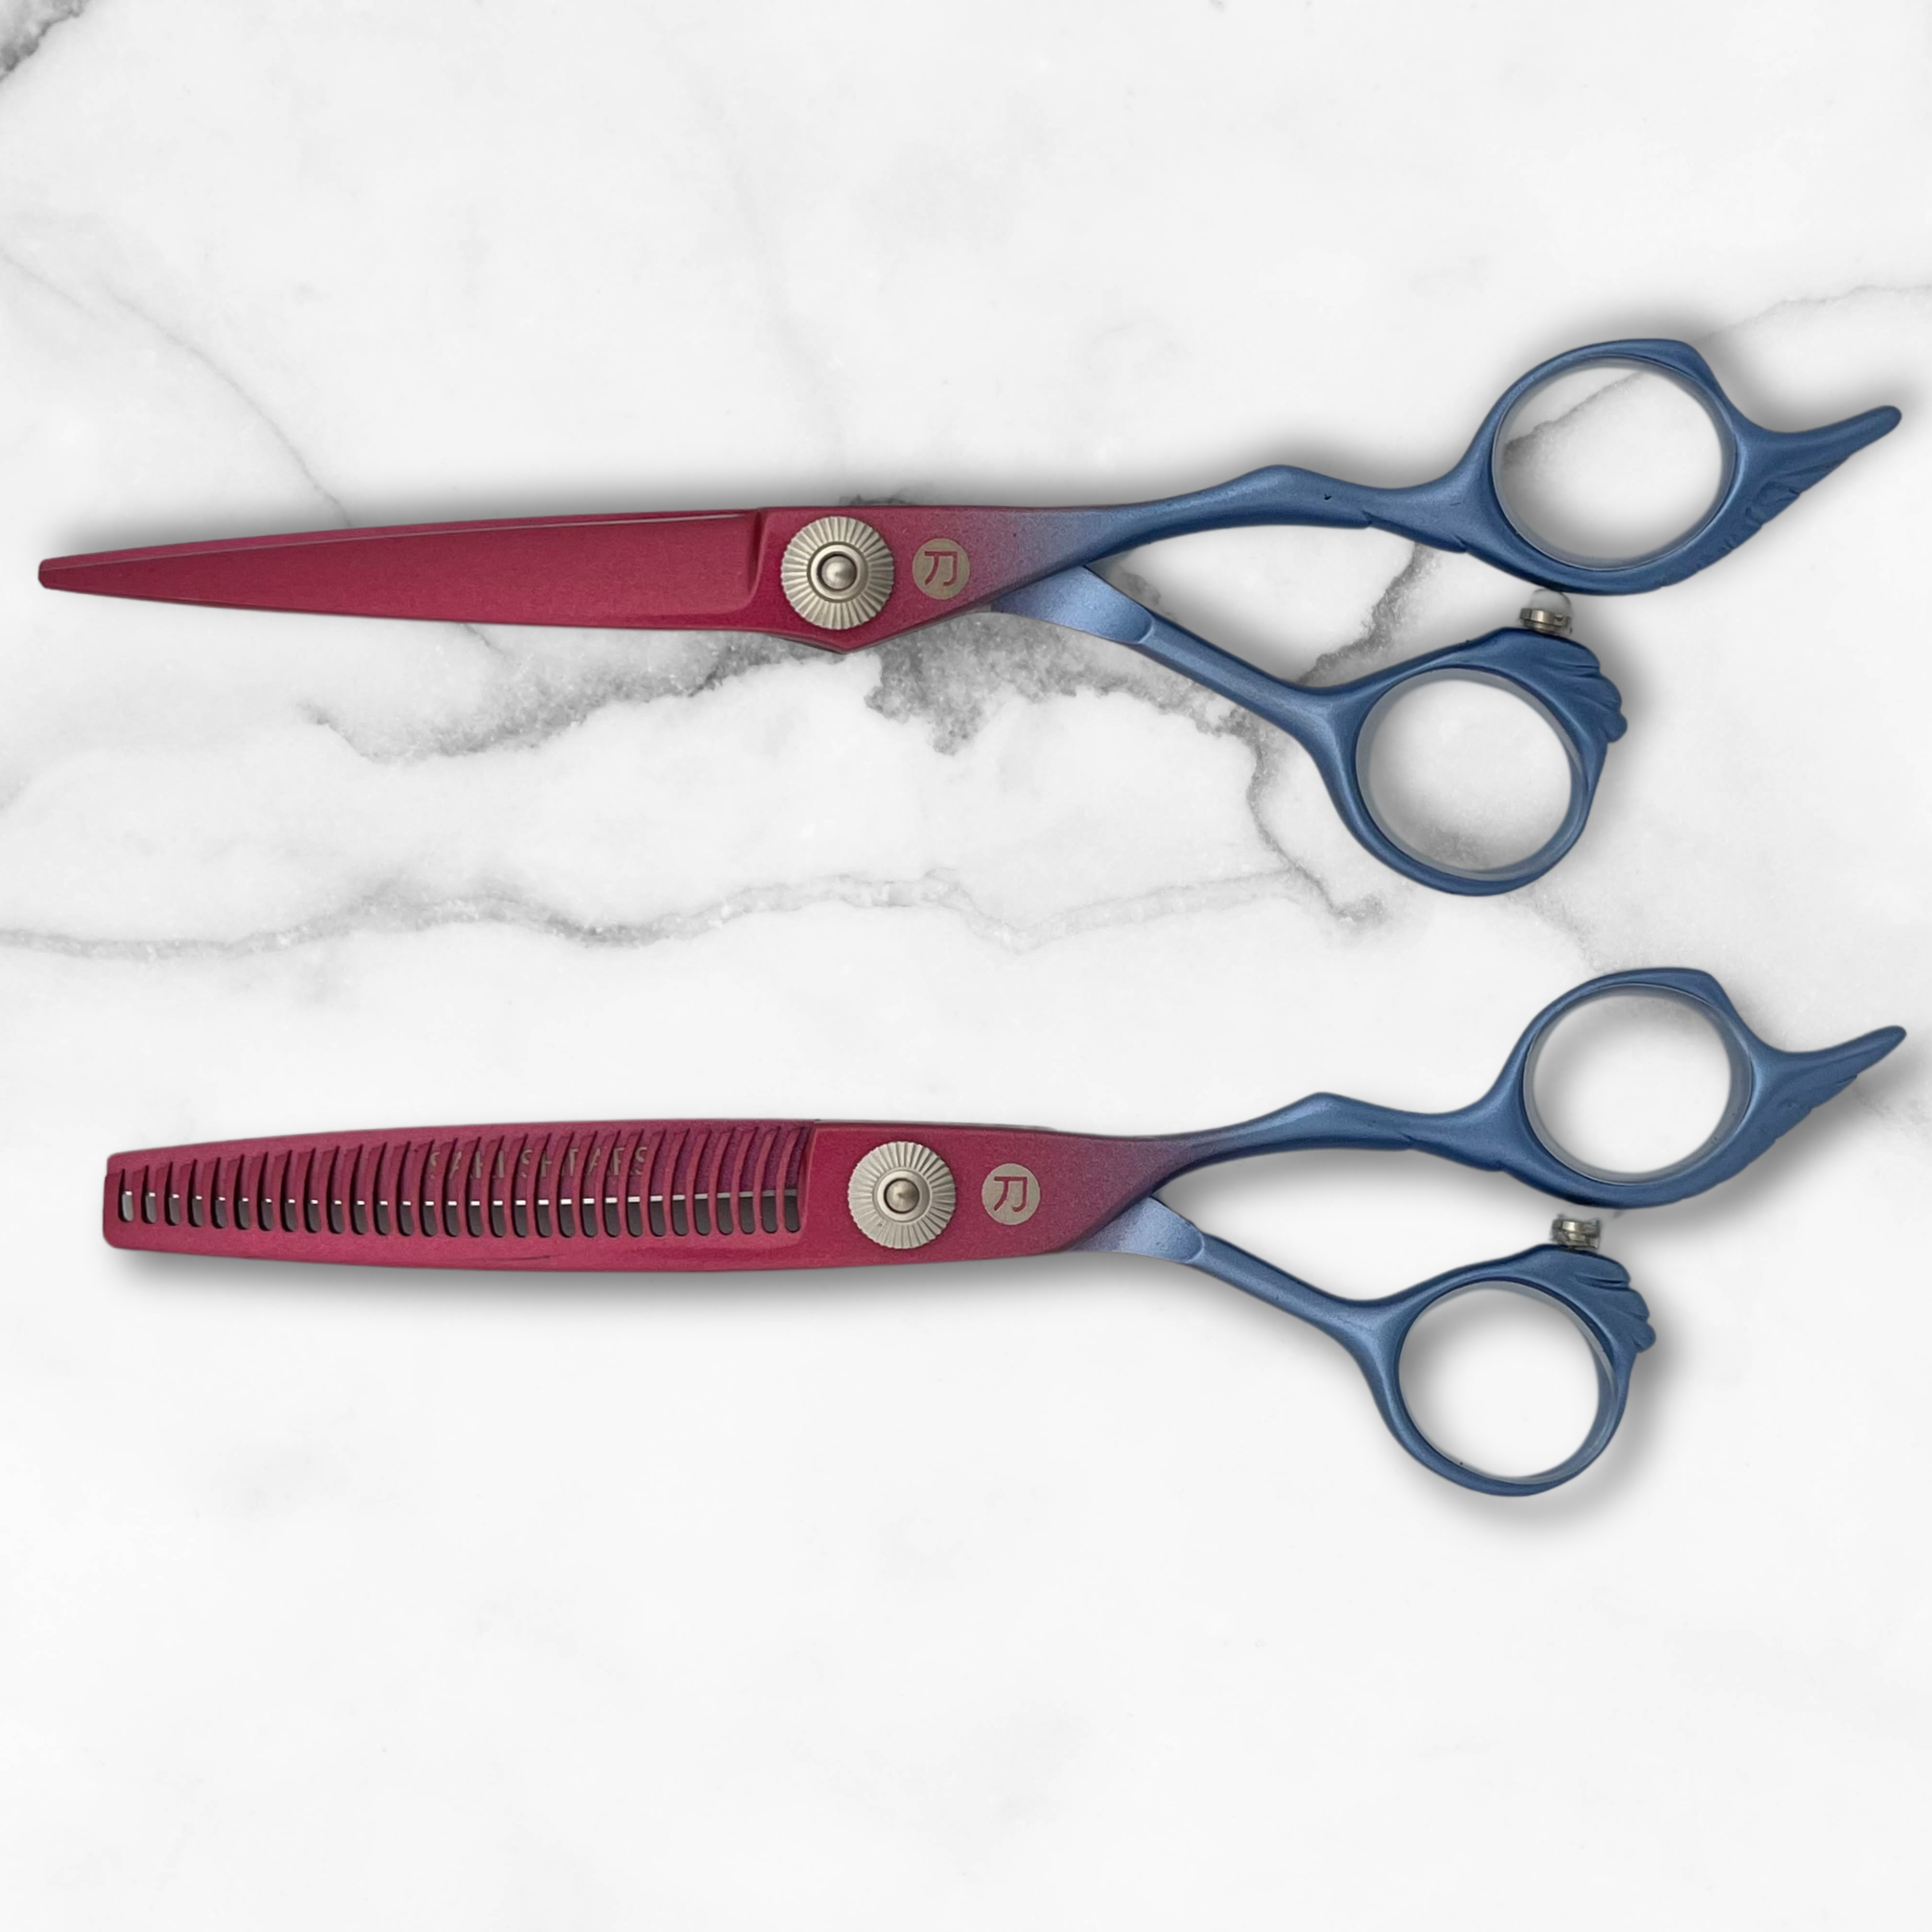
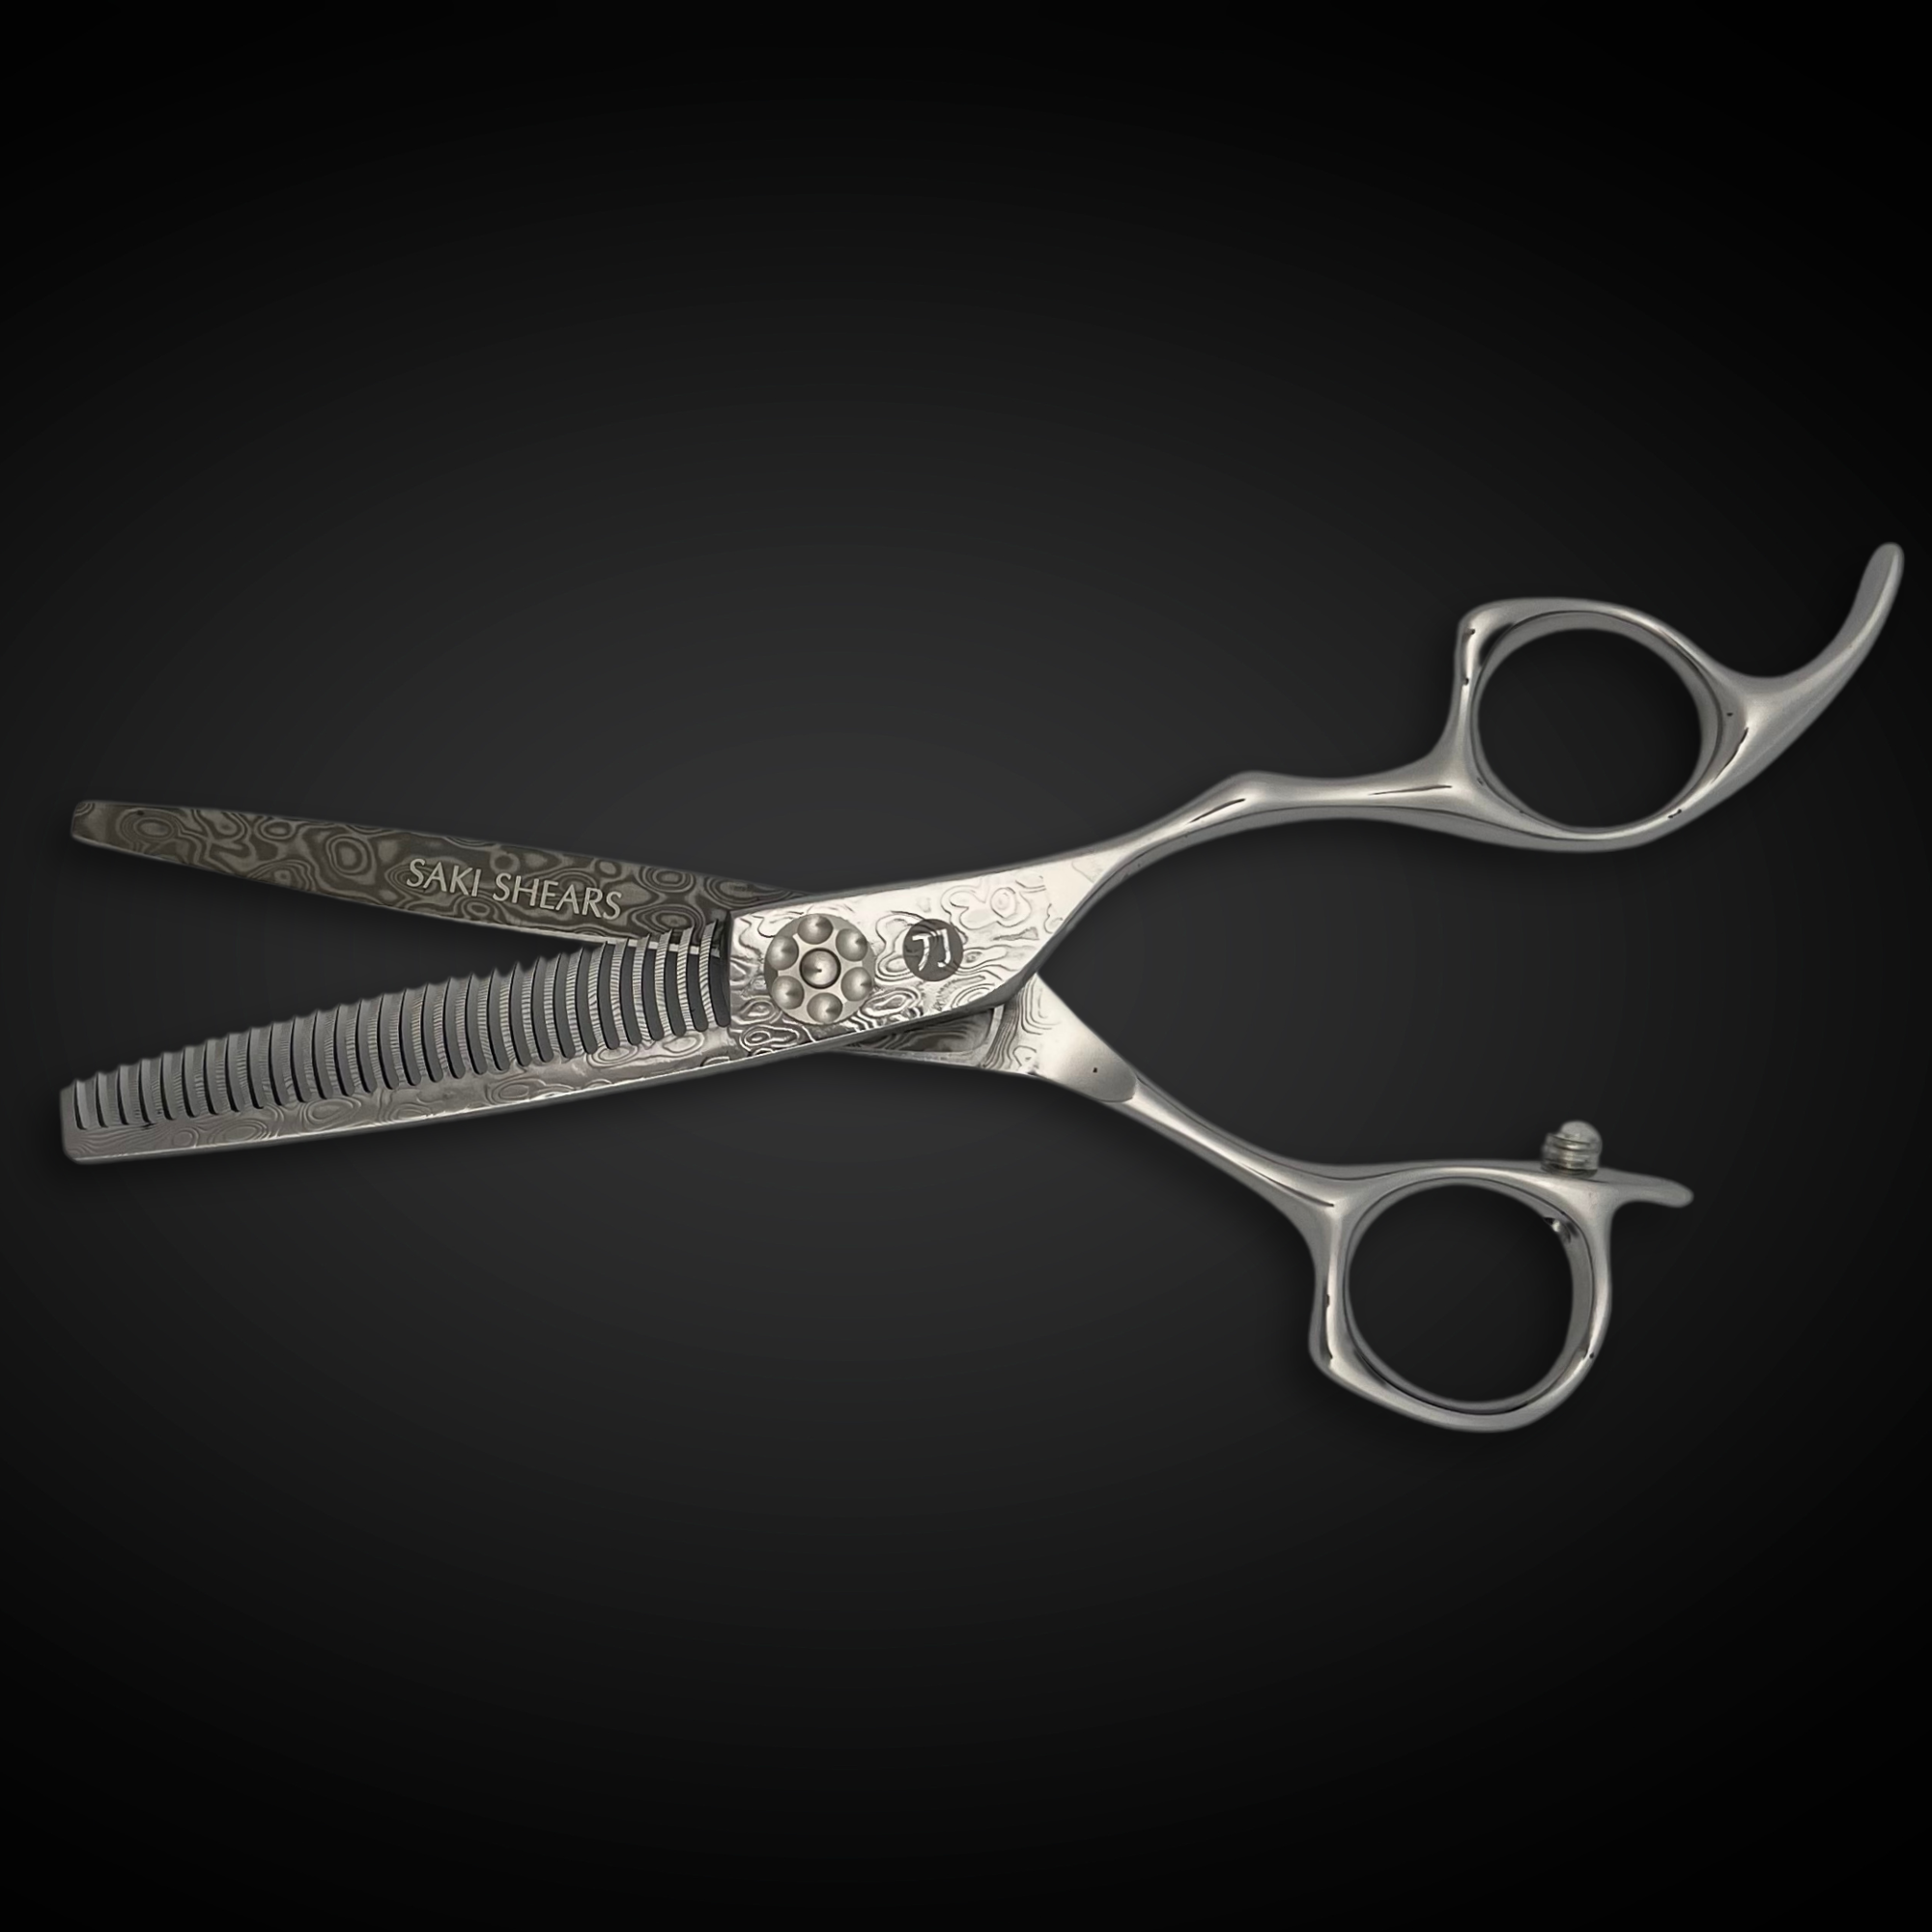
Blade sharpness affects fade quality as much as technique does. Dull or worn blades snag in the transition zone and leave visible tracking lines instead of a smooth gradient, particularly at the sub-guard lengths used for skin fades. Clippers and trimmers with adjustable taper levers make the incremental guard-length changes described above easier to control than swapping guards outright. For finishing texture on top once the fade is set, well-maintained cutting shears keep the handoff from top length to fade looking intentional rather than like two separate haircuts.
Common Blending Mistakes
Most uneven fades trace back to one of three habits: rushing the guide-line setup, jumping too many guard lengths between passes, or moving to freehand blending before the guard work has built enough of a gradient to smooth. Slowing down at the guide-setting stage and checking the fade from multiple angles under direct light before finishing catches most of these issues before the client sees them in the mirror.

Written by Charles Harris