Sharpening Hair Shears: Honing vs. Resharpening (And When to Call a Pro)
A shear that cuts cleanly one month and pushes, drags, or crushes hair the next hasn't necessarily gone dull in the way most people assume. Before reaching for a stone or sending a pair out for service, it helps to understand the difference between routine honing and true resharpening. Using the wrong fix at the wrong time is one of the fastest ways to shorten the working life of a good shear.
Honing Keeps an Edge Aligned. Resharpening Restores It.
Honing, sometimes called maintenance or "tickling" the edge, realigns the microscopic rolls and burrs that form on a cutting edge through normal use. It removes almost no metal — it straightens what is already there. A quick hone with a ceramic rod or fine stone, done correctly, extends the interval between real sharpenings and keeps a shear performing at its best day to day.
Resharpening is a different process. It removes a thin layer of steel to regenerate the actual cutting bevel, the geometry that lets a blade shear hair cleanly instead of pinching or tearing it. Every shear eventually needs this no matter how well it is maintained, because the bevel wears down with use even when the edge still looks fine to the eye. Treating a shear that needs resharpening with nothing but honing, or the reverse, explains a lot of the "my scissors won't cut right no matter what I do" frustration stylists run into.
Signs a Shear Actually Needs Sharpening
- Pushing instead of cutting — you feel the hair bend or move before the blades close on it, rather than a clean, immediate cut.
- Slipping at the tips — fine, thin sections escape the points of the blades instead of being severed.
- Bent or folded hairs left along the cut line, or a line that looks chewed rather than sliced.
- Increased hand fatigue — you are closing the shear with more pressure than you remember needing.
- A visible nick or flat spot on the edge when you check it under strong light.
Any one of these alone might be solved with a hone, a tension adjustment, or a cleaning. Several together, especially pushing paired with slipping at the tips, usually mean the bevel has worn down and a real sharpening is due.
Why DIY Grinding Isn't Worth the Risk on a Quality Shear
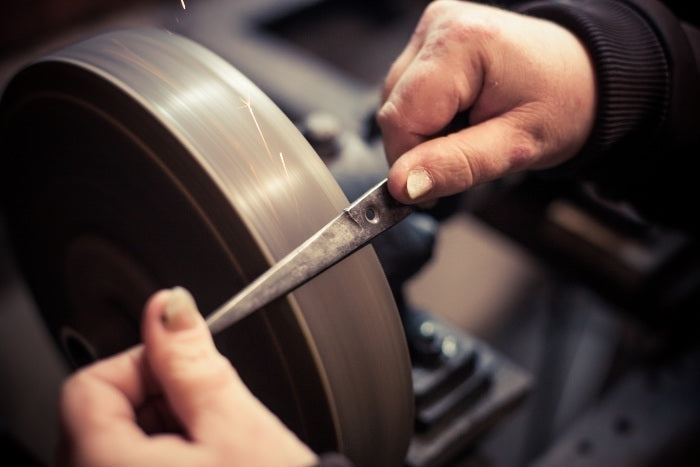
Bench grinders, rotary tools, and generic sharpening kits are built for utility blades, not the convex or beveled edges on a precision hair shear. A hair-cutting shear's edge geometry is cut to tolerances measured in microns, and the angle, the amount of metal removed, and the finish all matter as much as the resulting sharpness. Get any of those wrong and it can:
- Change the tension and balance between the two blades, so they no longer close evenly along their full length.
- Overheat the steel, softening the edge so it dulls again almost immediately.
- Remove more metal than necessary, shortening the usable life of an expensive shear by years.
These problems are rarely visible right away. They show up later as a shear that never quite feels right again — a common and avoidable outcome of running general-purpose sharpening tools against a shear that was never designed to be serviced by them.
What Professional Sharpening Actually Involves
A qualified shear sharpener works on convex-edge equipment built specifically for scissors, checks and resets blade tension and pivot alignment, and restores the original bevel angle rather than simply making the edge sharp. A good sharpener also inspects for bent blades, damaged pivots, or loose screws — issues no amount of sharpening will fix and that a home attempt would likely miss entirely. Because so much of the job is about restoring exact factory geometry, professional sharpening is the right call for any shear used in daily service, and it is the only reliable way to sharpen a quality pair without risking the investment.
Protecting the Edge Between Sharpenings
The best way to reduce how often a shear needs full resharpening is basic daily care: wipe the blades after every client, oil the pivot regularly, avoid cutting anything but hair, and store shears in a case rather than loose in a pocket or drawer where the edges can knock against other metal.
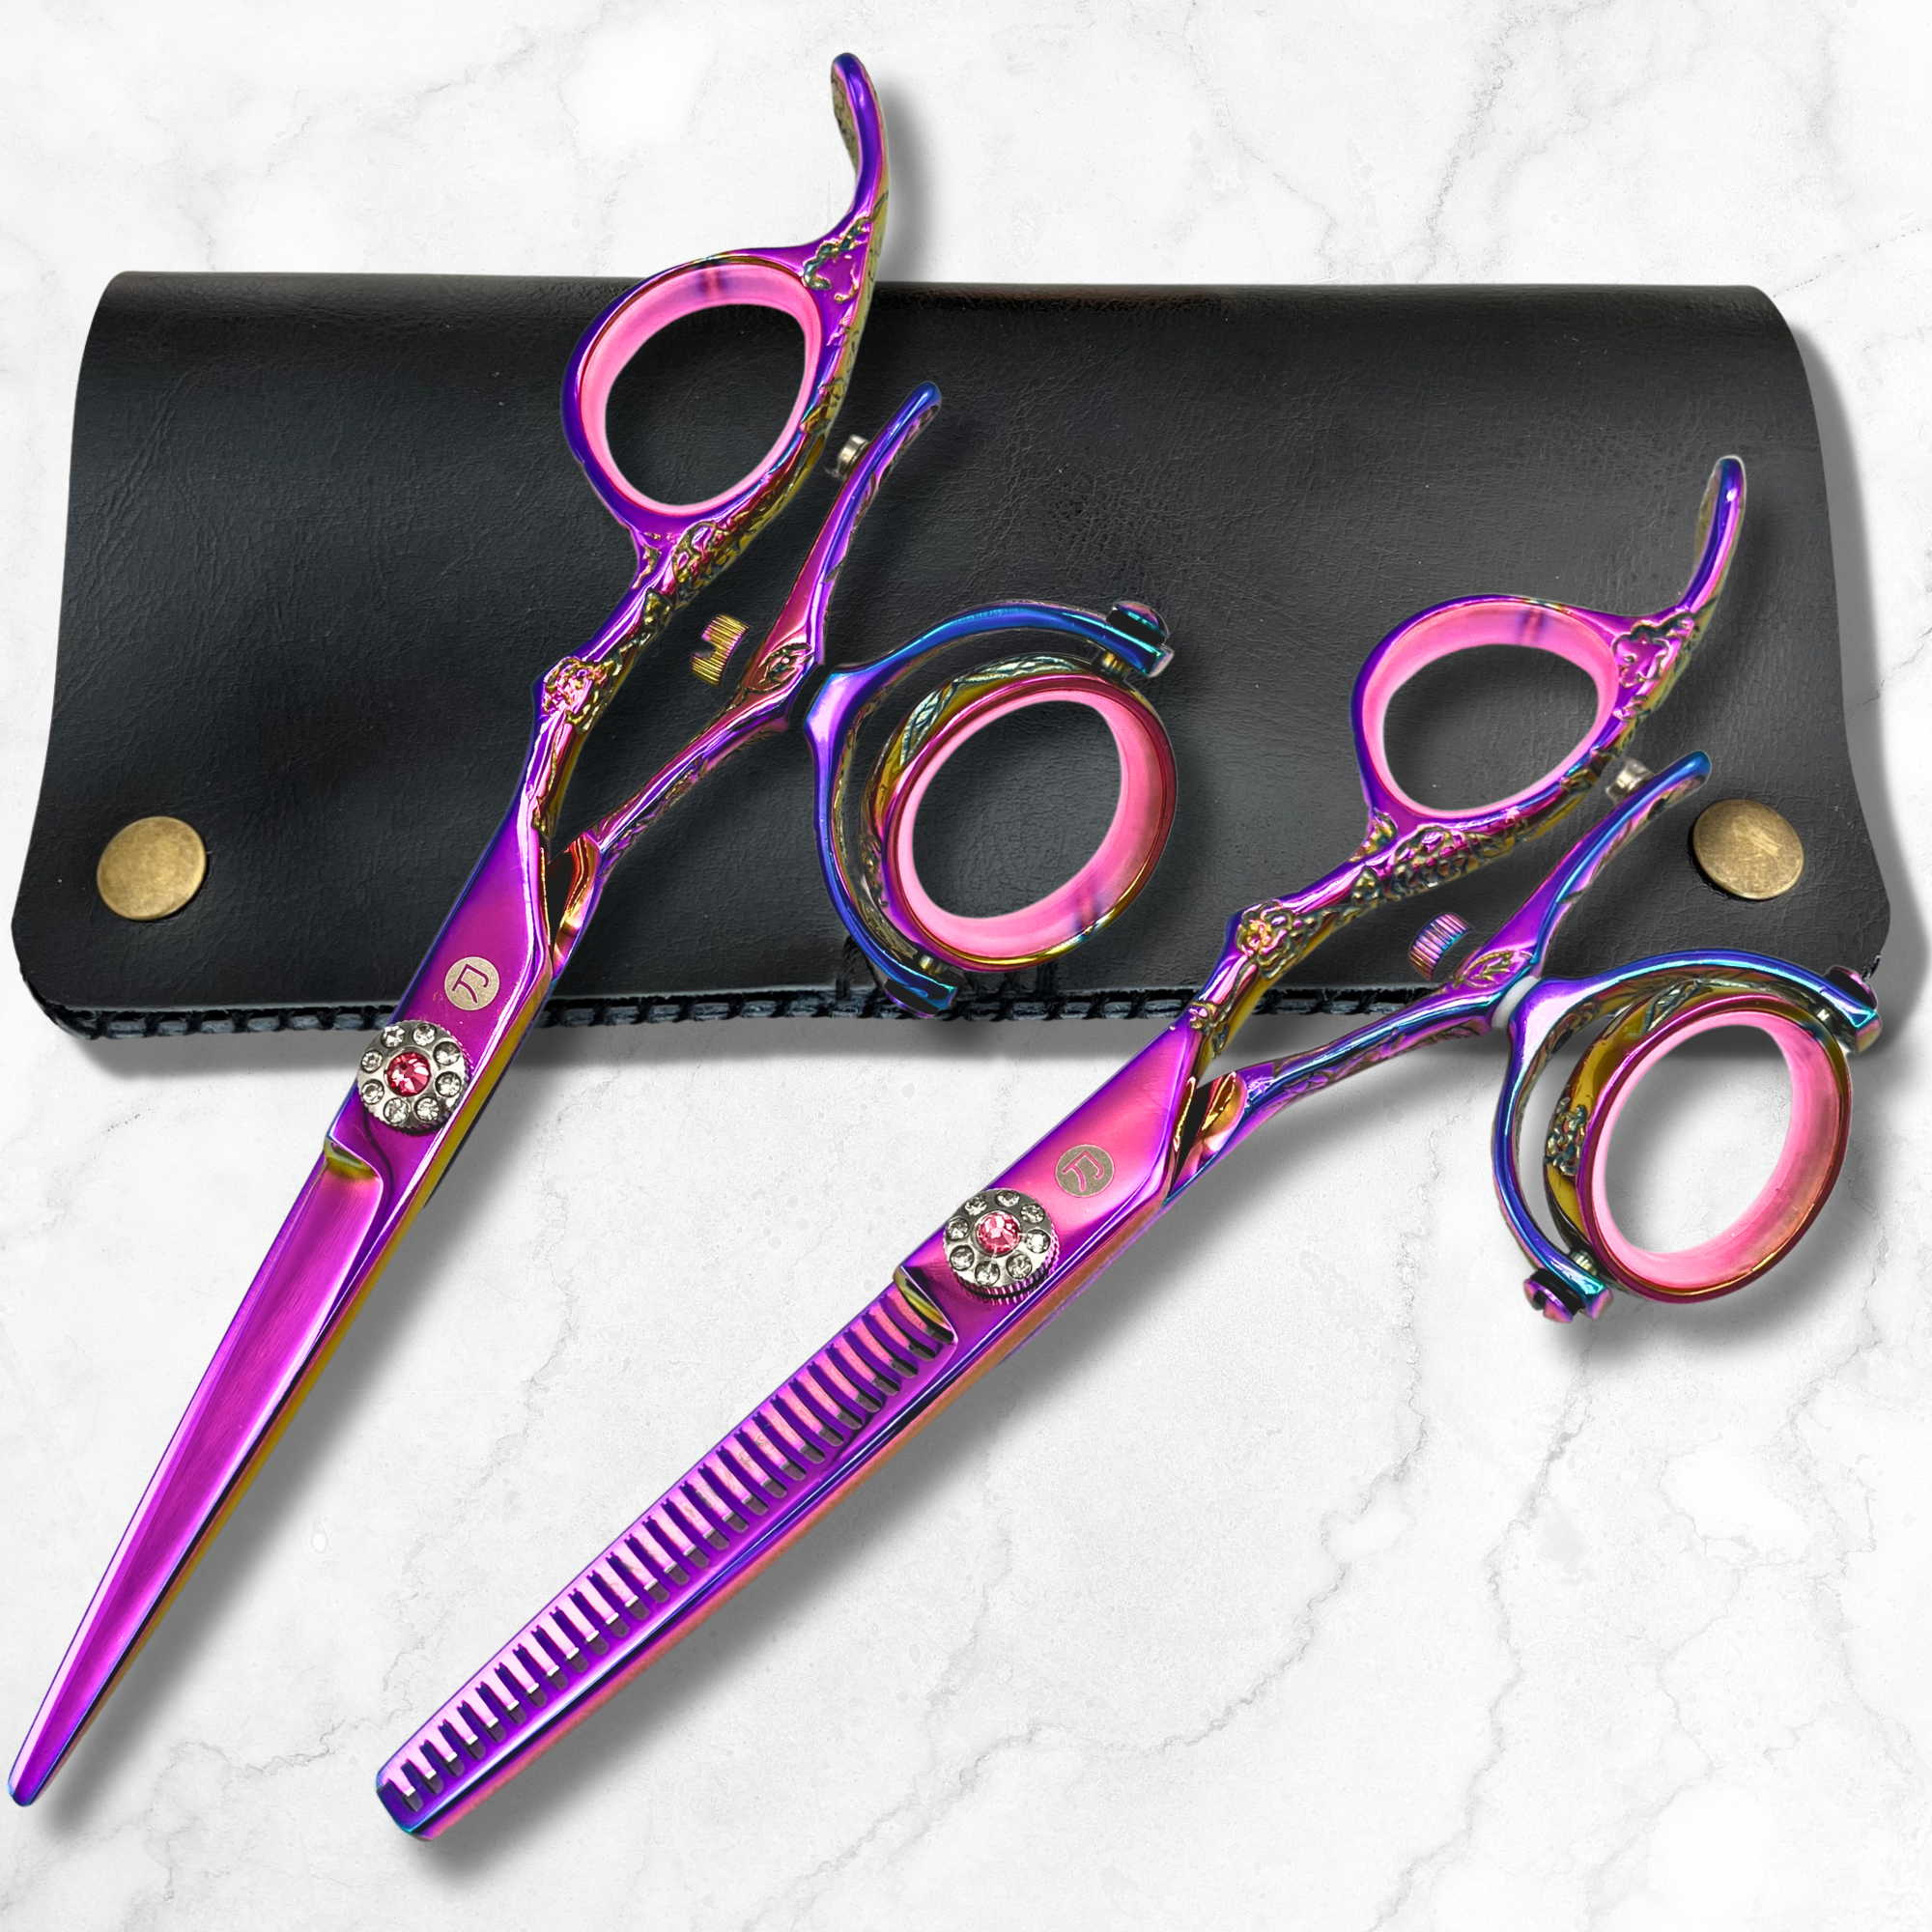
A shear that is cared for between sharpenings and sent to a professional as soon as the signs above show up will hold its edge, its tension, and its resale value far longer than one that is honed occasionally and otherwise ignored until it stops cutting altogether. If you are shopping for a shear built to hold an edge through daily use, our hair cutting shears are a good place to start.