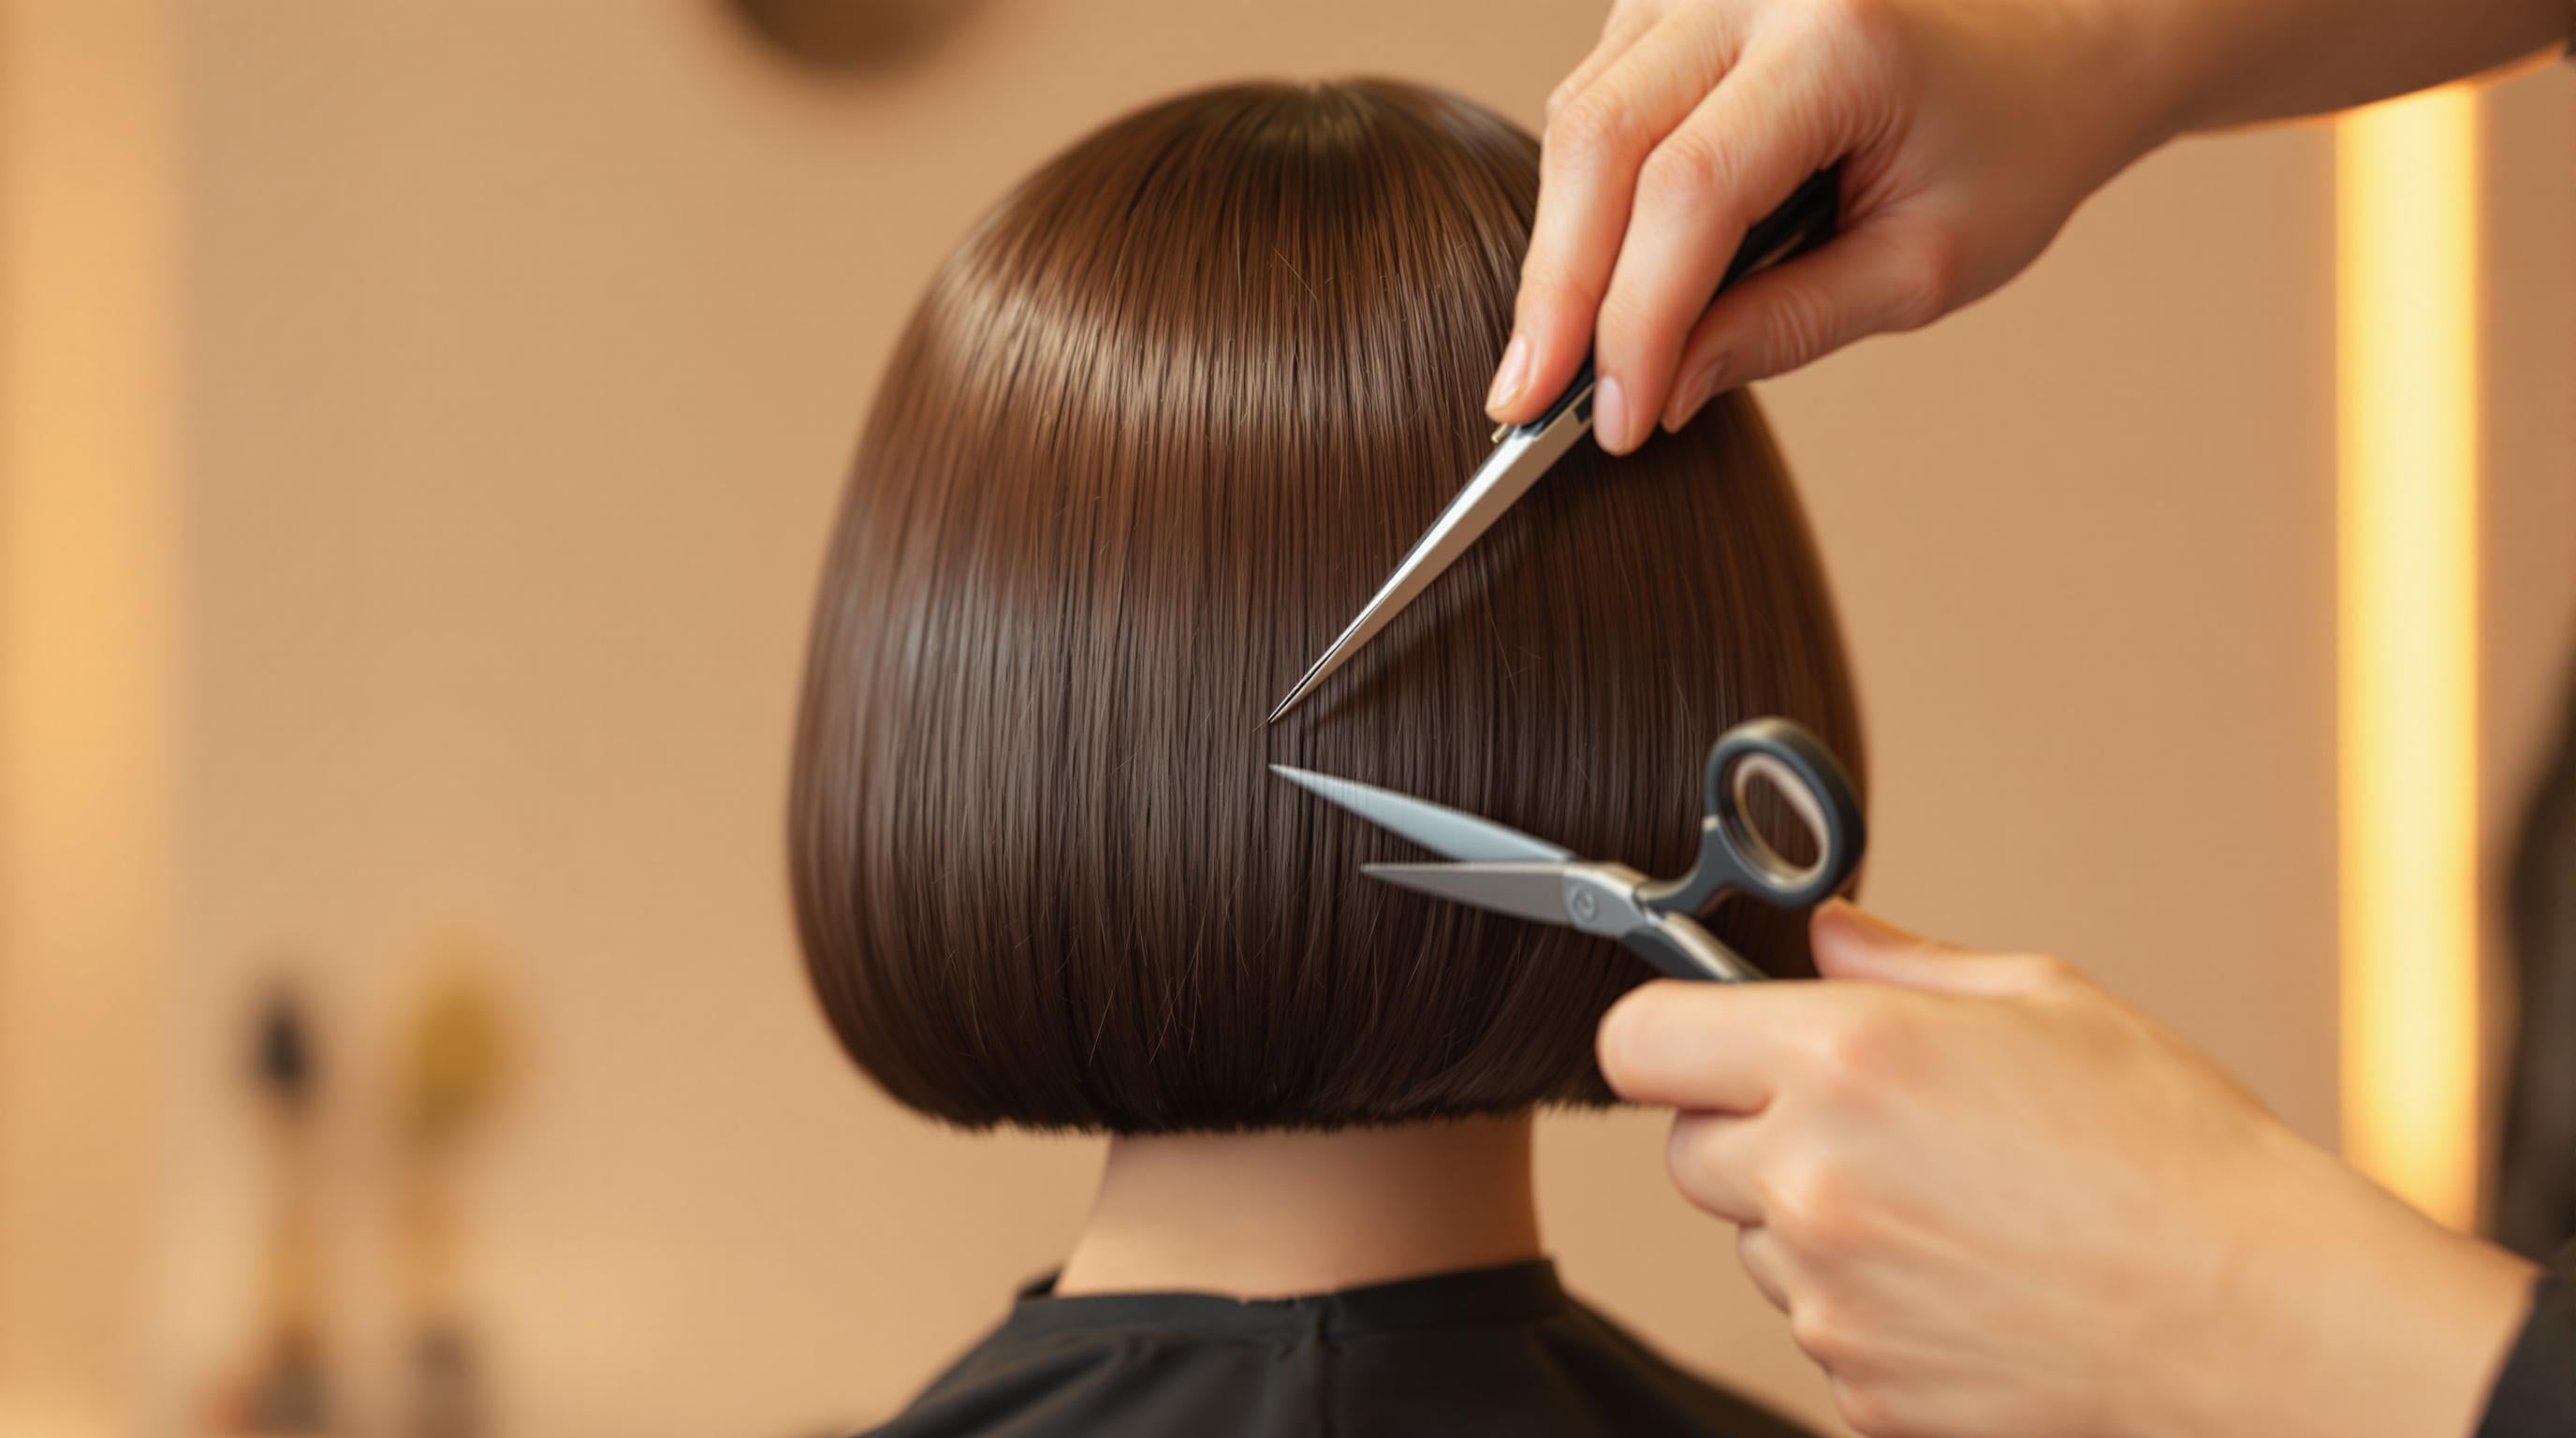
A Barber’s Guide to the Modern Fade
The modern fade is a haircut defined by its smooth transitions and versatility, making it a favorite for all hair types and face shapes. Whether you're aiming for a low, mid, or high fade - or exploring trends like the mullet-fade - mastering this style requires the right tools, techniques, and attention to detail. Here's a quick summary of what you'll learn:
- Essential Tools: Clippers with adjustable levers, trimmers, scissors, and proper maintenance tips.
- Basic Steps: Preparing the client, setting guidelines, blending sections, and finishing touches.
- Advanced Techniques: Top-down vs. bottom-up fading, lever control, and avoiding common mistakes.
- Customization: Matching fades to hair type, face shape, and personal style preferences.
With practice, precision, and the right approach, you can create sharp, polished fades tailored to any client.
Step-by-Step Perfect Fade Tutorial
Tools Needed for a Fade
Getting a perfect fade starts with having the right tools.
Clippers and Guards
A good pair of clippers with an adjustable taper lever is a must for smooth transitions while fading. The taper lever helps you fine-tune the blade position for precise control [4].
| Guard Size | Length | Ideal For |
|---|---|---|
| #0 | 1/16 inch | Skin fades, temple detailing |
| #1 | 1/8 inch | Low fades, necklines |
| #2 | 1/4 inch | Medium fades, blending sections |
| #3+ | 3/8+ inch | Longer styles, top sections |
Trimmers and Scissors
Trimmers are key for sharpening edges and cleaning up areas like the neckline and temples. Look for trimmers with zero-gap capability for super-close cuts without irritating the skin.
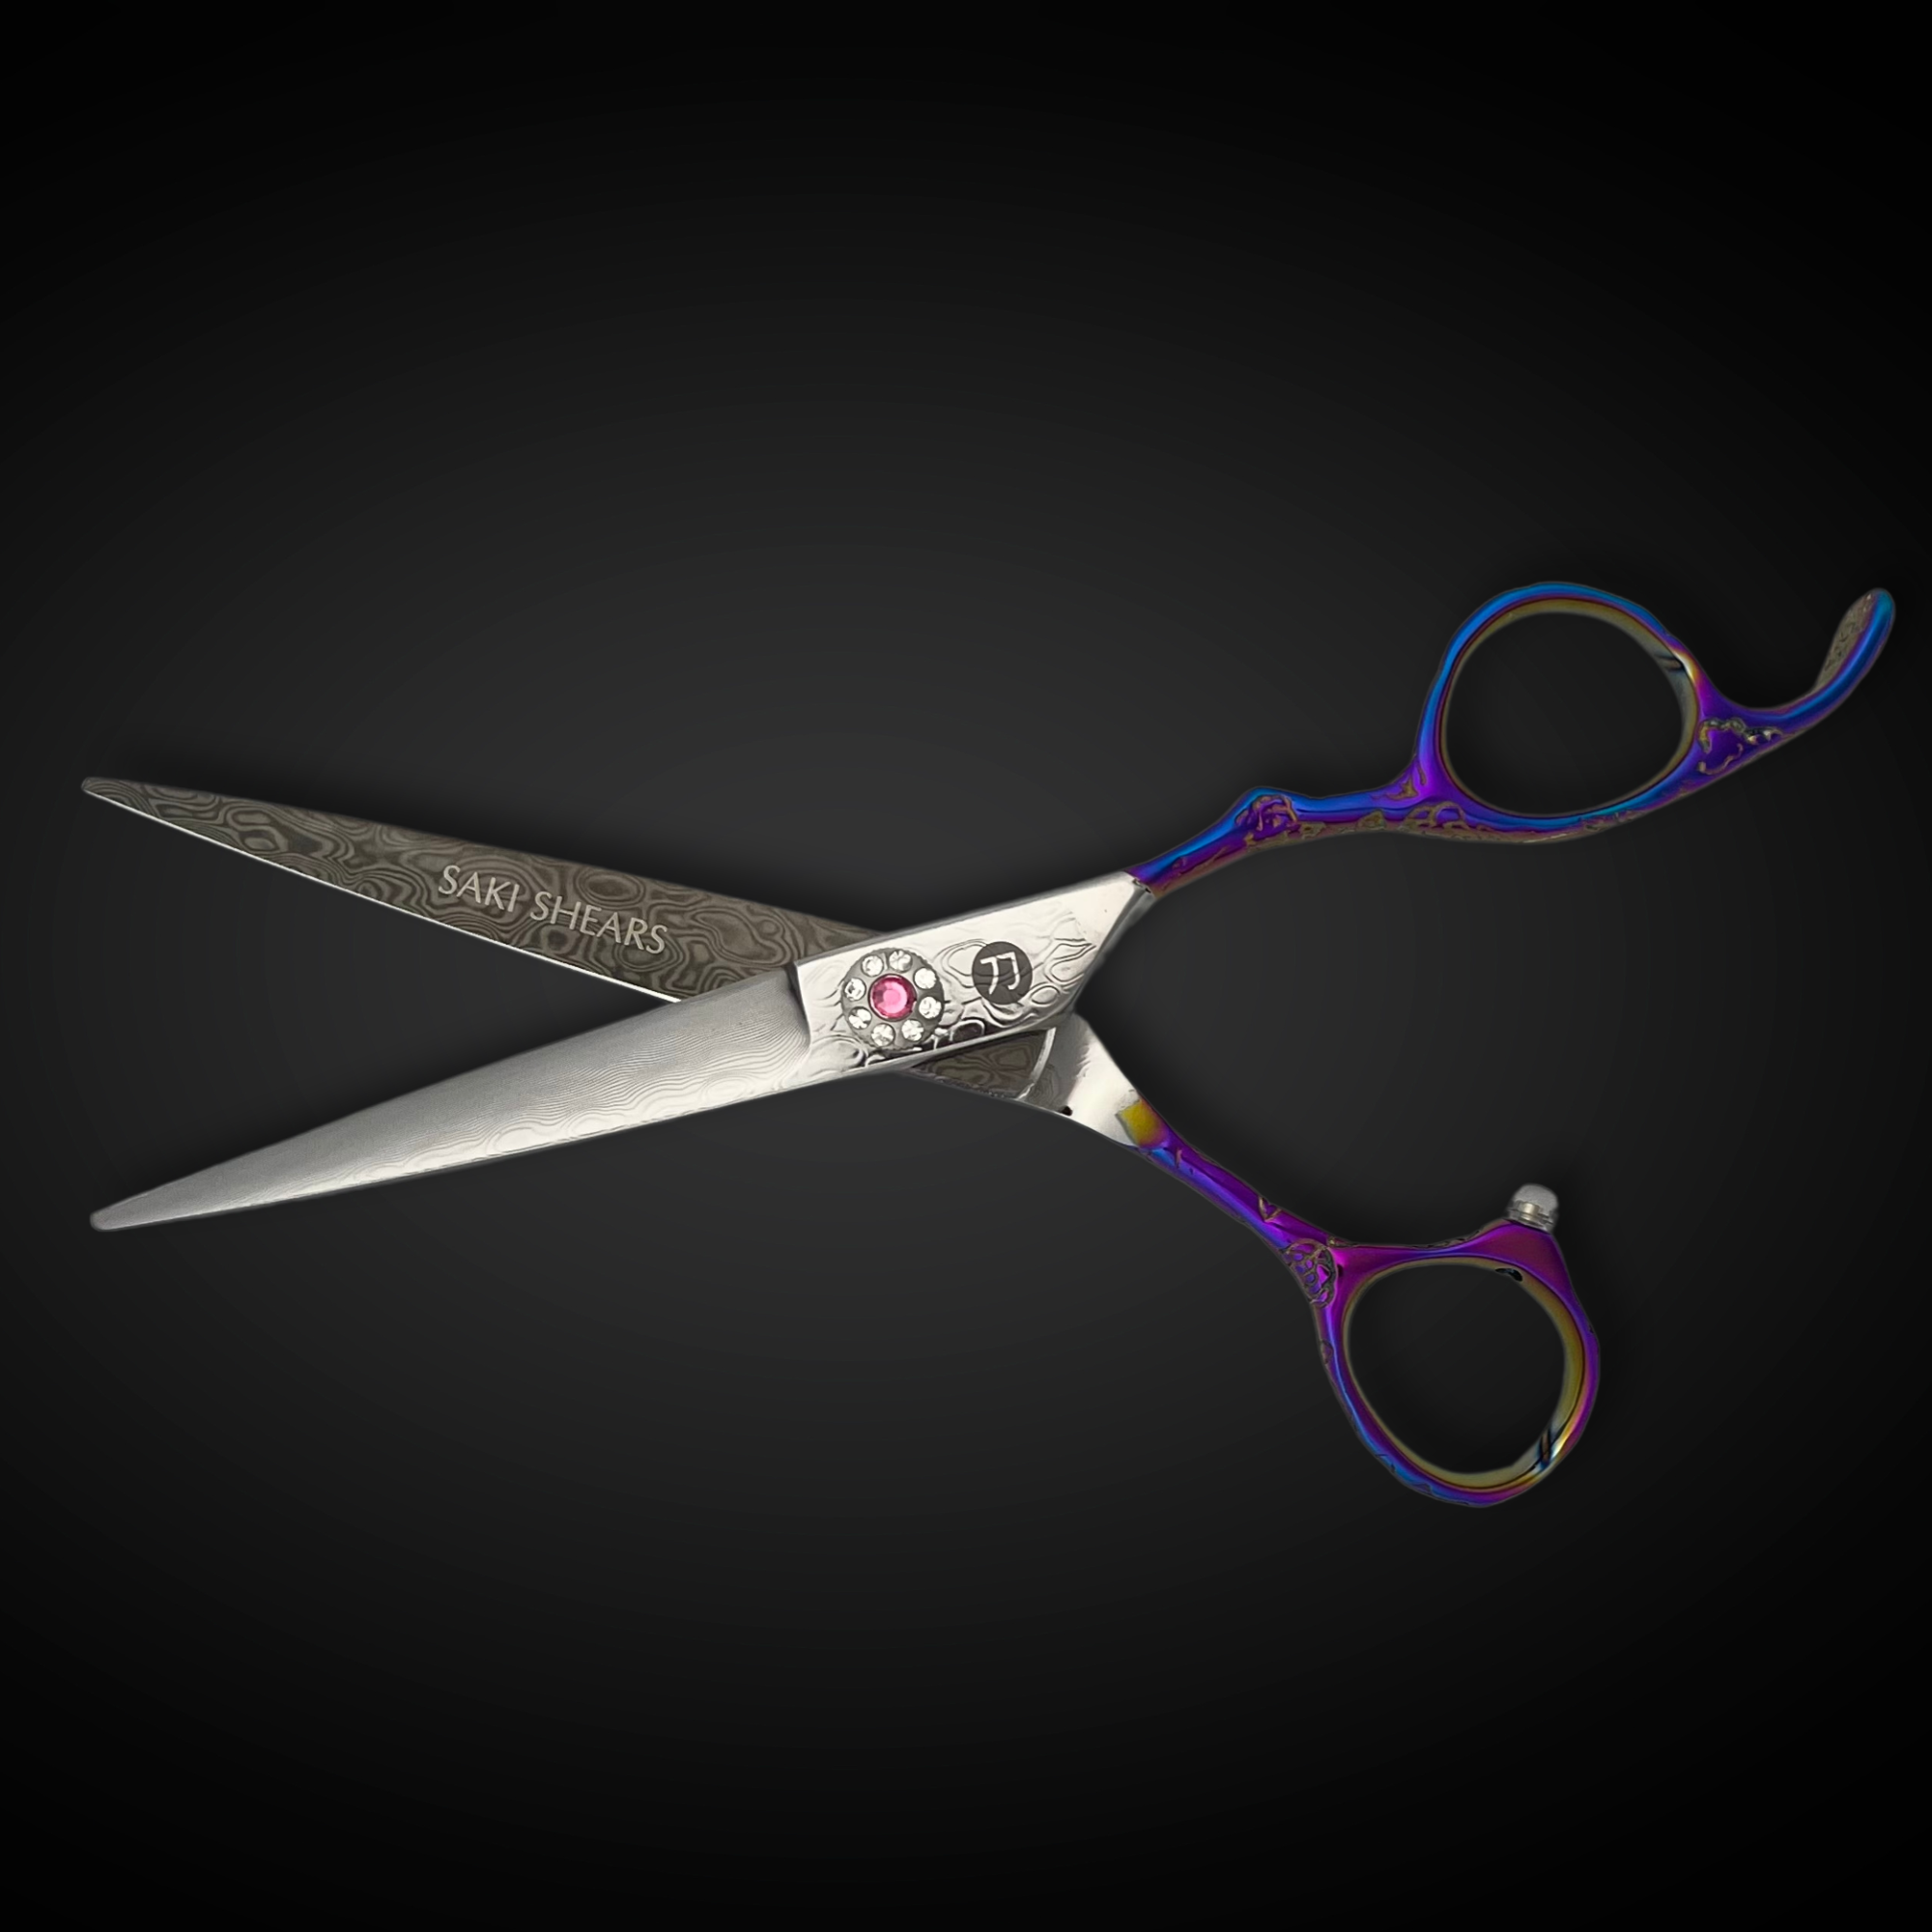
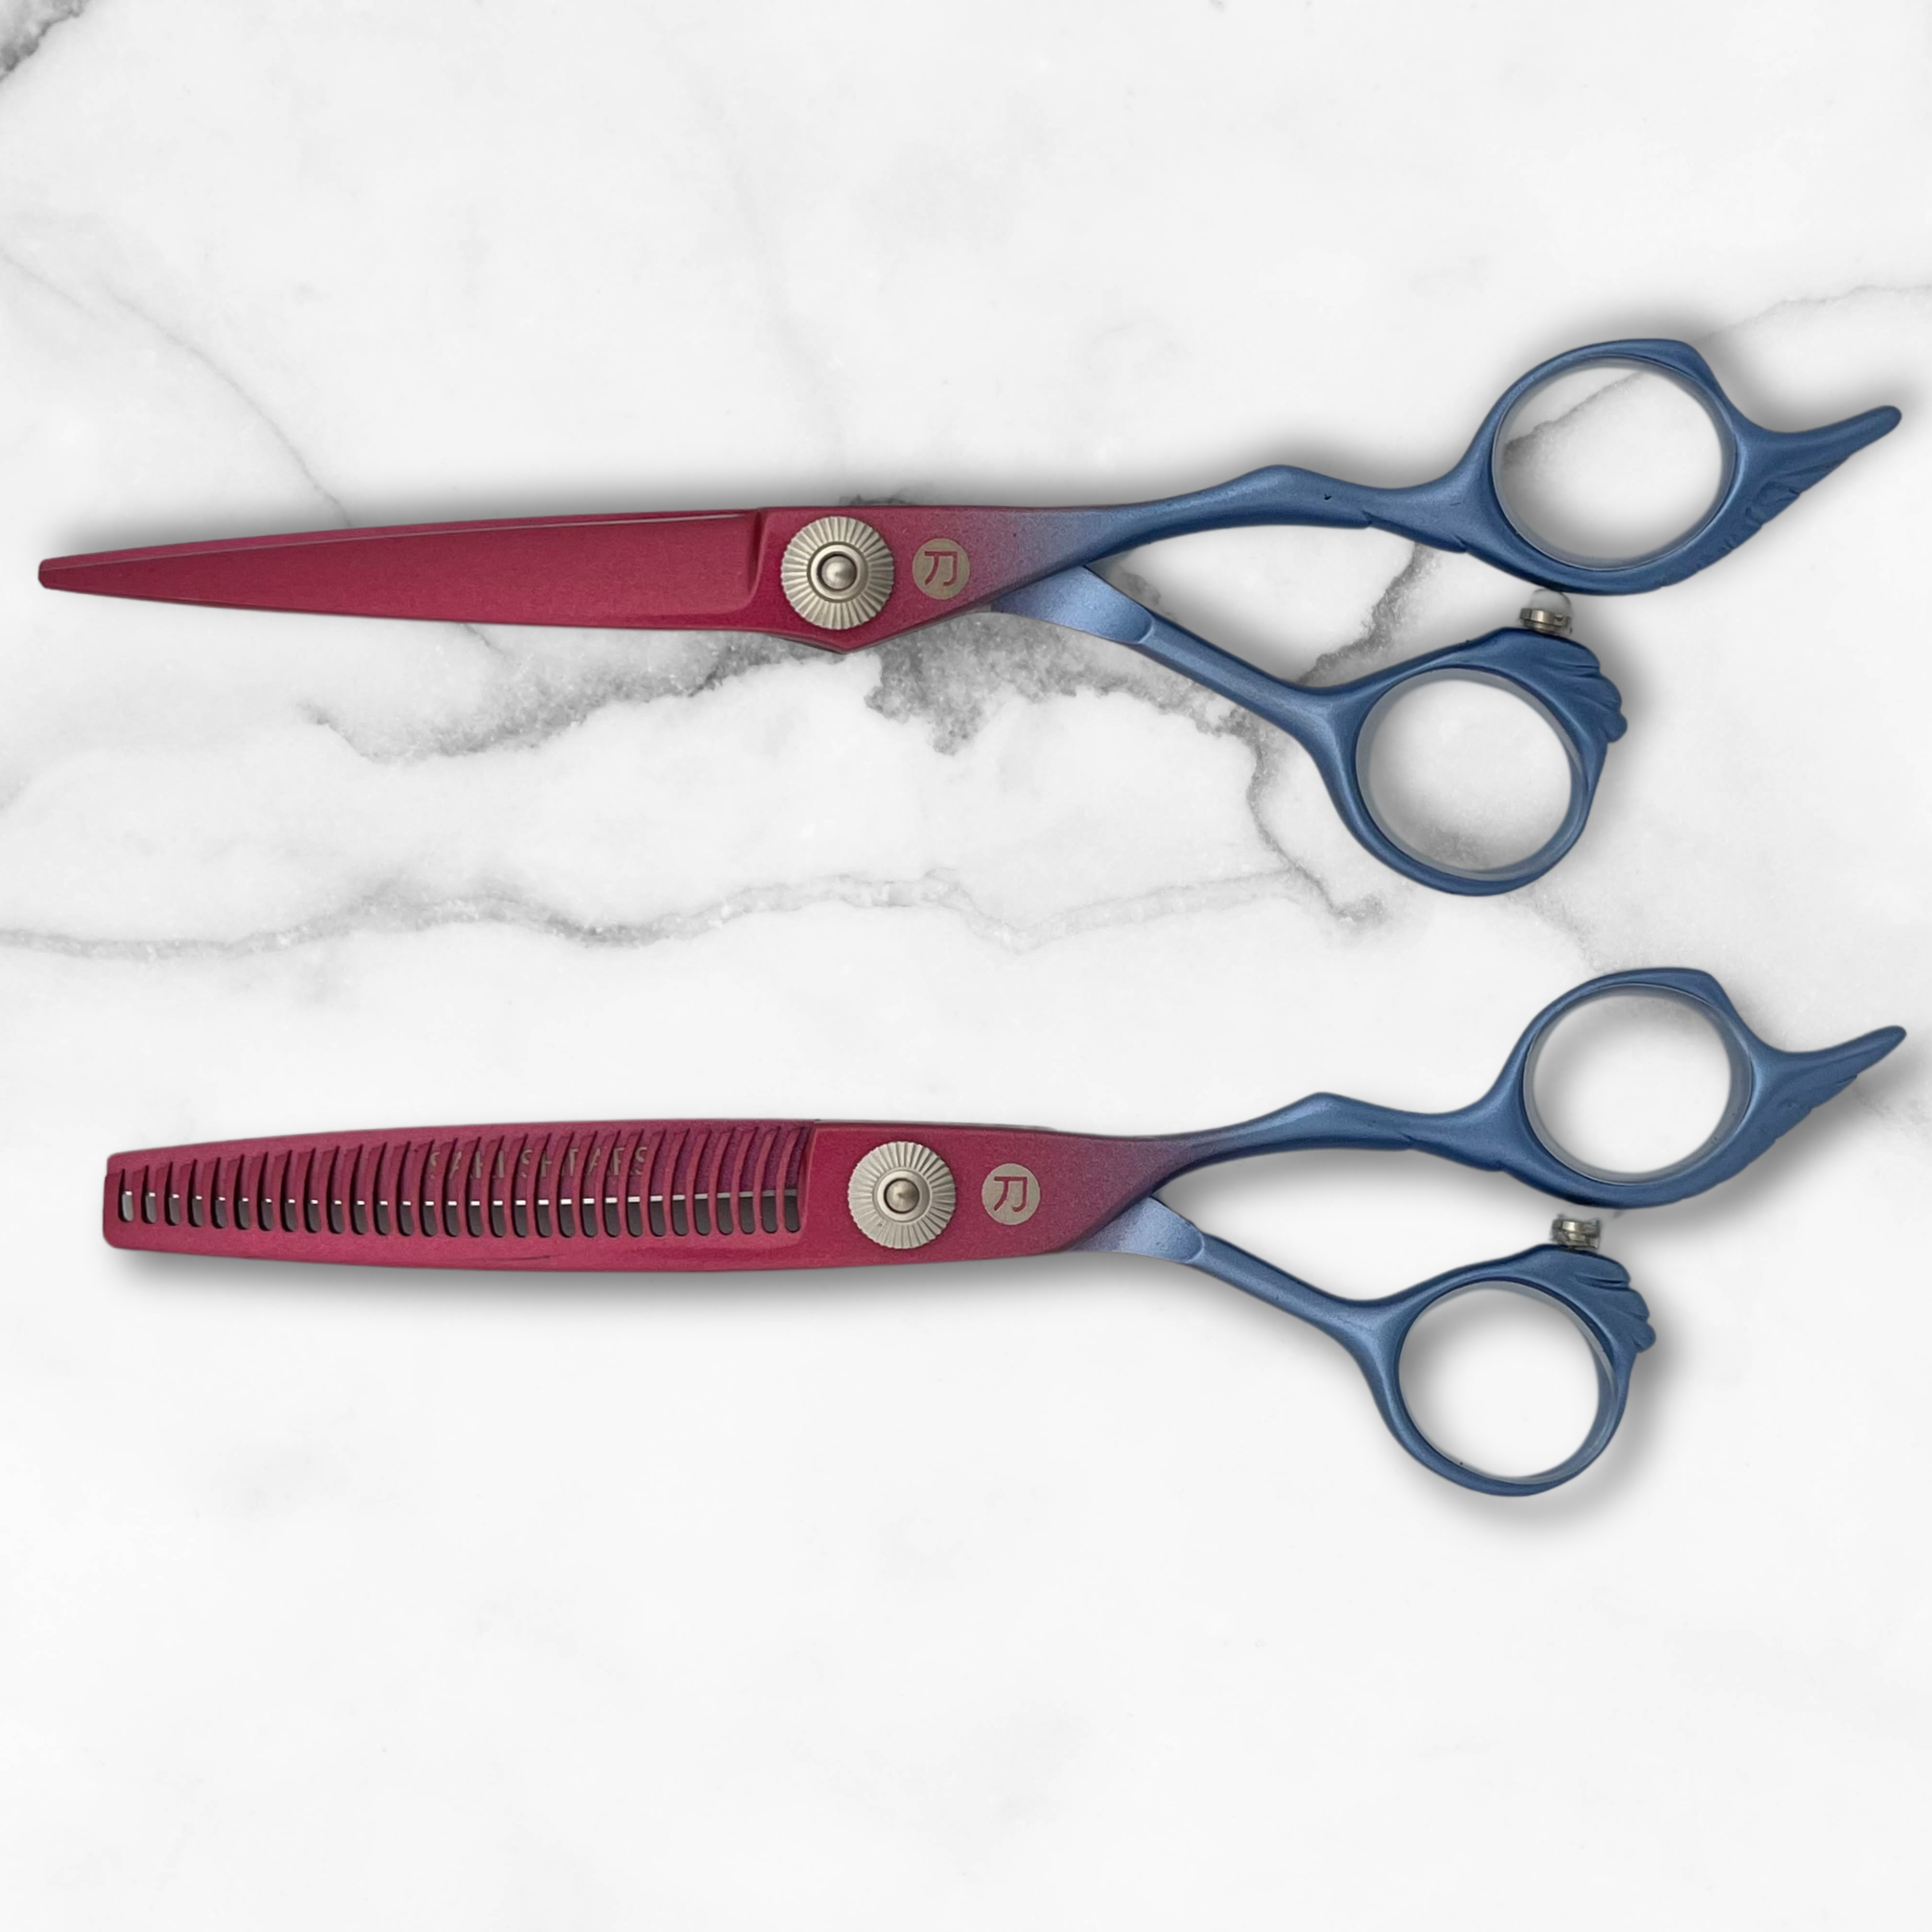
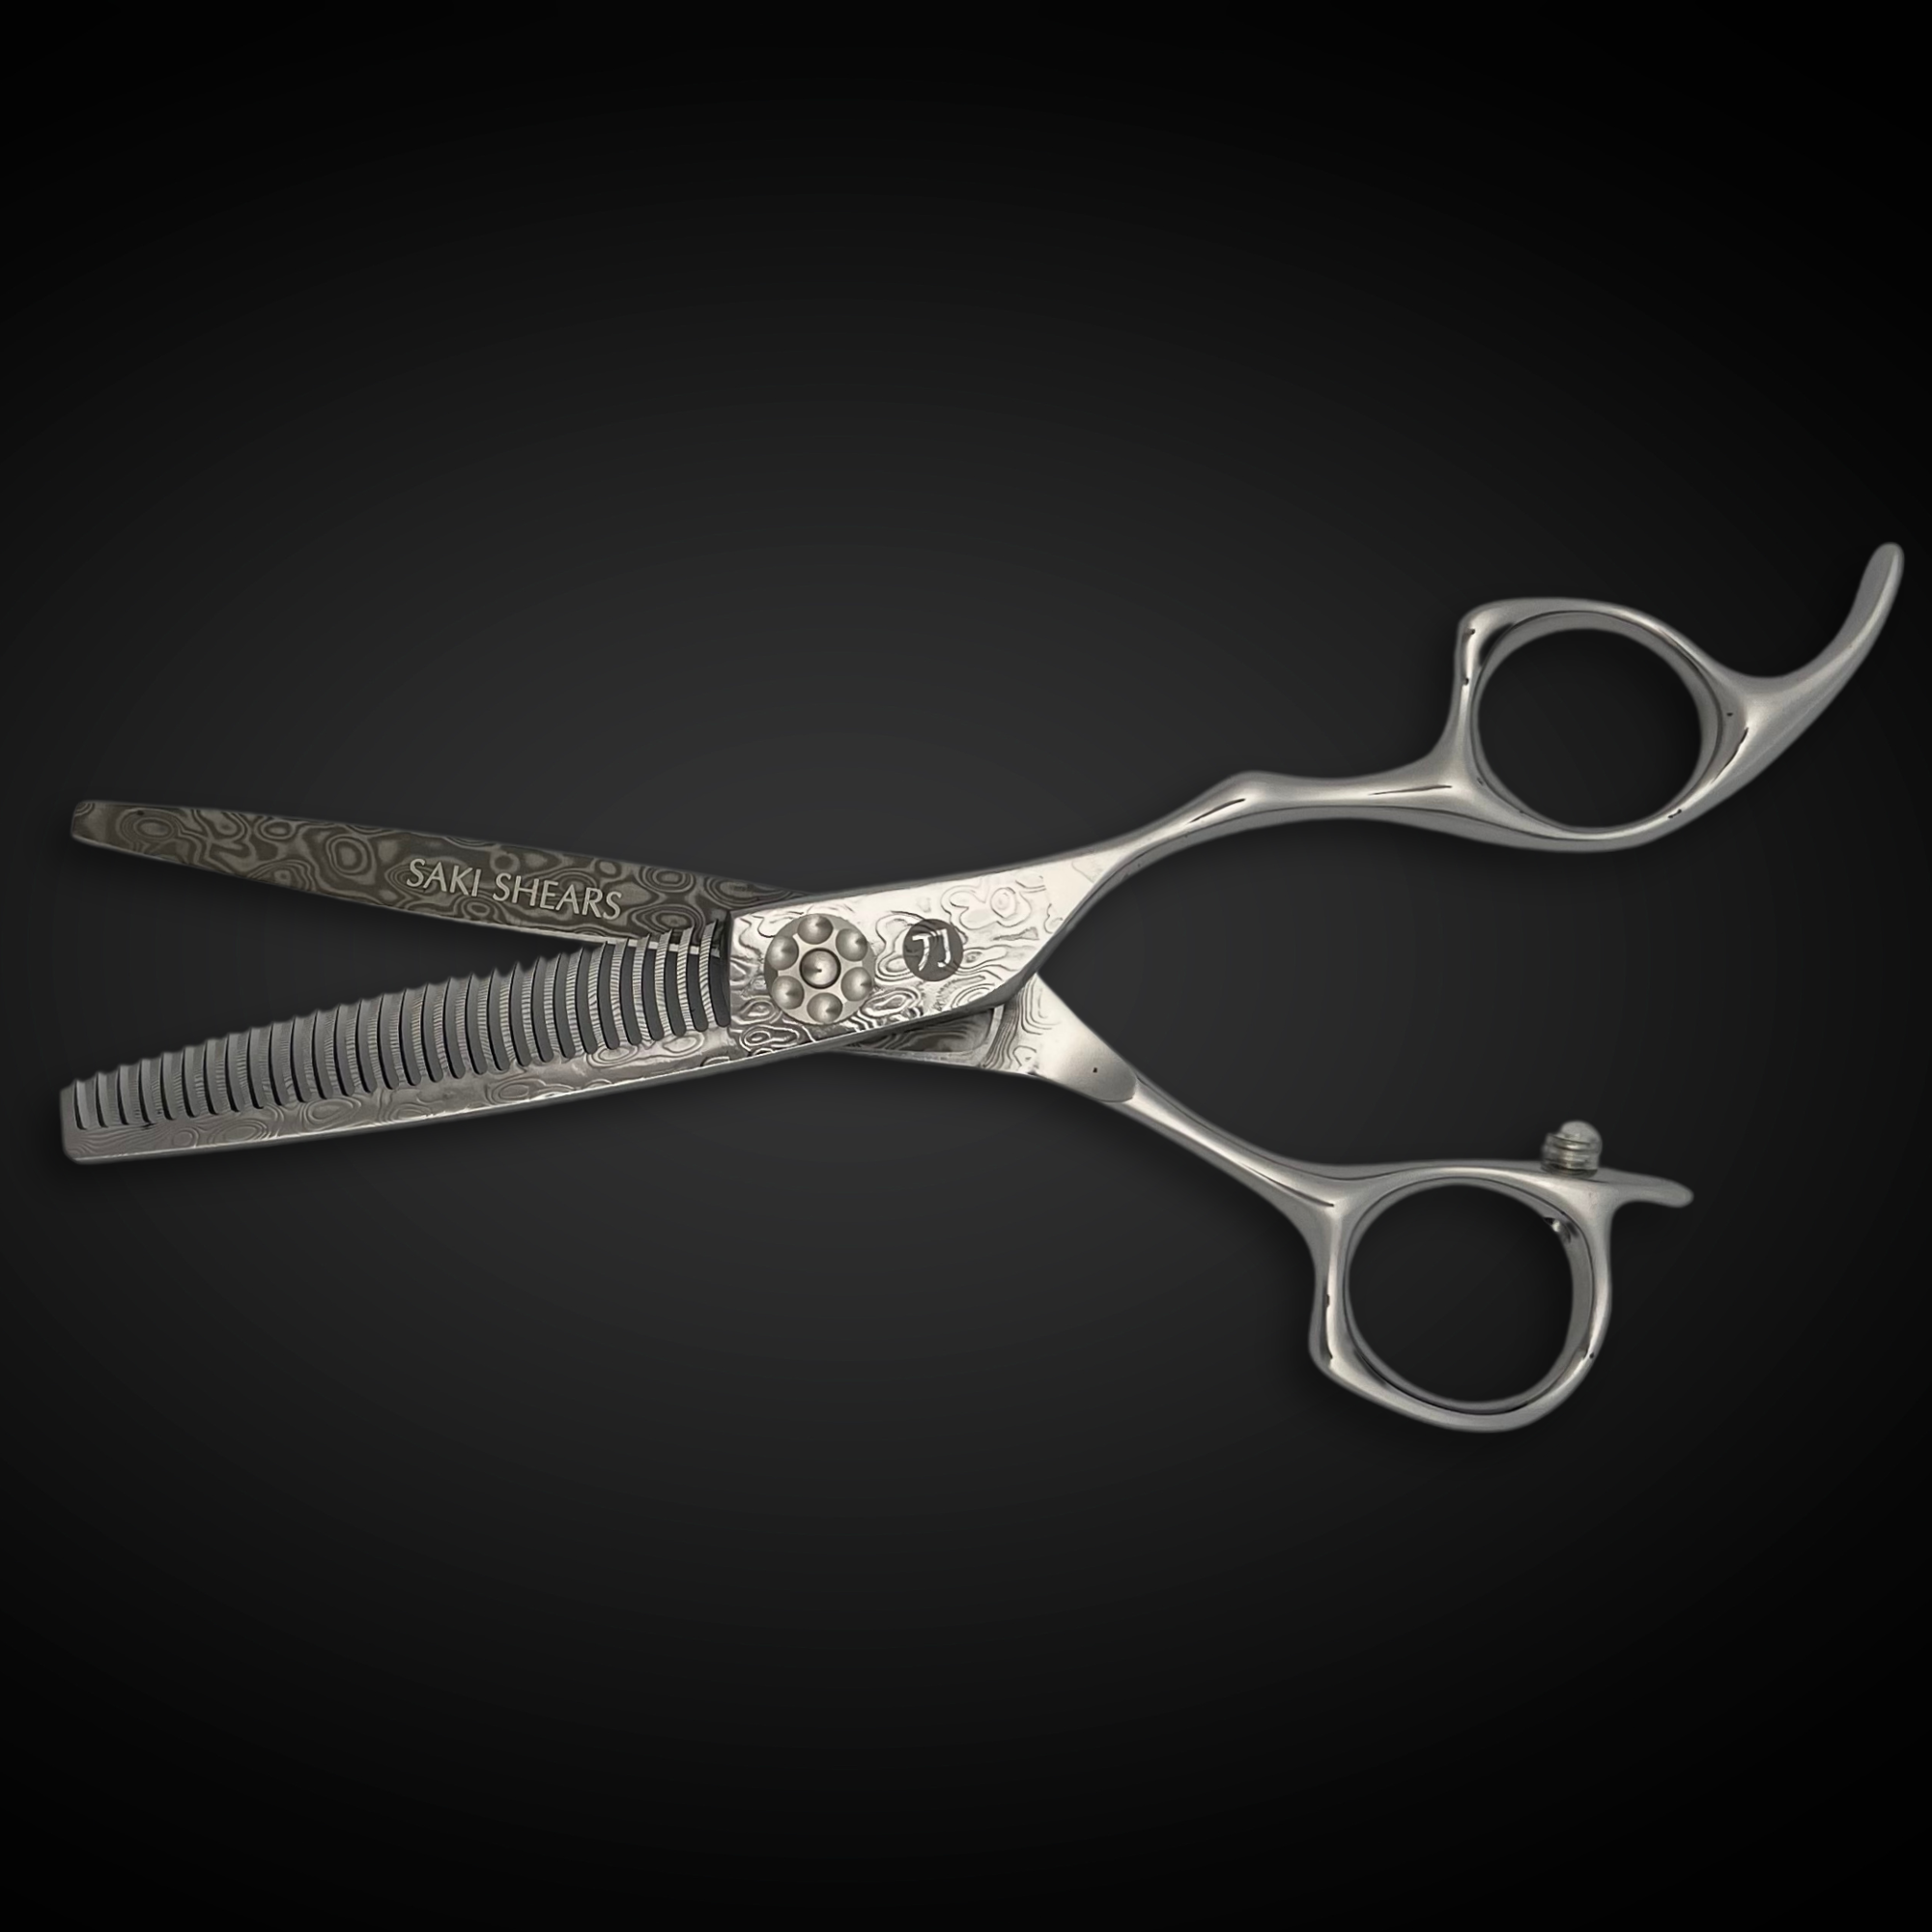
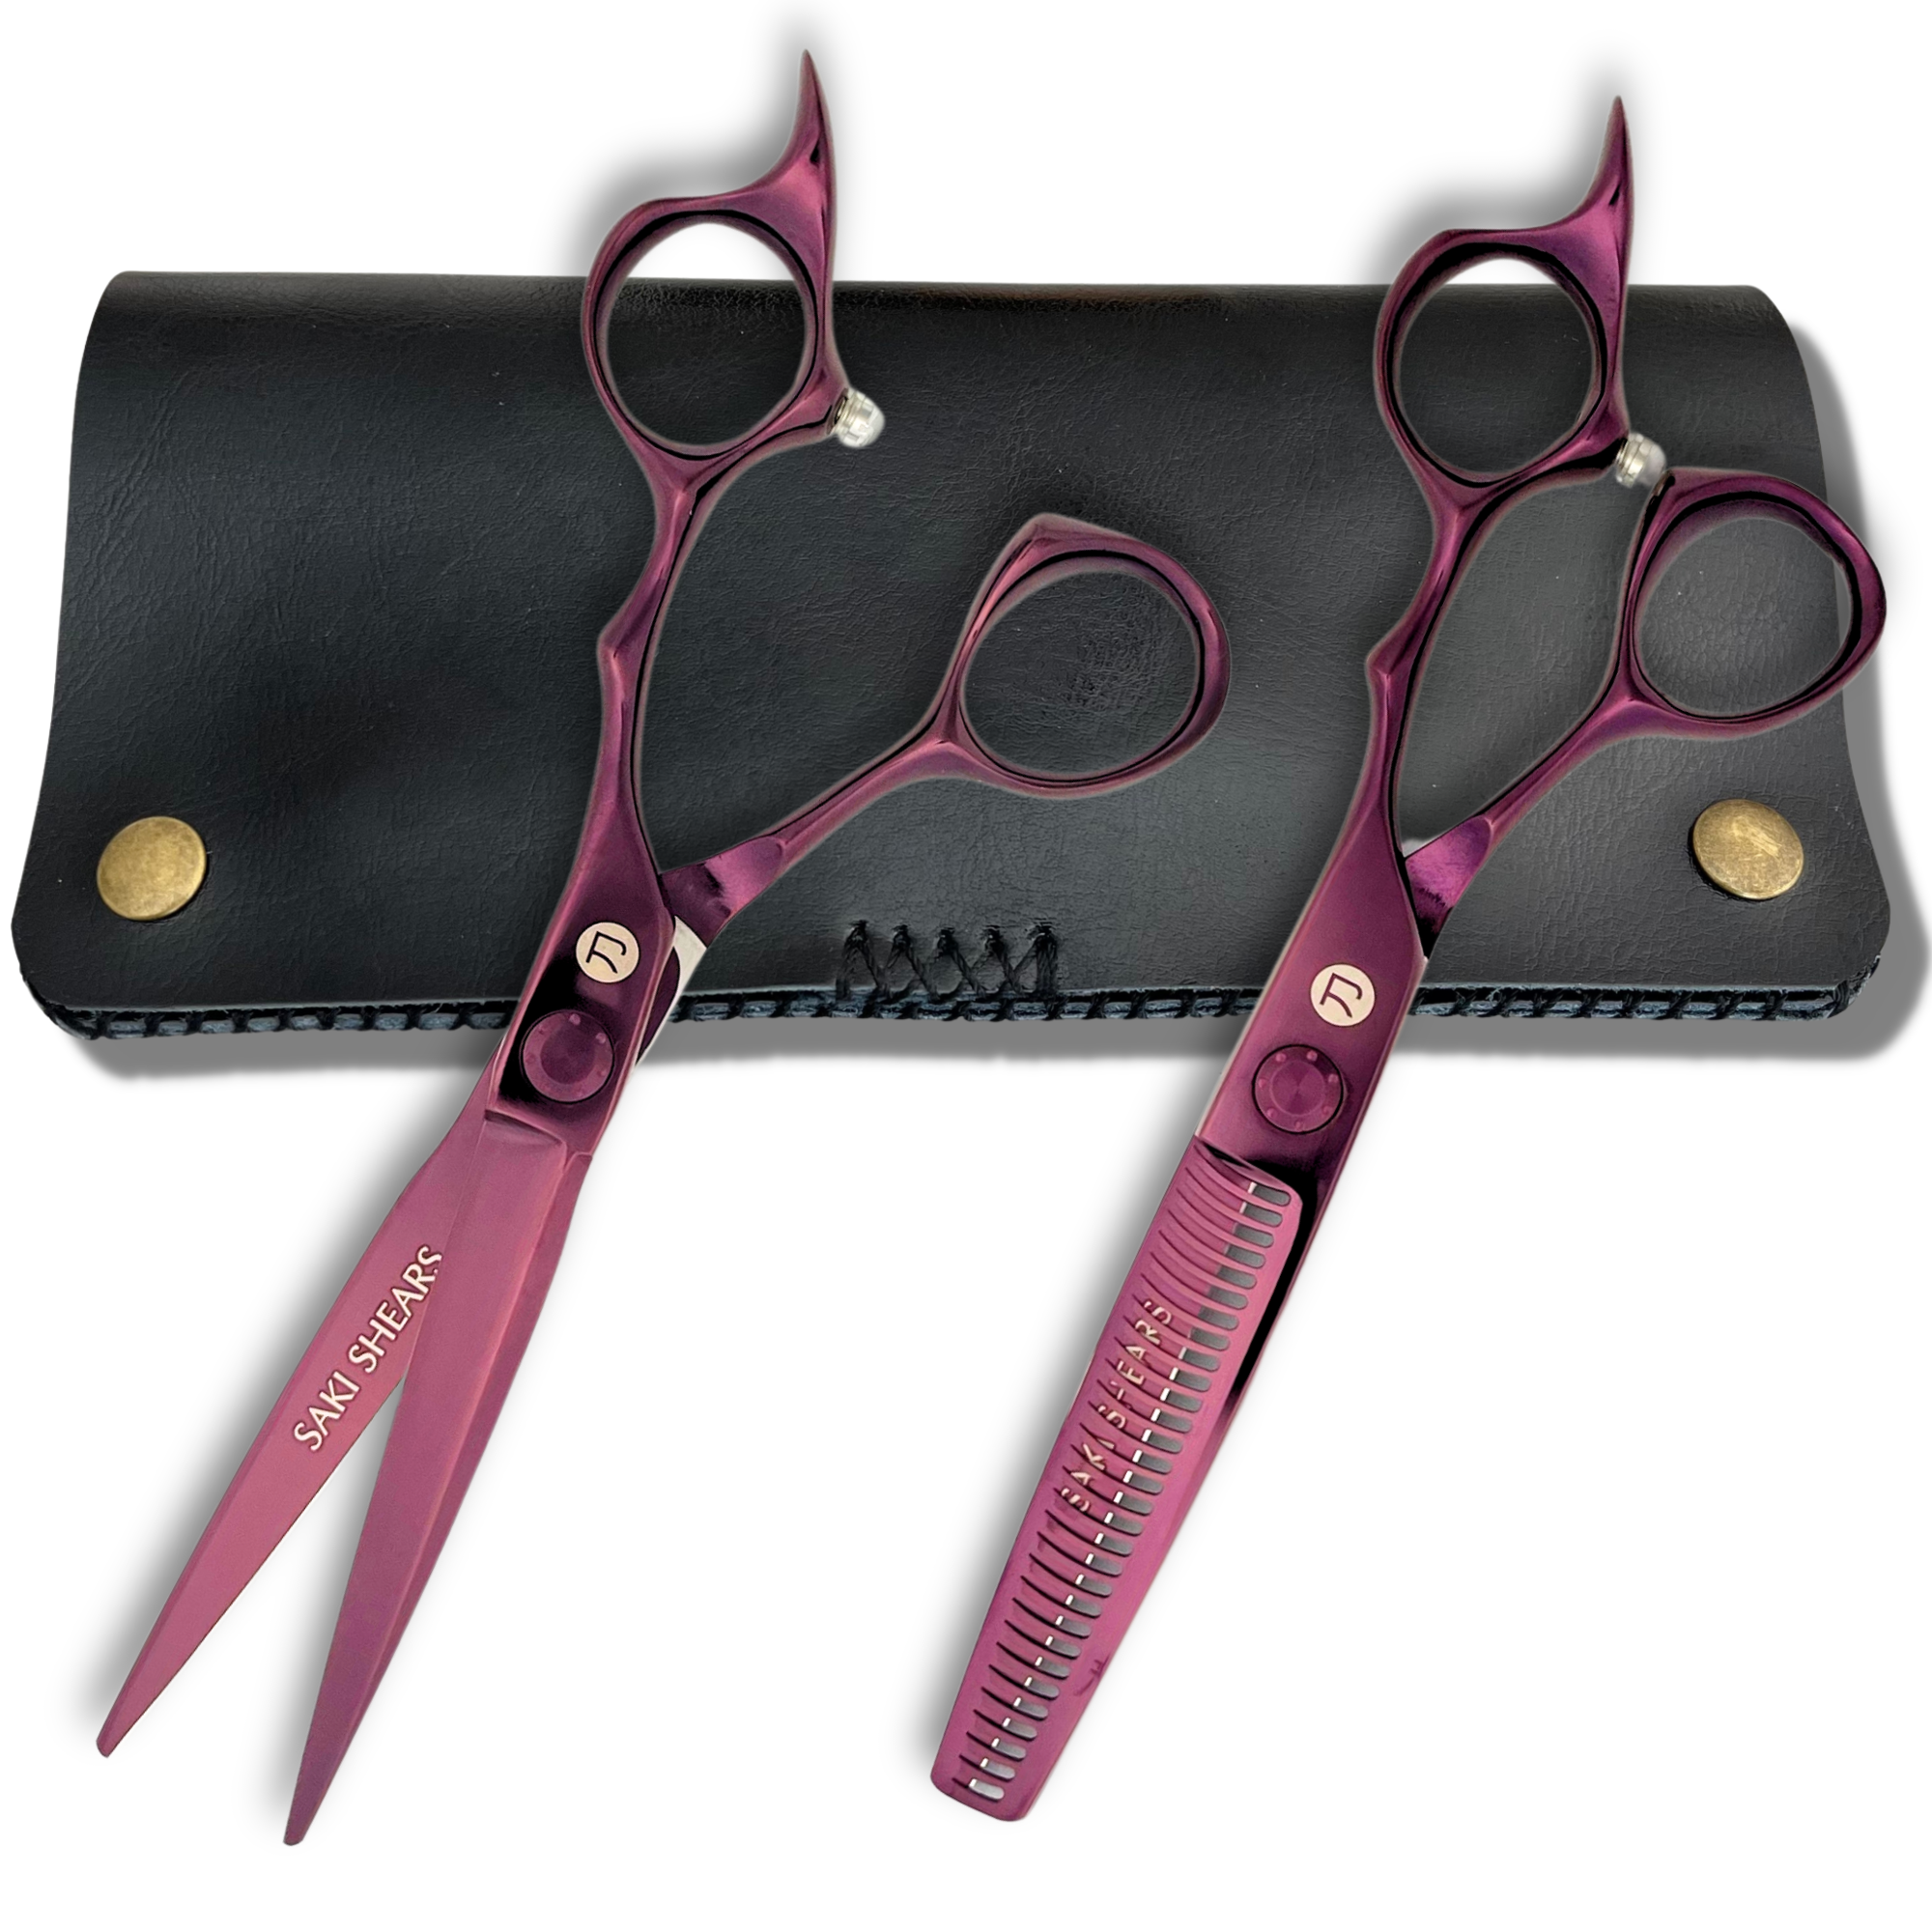
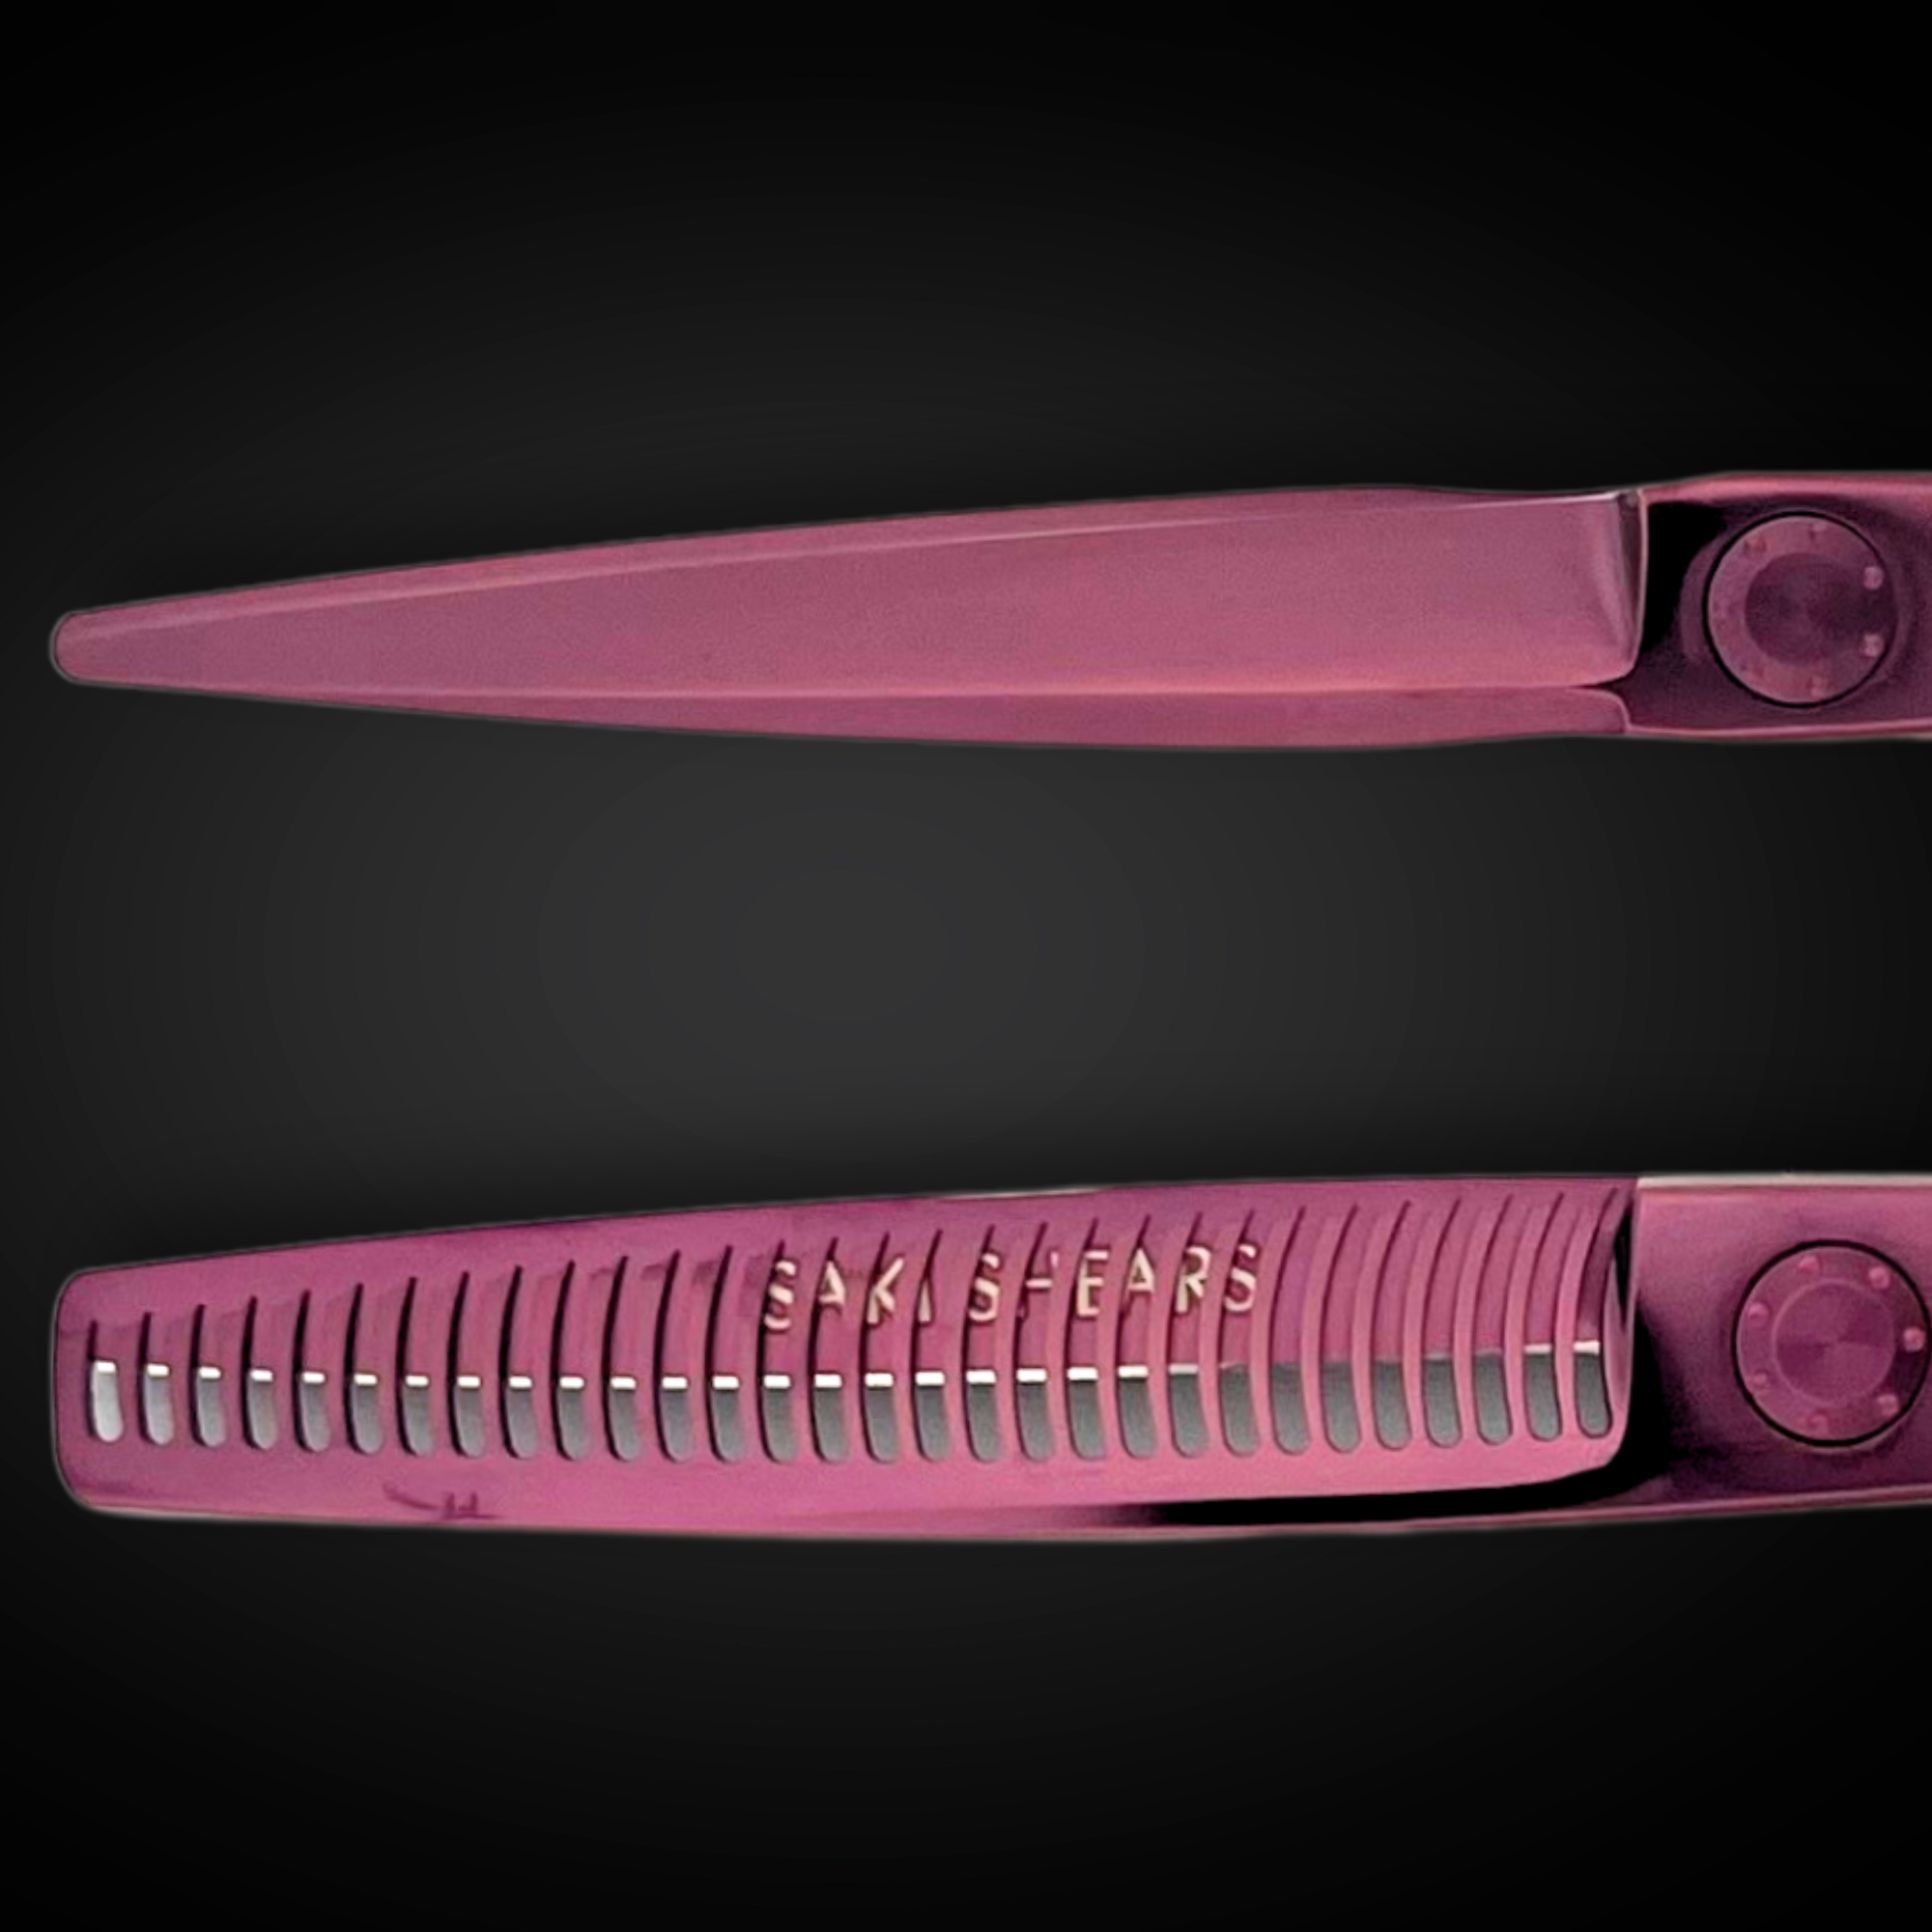
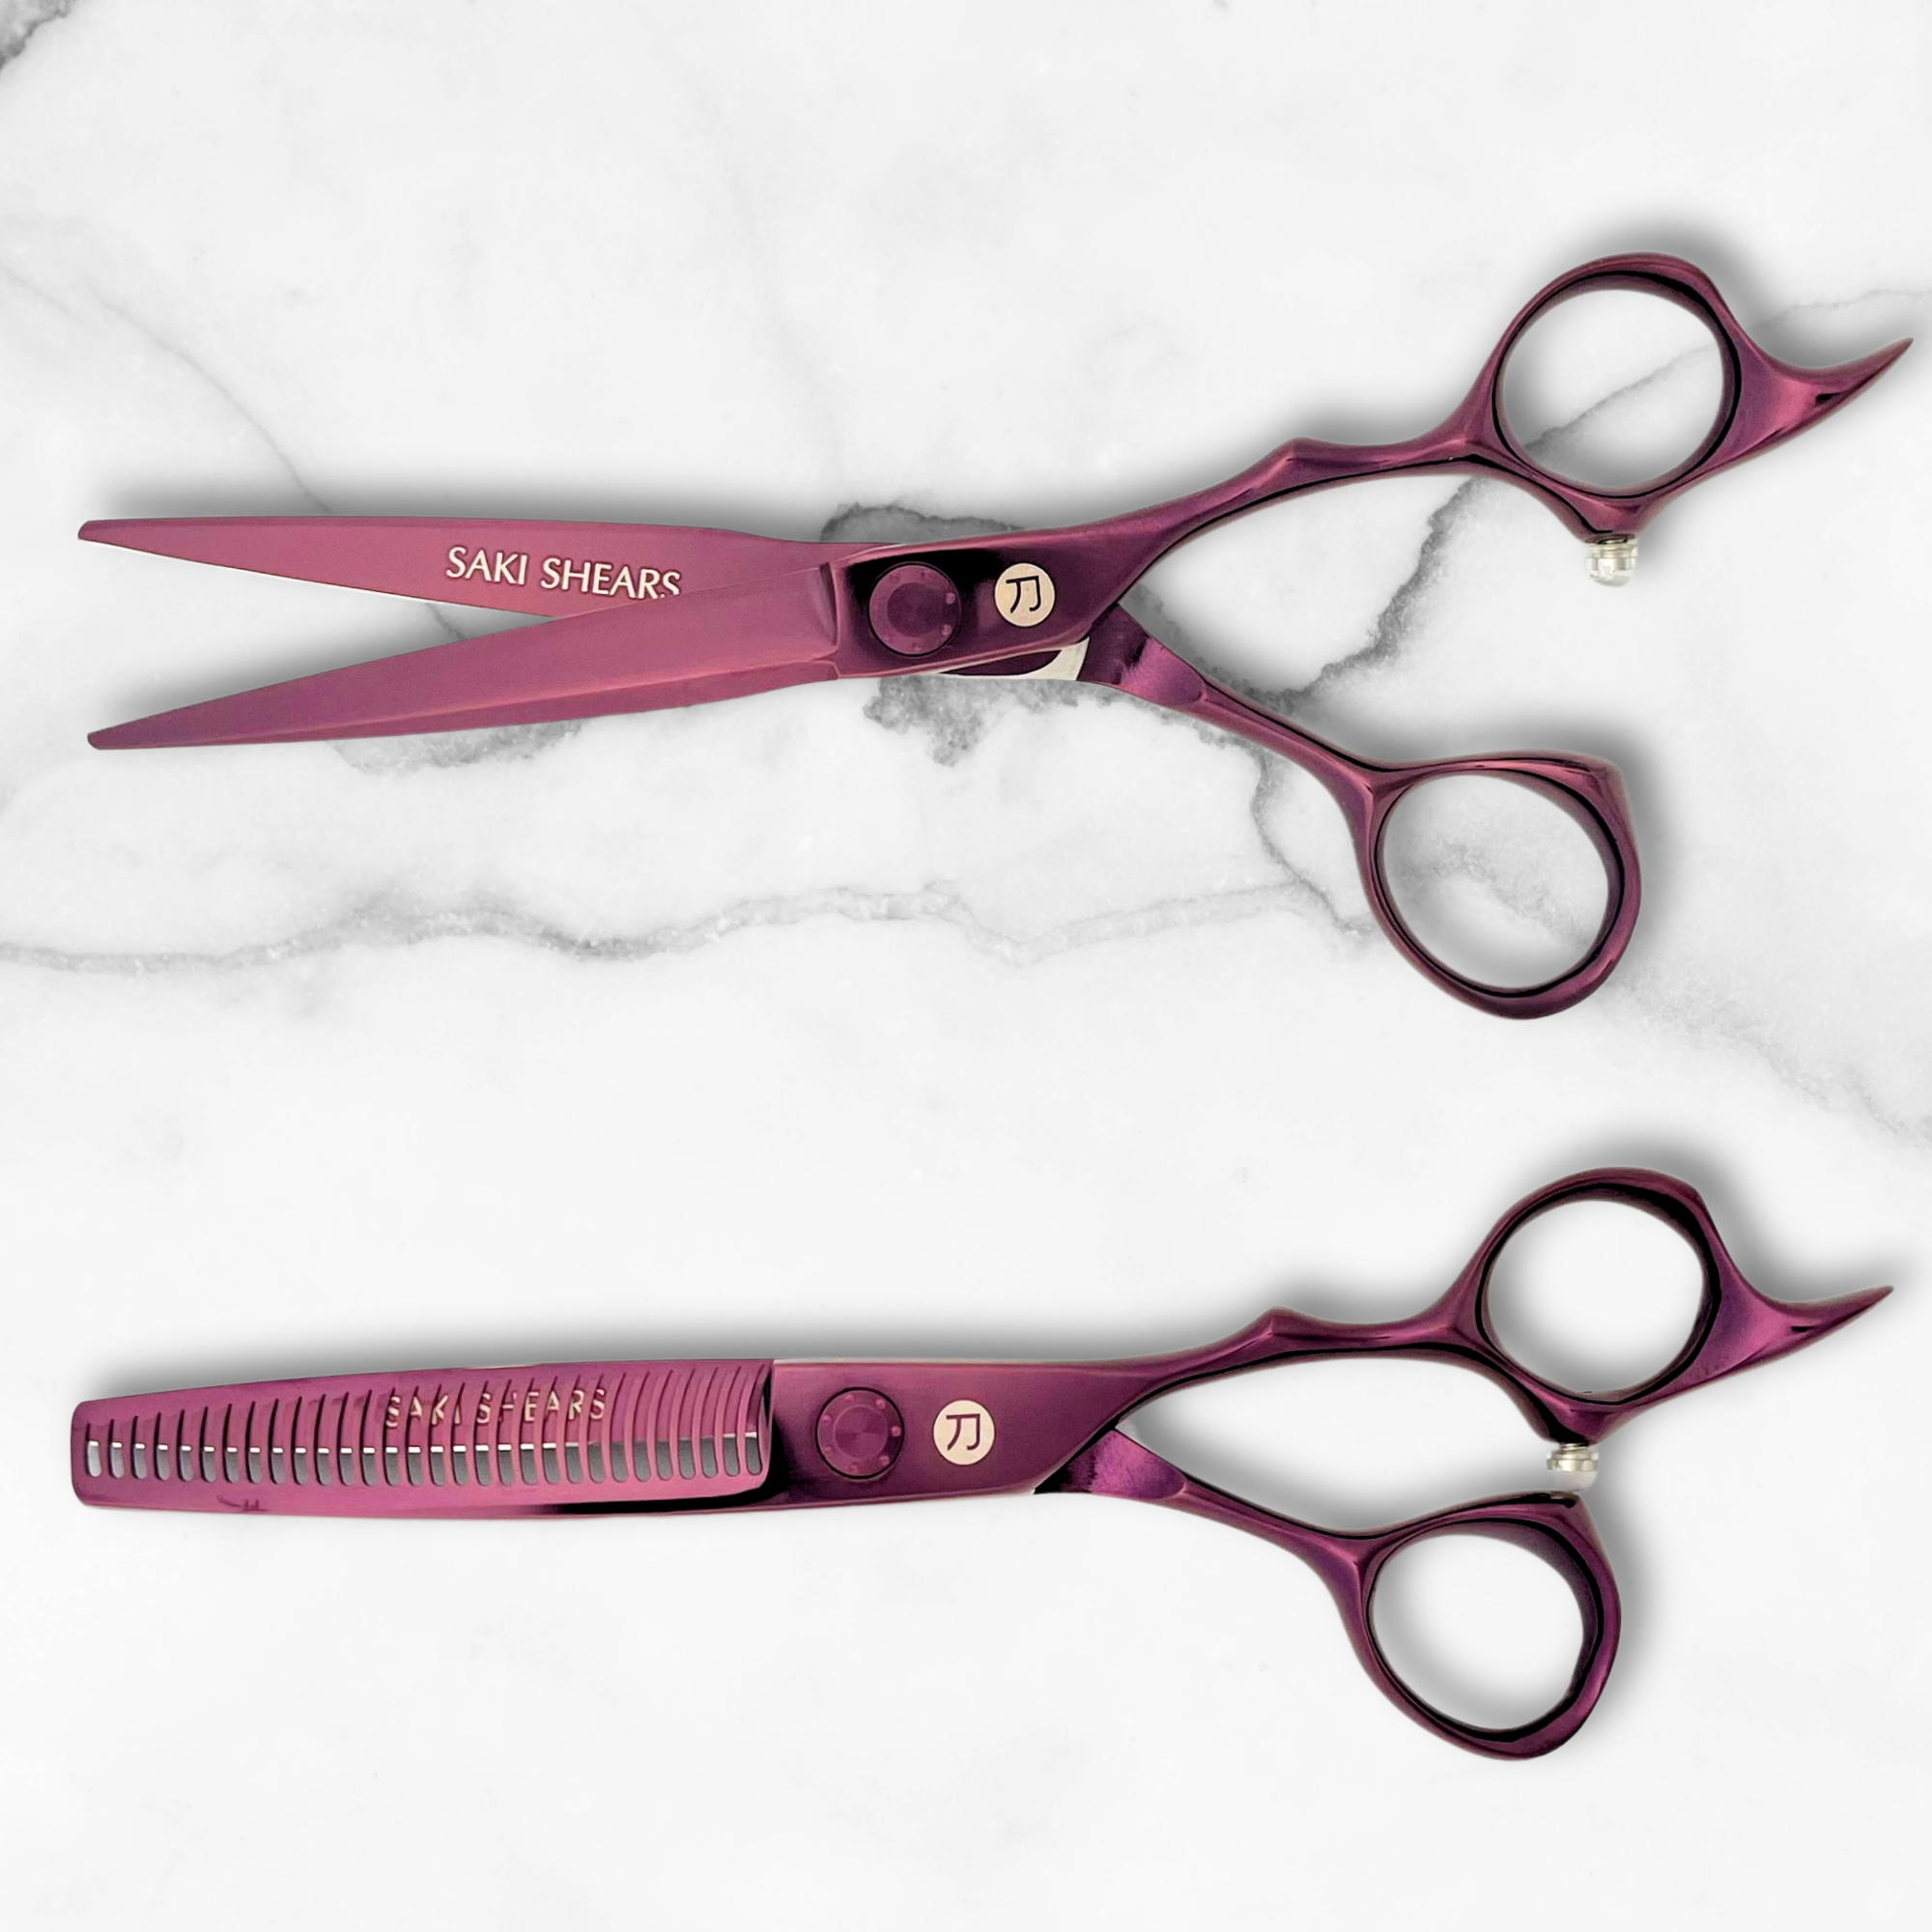
Scissors come into play for tasks like texturizing, blending transitions, and managing bulk. Both straight and texturizing scissors are useful for shaping and refining the haircut.
Recommended Professional Tools
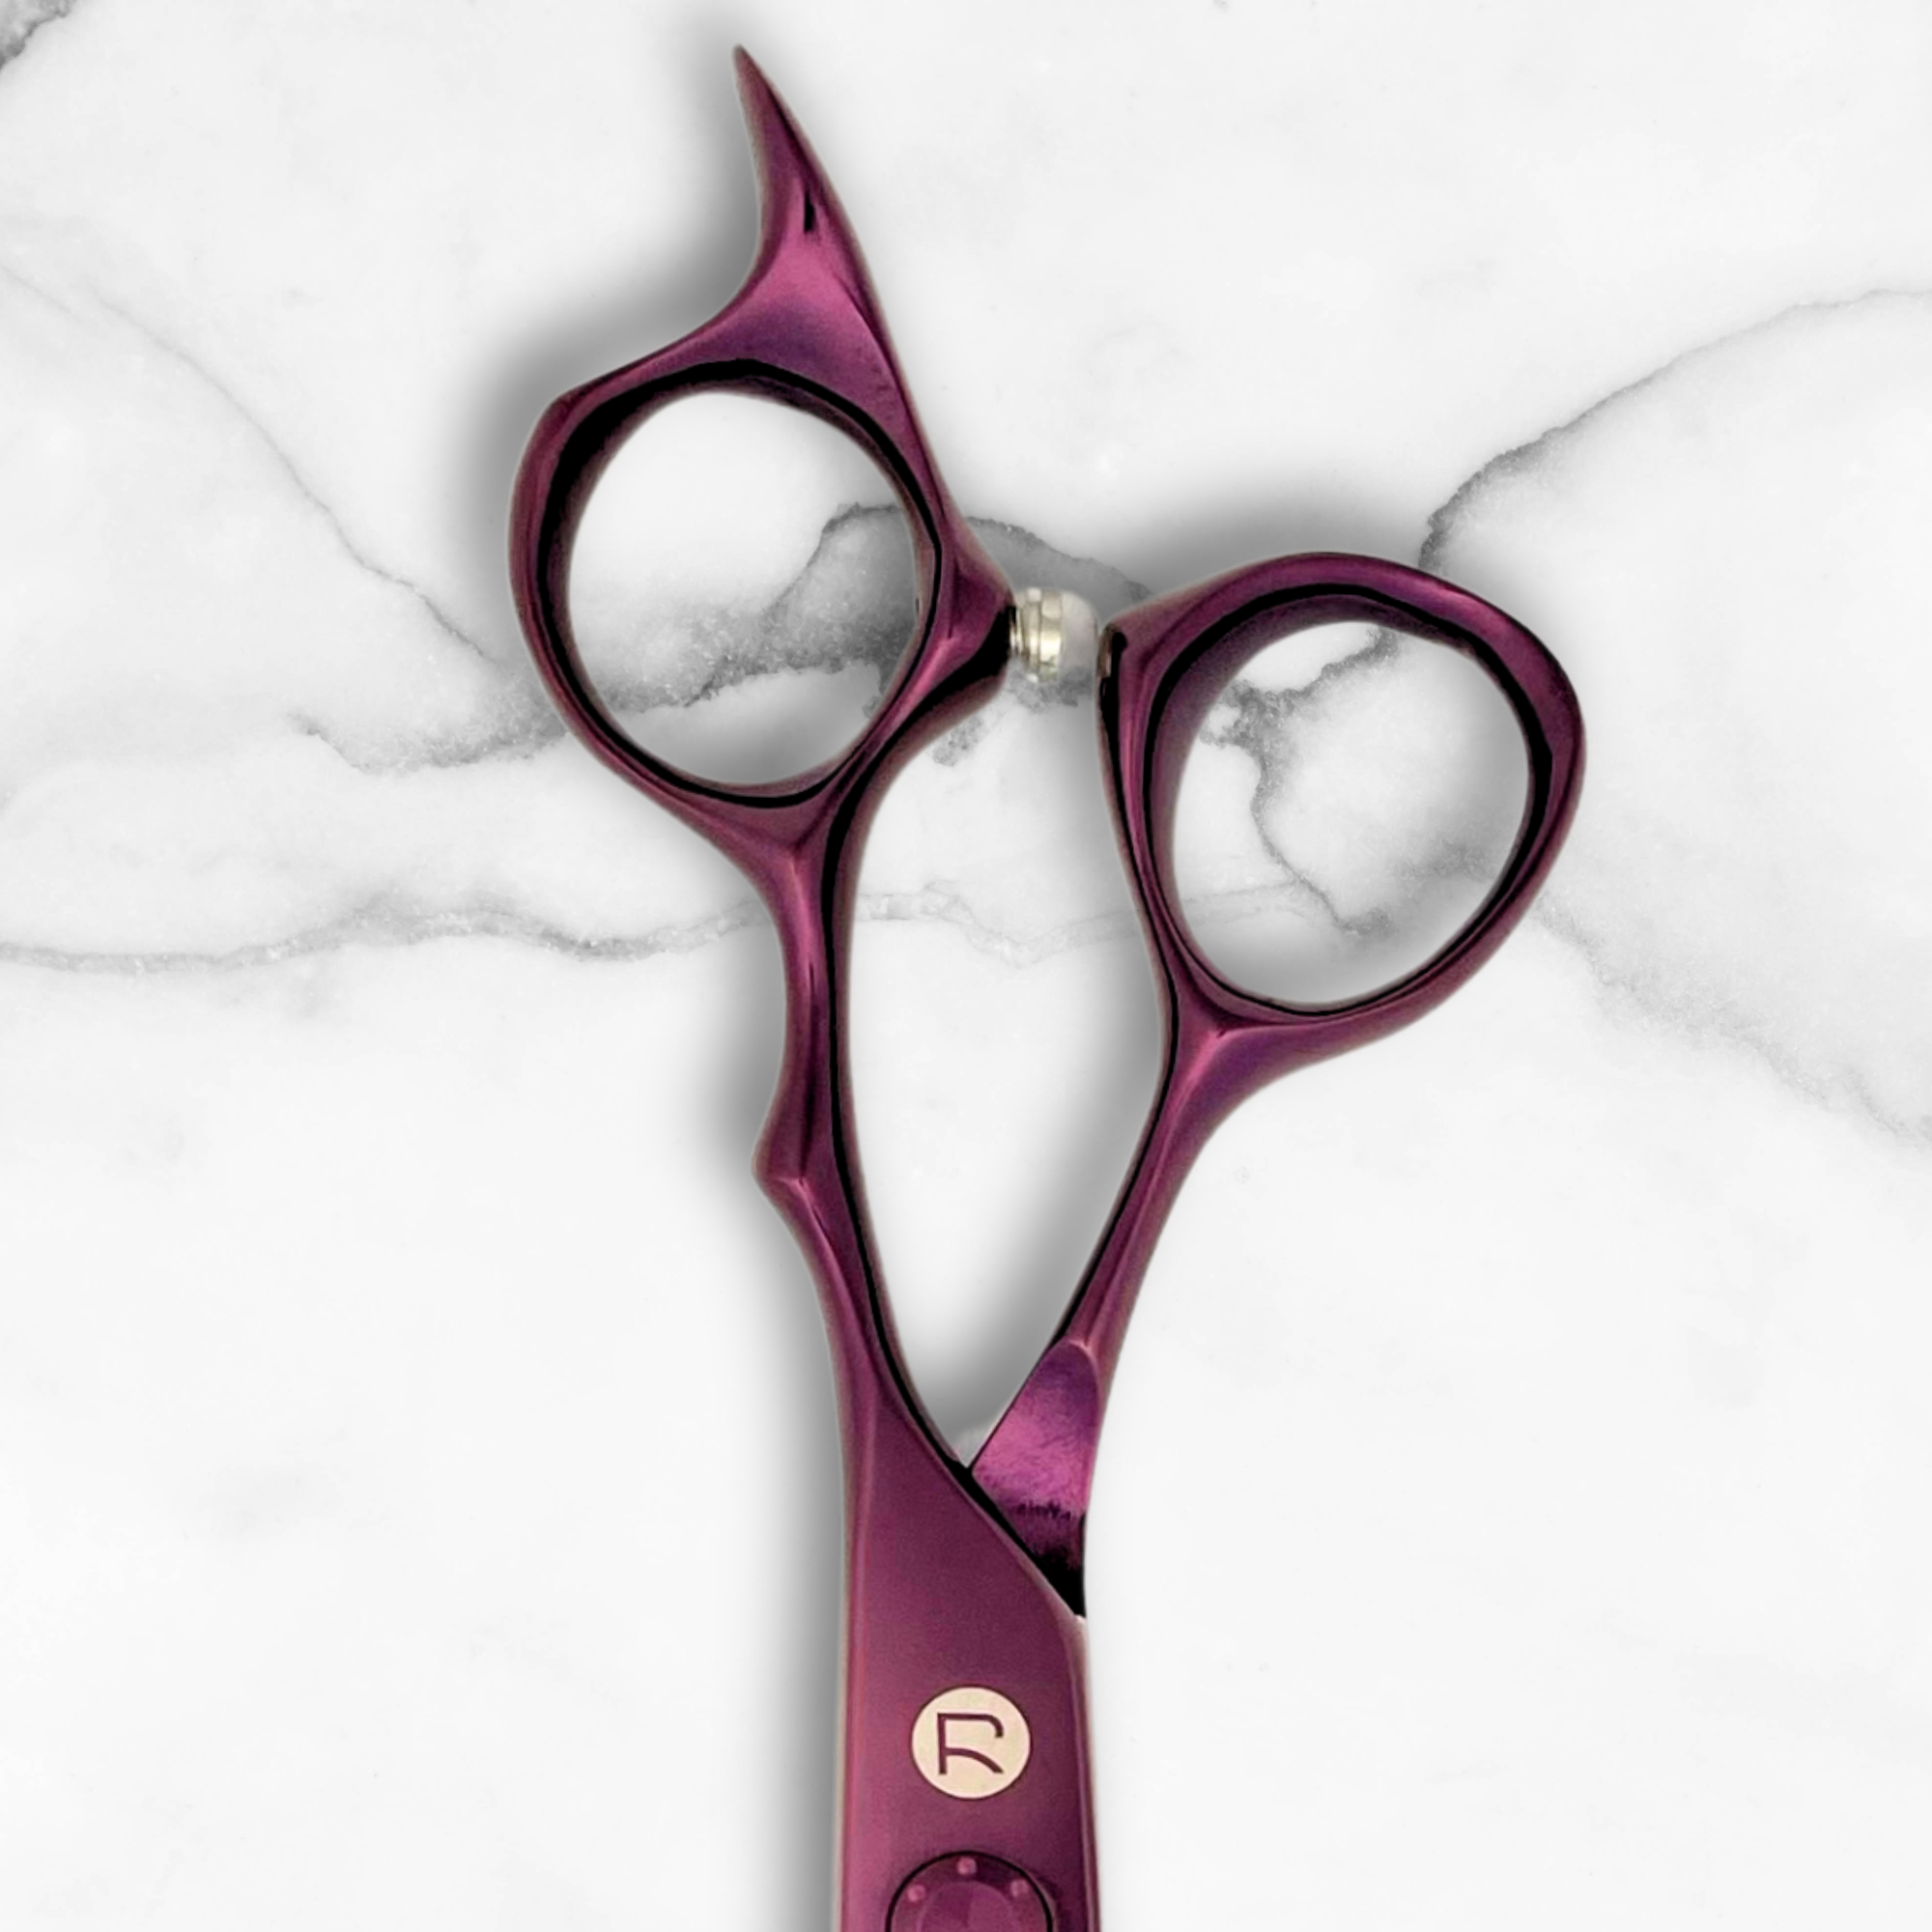
Investing in high-quality tools makes all the difference. For example, brands like Saki Shears offer ergonomic scissors designed to reduce hand strain, even during long sessions.
Here’s a quick checklist for a professional-grade kit:
- Primary clipper: Strong motor and adjustable blade such as the Raiden Electric hair clippers from Saki Shears.
- Backup clipper: For specialized or backup use
- Detail trimmer: Zero-gap for precision
- Professional scissors: Straight and texturizing
- Neck duster: To remove loose hair
- Spray bottle: Helps control moisture while cutting
Proper maintenance is just as important as the tools themselves. Clean and oil your clippers daily, and sharpen the blades every 3–4 months to keep them working smoothly [5].
Once your toolkit is ready, you’re all set to dive into the fade process with confidence.
Steps to Create a Fade
Preparing the Client and Workspace
Start by making sure your tools are clean, your workspace is organized, and there's plenty of light. Talk with your client to understand the fade style and height they want. This discussion will guide how you map out the guidelines and choose your techniques. Adjust your client's seat to a comfortable height and drape them with a clean cape or towel.
Mapping and Cutting the Fade Line
Divide the hair and decide where the fade will start. For a standard fade, use a #1 or #2 guard to create your initial guideline.
| Fade Section | Guard Size | Technique |
|---|---|---|
| Bottom Line | #0-1 | Light pressure to set guideline |
| Mid Fade | #1-2 | Gradual blending strokes |
| Upper Section | #2-3 | Flicking motion for smooth blend |
Start with guards #0-1 for the bottom line, #1-2 for the mid fade, and #2-3 for the top section. Use steady pressure and controlled strokes to establish a clean baseline. Once the guideline is in place, focus on blending the sections seamlessly for a polished result.
Blending and Finishing Touches
To blend, begin with longer guards and gradually switch to shorter ones, using a flicking motion with light pressure to avoid harsh lines. For detailing, start at the neckline and work upward, ensuring clean edges around the ears and sideburns. Look at the haircut from multiple angles to spot and fix uneven areas.
"Use light pressure and easy in-and-out motions to achieve cleaner line work. Additionally, avoid cutting too much hair at once, as this can lead to unevenness and a need for extensive correction" [2].
Take your time blending, as the quality of your fade depends on precision. Viewing the cut from different perspectives ensures smooth transitions and symmetry. Master these steps, and you'll be ready to tackle more advanced fade techniques to further refine your skills.
Advanced Fade Techniques
To excel at advanced fade techniques, it's all about understanding which methods suit different hair types and situations. The secret lies in knowing when and how to apply these methods for smooth, flawless transitions.
Top-Down vs. Bottom-Up Fading
The method you choose - top-down or bottom-up - can make or break the final look. Each approach works best for specific hair types.
| Technique | Best For | Key Benefits |
|---|---|---|
| Top-Down | Fine hair | Smoothly removes lines, creates blends |
| Bottom-Up | Thick or coarse hair | Manages bulk, delivers balanced results |
Lever Control Basics
Using the clipper's lever correctly is essential for creating clean gradients. Start with the lever open for longer lengths, and gradually close it as you work downward. Keep your pressure consistent and your strokes even to achieve a polished, professional fade. The lever adjustment helps you control the length and ensures a smooth, gradual transition.
Common Mistakes to Avoid
Even seasoned barbers can stumble on advanced fades. Precision and technique are key to avoiding these frequent pitfalls:
| Common Error | How to Avoid It | Why It Matters |
|---|---|---|
| Uneven Blending | Work in sections with light strokes | Ensures a consistent fade |
| Using Too Much Pressure | Keep movements gentle and controlled | Creates clean transitions |
| Poor Line Symmetry | Check from multiple angles | Achieves even, sharp results |
Rushing through the process often leads to mistakes, so take your time. High-quality tools also play a big role. Invest in clippers with adjustable guards and reliable levers for better control. Regular maintenance - like cleaning and calibrating your tools - helps ensure consistent performance.
These techniques are just the beginning. Next, we'll dive into how to customize fades to match each client's preferences.
Customizing Fades for Clients
Creating tailored fades means understanding each client's specific features and preferences. To get it right, focus on three main factors: hair type, face shape, and personal style goals.
Hair Type Considerations
Hair texture plays a big role in how a fade looks and feels. Fine hair requires subtle transitions to avoid exposing the scalp, coarse hair benefits from managing bulk, and curly hair shines with fades that keep its natural texture intact.
| Hair Type | Recommended Fade Style | Key Tips |
|---|---|---|
| Fine/Thin | Low to mid fade | Use light pressure, keep volume |
| Coarse/Thick | Mid to high fade | Gradually remove bulk |
| Curly | Taper fade | Maintain natural texture |
Face Shape and Fade Styles
The right fade can highlight facial features and create balance. For round faces, high fades give the illusion of length. Square faces pair well with bold high fades to emphasize their angles. Oval faces suit mid fades that keep proportions balanced.
| Face Shape | Best Fade Style | Effect |
|---|---|---|
| Round | High fade, longer top | Adds length to the face |
| Square | Bold high fade | Highlights strong jawlines |
| Oval | Mid fade, balanced | Keeps facial proportions even |
Talking to Your Client
Understanding your client’s needs is key. Ask about their routine, how they like their hair maintained, the length they prefer on top, and any past experiences with fades. This ensures the style works for their lifestyle and meets their expectations.
Using Styling Products
The right products can make a big difference in maintaining a fade. They add texture and definition, keeping the style sharp between visits.
Conclusion: Mastering the Modern Fade
Achieving a flawless modern fade hinges on the right tools and techniques. Using professional-grade equipment, like adjustable blade clippers, plays a crucial role in creating smooth, precise transitions [3].
Success comes from mastering advanced techniques and tailoring them to individual client preferences. Combining skill, attention to detail, and an understanding of your client's needs leads to consistently great results [2]. Keep honing your craft by practicing regularly, maintaining high-quality tools, and staying informed about the latest industry updates.
Focus on sharpening your technique, keeping your tools in top condition, and building strong client relationships [1]. While trends may shift, the essentials - excellent tools, precise execution, and meticulous attention to detail - stand the test of time [1][2]. Each fade you create is an opportunity to refine your skills and ensure your clients leave with a style tailored just for them.

